Prototype Creation Process Creative Practice
Pottery/Ceramics
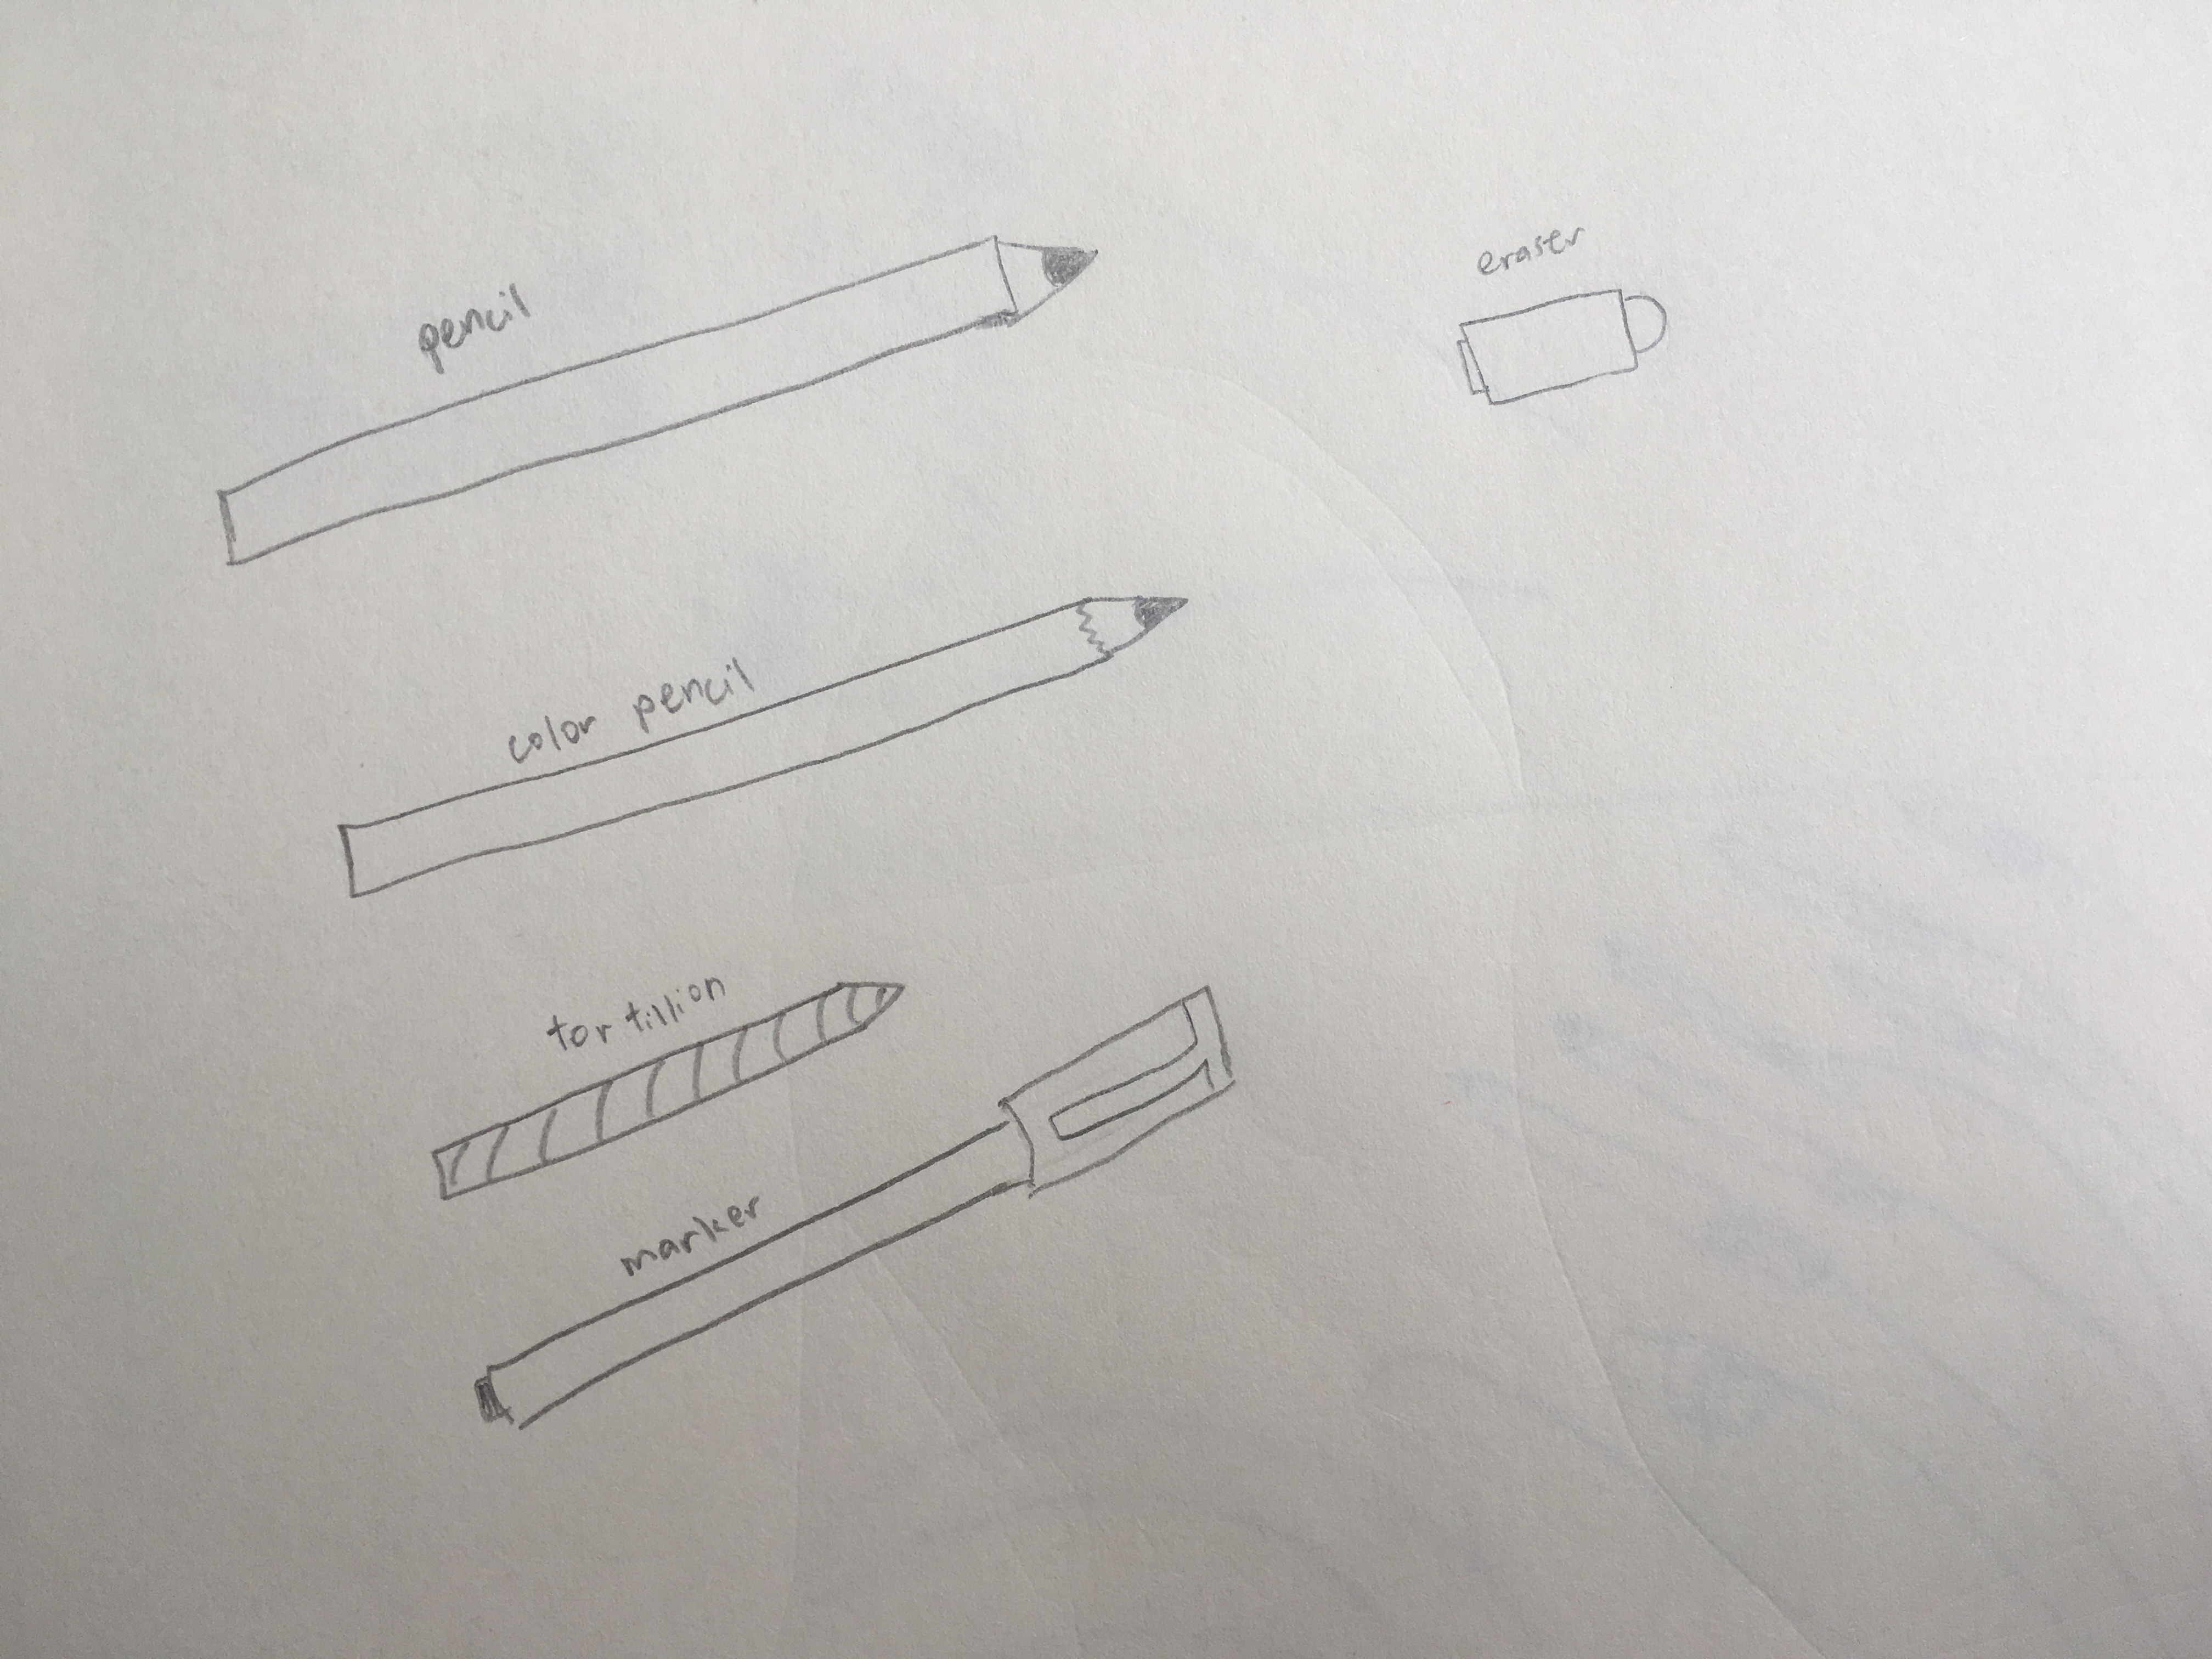
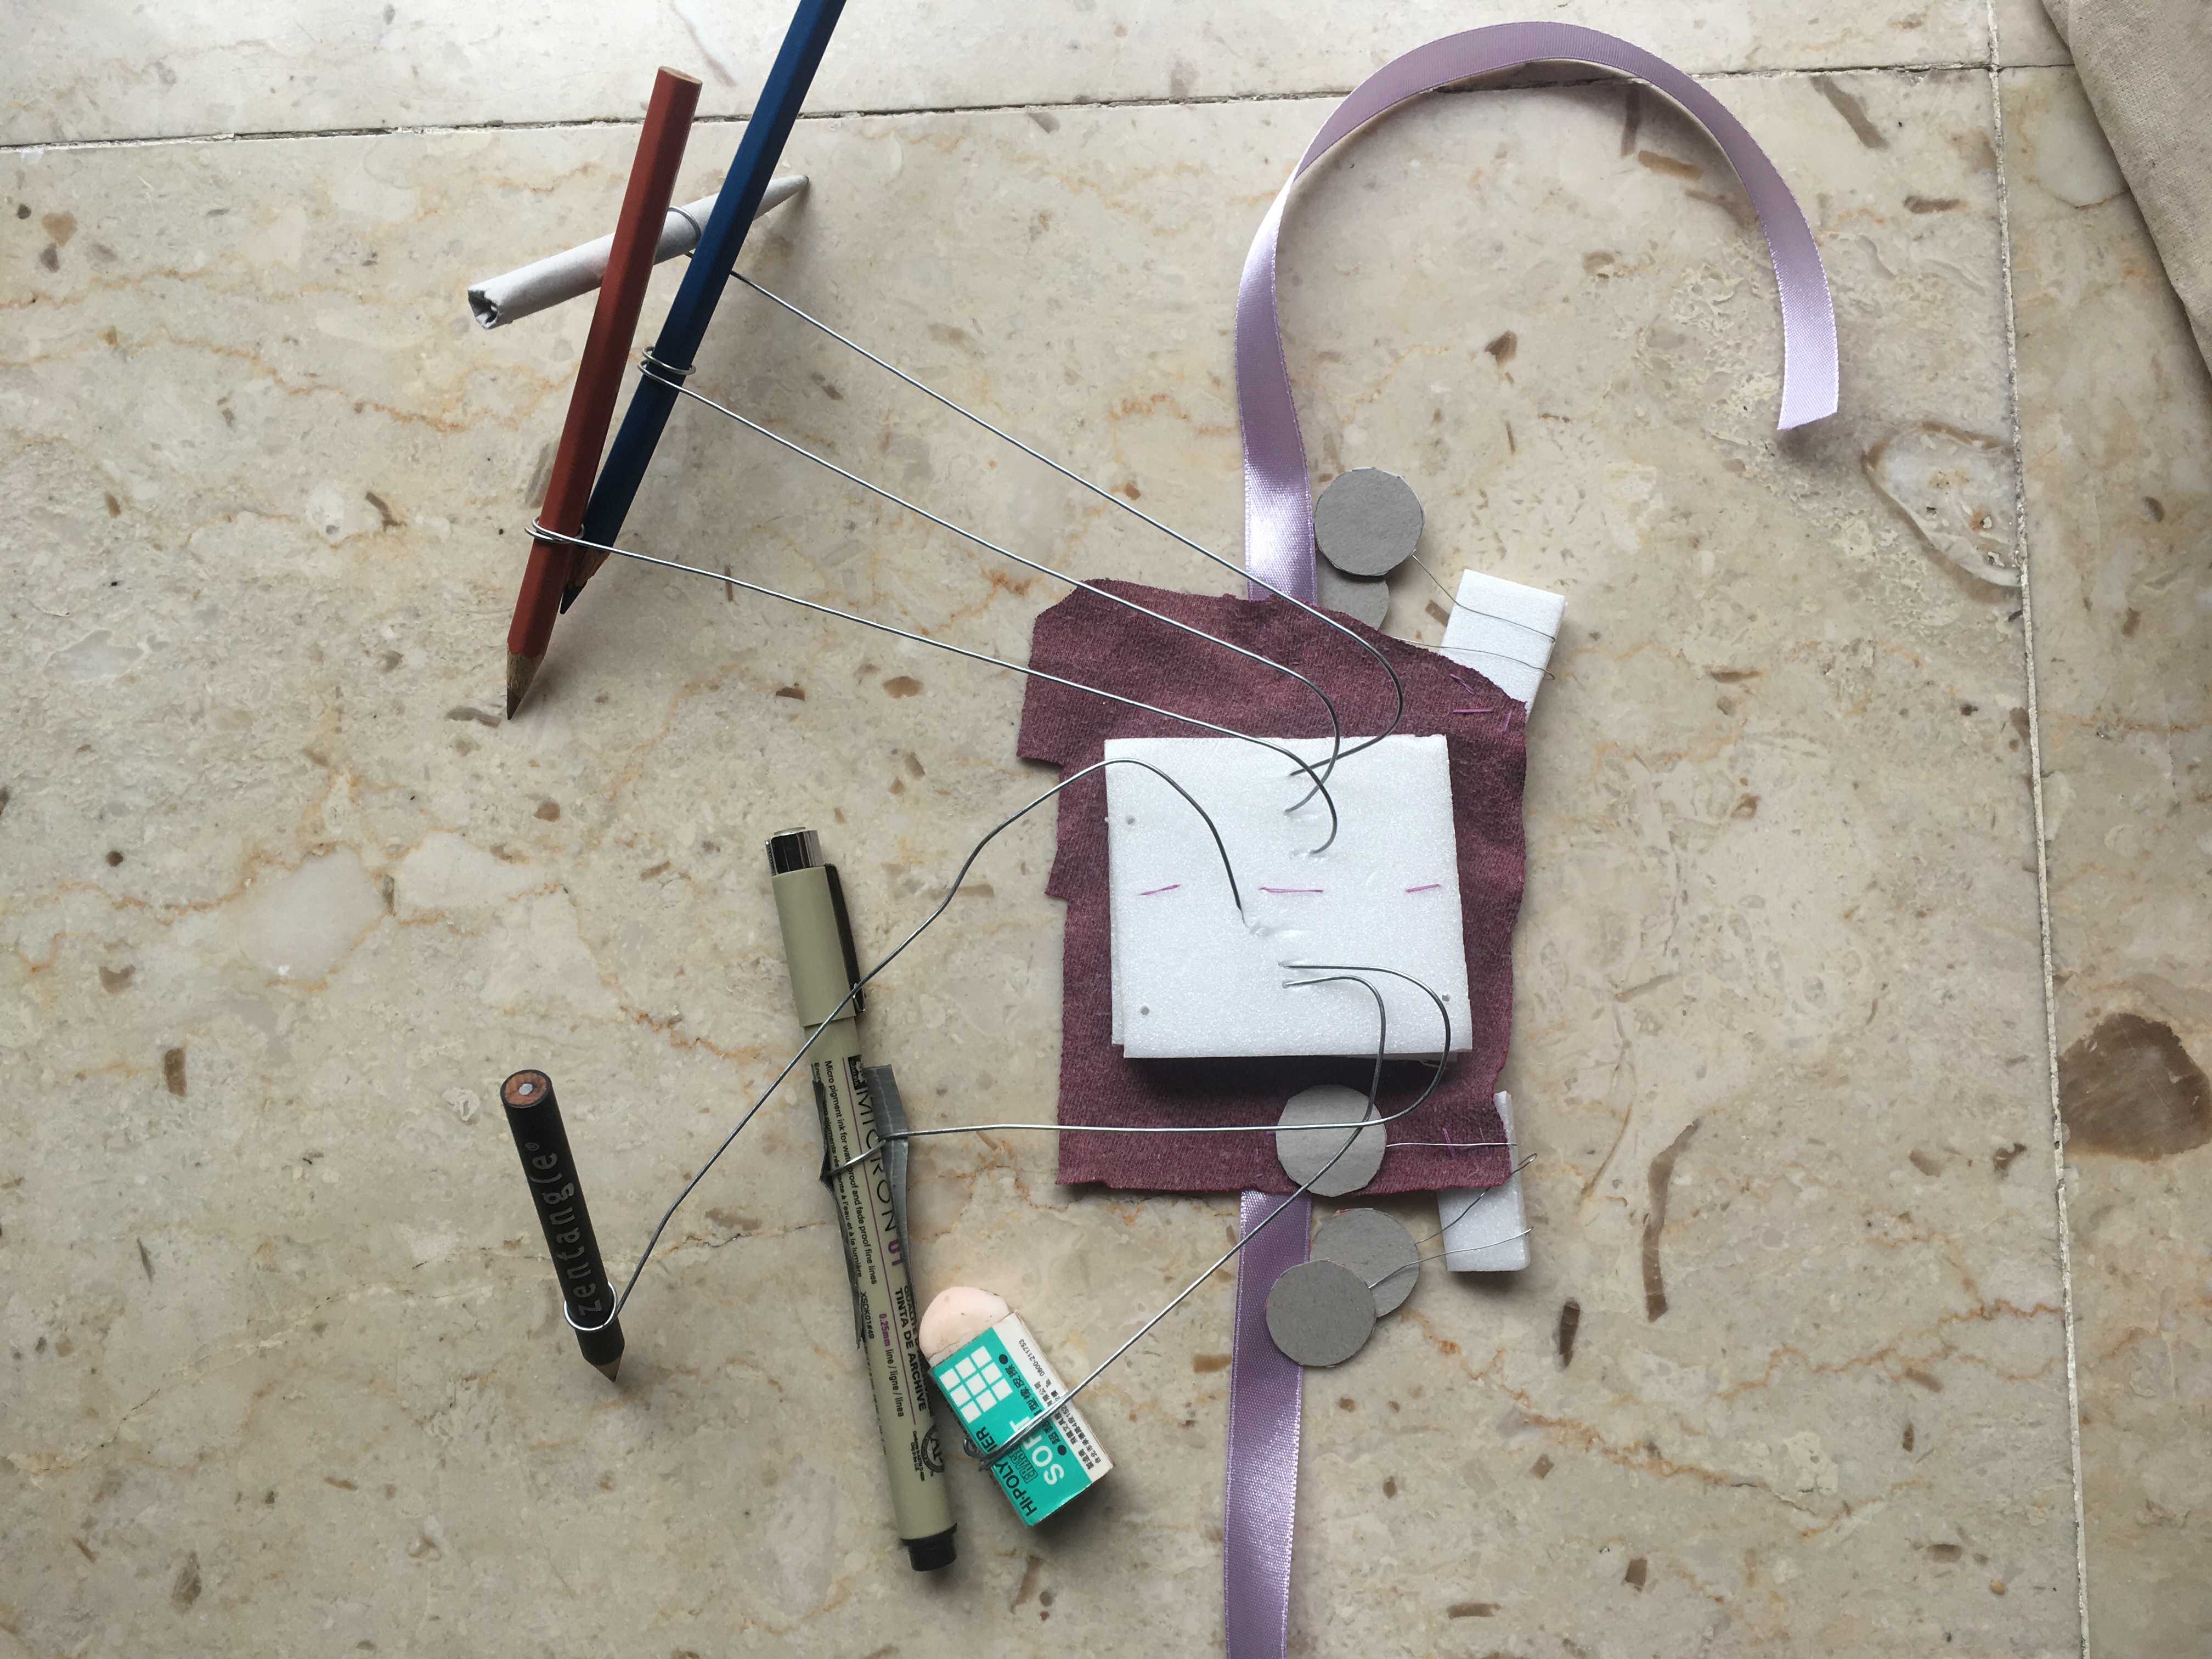
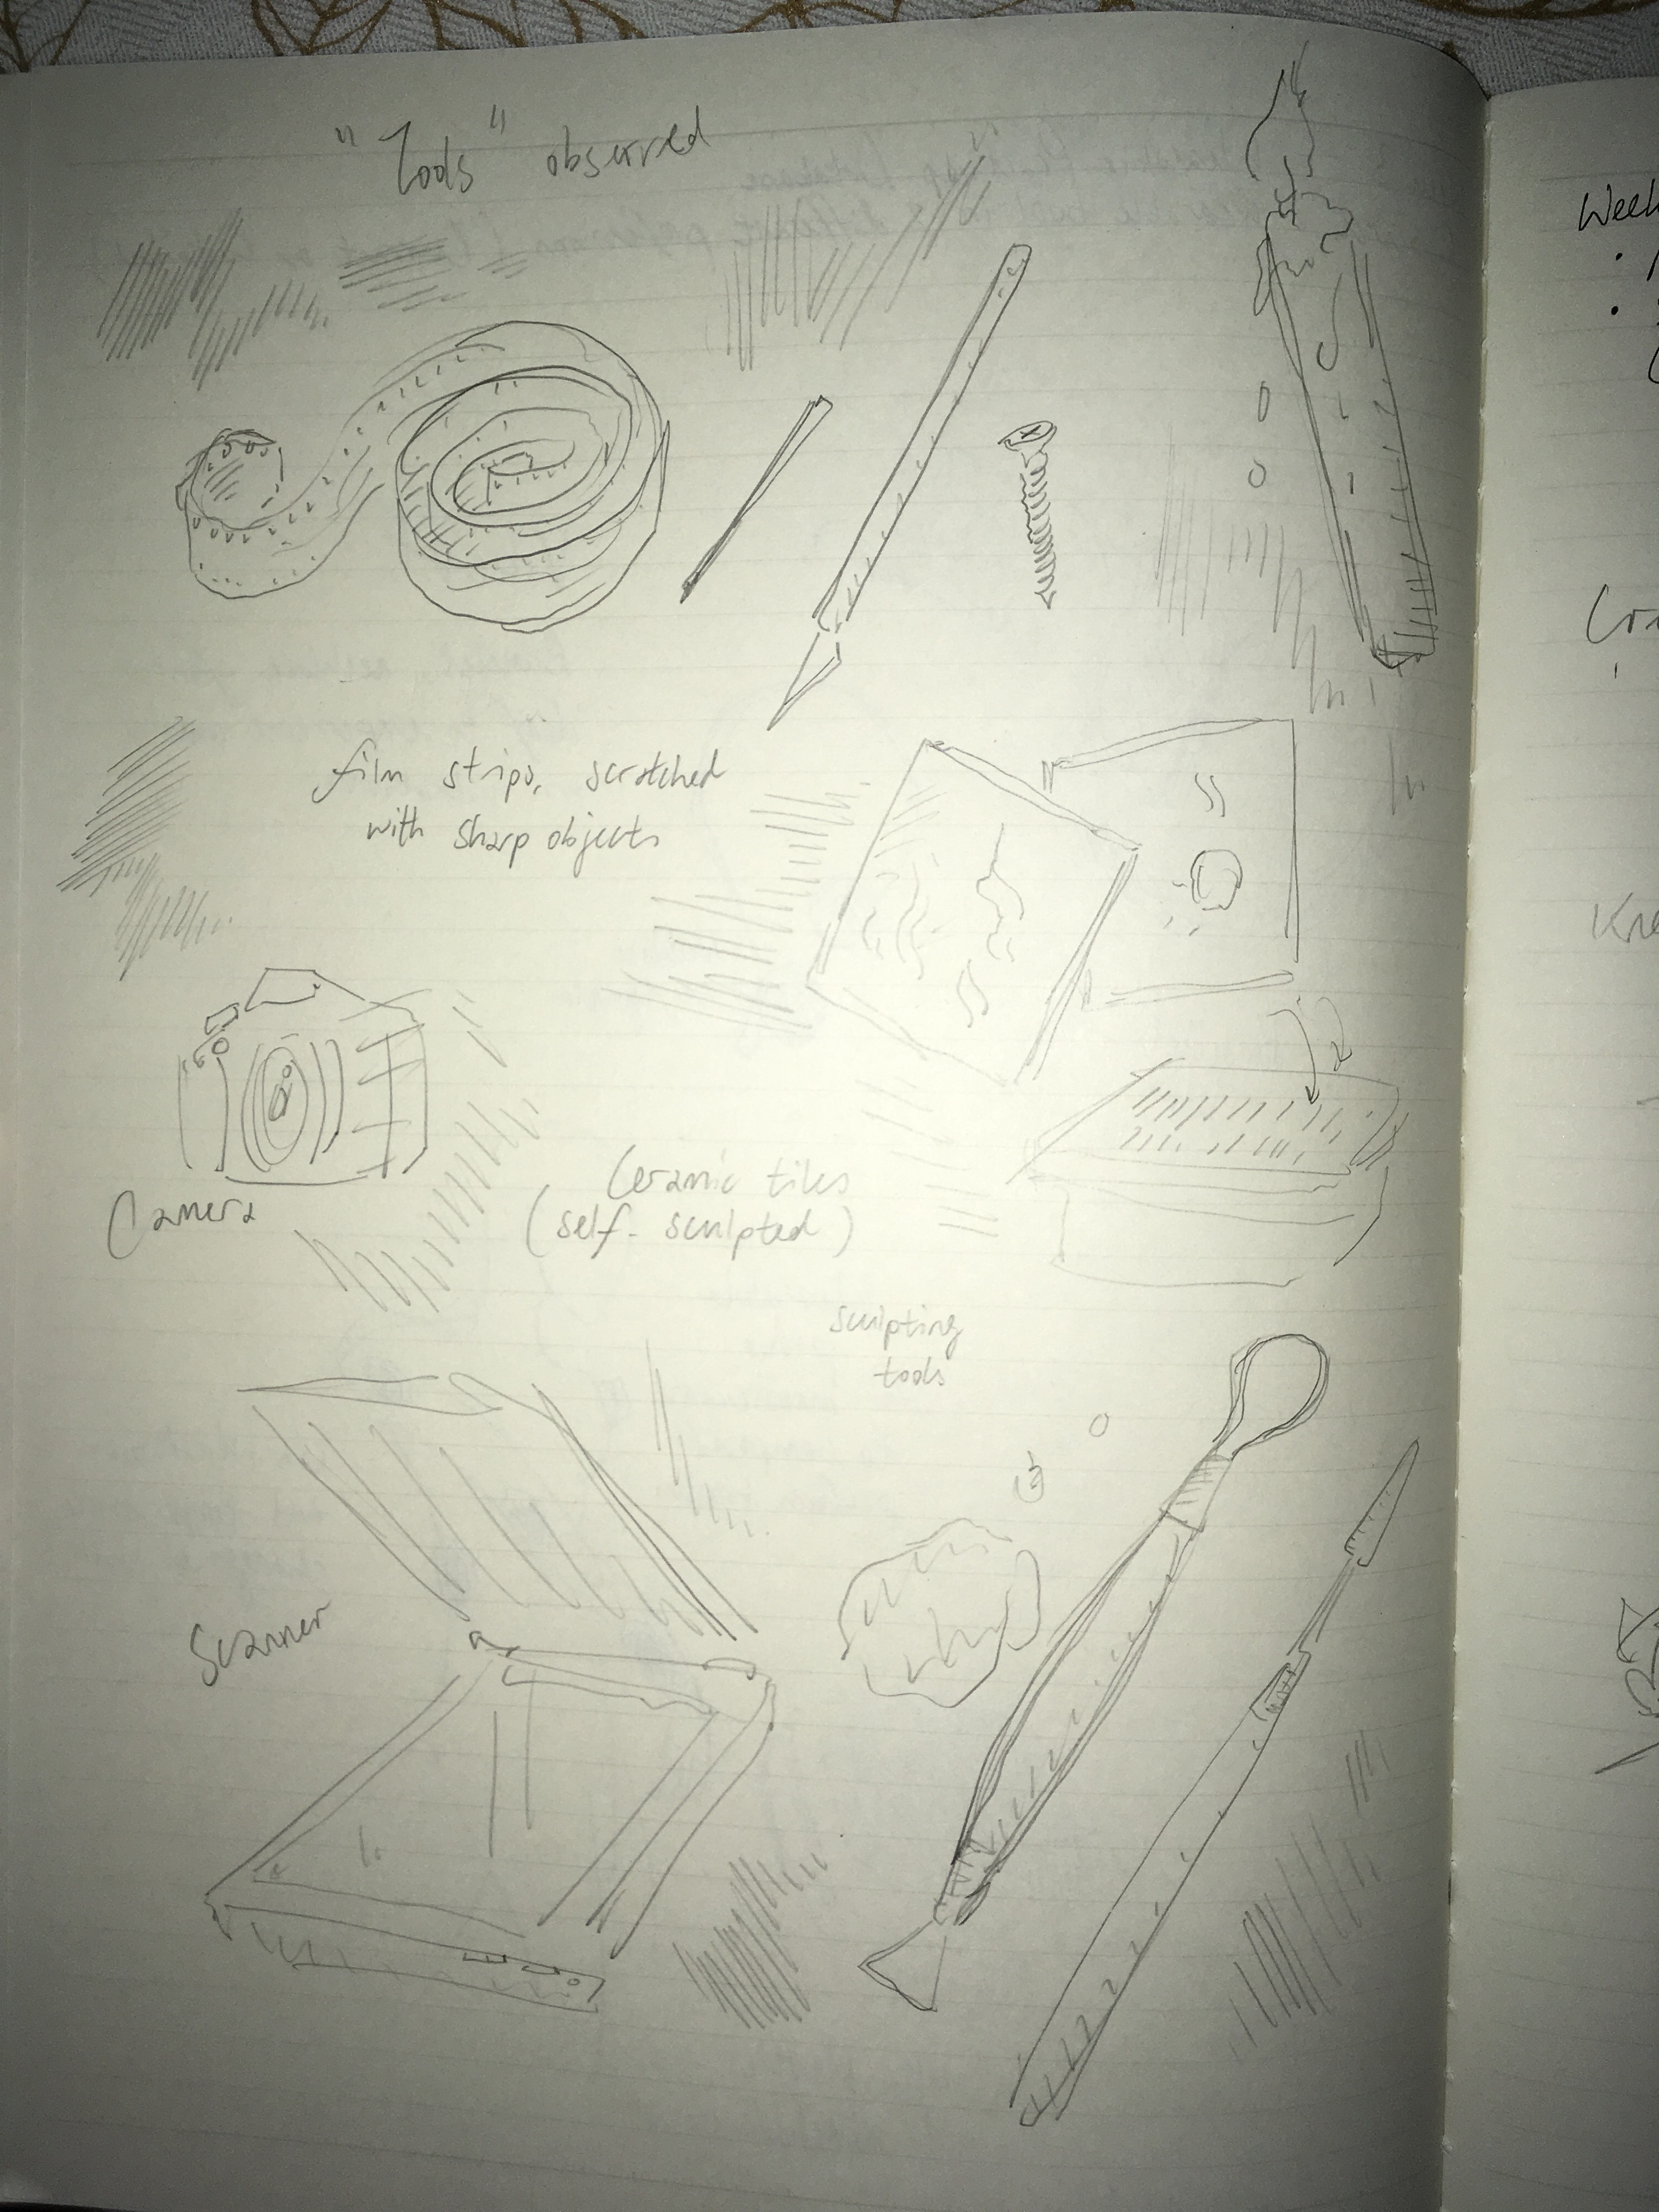
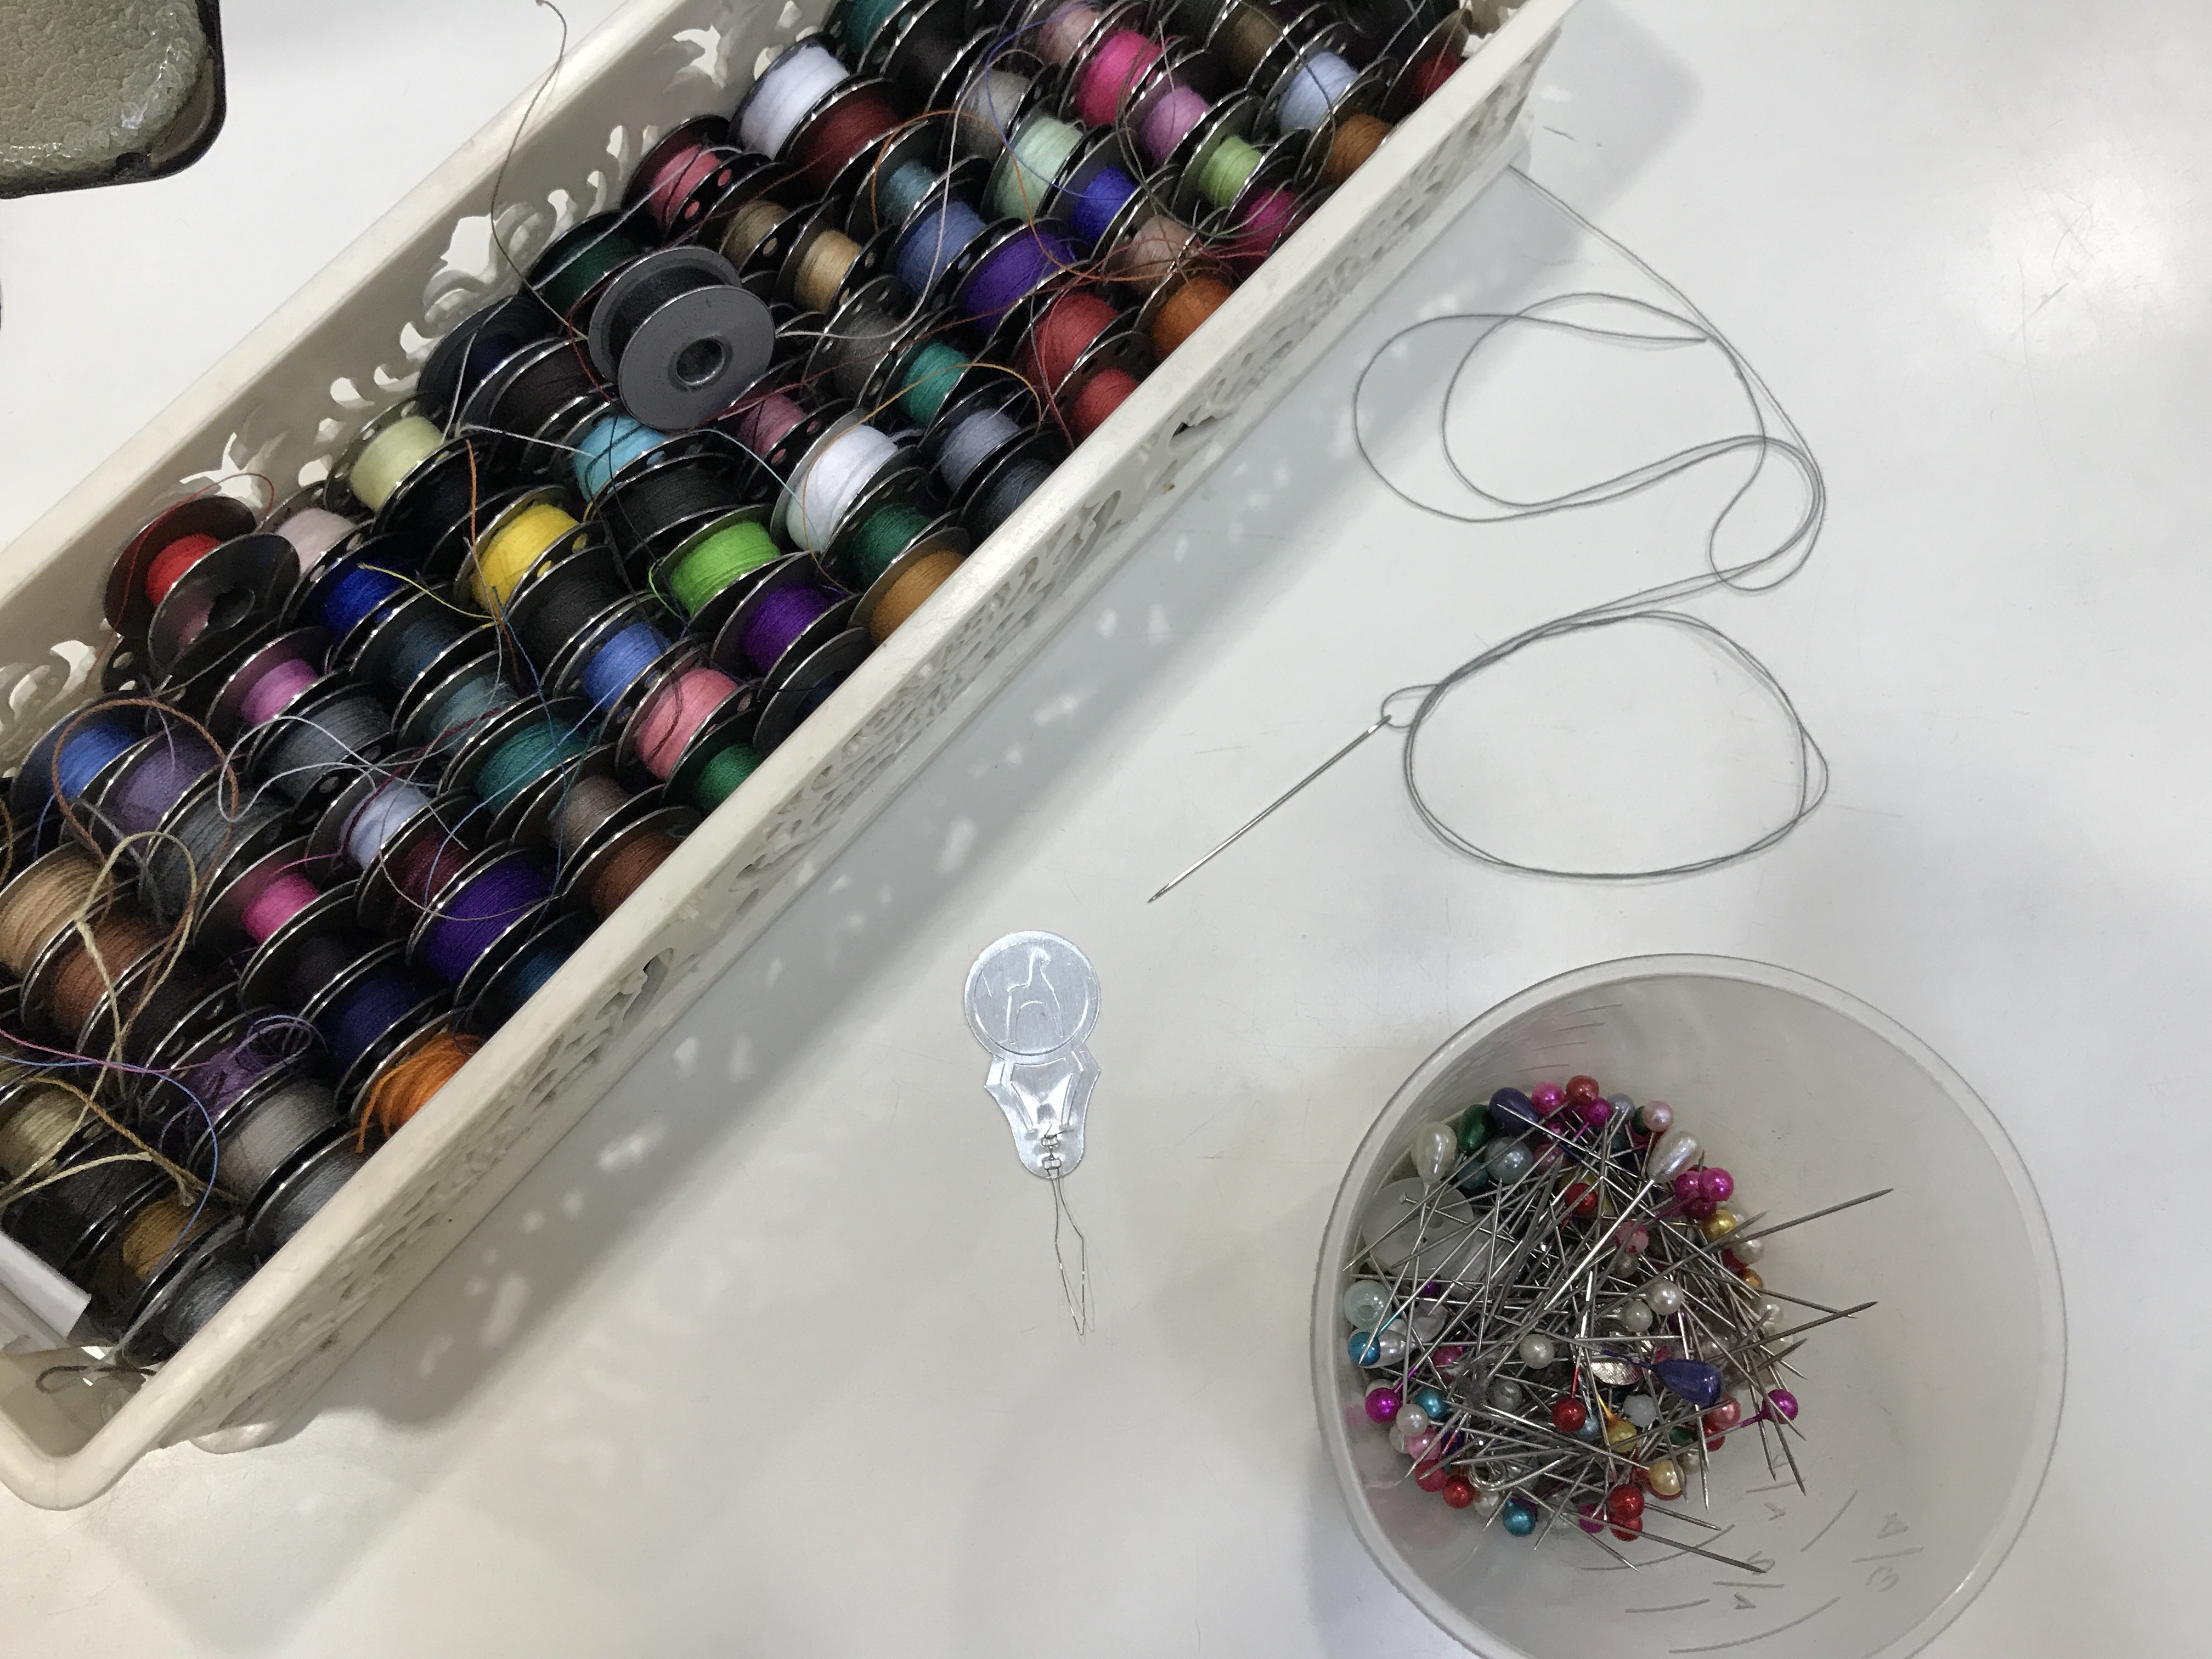
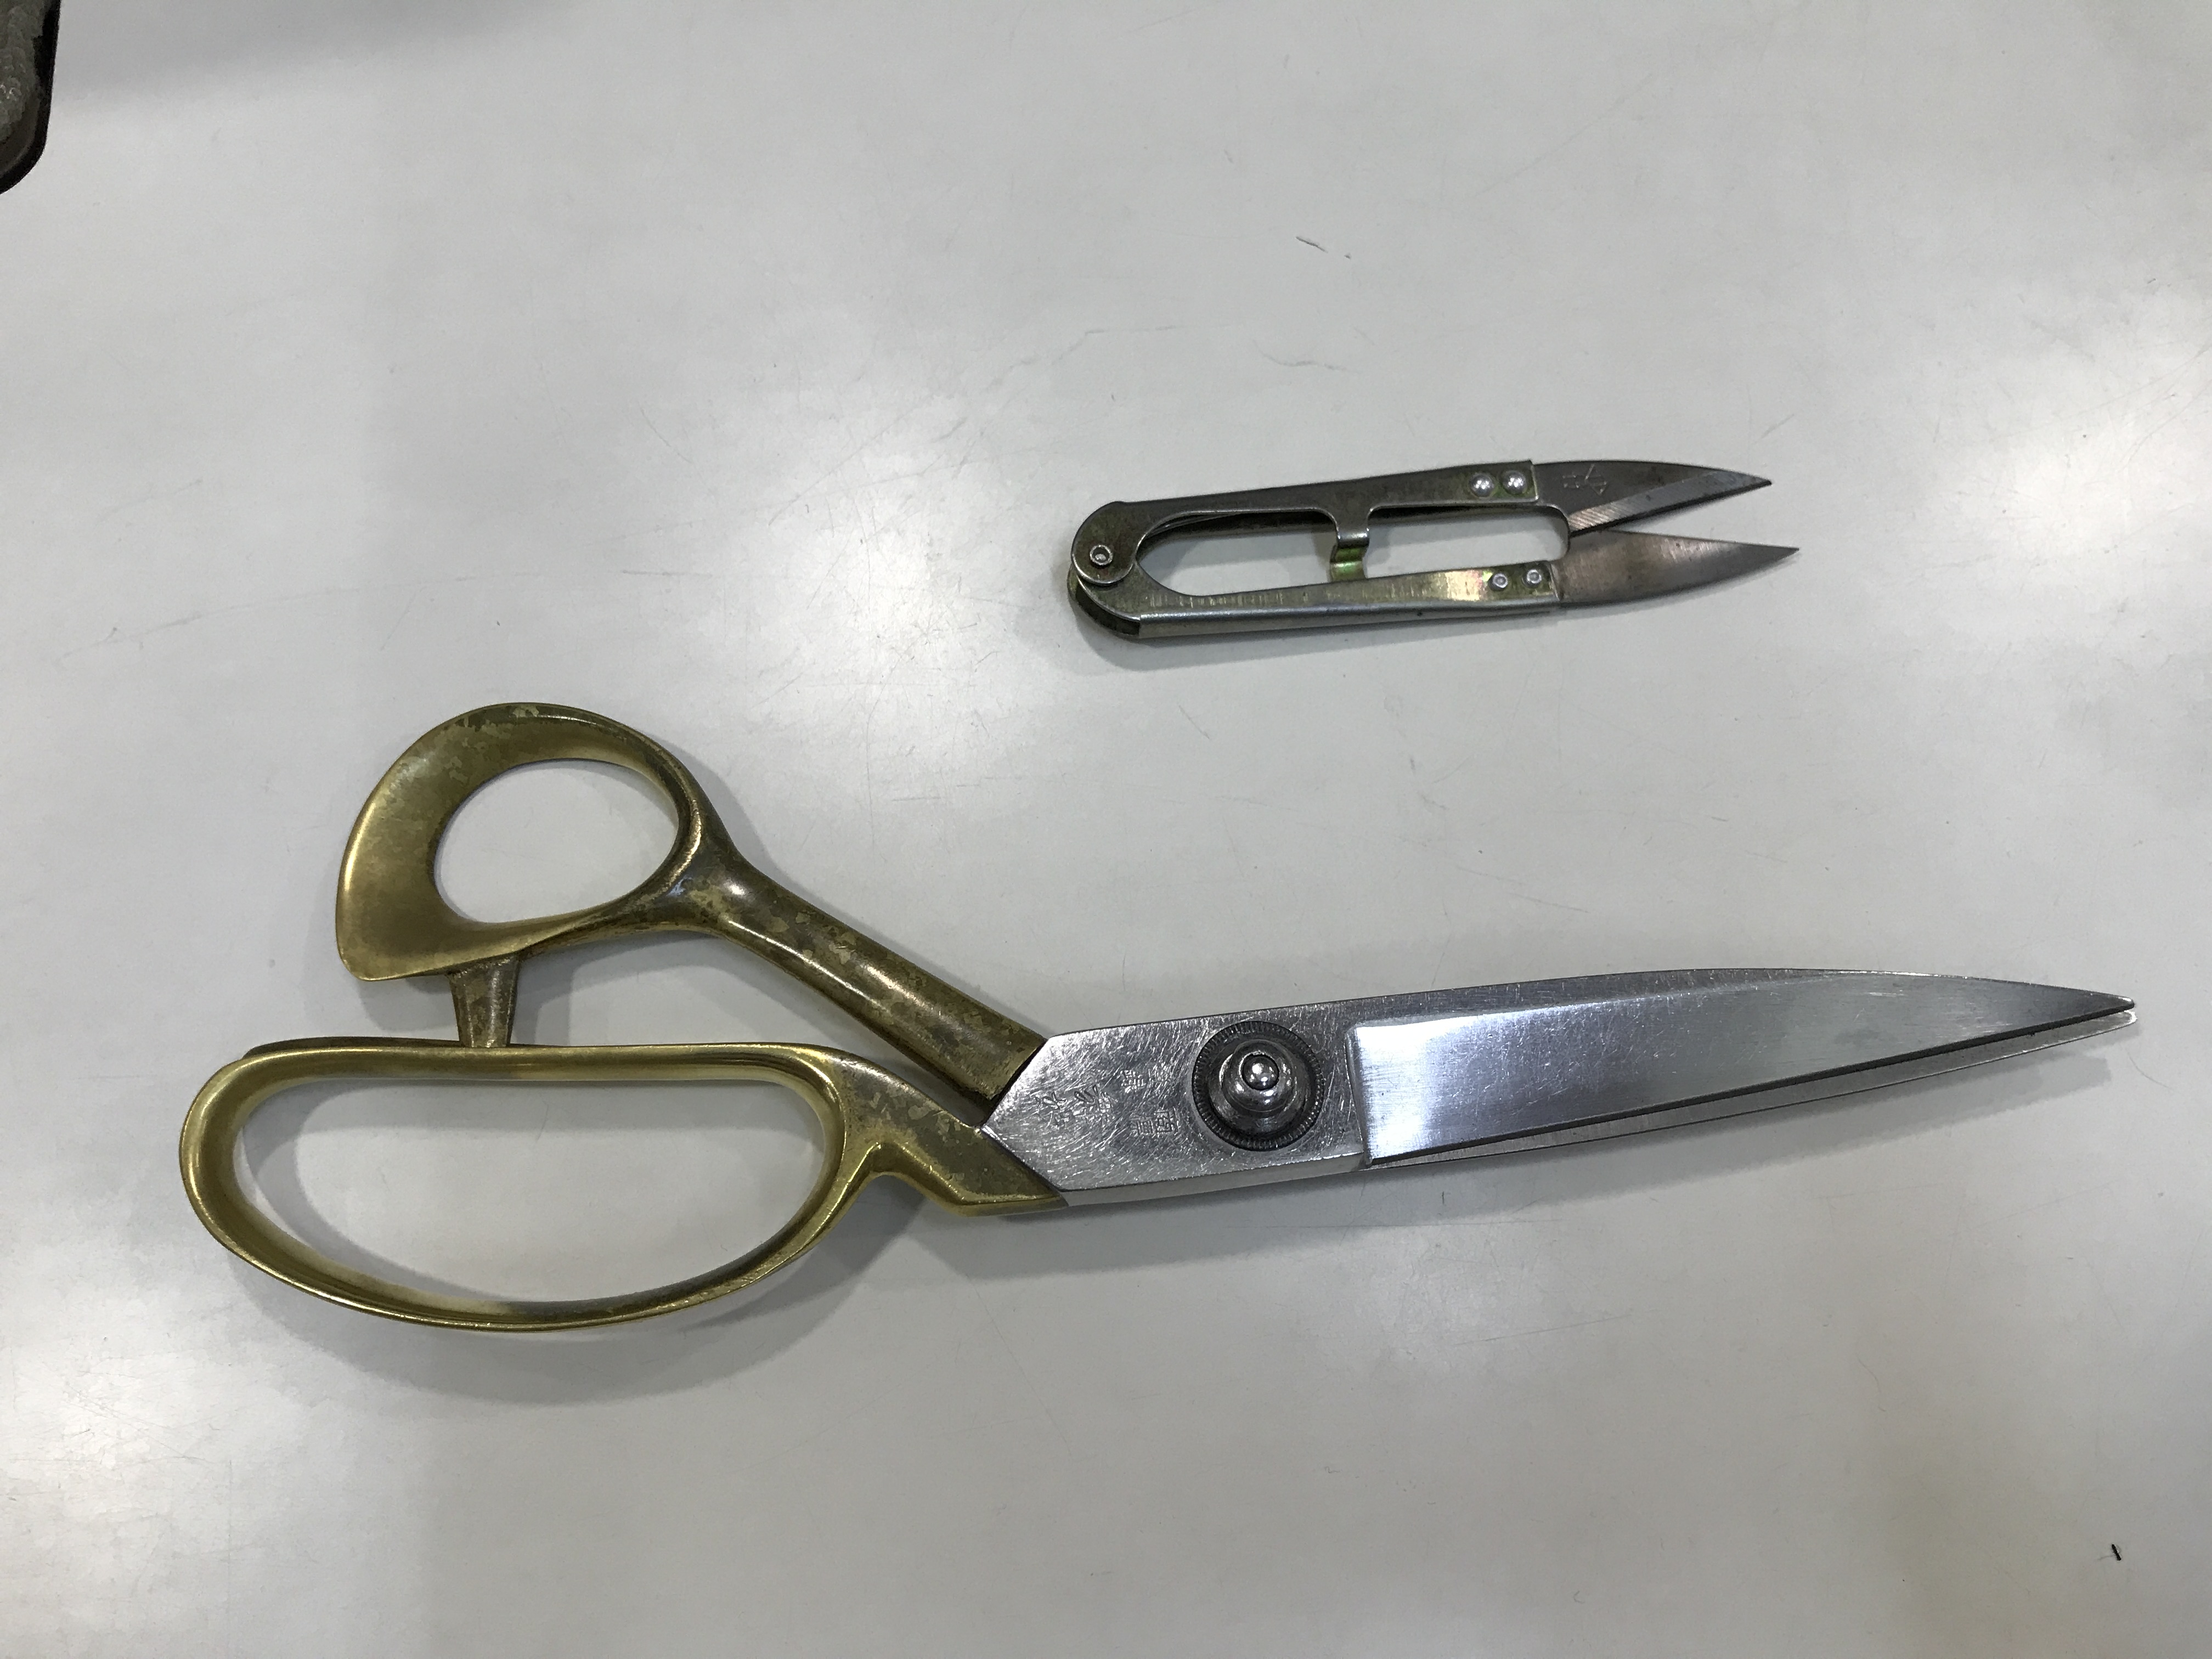
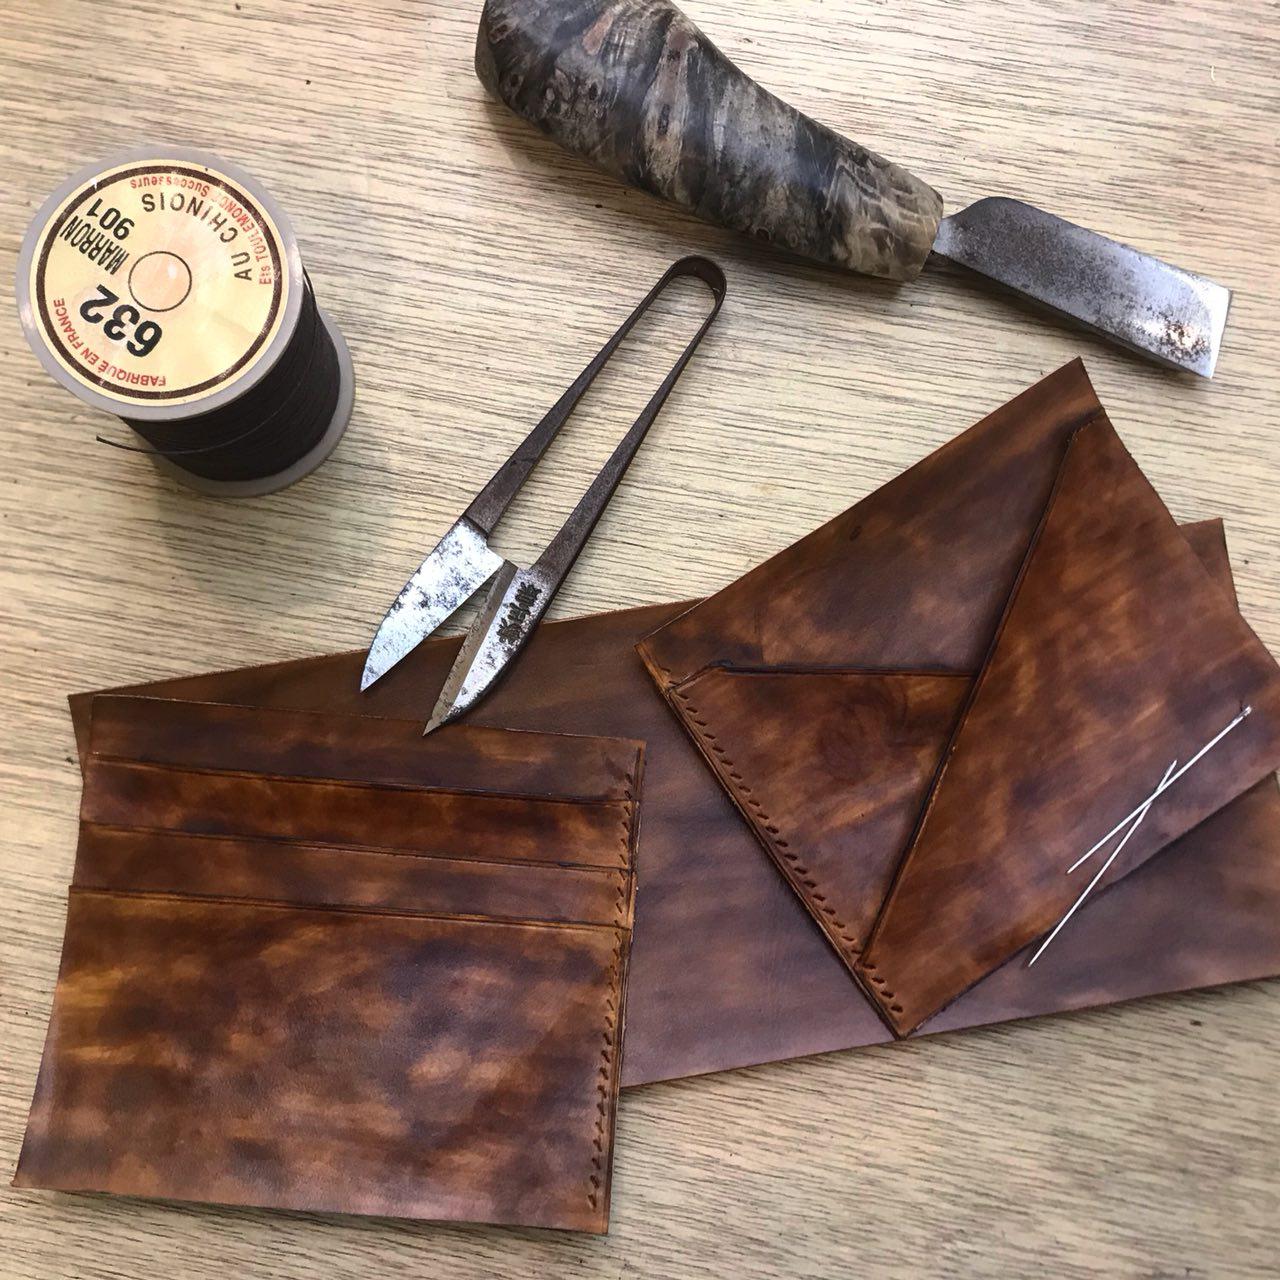
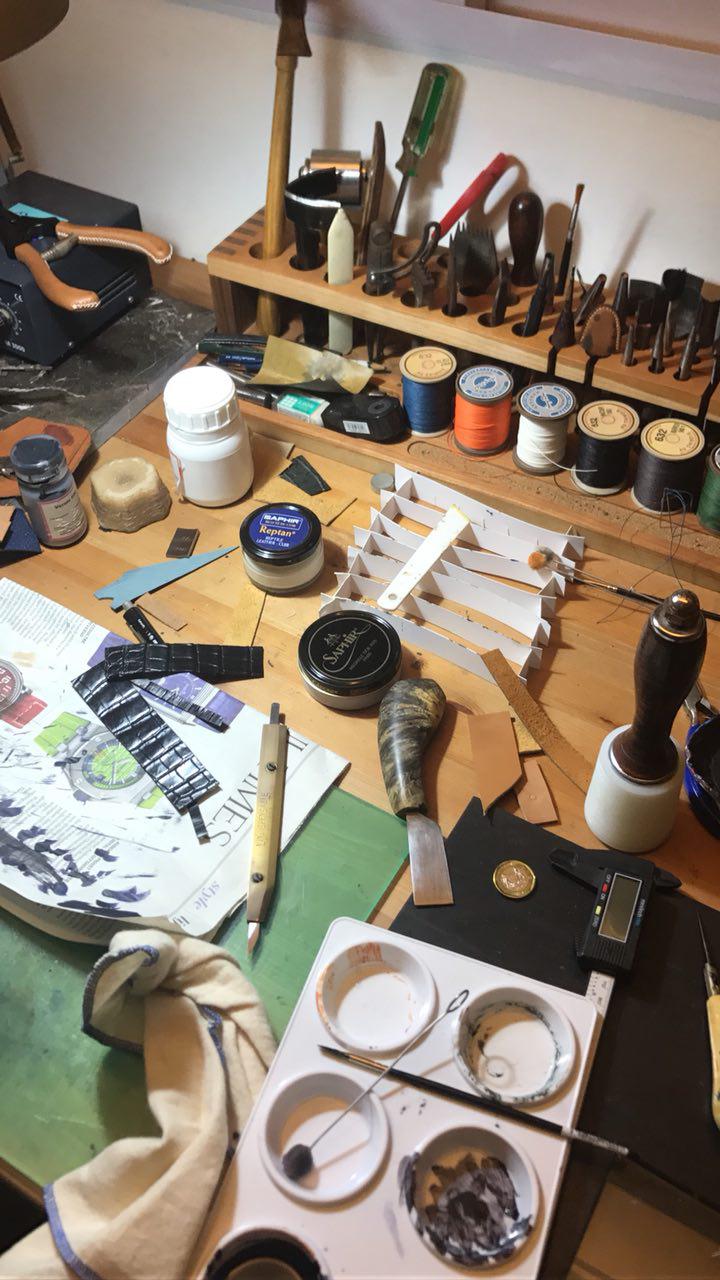
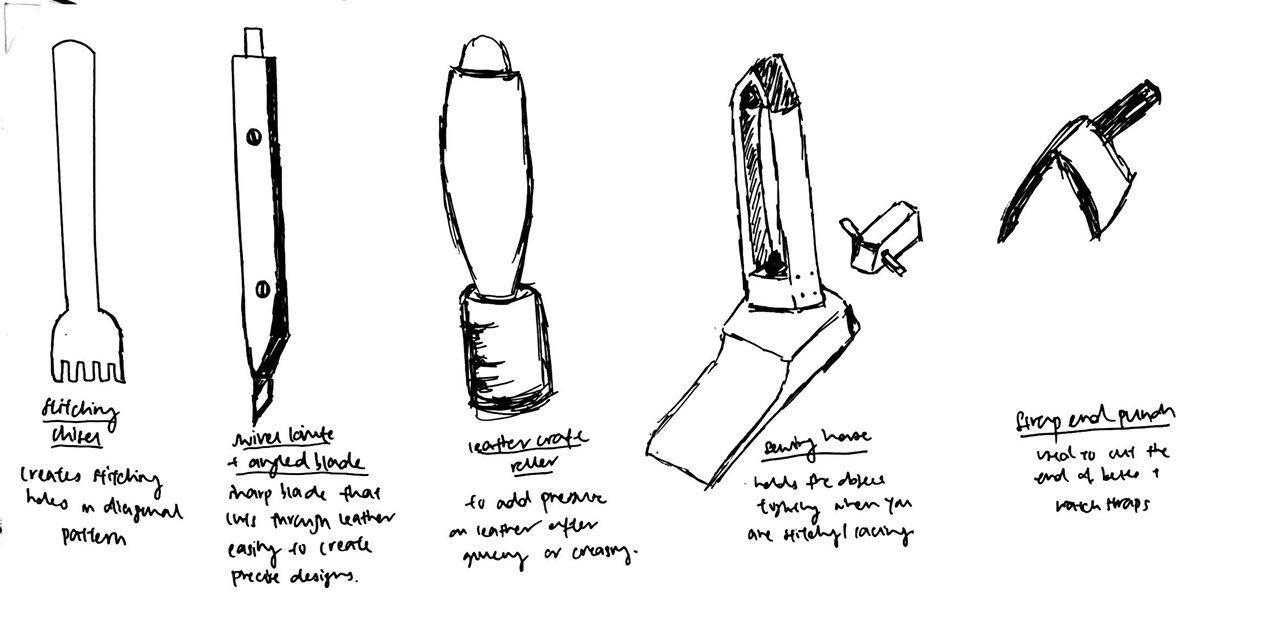
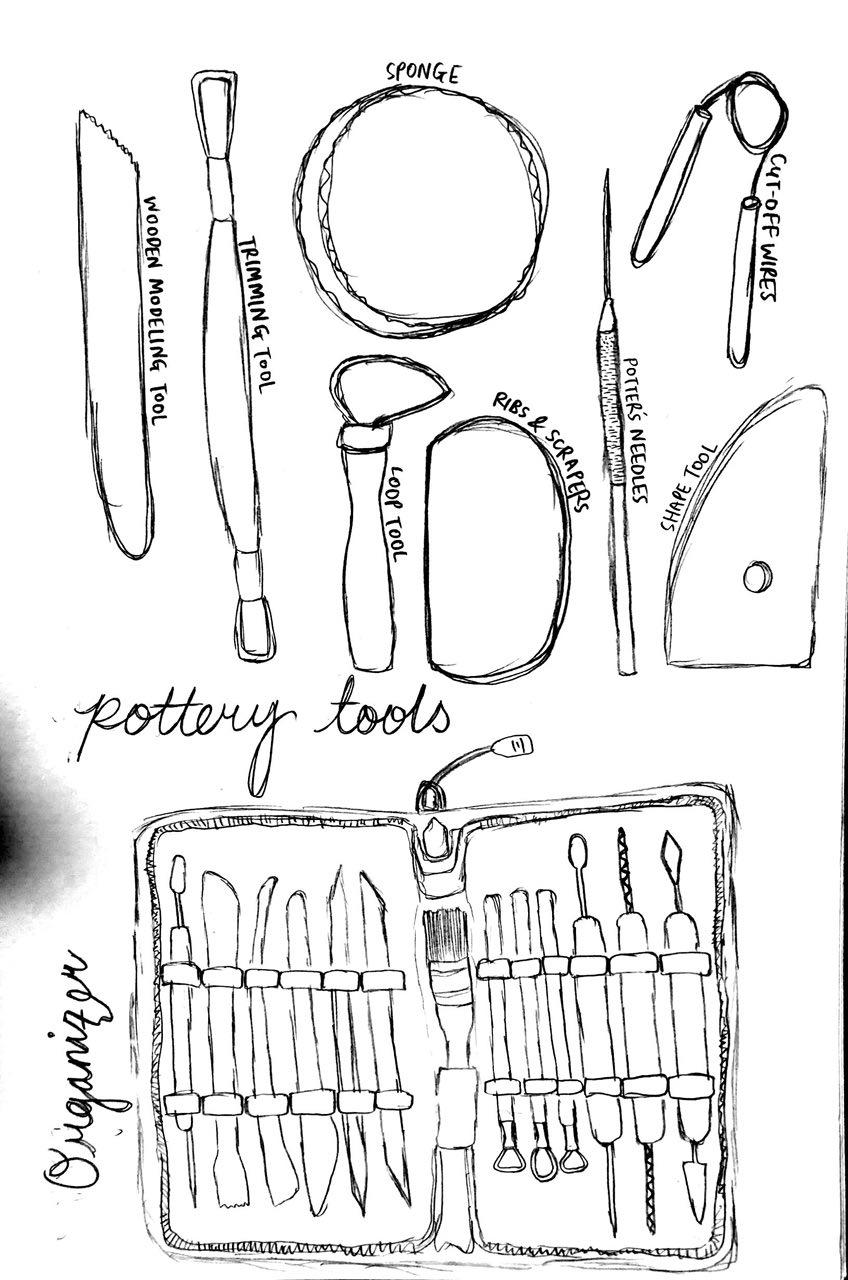
Tools Used
- Wooden Modelling Tool
- Trimming Tool
- Loop Tool
- Sponge
- Ribs and Scrapers
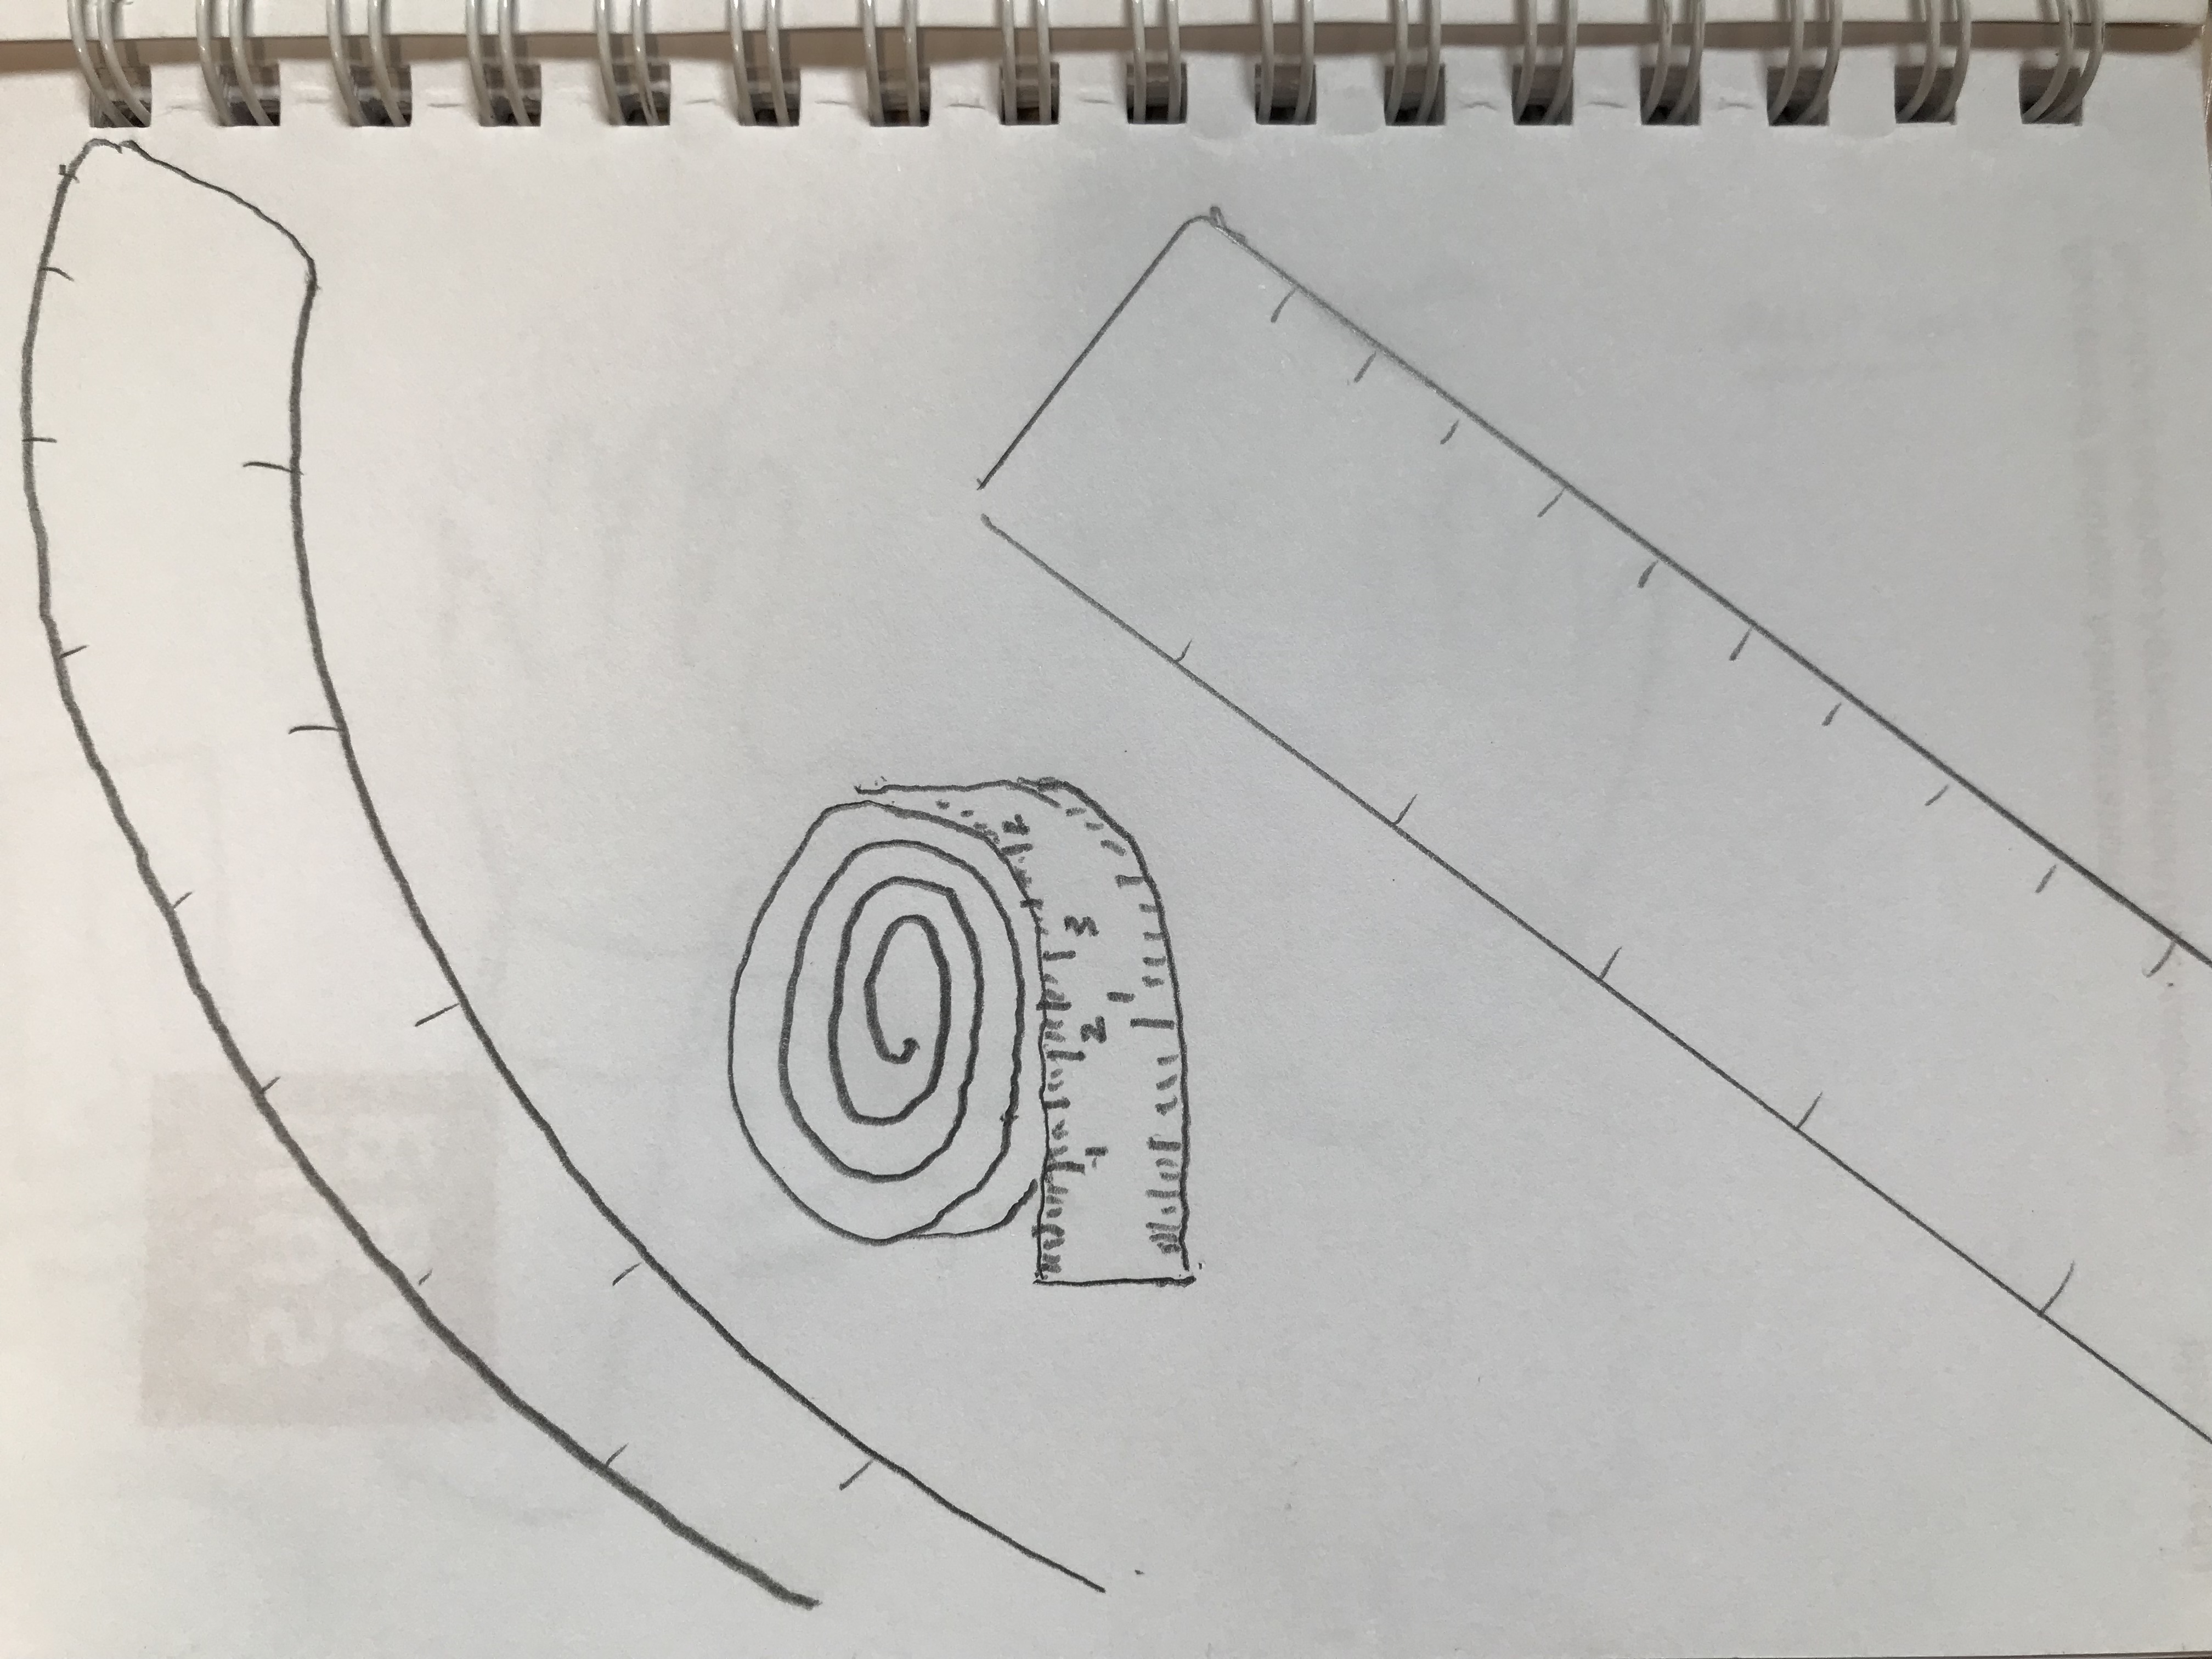
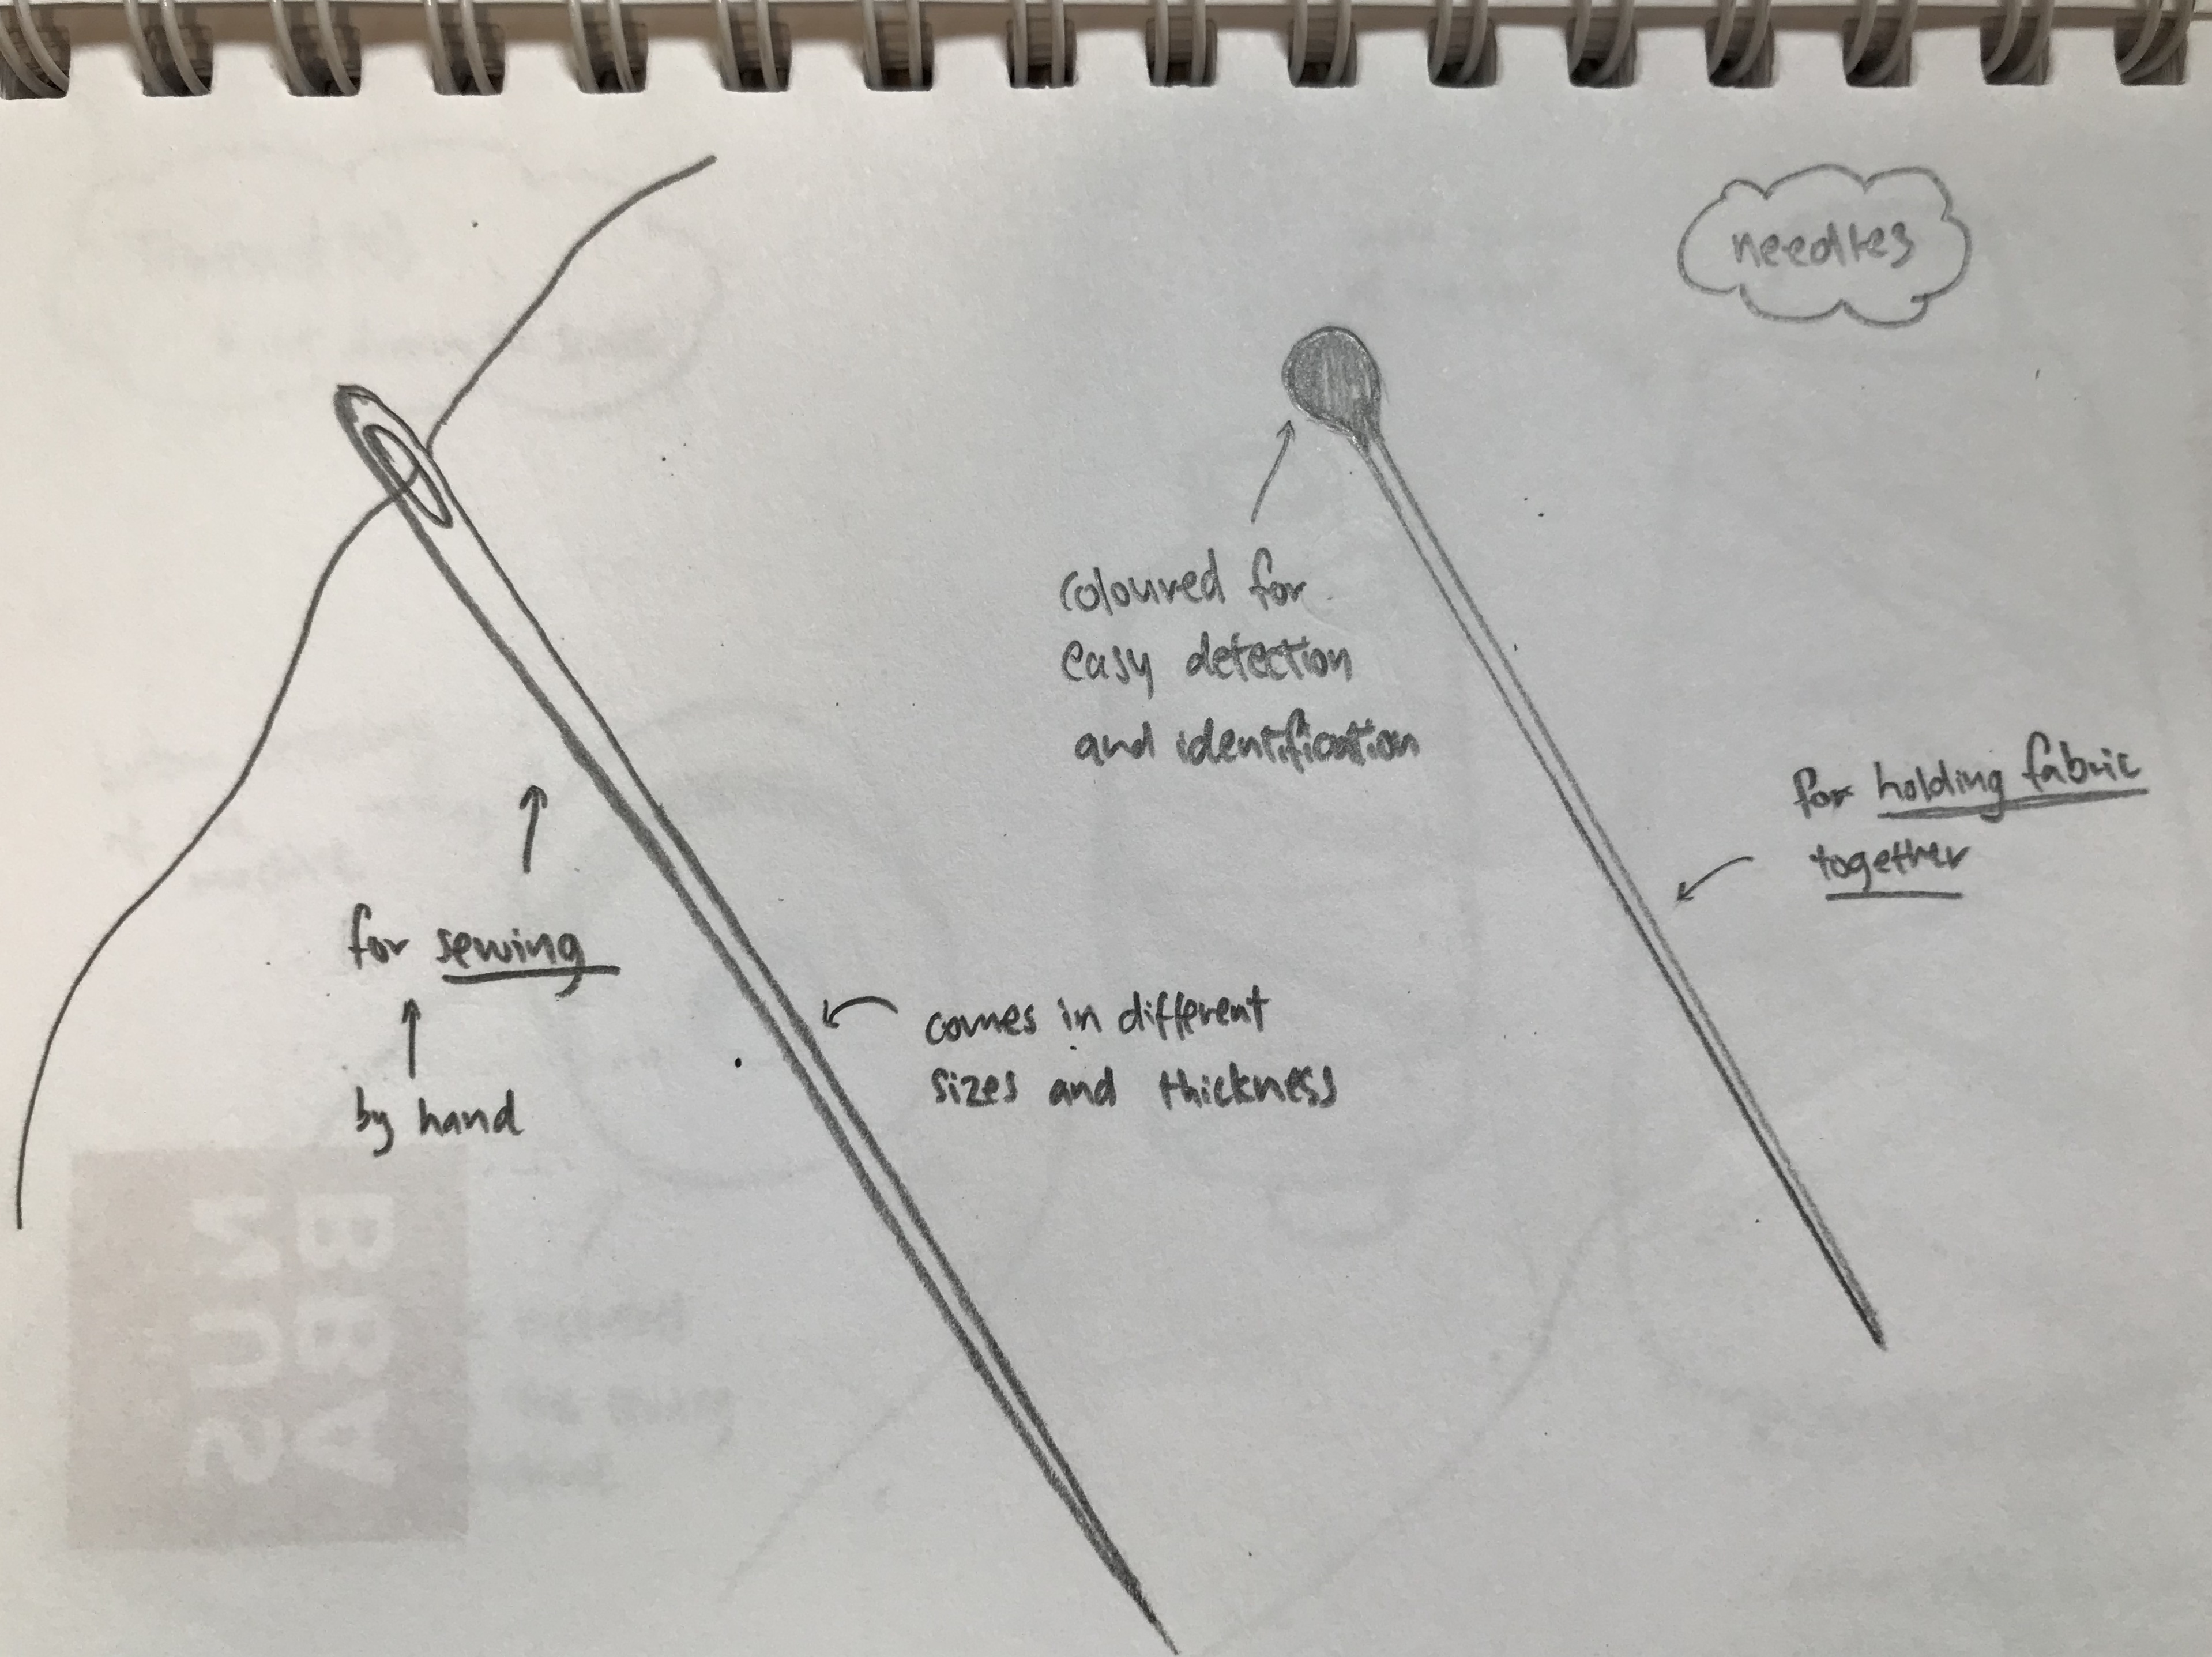
- Potter’s Needles
- Shape Tool
- Cut-Off Wires
- An organiser
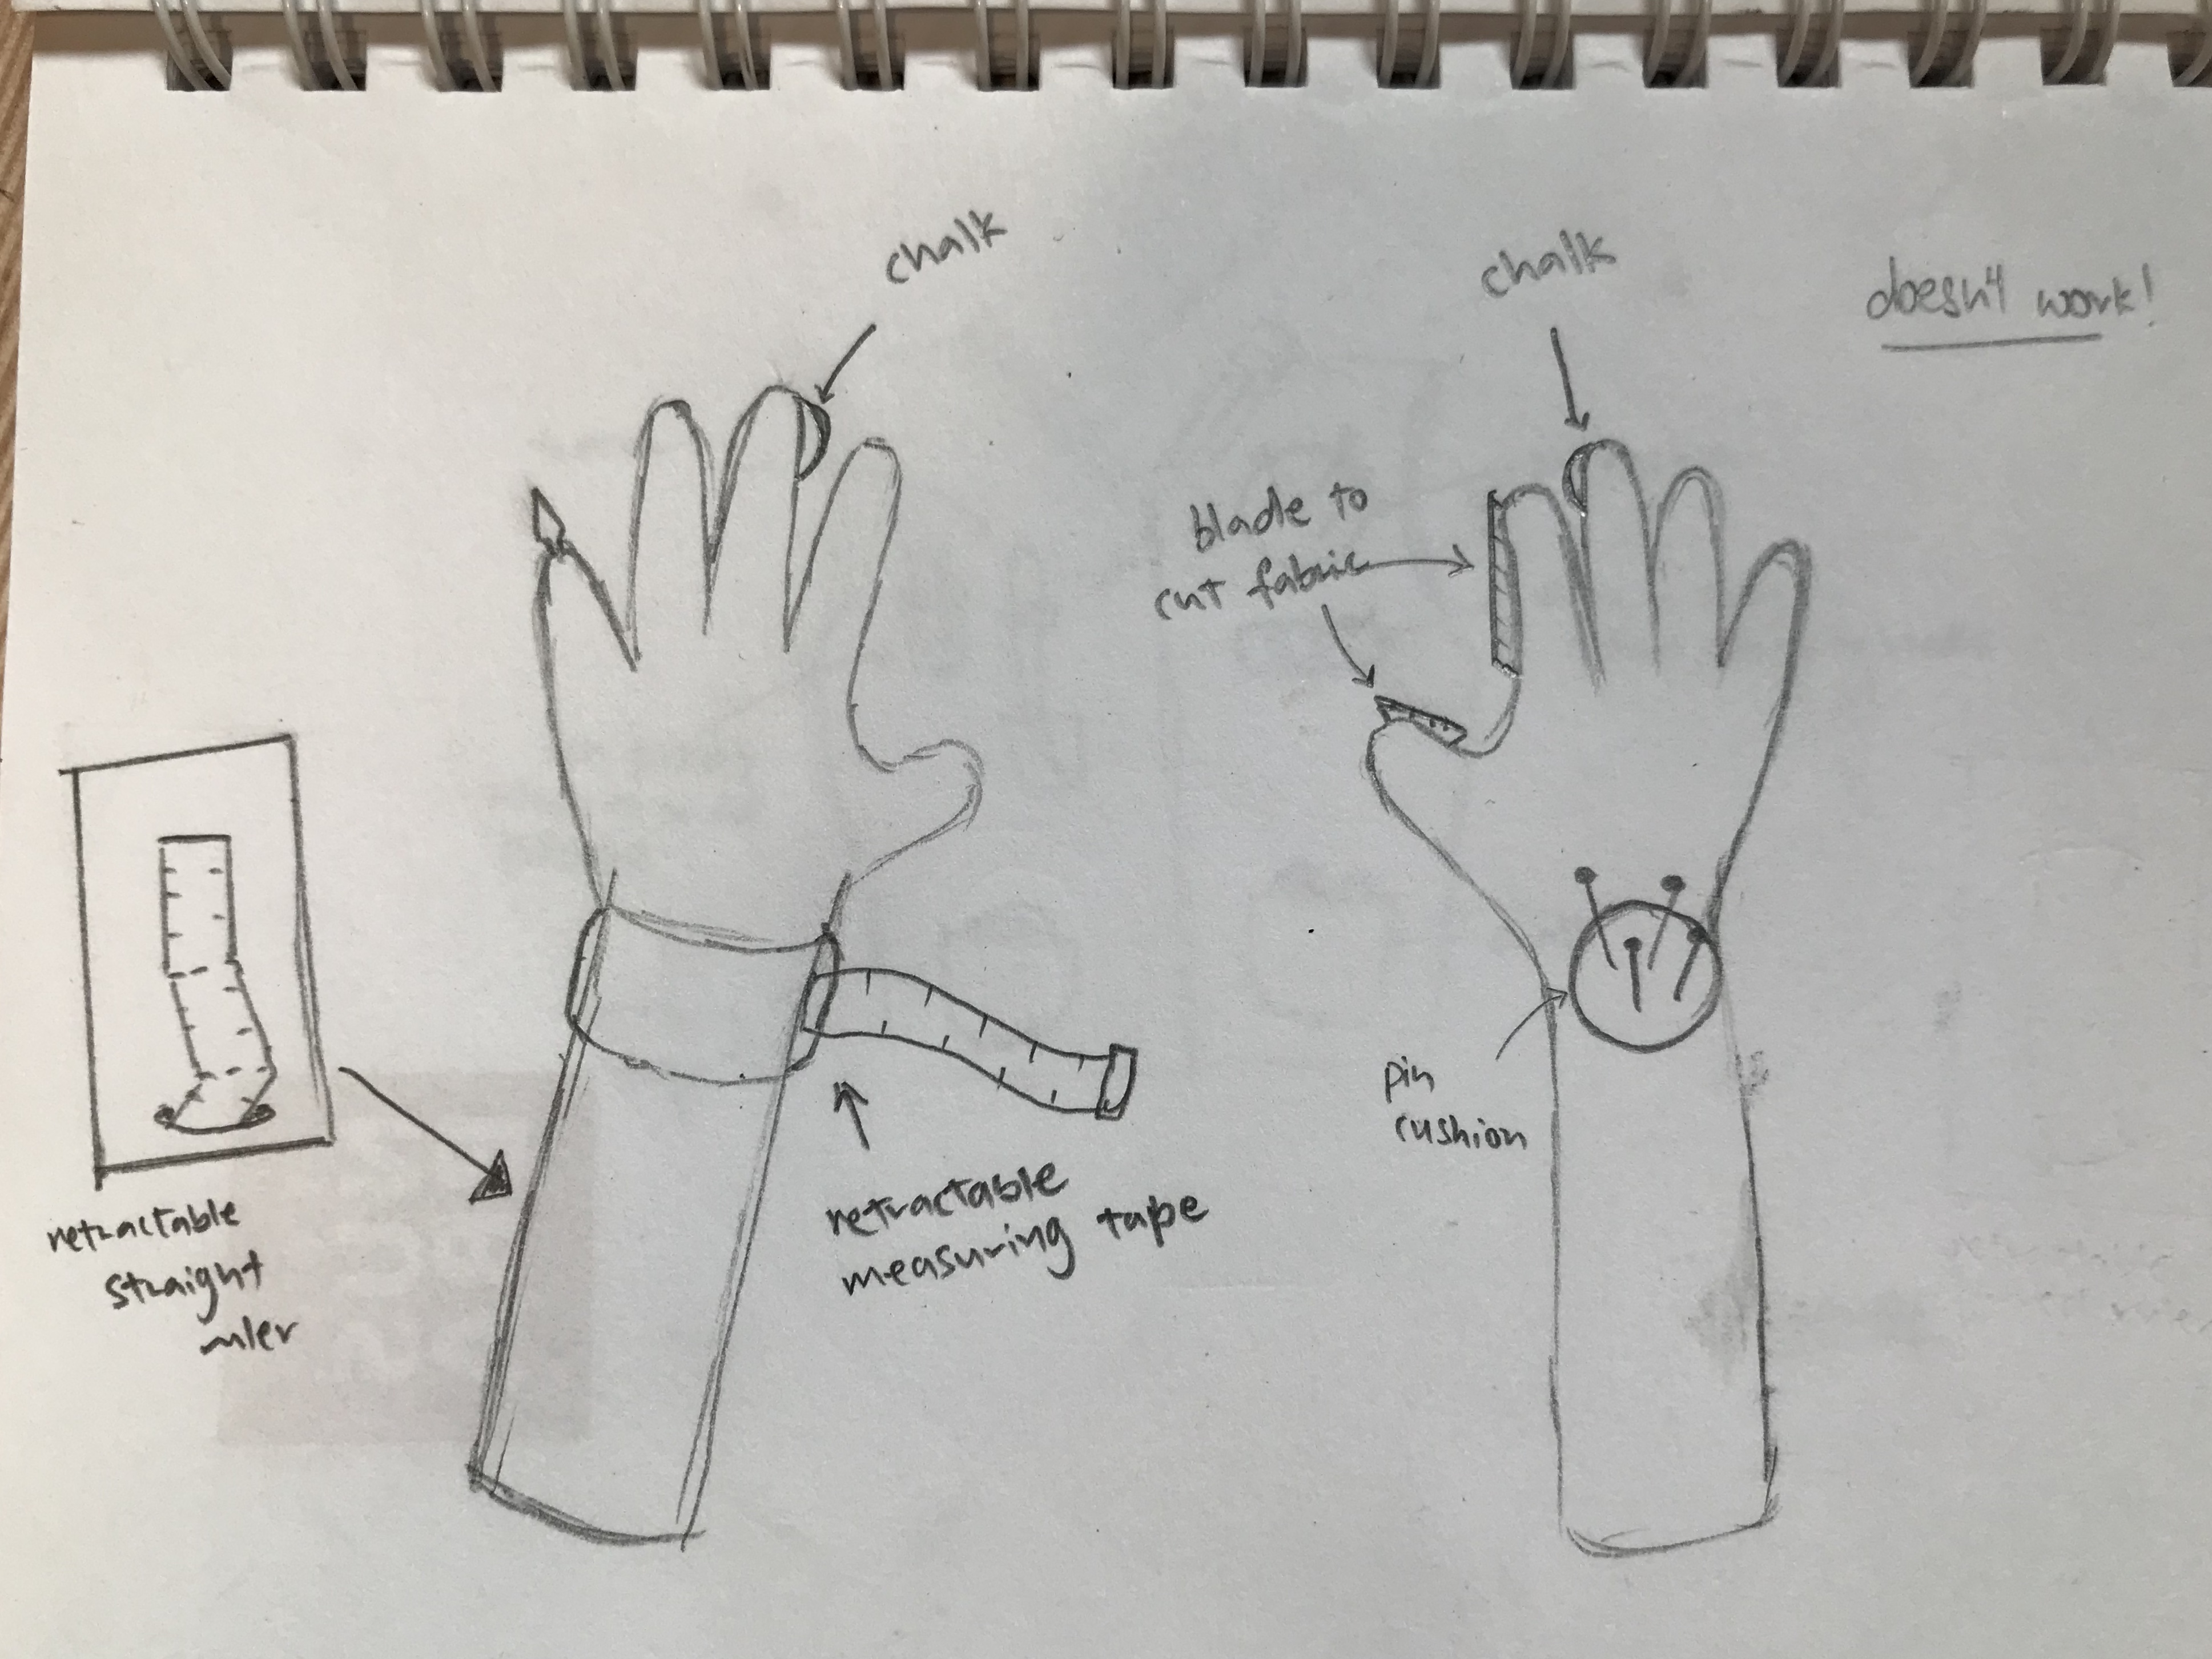
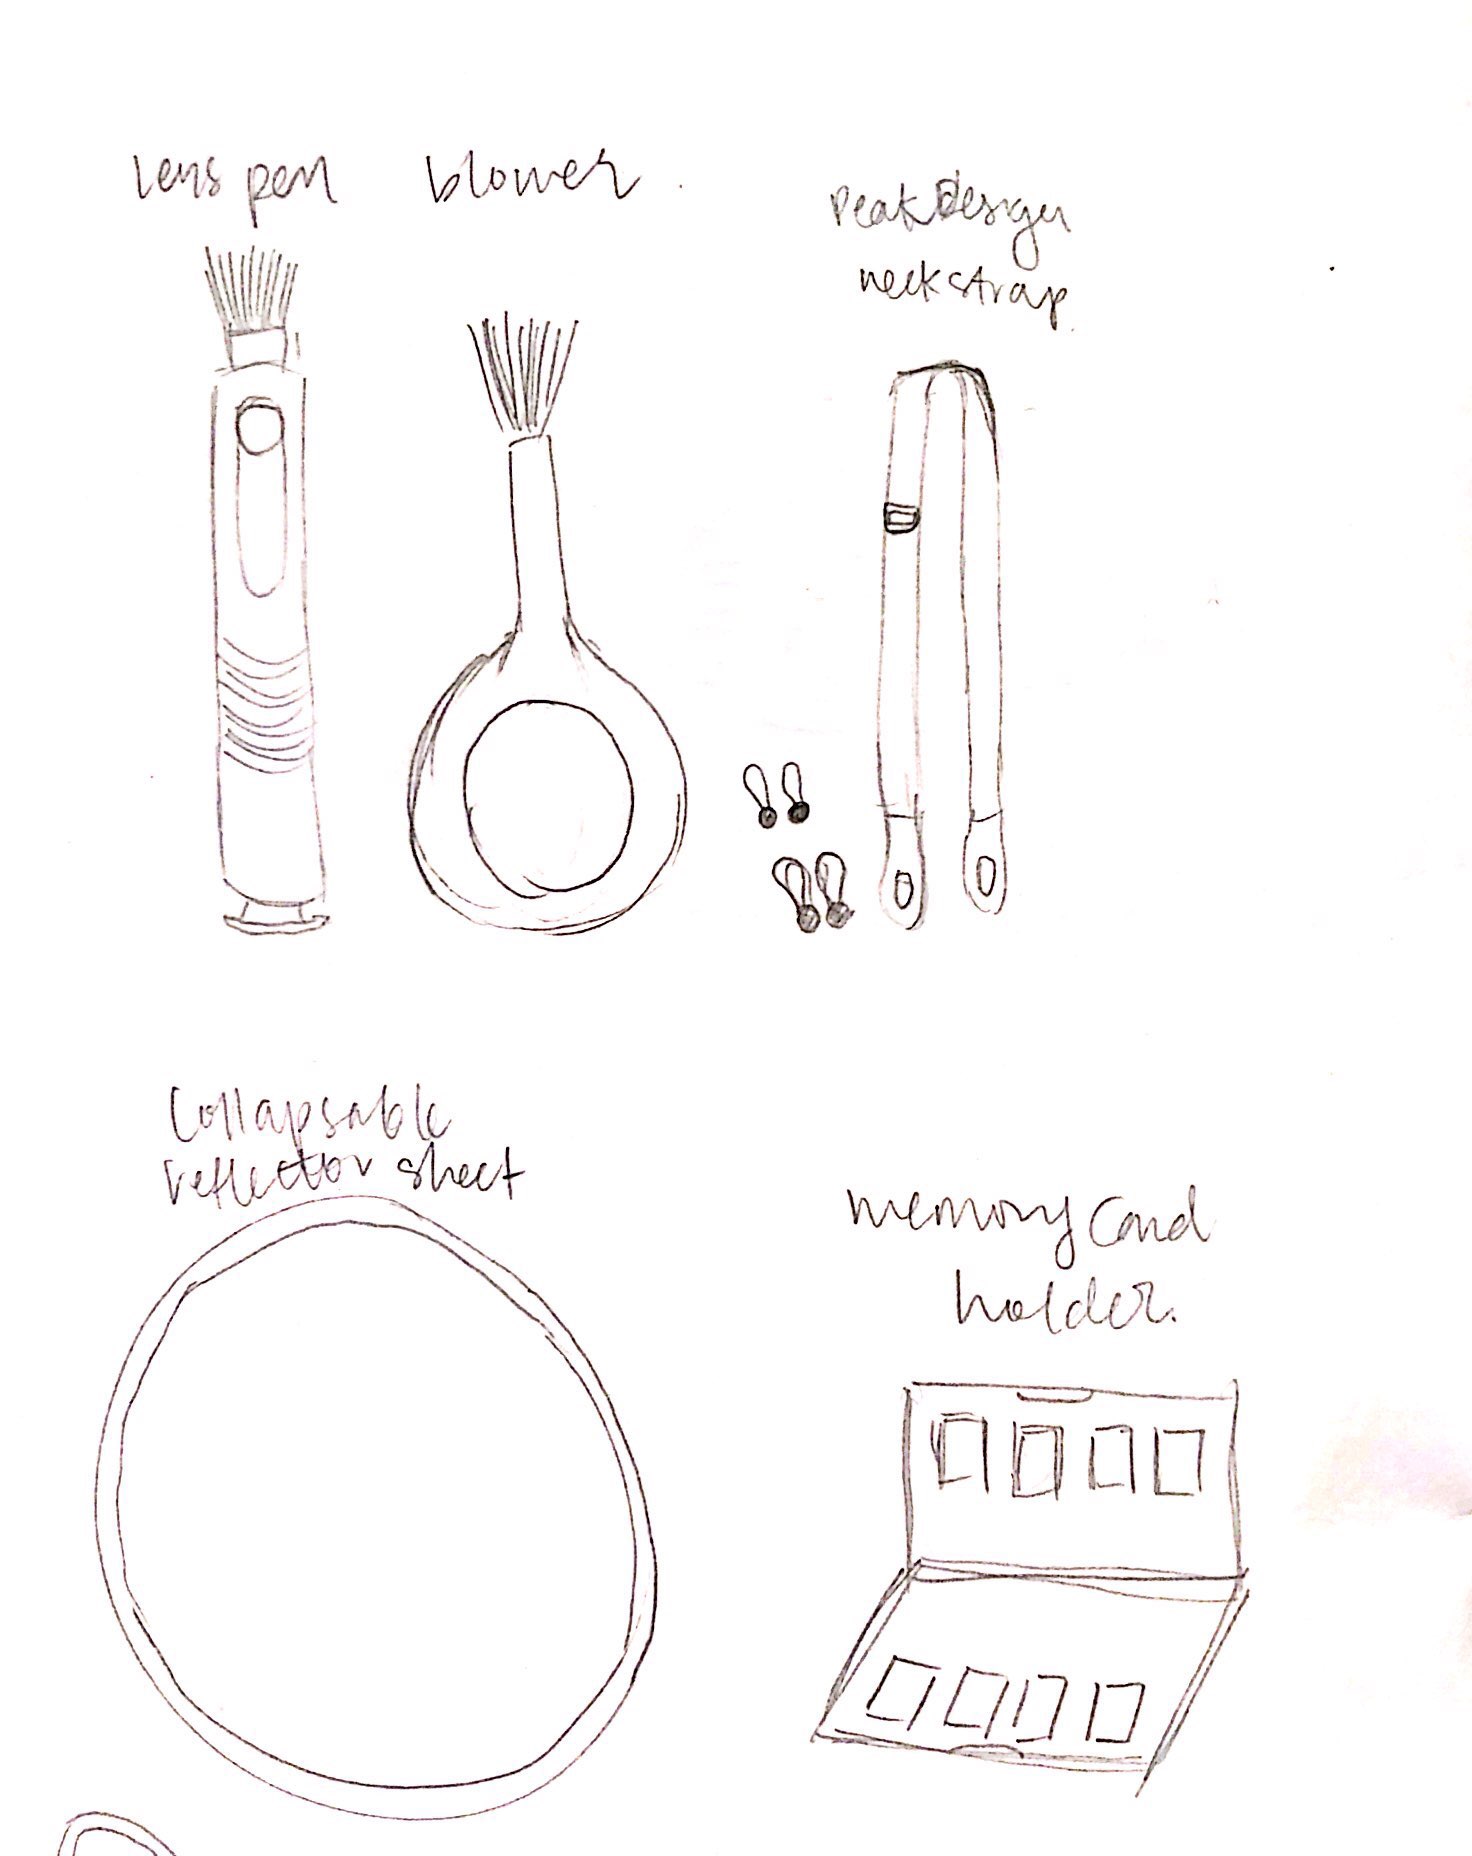
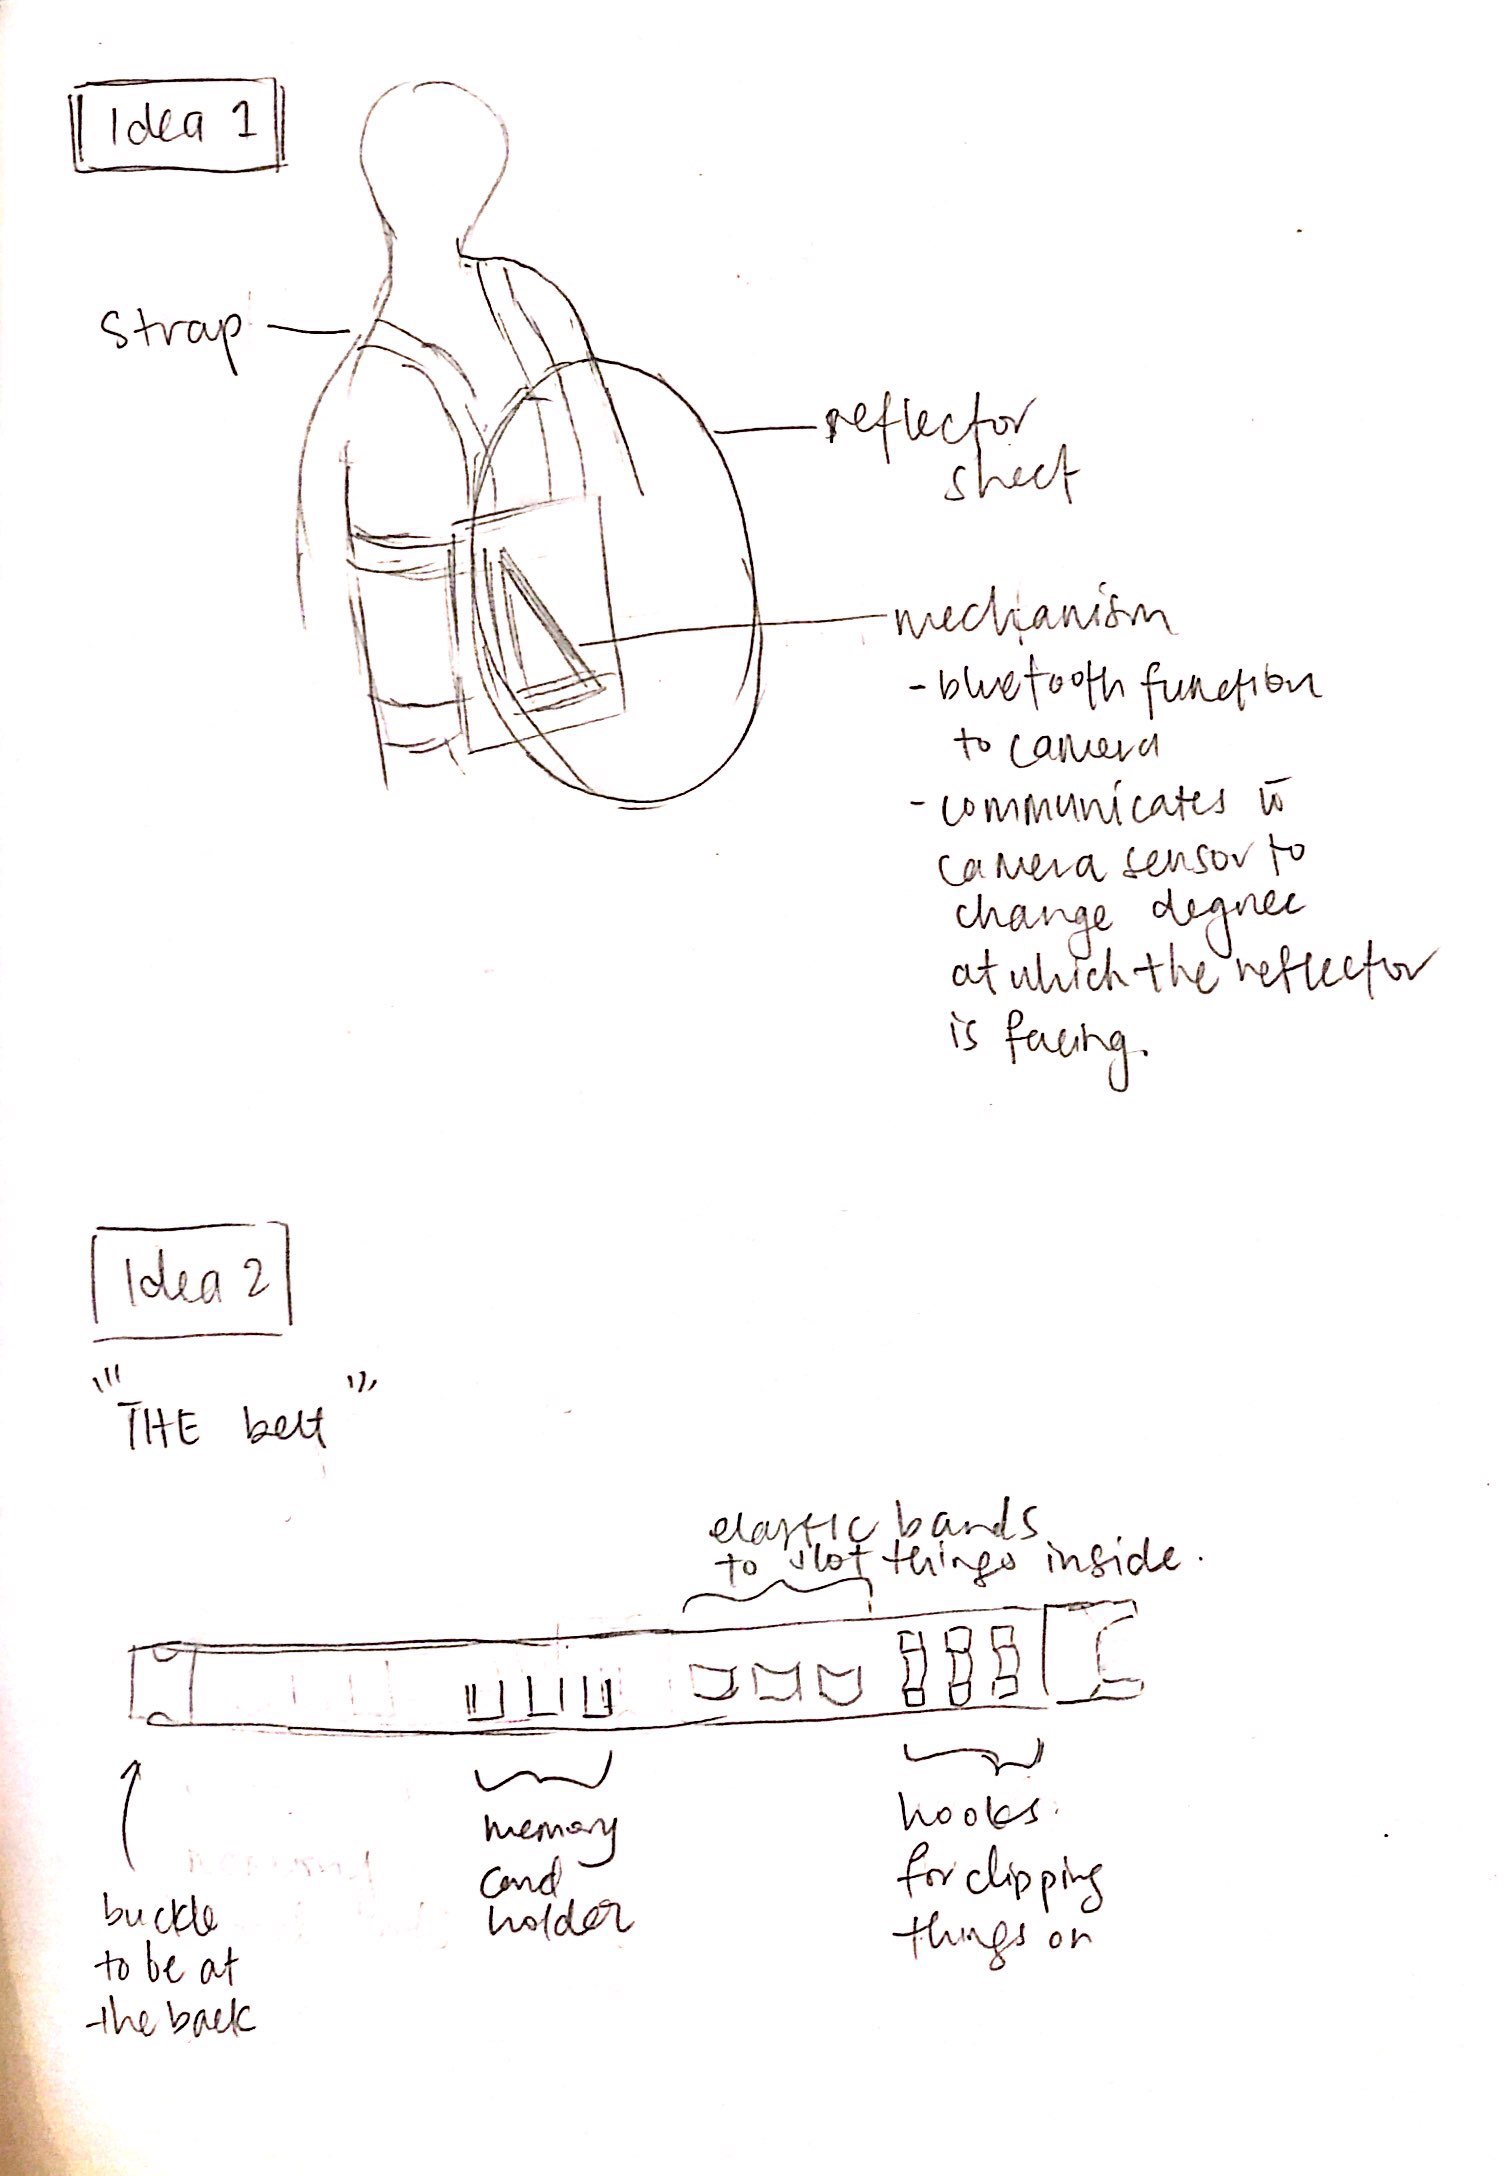
Ideation for Prototype
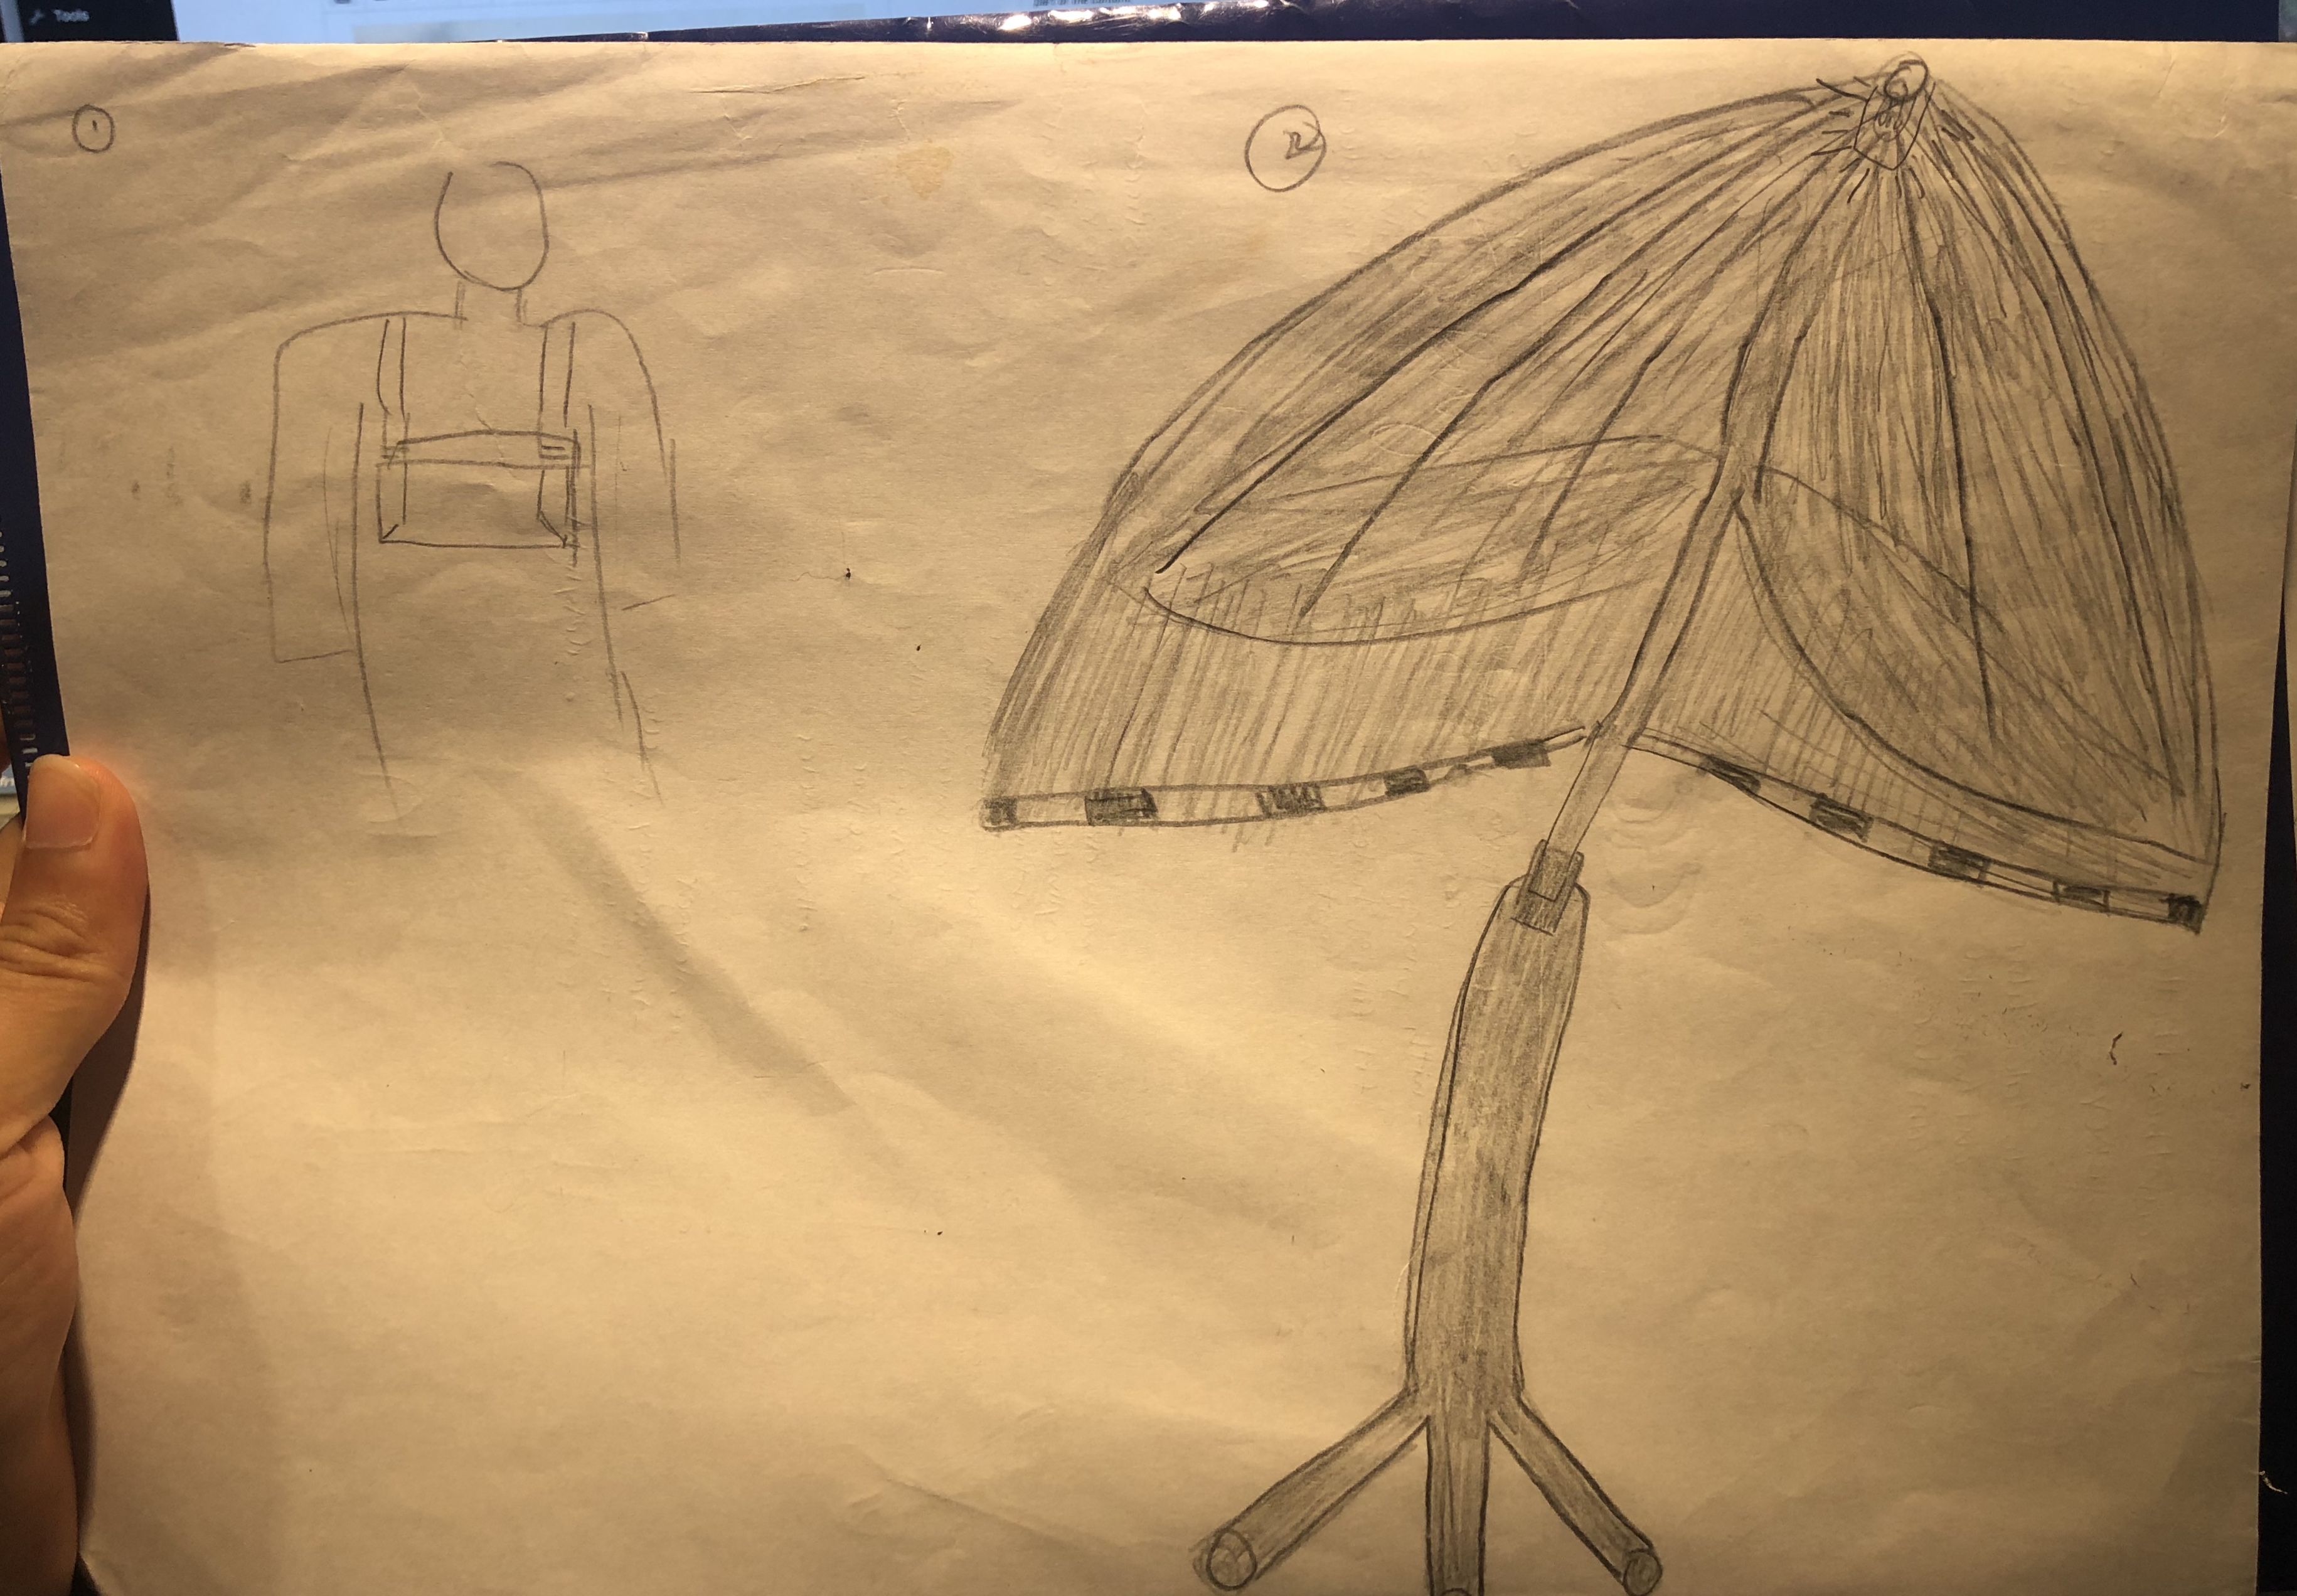
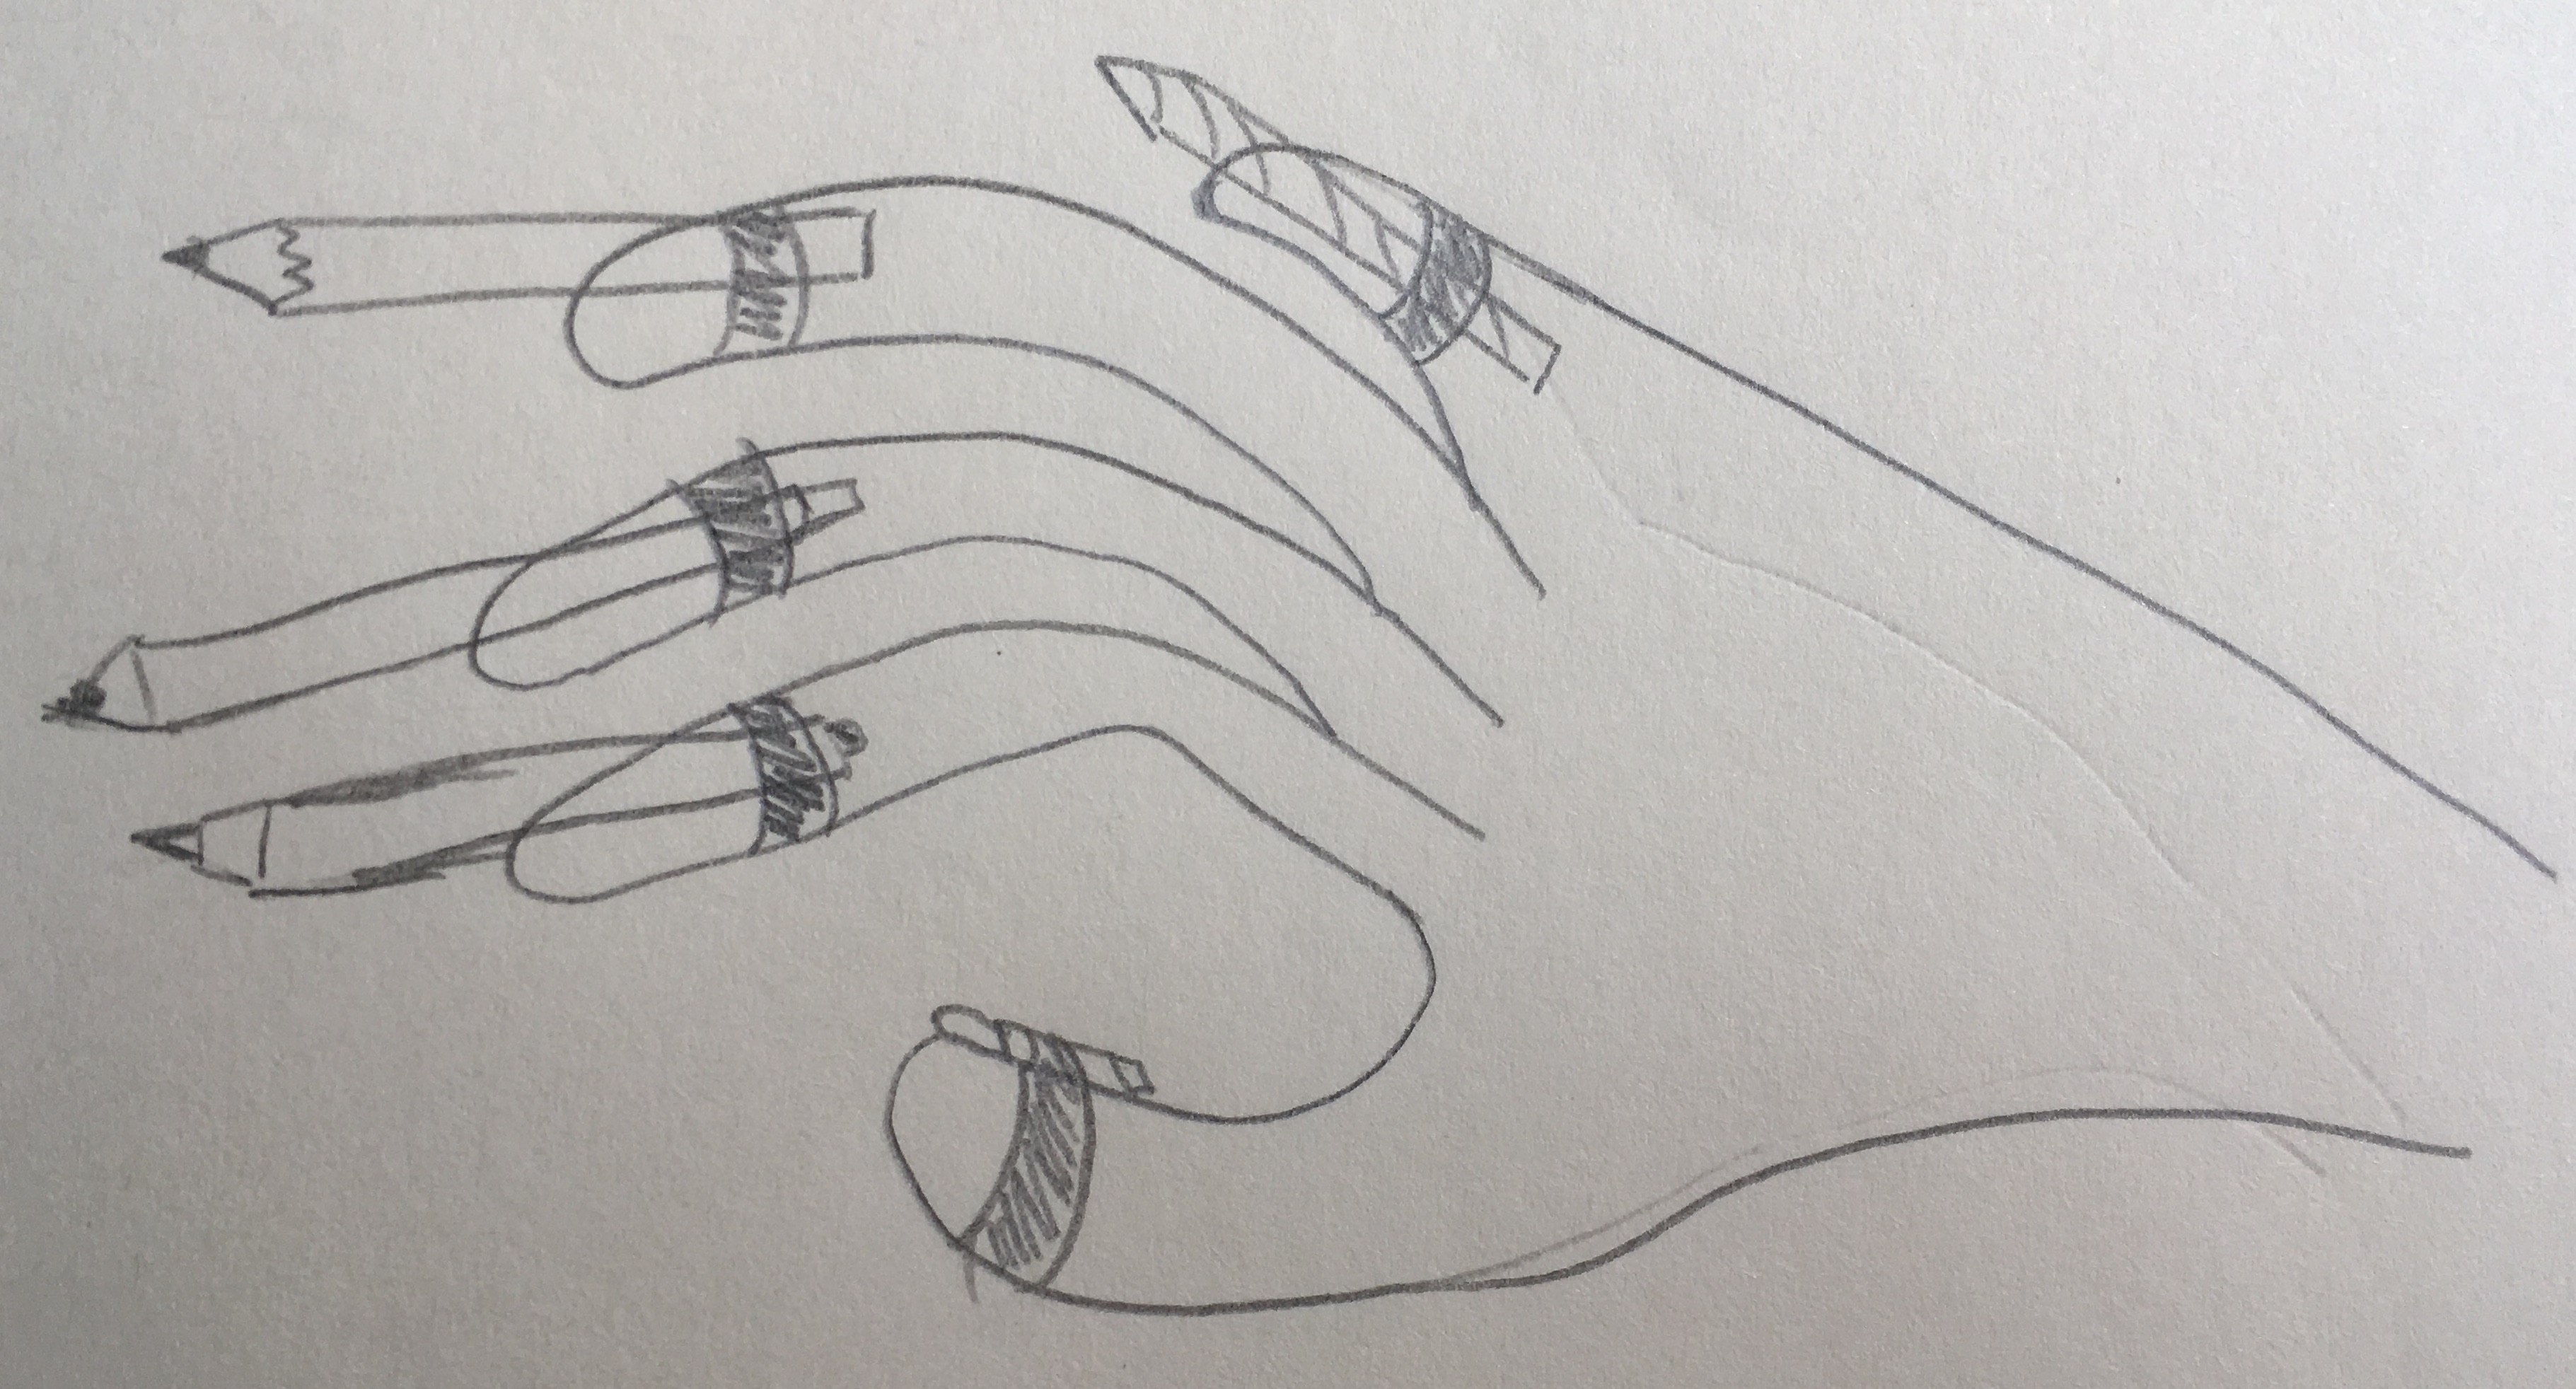
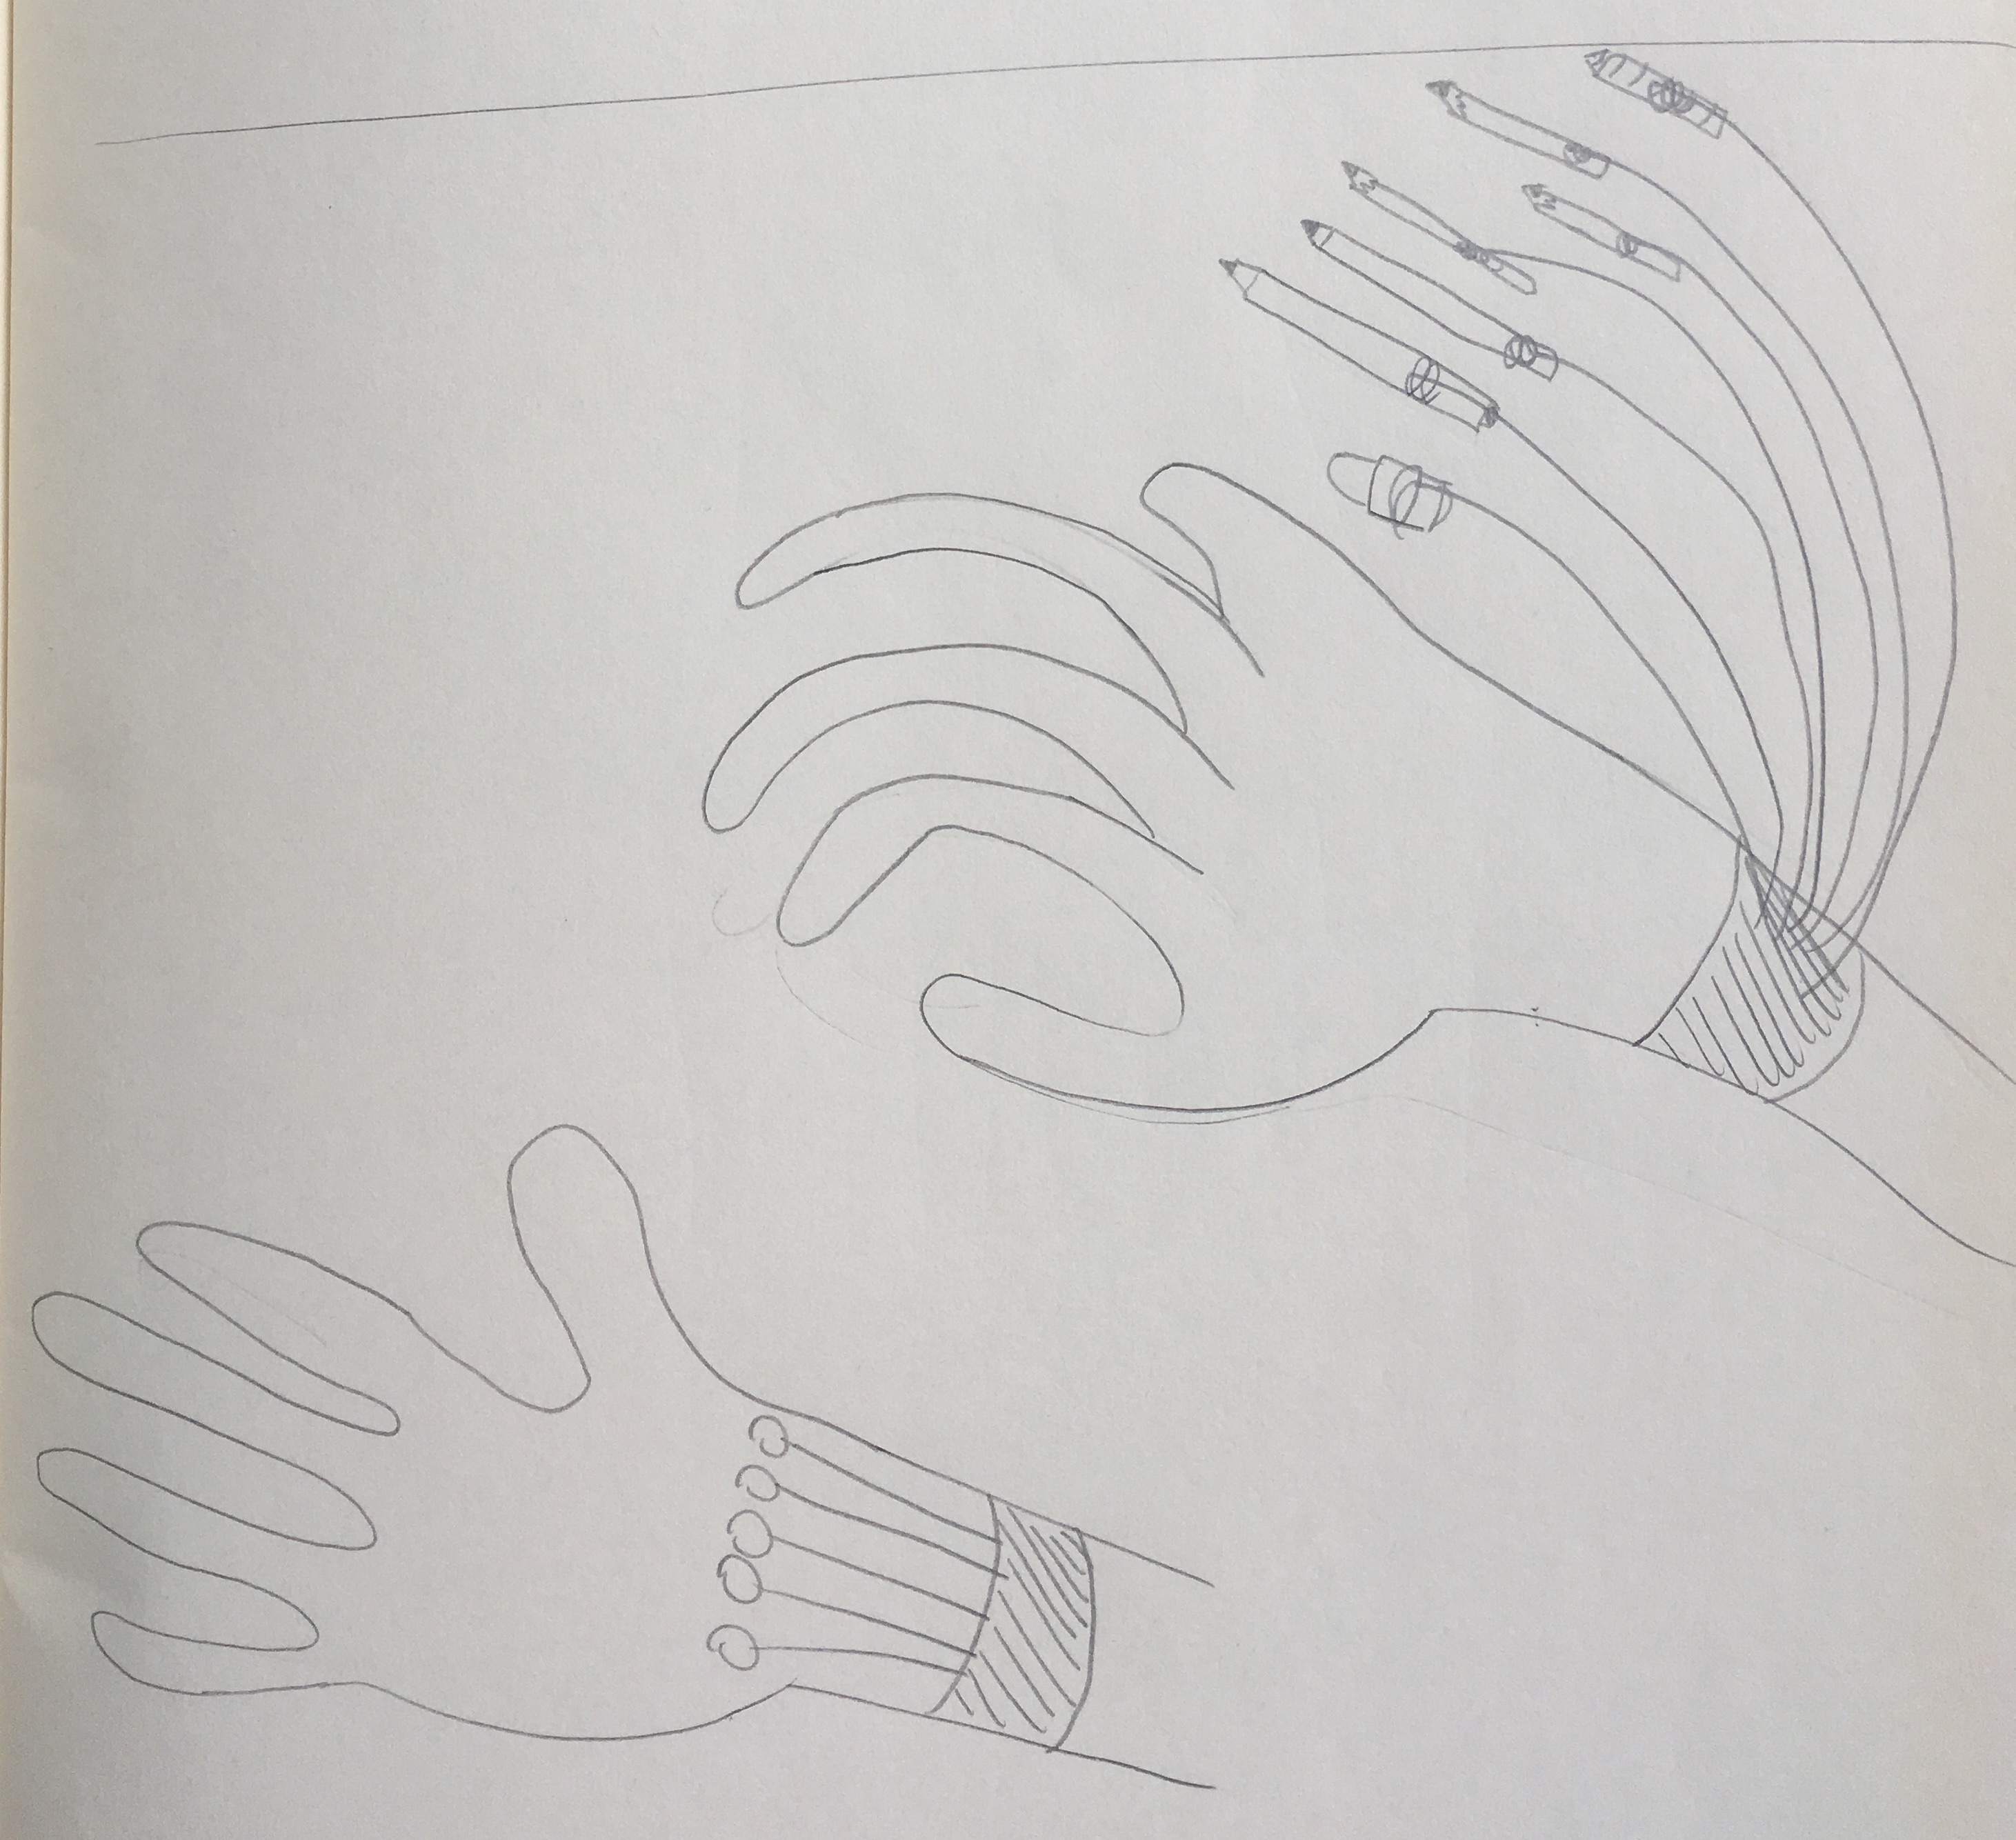
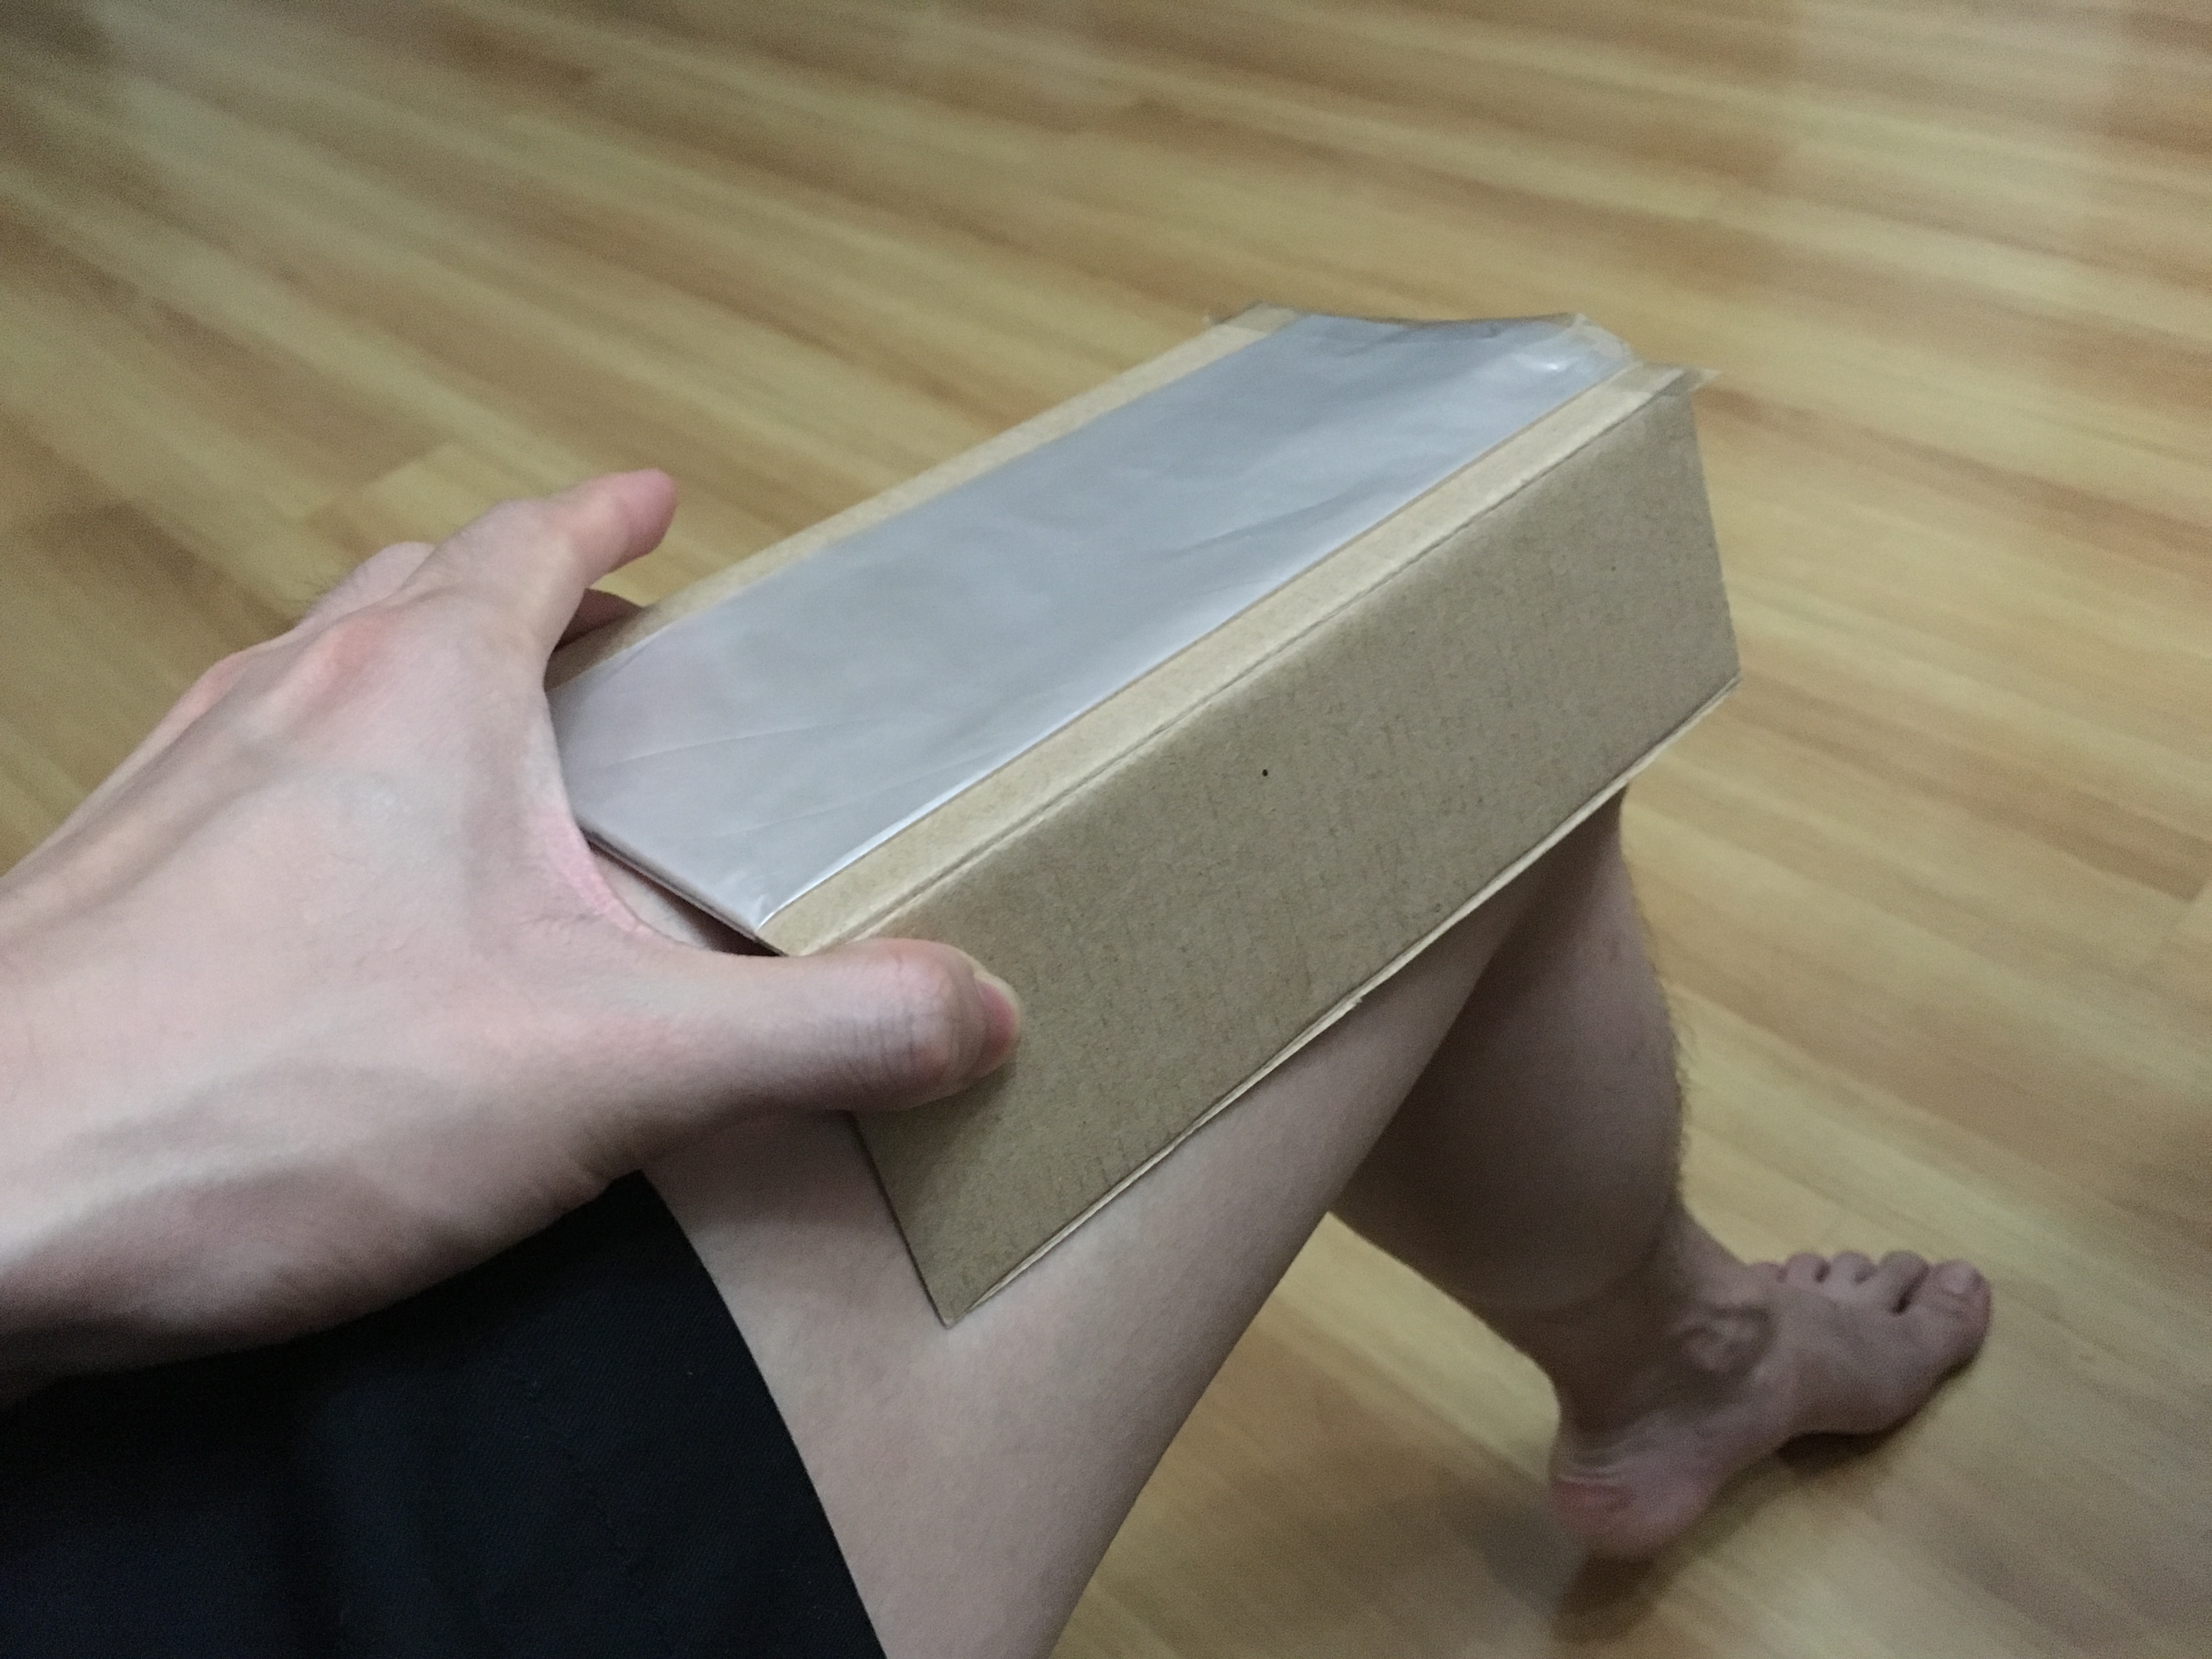
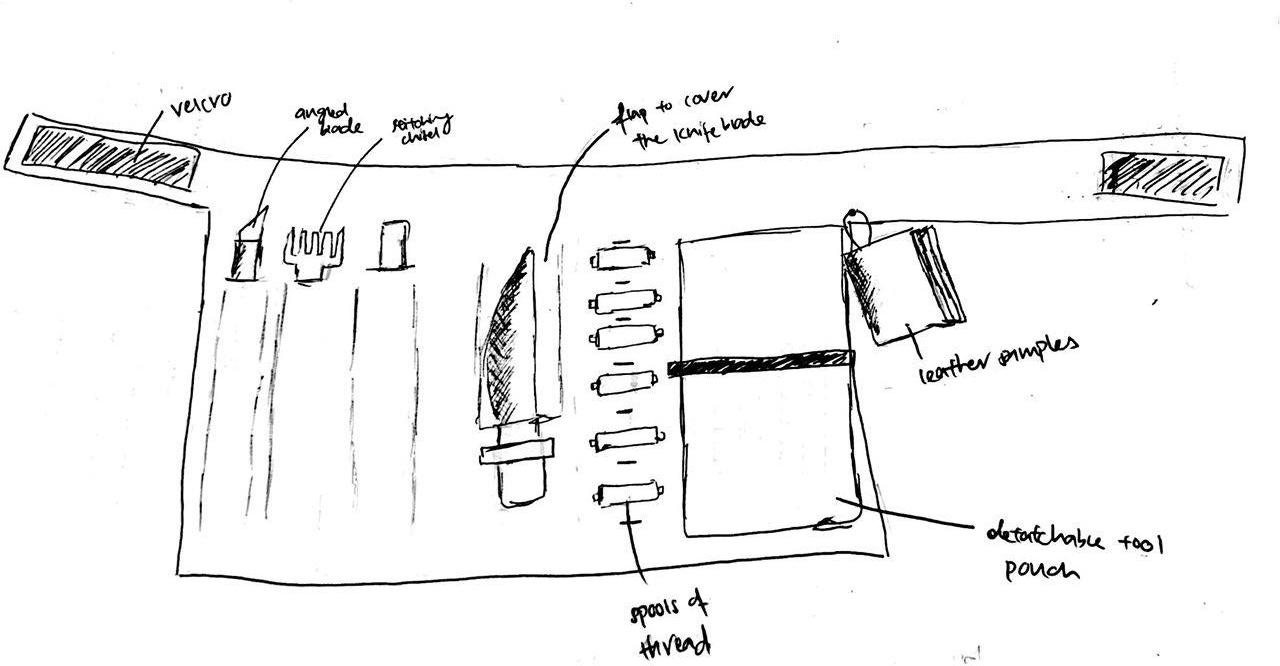
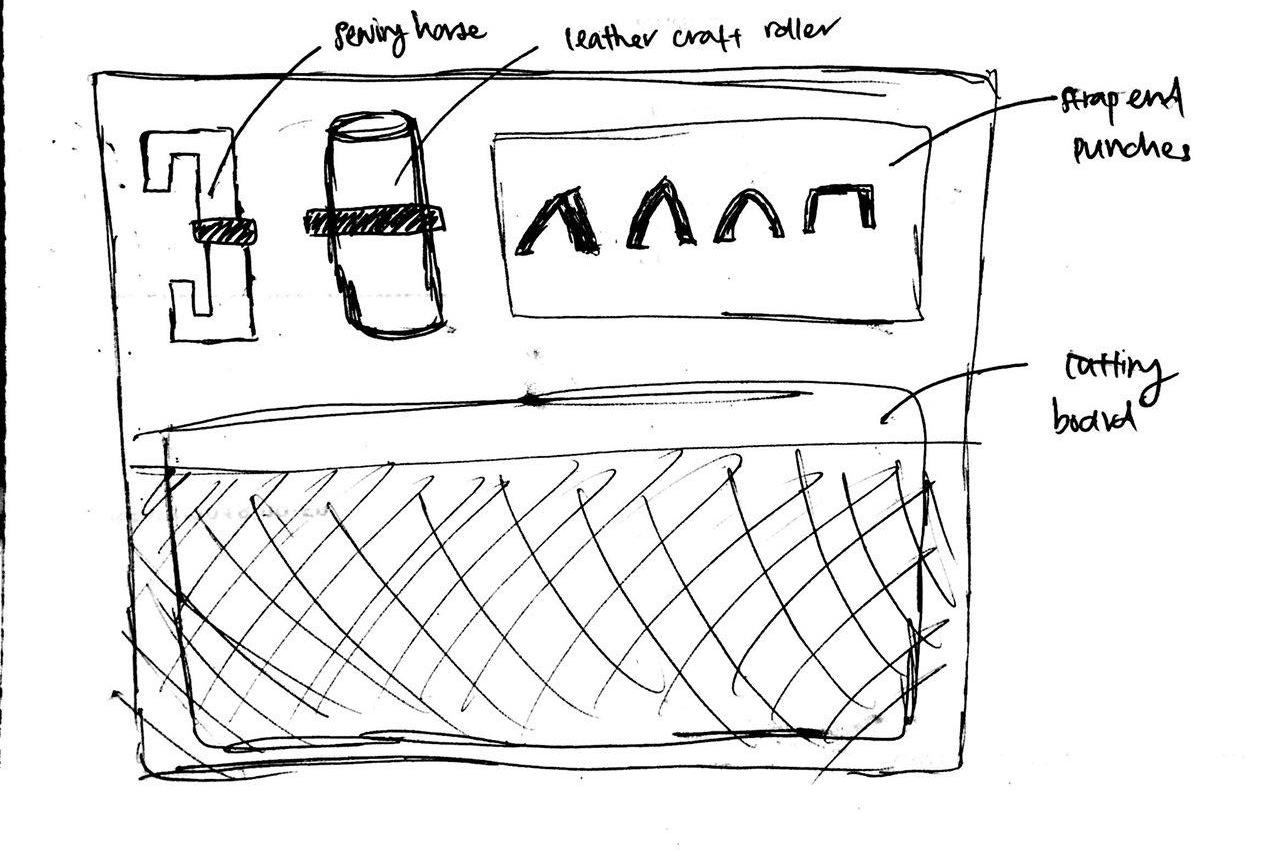
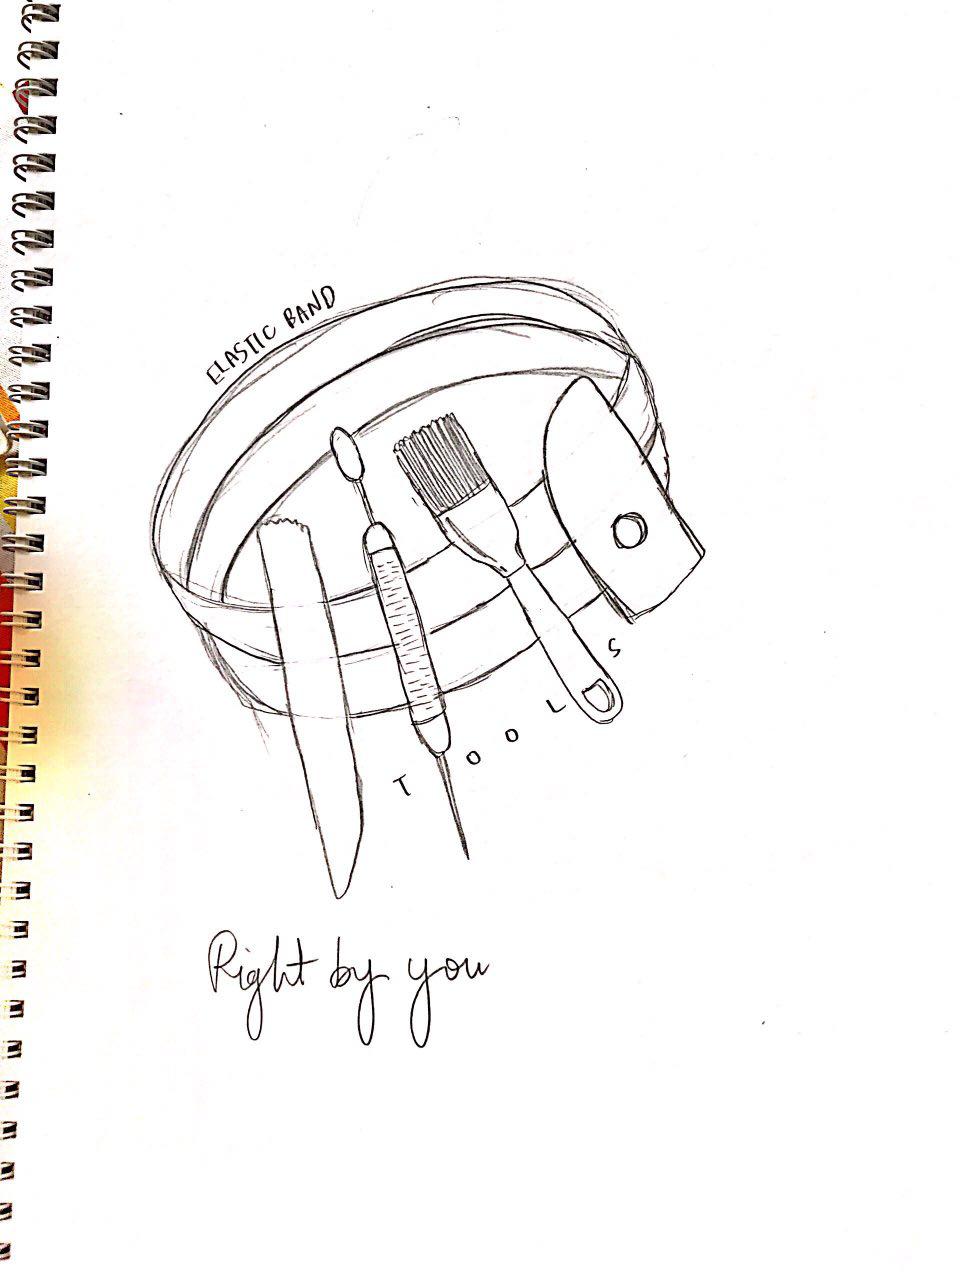
The idea for this prototype derived from the potter’s difficulty in using an organiser to store their tools and also use during their practice. This is because the organiser would get dirtied easily with bits of clay. Additionally, there is also a hassle in pulling out the tools when all of them are jumbled up in a pile on the work table. Therefore, for this prototype, it aims to help ease these two difficulties.
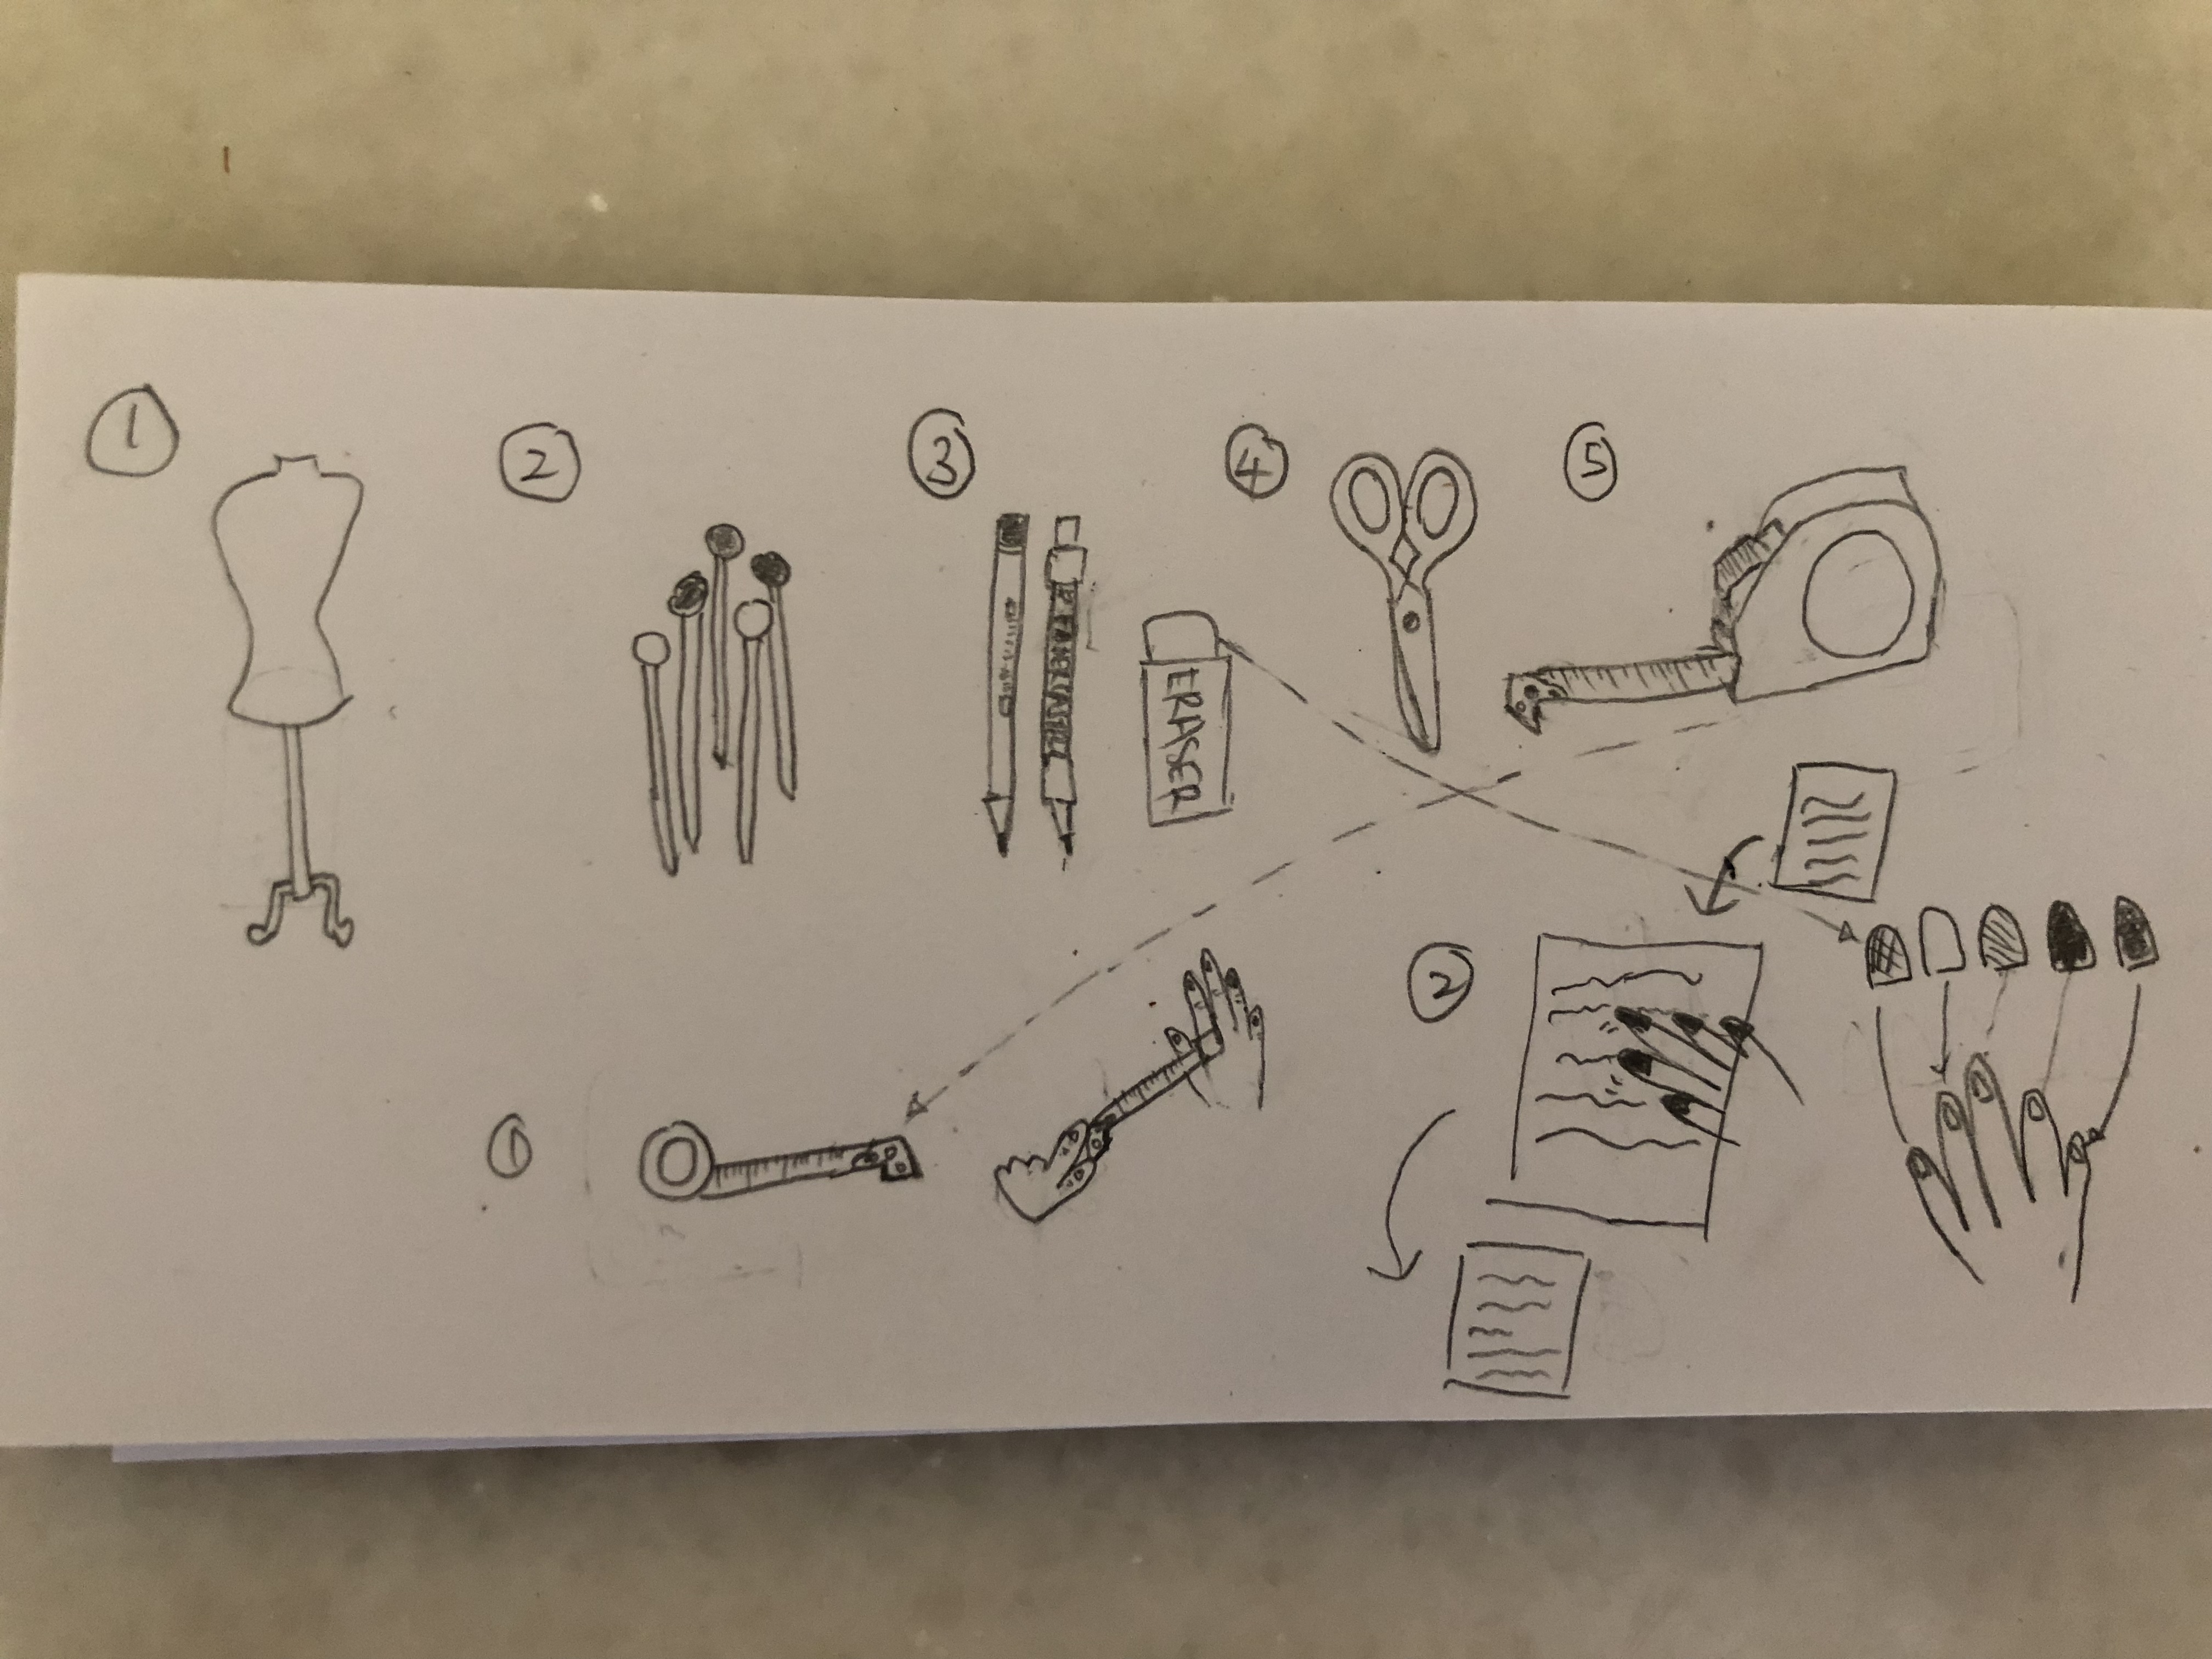
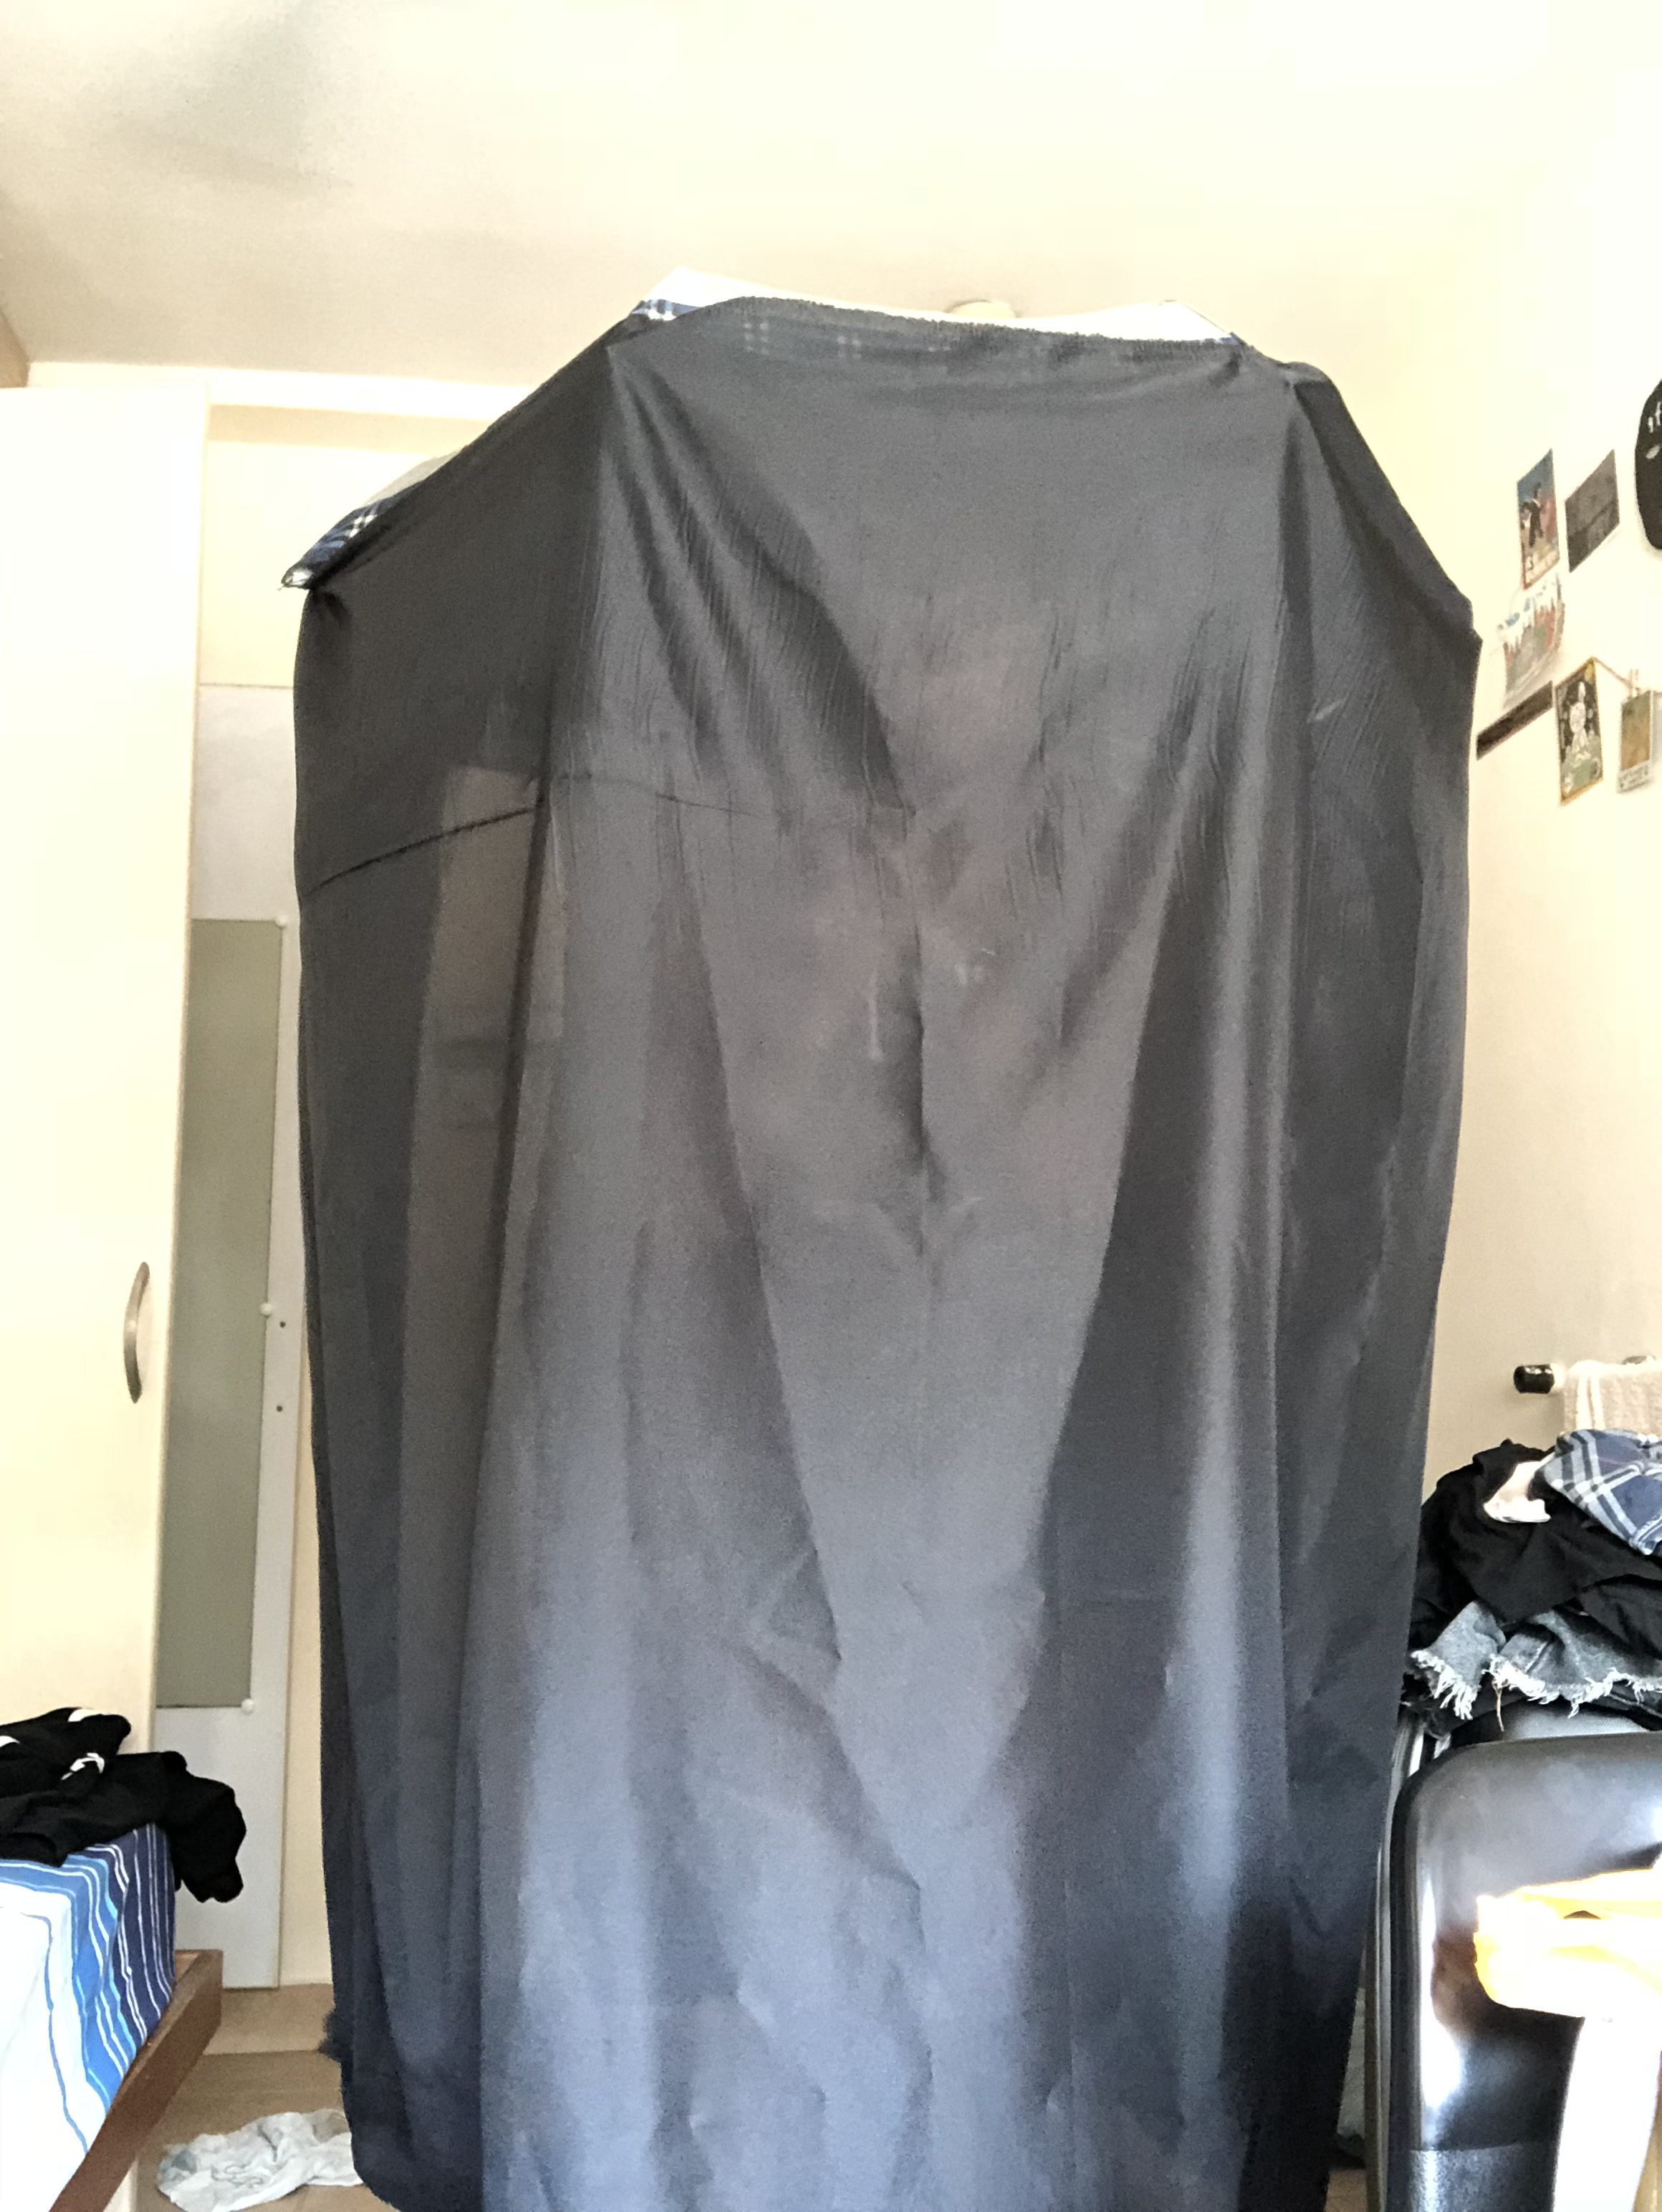
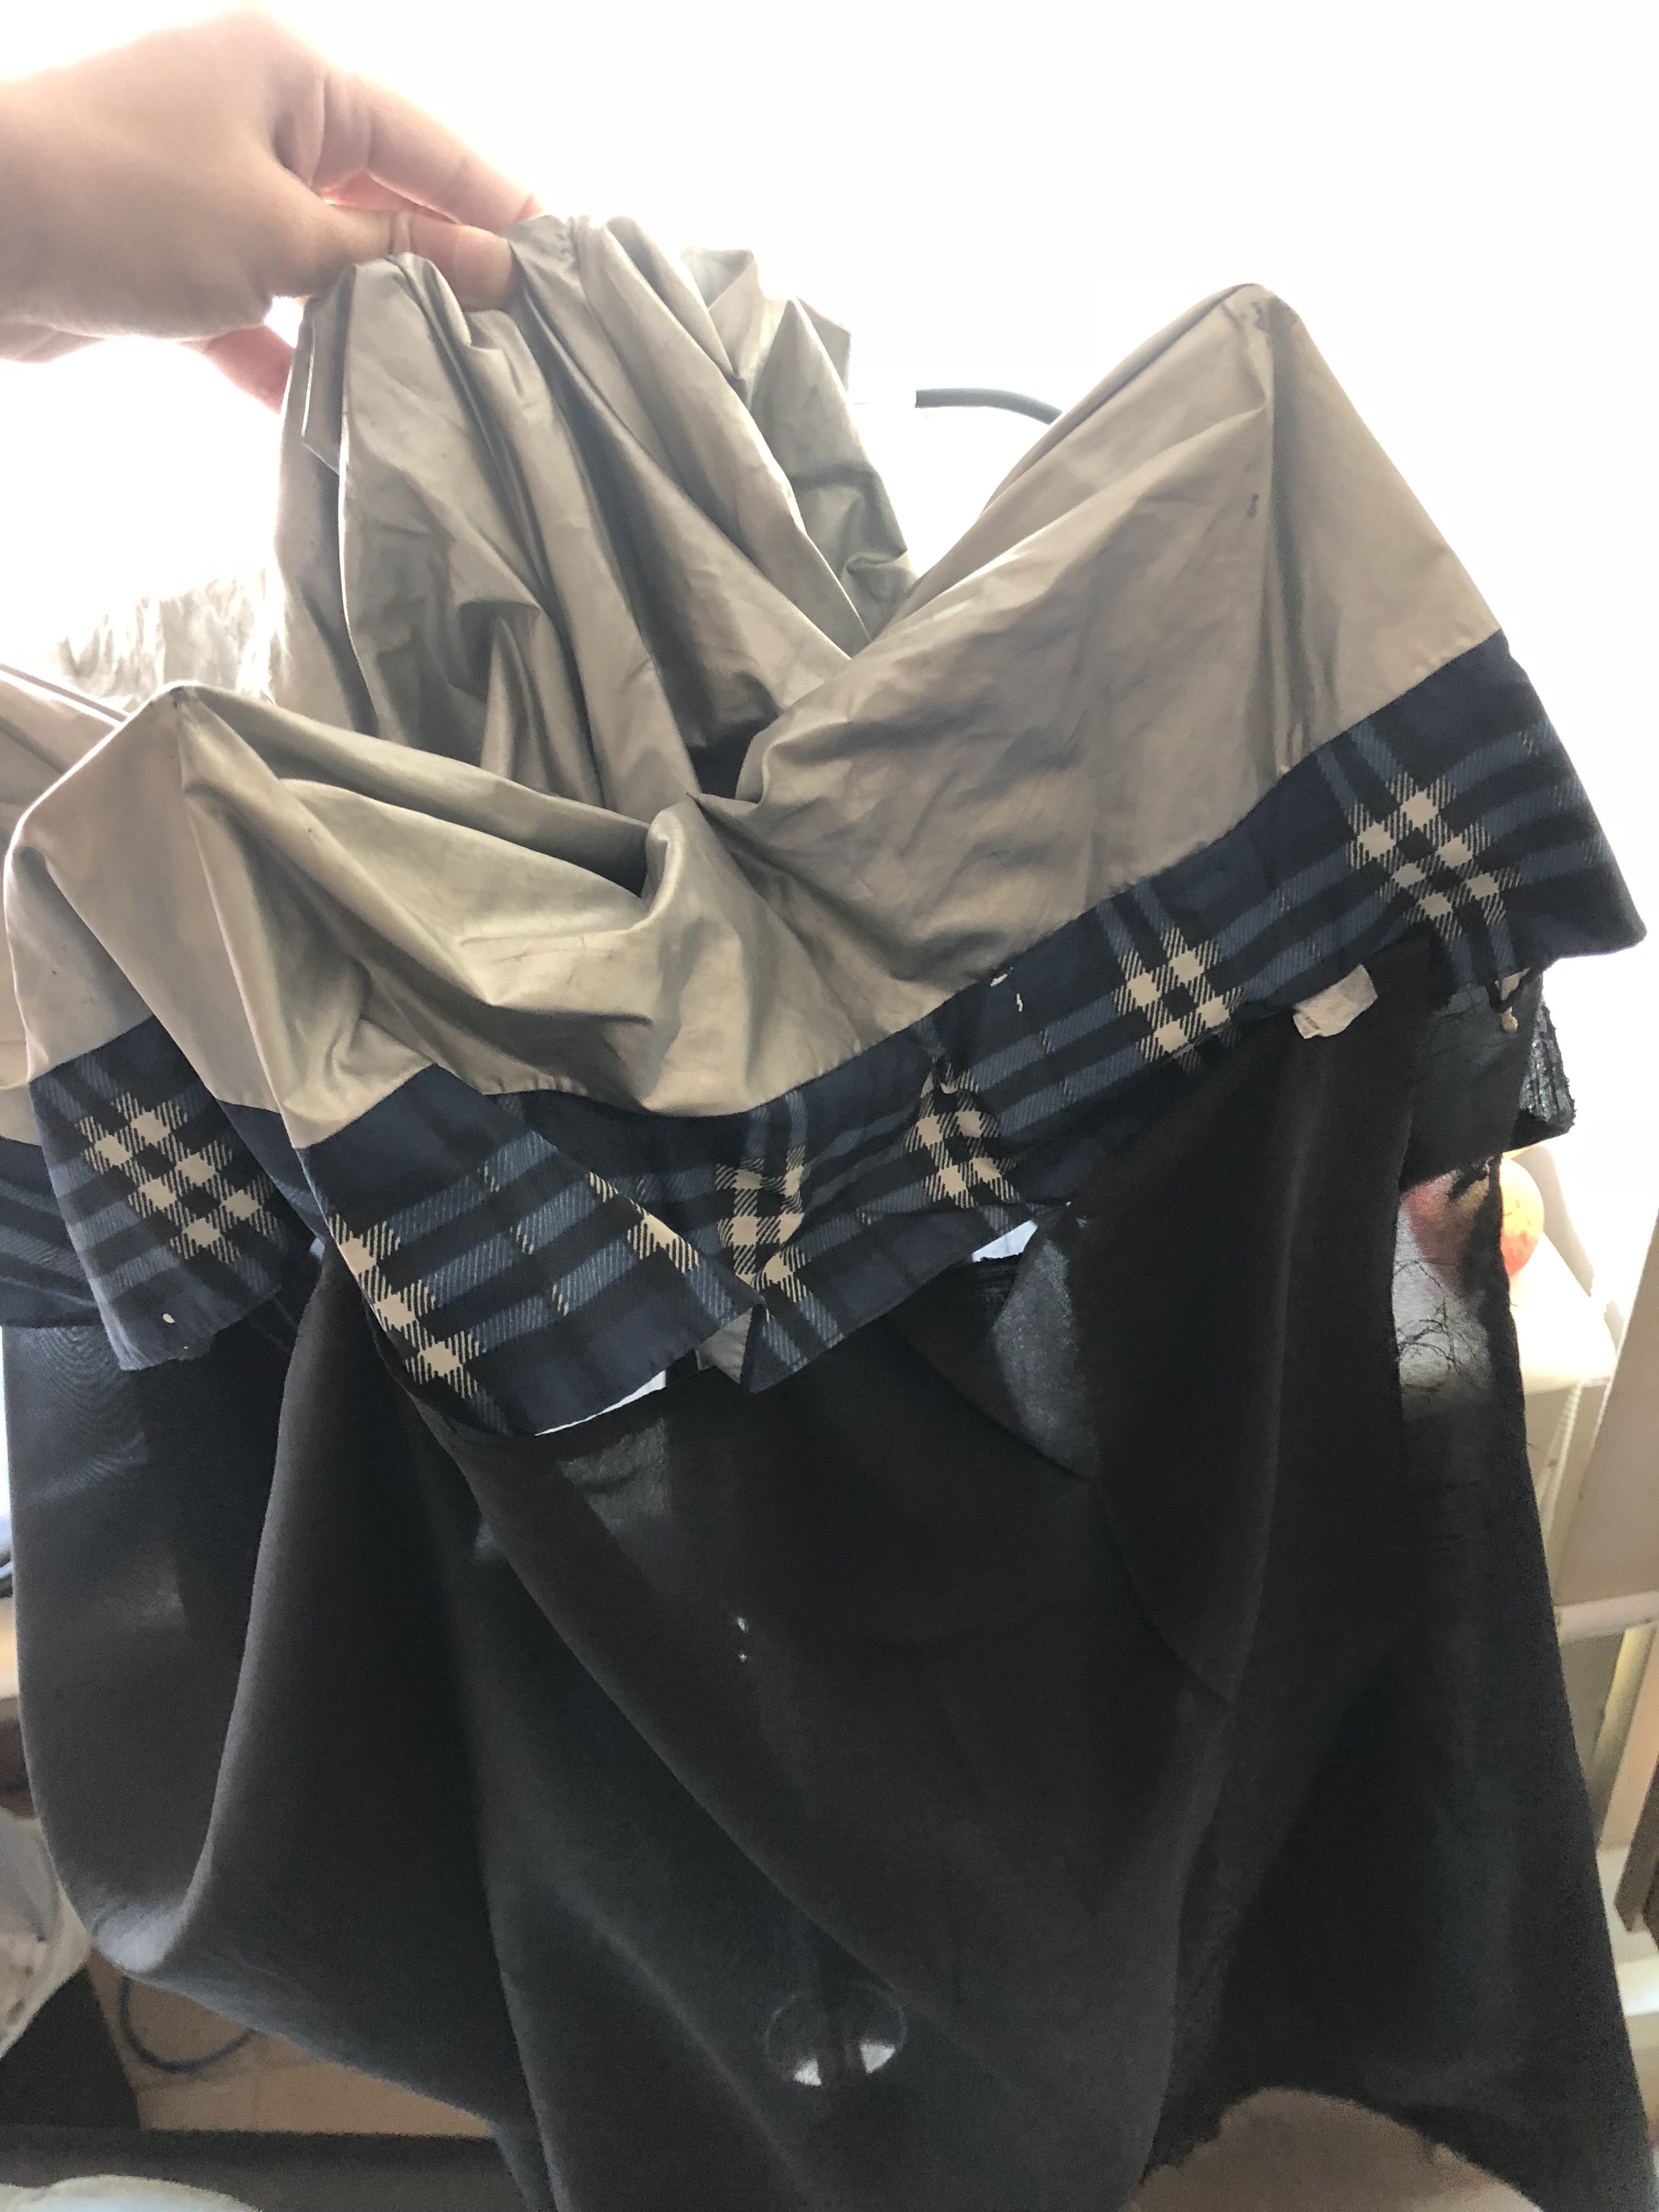
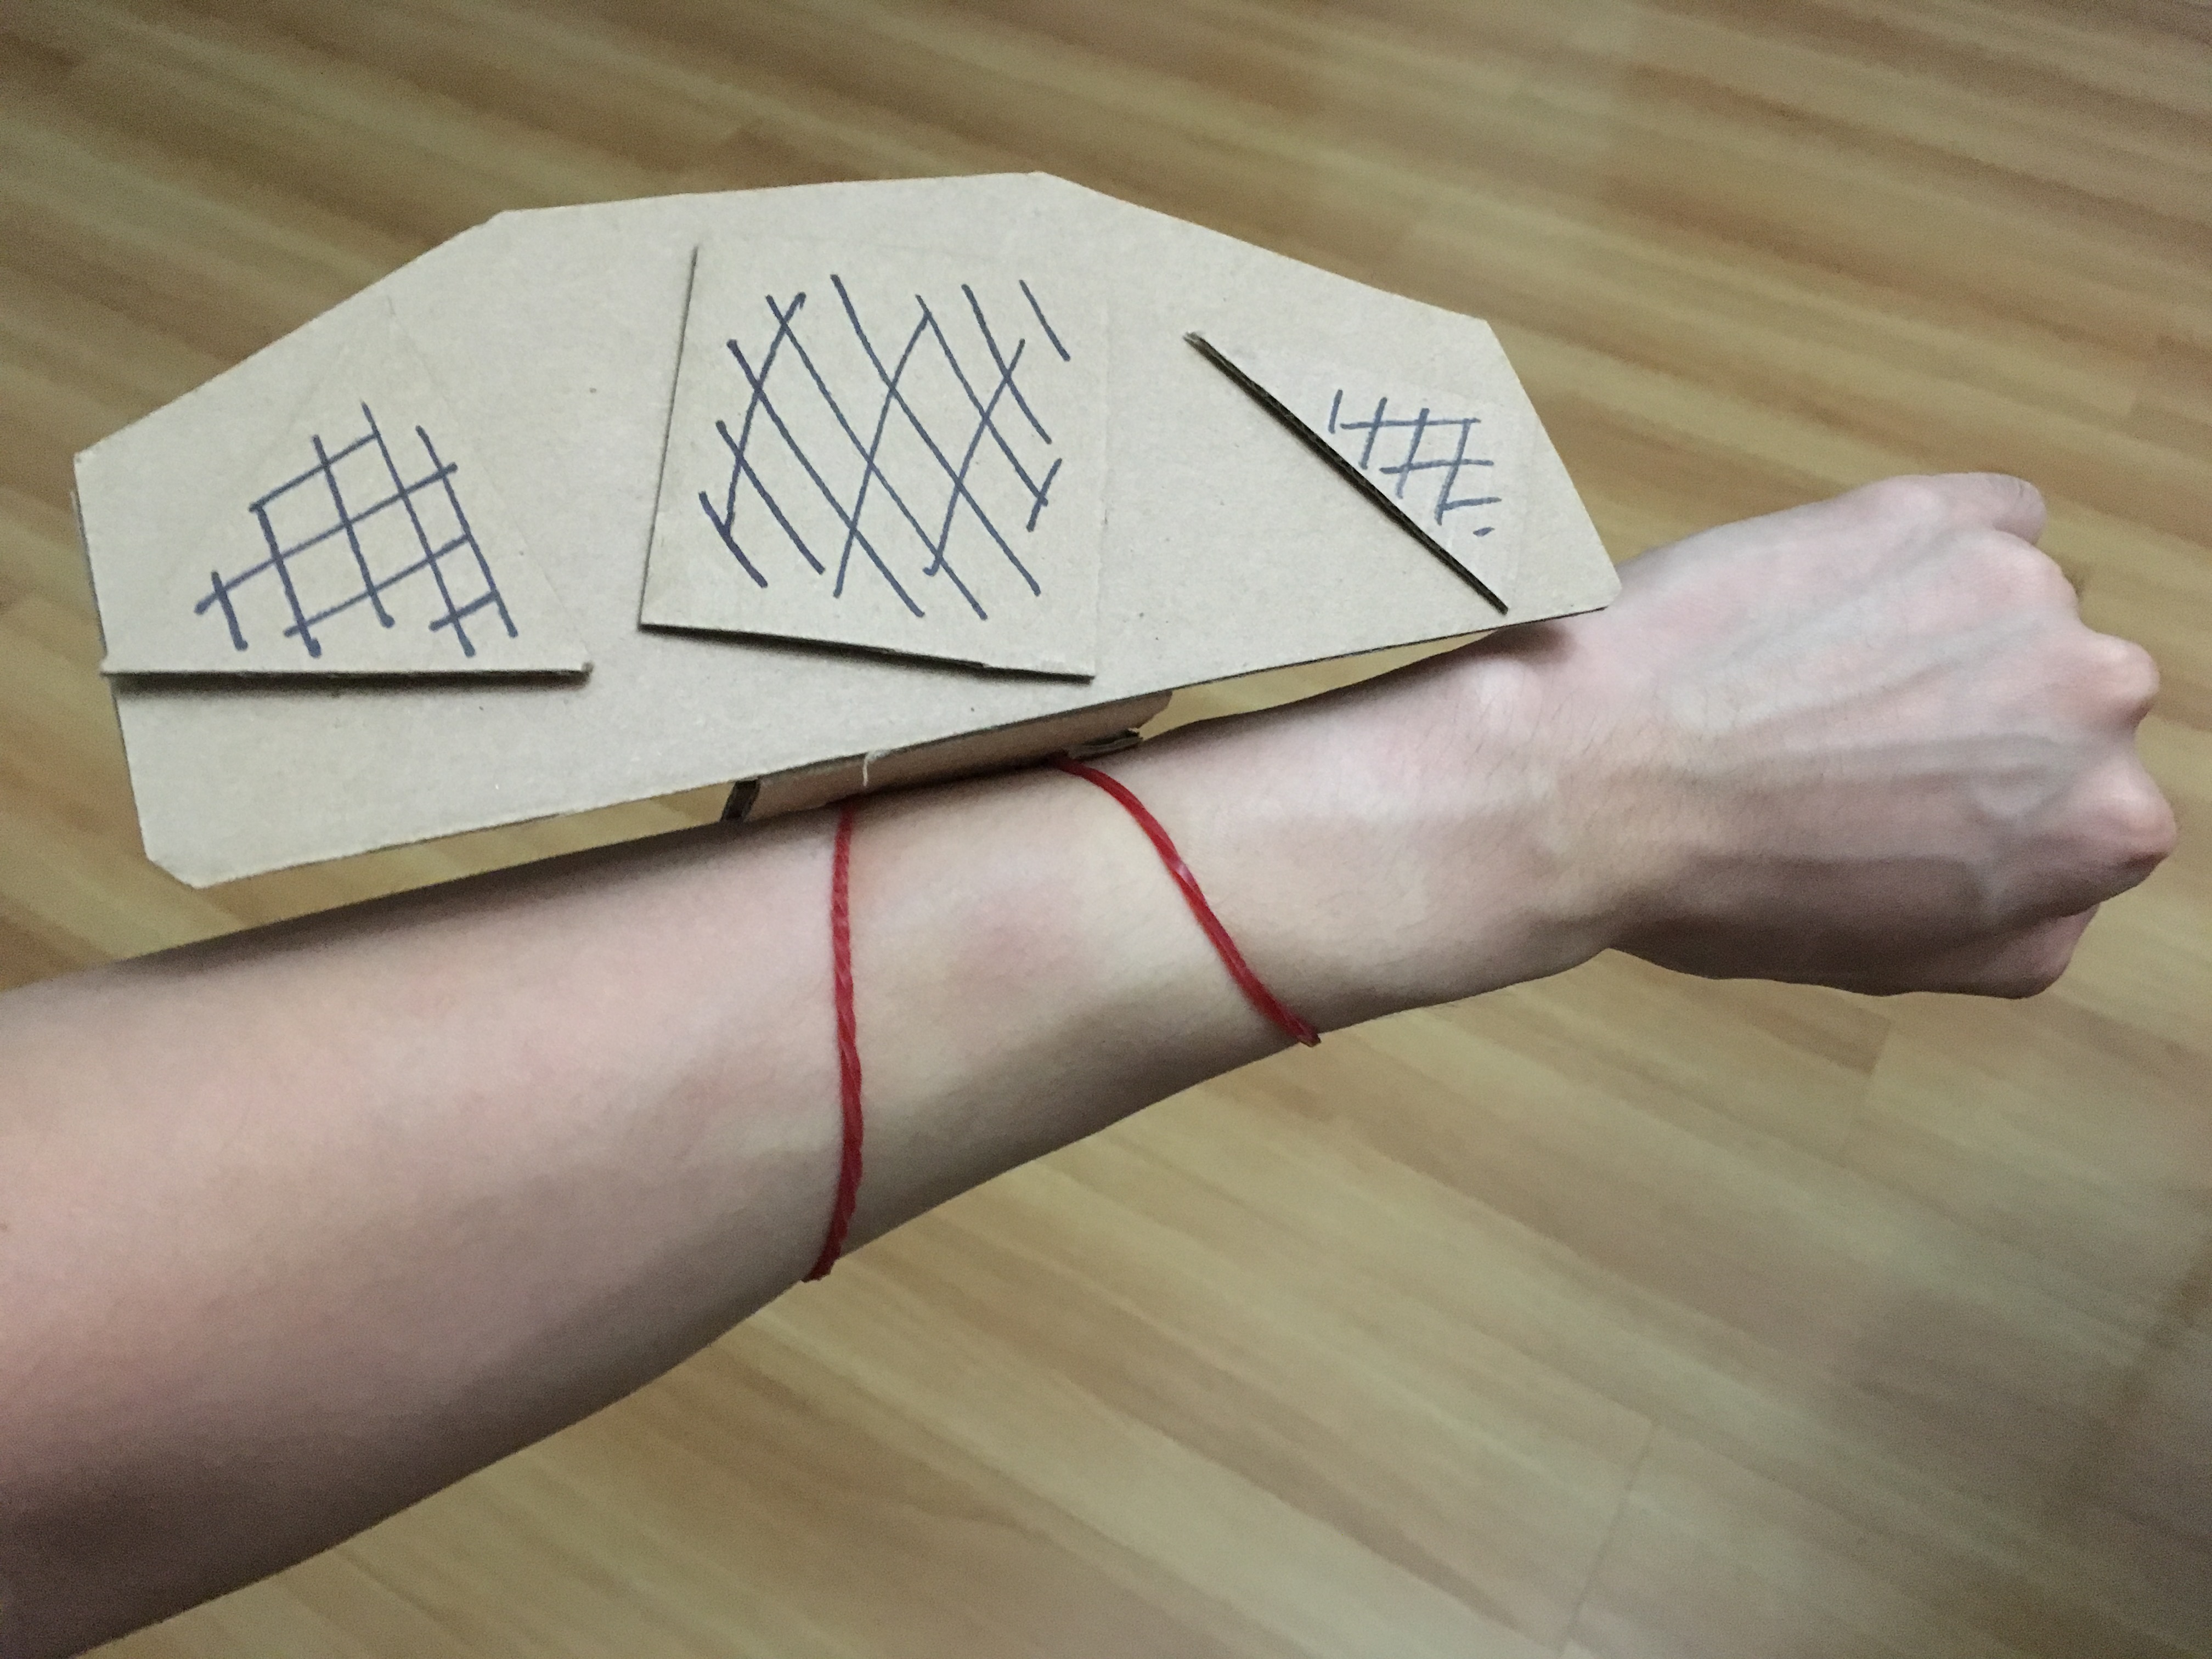
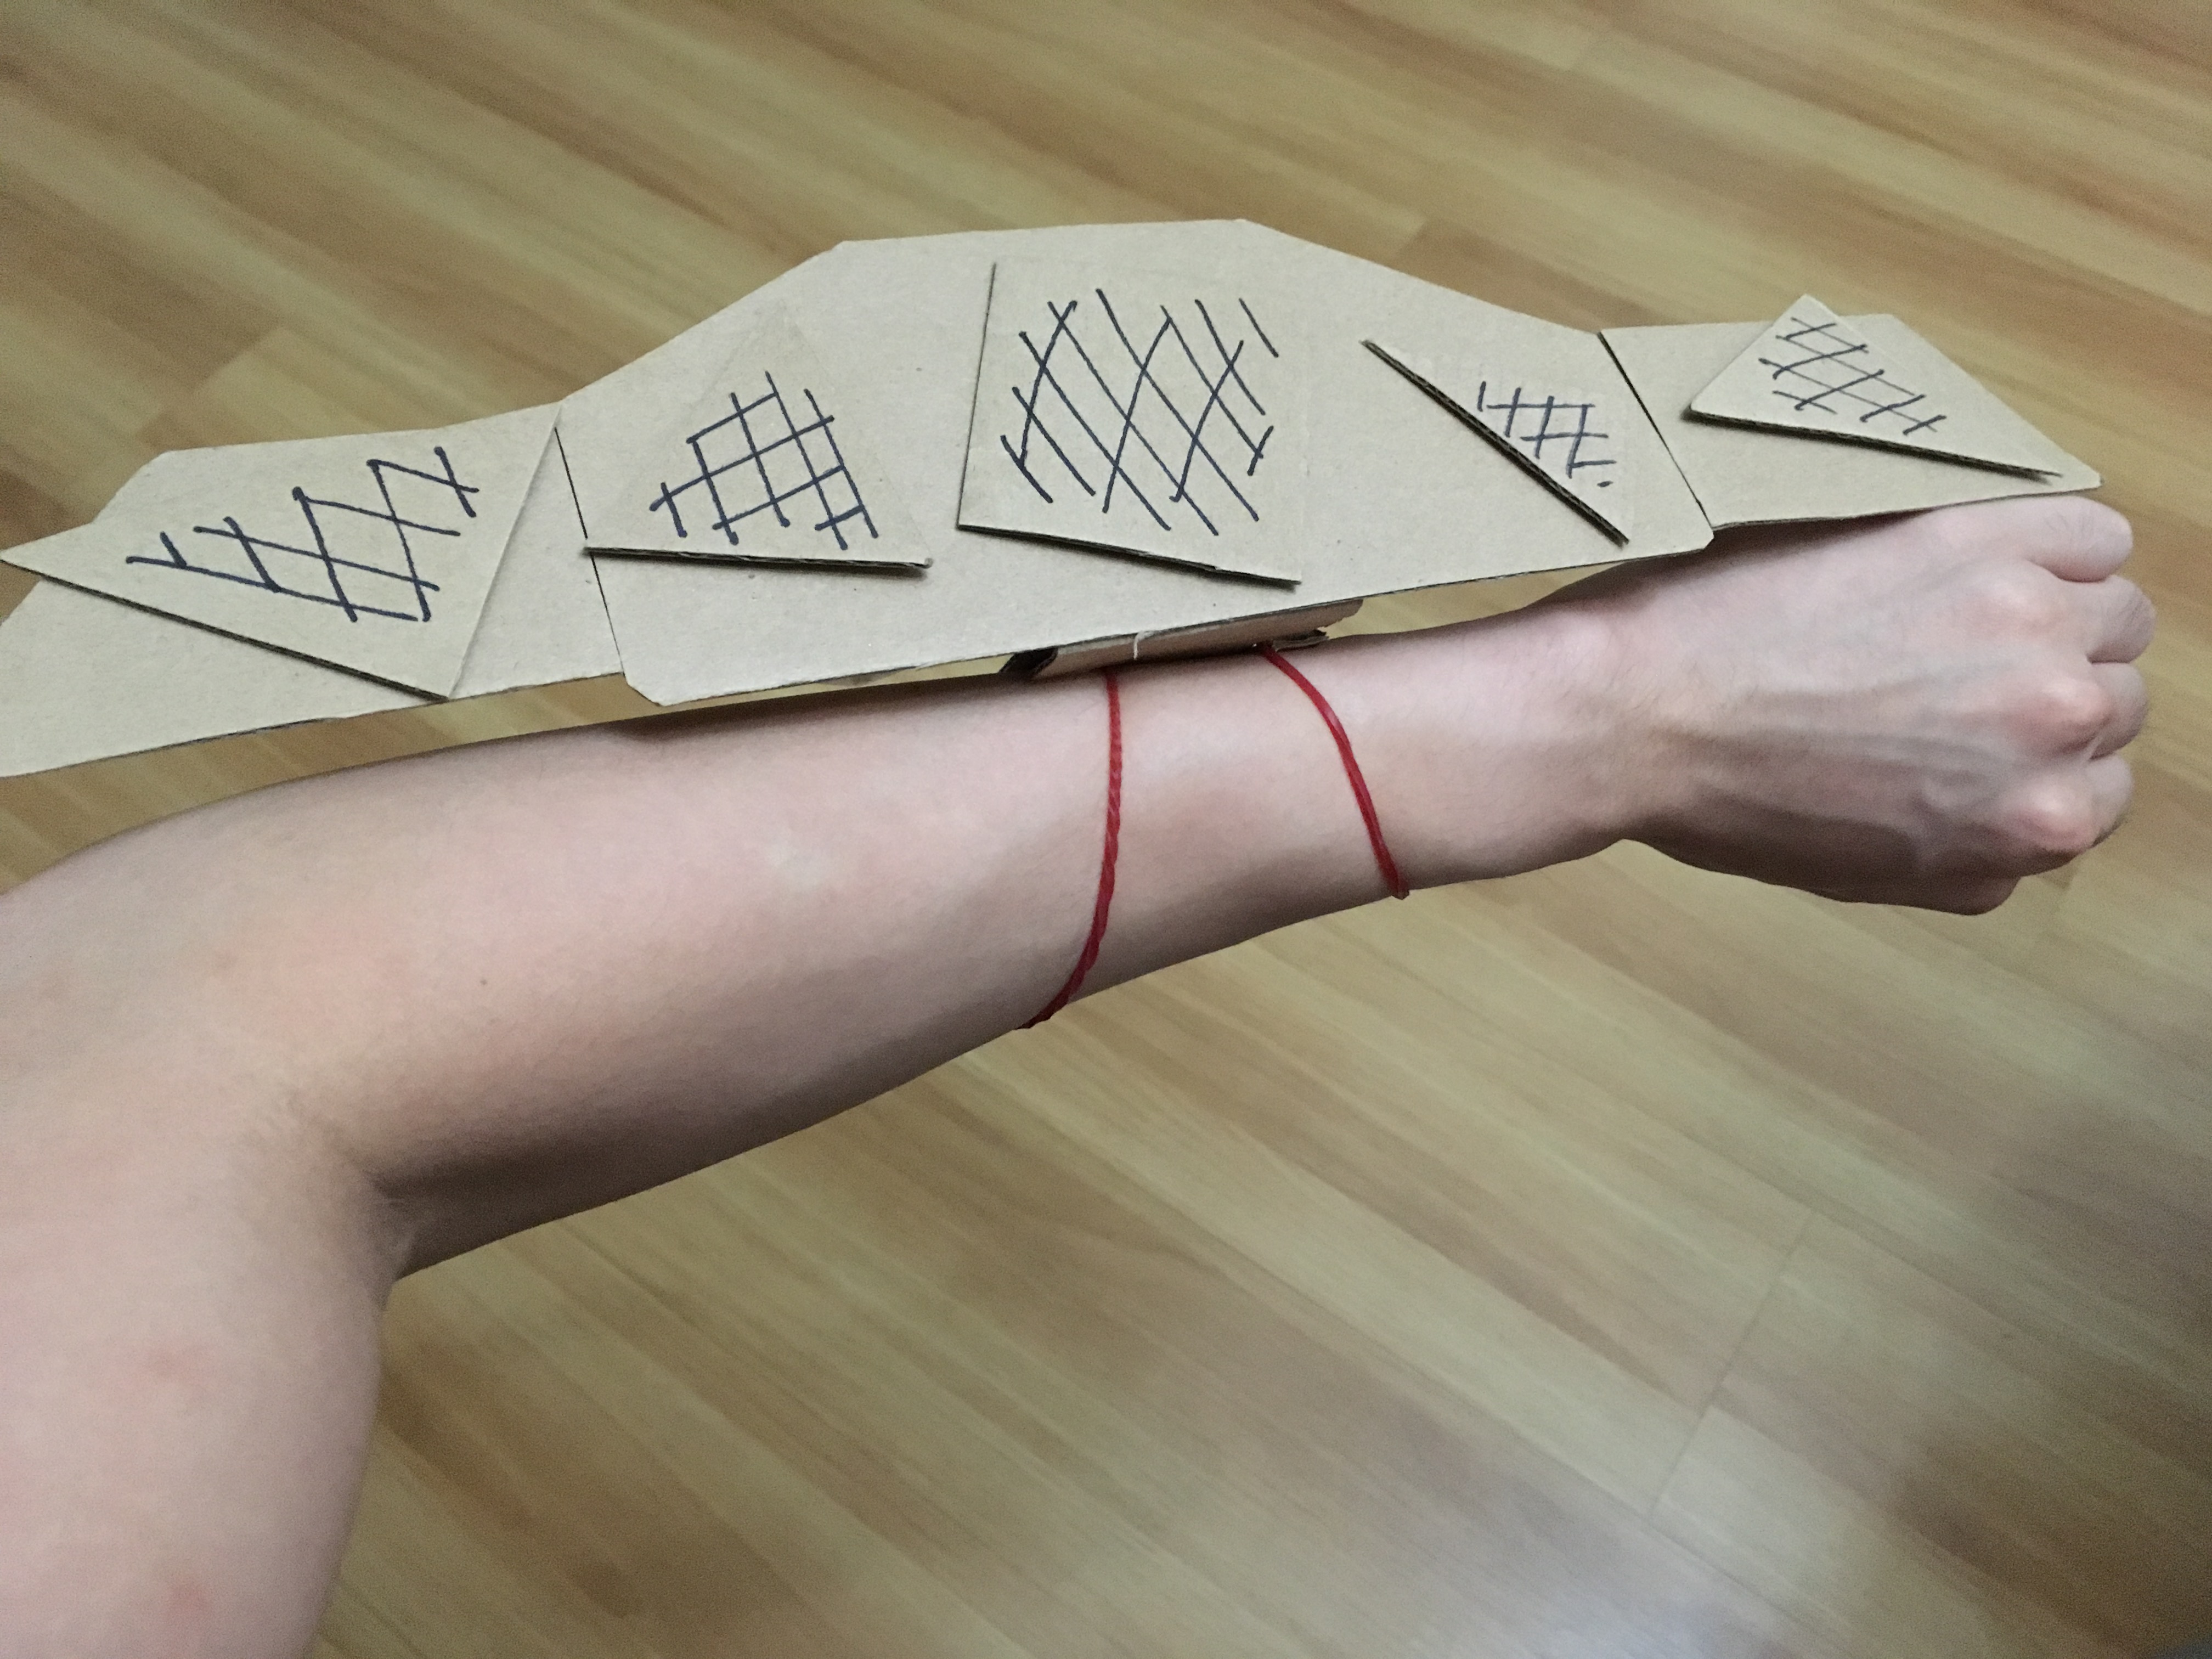
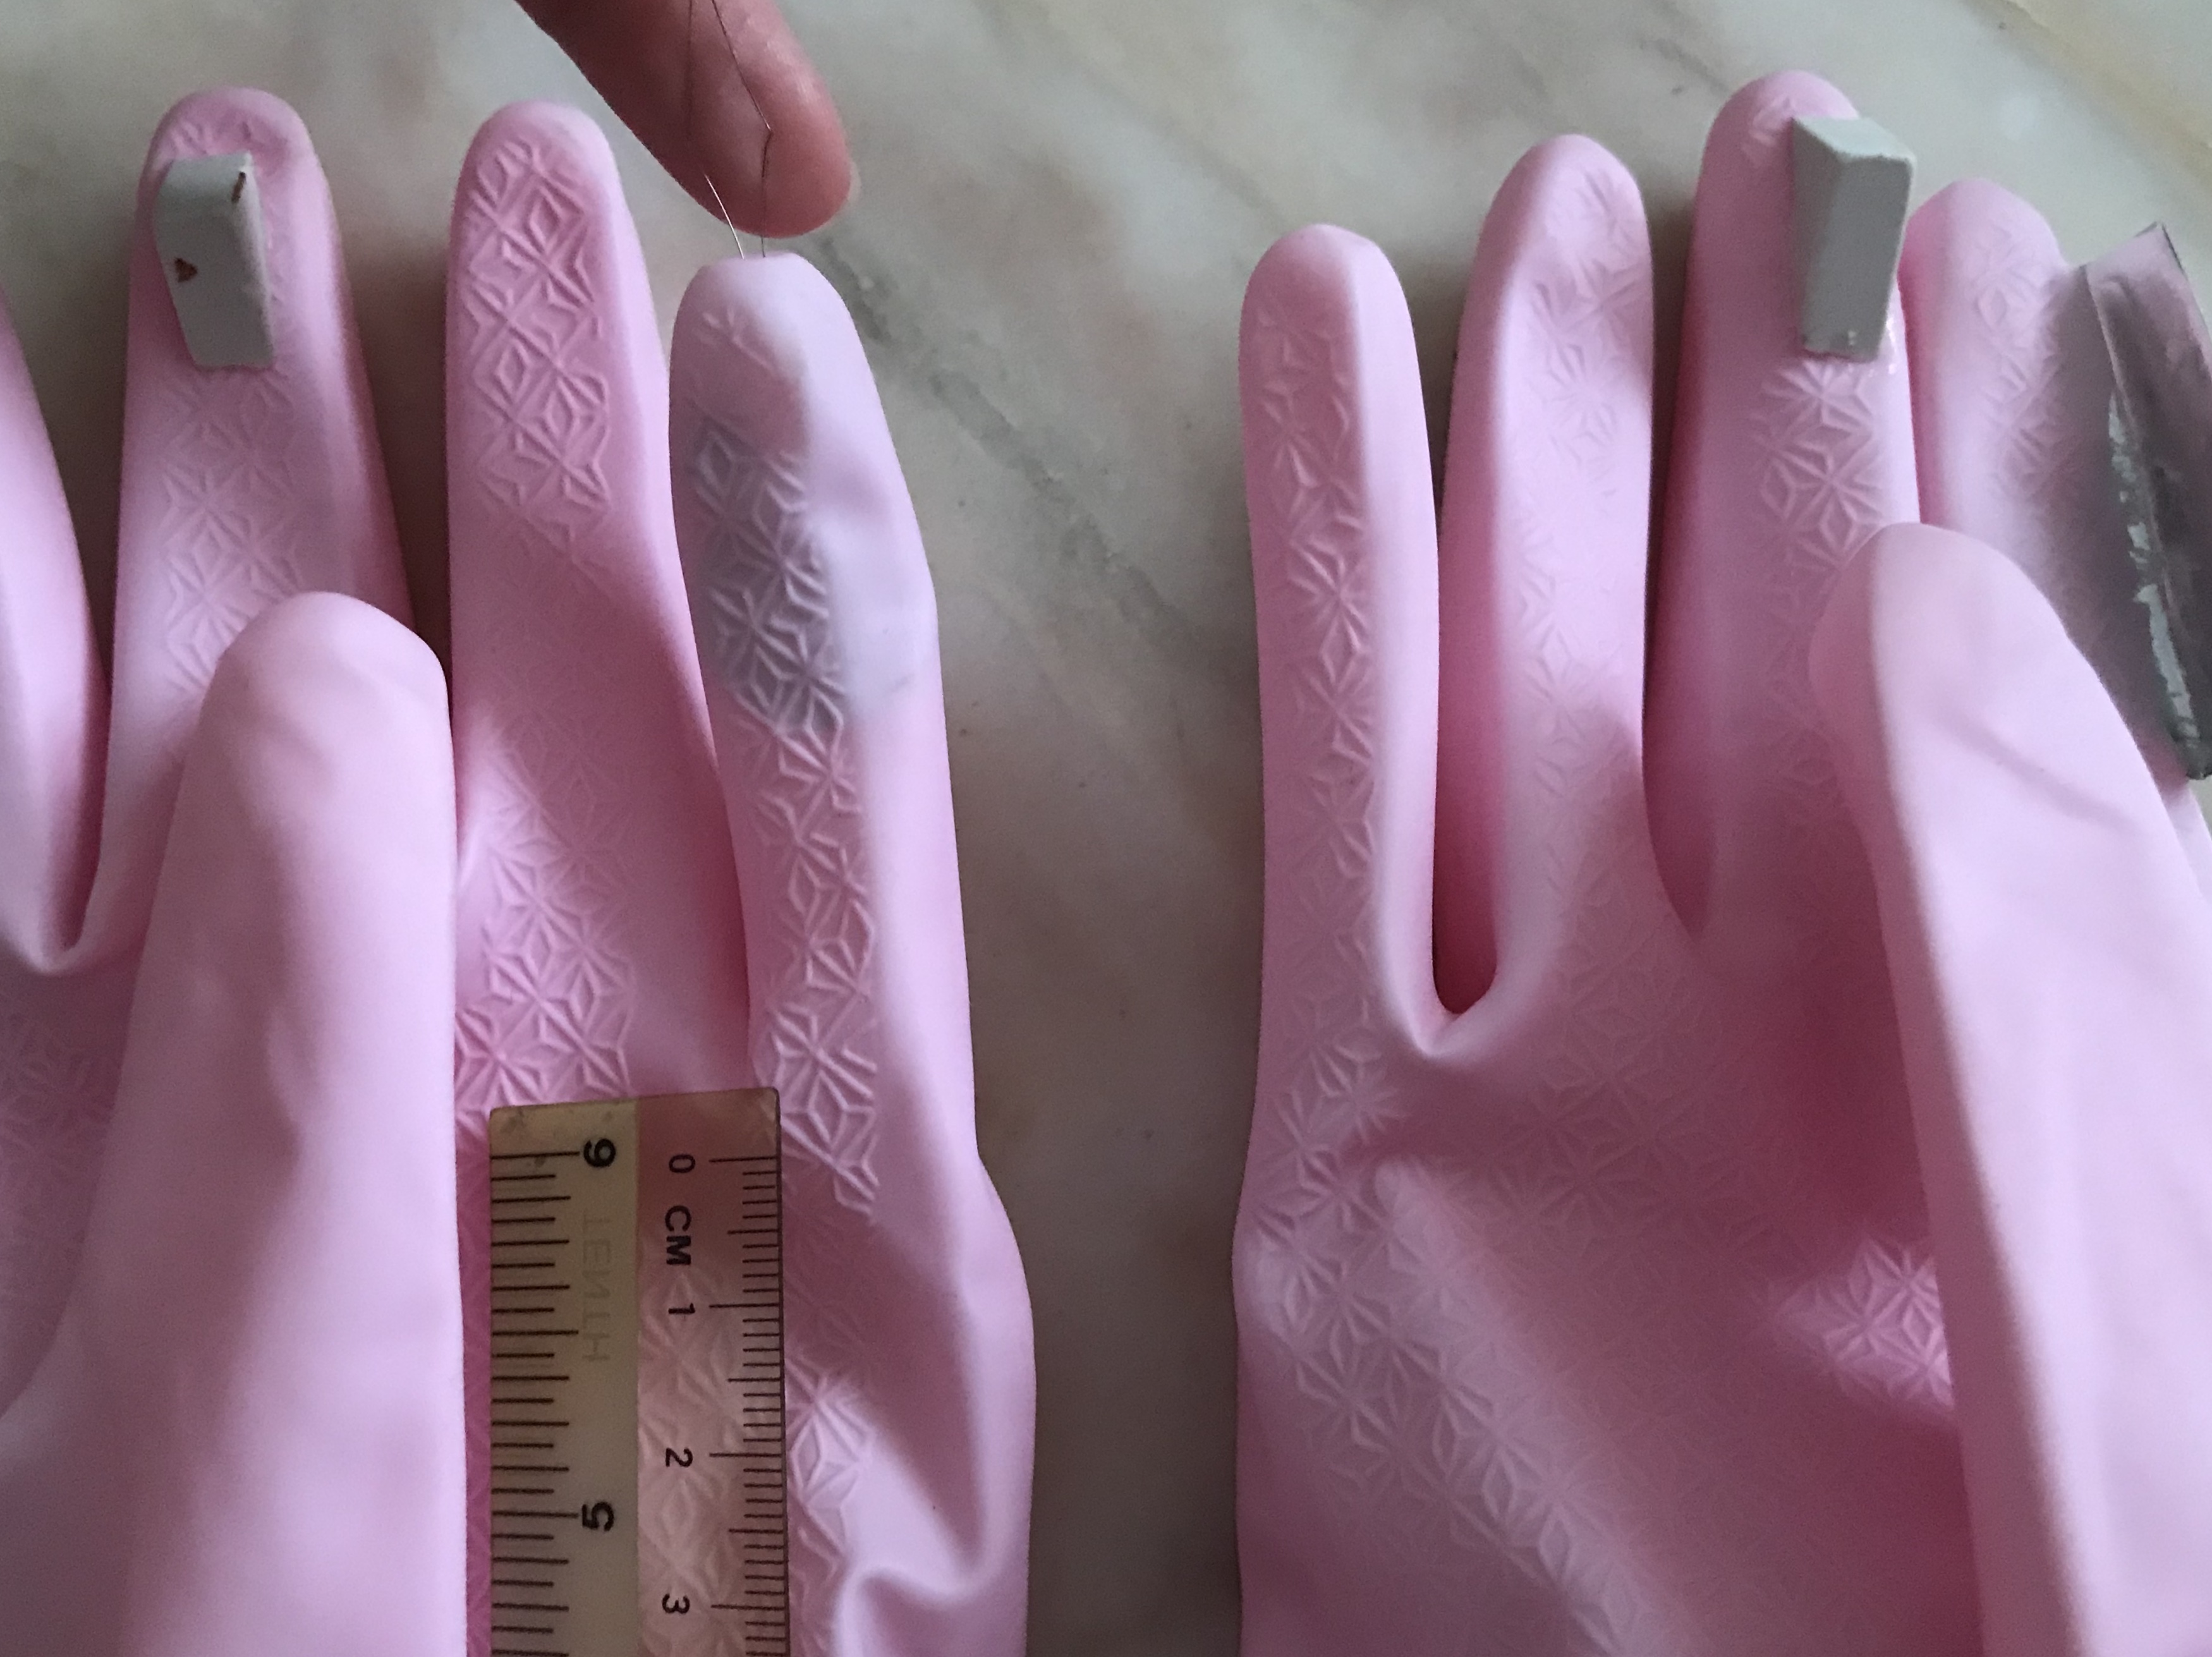
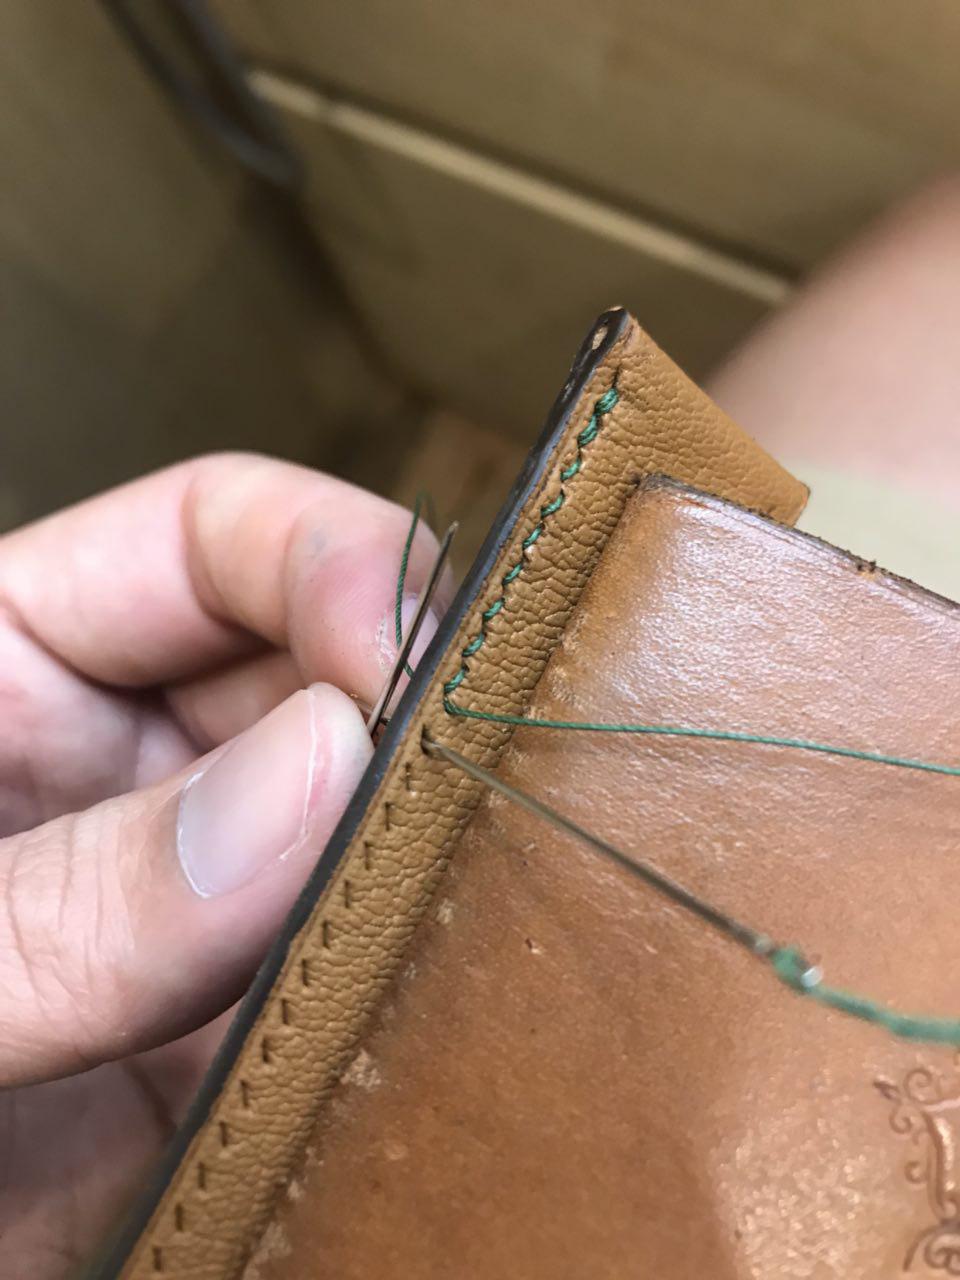
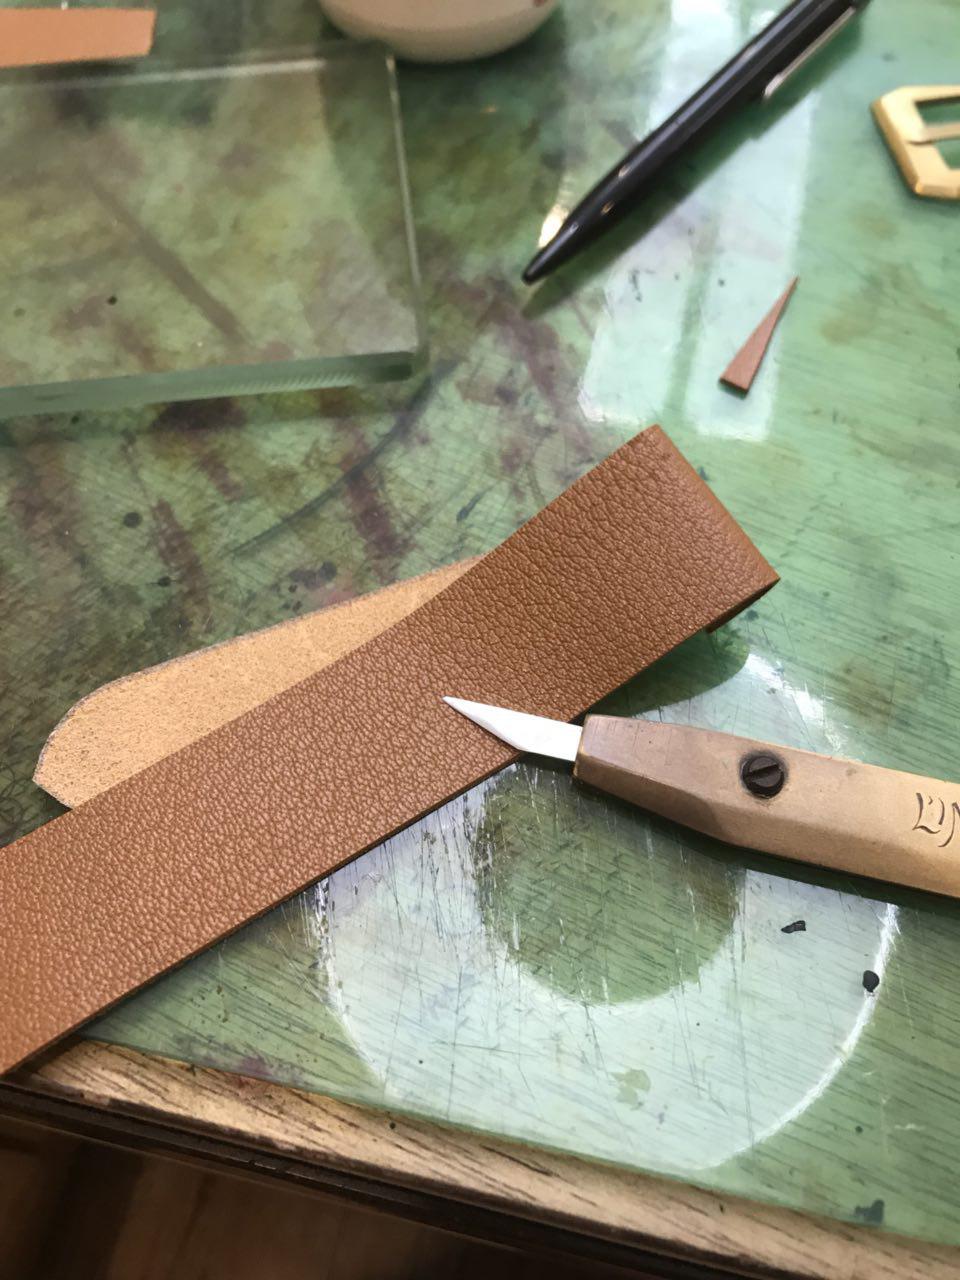
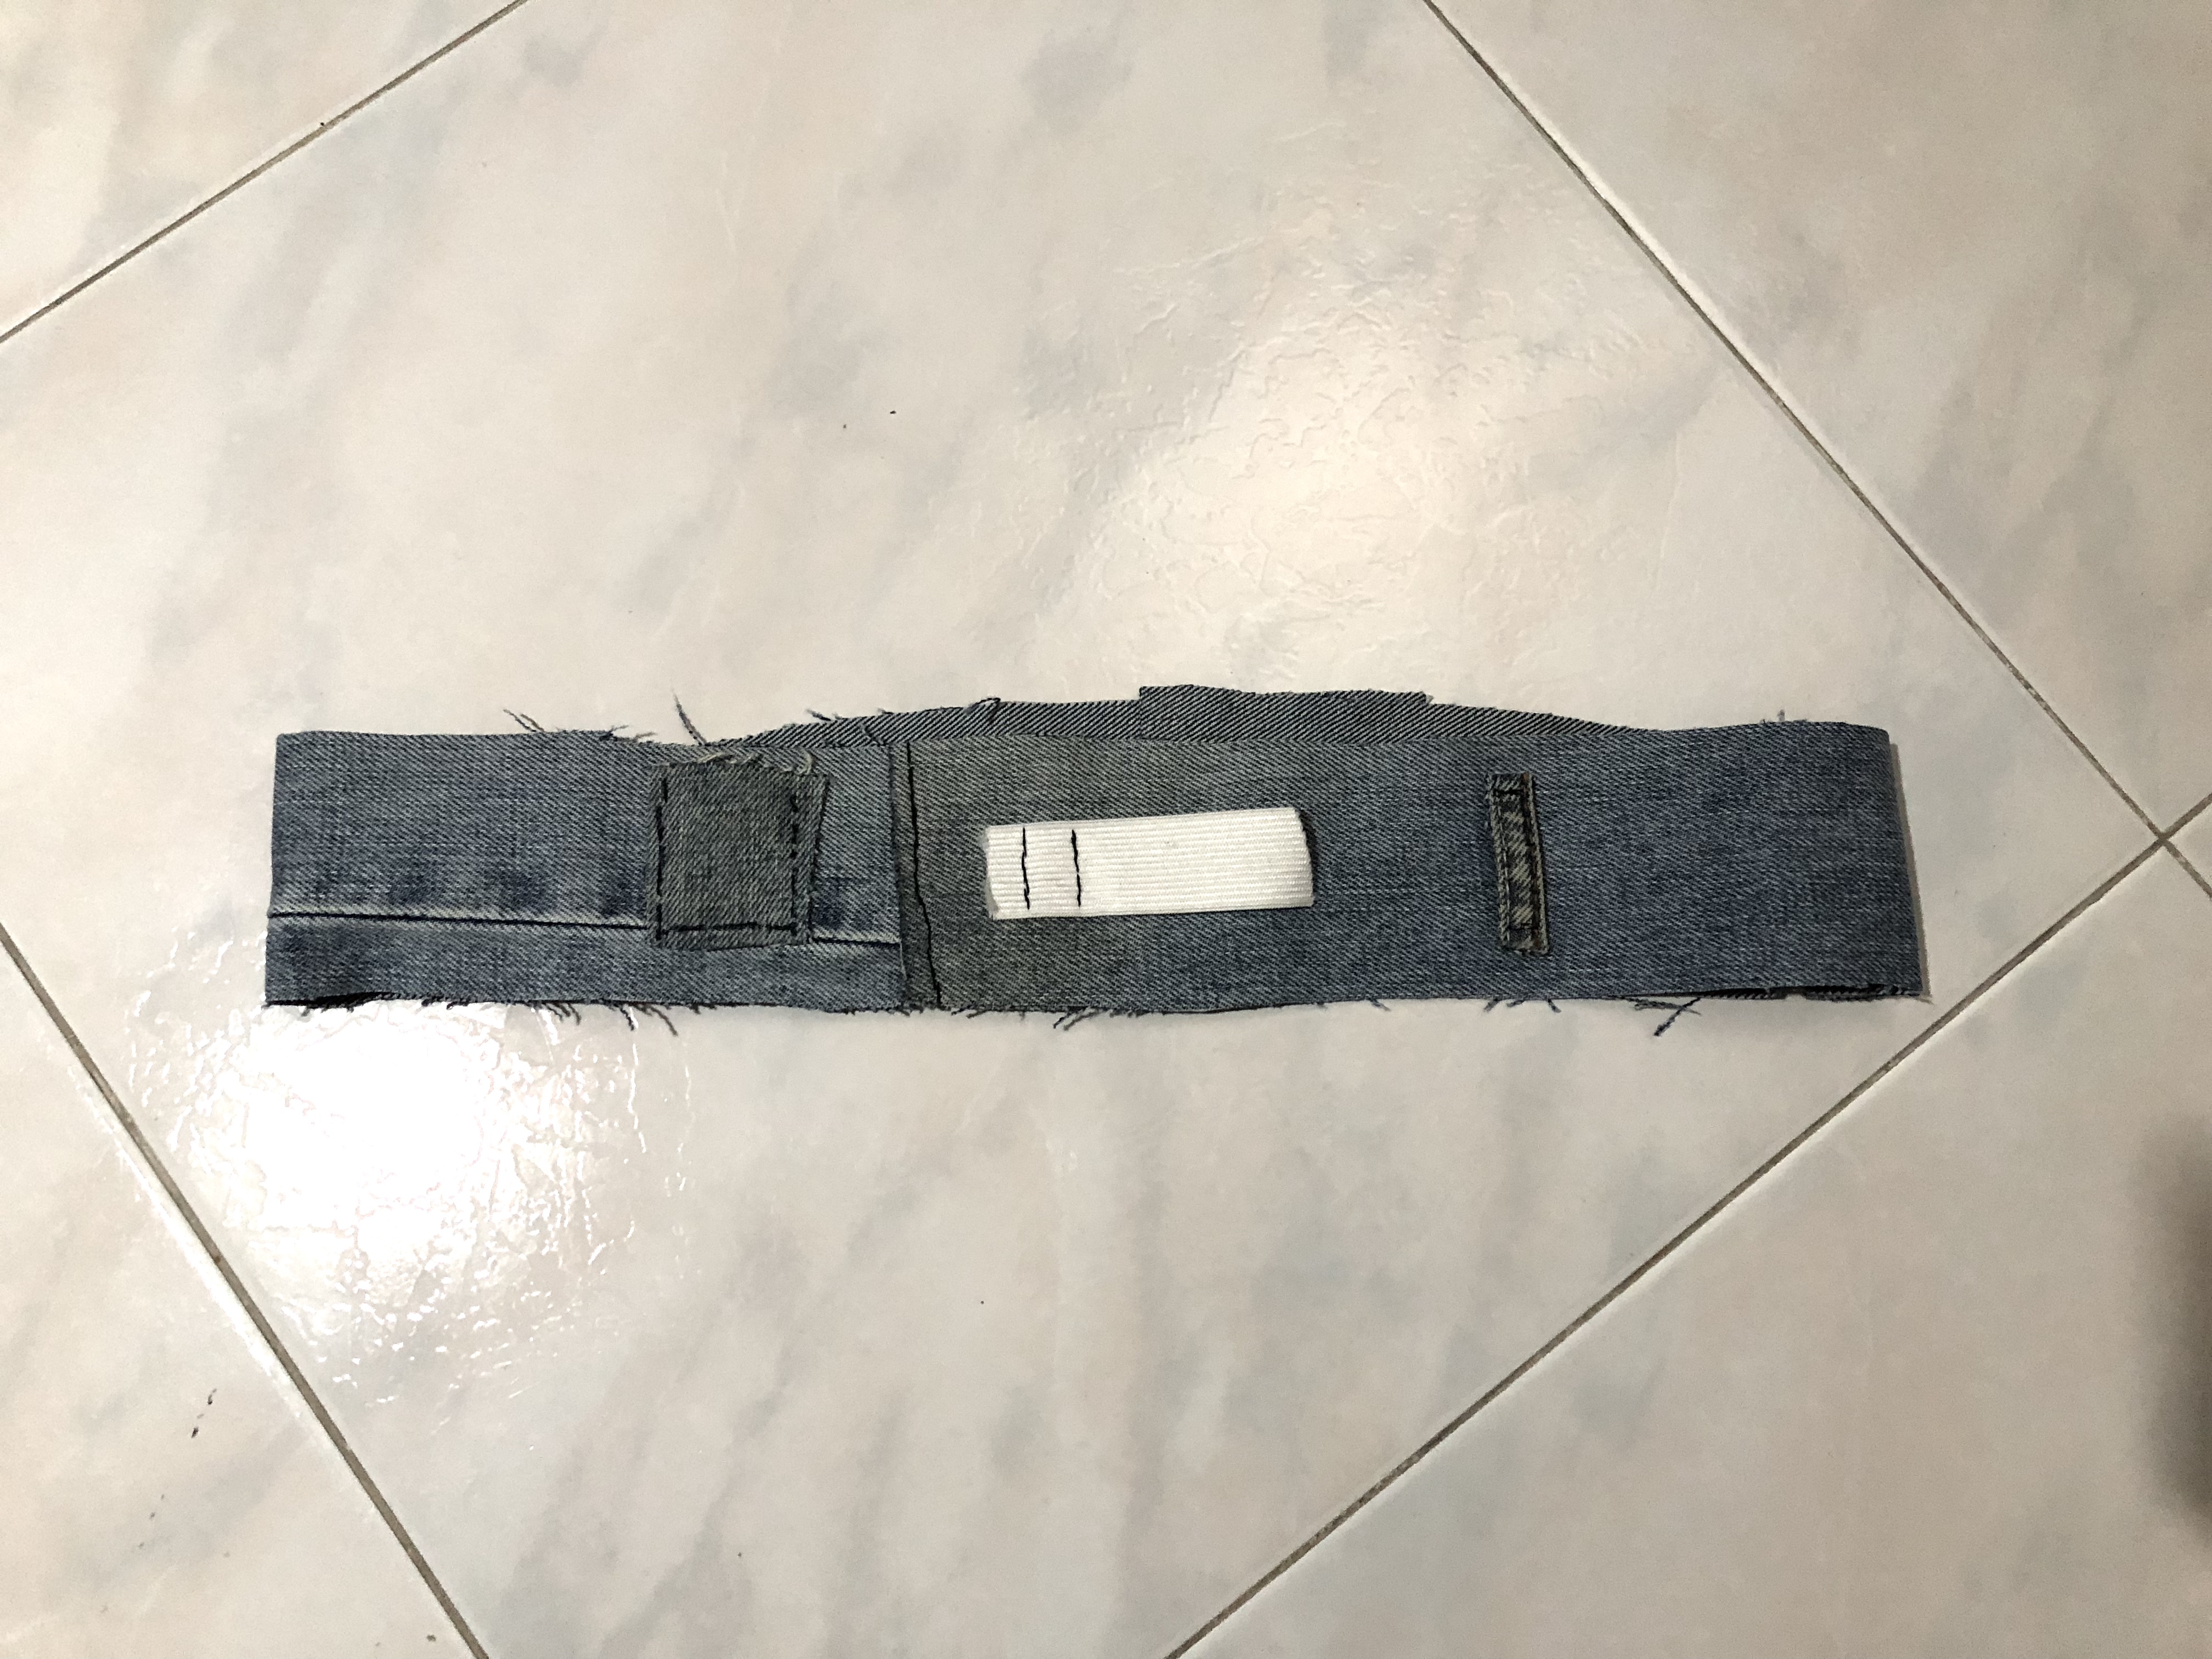
Firstly, the arm band that I sewed together is using an elastic strap, this is to ensure that people of different arm sizes will be able to use it with less discomfort. The placement of having it on the upper arm instead of other places such as the lower arm, leg, or even waist is because the upper arm is the least obstructive area. The lower arm would get in the way of the potter’s work, the waist would also be an obstruction and safety hazard if the potter decides to sit or bend down. Lastly, the leg would be the furthest and most inconvenient for the potter to access.
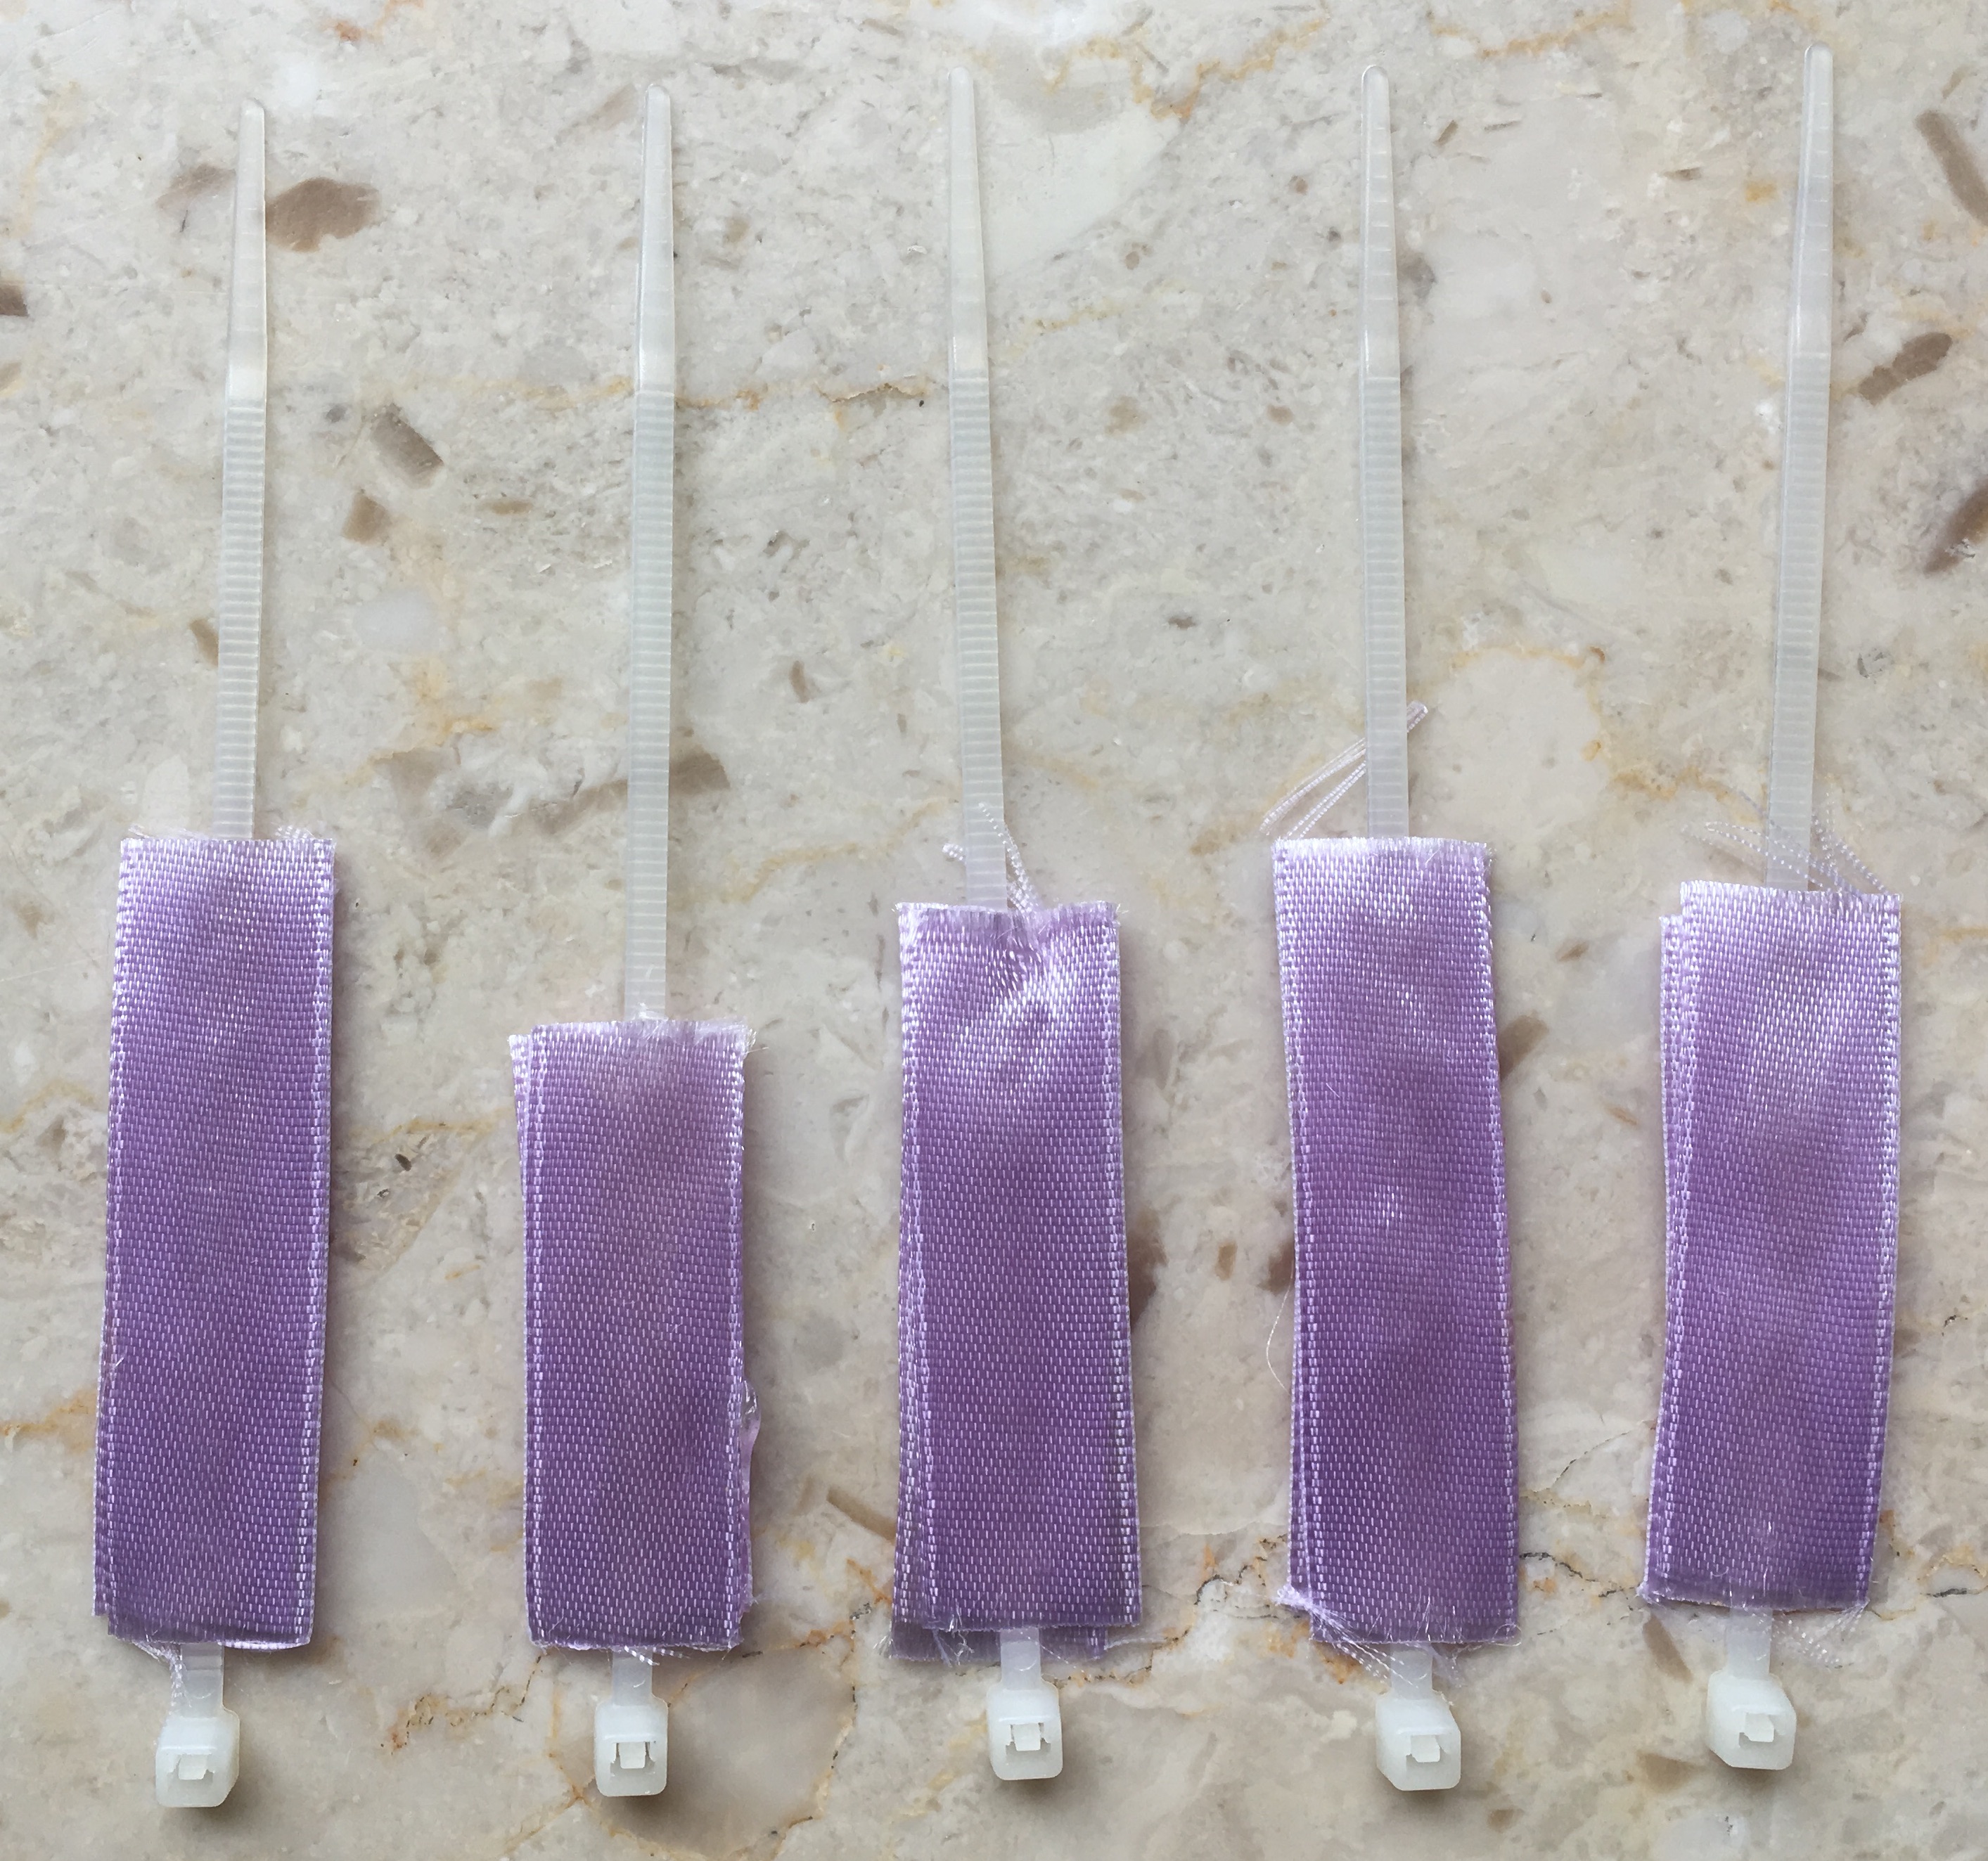
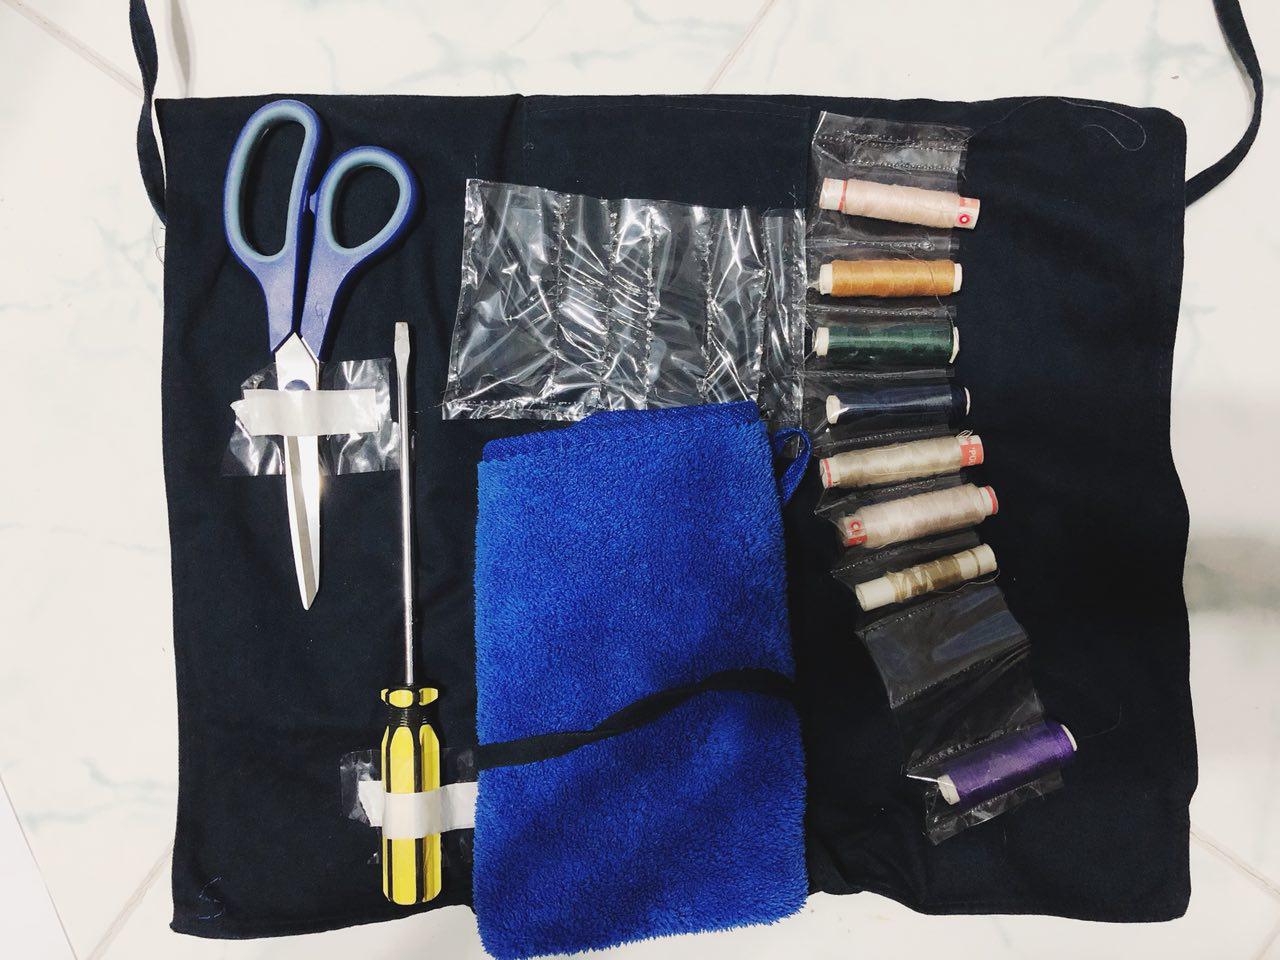
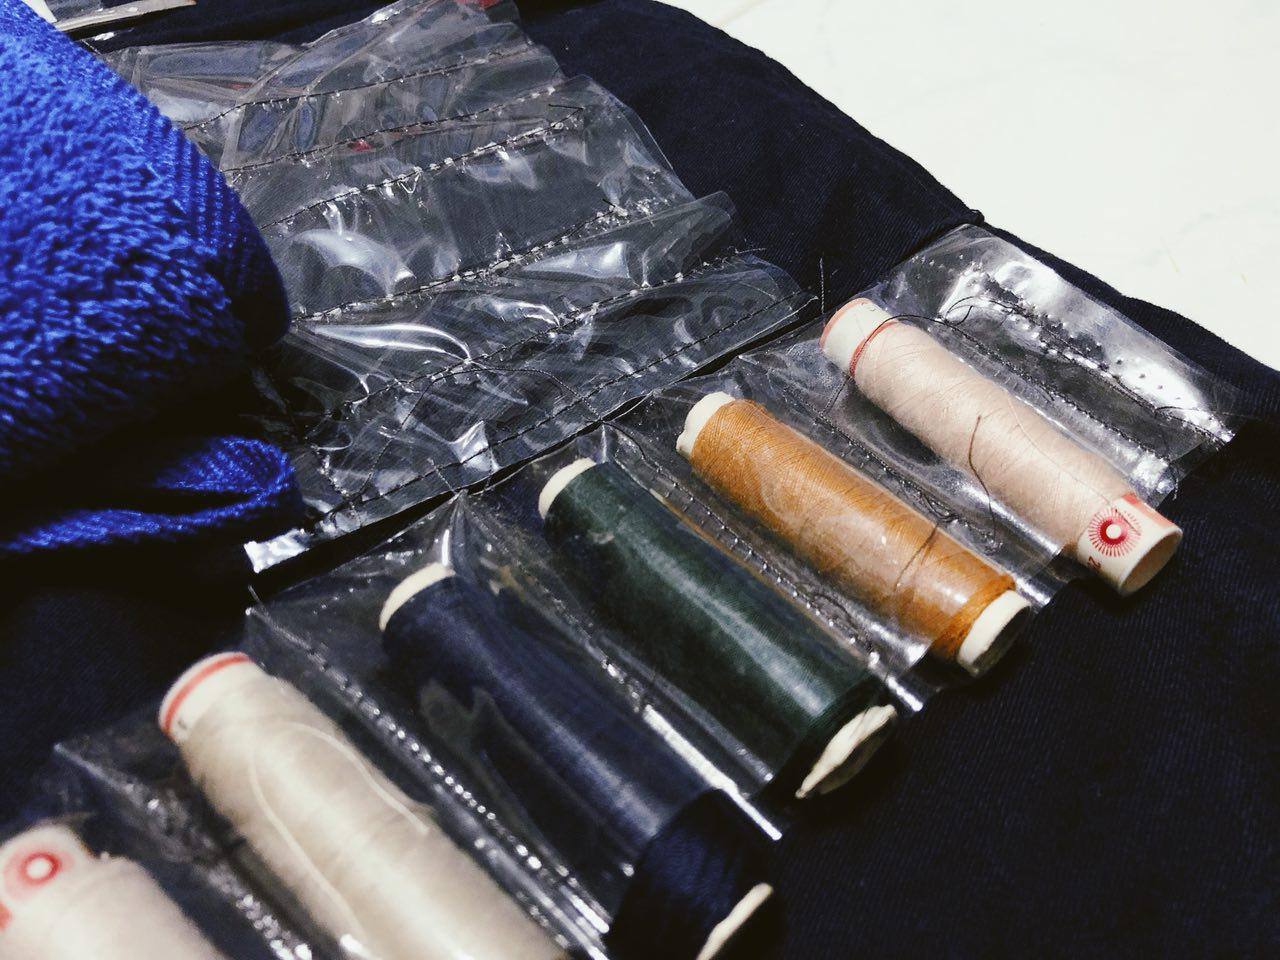
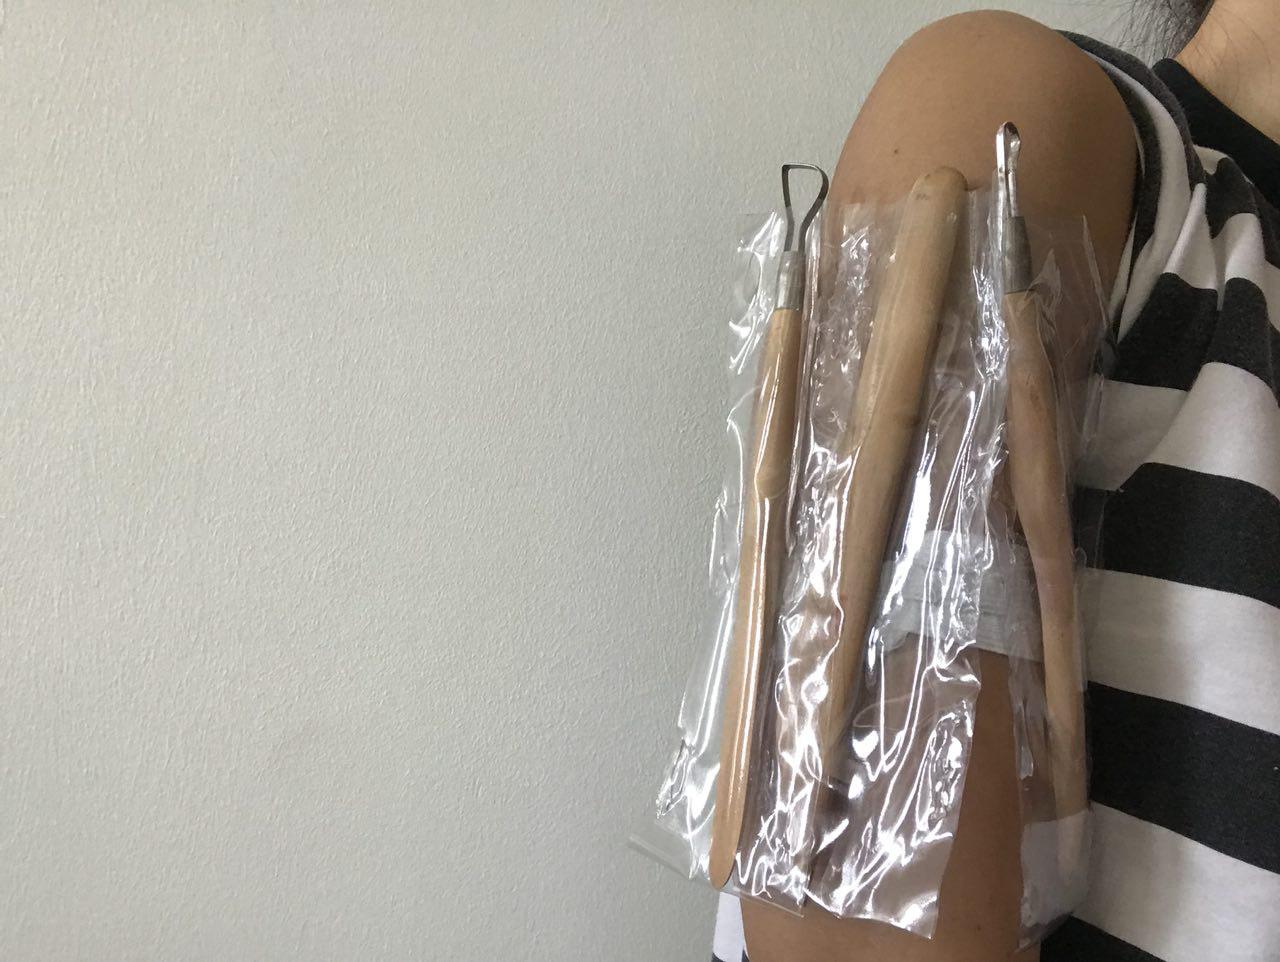
Also, the prototype is also created with water resistant pockets that are not sewn shut at the end so the potter is able to easily wash the tools and let the water drain out. For this first prototype, there are only 3 tools available. In future iterations, I hope to redesign this to be able to fit more.
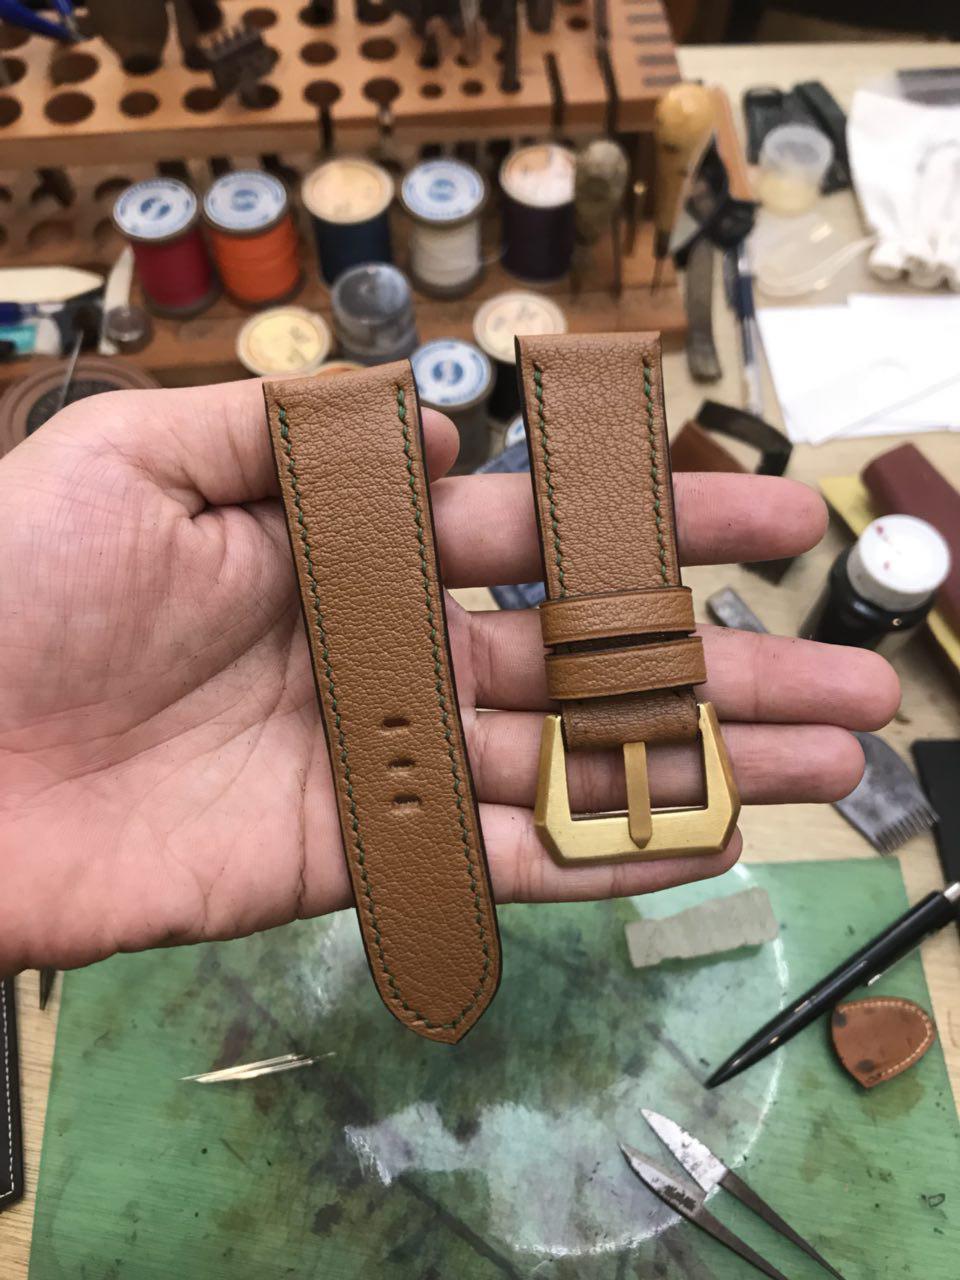
Prototype
Model Creation Process
Creative Practice
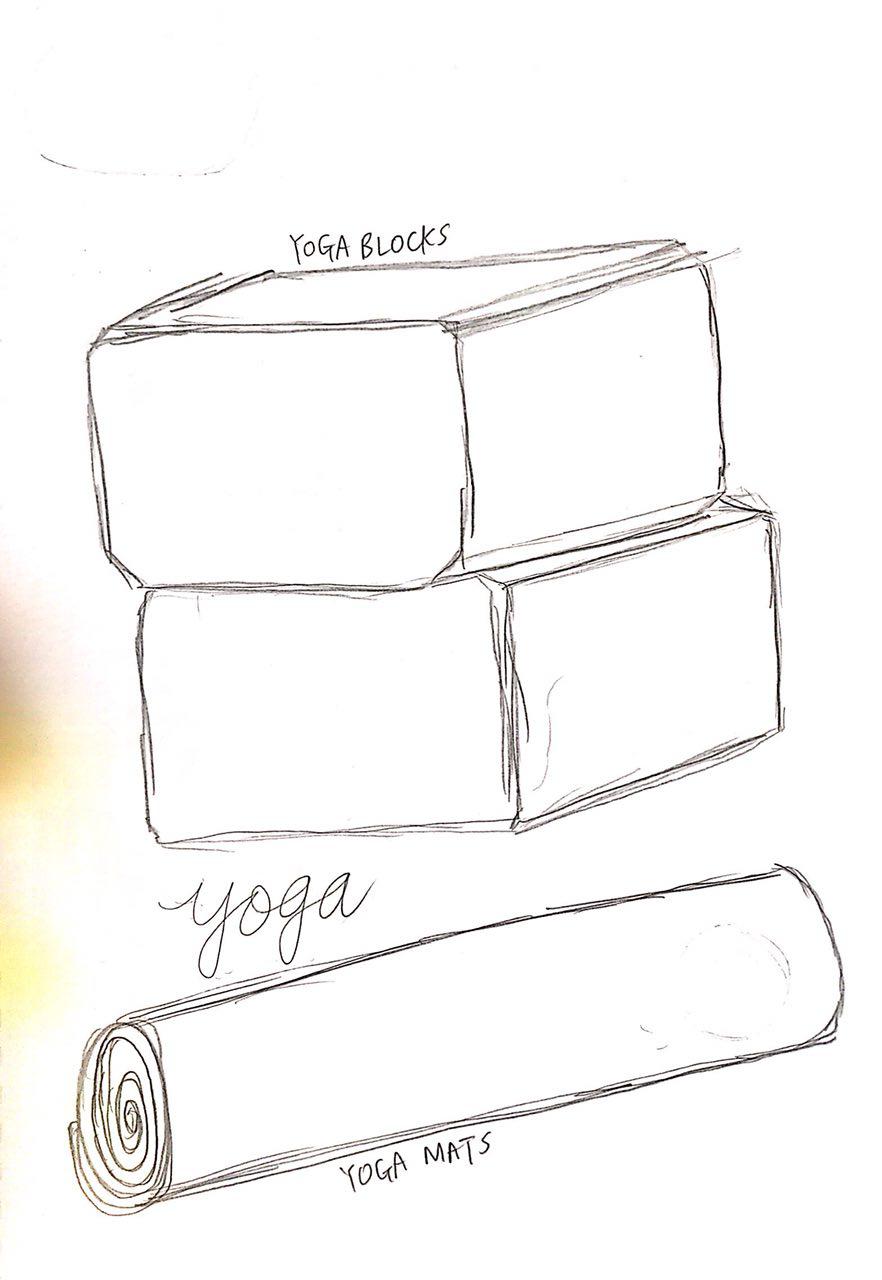
For the model, I challenged myself with another creative practice which was Yoga. This was a challenge because yoga is a practice that requires a lot less tools.
Tools Used
- Yoga Mat
- Yoga Blocks
These are the two basic tools used during a yoga practice.
Ideation for Model
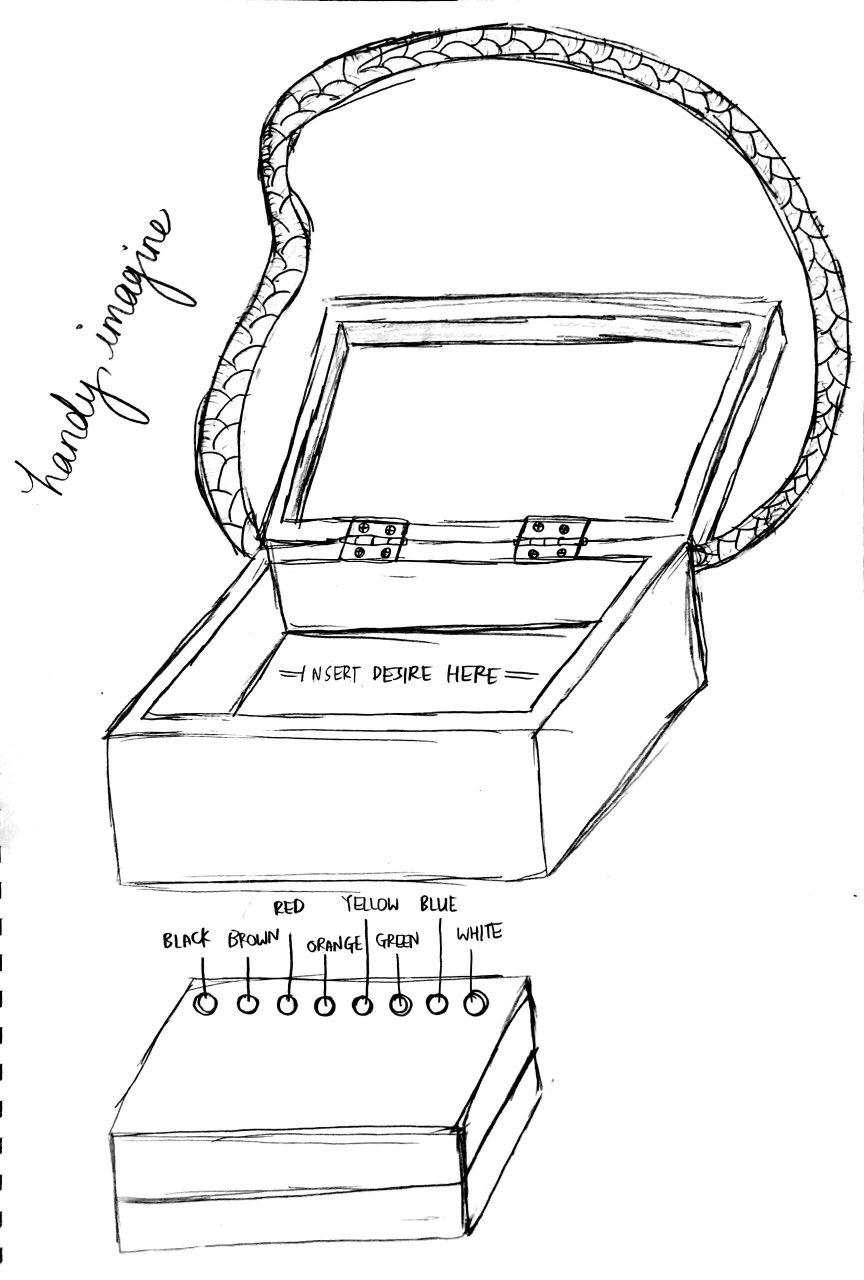
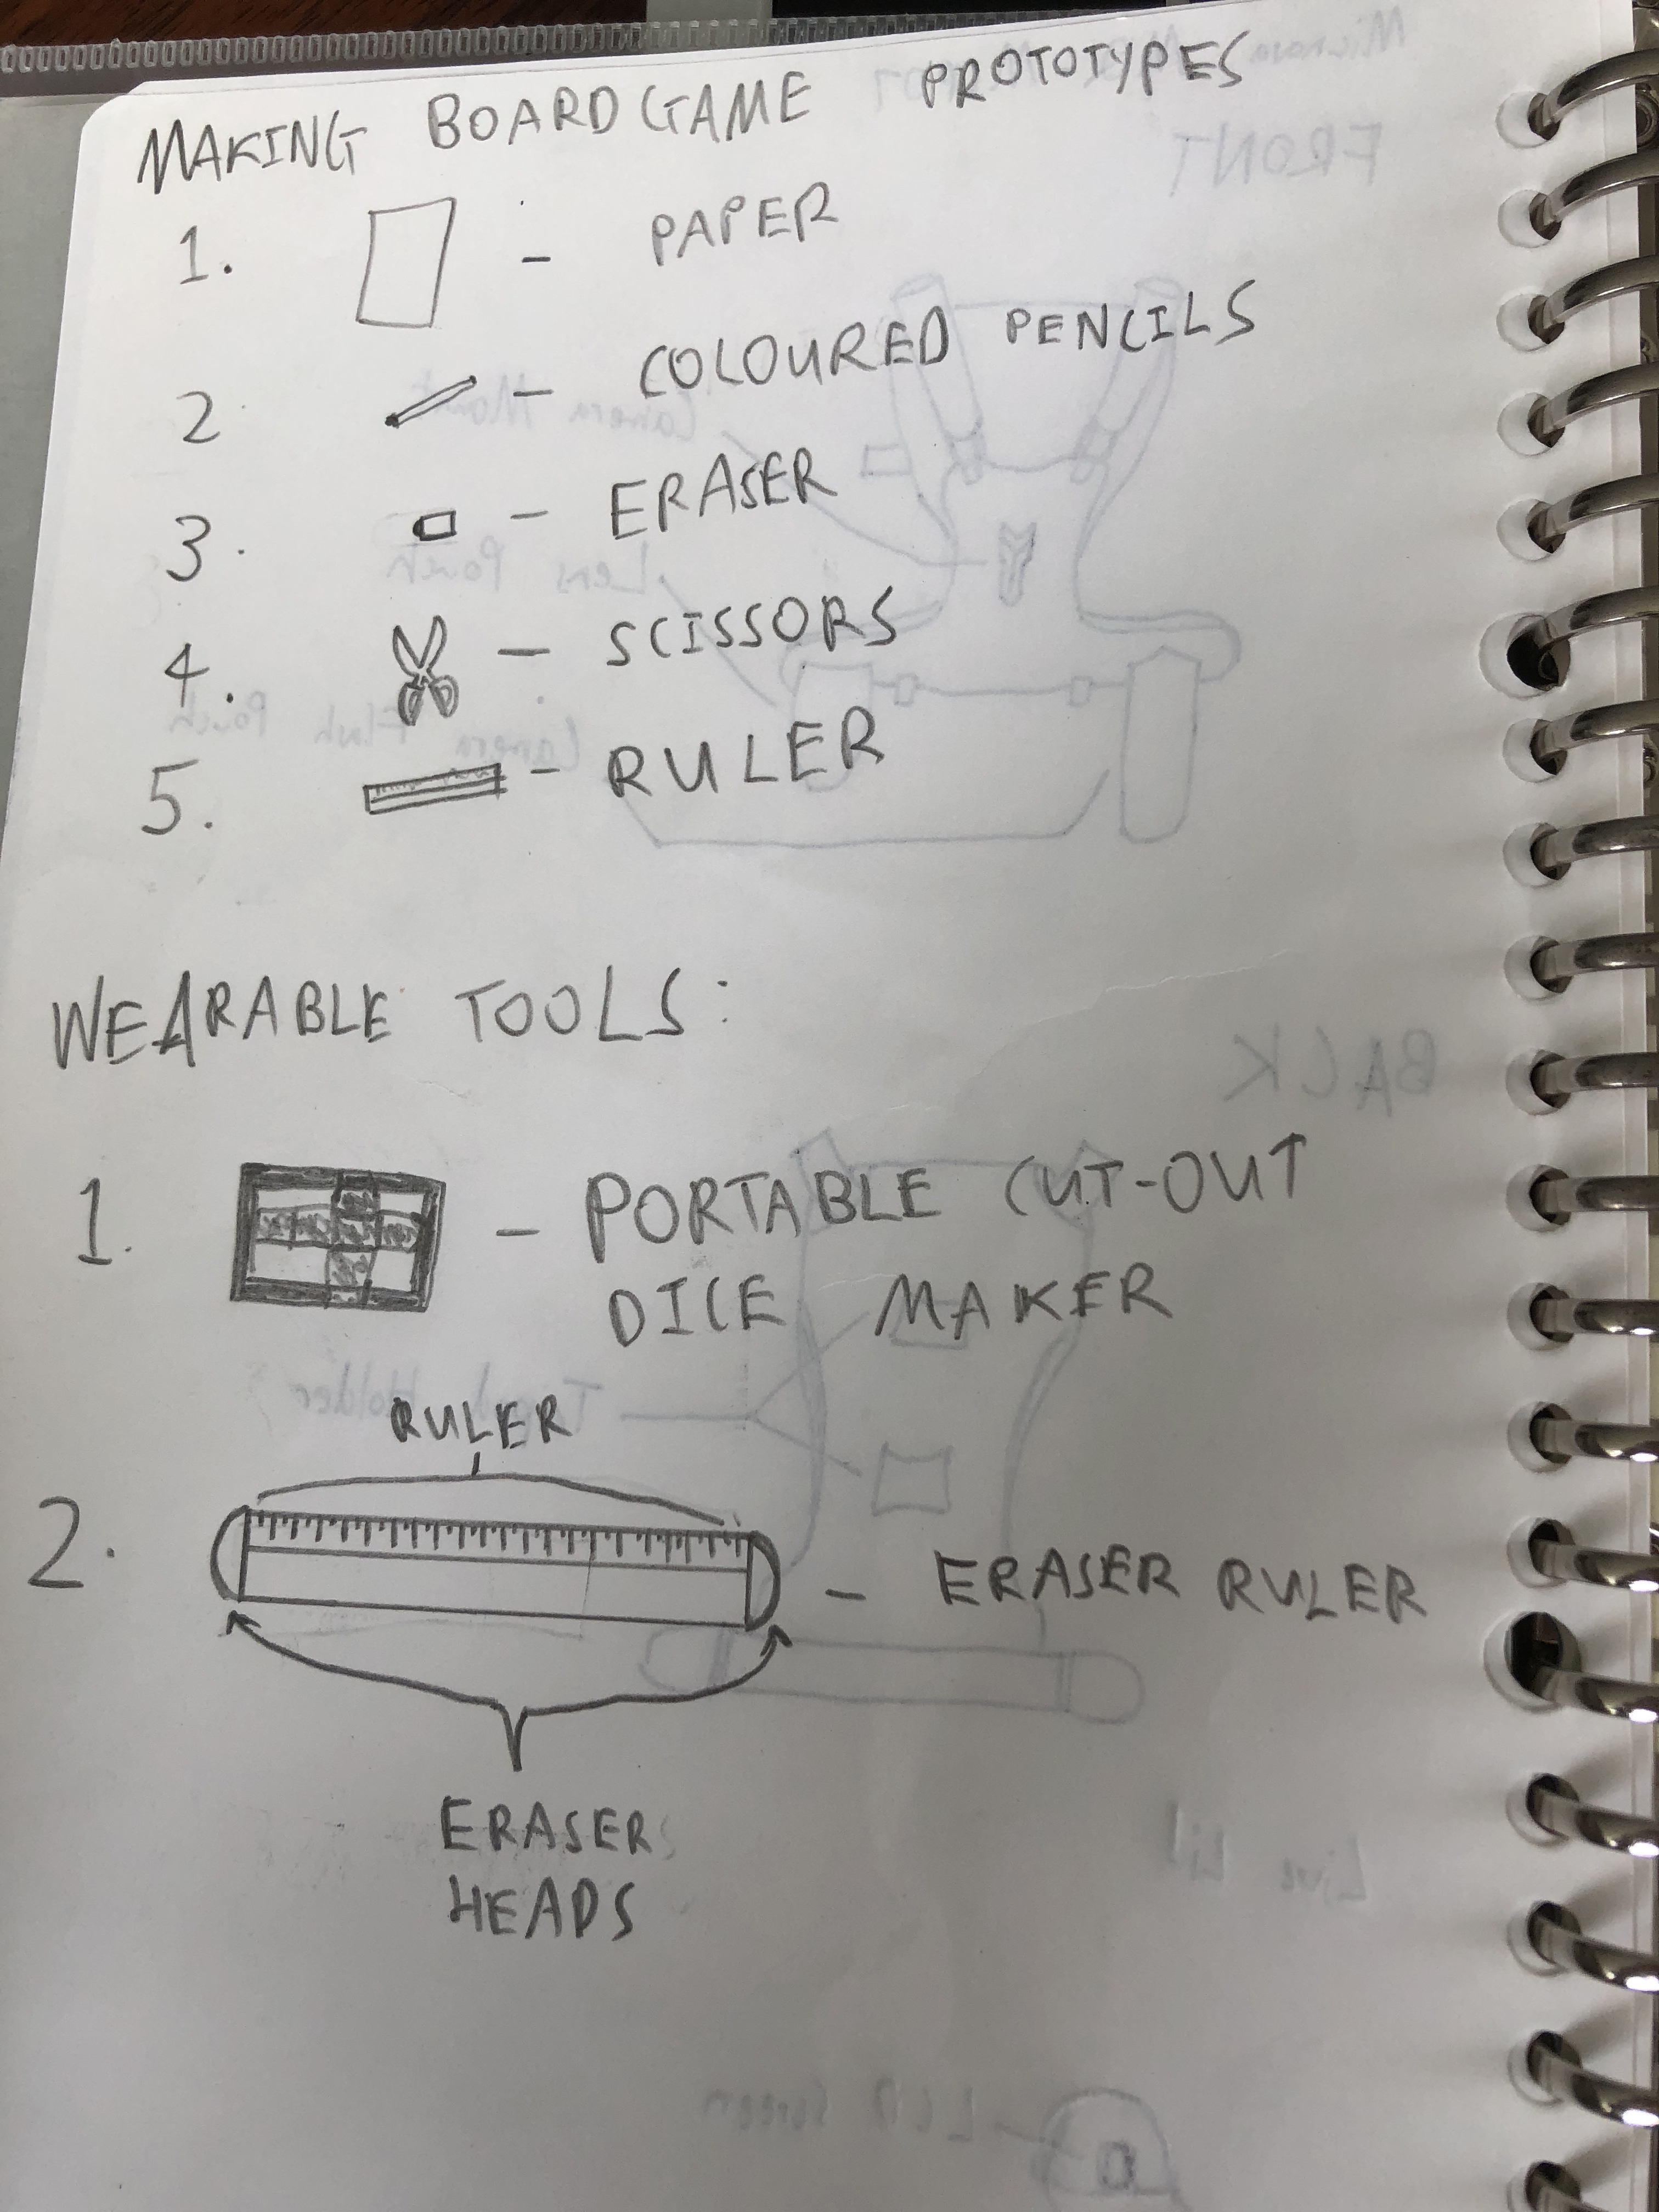
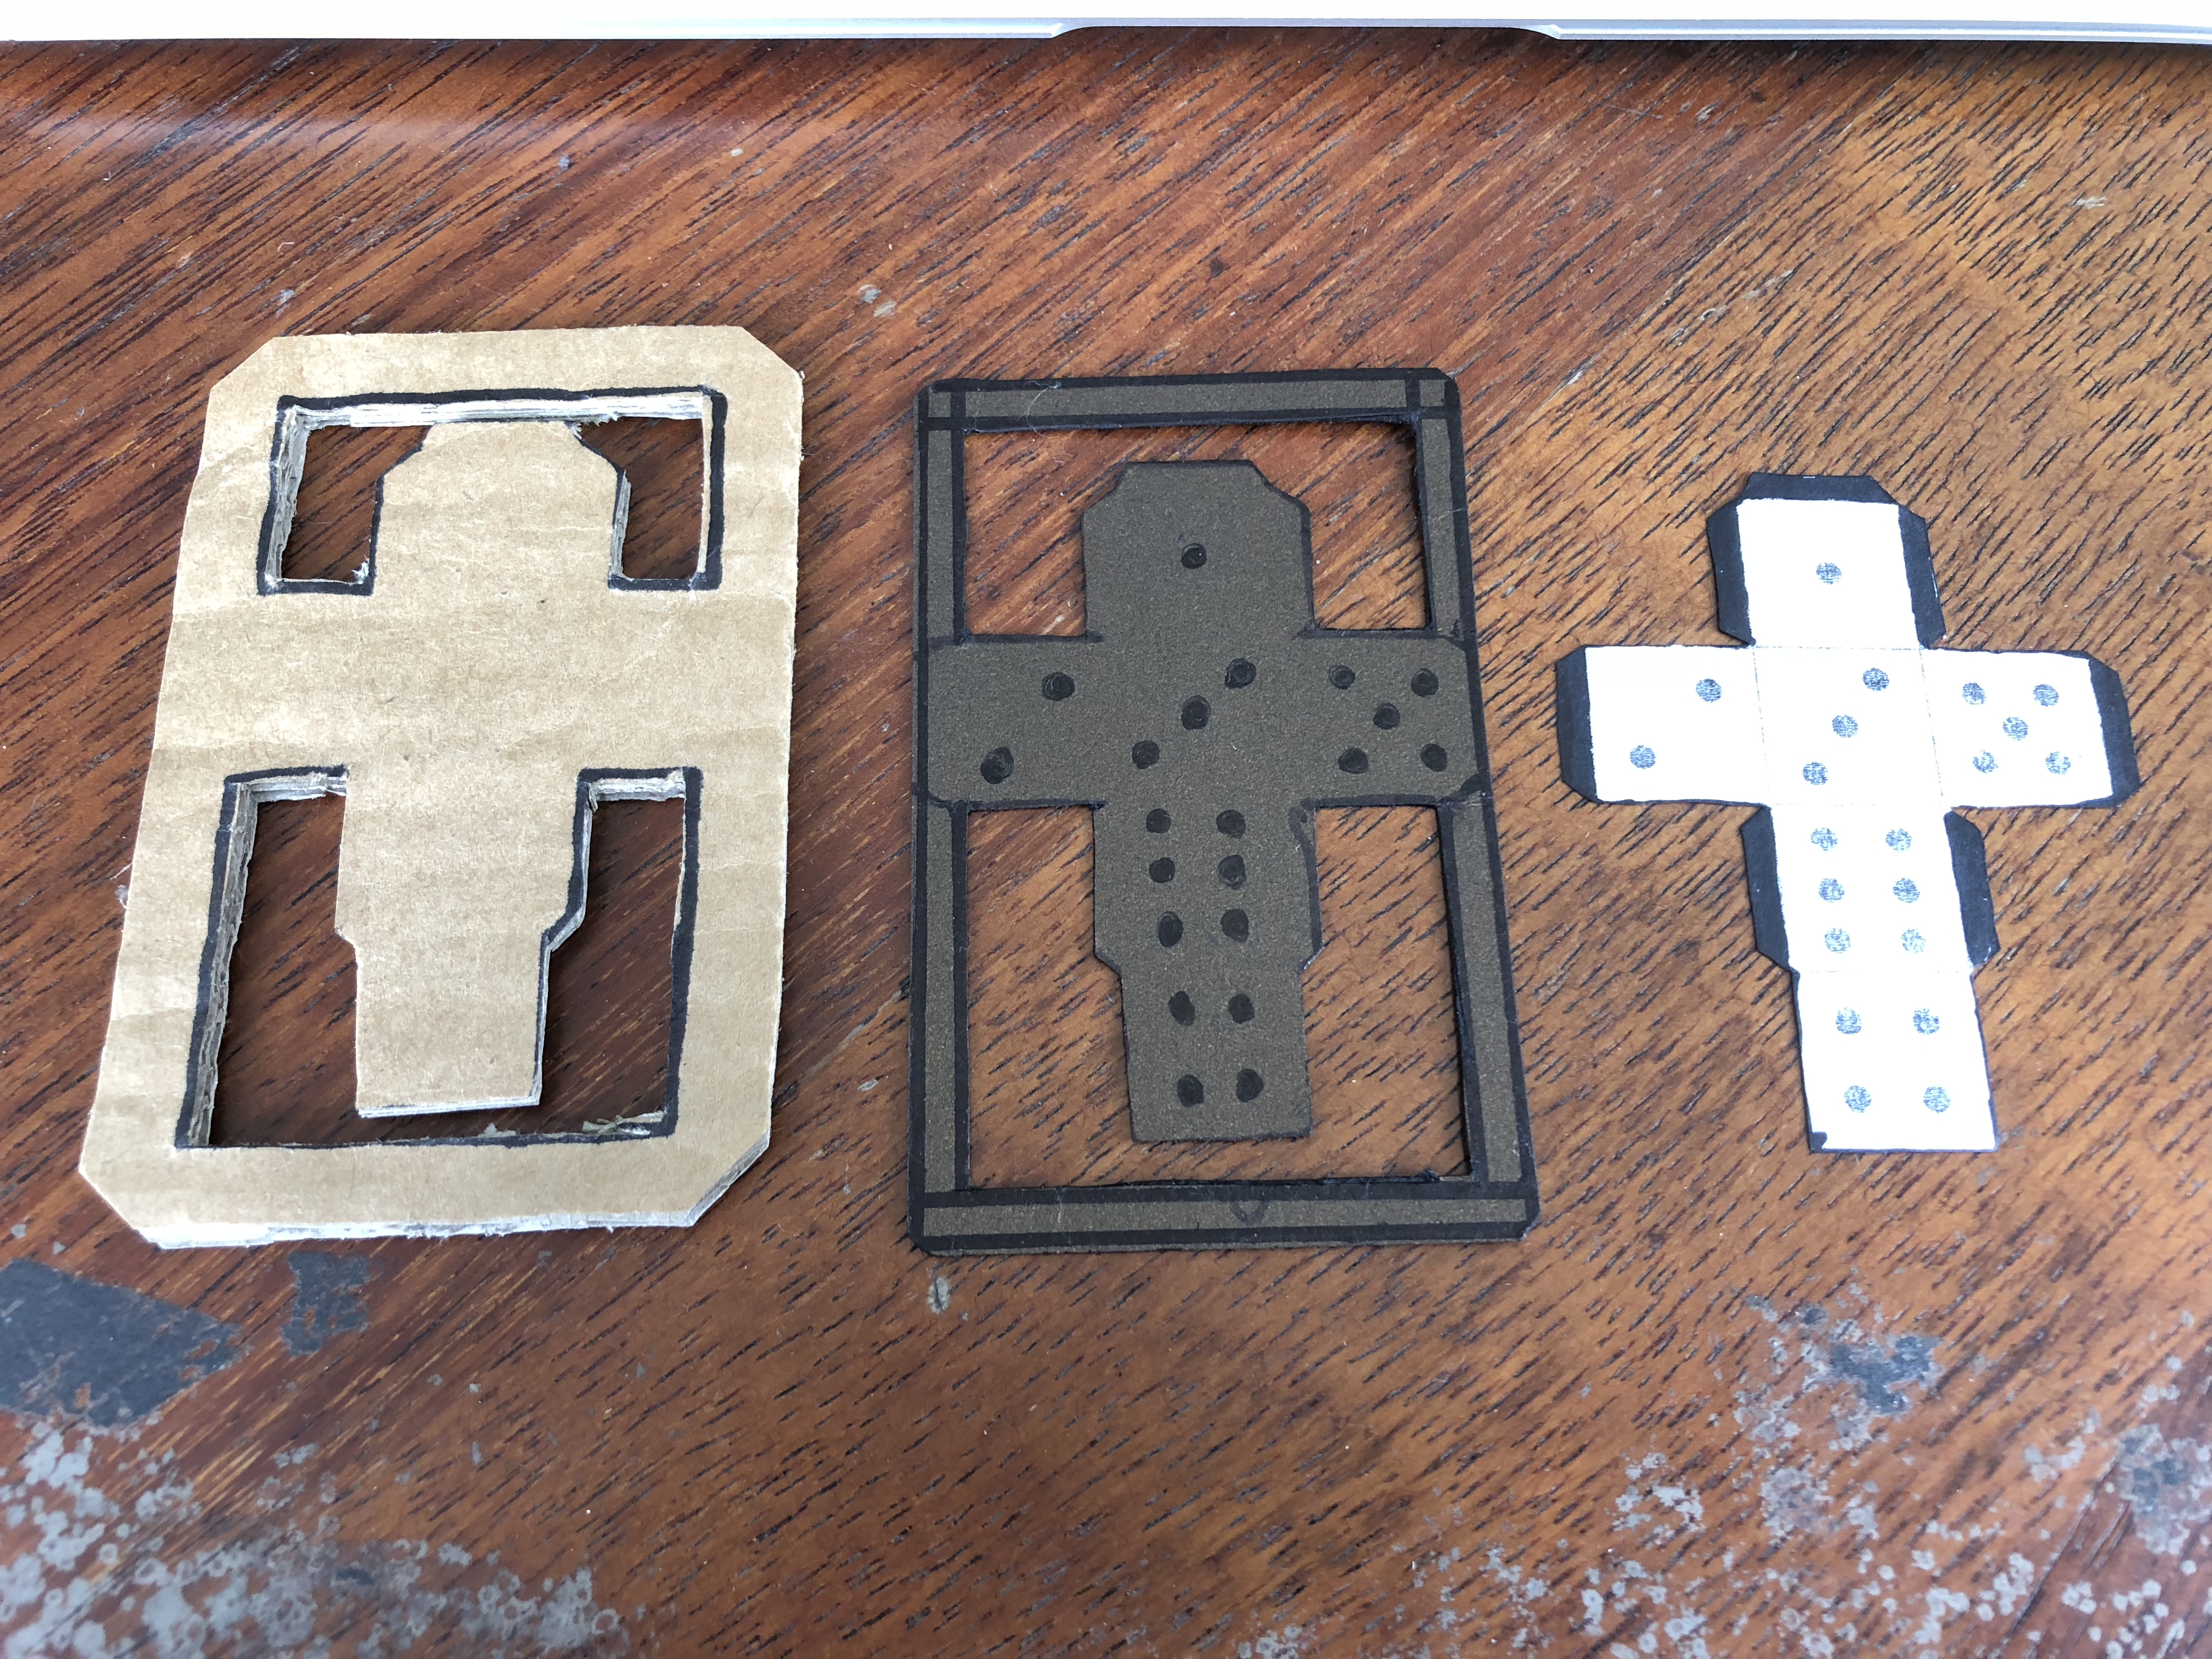
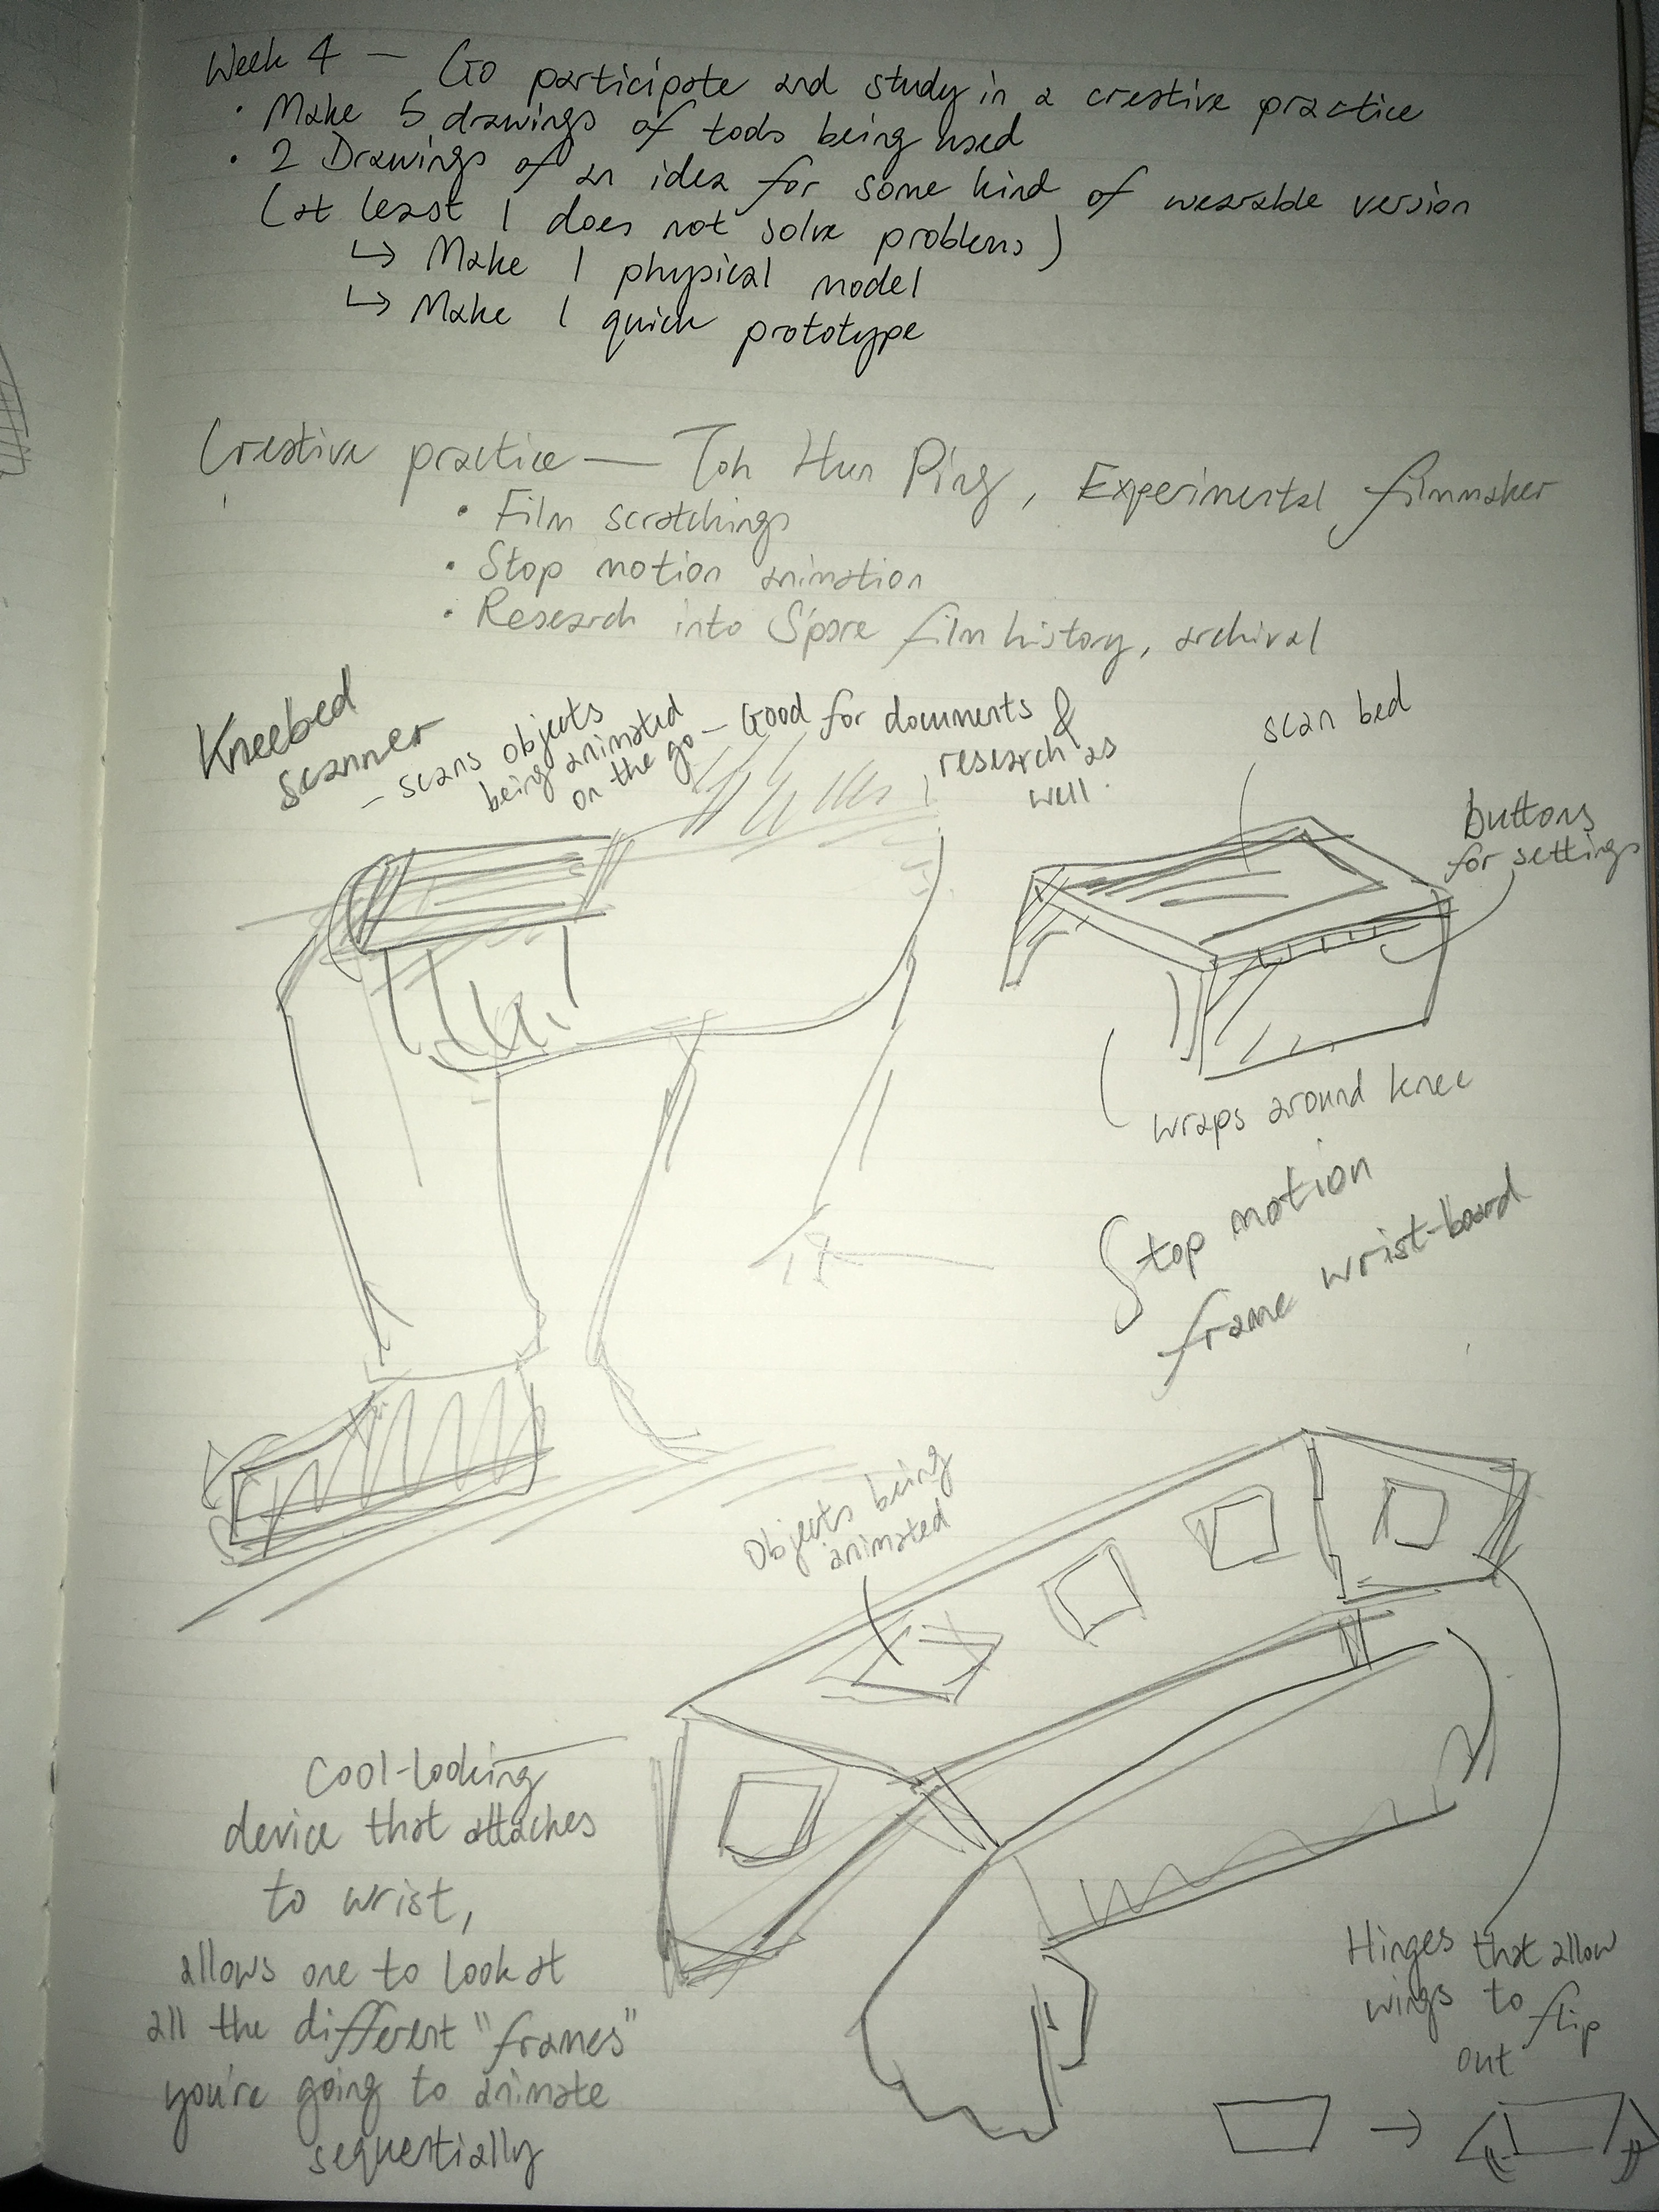
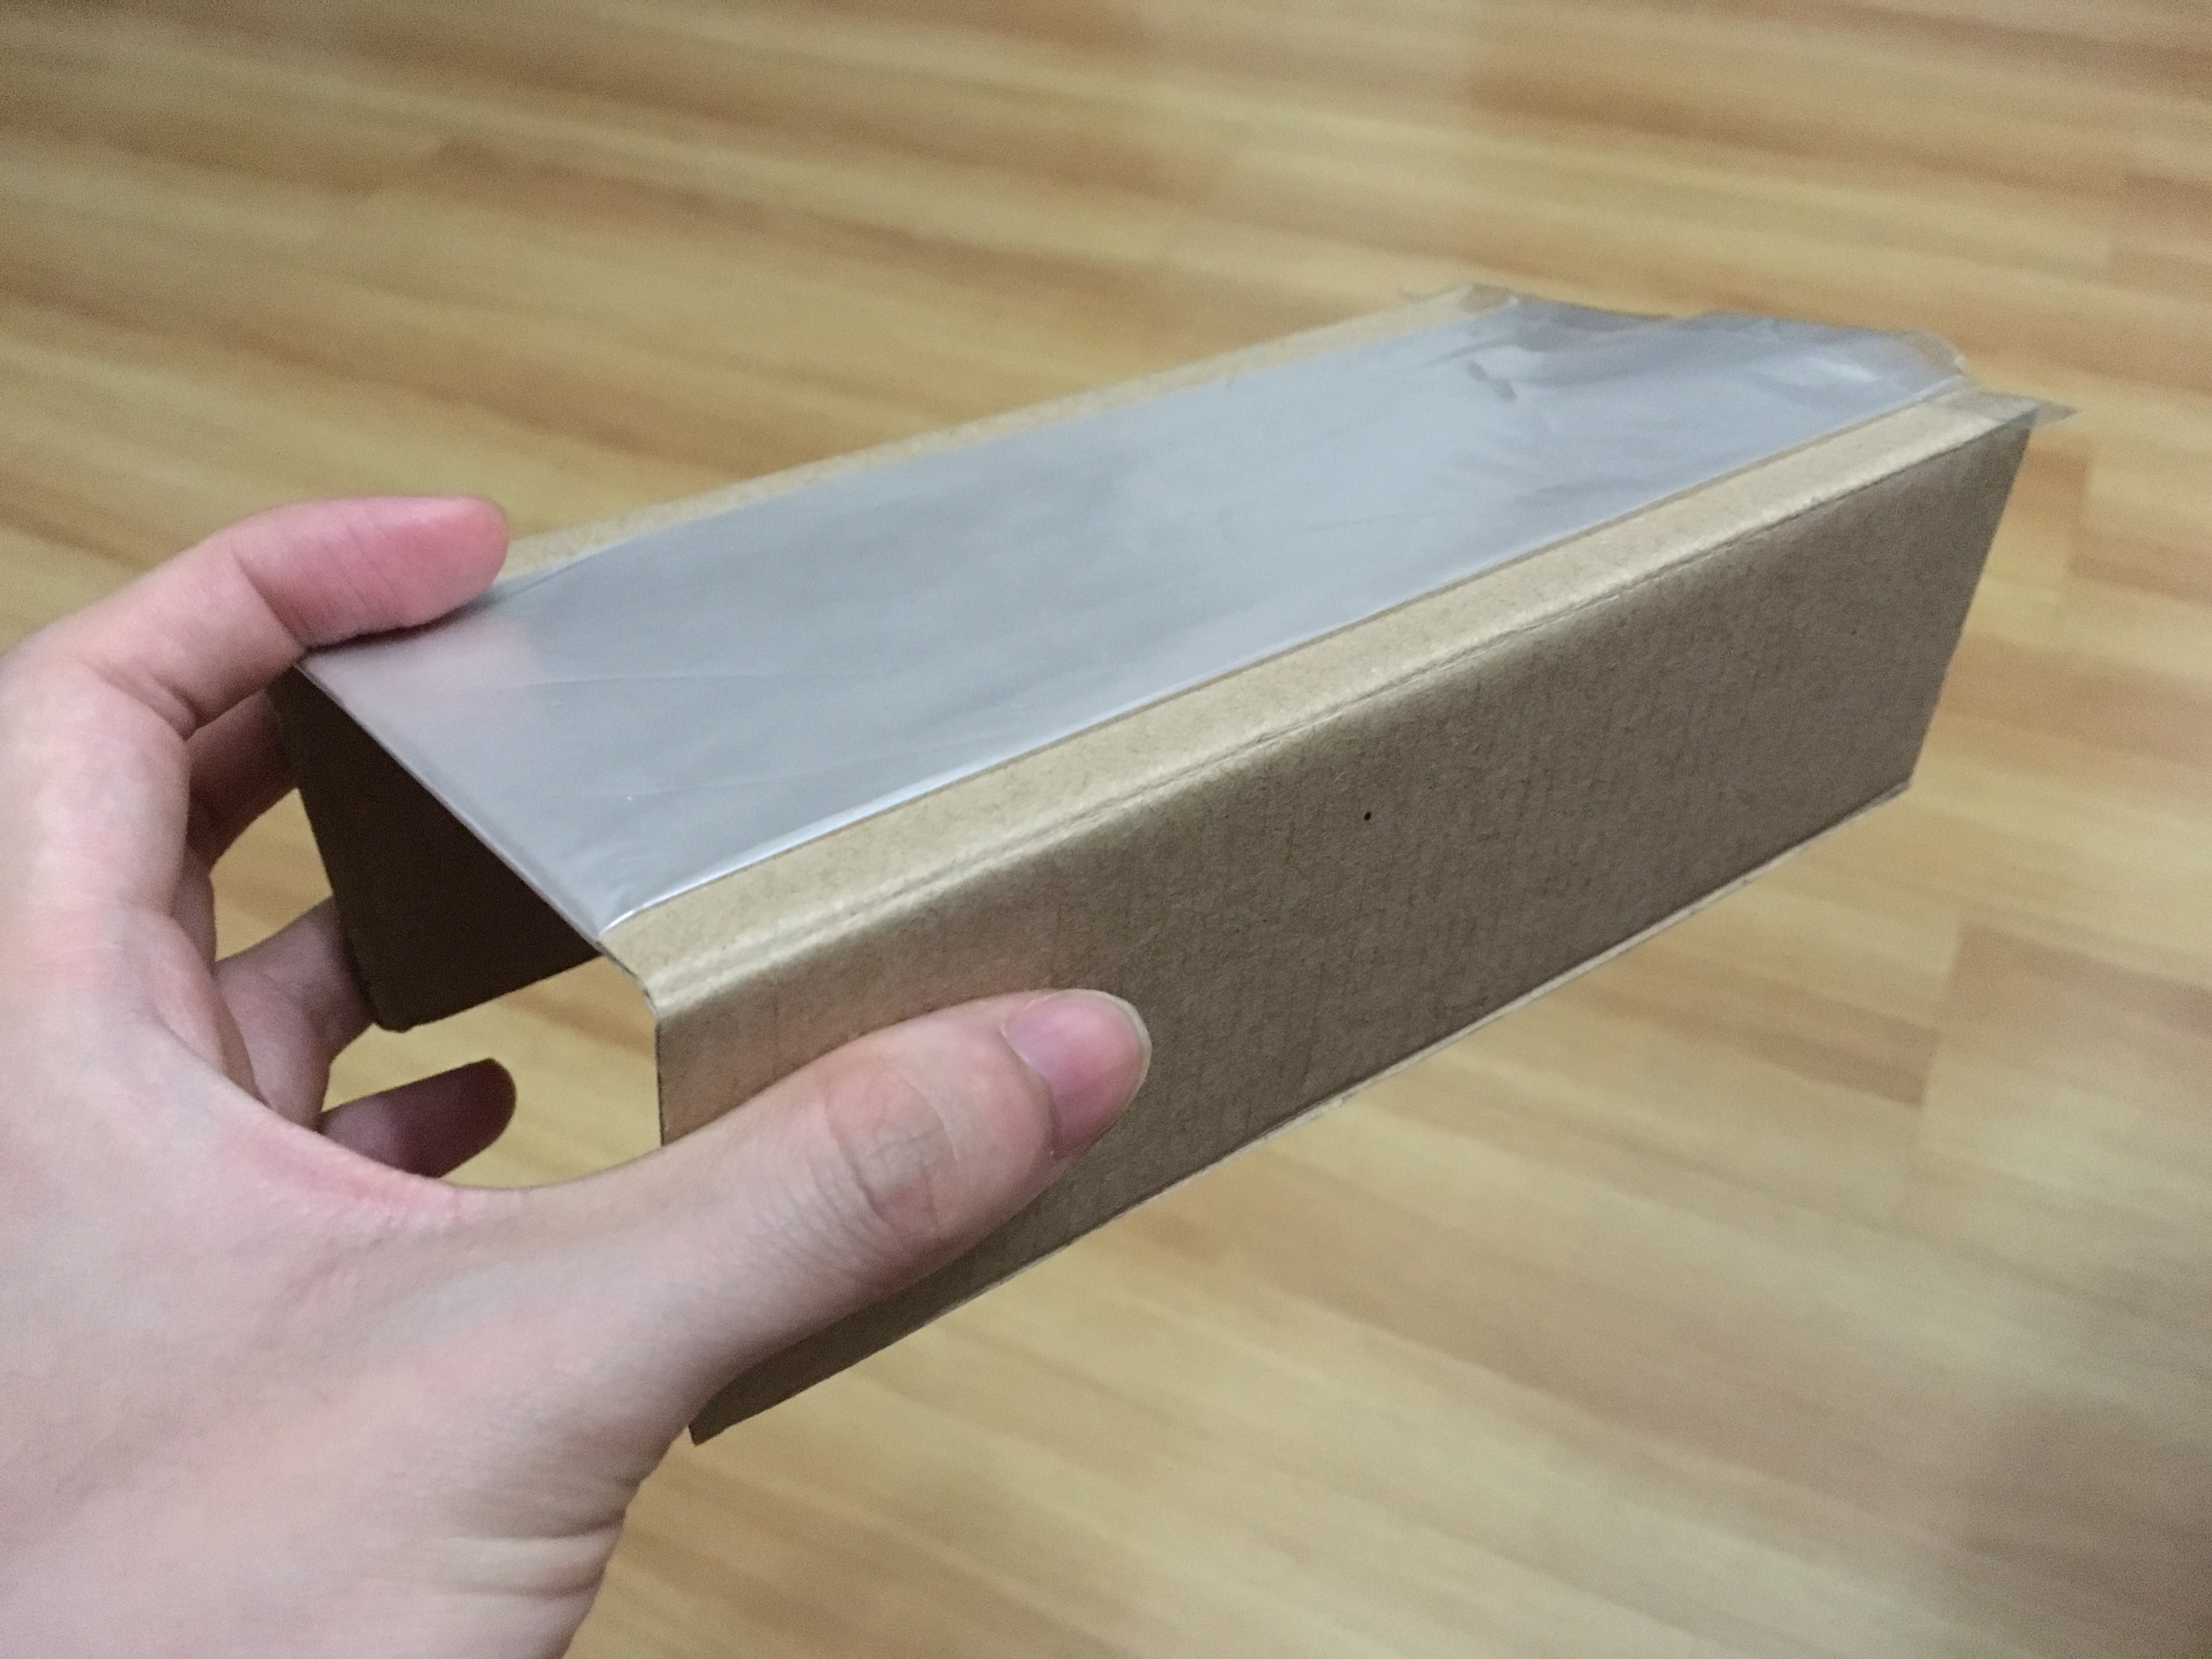
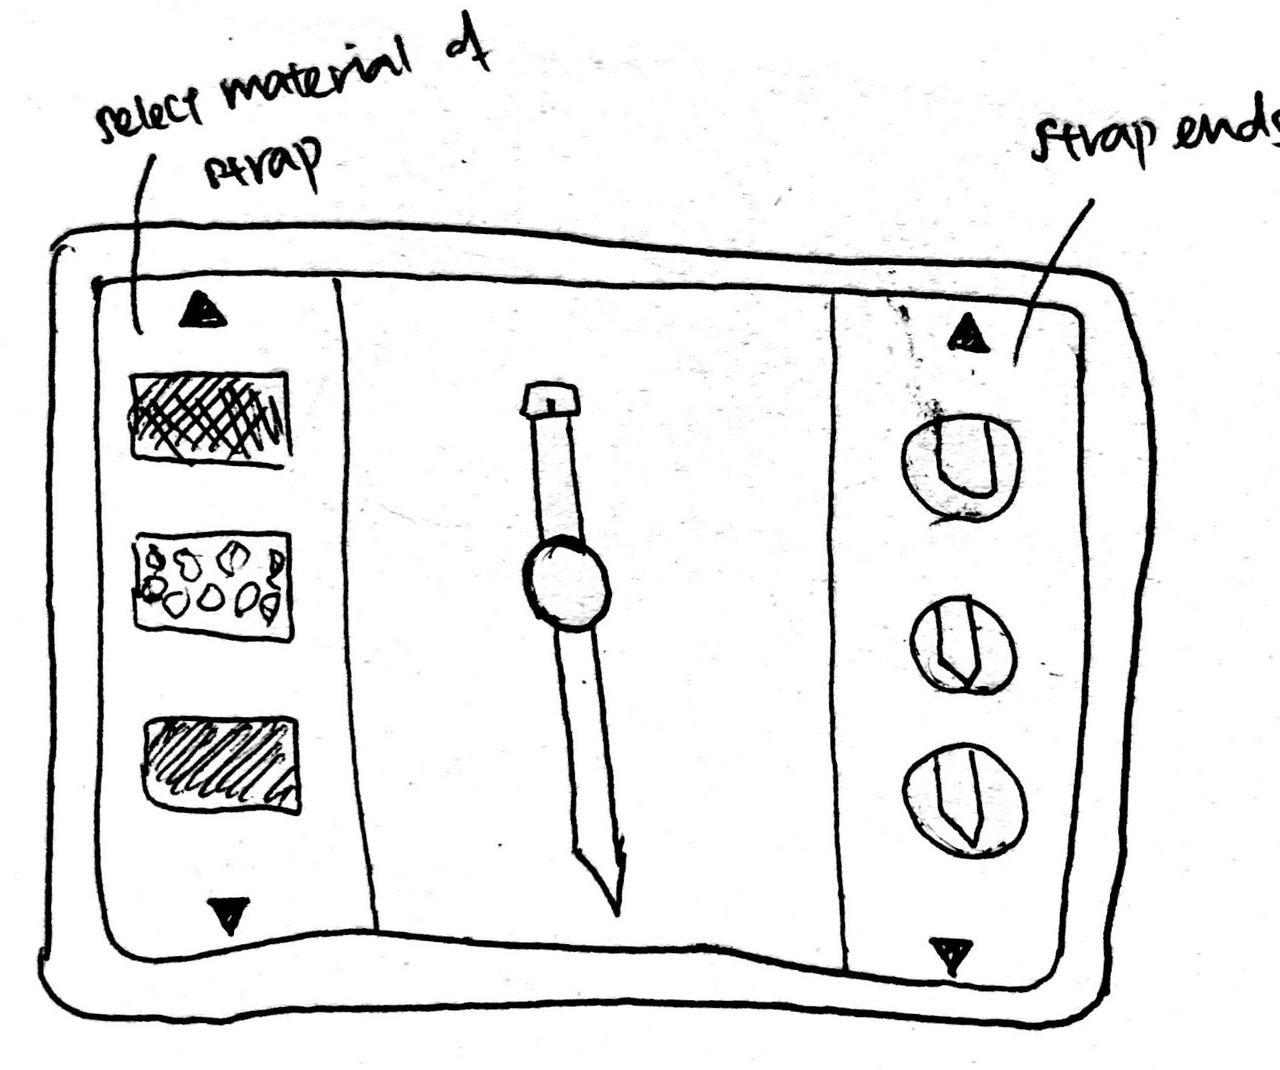
My inspiration, and uses of the model grew throughout the creative process. The starting point was to be able to make the yoga mat and yoga blocks into a miniature size so I did not have to carry them around. It then evolved into creating a Handy Imagine box which would be your one stop box that you could carry around with you that provided you with everything you need.
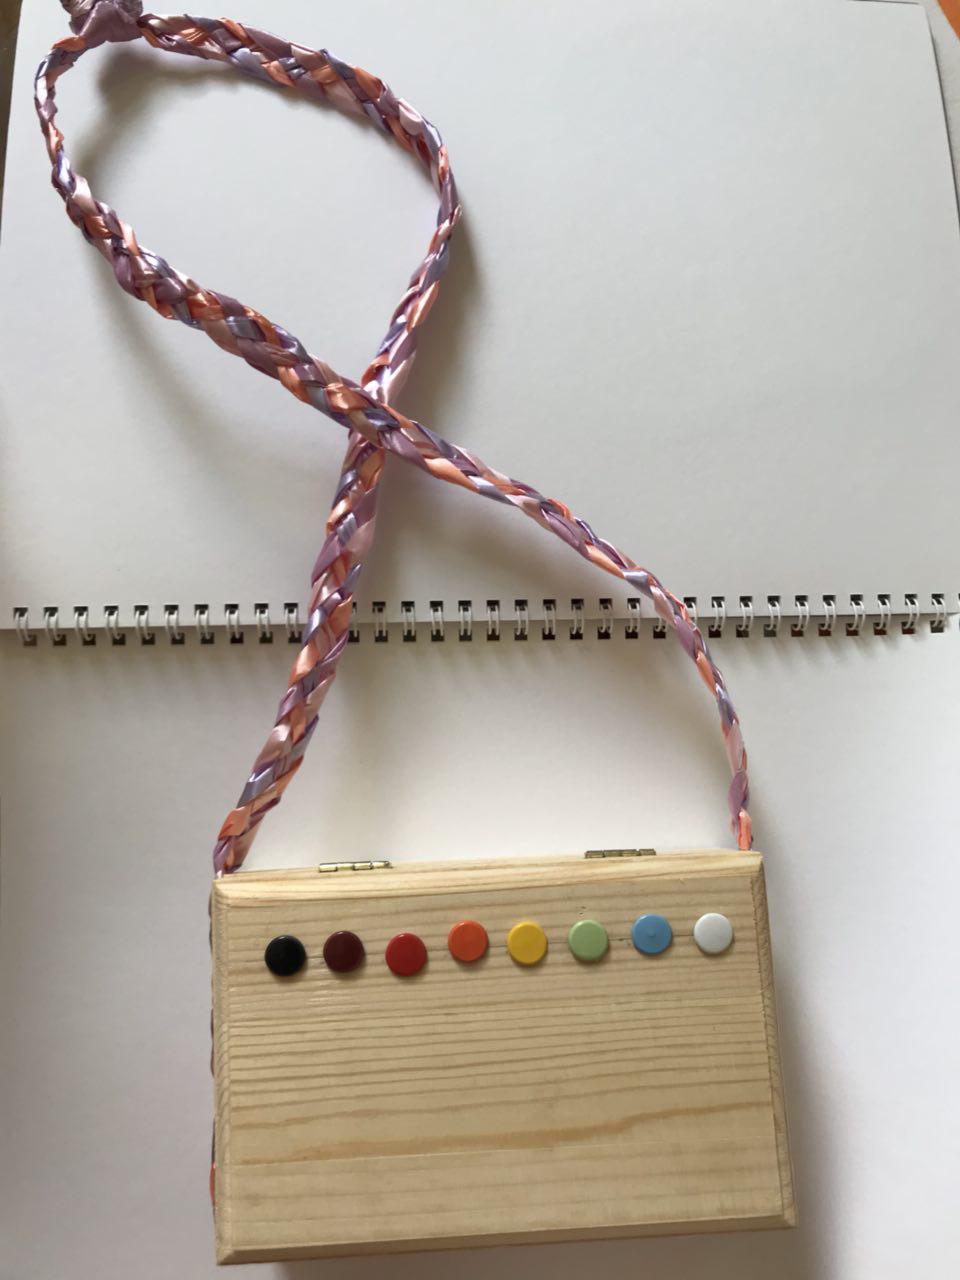
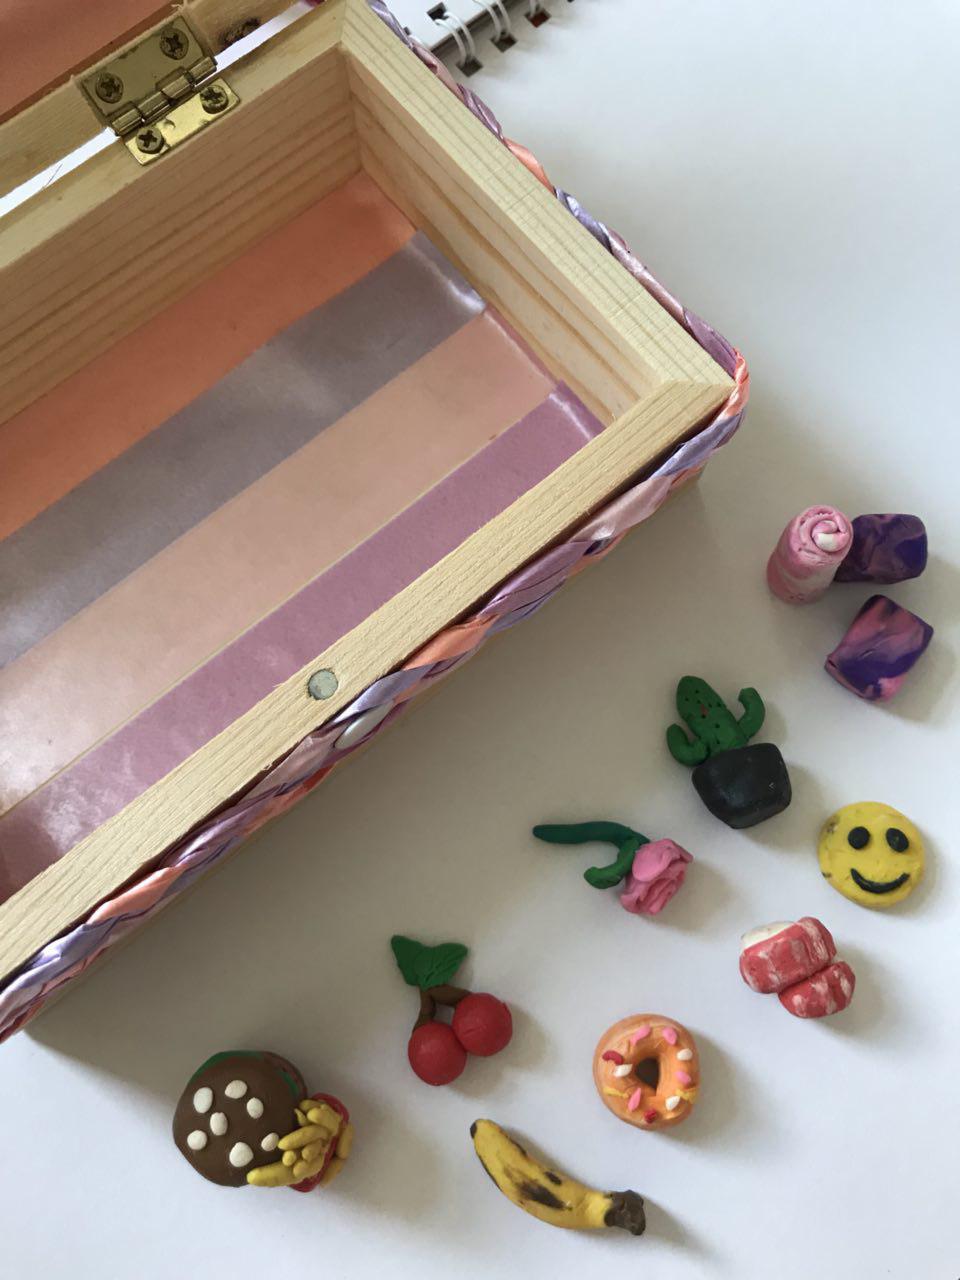
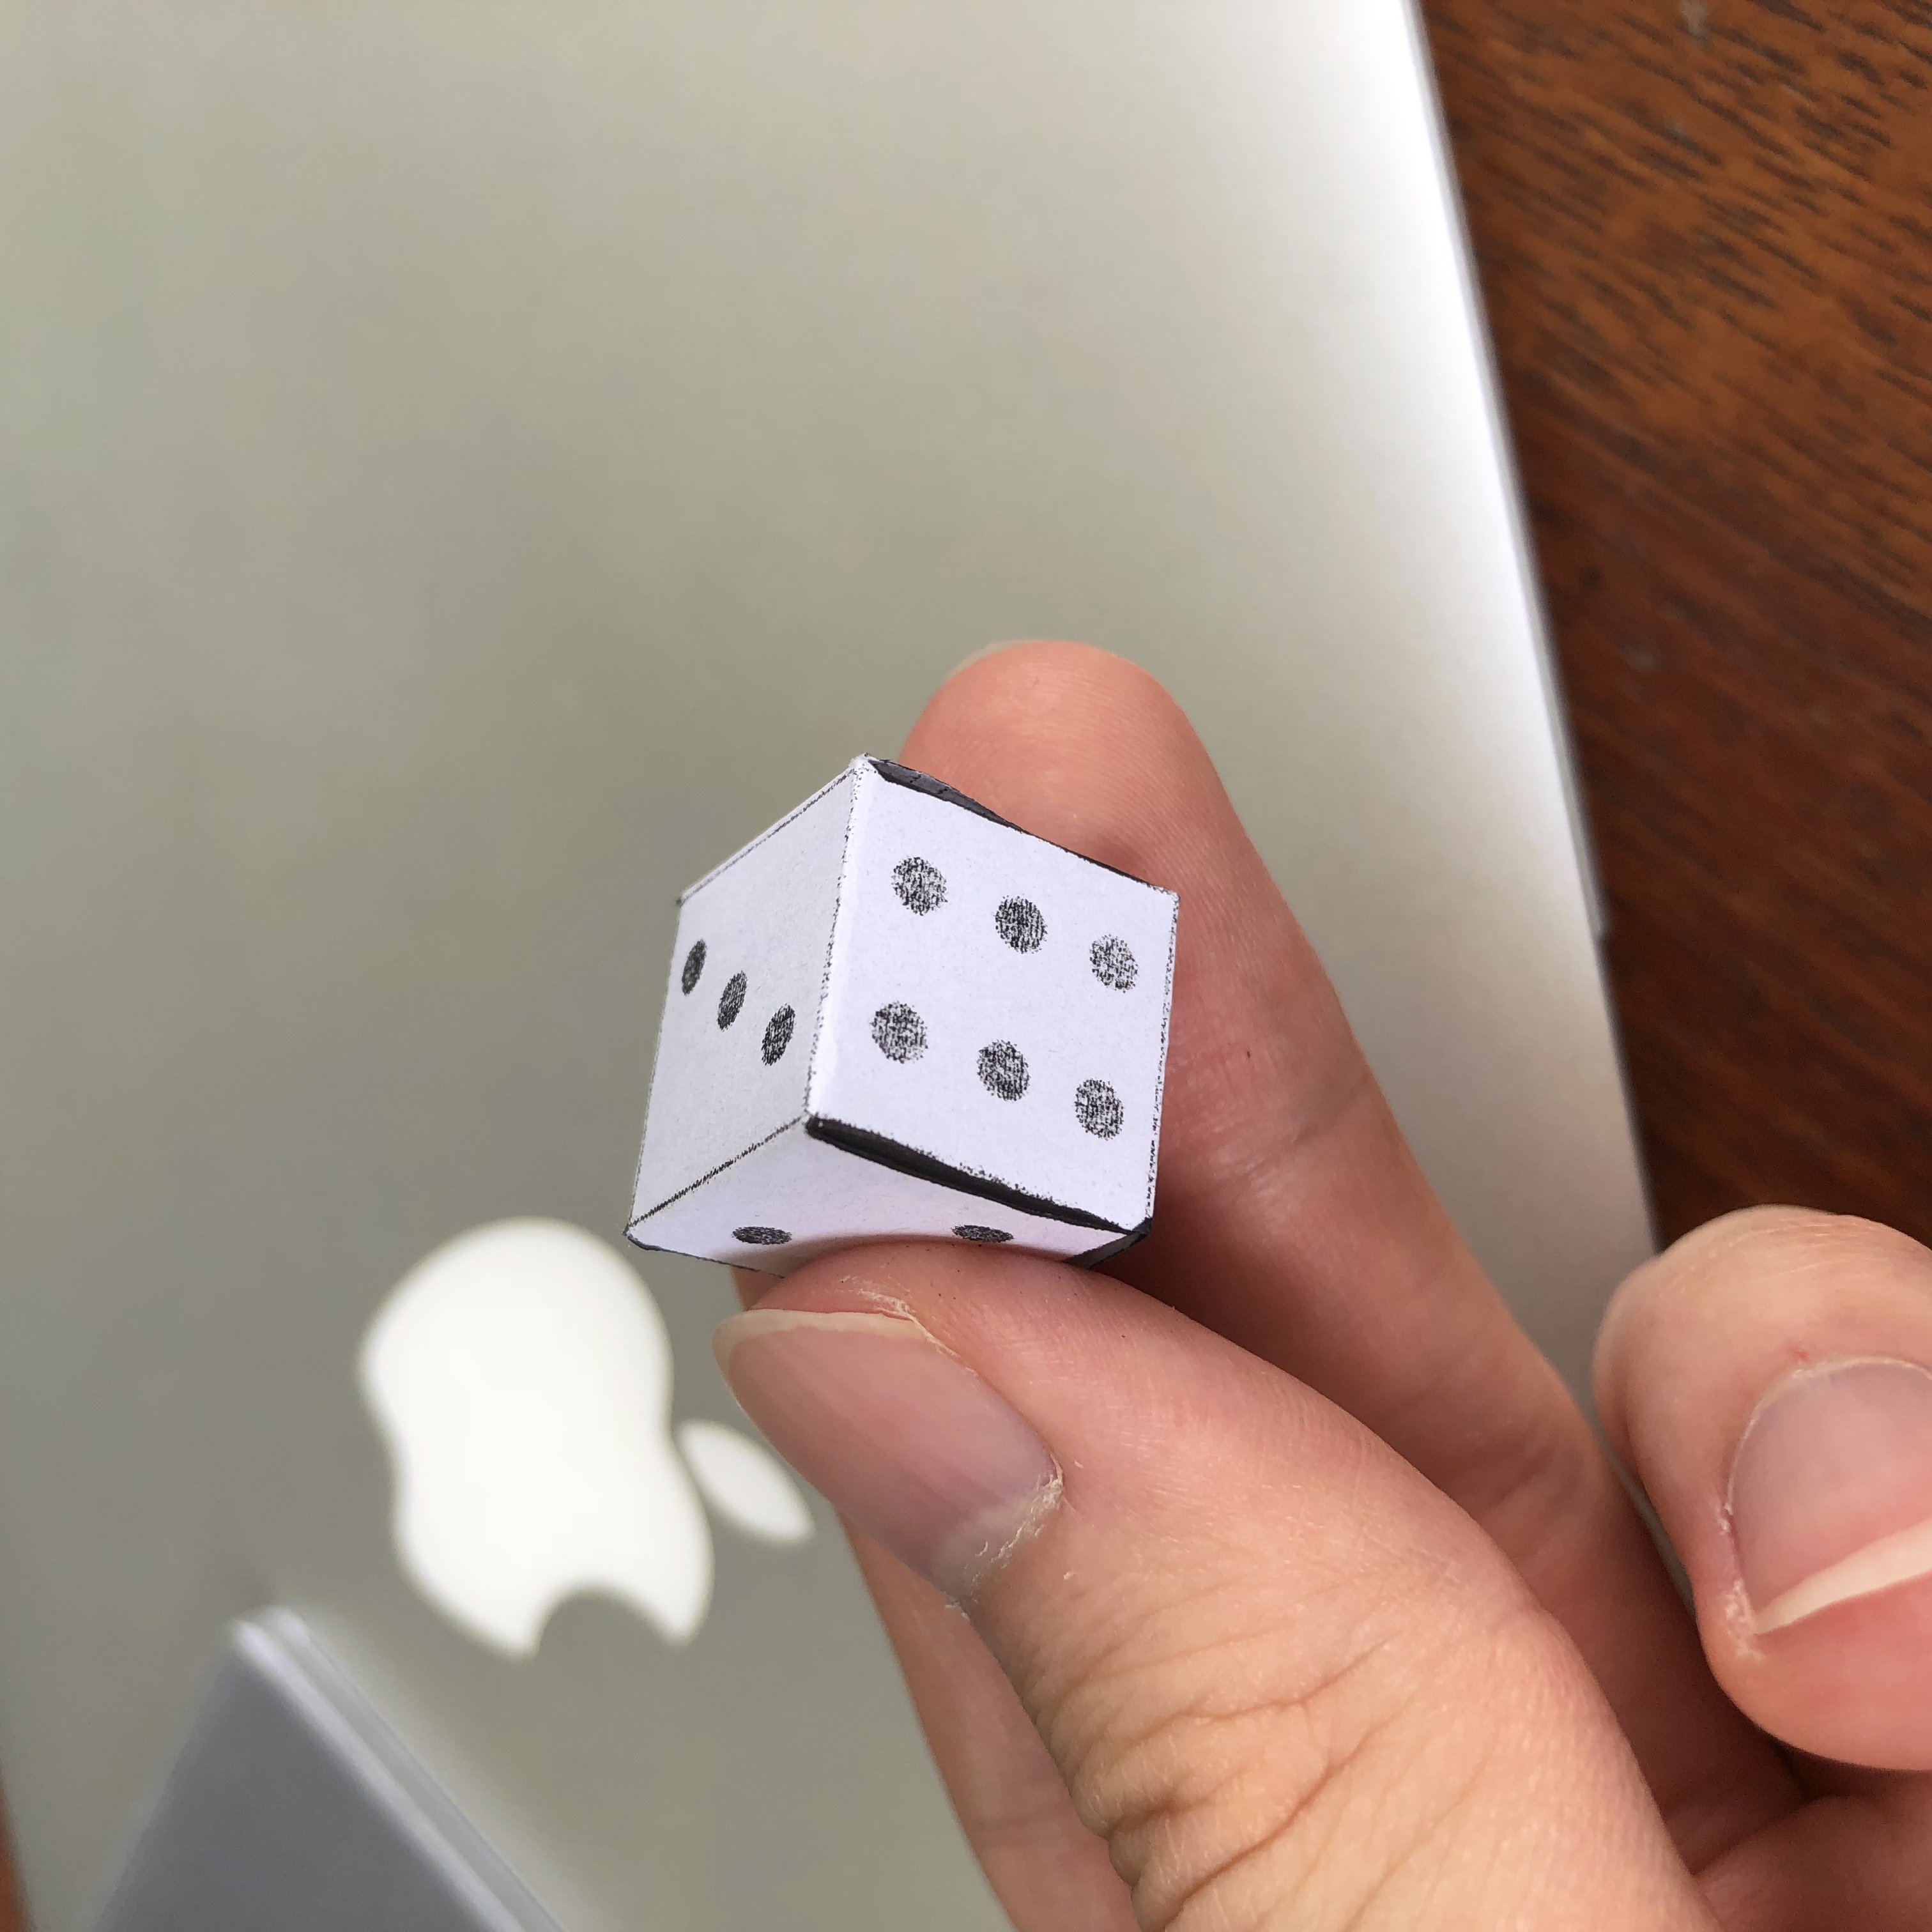
The strap of the box would be slinked on your shoulder and this contact with the users’ body would send signals of what the body desires (e.g. food) or what the user needs at the point in time. The box would then create a miniature version of what it predicts the user wants and alerts him/her. The user would see the item in the box, and if it is what he/she wants, then they would press one of the coloured buttons on the cover (each representing a different item category). Upon pressing, the user would then open the box, where the item would become full size and fully usable.
Model