DIY moisturiser/insect repellent Woke up way too early on a Saturday to attend the DIY workshop at the Visitor Centre at Somerset. The first part of the session we learnt what goes into a natural moisturiser. Essentially, it is an emollient-based (in this case we had shea butter) combined with a blend of essential oils. We had the chance to make our own and went on to customise our own scents. I picked my oils based on its skincare benefits rather than the scents so the end product wasn’t the best smelling. Some people prefer a good smelling cream but I personally don’t mind it.
nfd
The difficulty came when we started to make our own insect repellent. The shea butter base from earlier had a pretty neutral scent so we were merely just adding oils to it to make it smell better. But the base of the insect repellent was made from neem oil which wasn’t the most pleasant smelling. I really had difficulty trying to mask the “fishy” briny smell. Ended up adding way too much peppermint which kinda stung when it tried on my skin. Despite being 100% natural, not all ingredients are suitable for the skin as undiluted essential oils are particularly sensitising to the skin.
Overall, it was fun and we walked away with 2 of our own creations!
Red Dot Design Museum
dav
cof
bsh
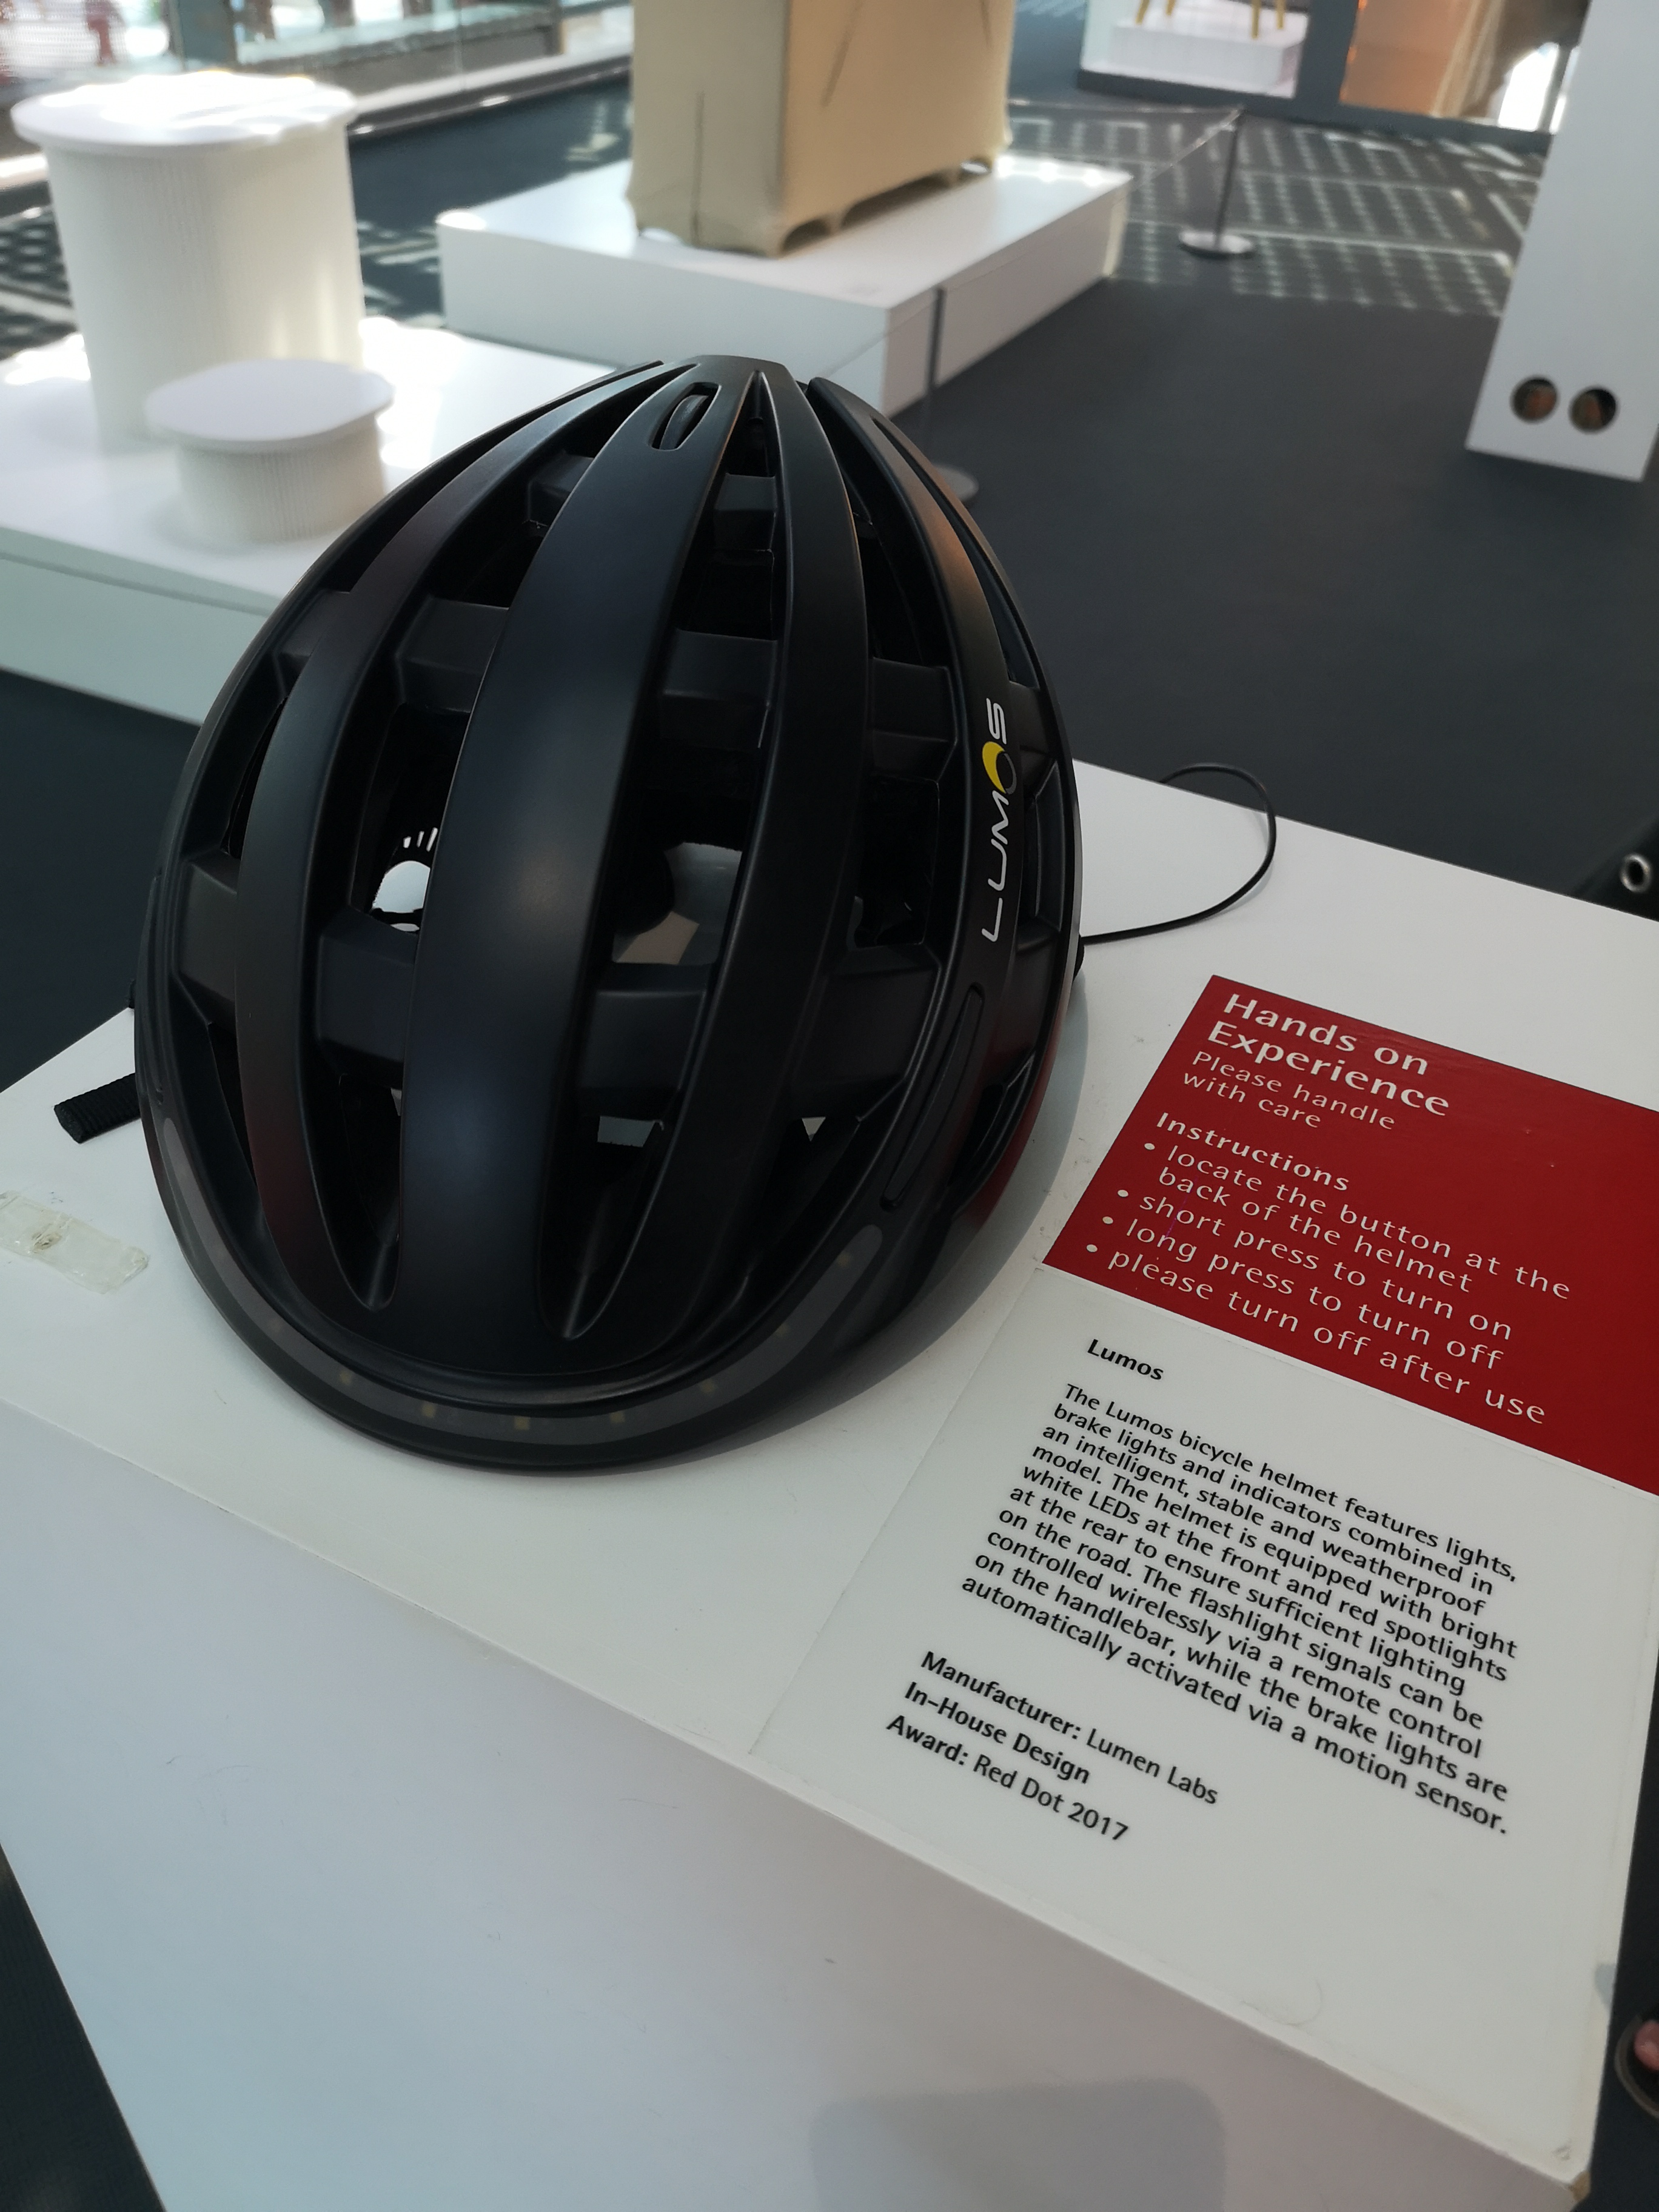
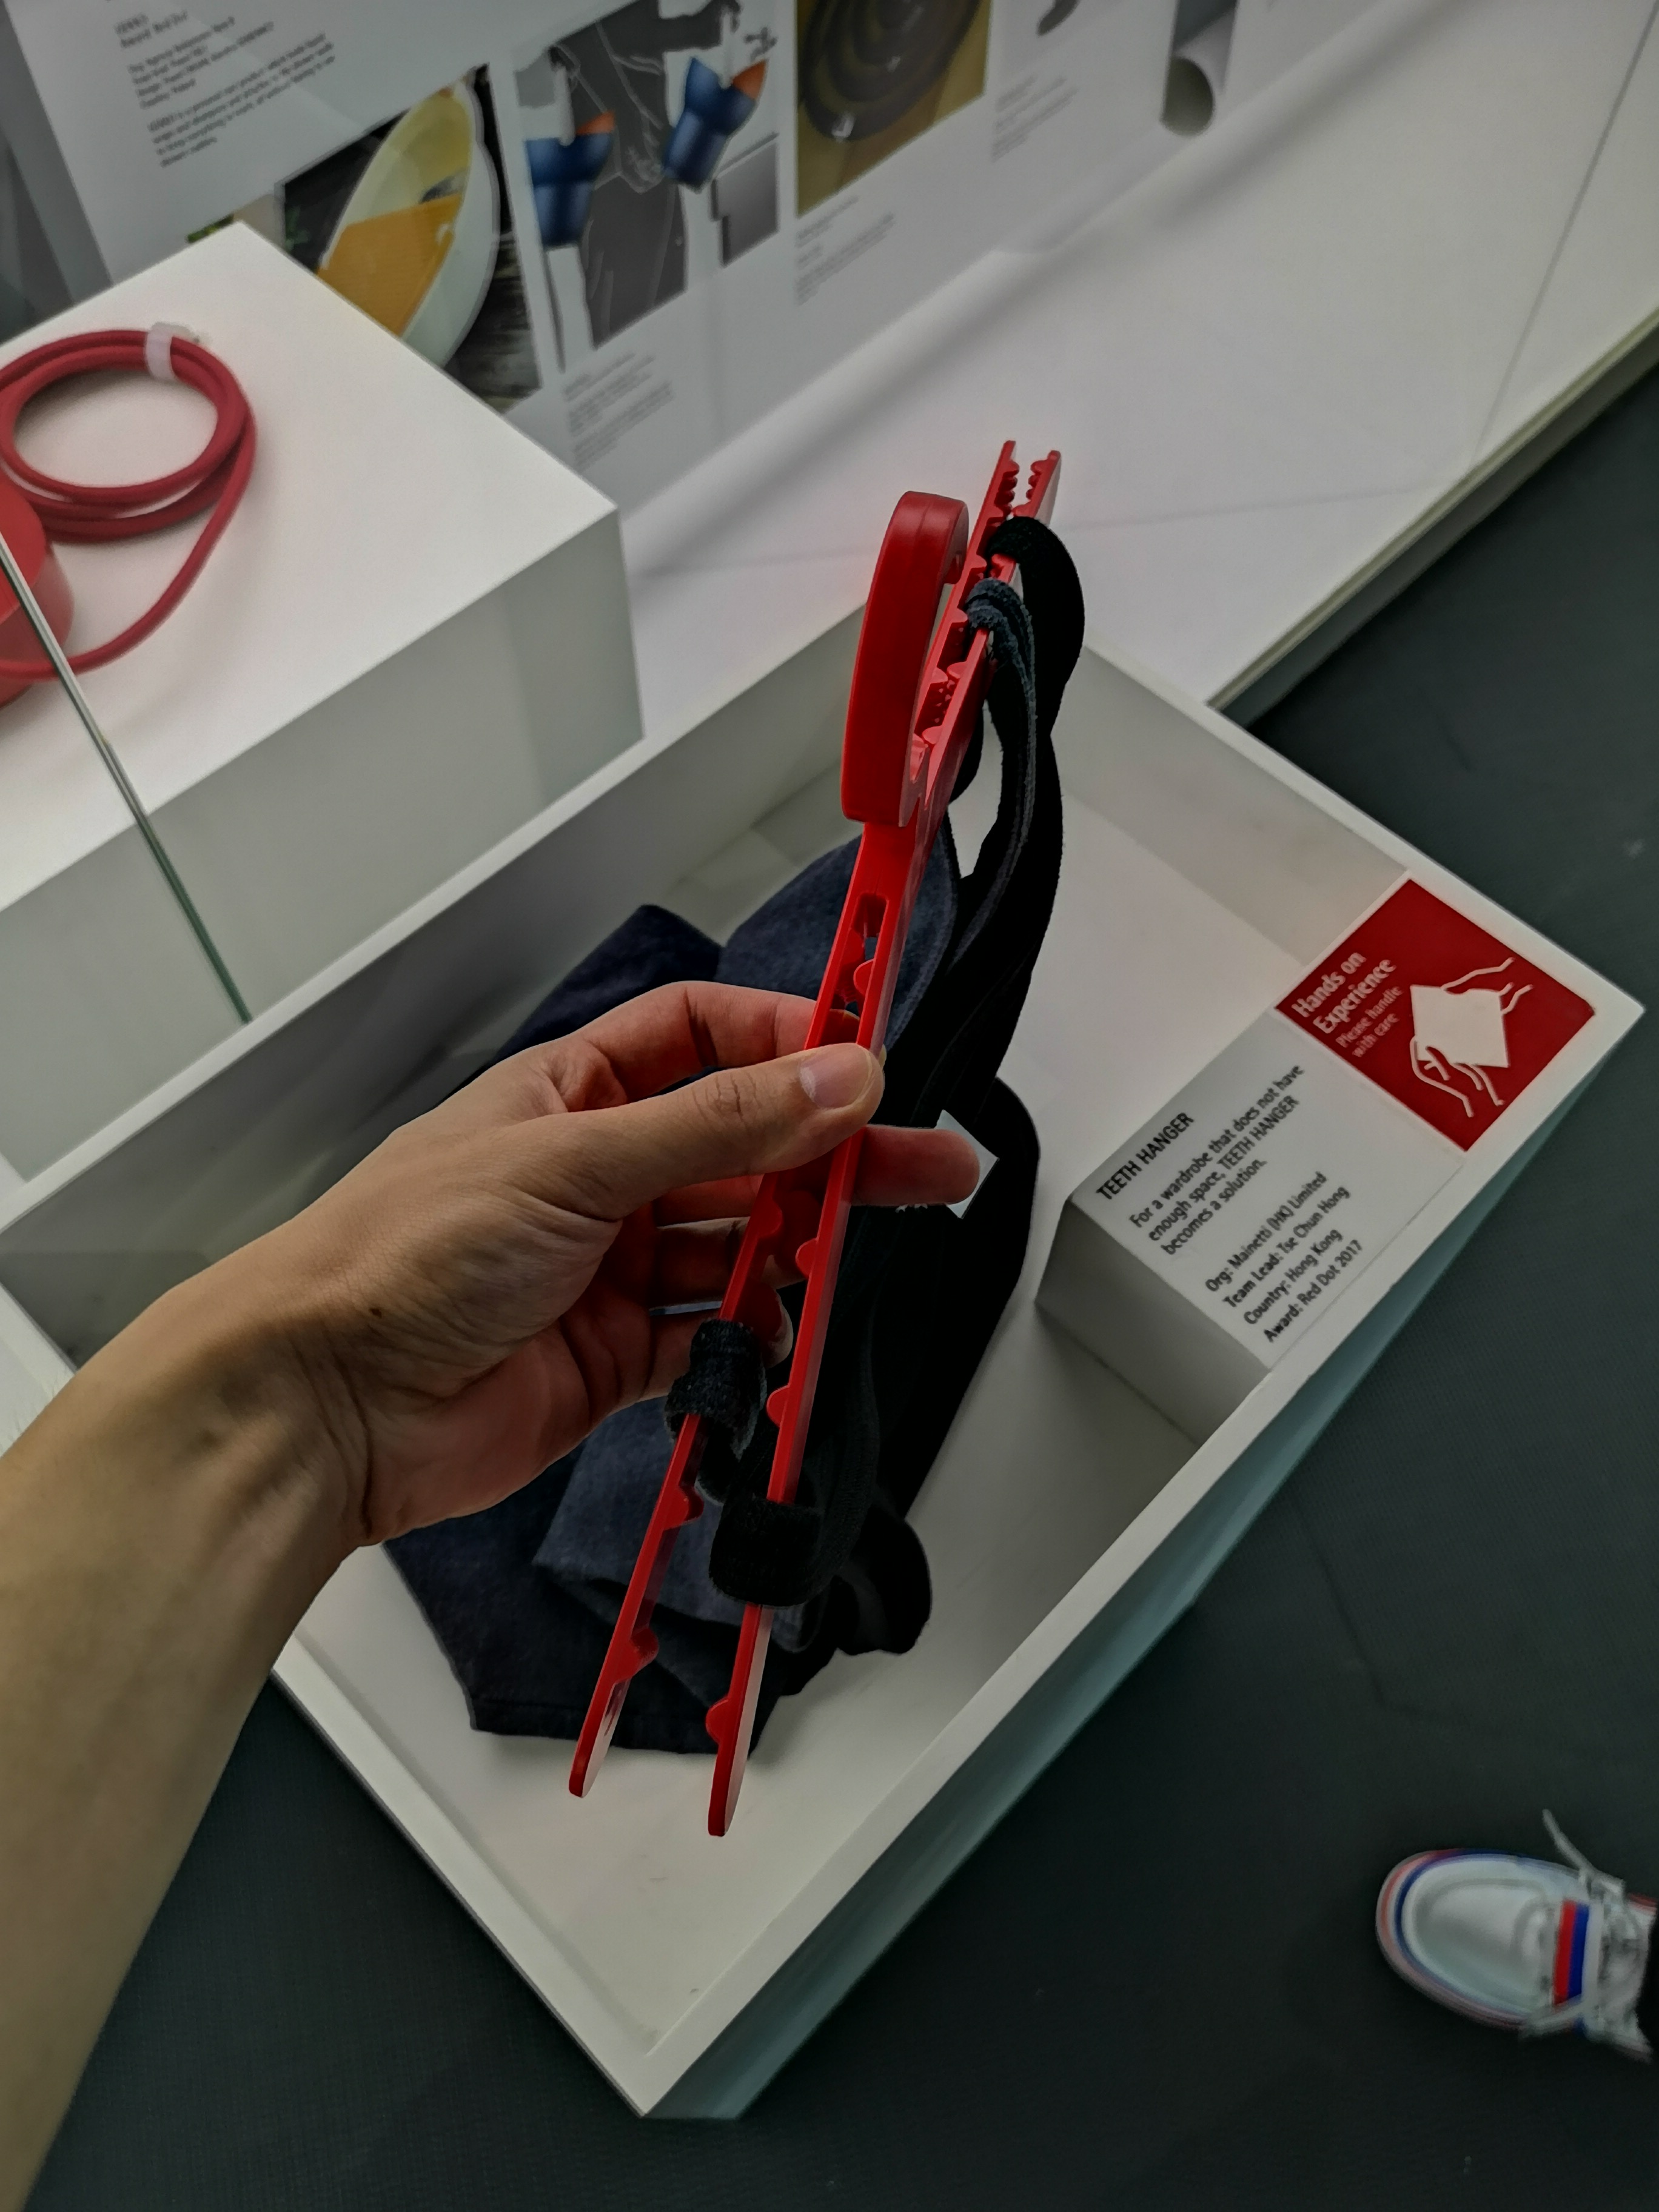
We had the chance to tour the Red Dot Design Museum located near Marina Bay Sands. They had an exhibition on the recipients of the Red Dot Design Award, showcasing the works of many talented designers. The exhibition had different sections, ranging from wearable designs to speculative futuristic ideas. There were elaborate and extensive designs but I felt that the minimal designs stood out the most as some fo the items had minor modifications that you would never thought you’d need. For instance there was a hanger that looks like a normal clothes hanger that had a mini contraption that helps to grip spaghetti straps so that it doesn’t slip off, which is a legit problem. The simple solution is integrated seamlessly into the design, makes me appreciate more on such innovations. And that the designer had really understood the needs of consumers and their everyday problems. I think I had too much fun with PUBU, a voice activated robot that responds only in Chinese.
Artist Talk with Nguan
Oh Nguan, the mysterious photographer that everyone wanted to meet. Paid $13 for his talk but this fella should just stick to photography as he wasn’t the most engaging presenter. But he did share a compelling raison d’être, the reason behind his pastel editing and beautiful framing. He had came back after an extended stint in New York and realised that the streets of Singapore was not well loved by photographers and thus wanted to portray Singapore through a romantic lens. He shared some of his thought processes on creating an image and also some of his low-key voyeuristic street photography which got me thinking about ethics in street photography and who owns the right to the image. Is it the subject in the photo or is it the photographers. The proper way to go about is a talent release form to obtain consent. But the beauty in street photography is all about spontaneity and “in-the-moment”. Nguan shares that if the subject knows that he/she is being photographed, they will be more aware and start being “pose-y” which ruins the naturalistic aesthetic that he is going for.
The biggest takeaway would be putting a face to Nguan, which is surprising because we are in the generation where creators are putting their faces to their portfolio as a way to brand themselves. But Nguan lets his photos tell his story, or Singapore’s stories, which I felt really compelled to rethink about my approach when it comes to my work. Thanks to him, I rediscovered that quality work will always shine through amid the clutter and distractions.
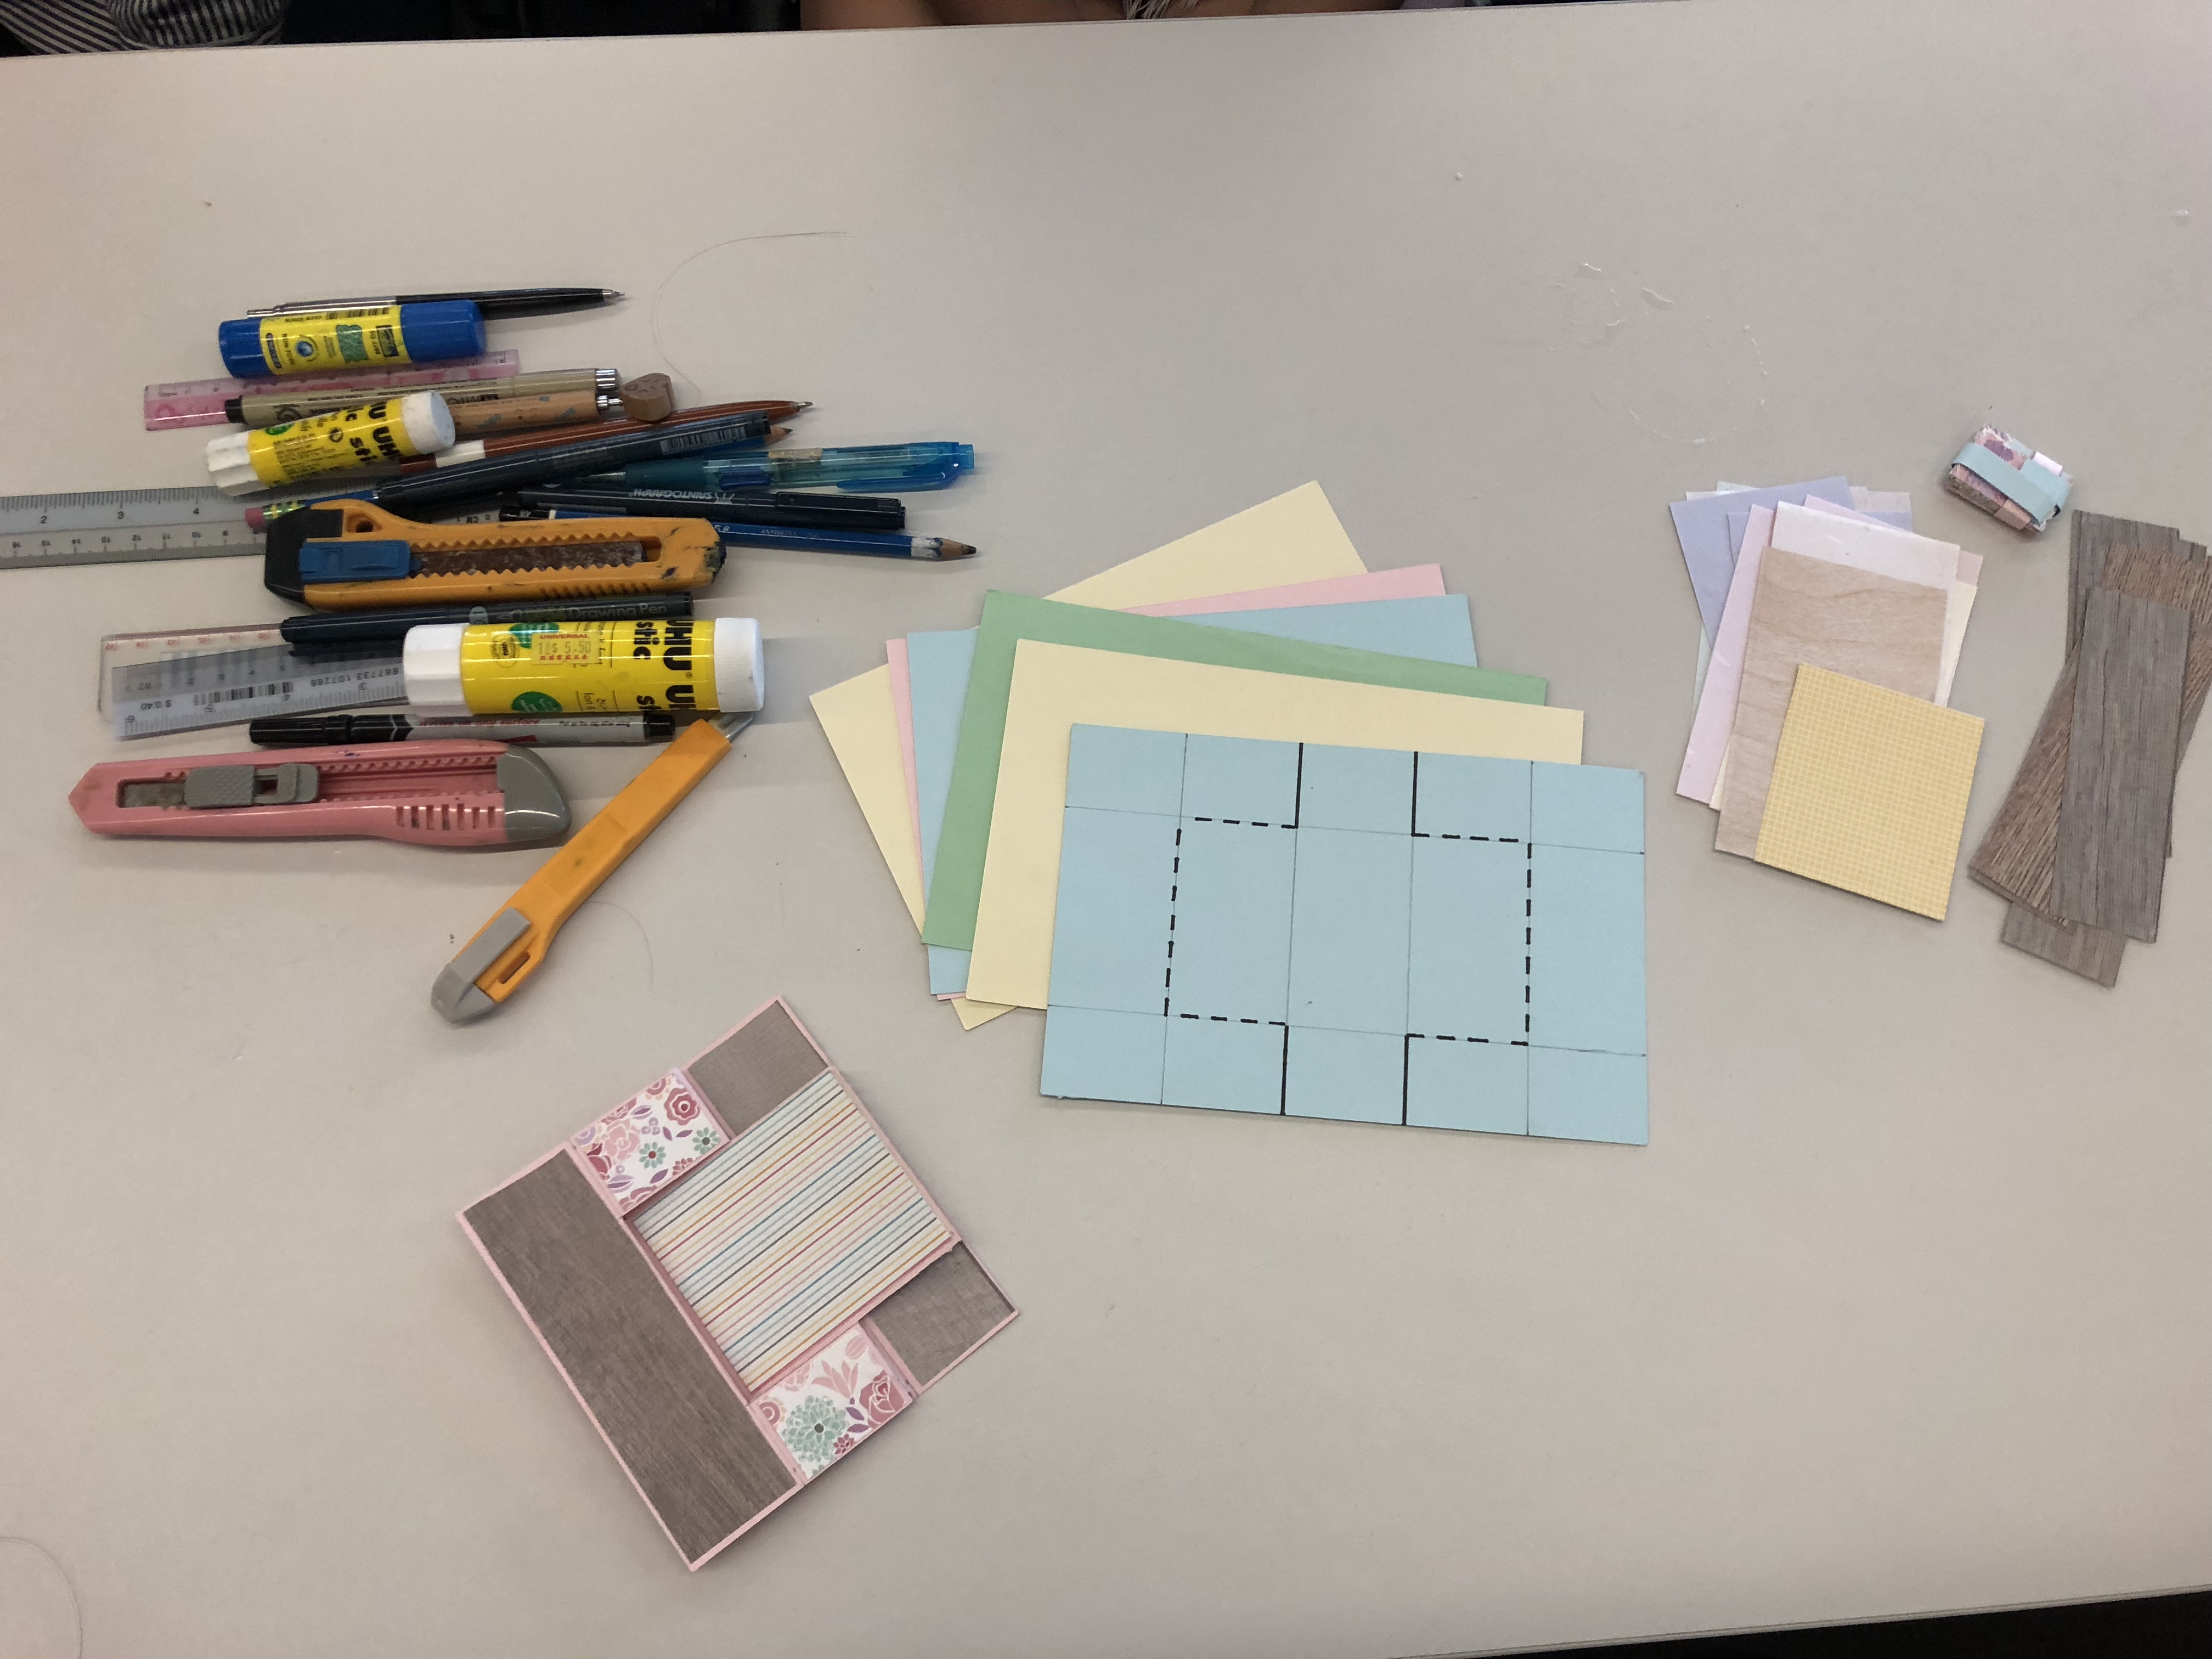
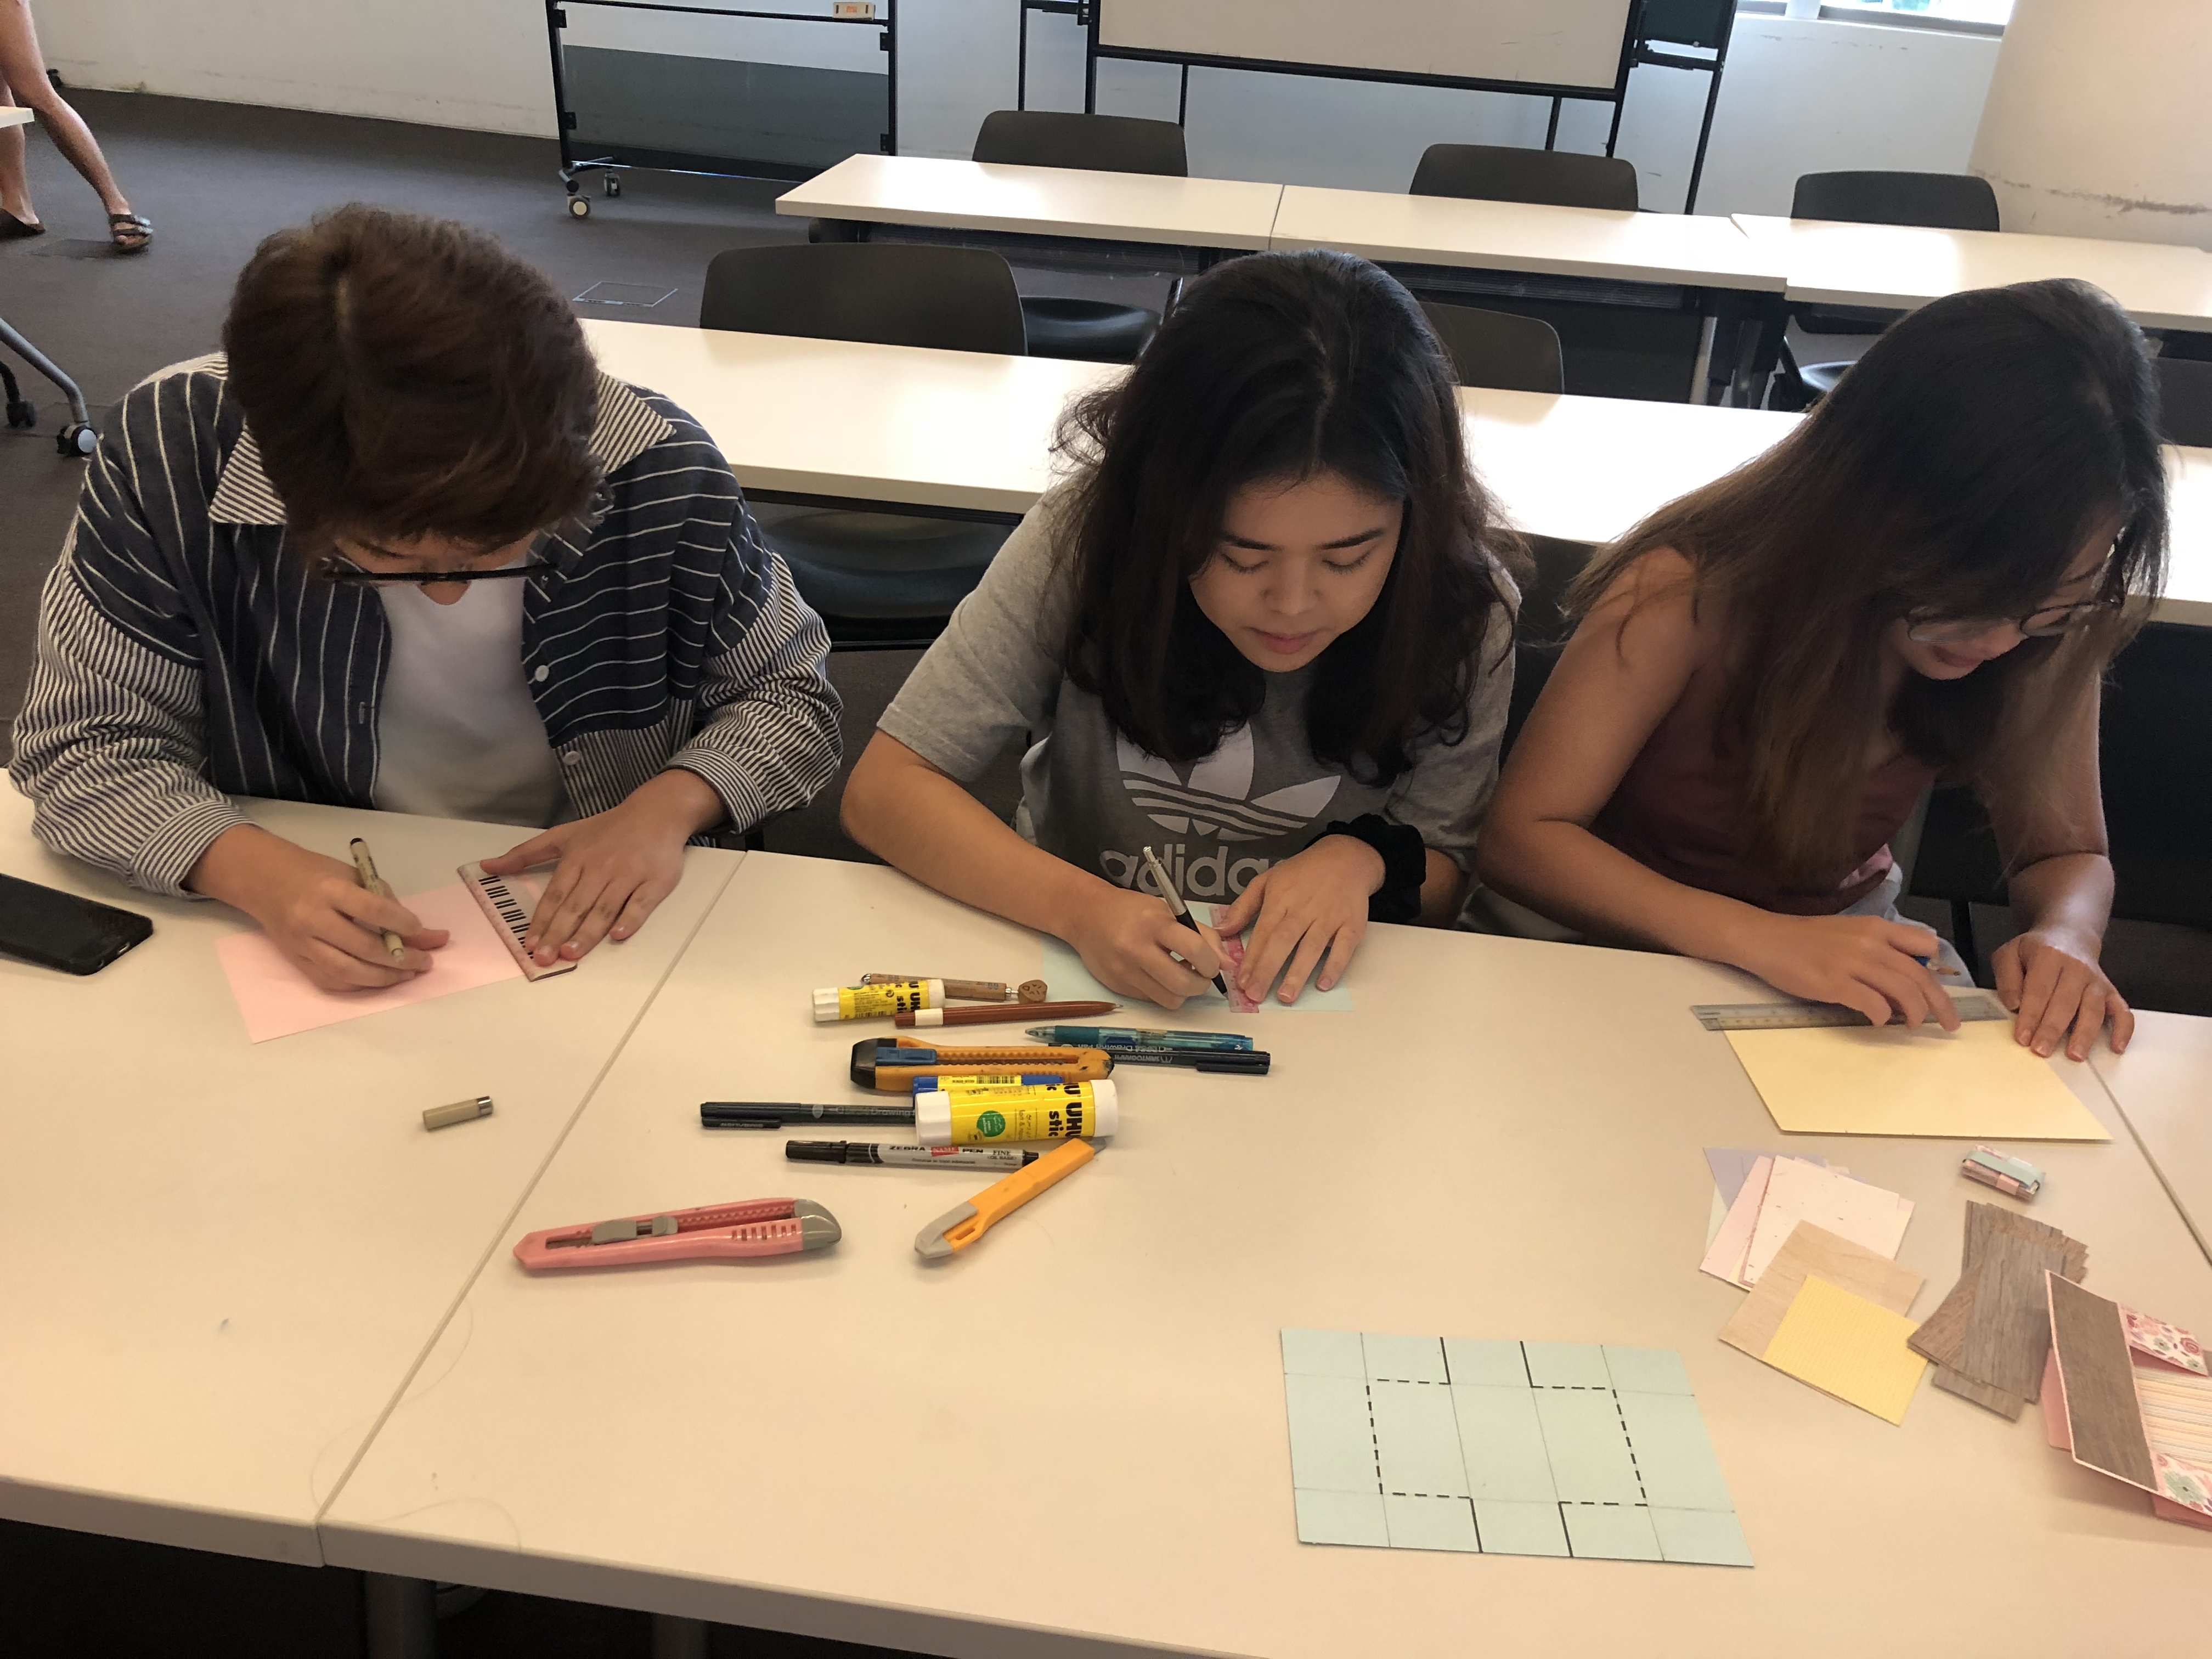
The skill I shared for the workshop I hosted is fancy card-making. Considering the time constraint, I chose the relatively easy swing card but there are many cooler ones out there 🙂 Cards need not be boring anymore! 😉
On week 11, we conducted a series of workshops outside of class with a group of 5 classmates. It was a pretty interesting series as we got to make soap and acrylic art as well as learn about Adobe Illustrator.
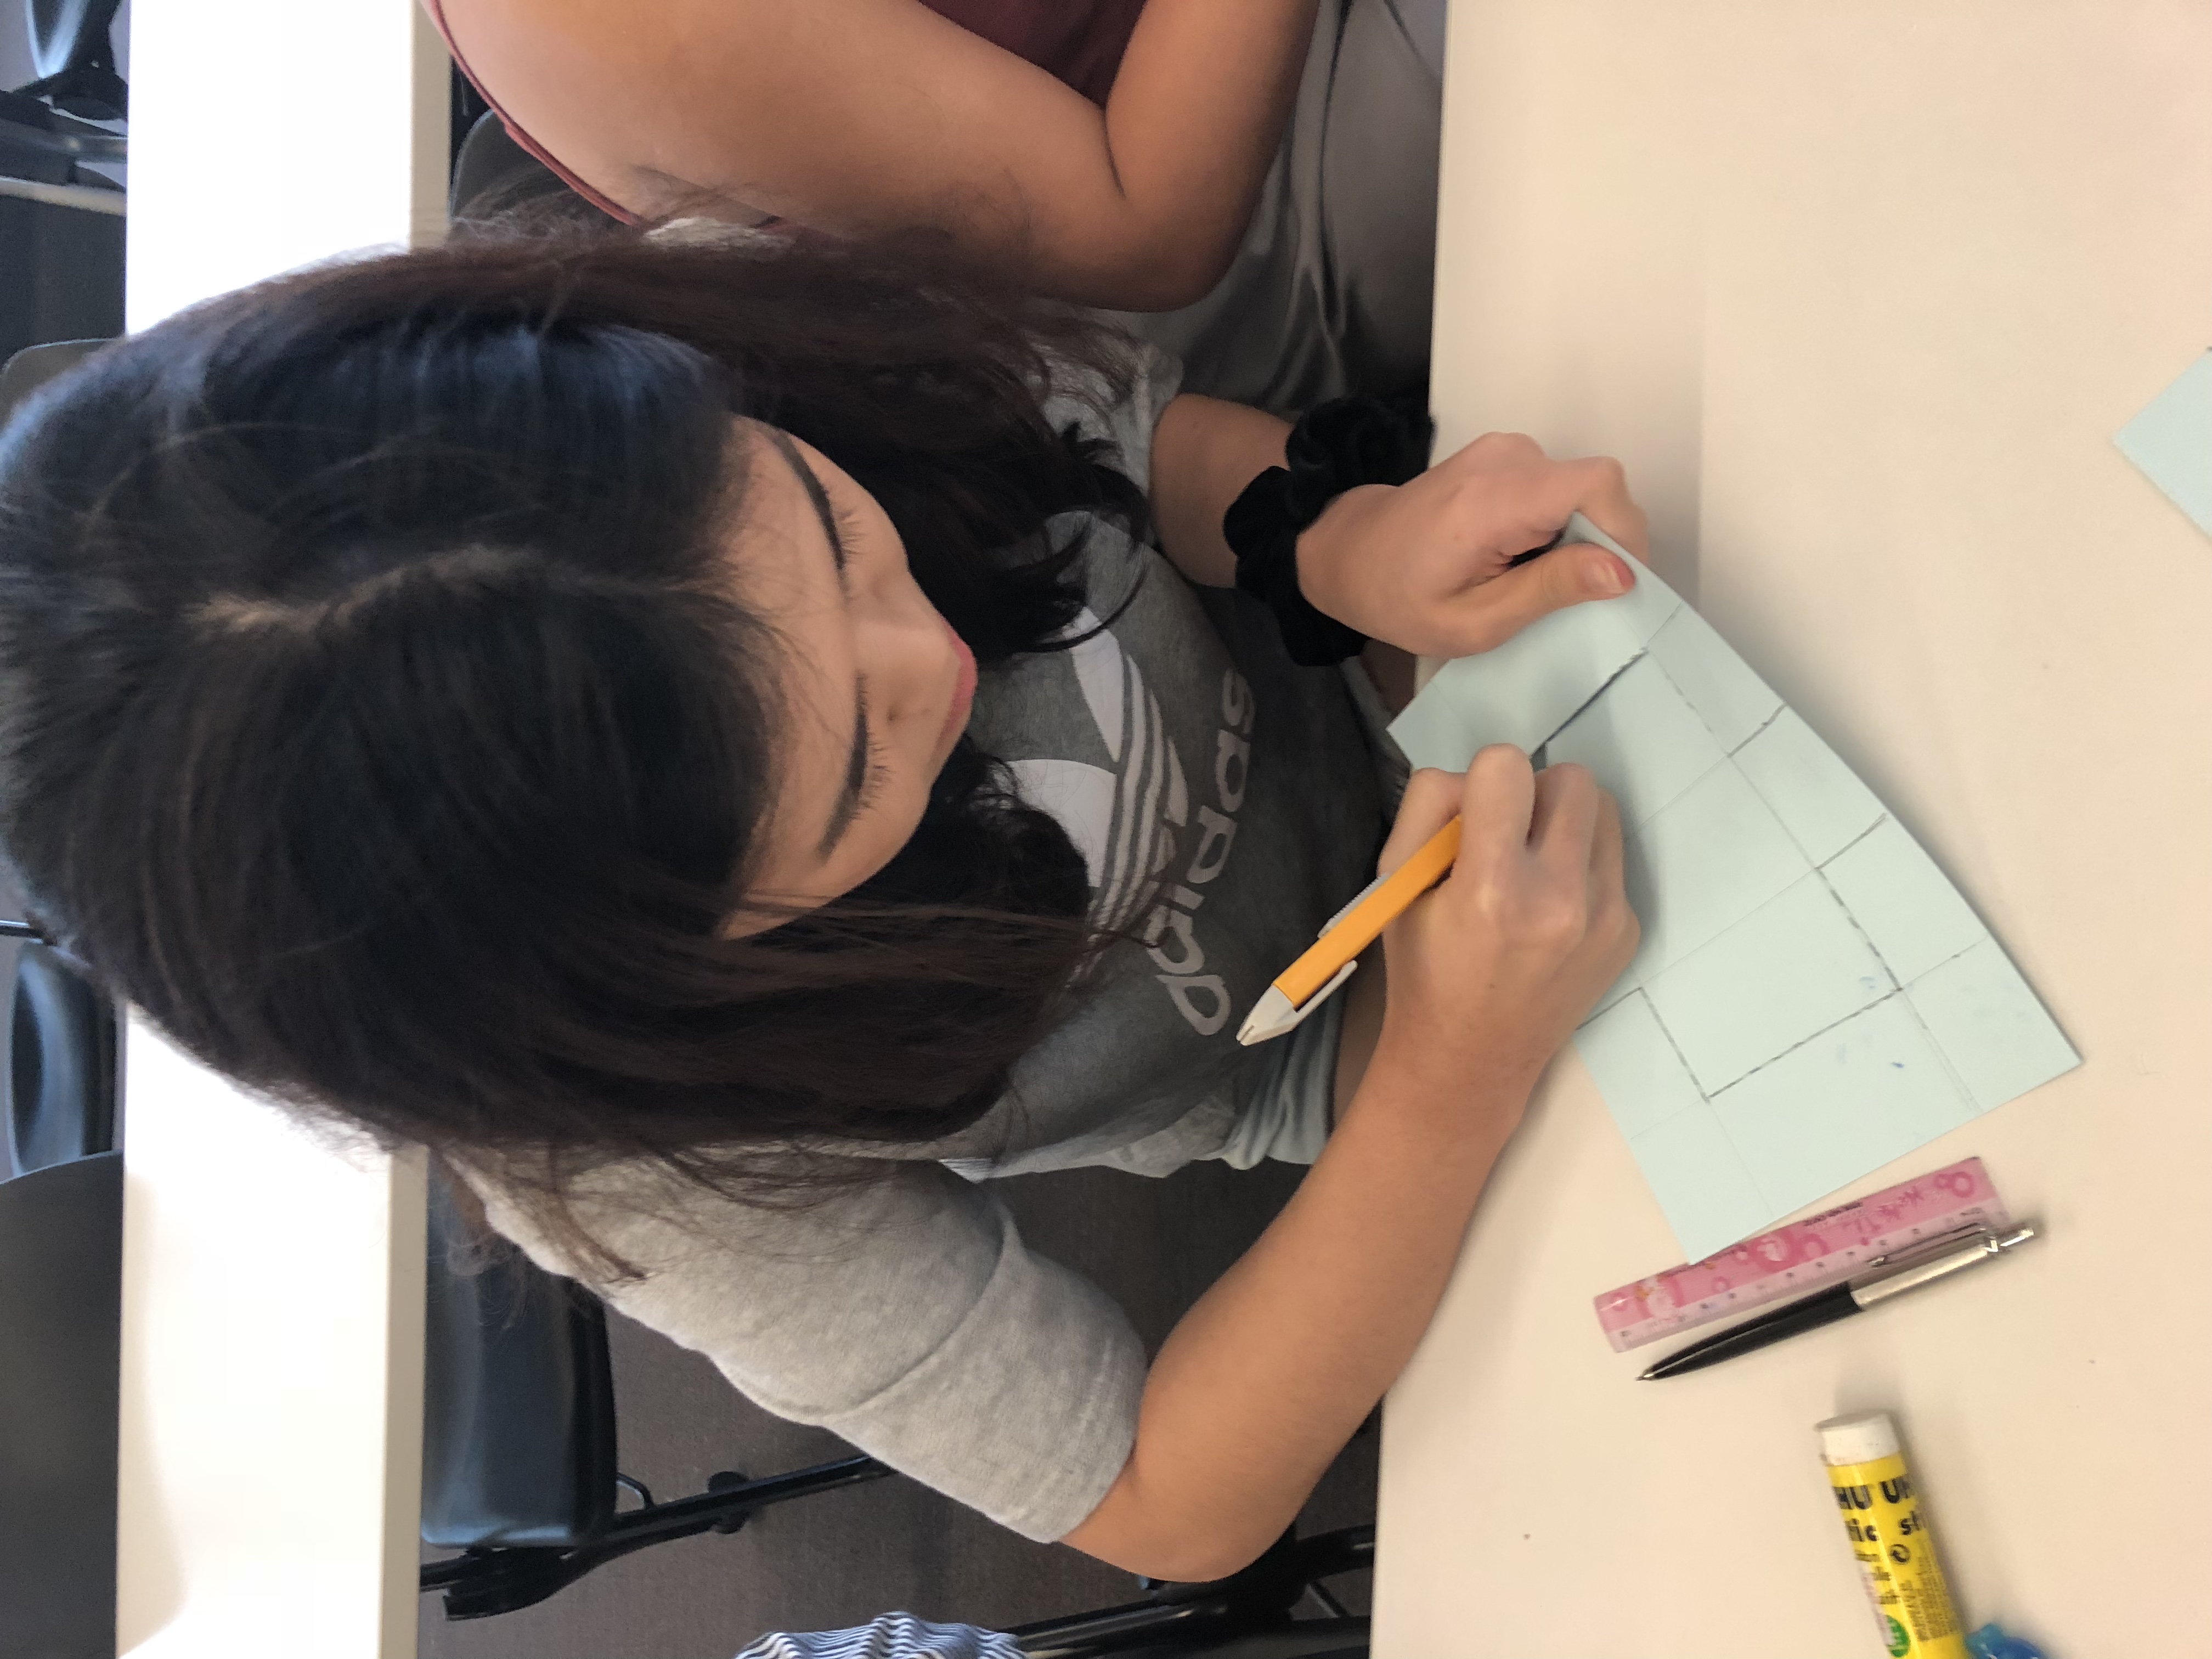
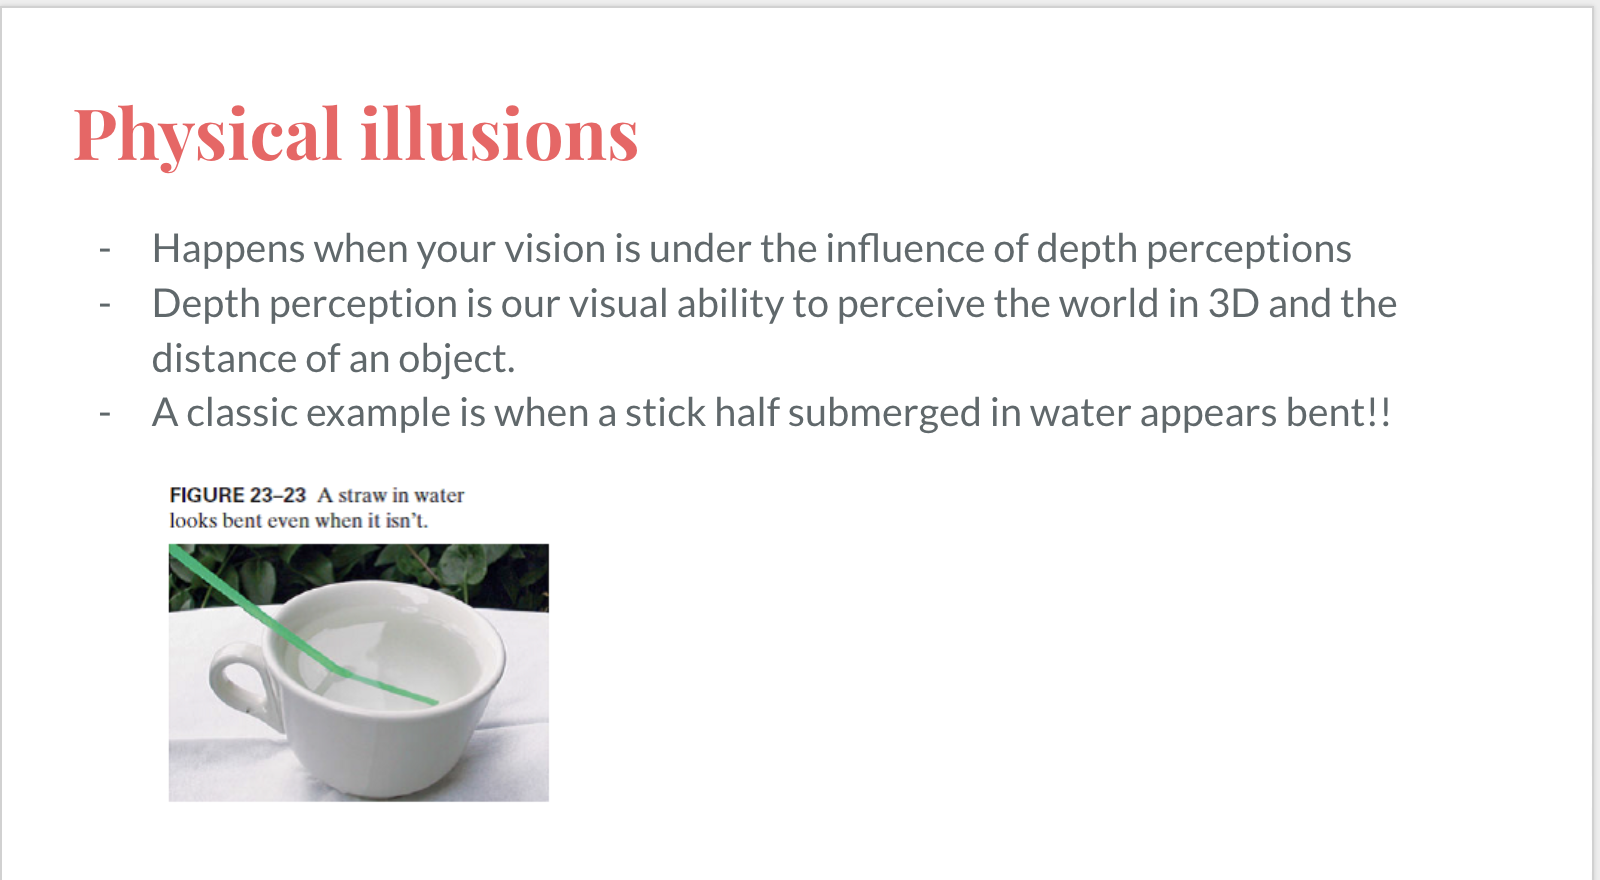
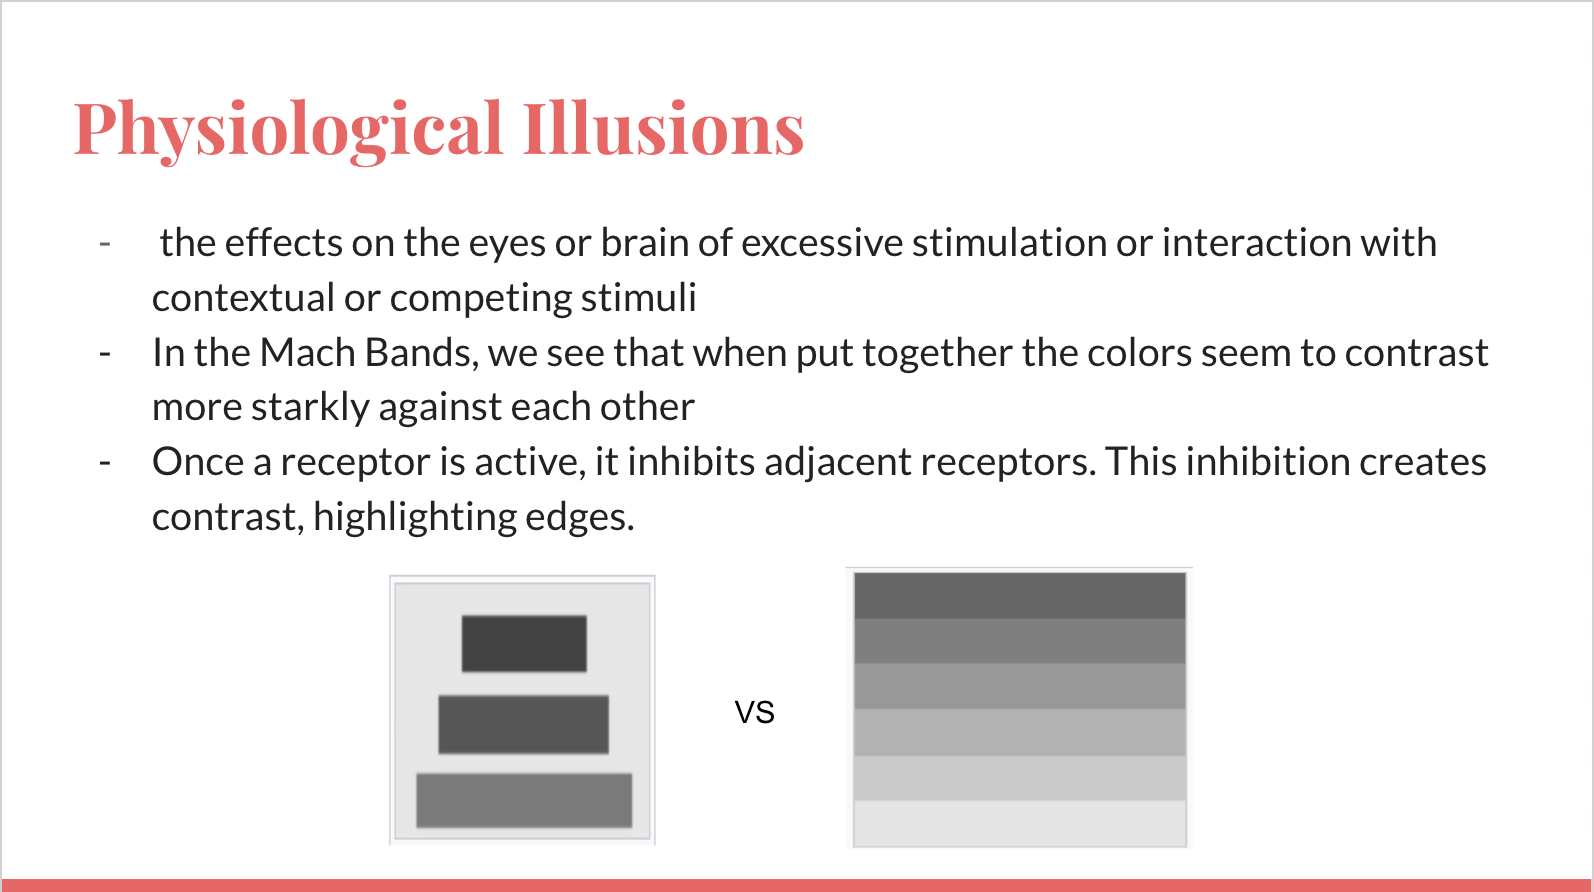
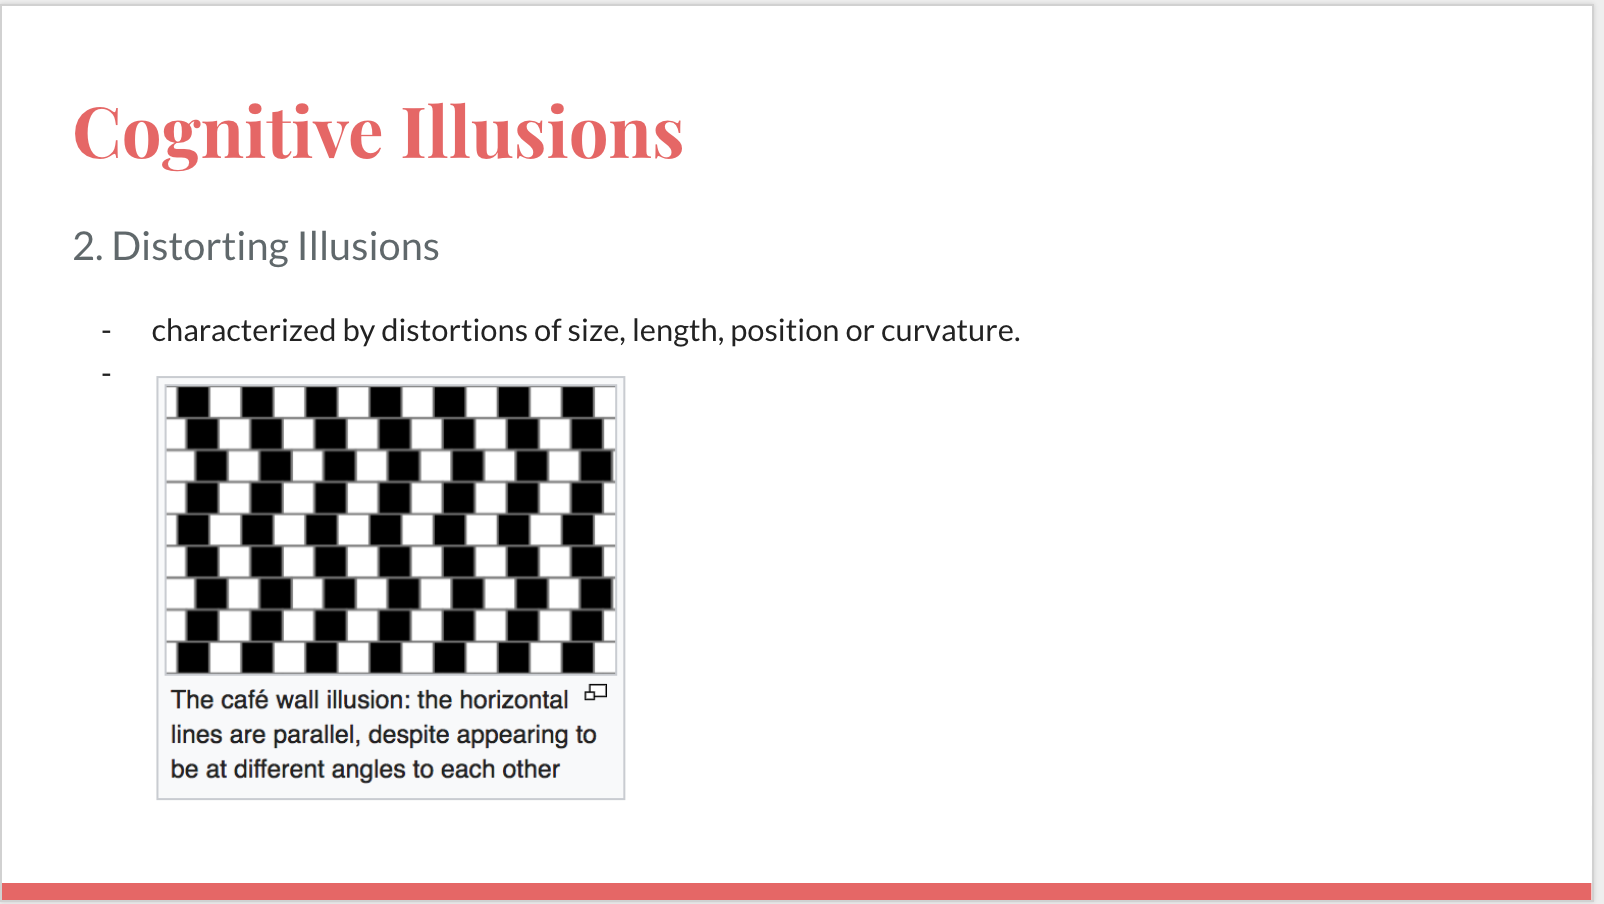
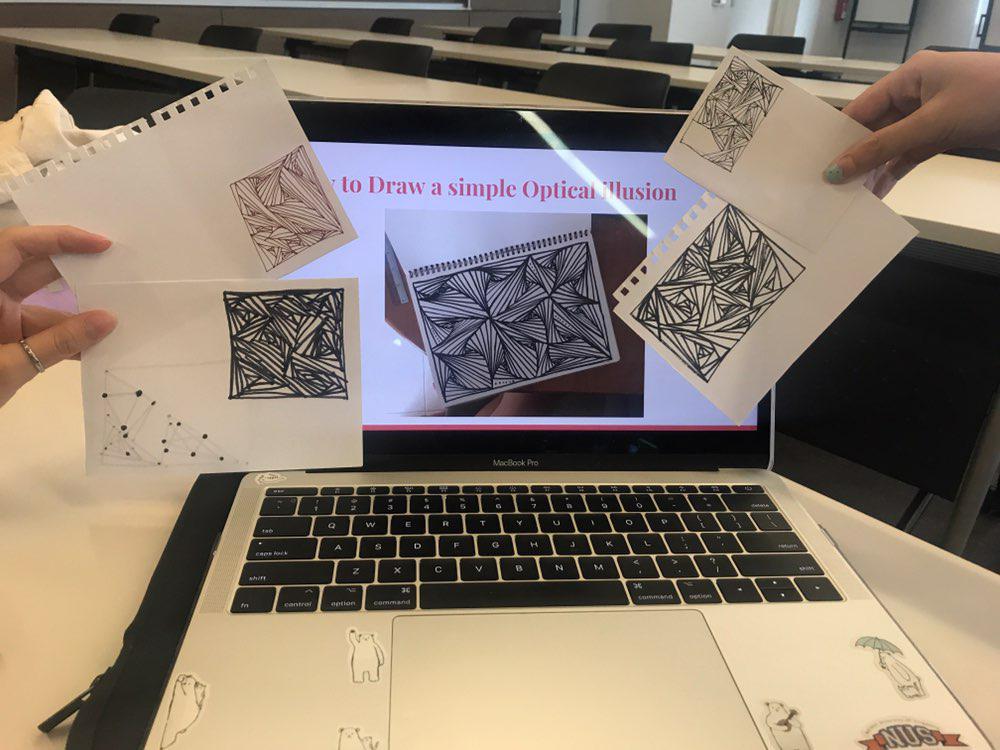
The workshop I taught was on optical illusions: what were the different subsections of it, how it happens, and lastly, a short hands-on activity on how to draw one.
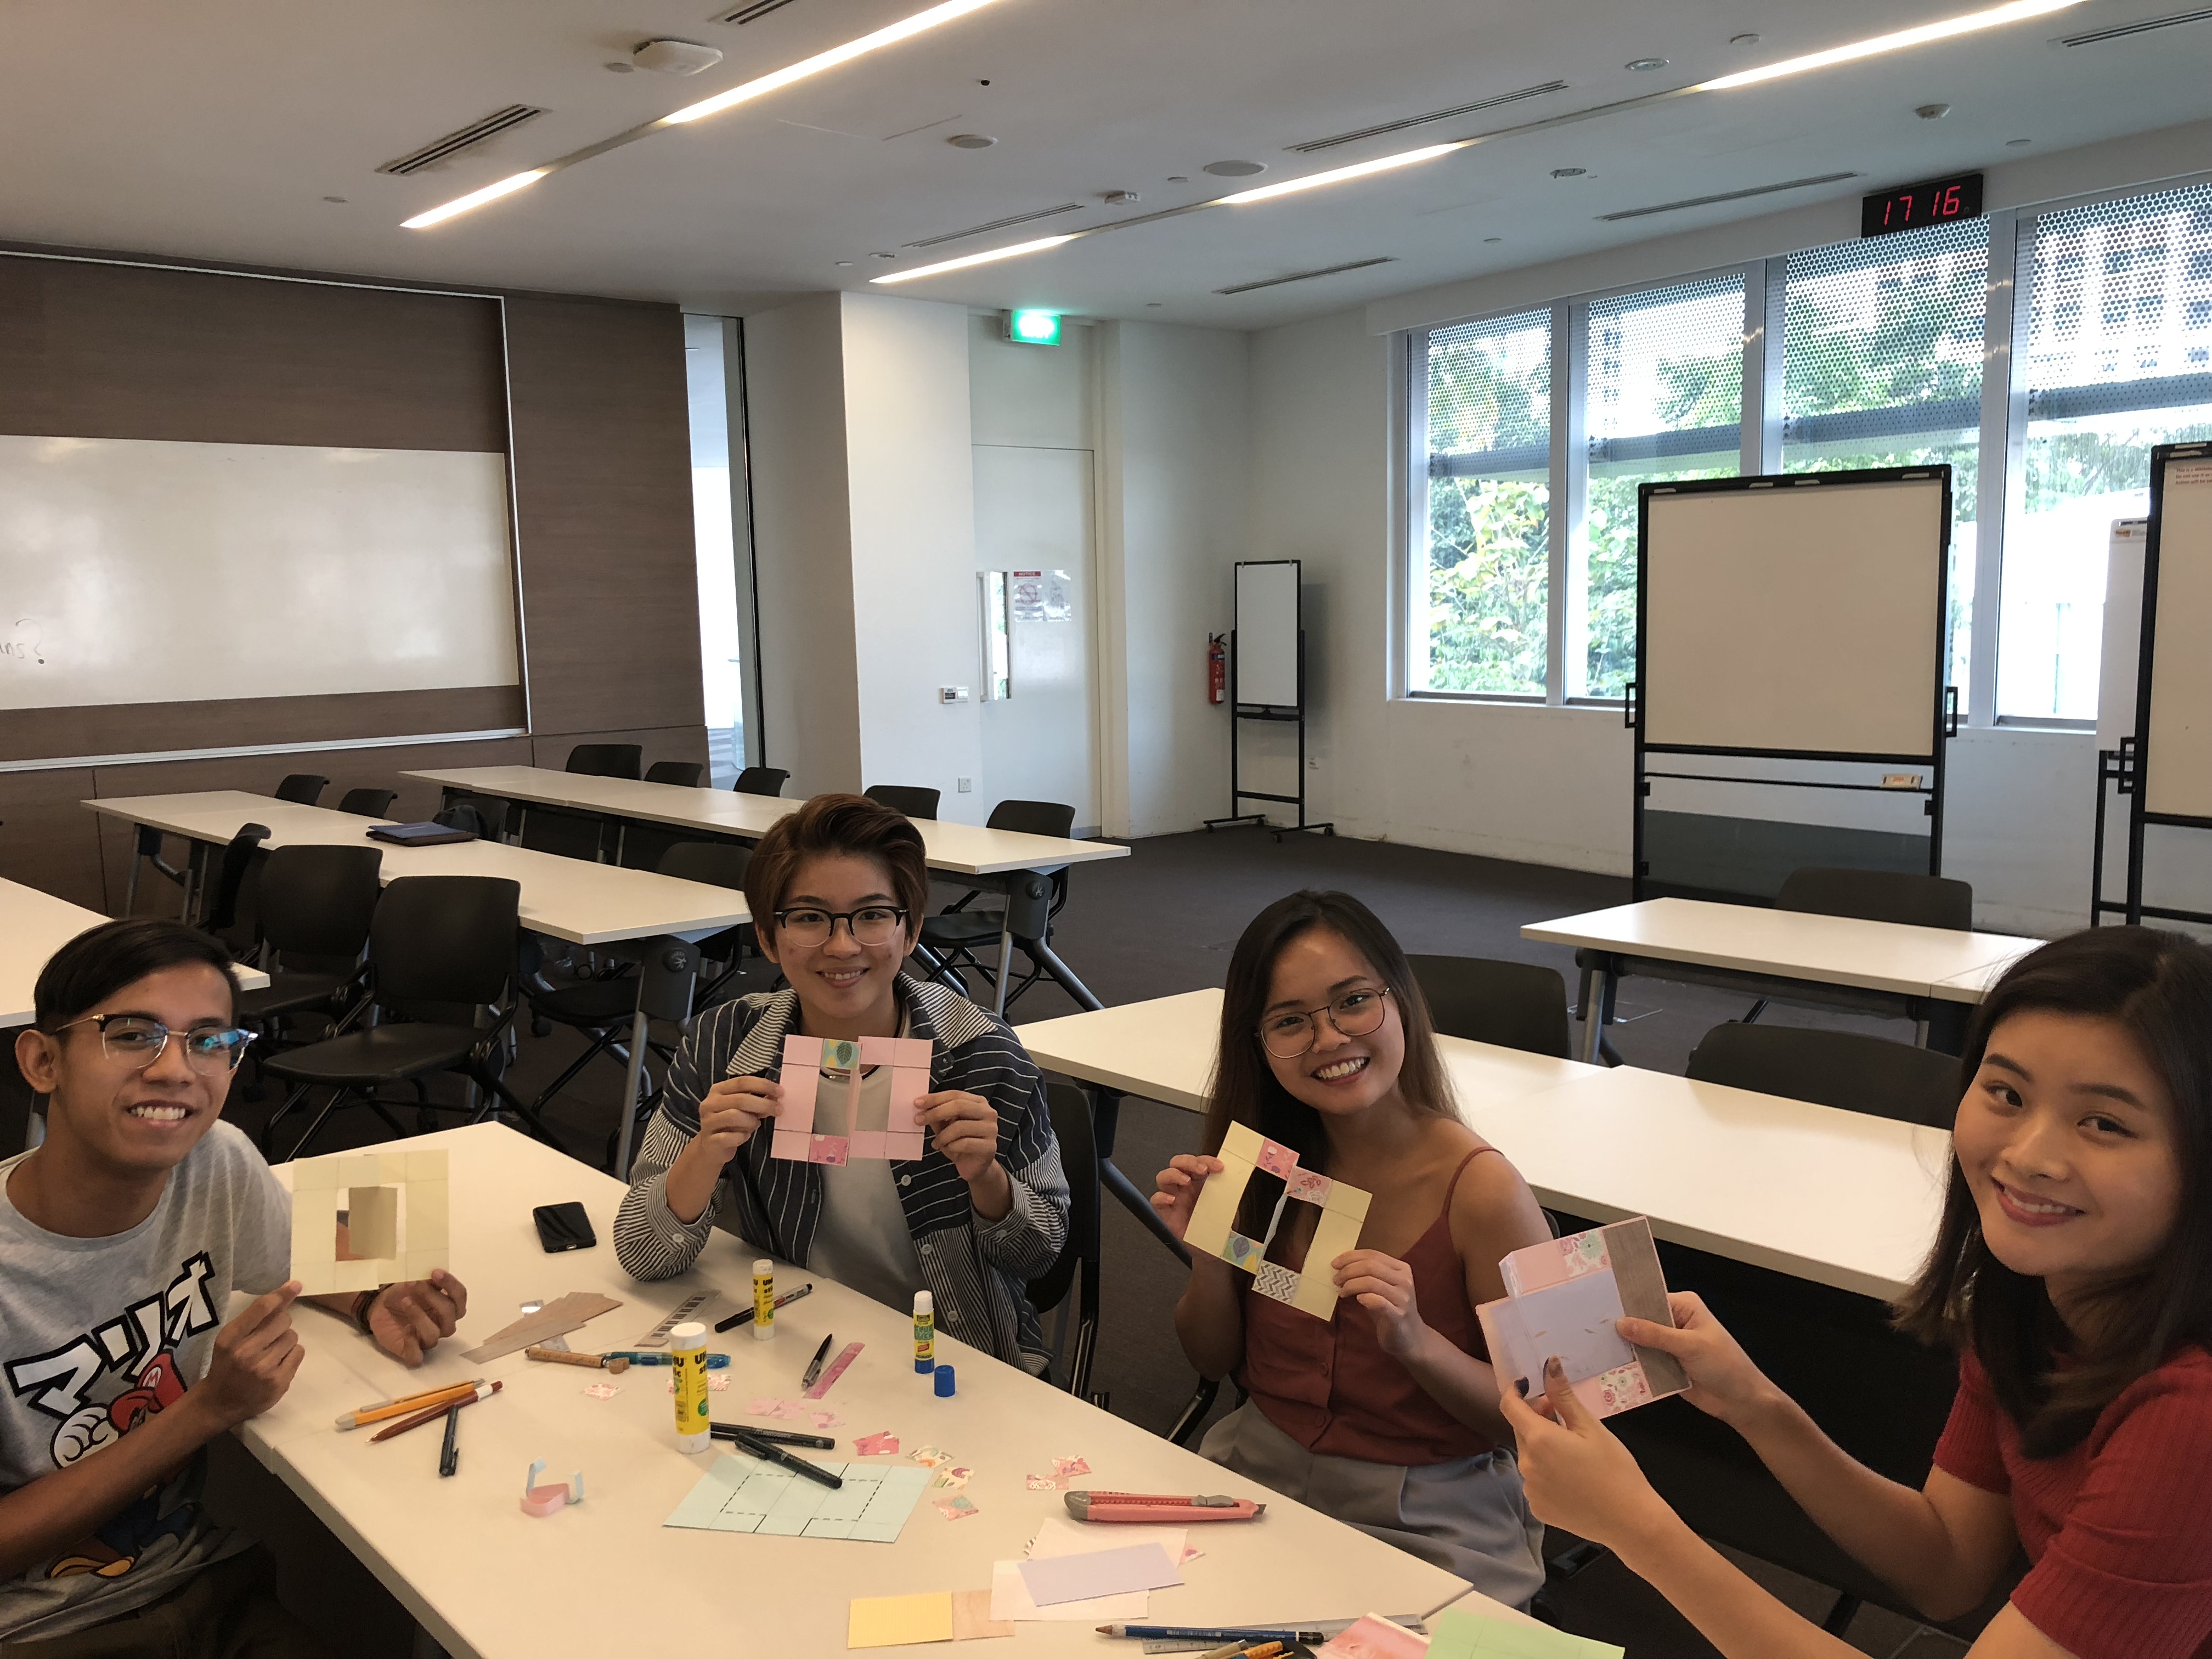
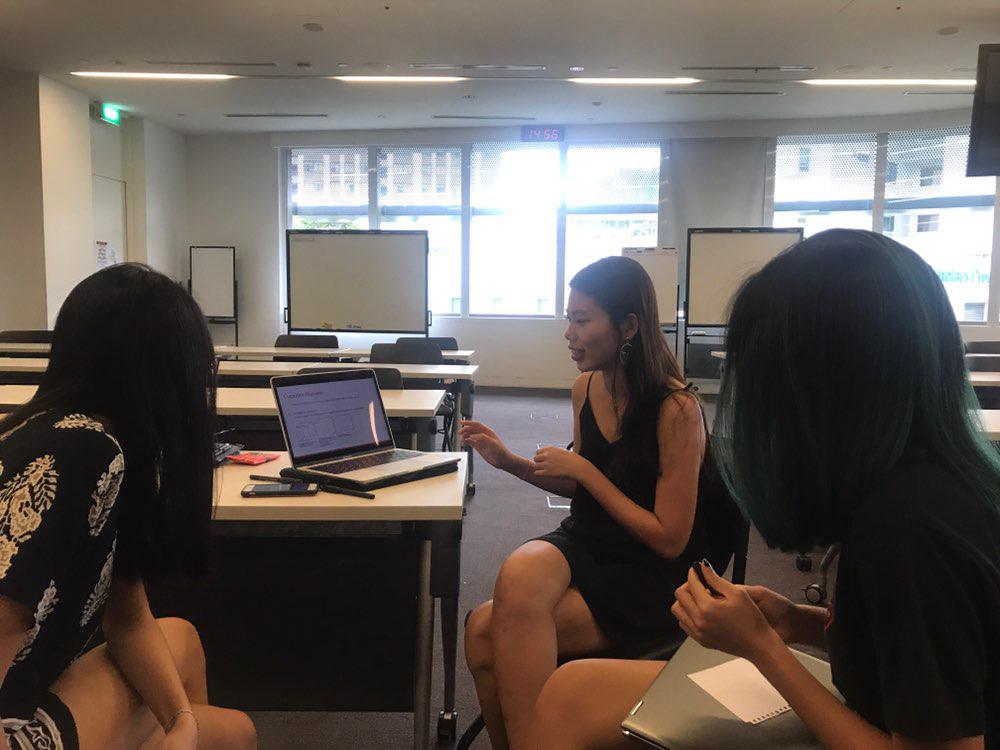
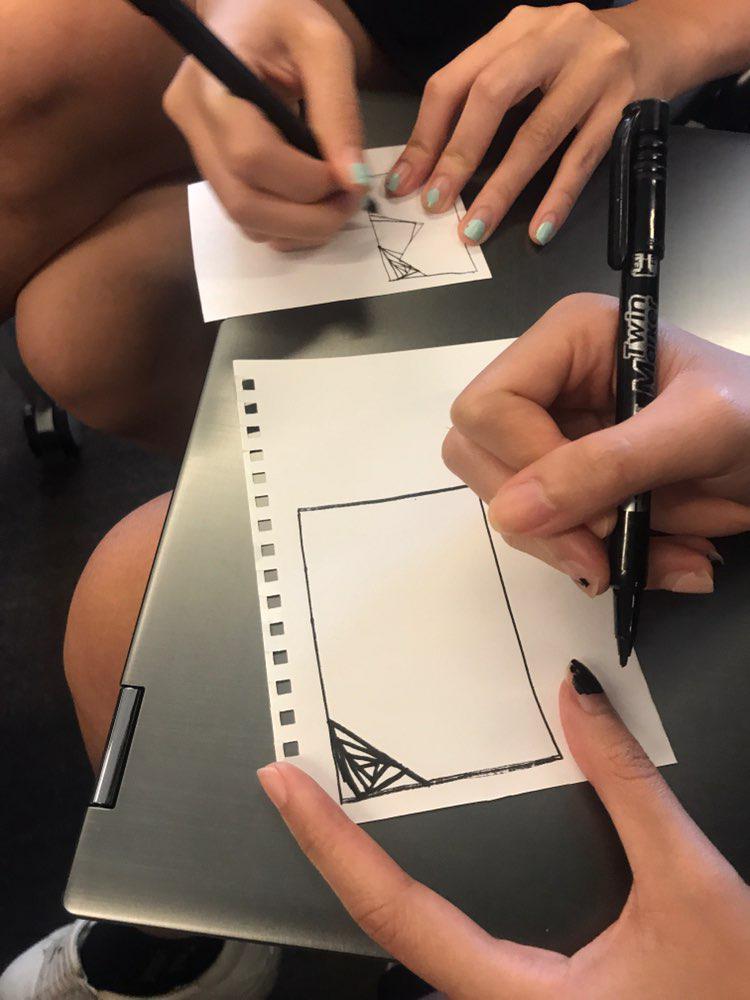
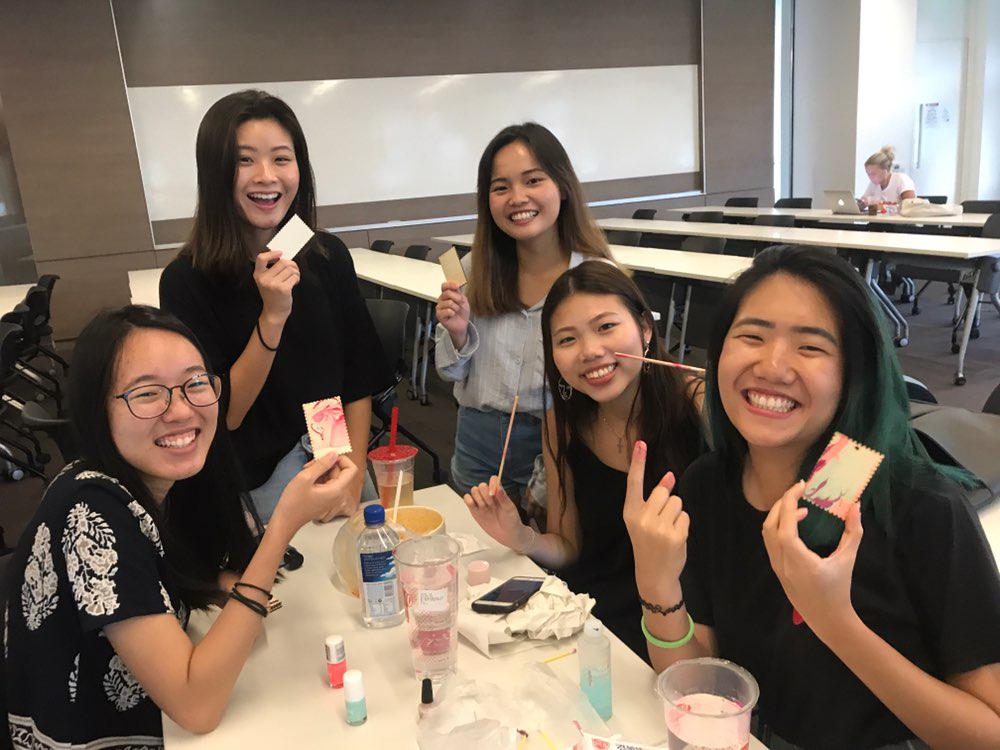
Explaining the different variations of optical illusions.in the middle of the hands-on activity to draw one.Success!!!learning how to make acrylic art from nail polish! the result!! really cool I liked doing this a lotSoap making….adobe illustrator/Glitch workshop….
Overall, we all had a pretty great time learning from each other, it was cool to learn and try new things.
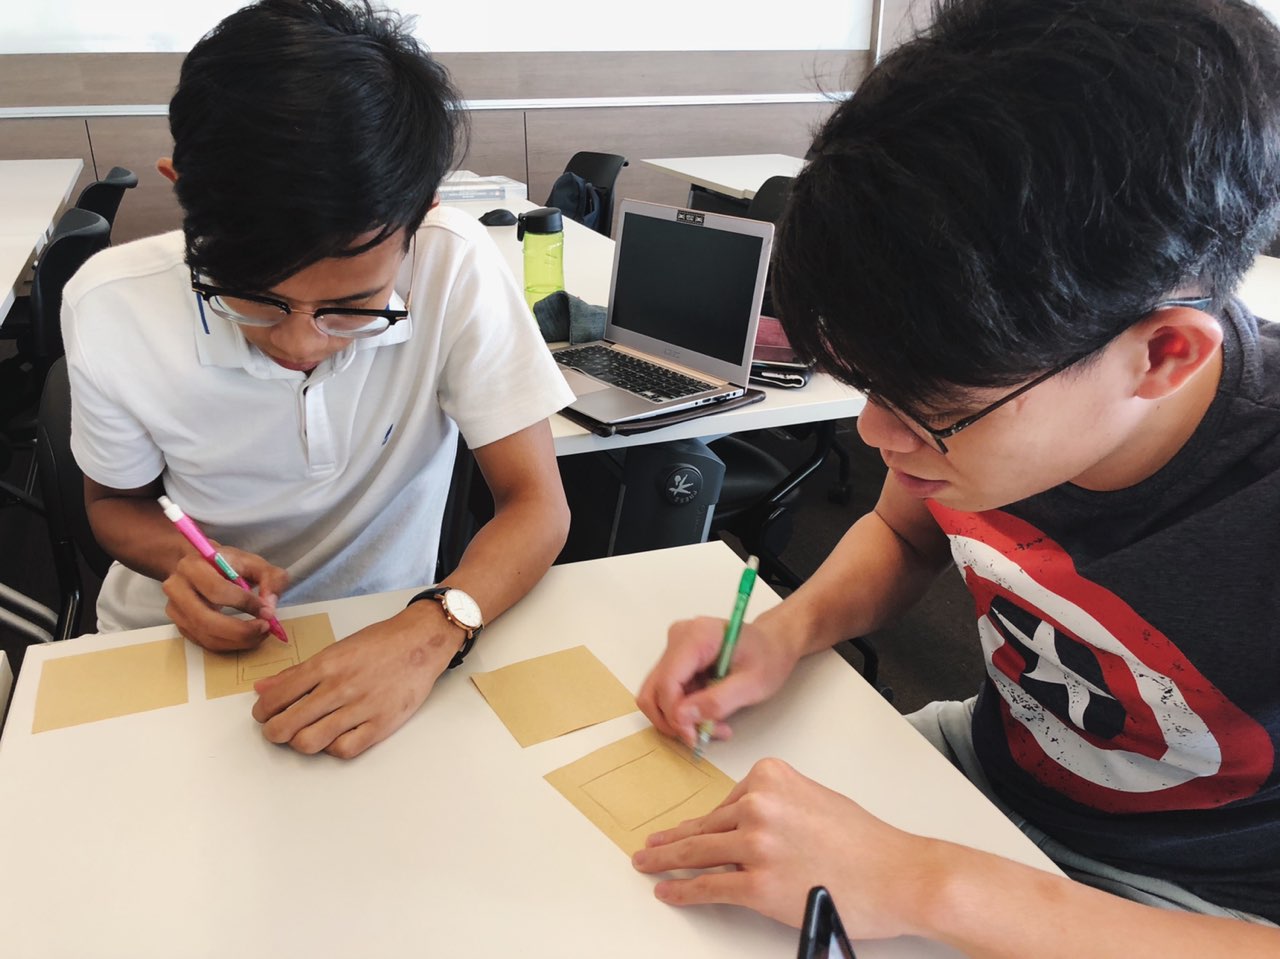
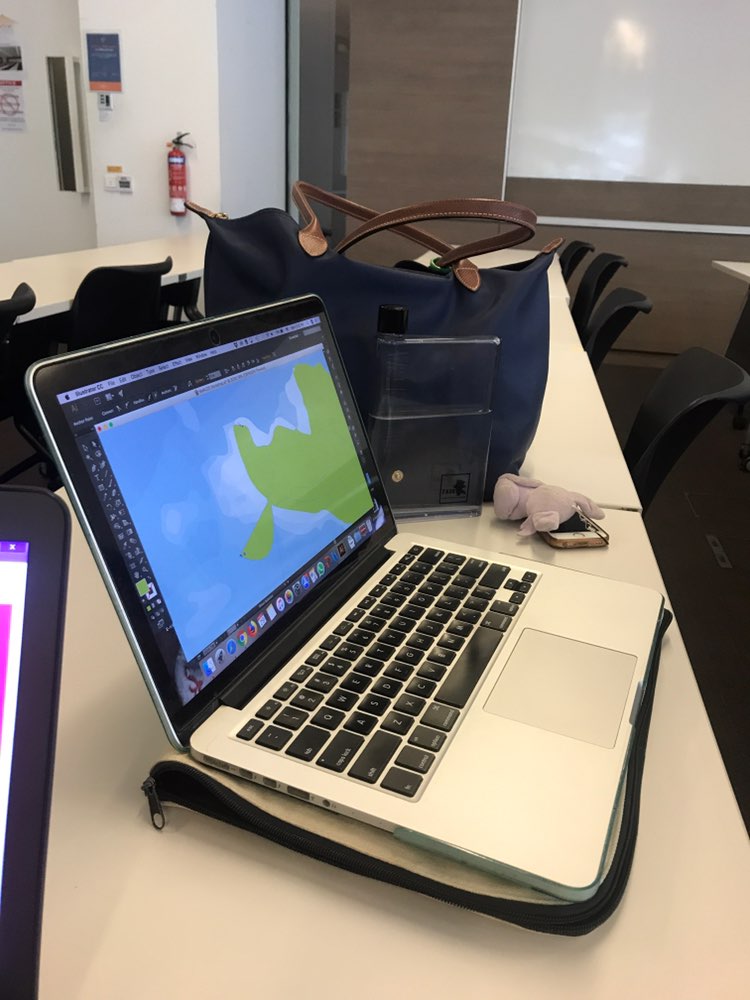
For this workshop, I was teaching the class how to design and create a simple prototype of an app that can be functional as well.
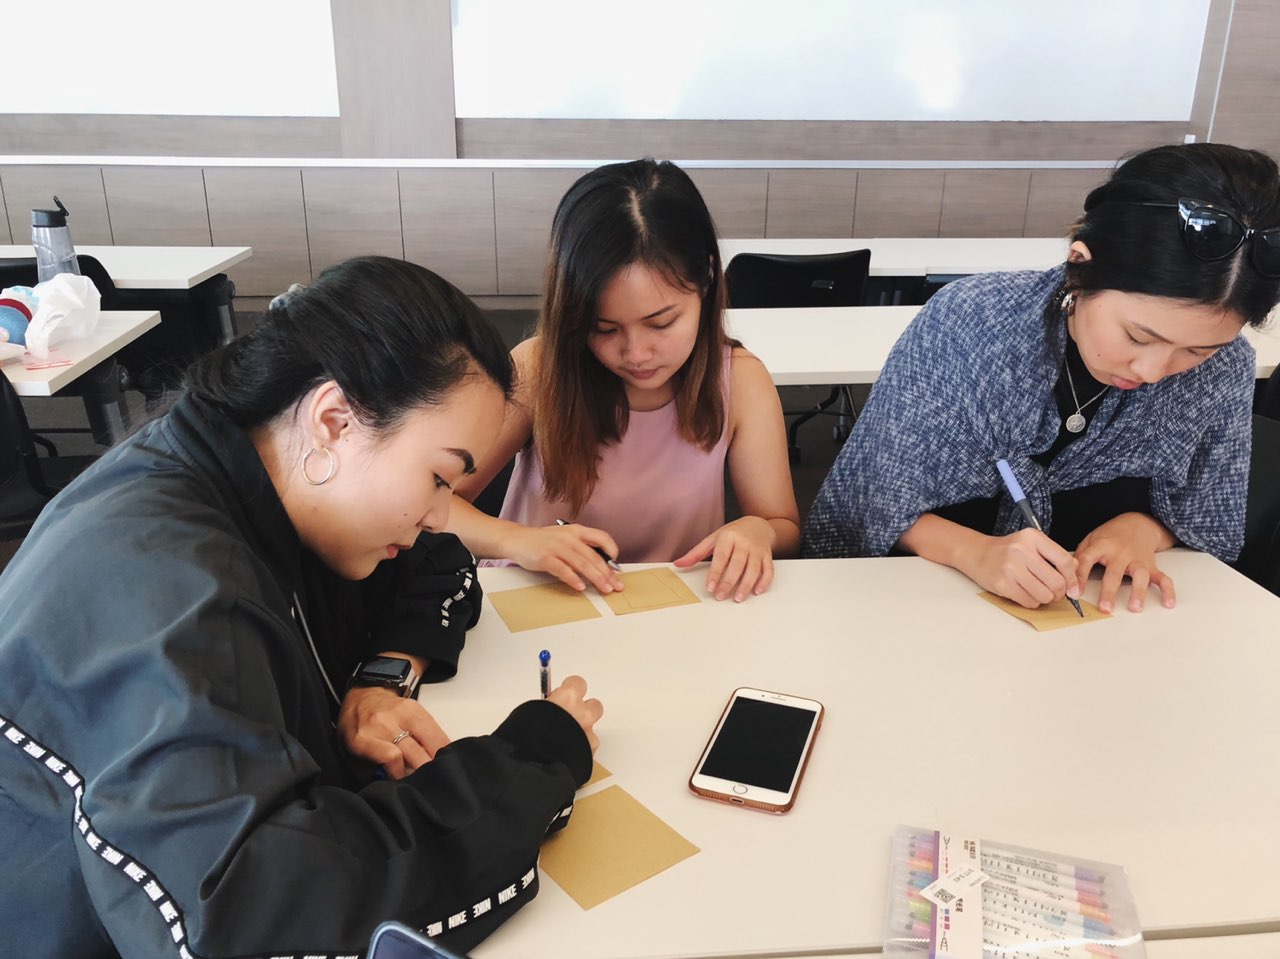
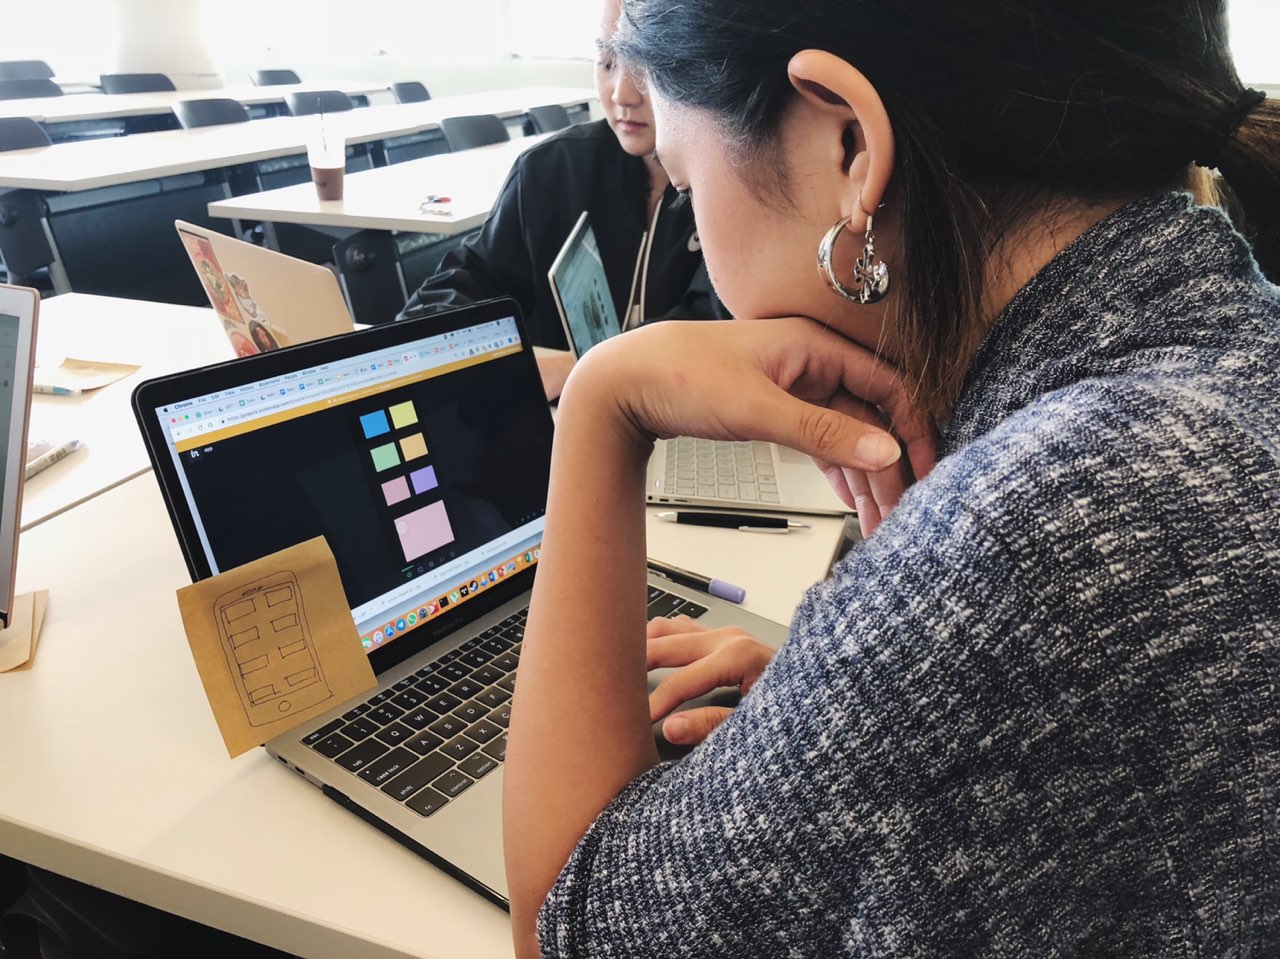
To start off, we started by drawing a simple sketch of how they envisioned their apps to look like, and subsequently use coloured markers to shade the sketches so that they can envision the colour scheme of the app.
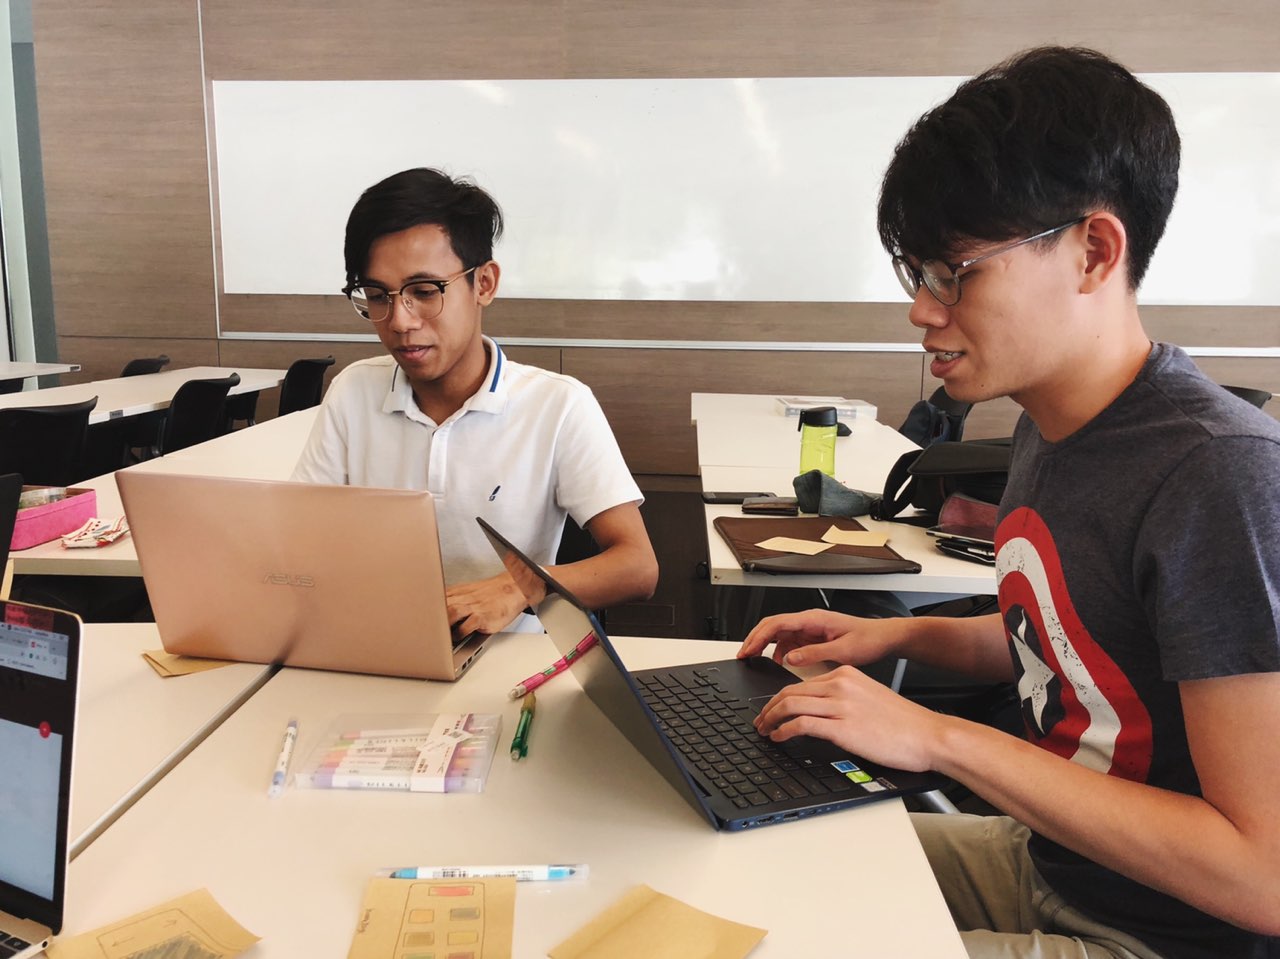
Next, I went through with the participants on how sketch and invision works, and what are they used for. Sketch is the software that is used to create the app prototype, whereas Invision is the software to make the prototype functional.
I conducted my workshop in Week 11. There were 6 of us altogether, so 5 people participating in the workshop.
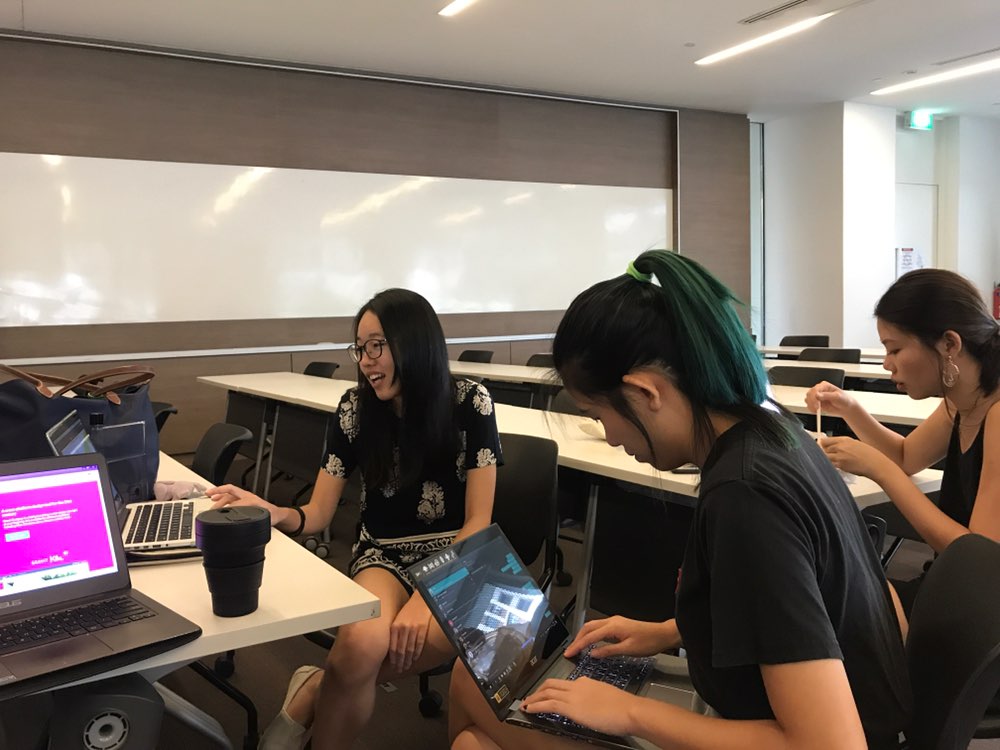
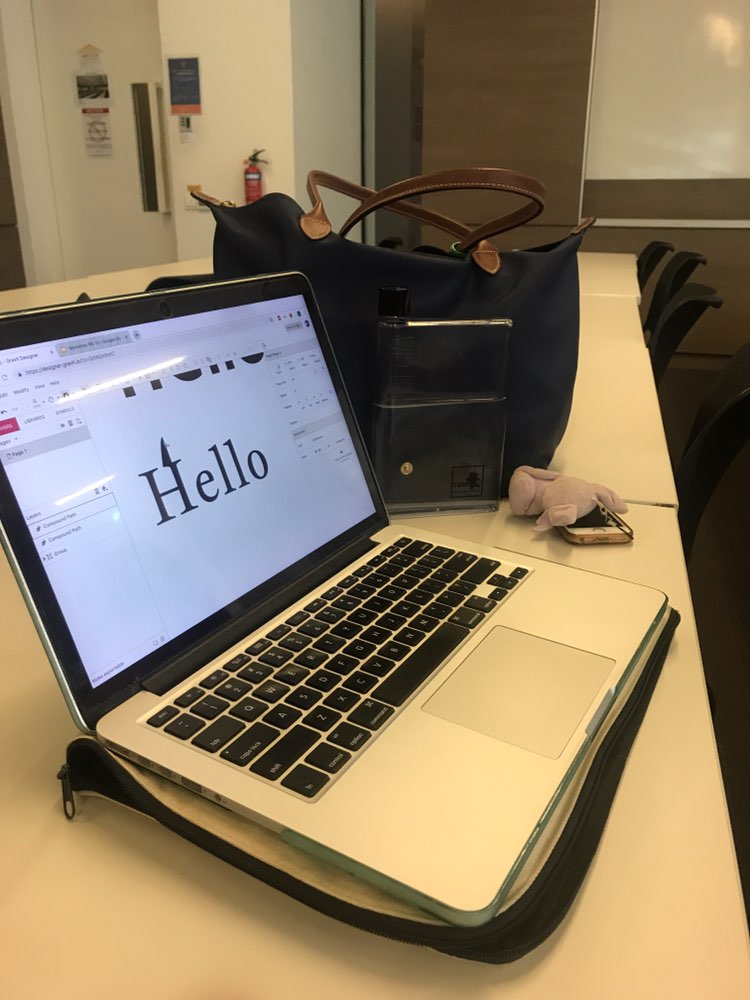
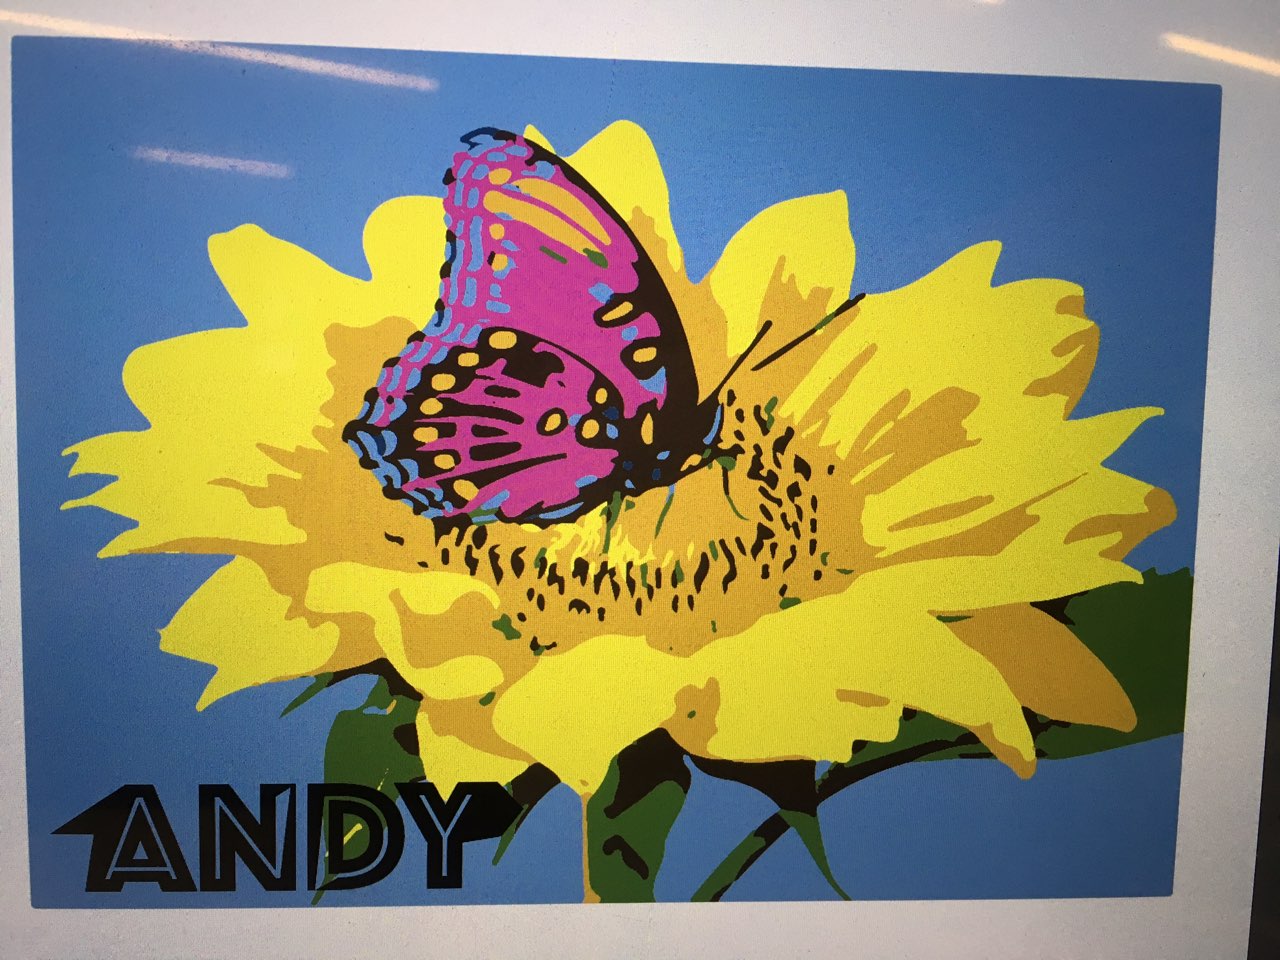
I originally wanted to use Adobe Illustrator as the platform to conduct the workshop. However, it occured to me that many people would not have the software (the free trial would have expired had they downloaded it for a previous workshop). I thus found a free to use online platform that has similar functions – Gravit. I then went through, step-by-step, how to manipulate images and fonts using both softwares.
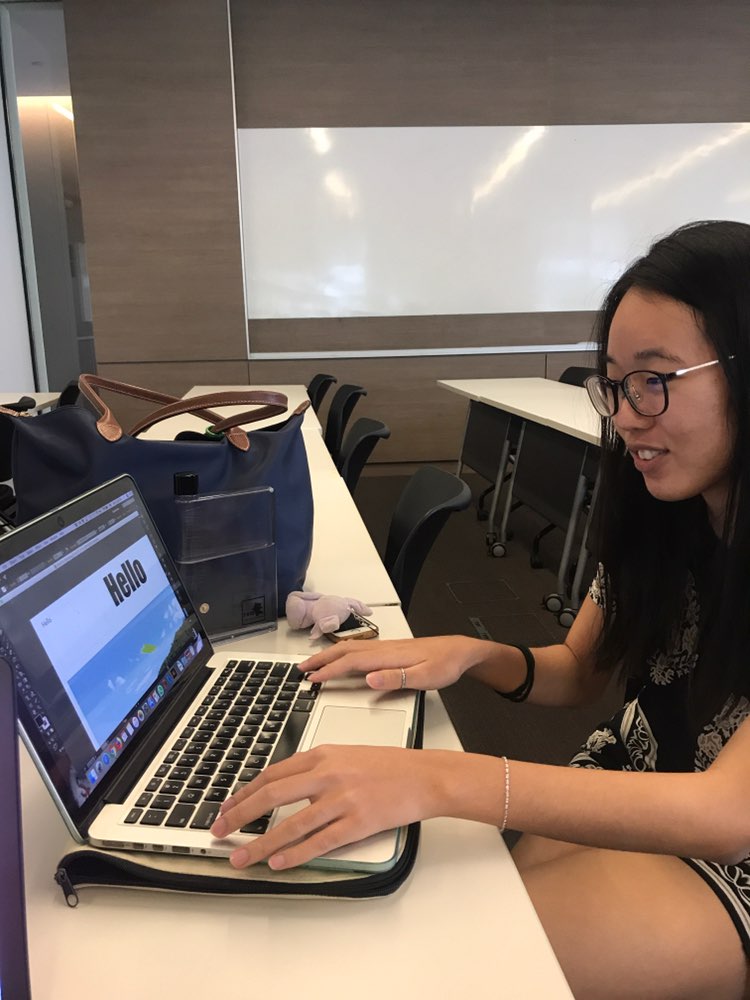
It was a casual setting where the 5 participants just gathered around to see the computer screen
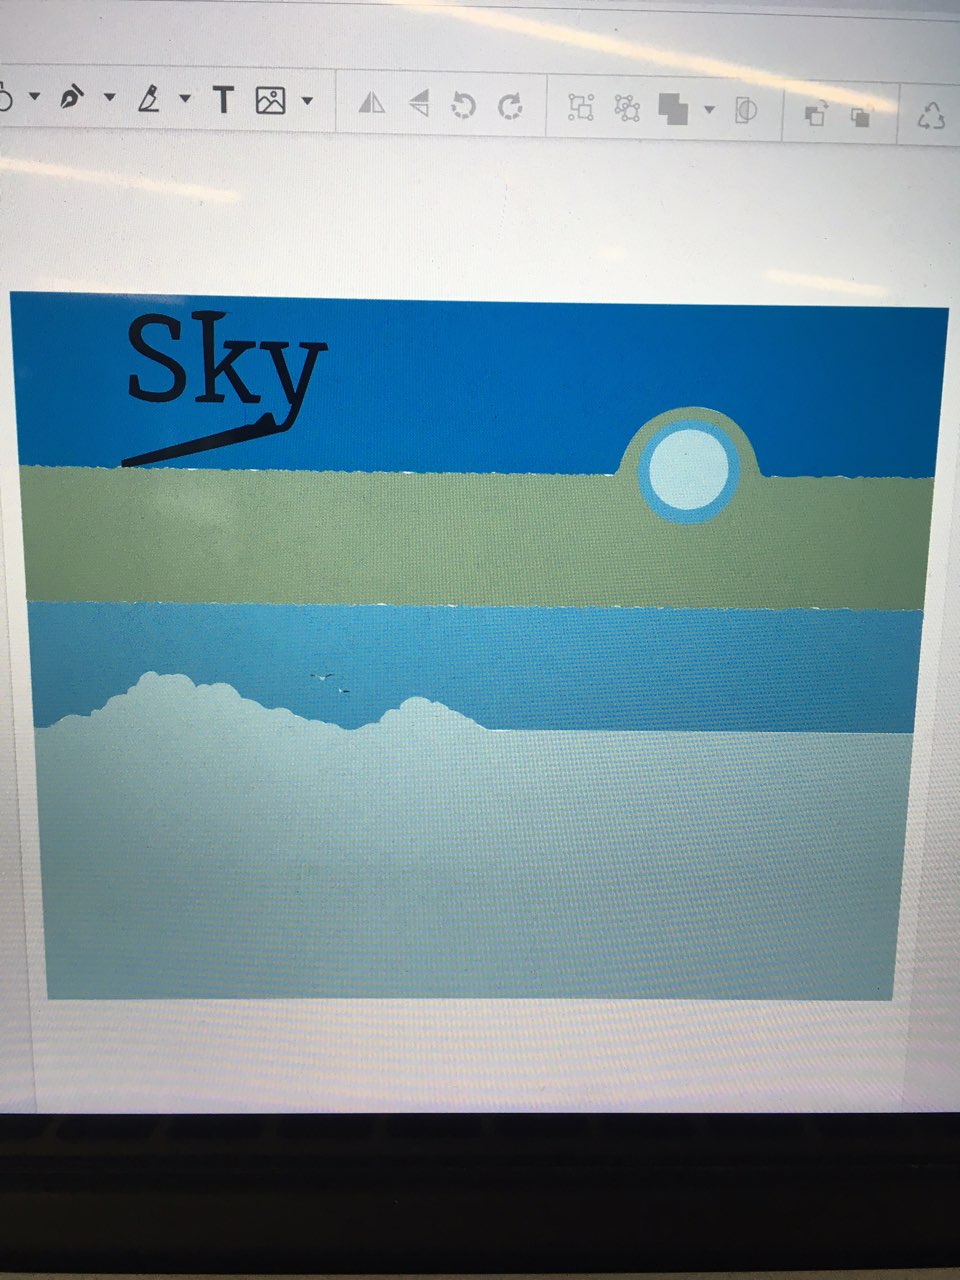
Demonstrating how to manipulate images (colour and shapes)
Showing how to manipulate fonts using AI
Manipulated font showed on Gravit – one participant commented that it has Halloween vibes
Everybody can access the workshop slides via our shared Google Drive folder, or via this link
The workshop participants demonstrated their artistic creativity:
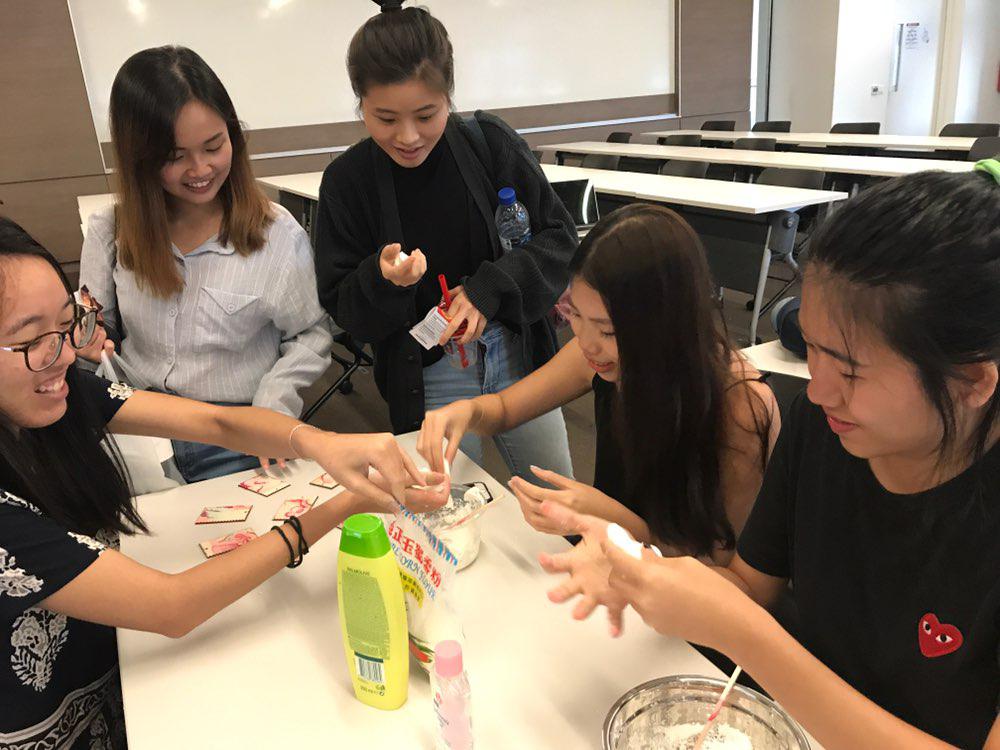
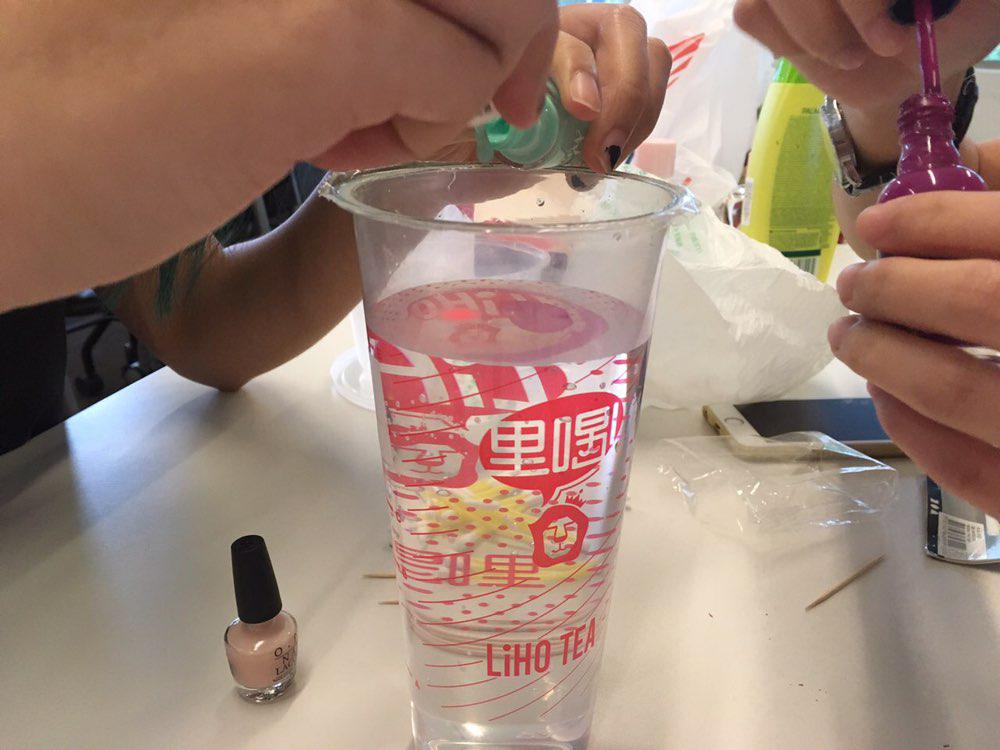
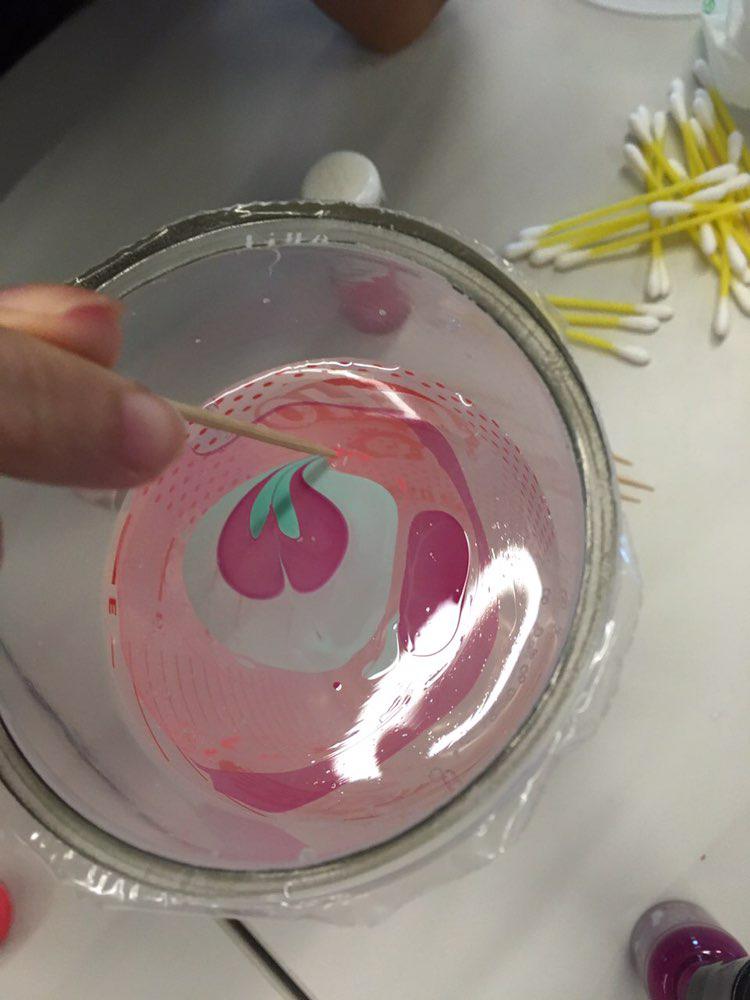
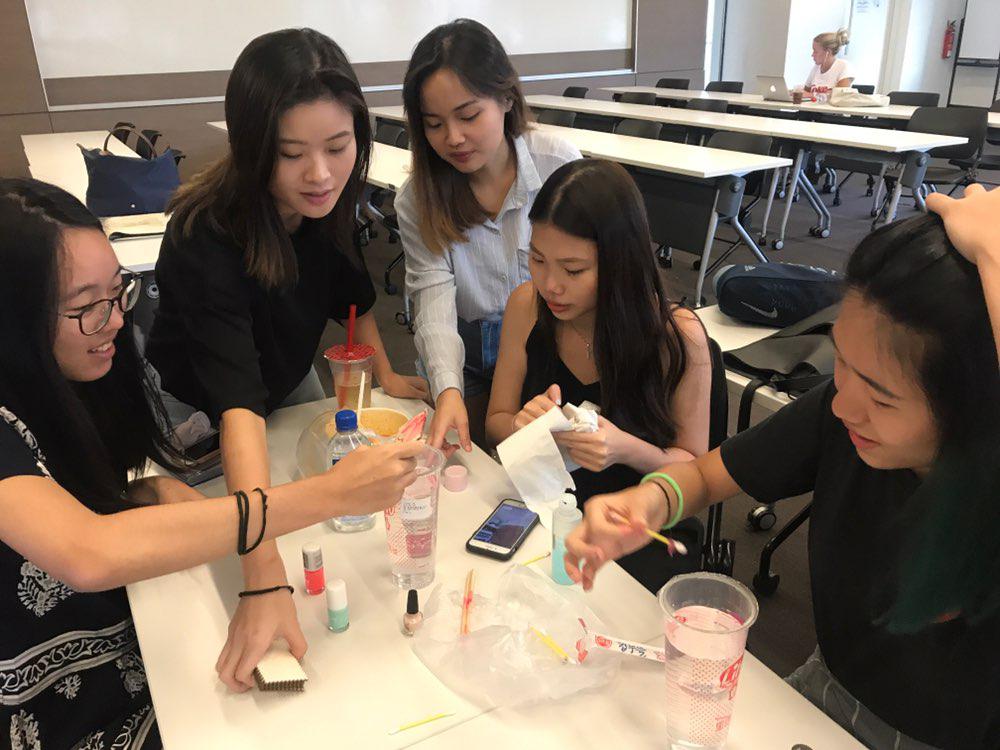
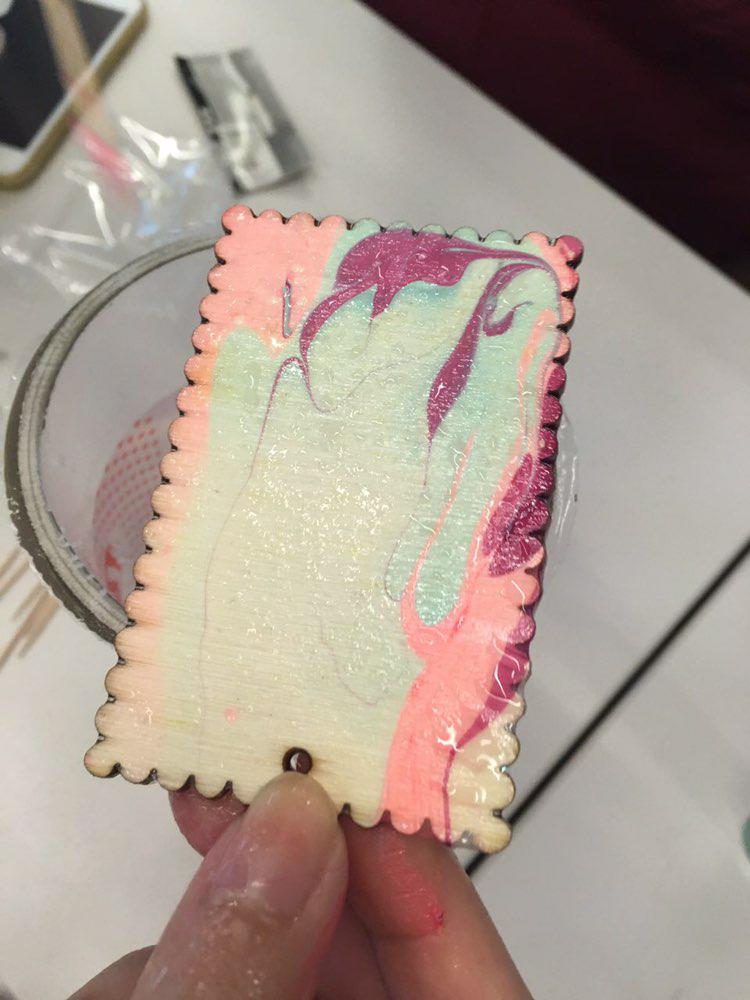
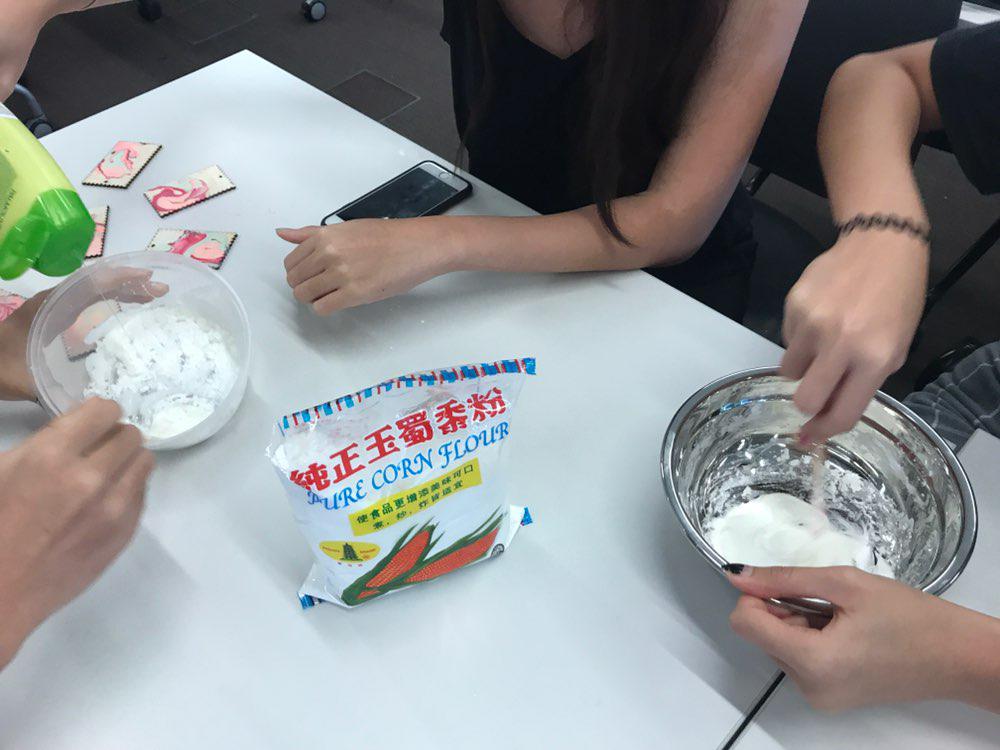
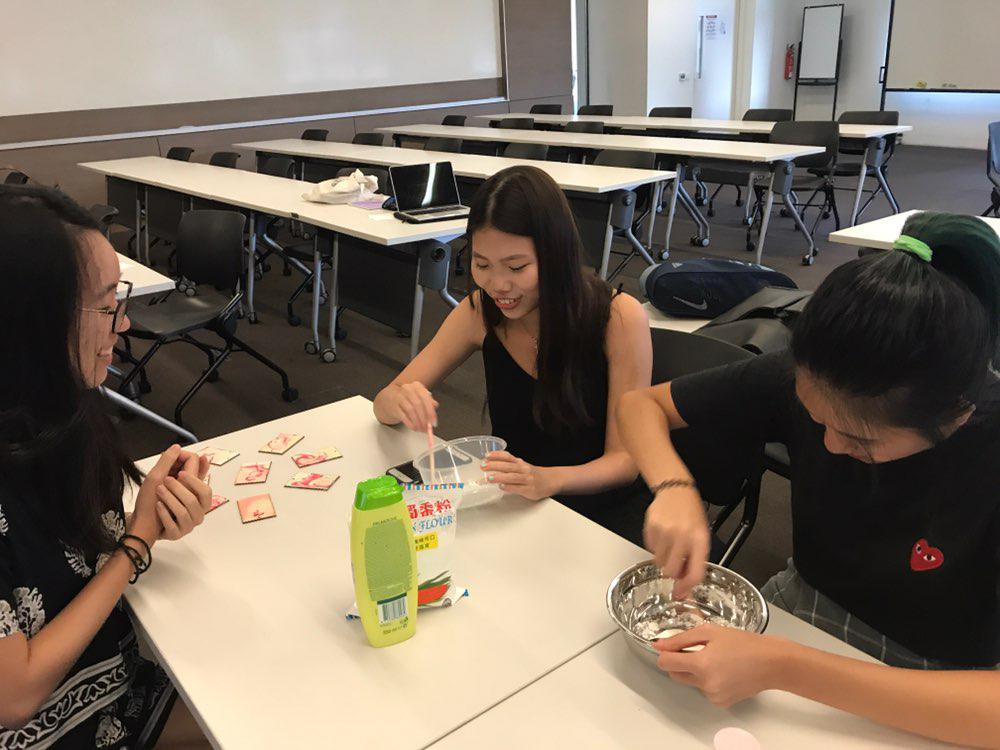
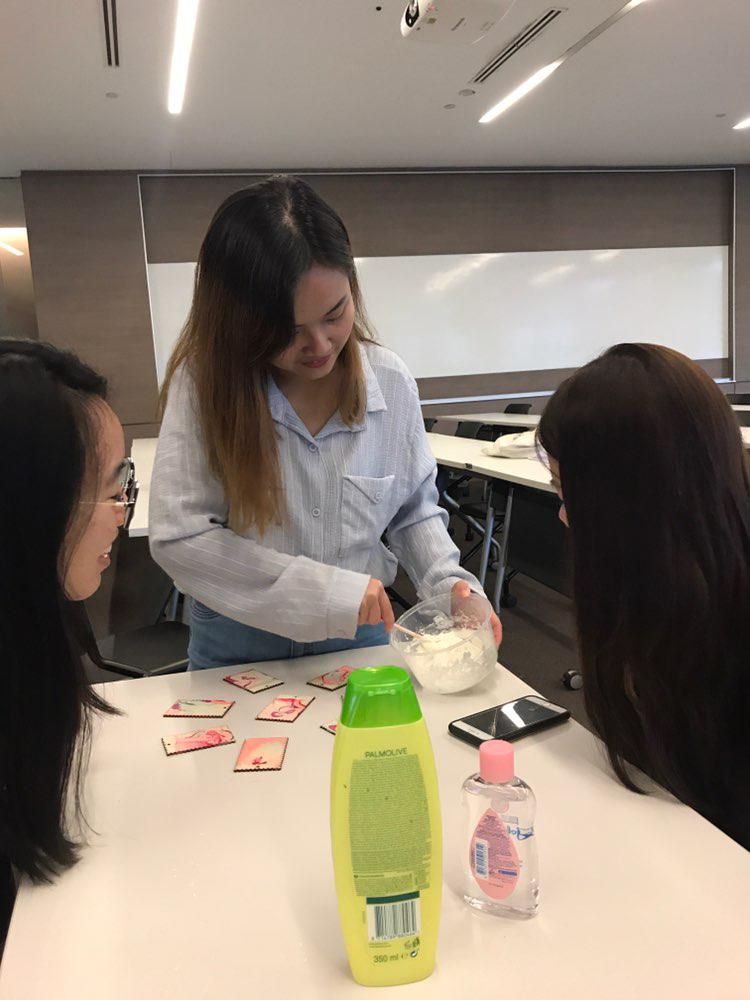
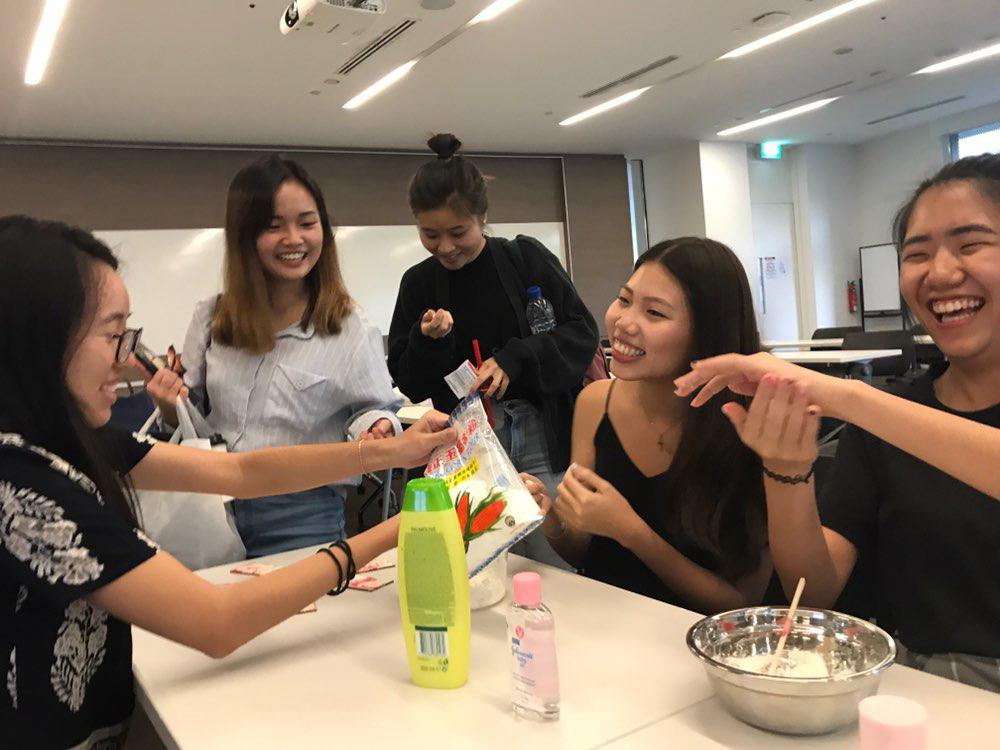
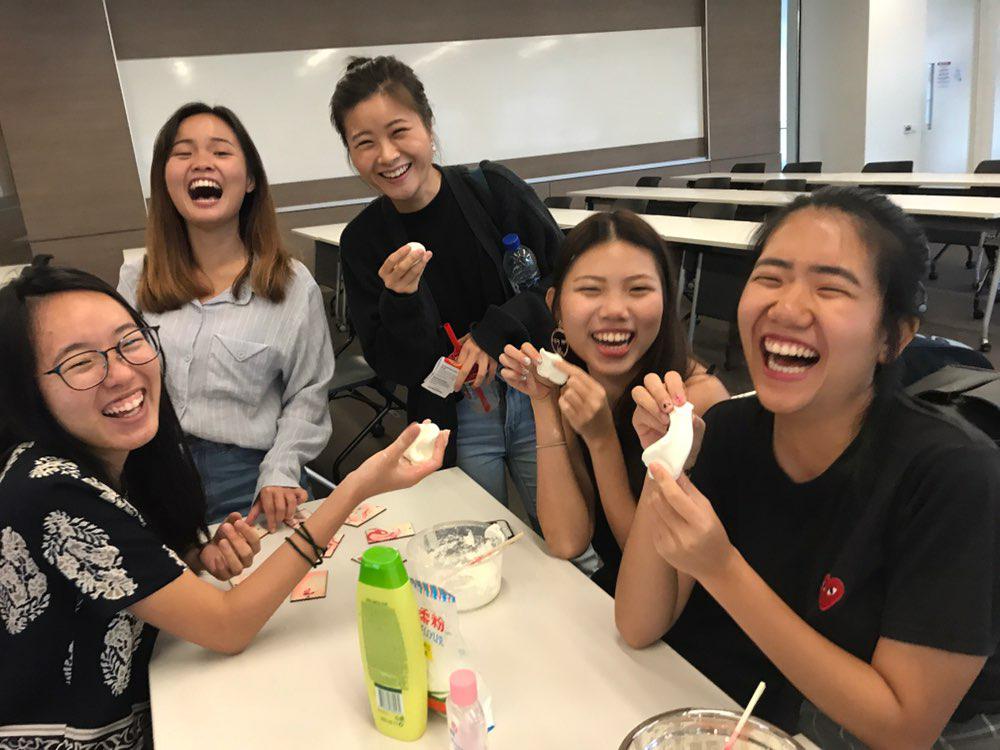
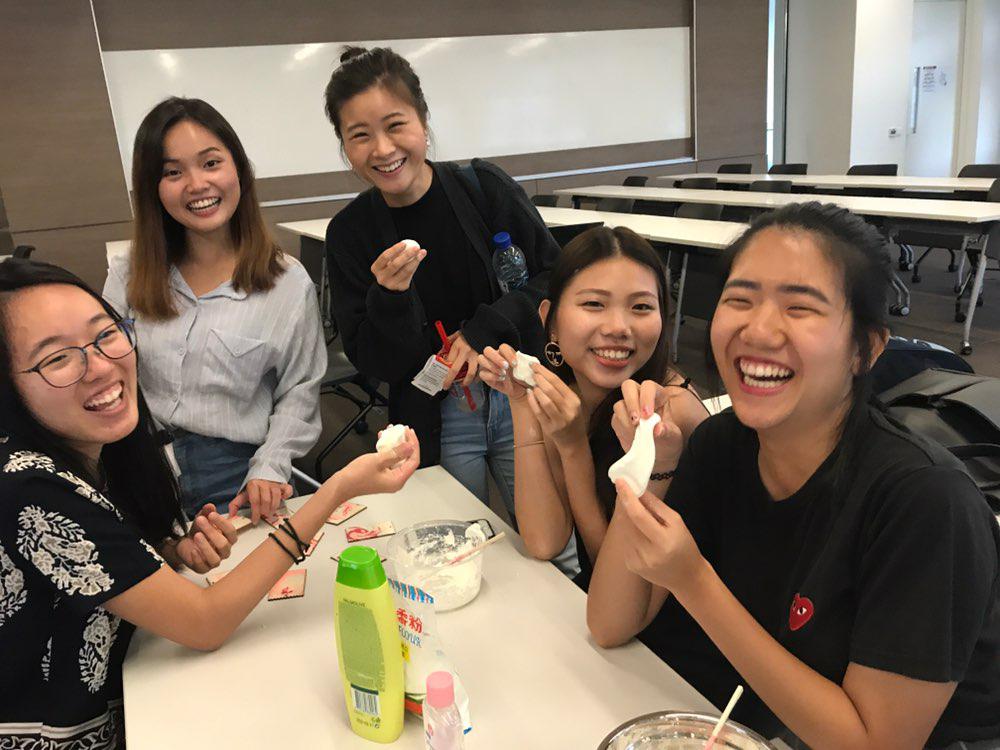
On Week 11, we conducted an outside-of-class workshop on Sensory Art. Sensory Art consists of hands-on activities that relate to our senses (touch, sight, sound, smell, etc). With materials that can be easily found at home, you get to stimulate your creativity and engage in free play. For this workshop, we had two different activities – Nail polish marbling and Butter soap making.
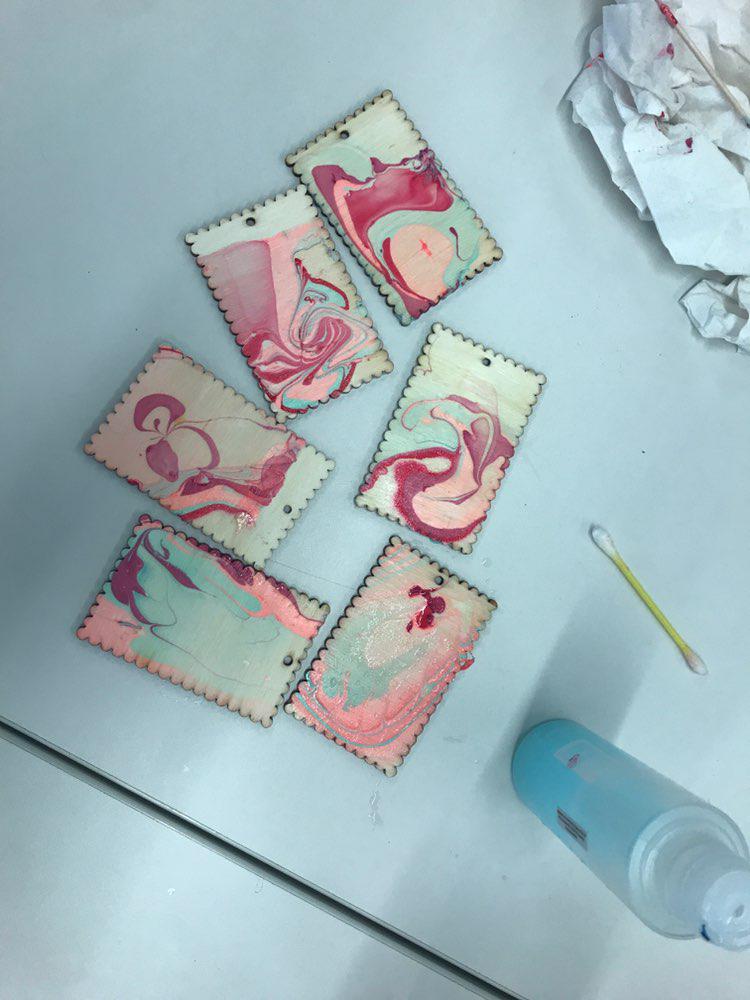
Nail Polish Marbling
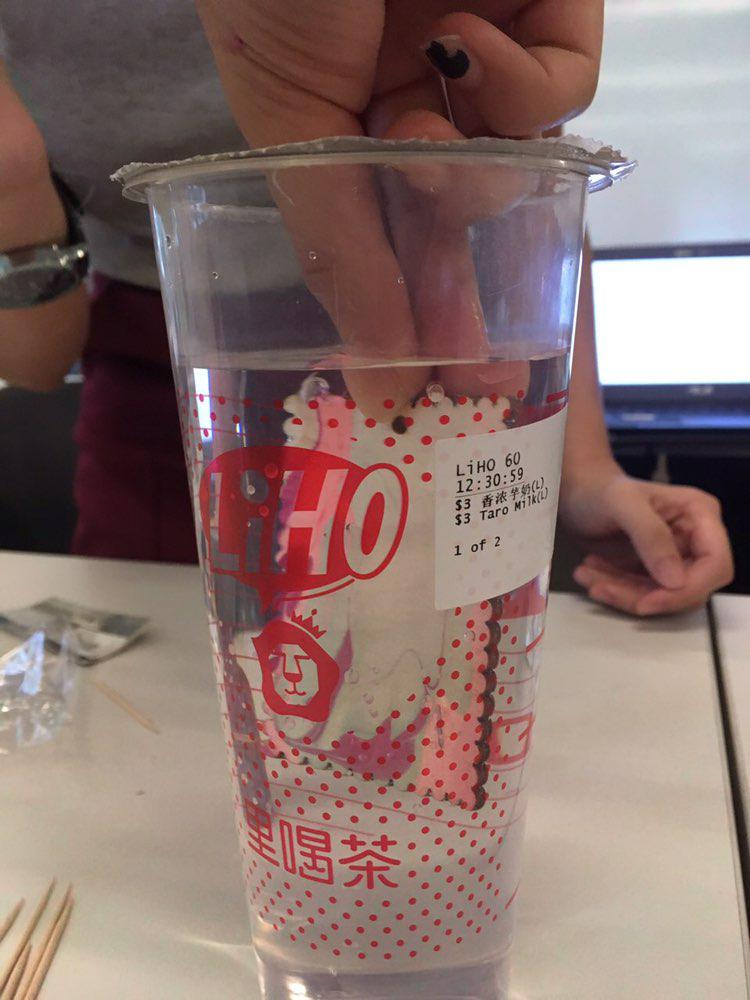
Materials used: Cup, Water, Nail polish, Toothpicks, Item to marble
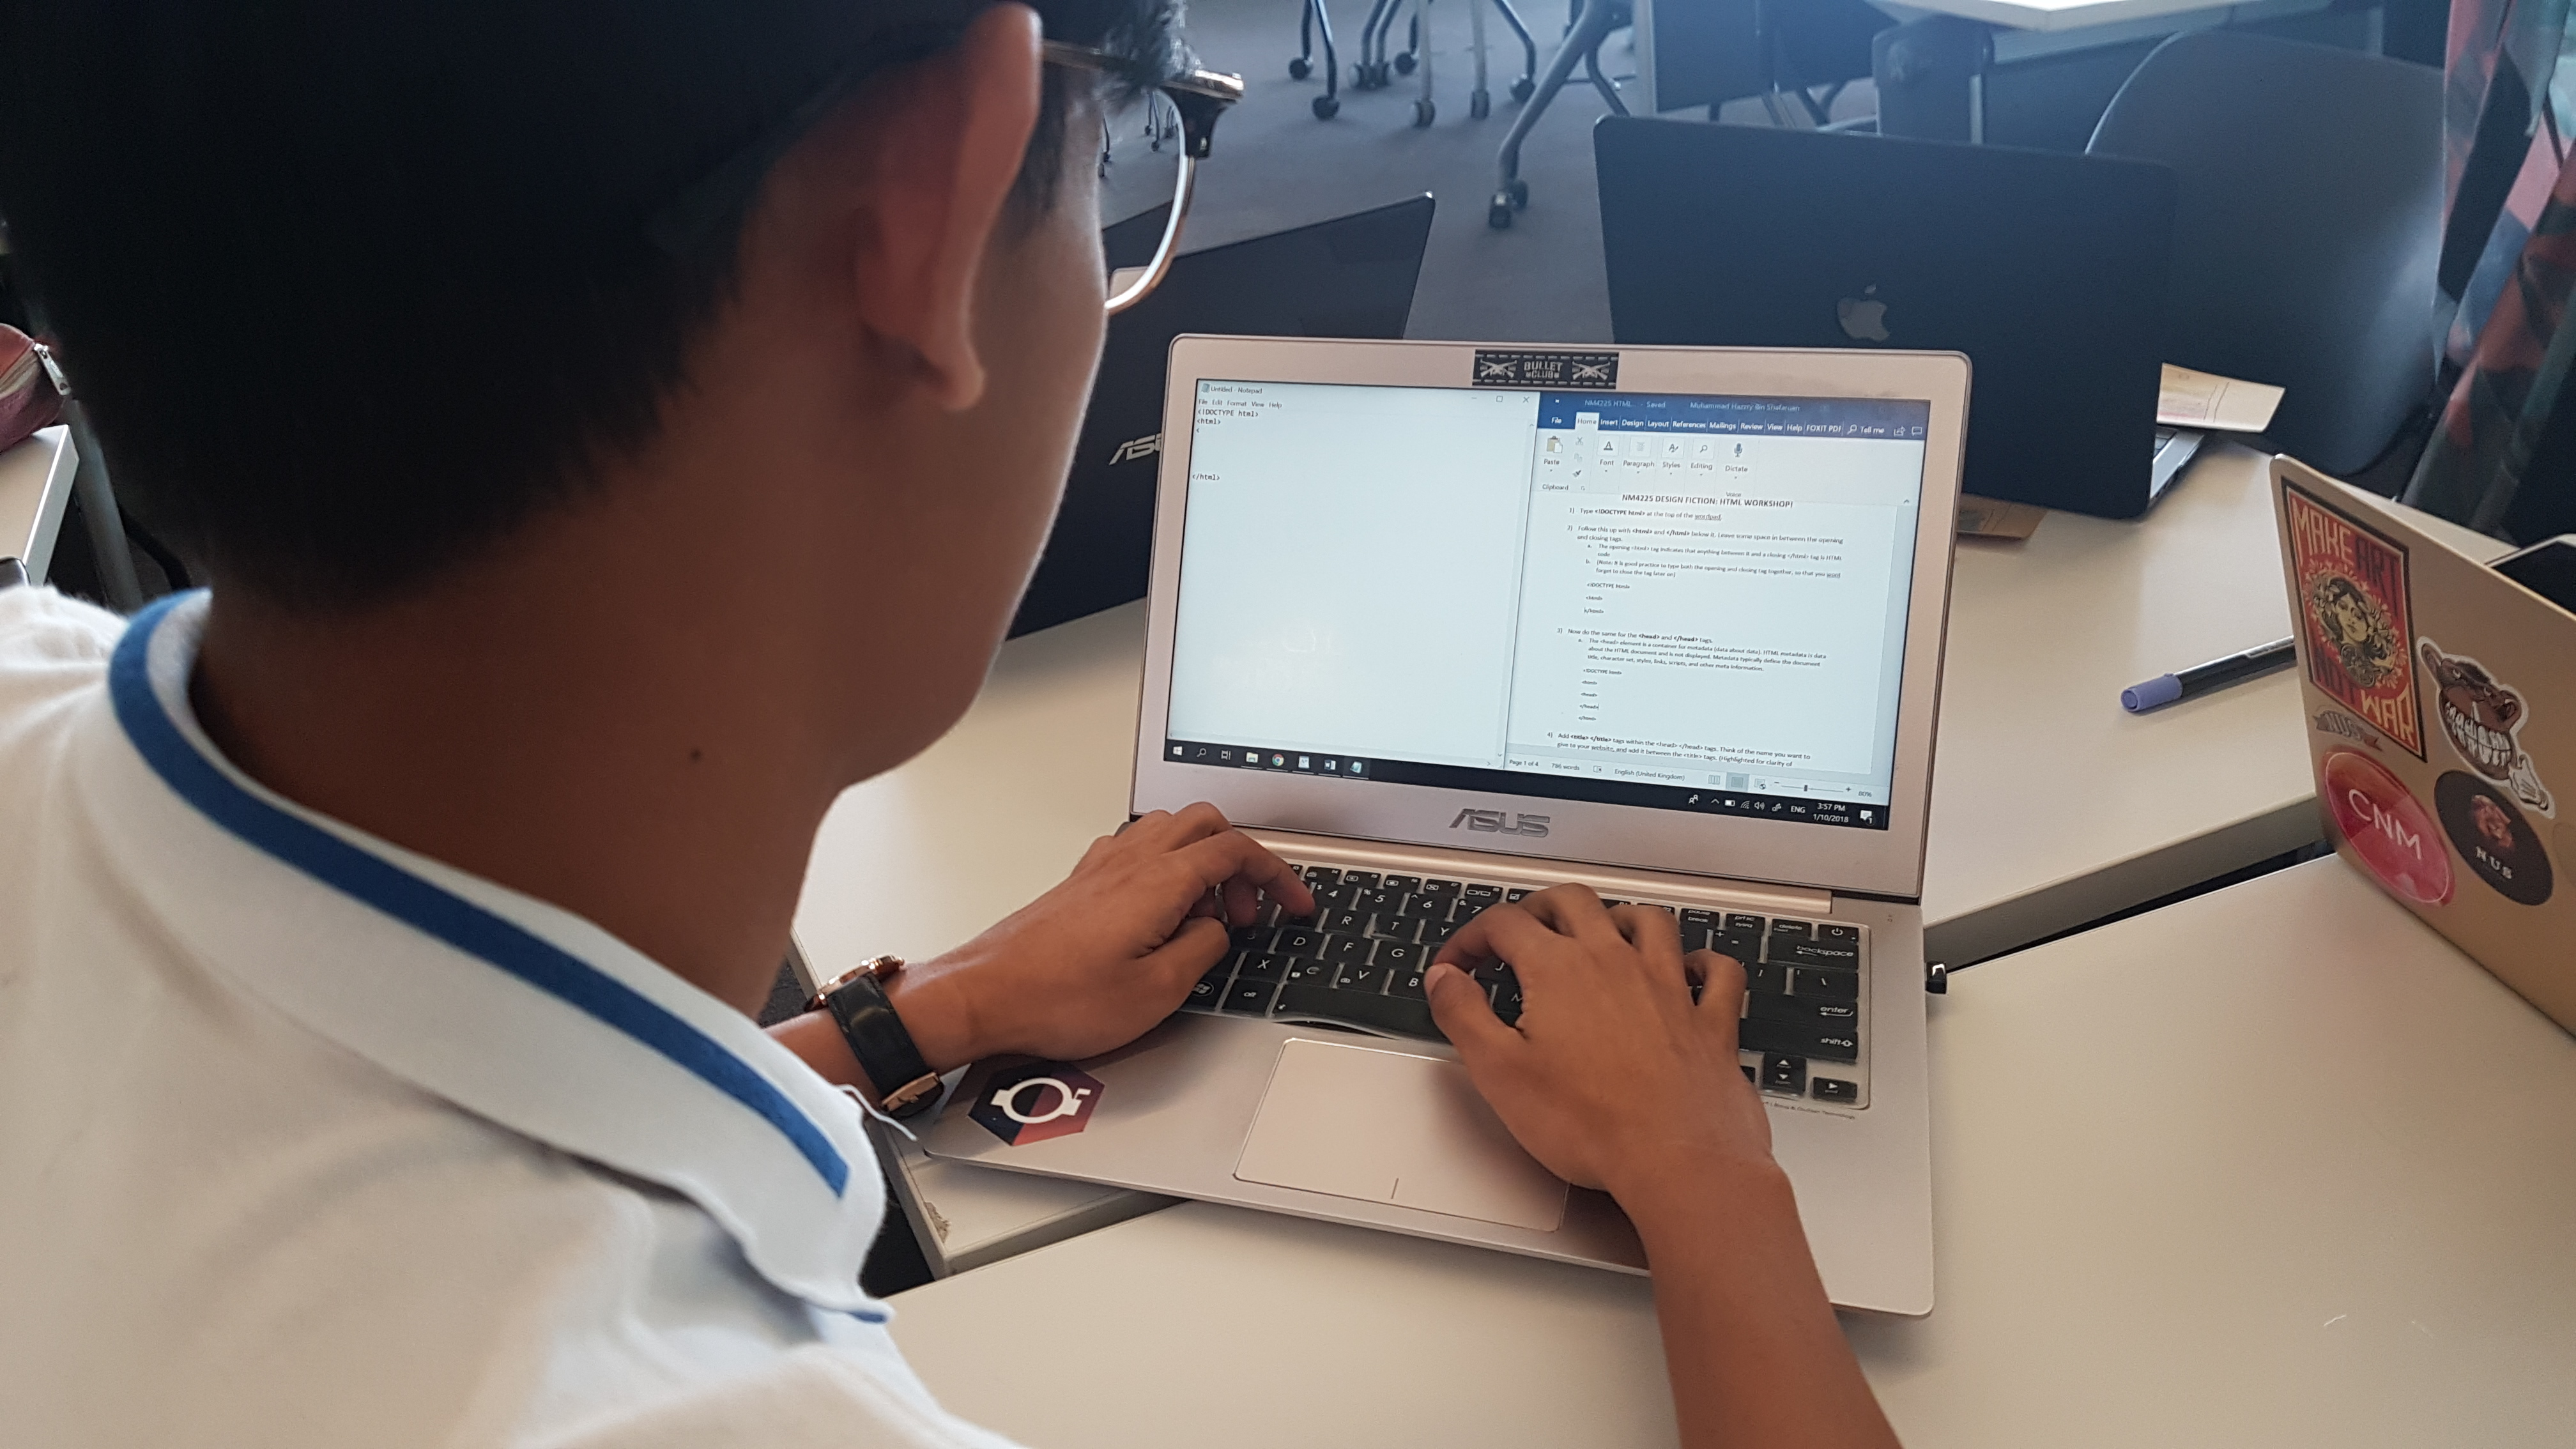
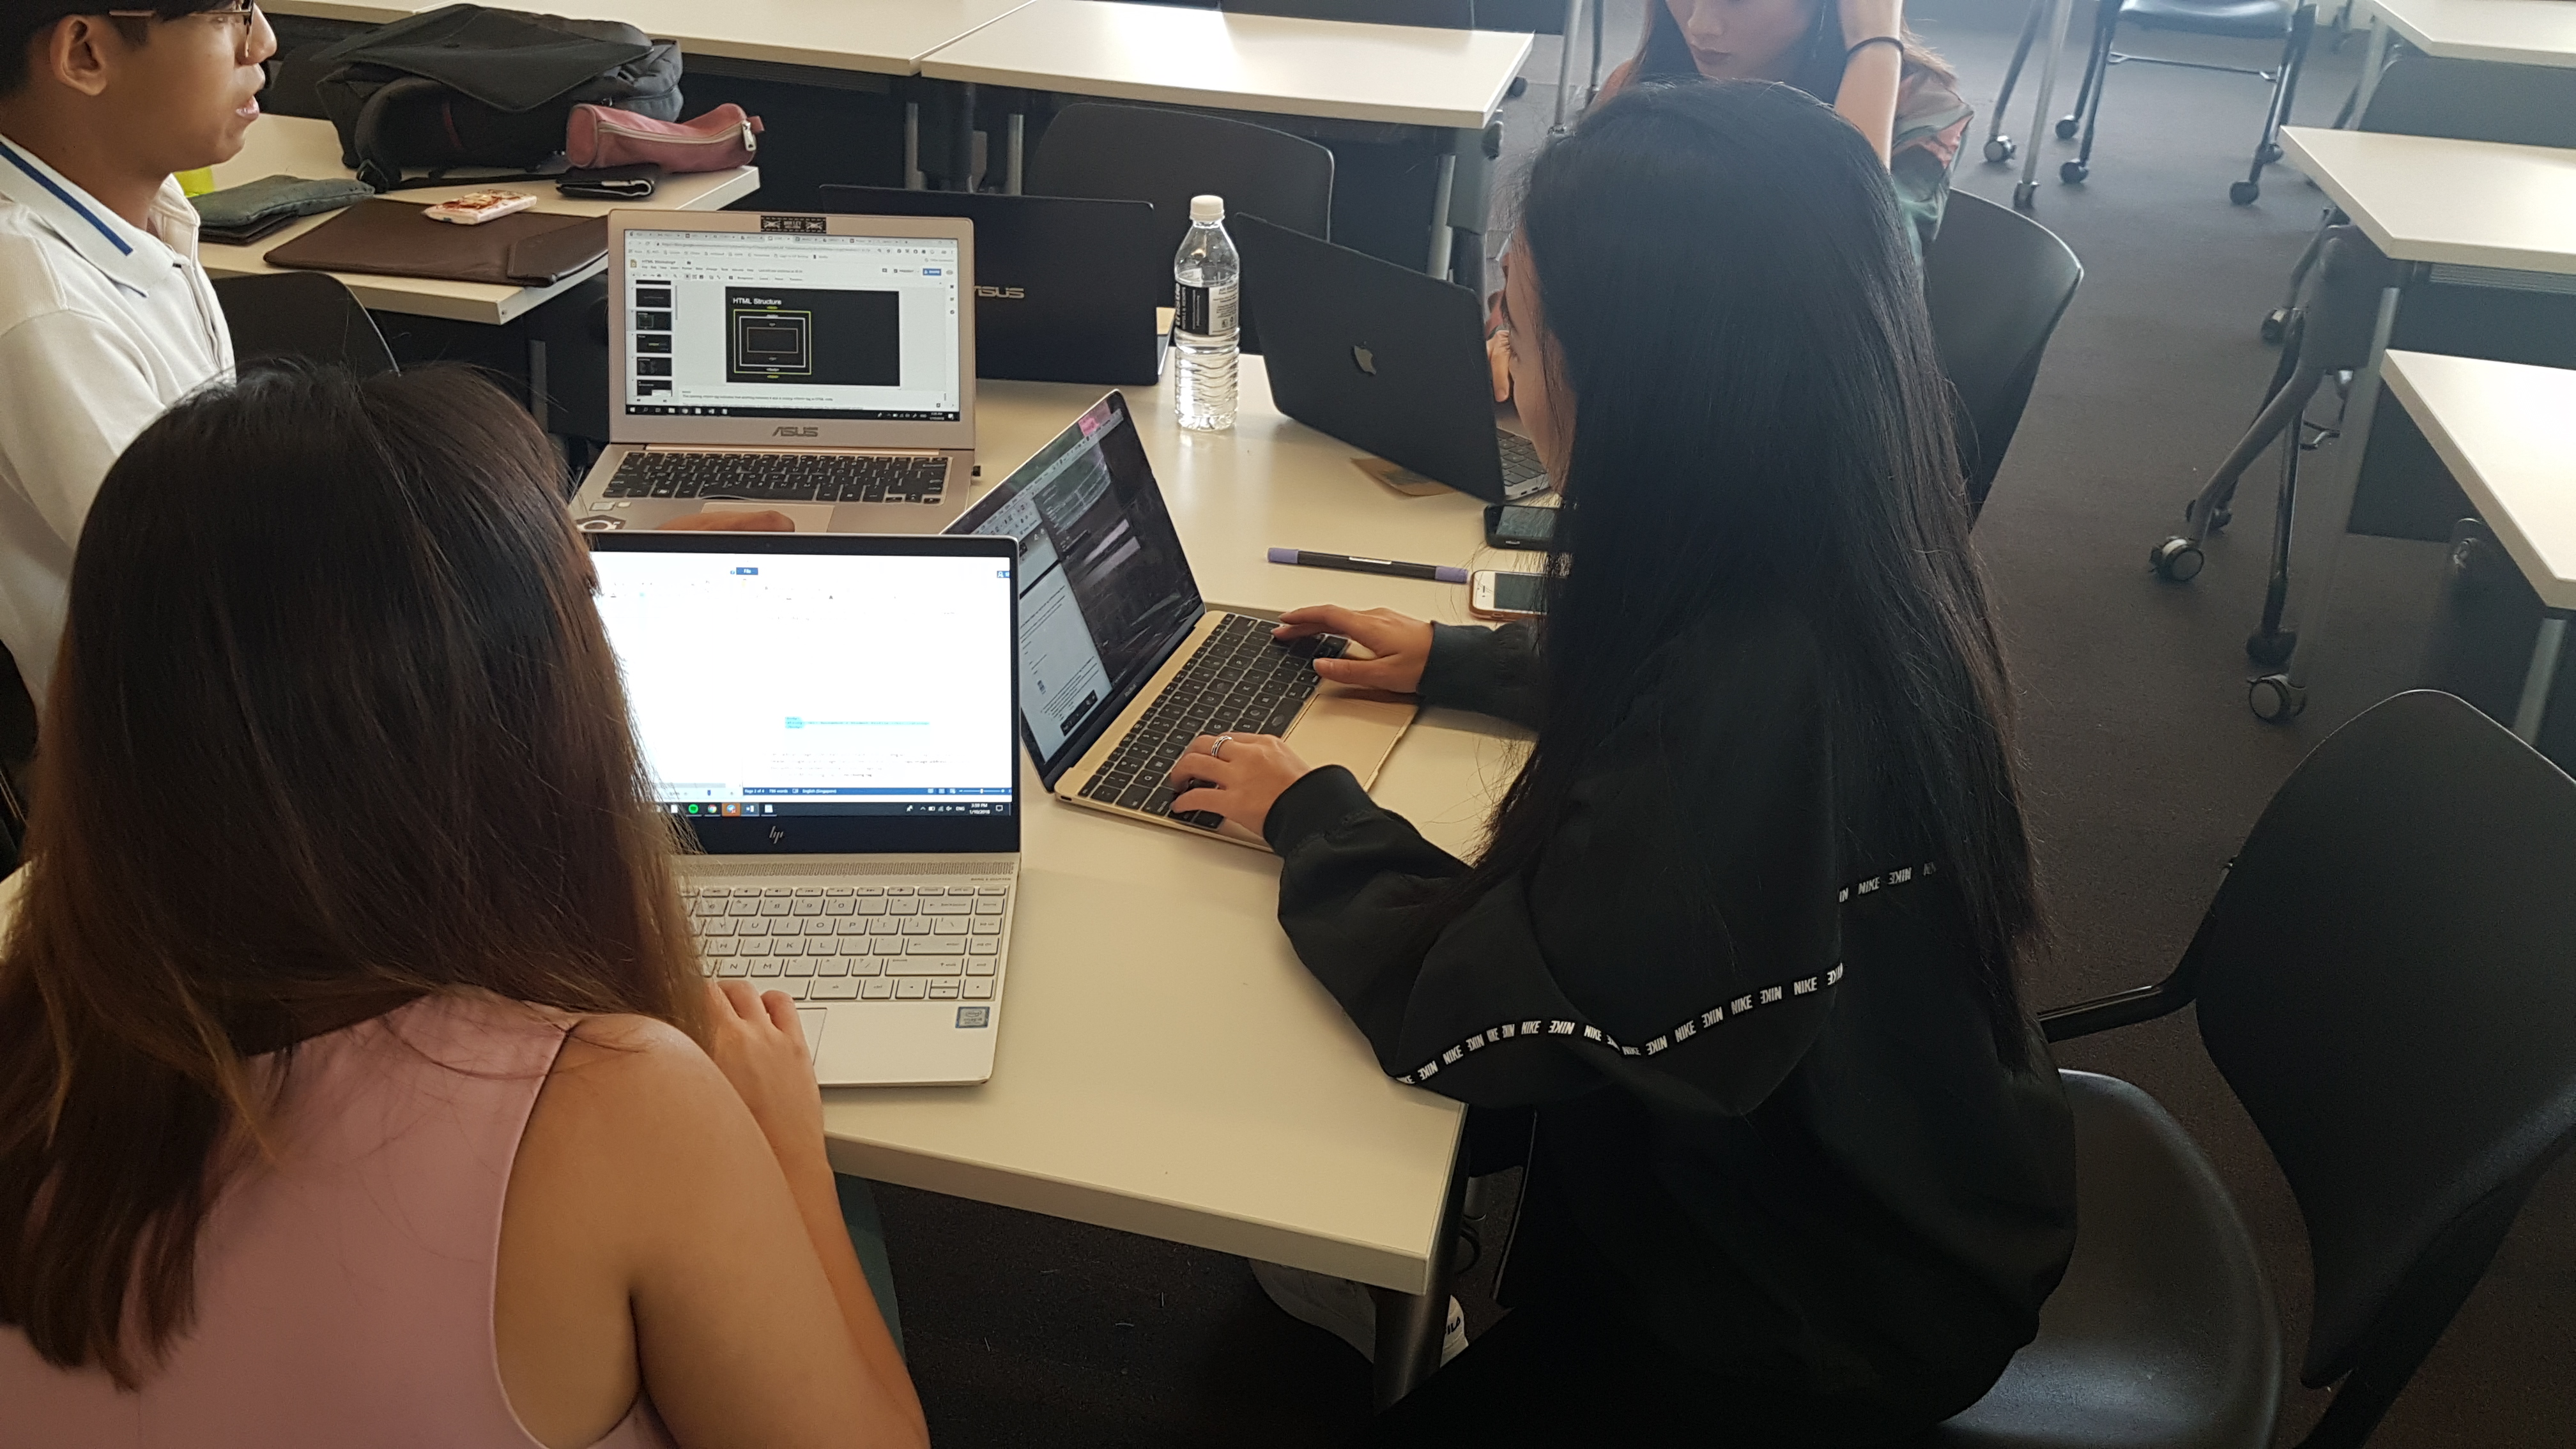
Our workshop on HTML and CSS was conducted in week 7 during class time. For this workshop, Johan focused on the theory aspect while Hazzry went through the tutorial of making a student profile with the class.
Sequence of Workshop
HTML Structure
HTML Tags
Formatting elements
CSS
Creation of Student Profile
Hazzry going through making the student profile Workshop in progress!creation of student profile from class
For those who are interested in what we did, you can download the workshop slides and instructions from the links below!
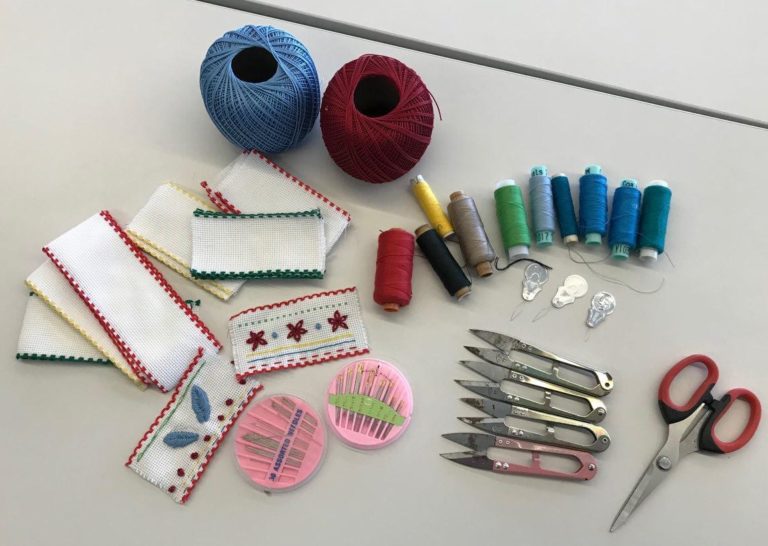
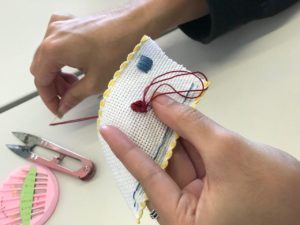
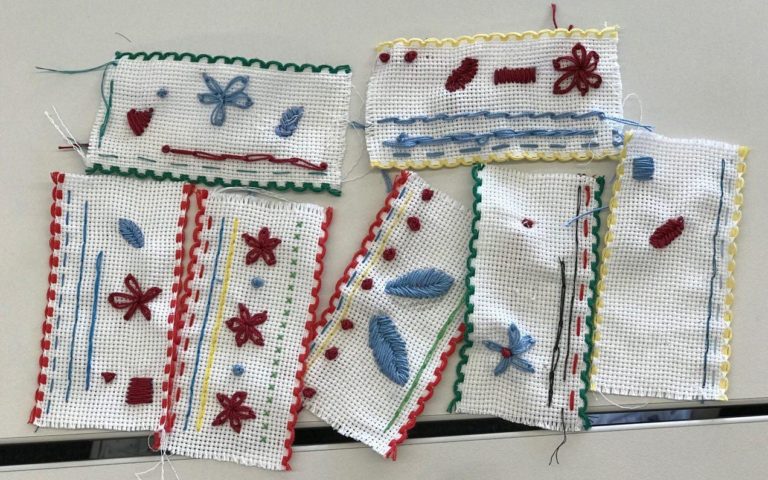
Our workshop on sewing and embroidery was conducted during week 7 in class. For this workshop, we selected a few different kinds of stitches and embroidery methods that we thought would be useful for the class when they create their final prototype.
The rough agenda for the workshop was:
Running Stitch
Back Stitch (more secure; useful to sew pieces of cloths together for your prototype relative to using ‘running stitches’ as it got a stronger hold)
Chain Stitch
Lazy Daisy (using the concept of chain stitch)
French Knot (can be use to create mini roses)
Satin stitch and padding (can be used to create different embroidery design. Tips: Do drawing guidelines of your design before you start embroidering)
Fishbone/Fishtail
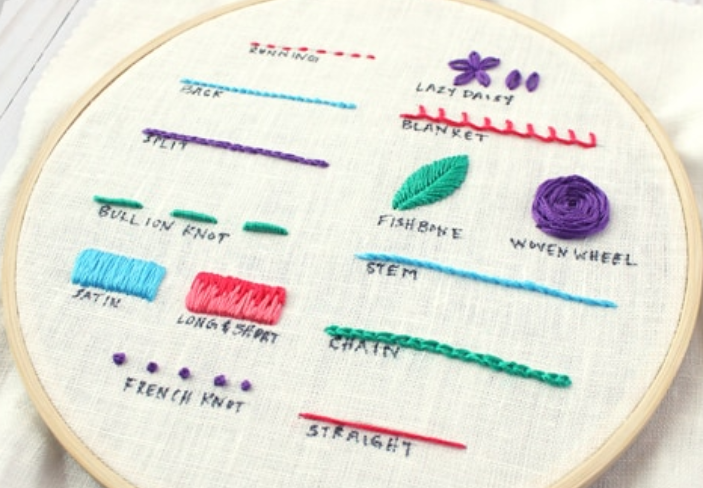
Here is a reference image to show how the different stitches and embroidery actually looks like.