After having a conversation with my film photographer friend, I realised that much of her work requires precision and luck since you don’t get to see the end product until you are done with the film roll. As such, I thought about designing a cultural probe for digital photographers to have a hand in “film photography”.
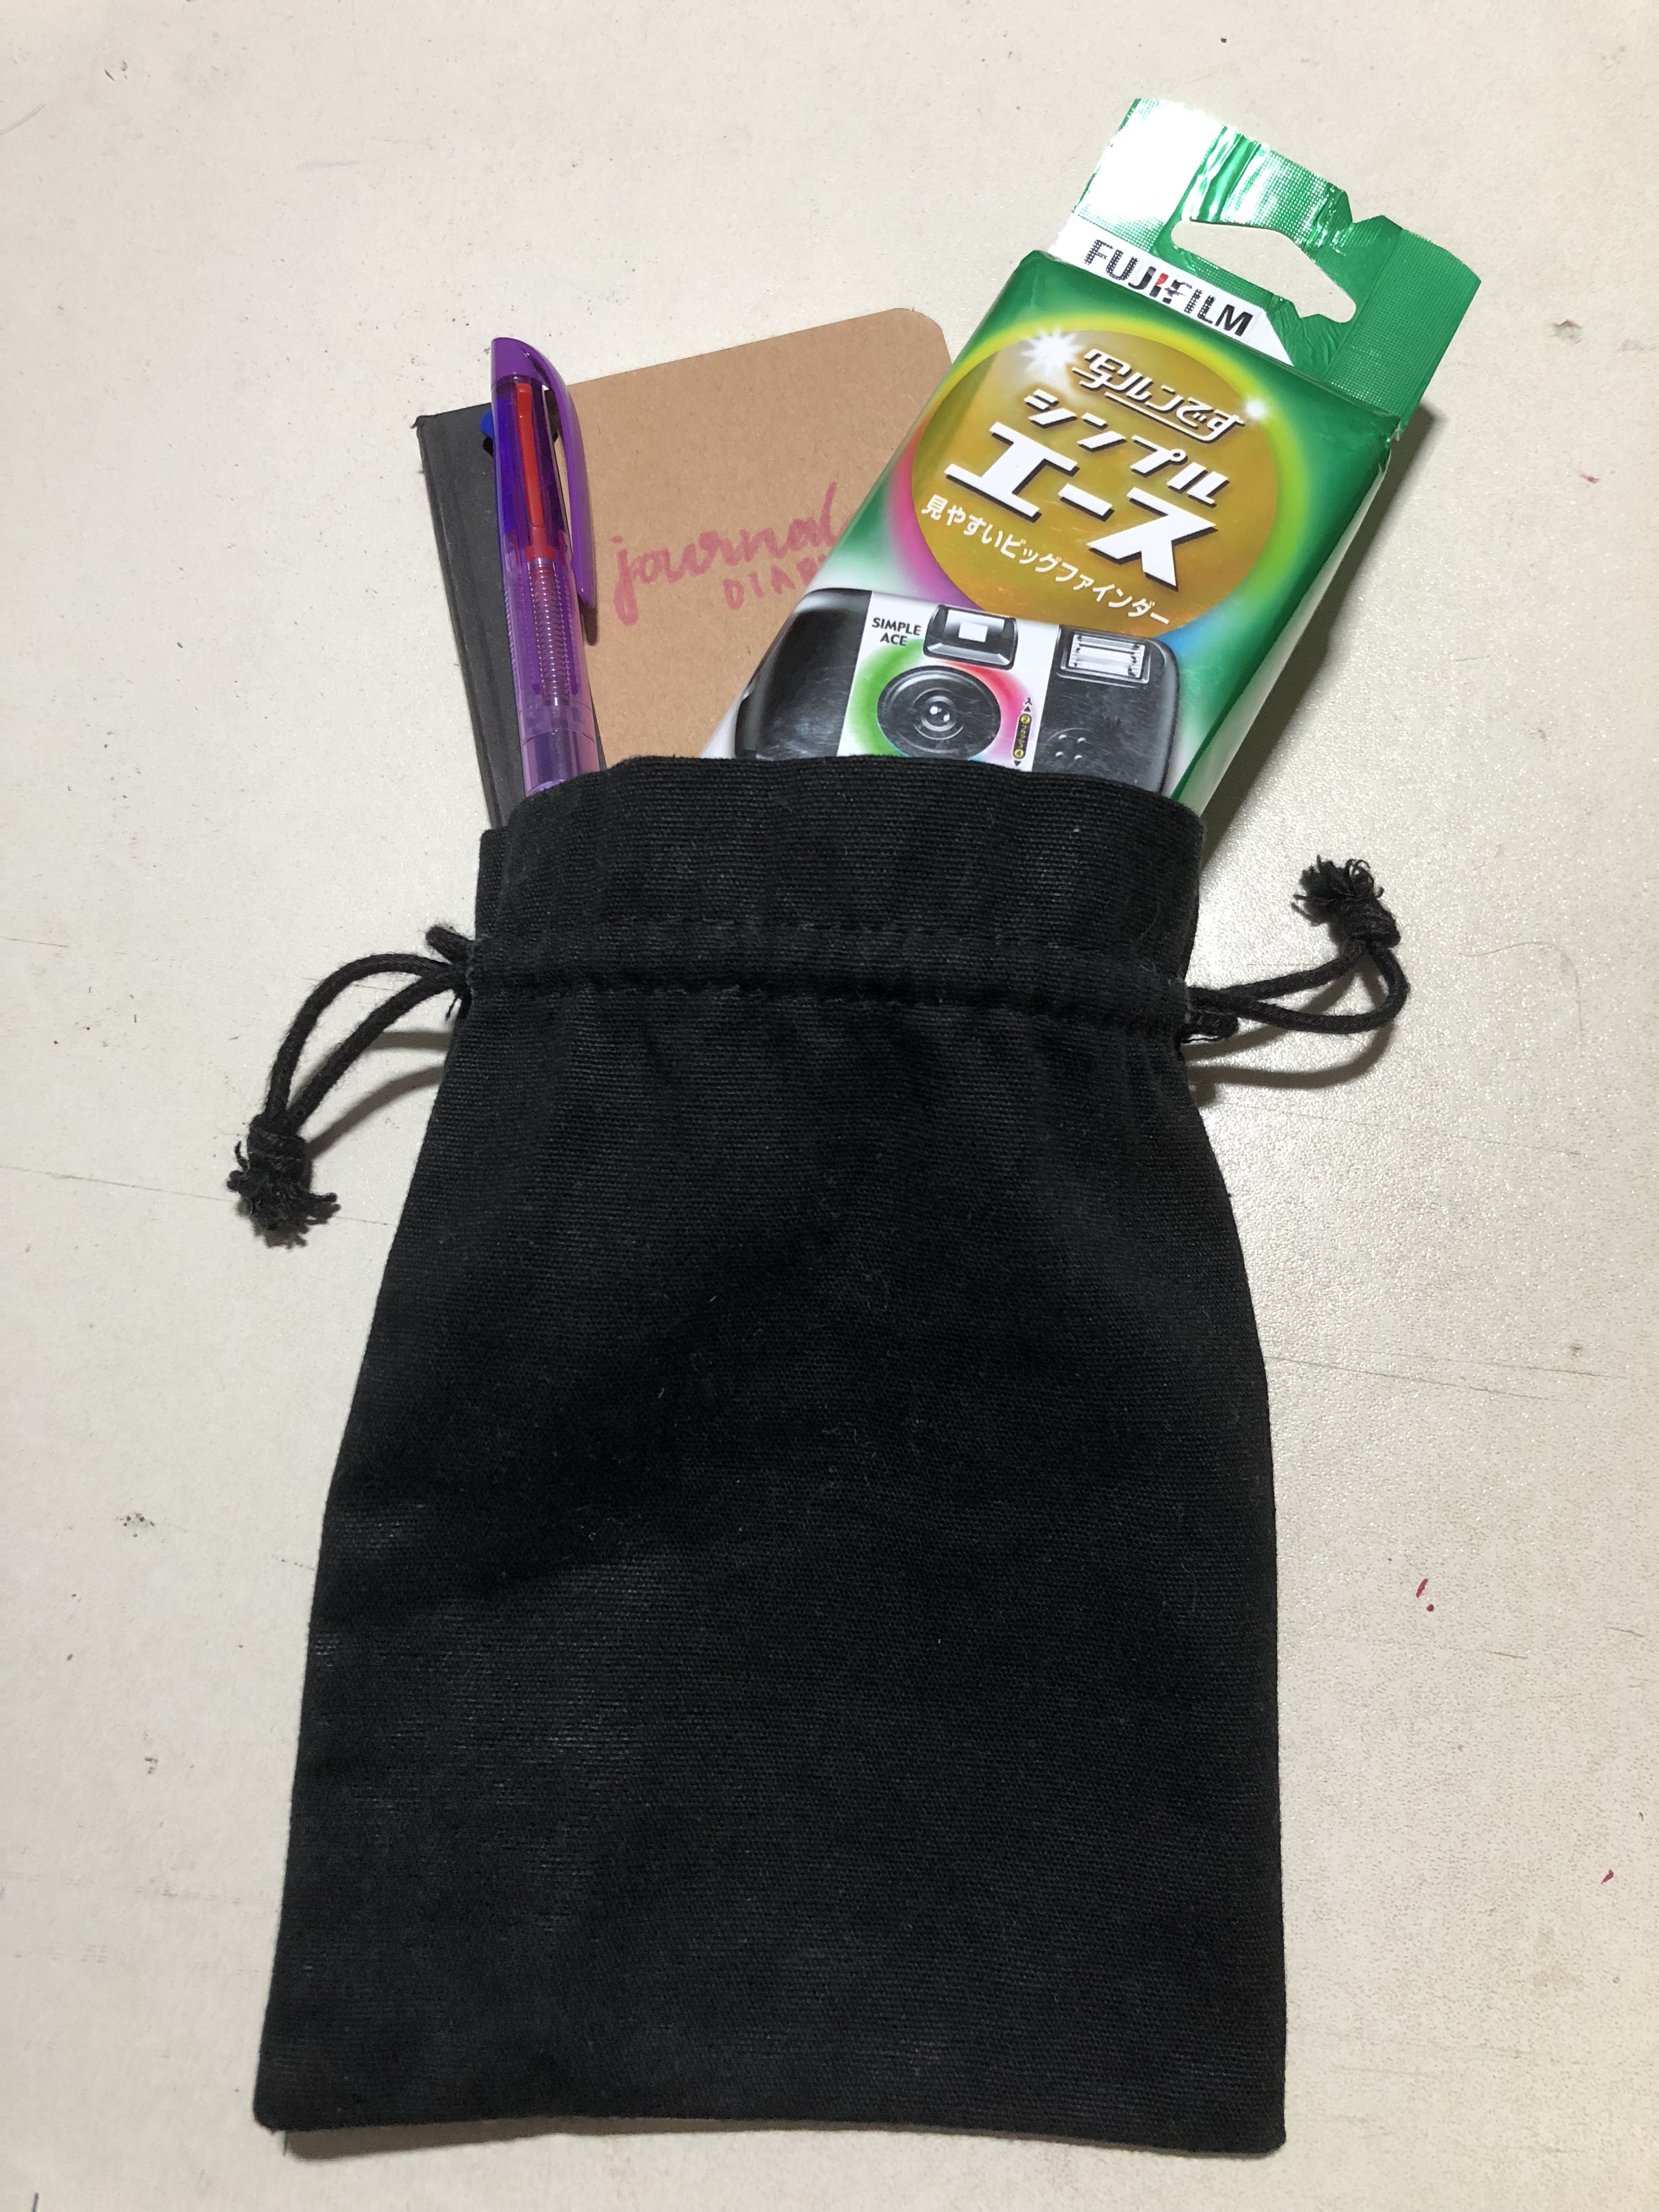
For my cultural probe, I placed into a pouch:
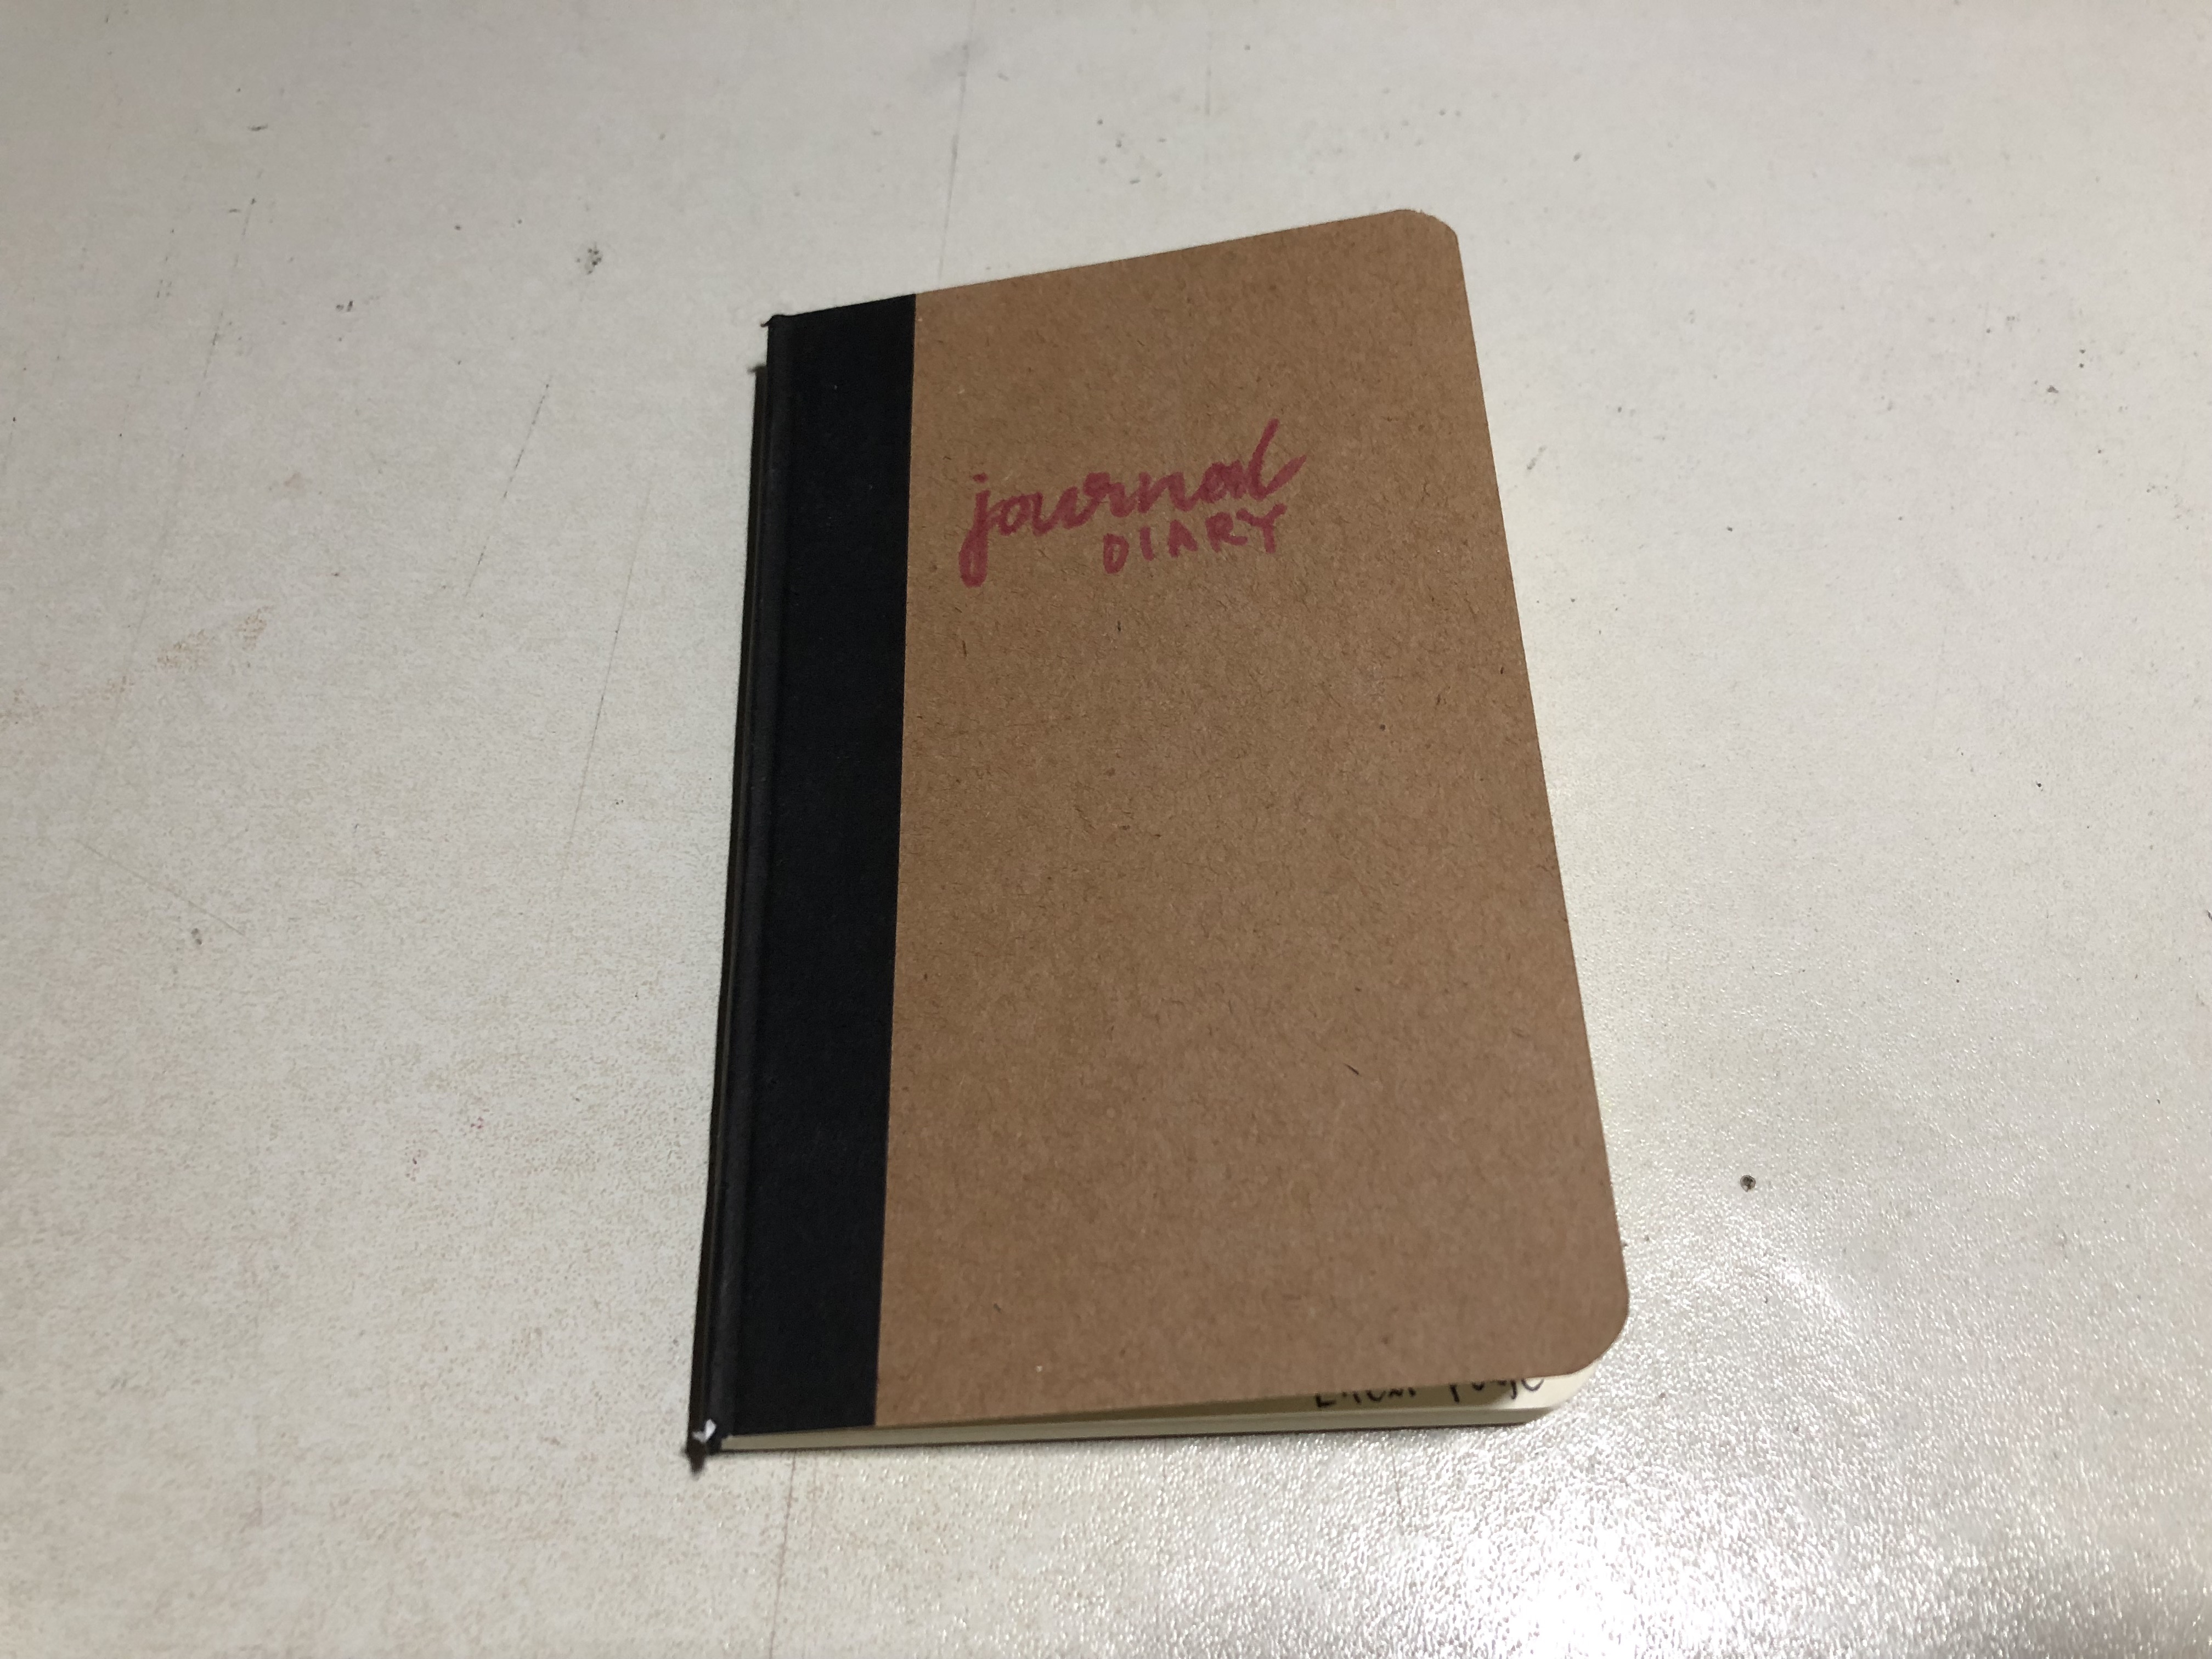
A diary
A disposable camera
A pen
I had friend who is a hobbyist digital photographer and was going overseas during the recess week. Thus, I had him do the cultural probe throughout his 5D4N trip to Bali.
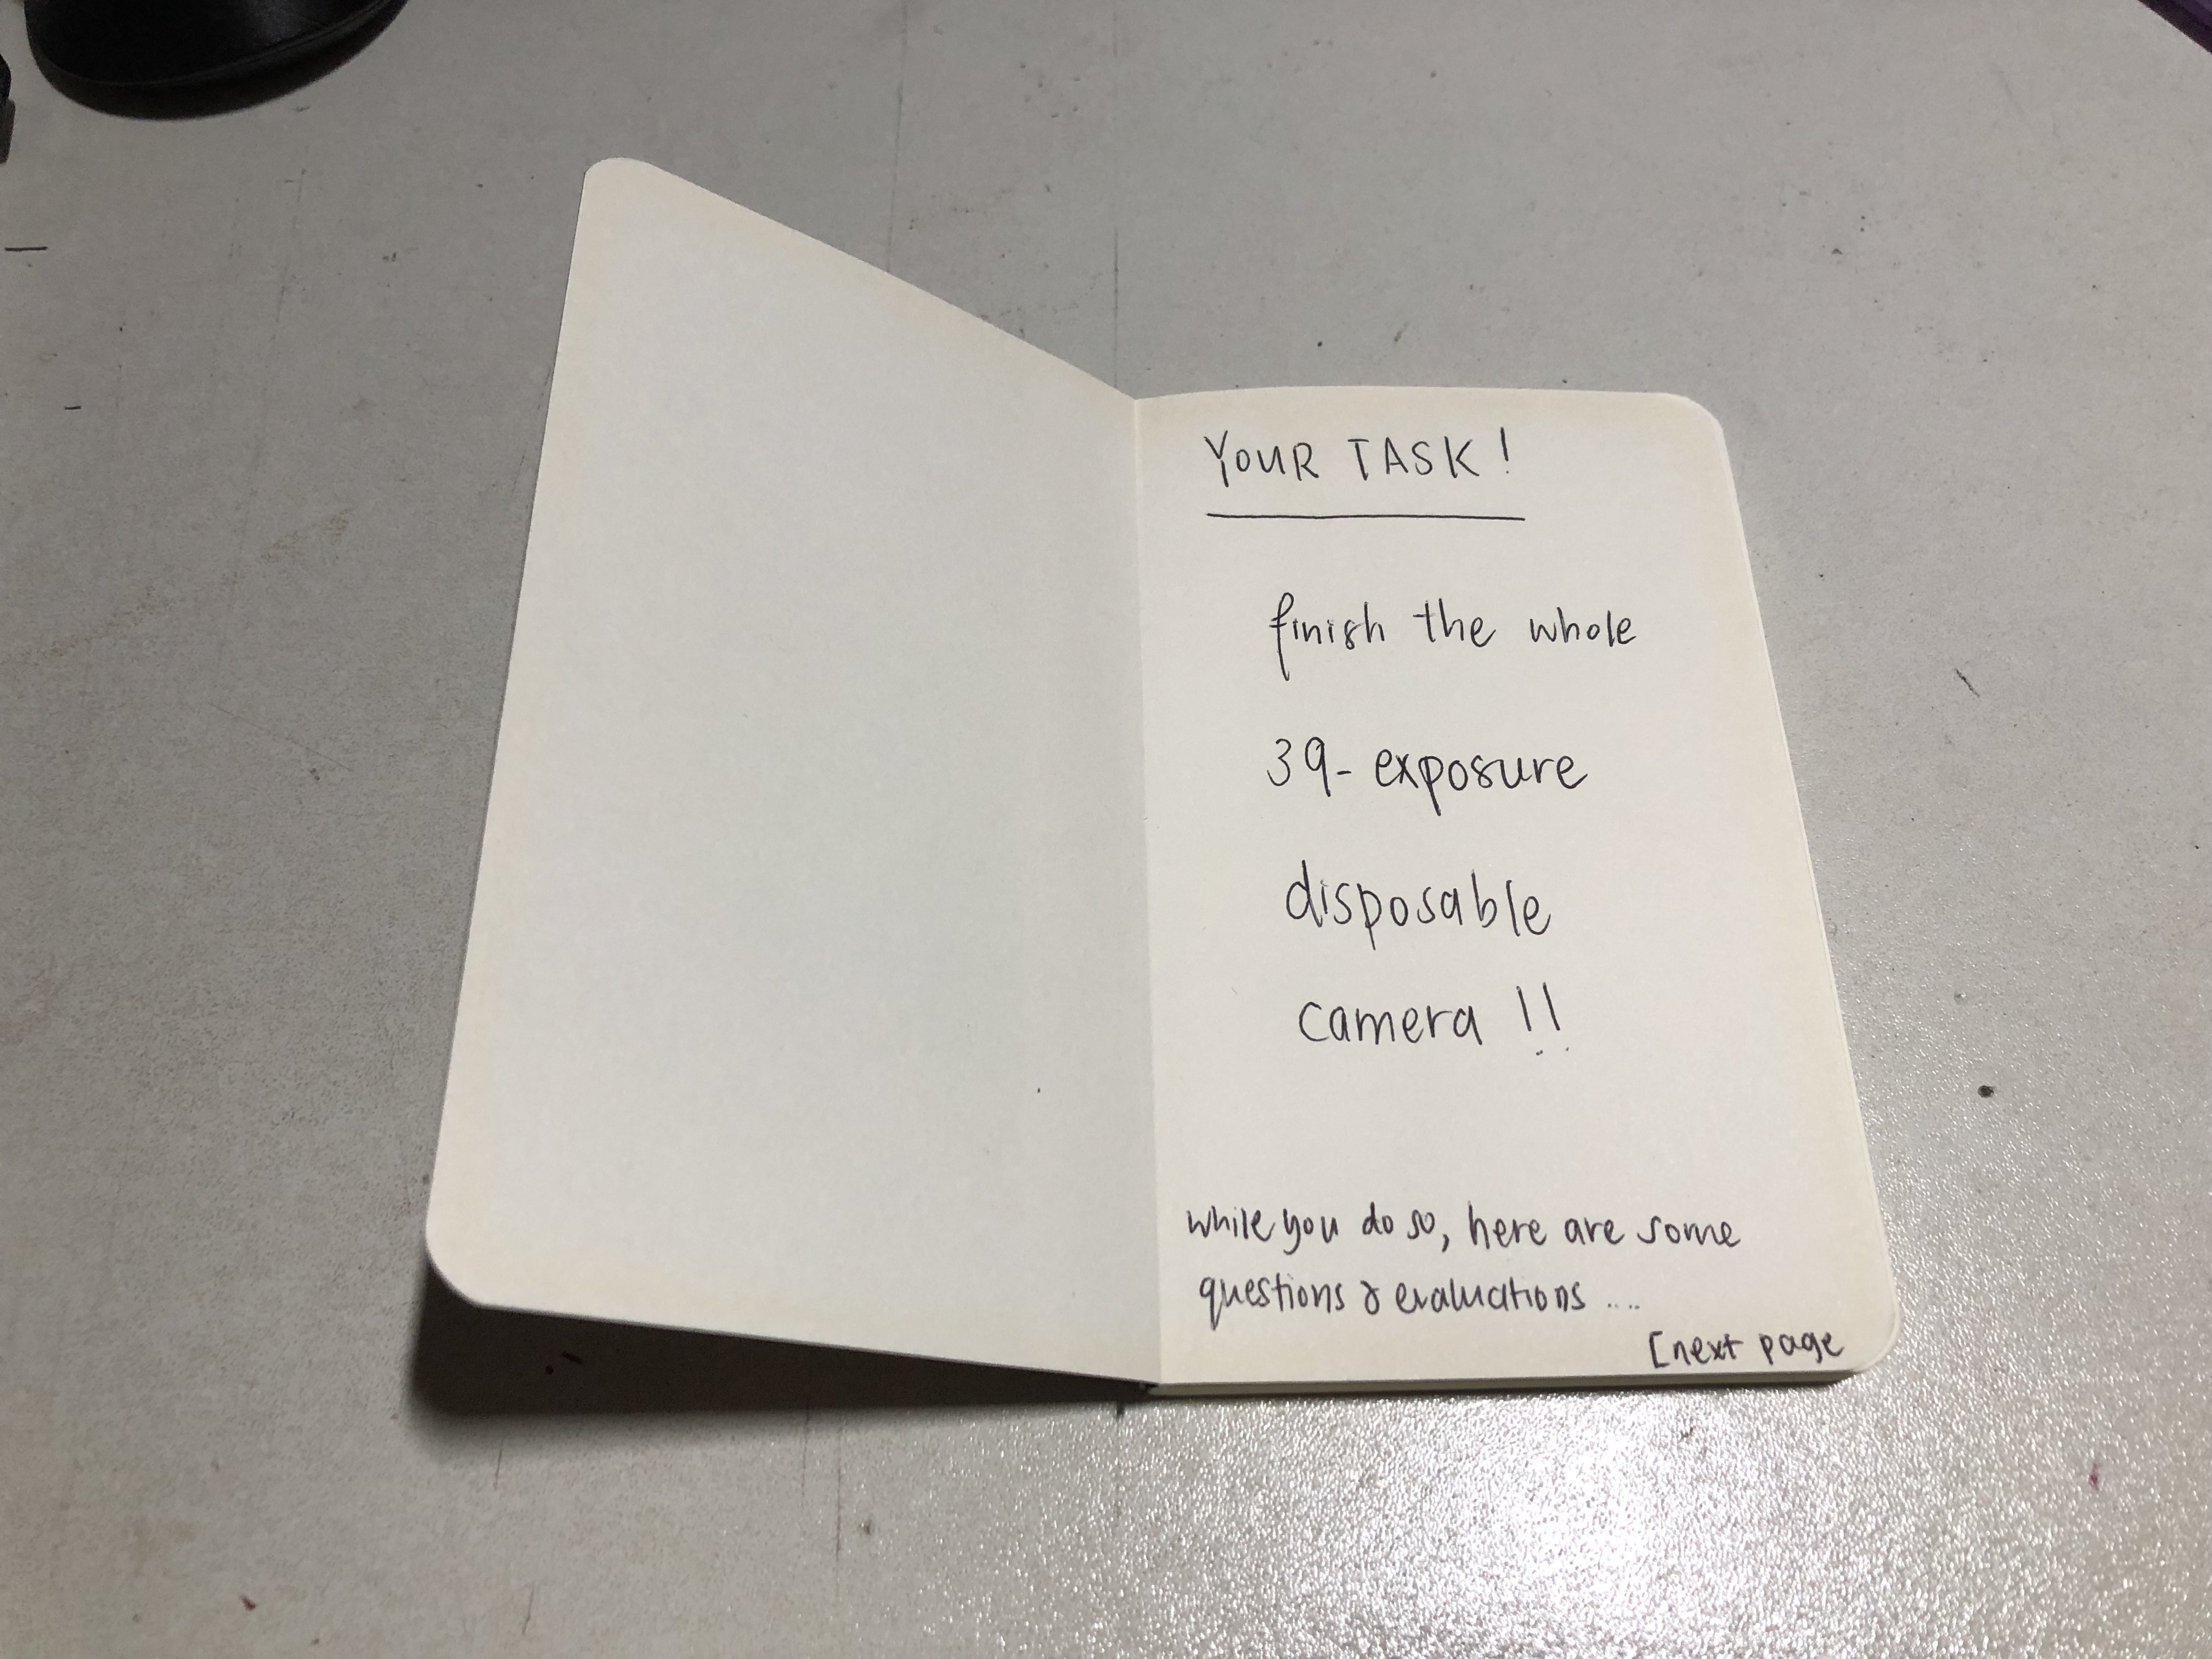
The tasks were all written in the diary as such:
Before beginning the task
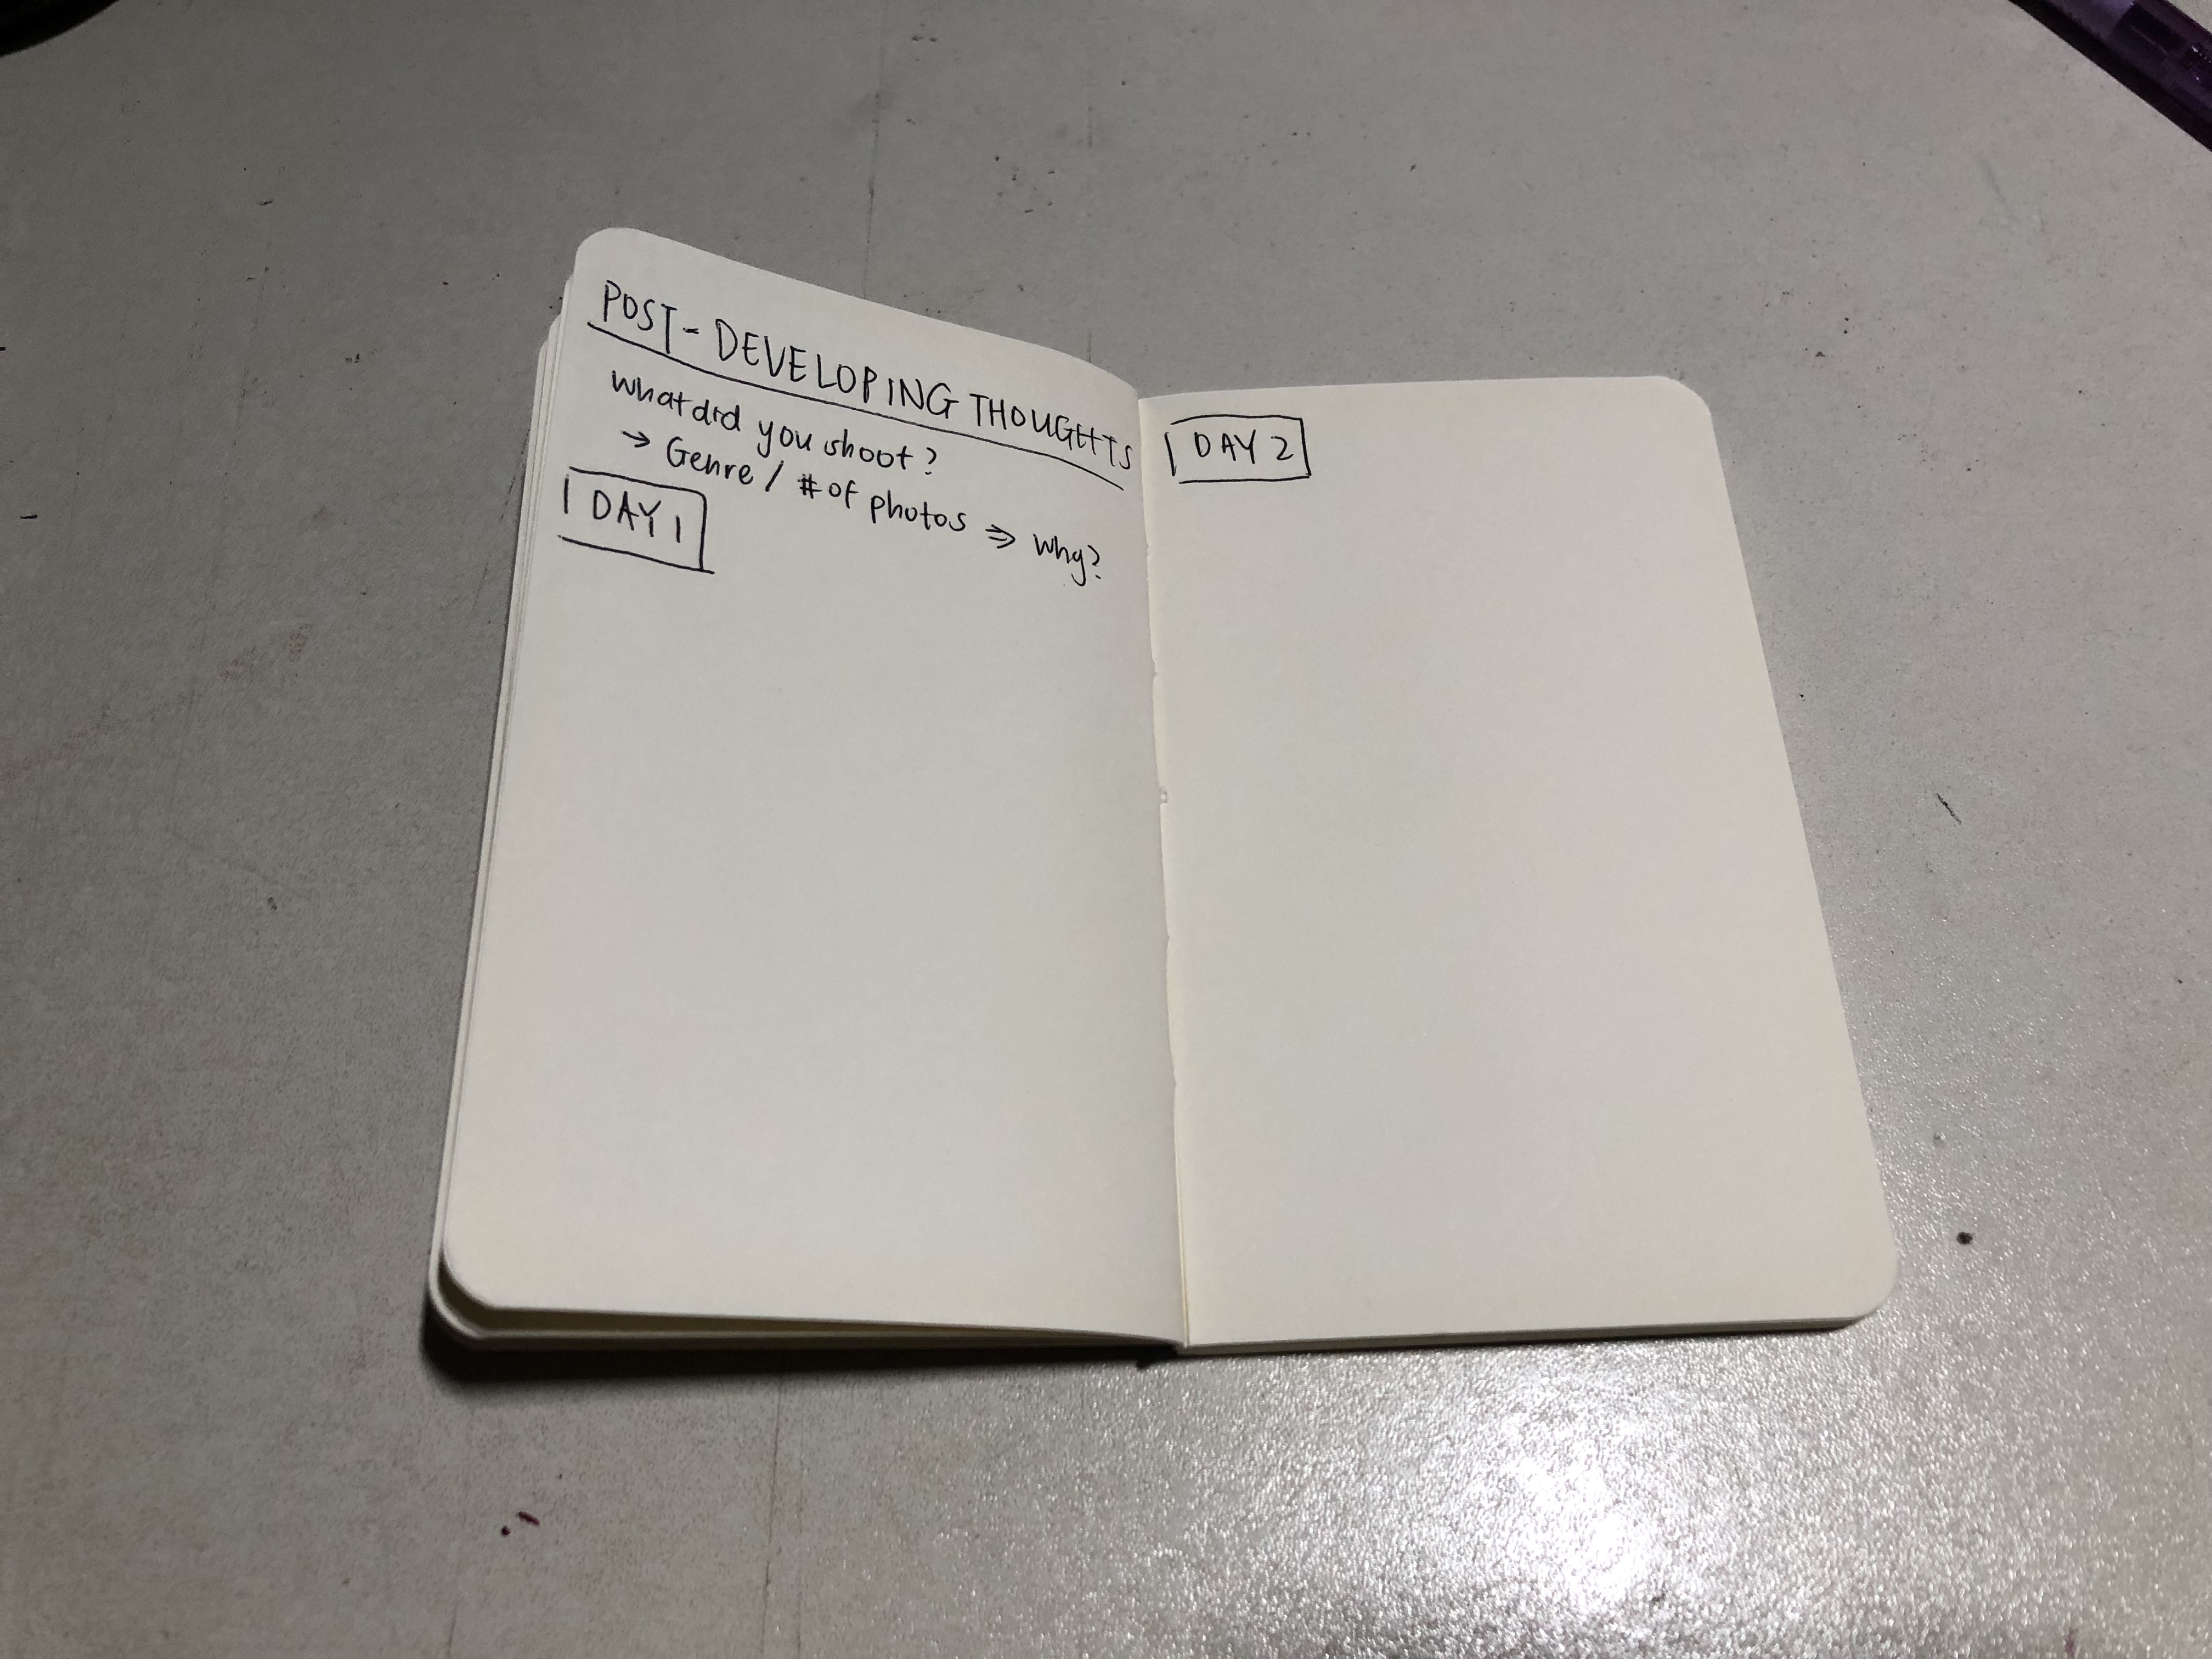
After finishing the task (and trip)
After developing the film
Findings
The below texts are all written by the participant
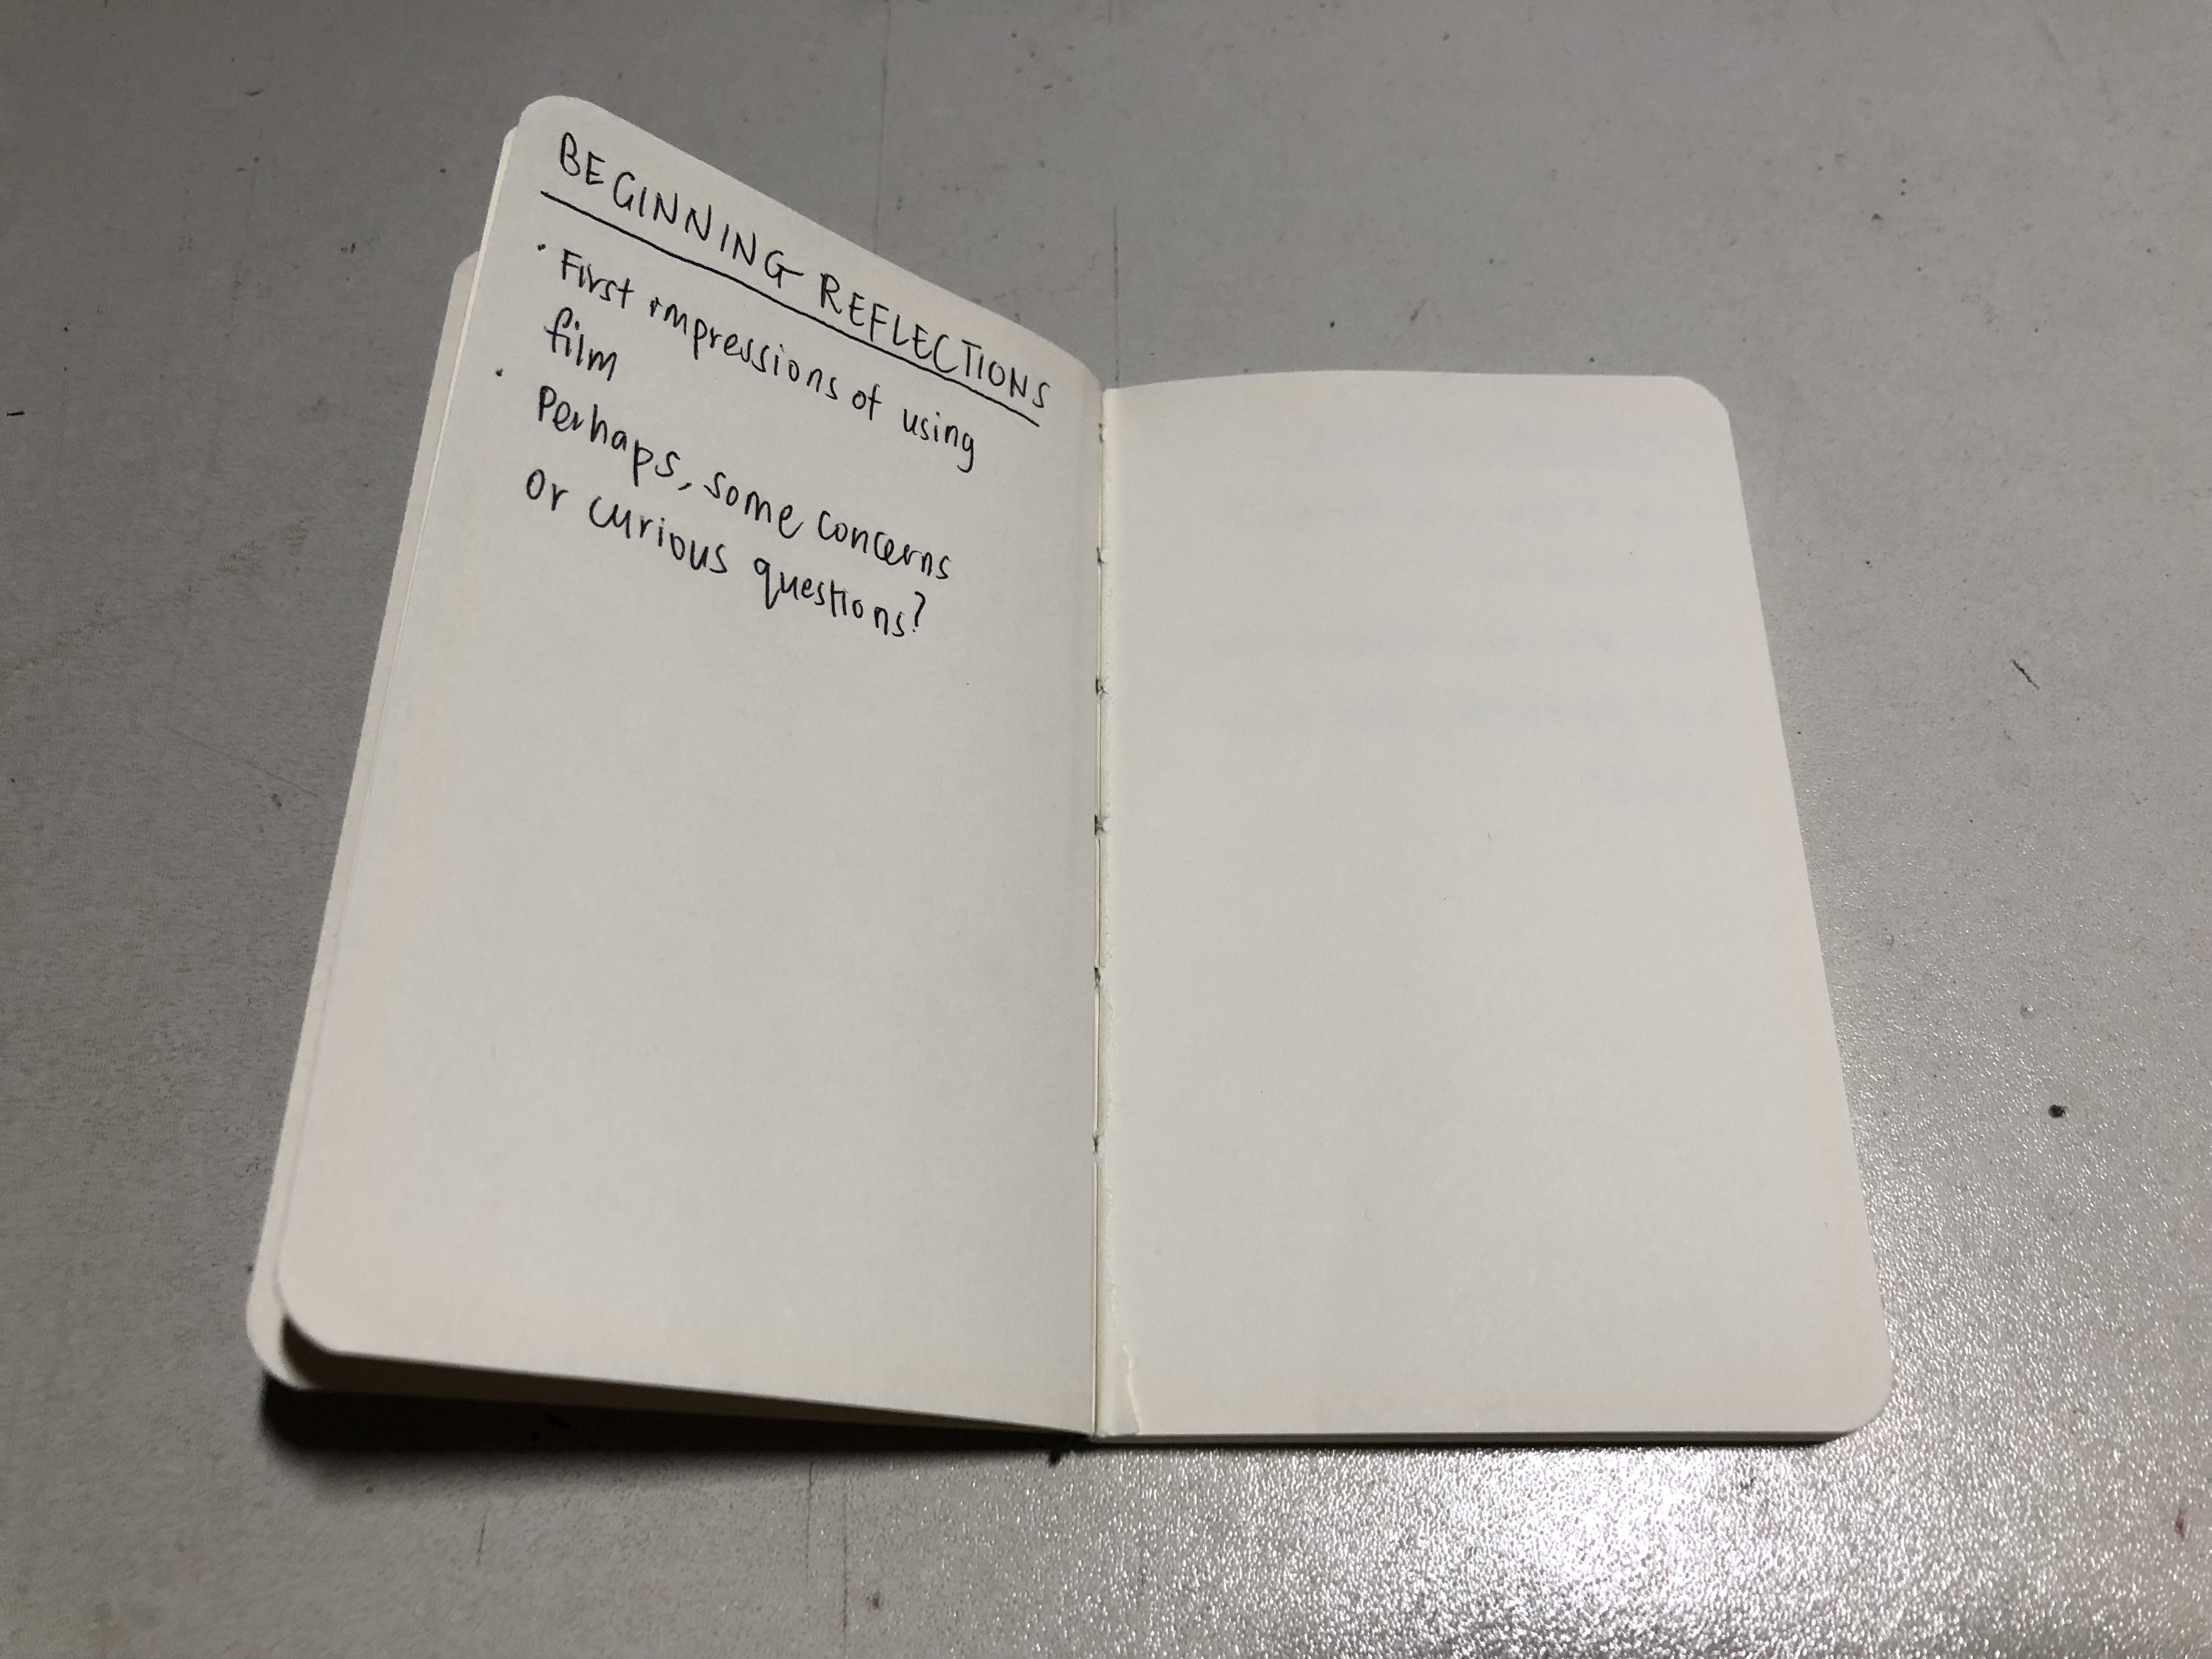
Beginning reflections
As someone who relies a lot on looking at the digital end-product first before deciding whether another photo should be taken, I’ve always had a fear of using film cameras because of the insecurity of being unable to check my photos. Also, film feels more insecure because I wouldn’t know if the picture is taken; I can’t re-create a certain scene and go back to take it after finding out that the photo wasn’t taken, especially since this is an overseas trip. Hopefully, through this experience I hope to change my perspective of insecurity towards film.
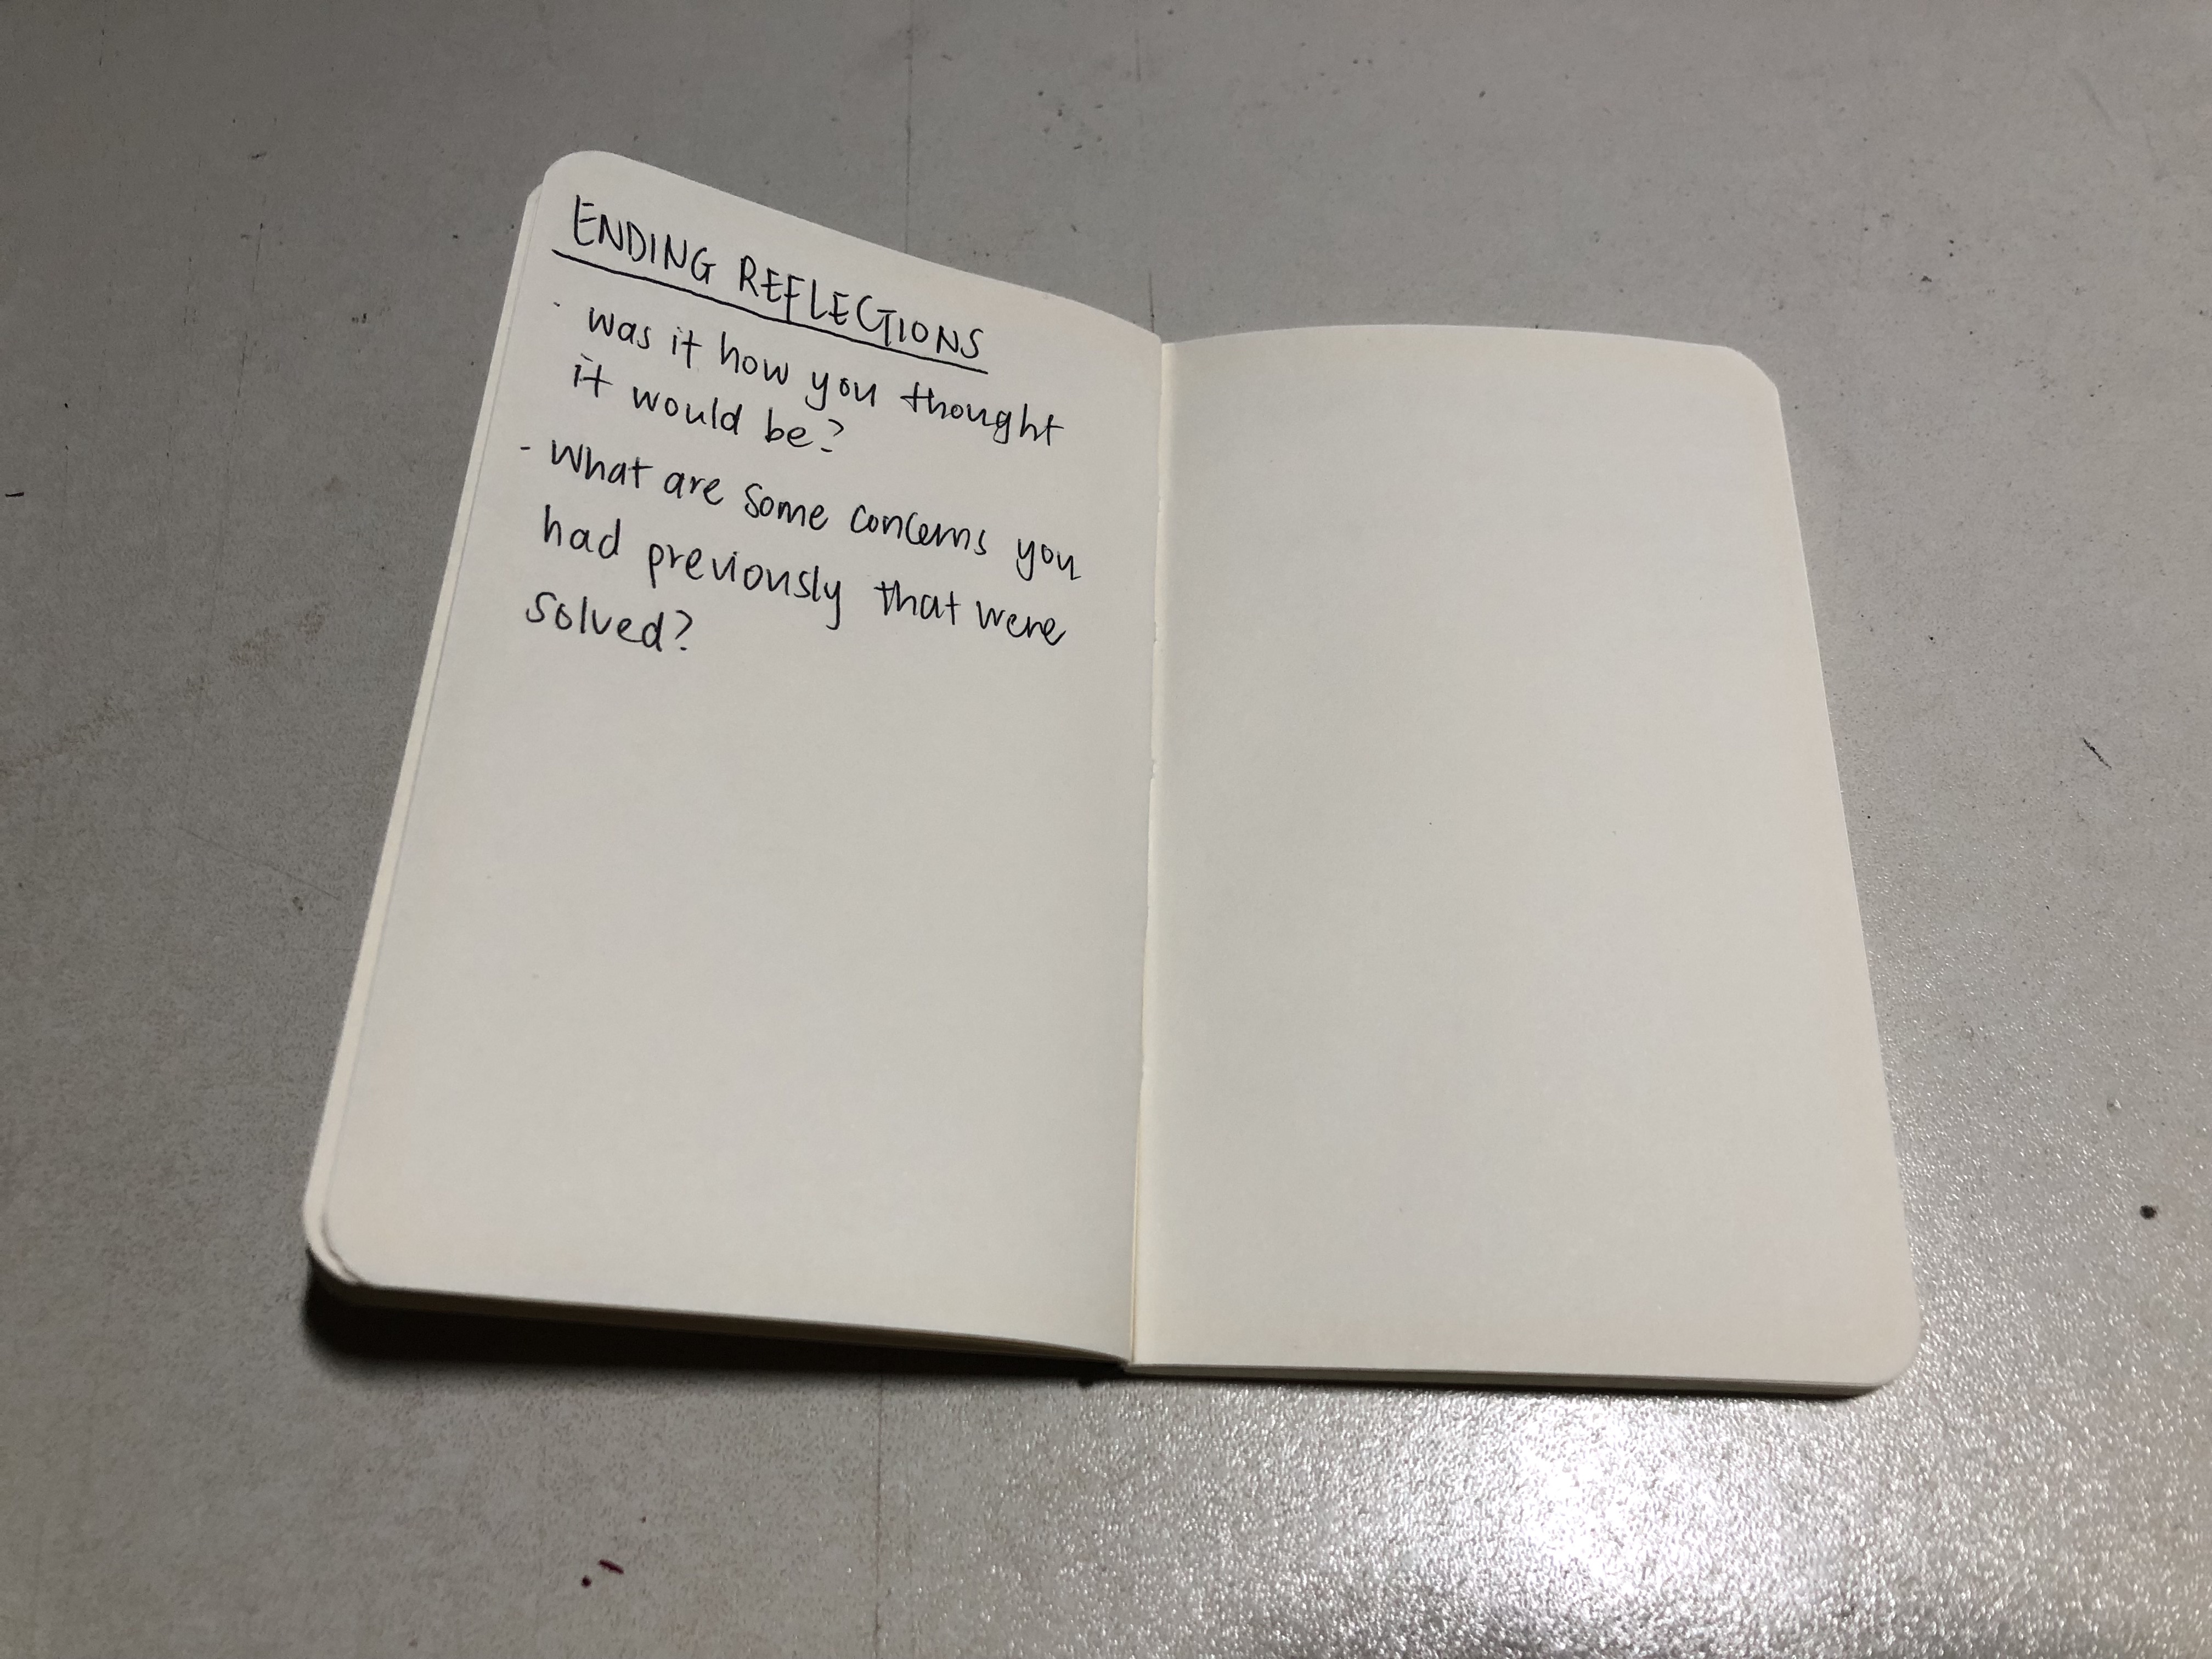
Ending reflections
I would think that since it was a disposable camera instead of a manual film one, my initial worry of photos not being taken were not applicable since disposable cameras are foolproof to use.
Something that I found myself doing is that I choose what I want to shoot with film more wisely as compared to using a digital camera. Moreover, I think that I used the camera more sparingly at the start of the trip since I was scared of “what if there are better scenes the following days?”, so I was more liberal towards the end of the trip. I’m excited to see how my photos turn out because I took them with more care.
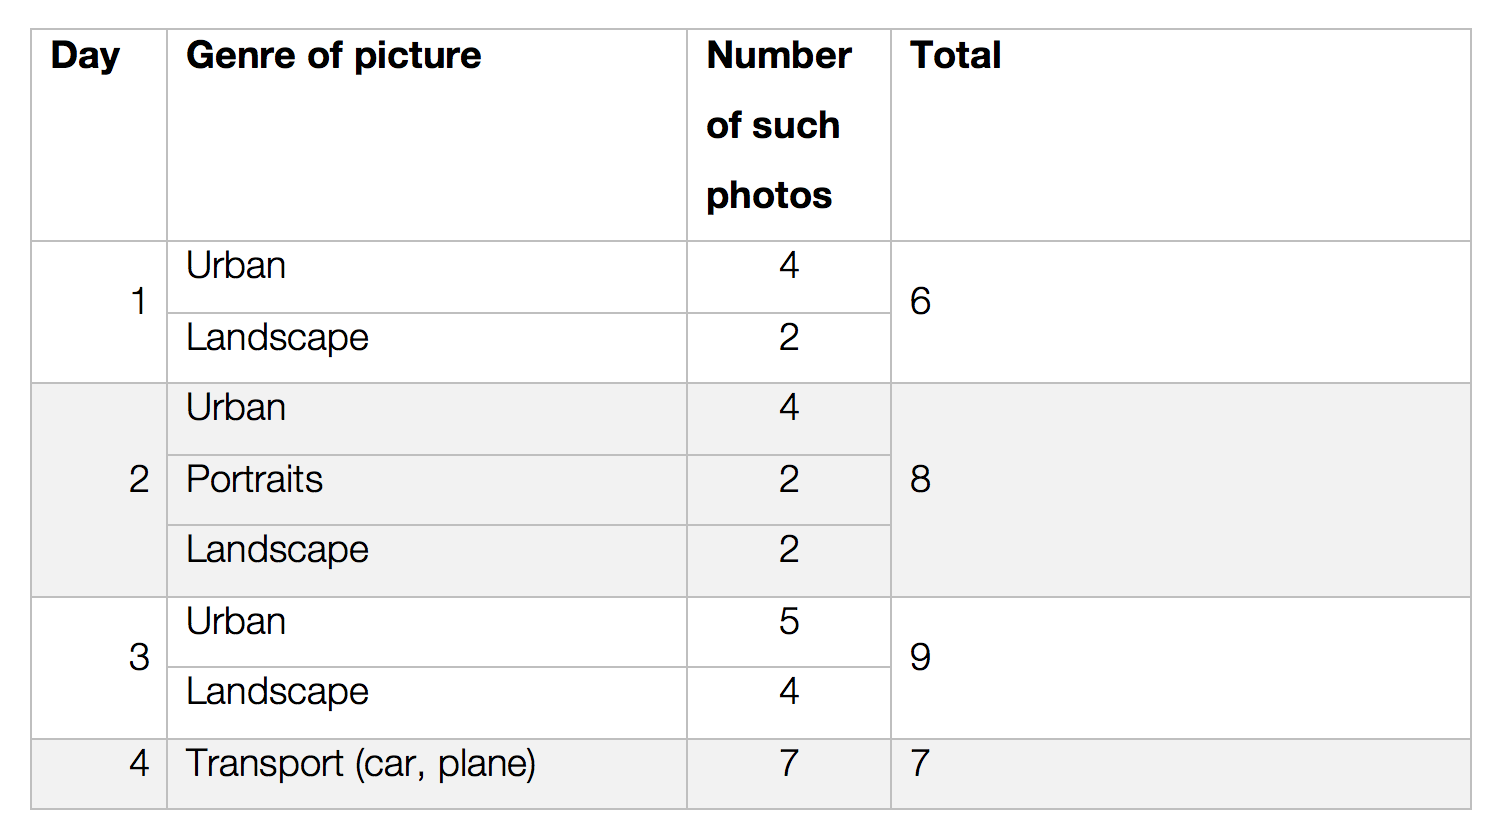
Table of number and type of photos taken
From the results, I was quite surprised that I hardly took any portraits but I think it can be attributed to the fact that portraits are hard to come out nice so my fear of ‘wasting’ a shot is still quite apparent.
This exercise was an eye-opener to me since I have yet to experience film photography. It has also gotten rid of a few of my fears regarding film photography.
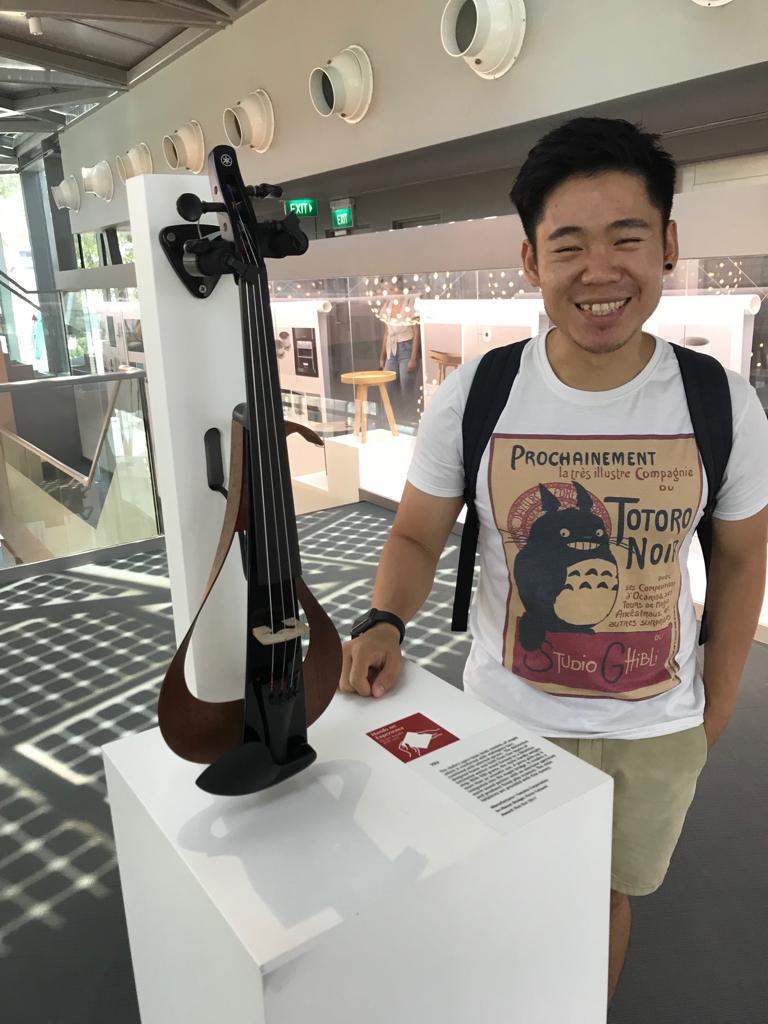
The museum trip was organised by Stephanie and it saw us going through a series of exhibits which ‘previews the future’.
The exhibition showcased novelty and aesthetic designs and inventions collated through the Red Dot Award For Design Concept organised by Singapore.
We were free to roam about the 2 floors of the museum and engaged in some of the interactive exhibits! Some of those exhibited were actually wearables (although I forgot to snap a picture of it) similar to that of your handy-dandy apron studio Prof!
An electronic violinPuding BeanQ Robot
One such novelty invention was Pudding BeanQ, an intelligent robot for young children in China.
It takes inspiration from a bean waiting for sprouting,who comes to earth with curiosity and wants to become a buddy with children. To activate it, we just had to shout out ‘PudingPuding!’ and voice out whatever questions we have for the little robot.
Besides that, touching the two sides of its body and head makes you feel like having a pet. For instance, when you pat its head, Puding will display heart-shaped eyes to indicate that it likes the touch.
Supported by extensive perception and characteristic emotions, children can chat and be educated by this intelligent little robot.
Personal Insights and Reflections
While visiting the museum, I was intrigued that there were so many novelty innovations around such as Puding BeanQ which utilised recent advanced technology. Whilst having the knowledge that such technology are proliferating nowadays, the solidification of the idea that novel innovations are produced everyday, break the limits of reality, was only sank in after the museum trip.
It was also heartening to find that Singapore actually supports such creative artistic spaces such as the Red Dot Museum and also encourages the expansion of the creative landscape through competitions like the Red Dot Design Concept.
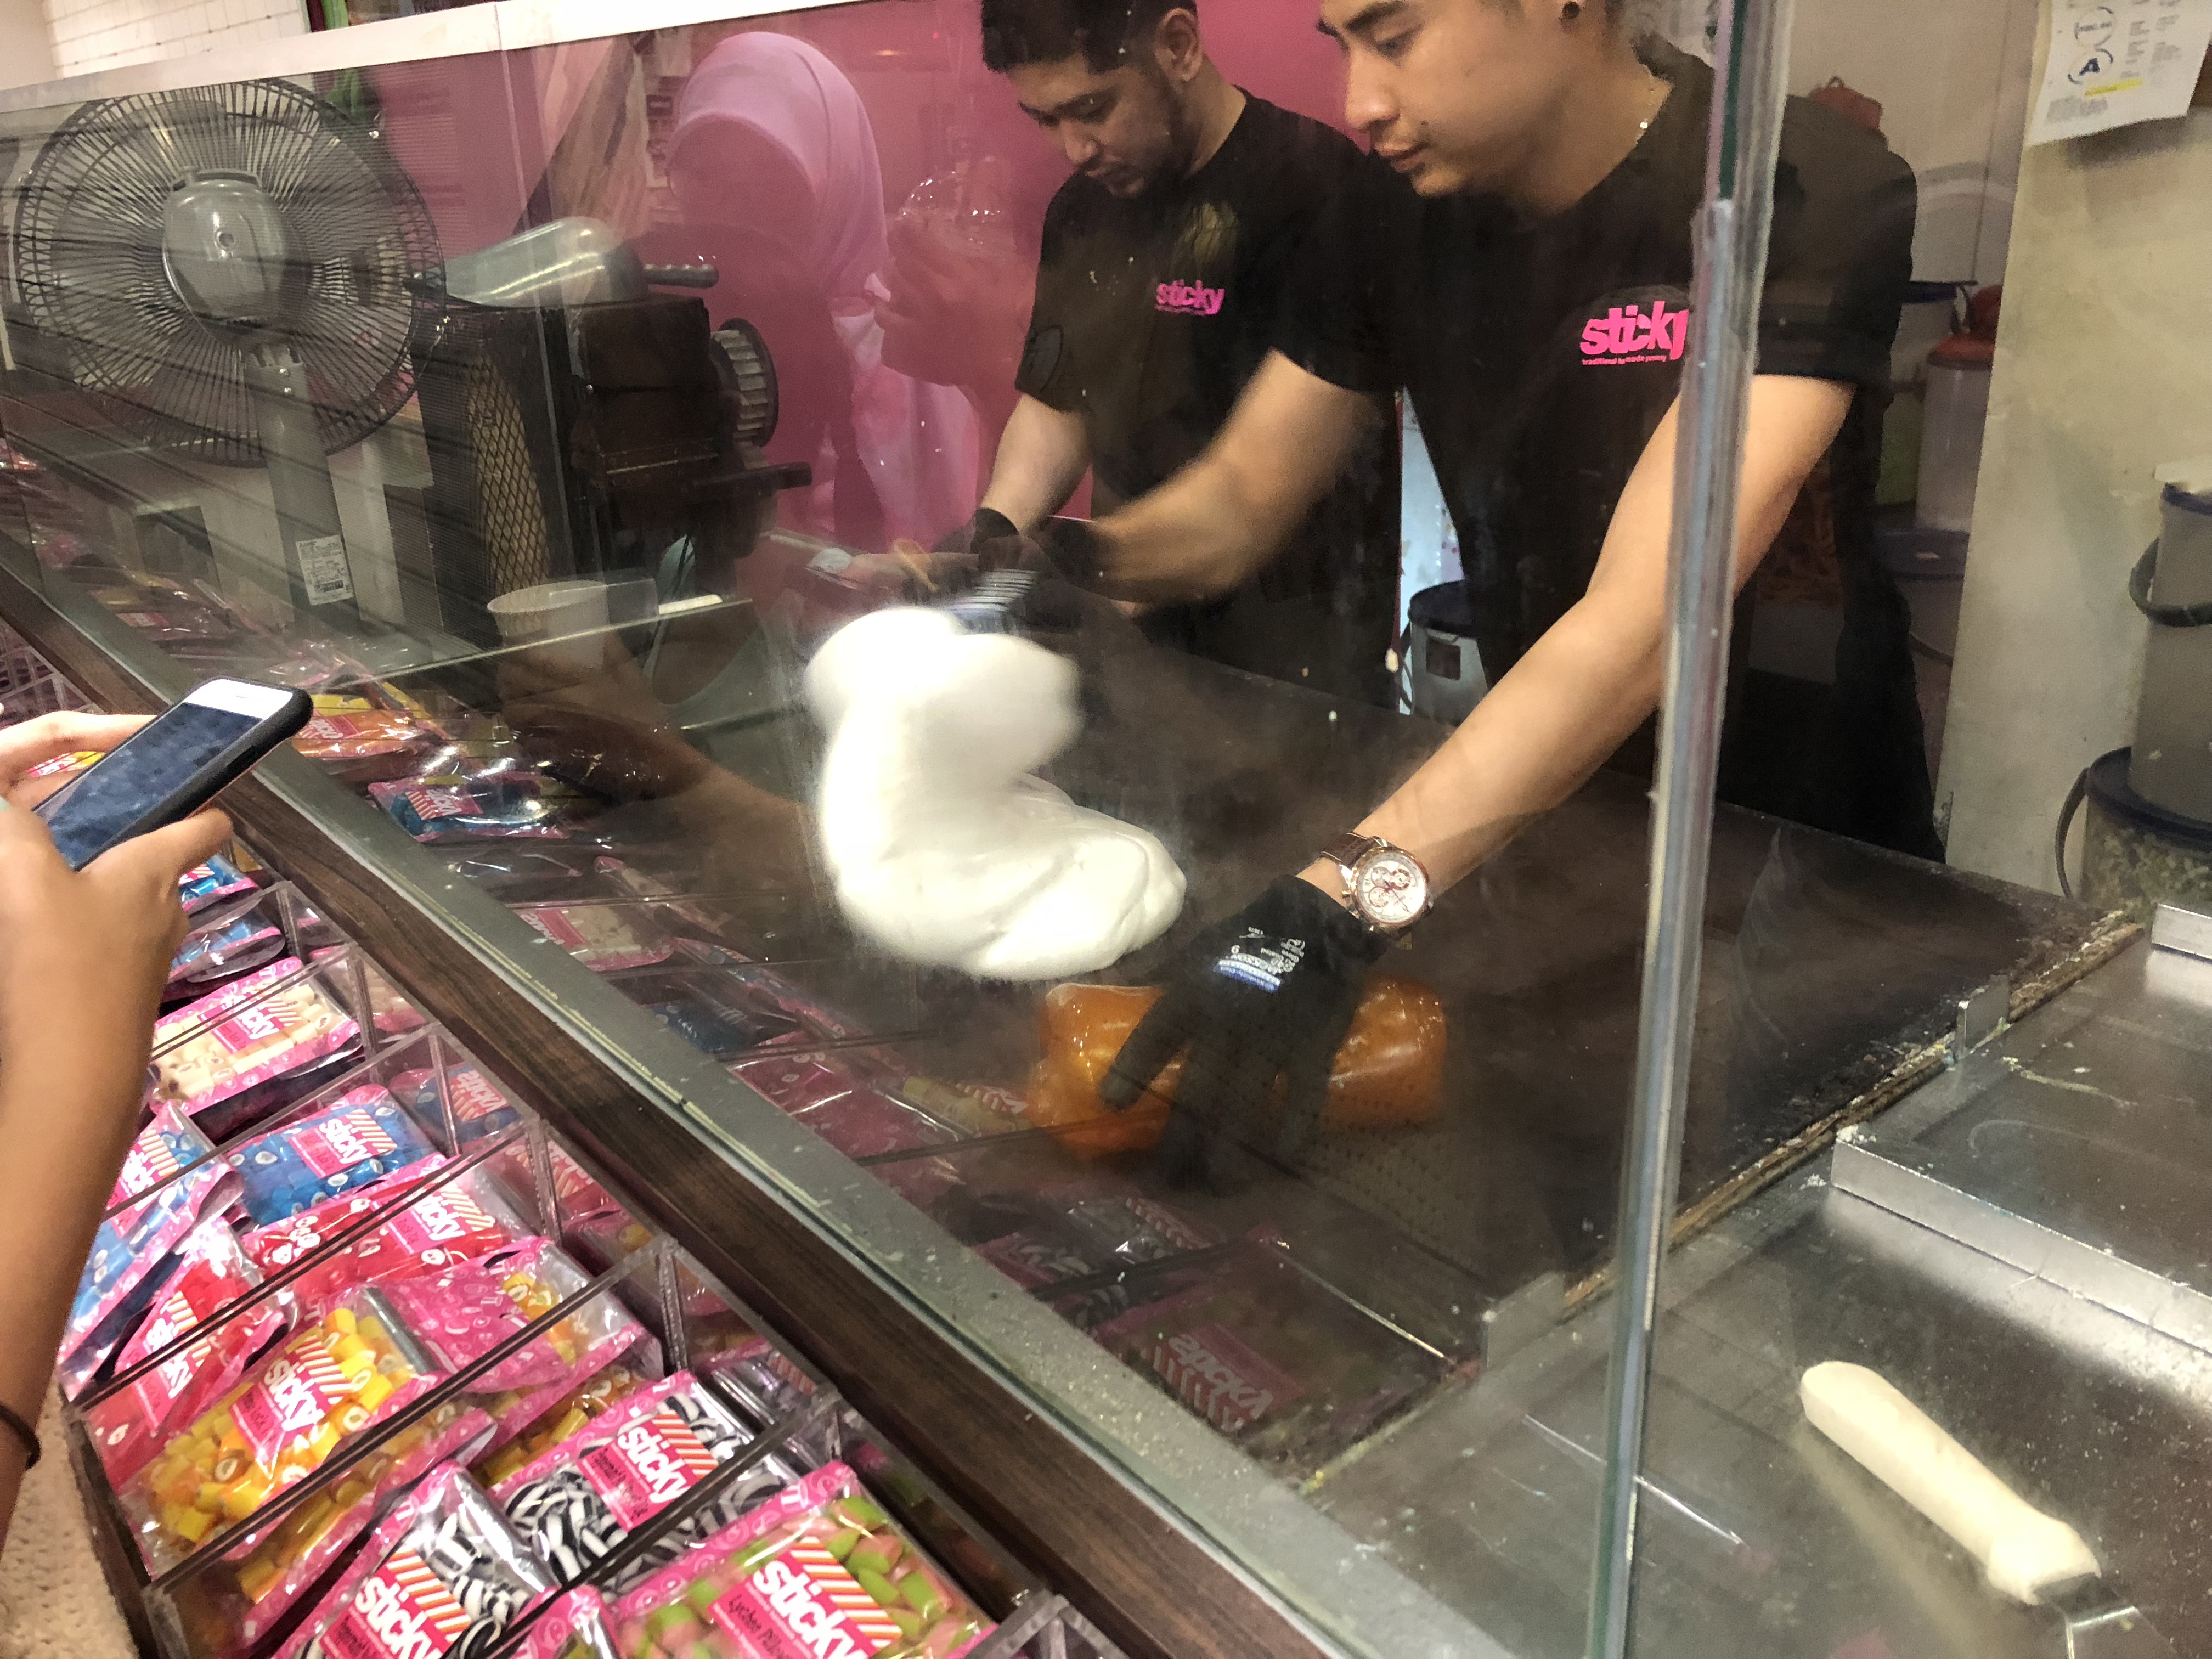
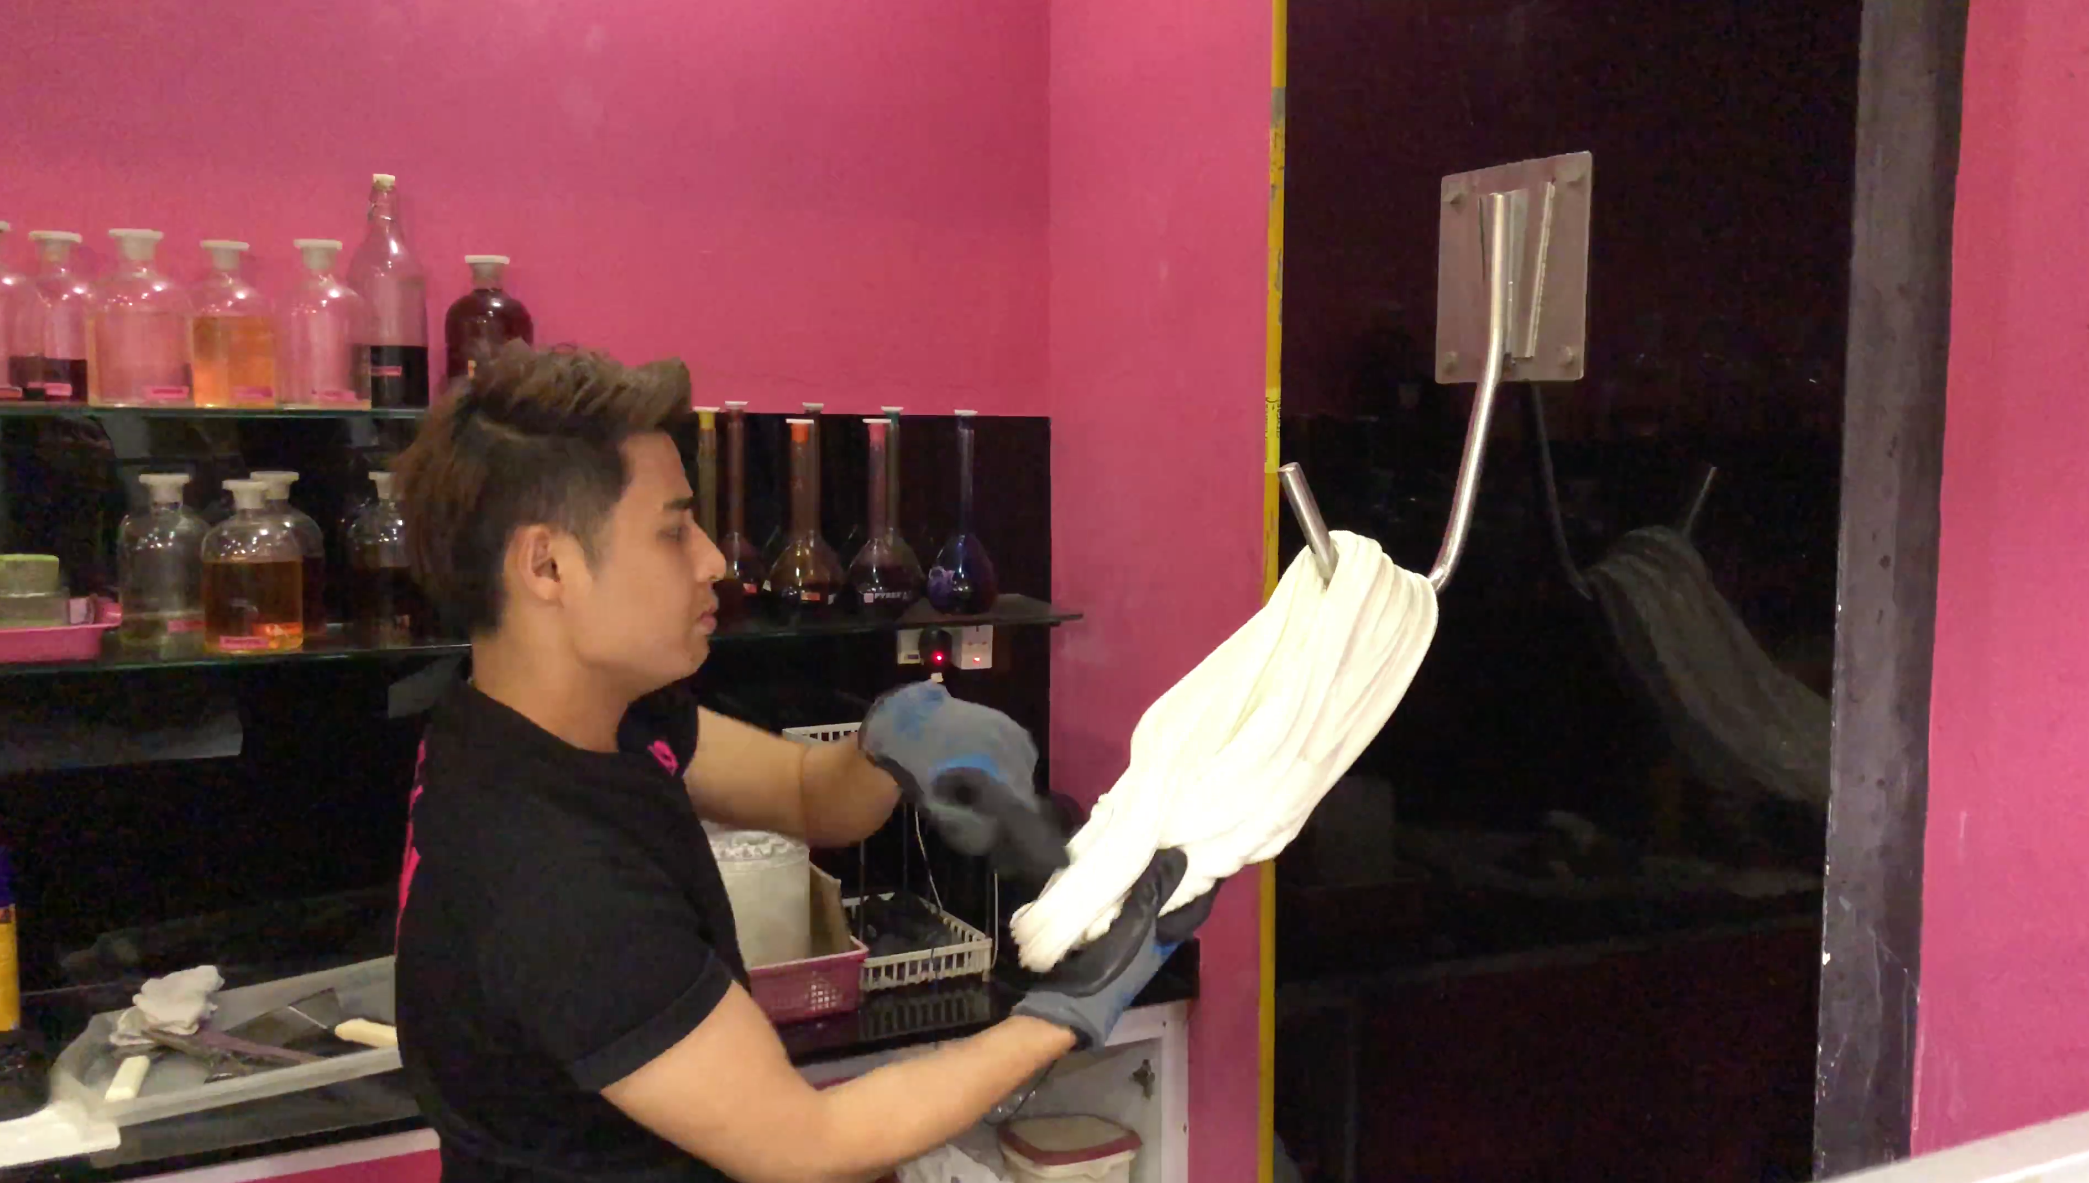
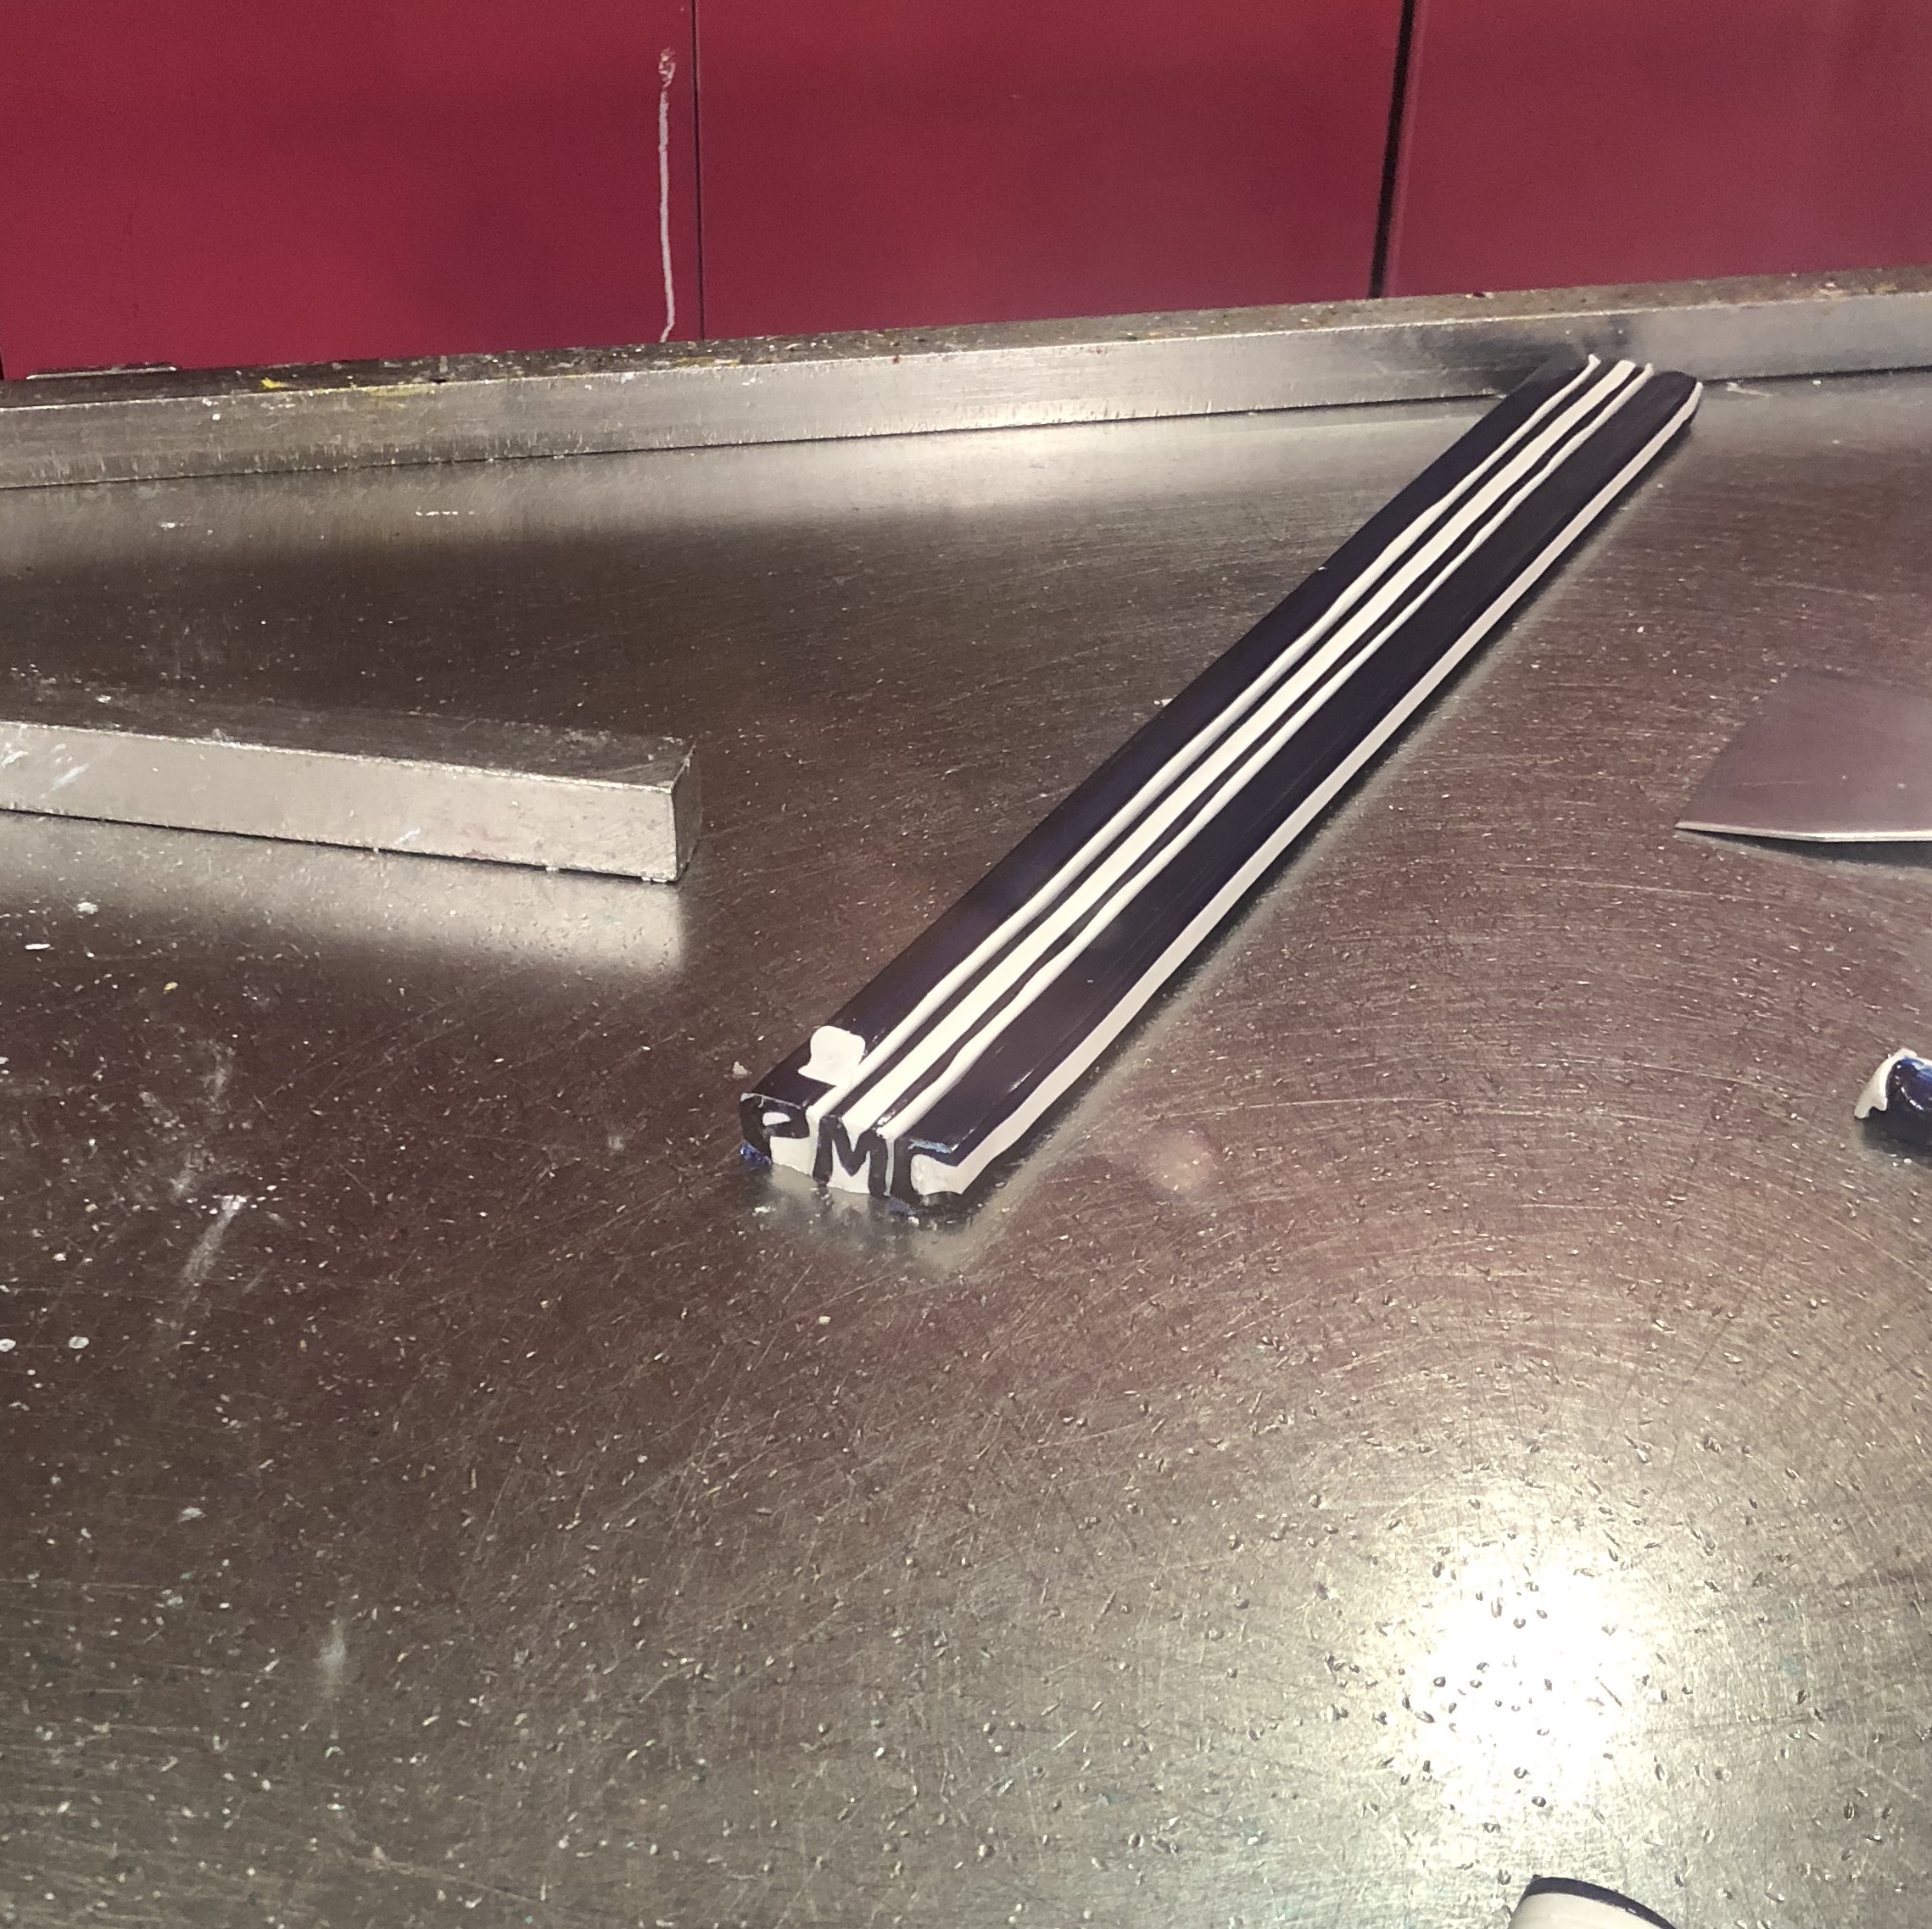
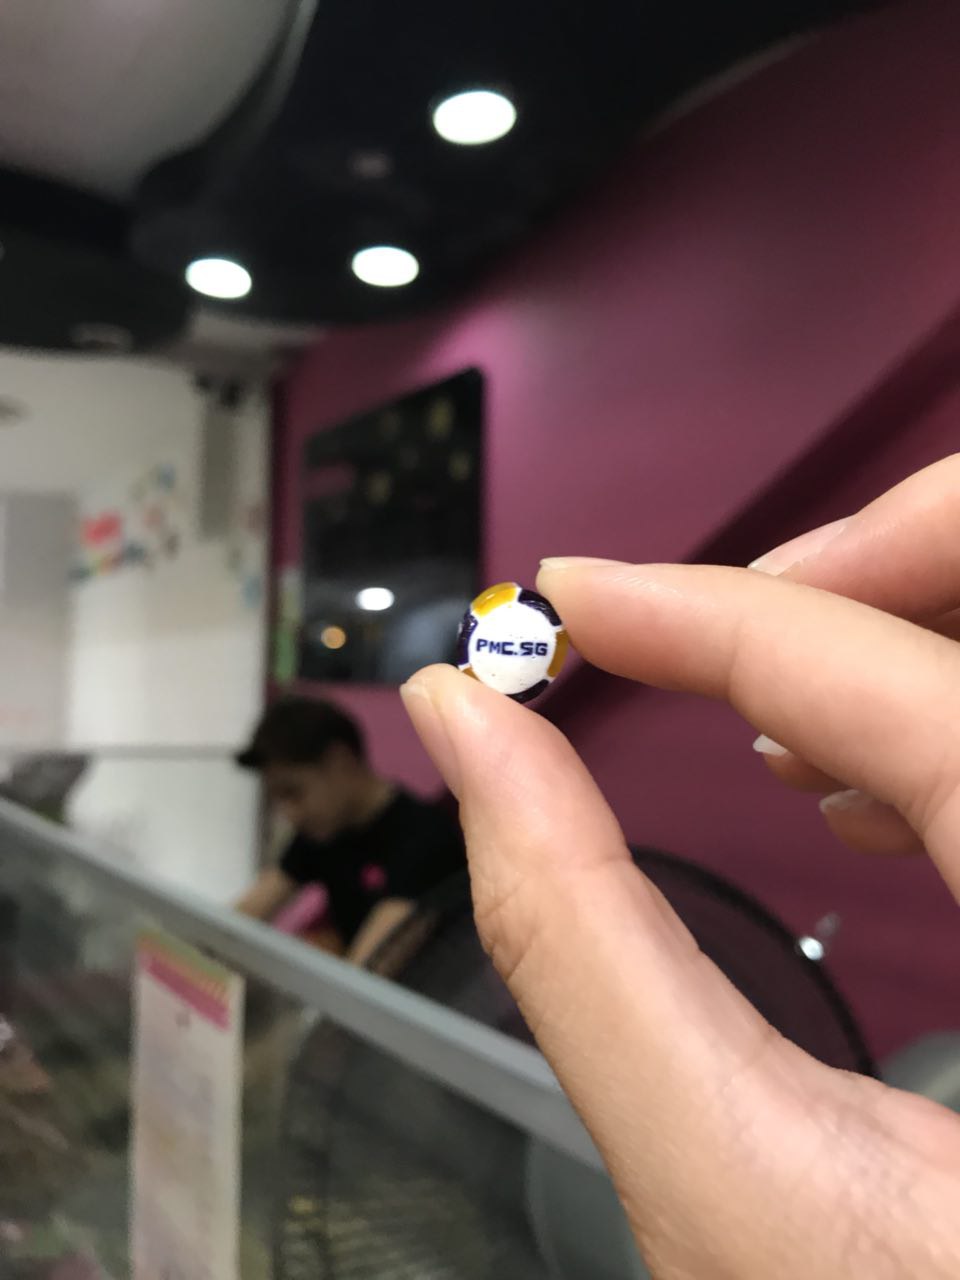
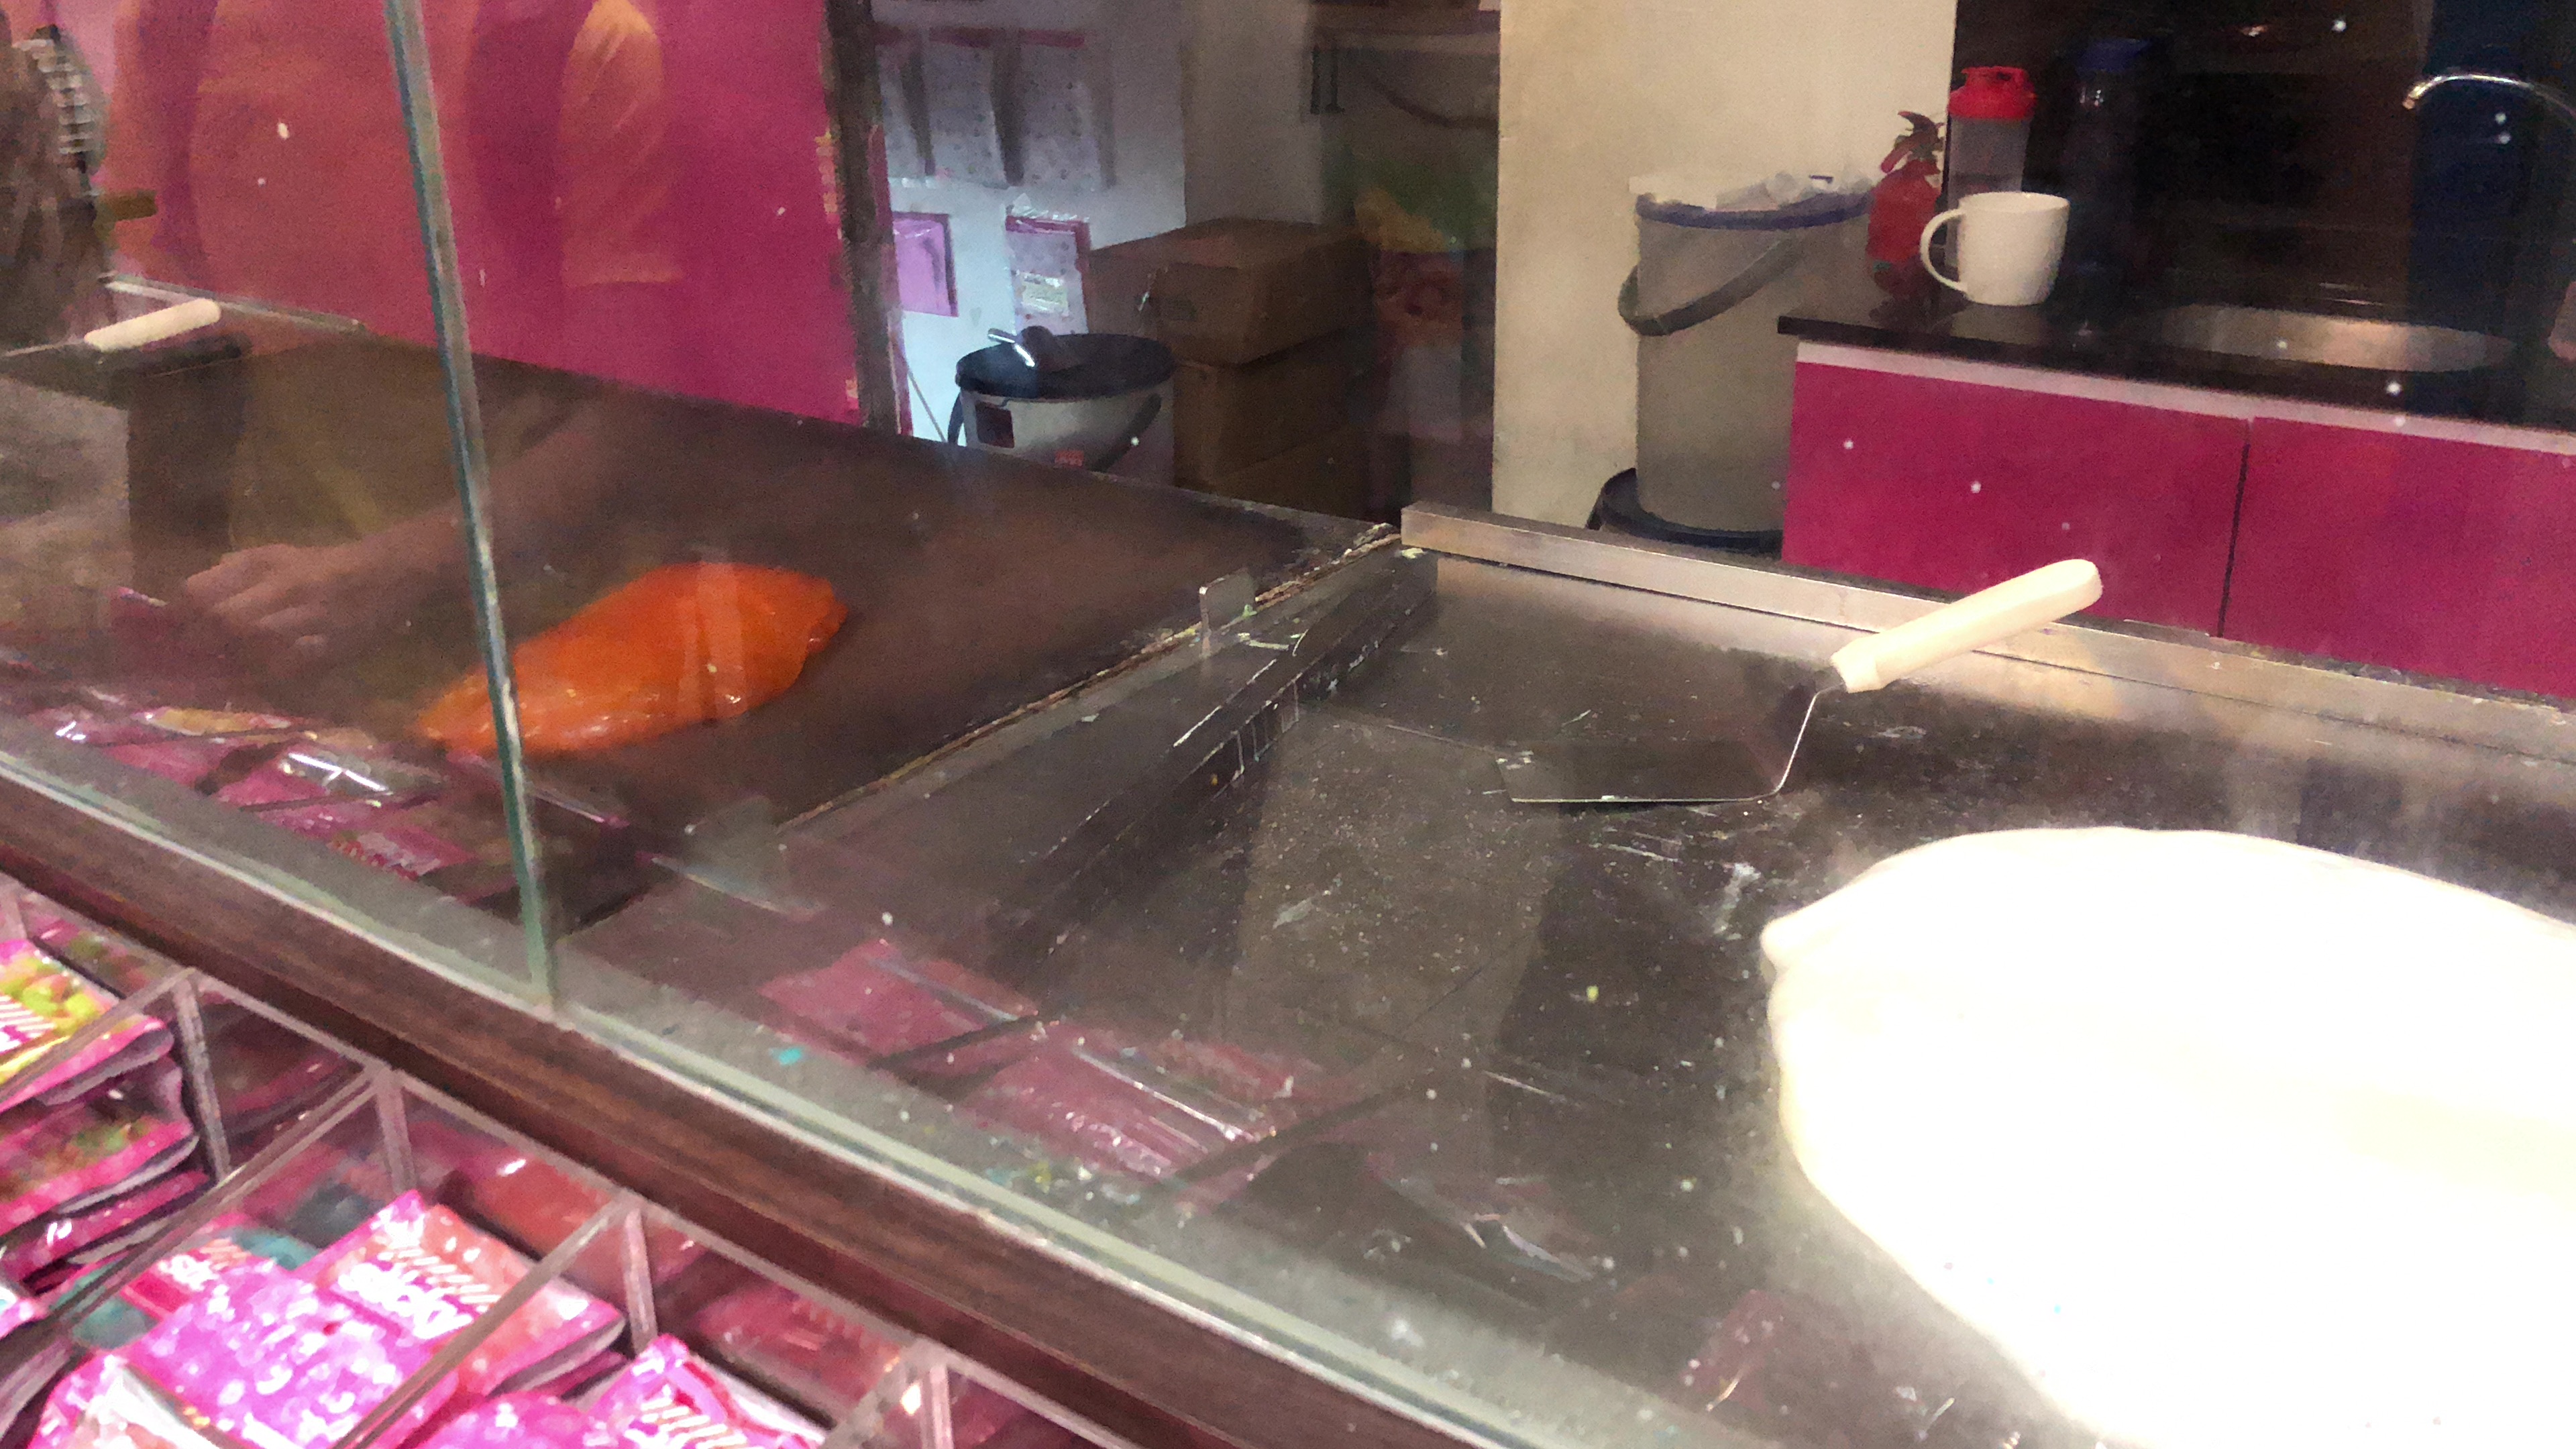
Processdocumentation: First, the candy is made by boiling sugar and other ingredients in. Then, coloring is added and folded into the candy. Depending on how much of each color is required, different sizes of candy are used. The candy also needs to be stretched. For this order, the background is white with three letters in the center. The candy artists first create the letters by combining long strips of different colored candies then wraps it in a layer of white candy, followed by colors of the surrounding border. It is cooled using a fan and then cut using a metal spatula quickly and with force.
Rolling out the candy blockStretching the candyHow letters are madeEnd product
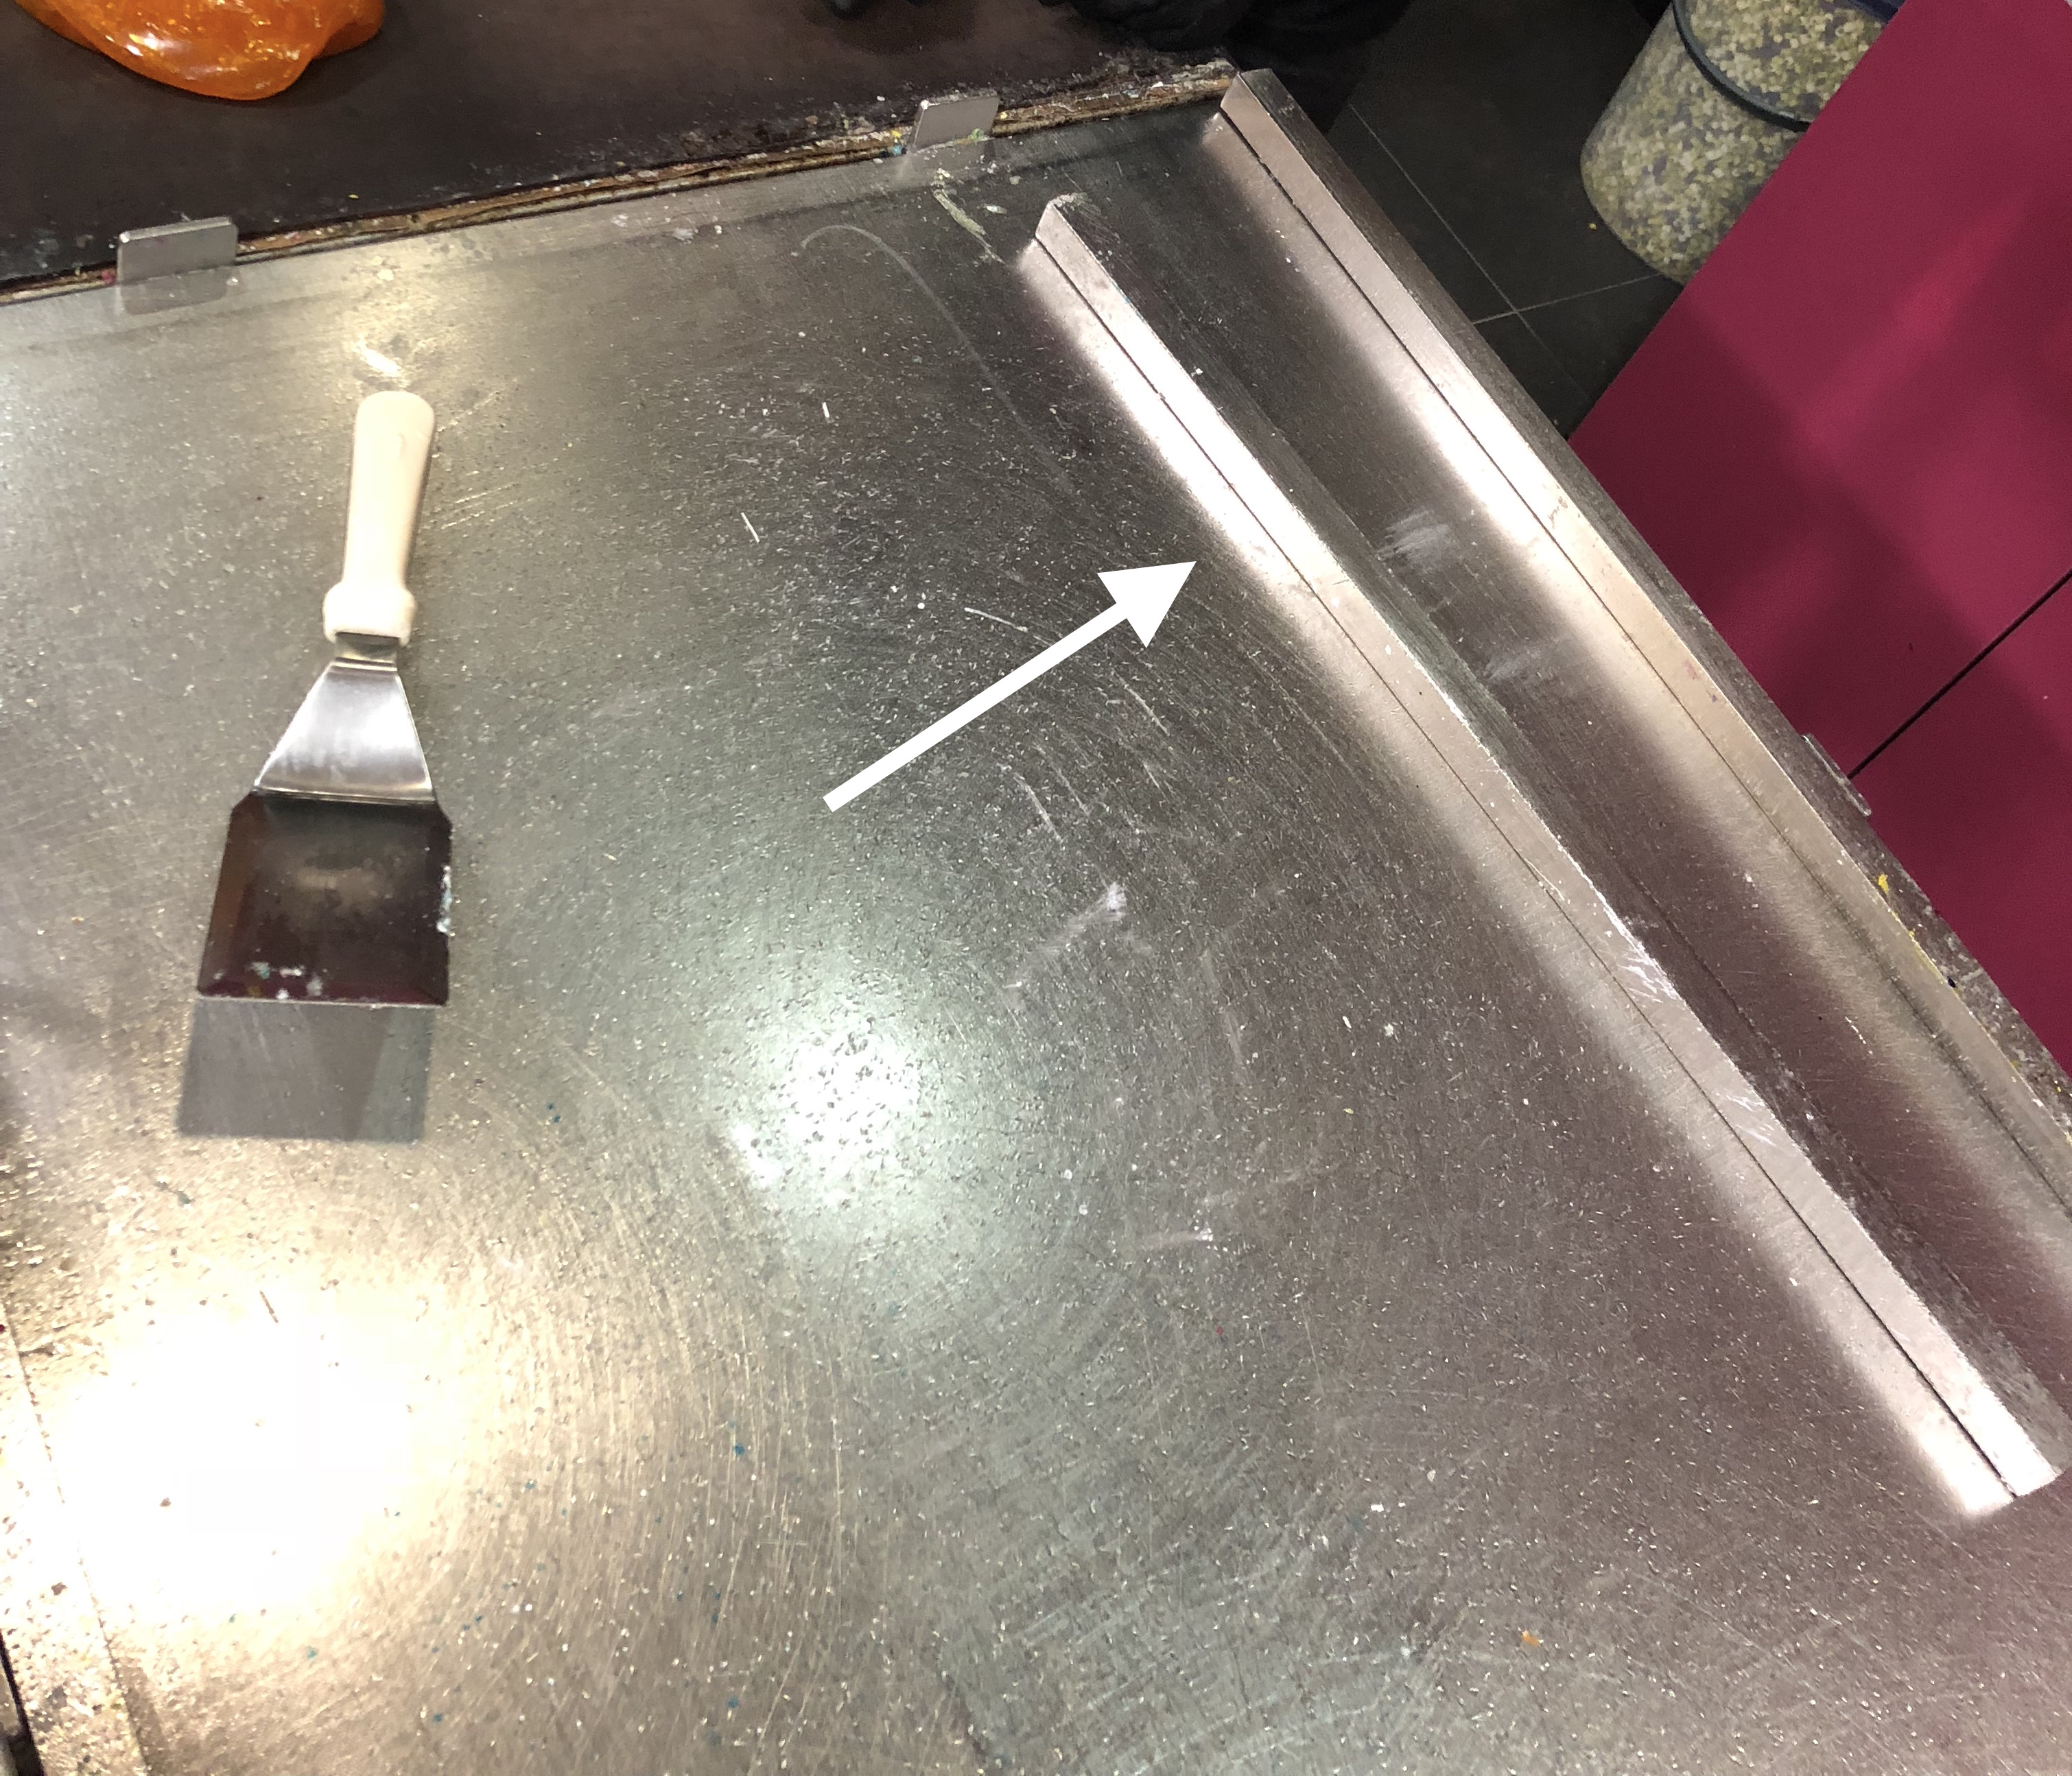
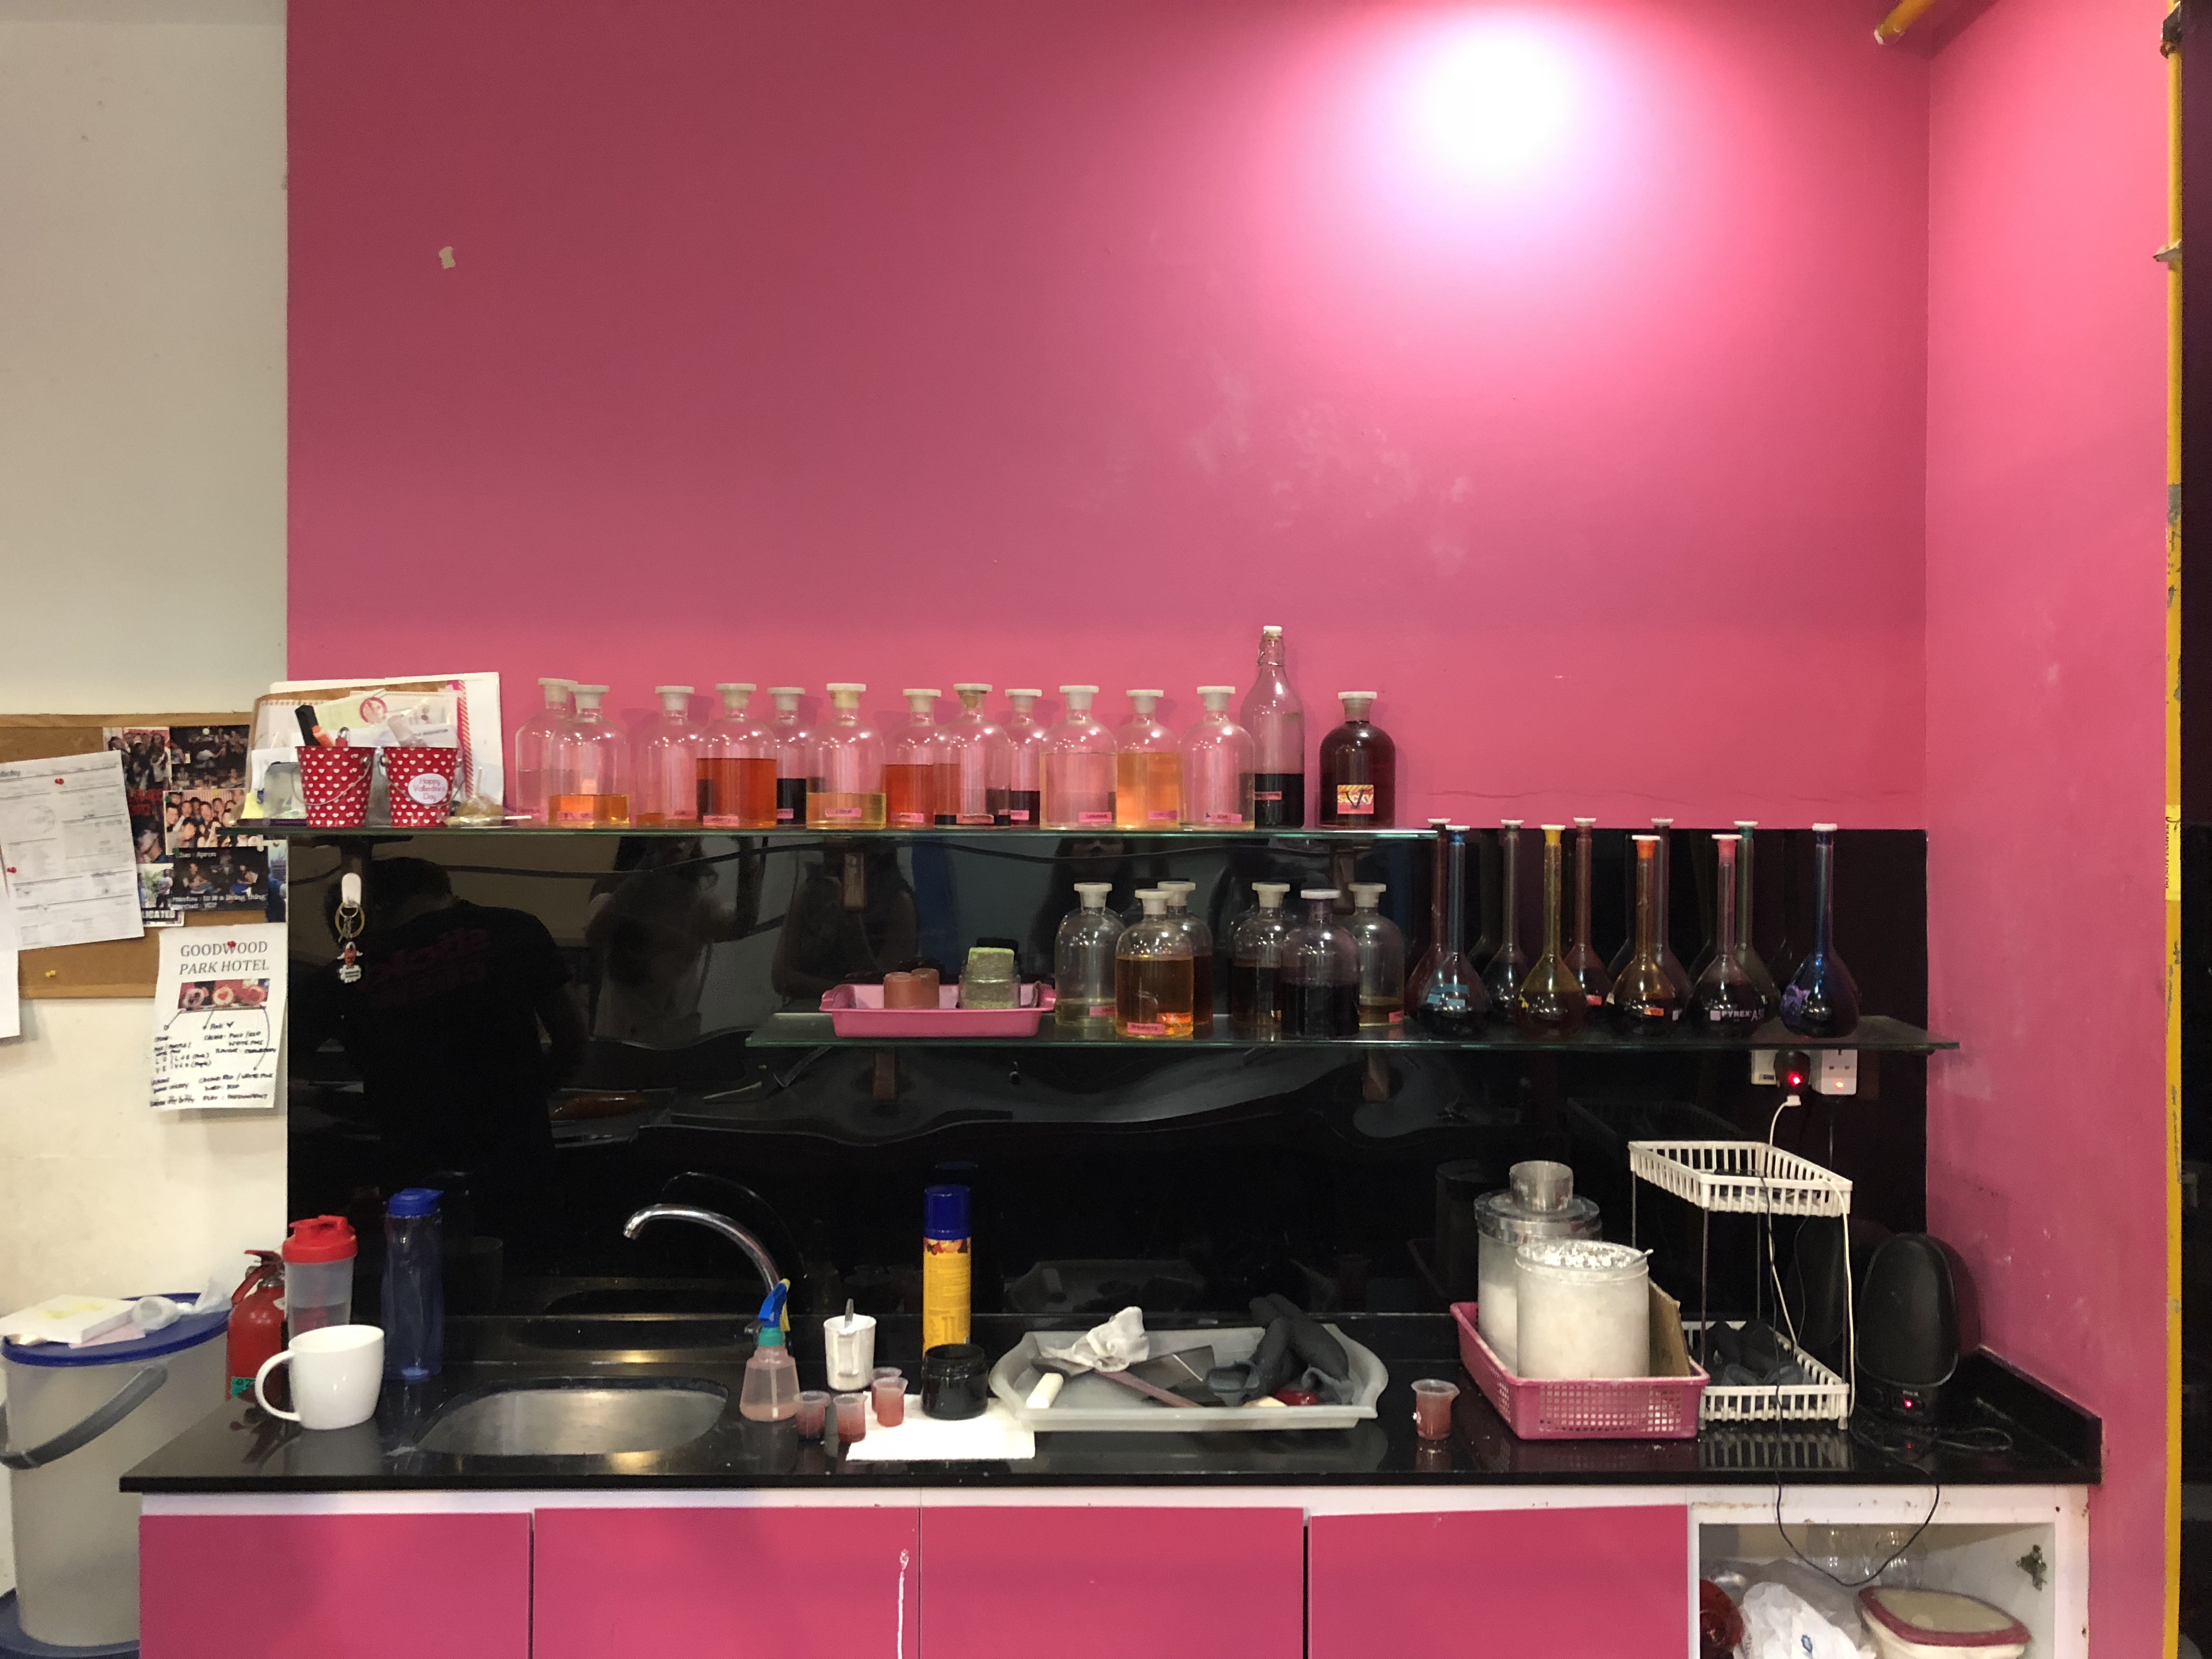
Worksite documentation:
Different colored and flavour dyesLeft side (dark surface) is the heated surface while the right side (metal surface) is the cooling surface
Pain points: The candy artists have expressed that putting intricate logos are art is the toughest part.
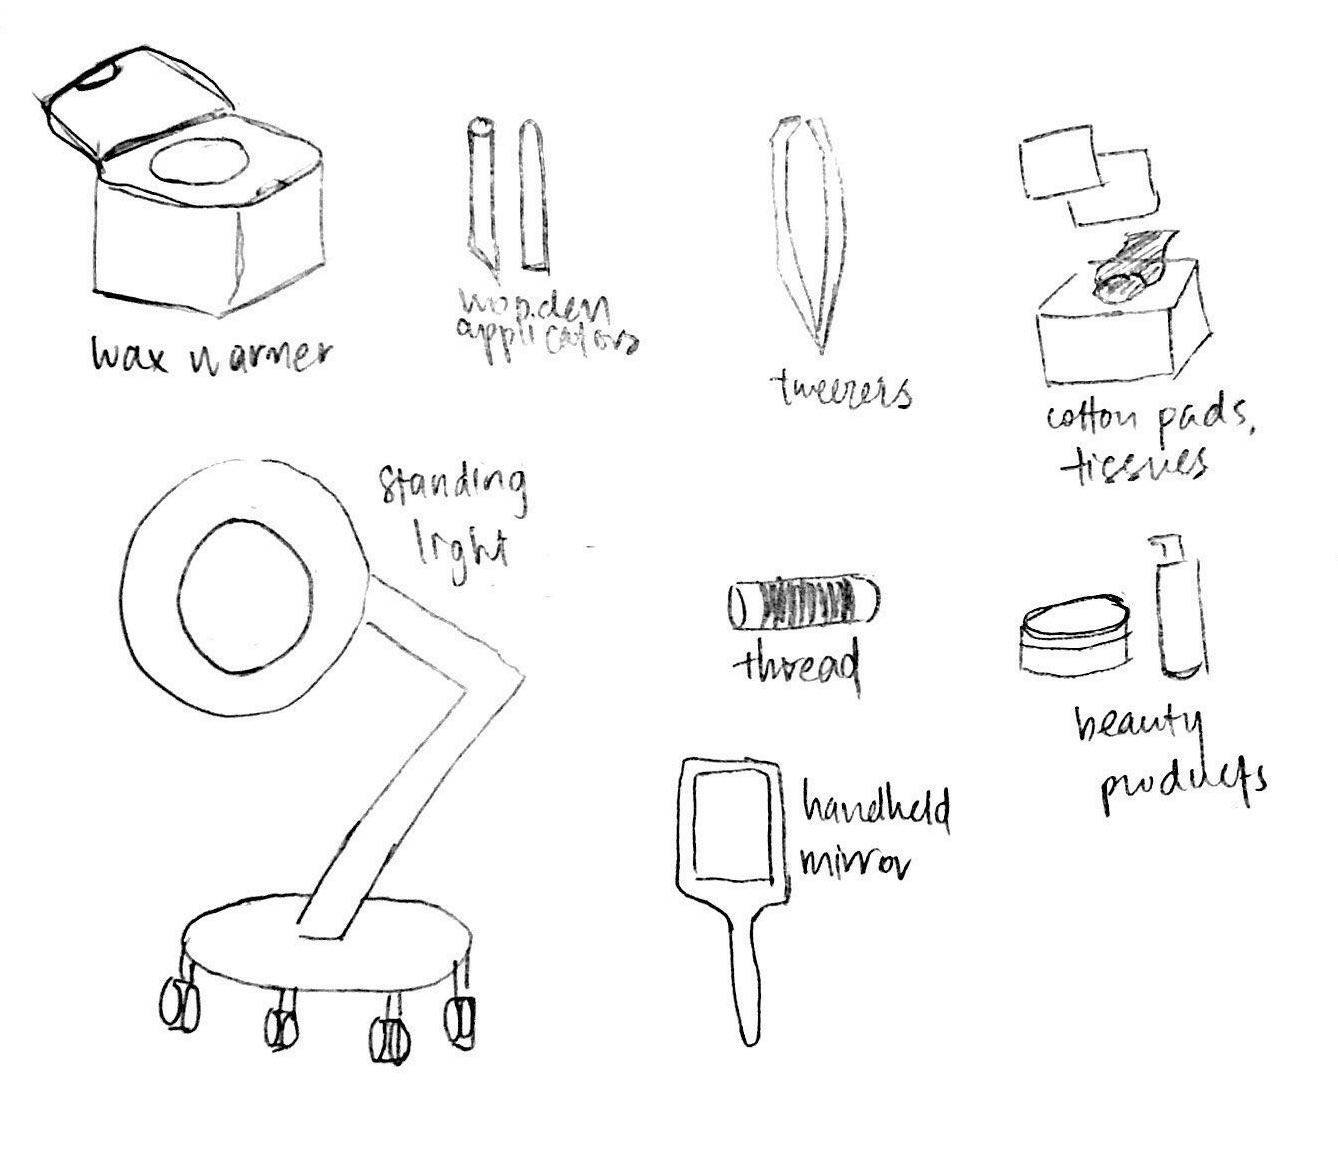
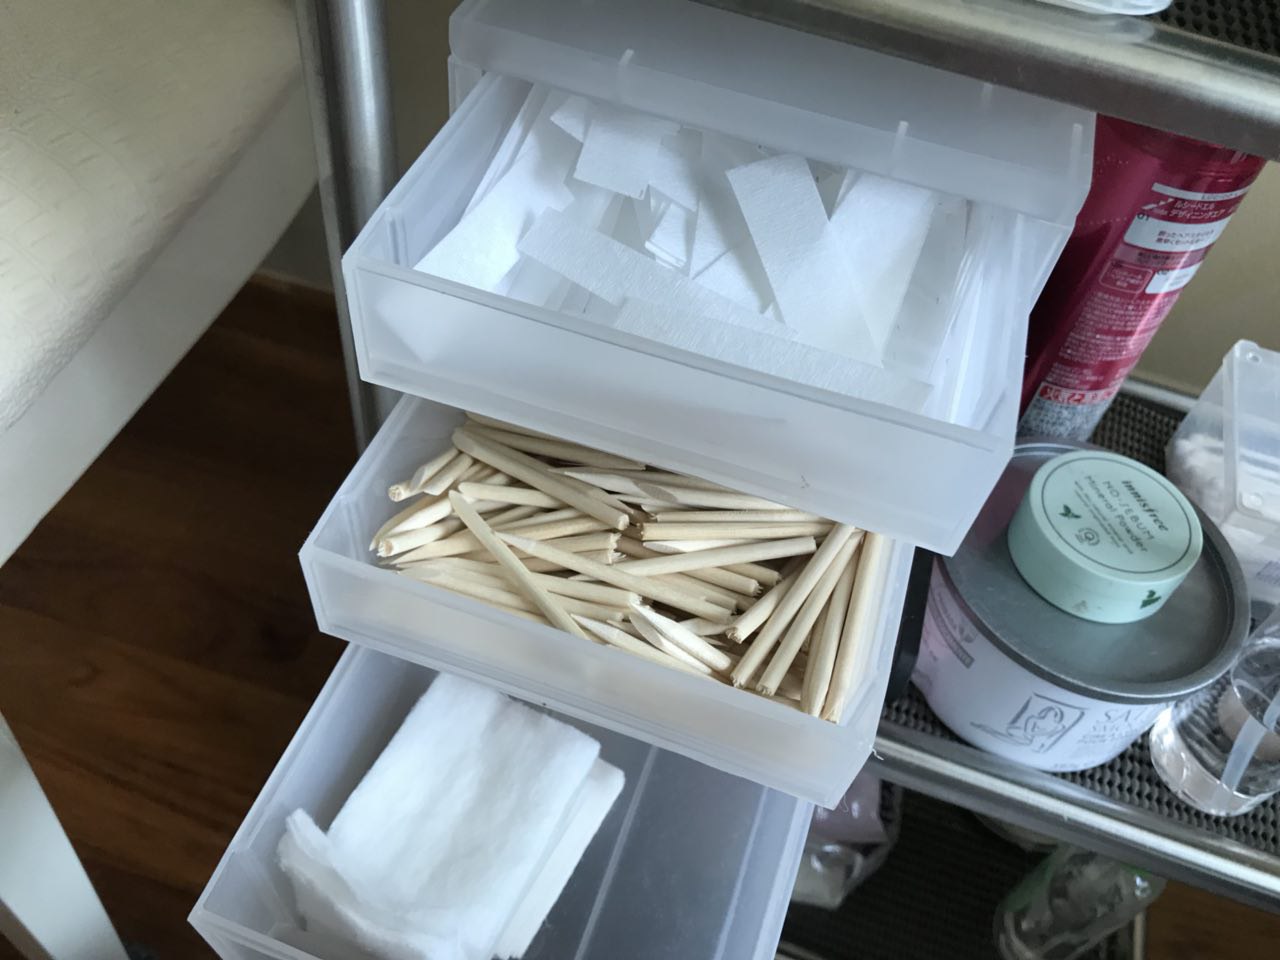
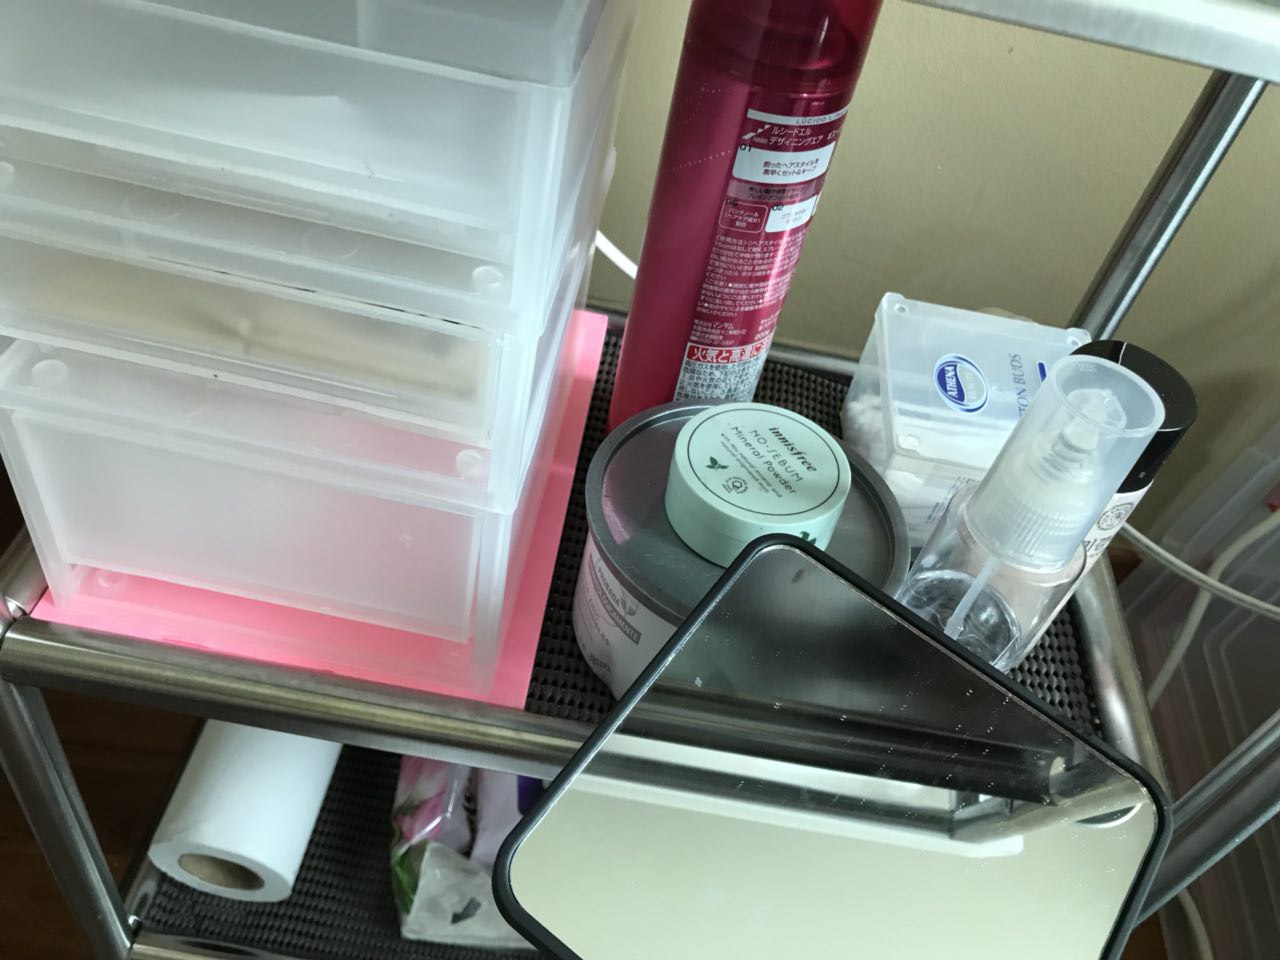
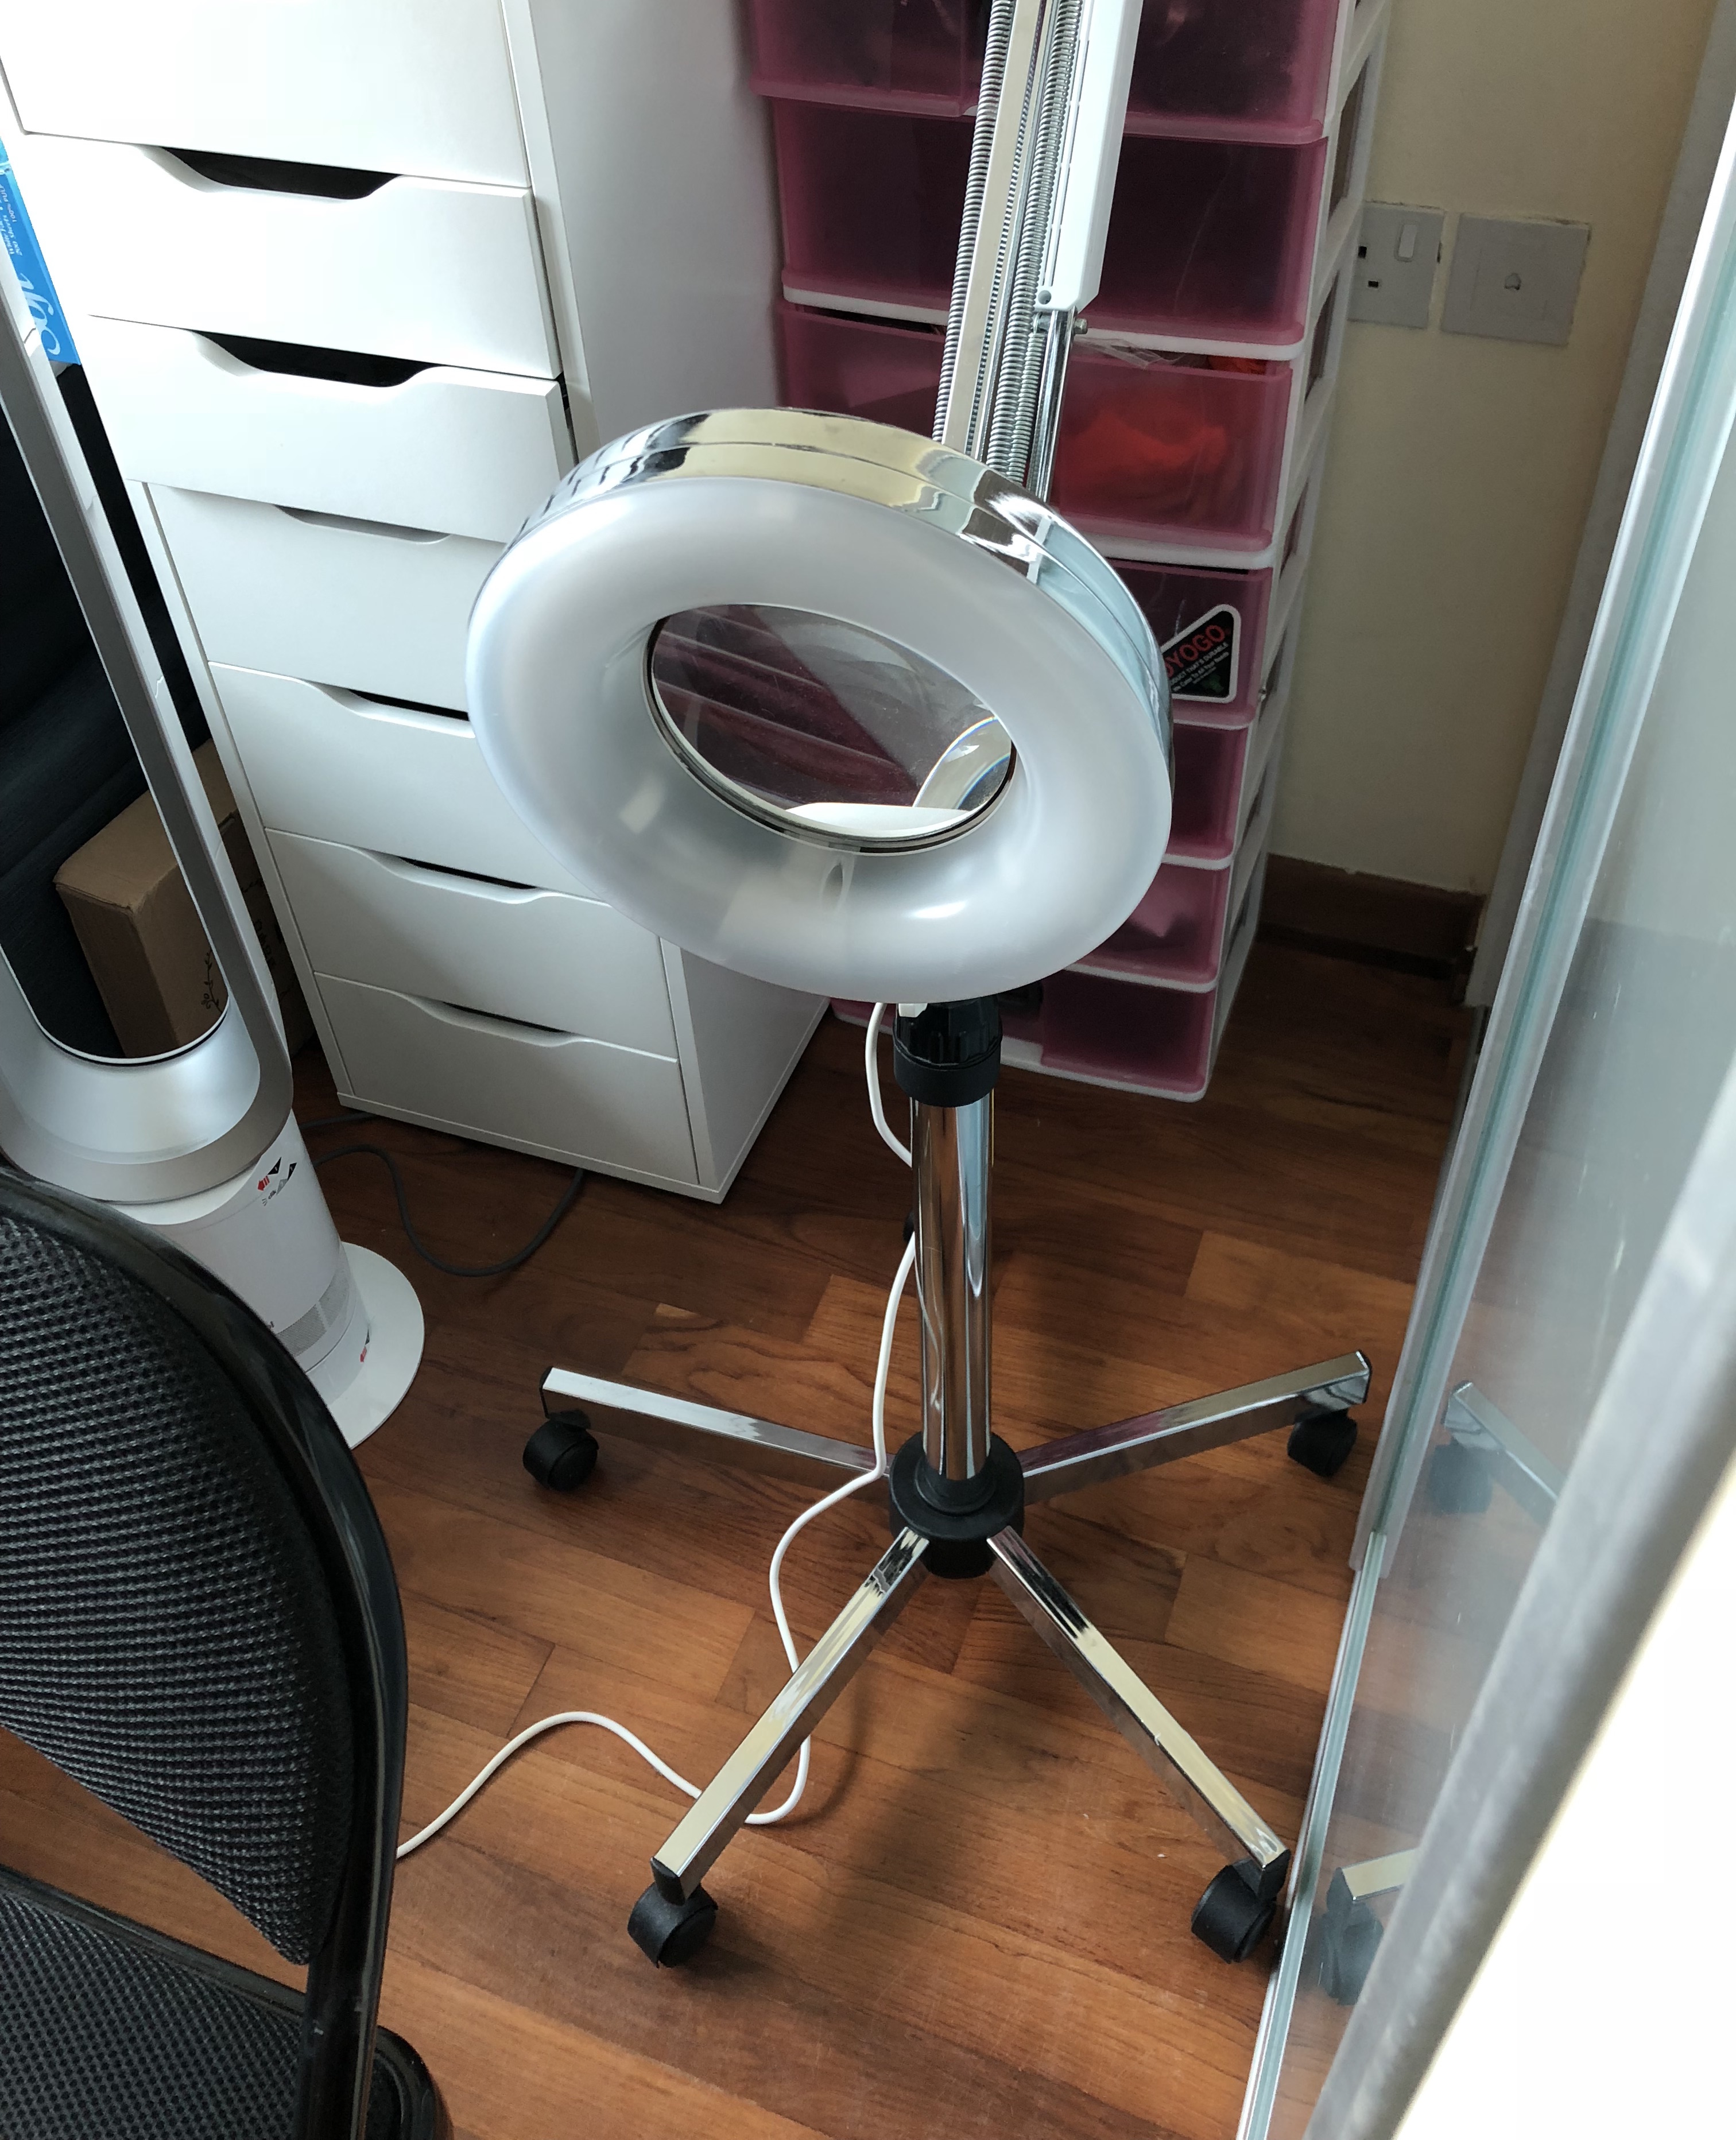
Various skincare products:
powder, baby oil, eyebrow spoolies
Hand mirror
Standing light
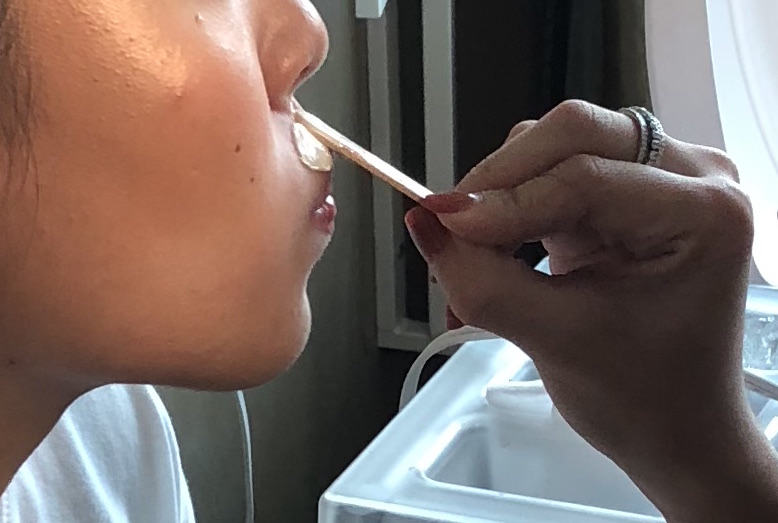
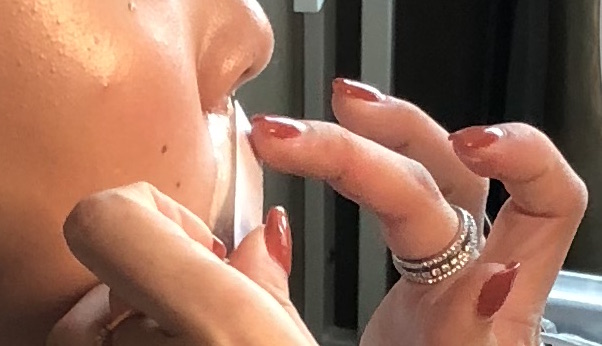
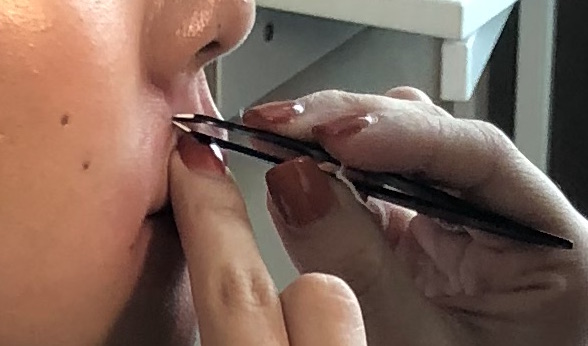
Process documentation: The to-be-waxed area is first cleaned and powdered to ensure the wax sticks onto the skin. The wax was pre-melted in the wax warmer. Using a flat wooden applicator, she coats with a thin even layer of wax and applies it onto the skin. Then cloth strips are placed on the waxed areas and ripped in a swift motion. After all necessary areas are covered, a tweezer is used to remove hairs that were not waxed off. Residue left is removed using a cotton pad with baby oil.
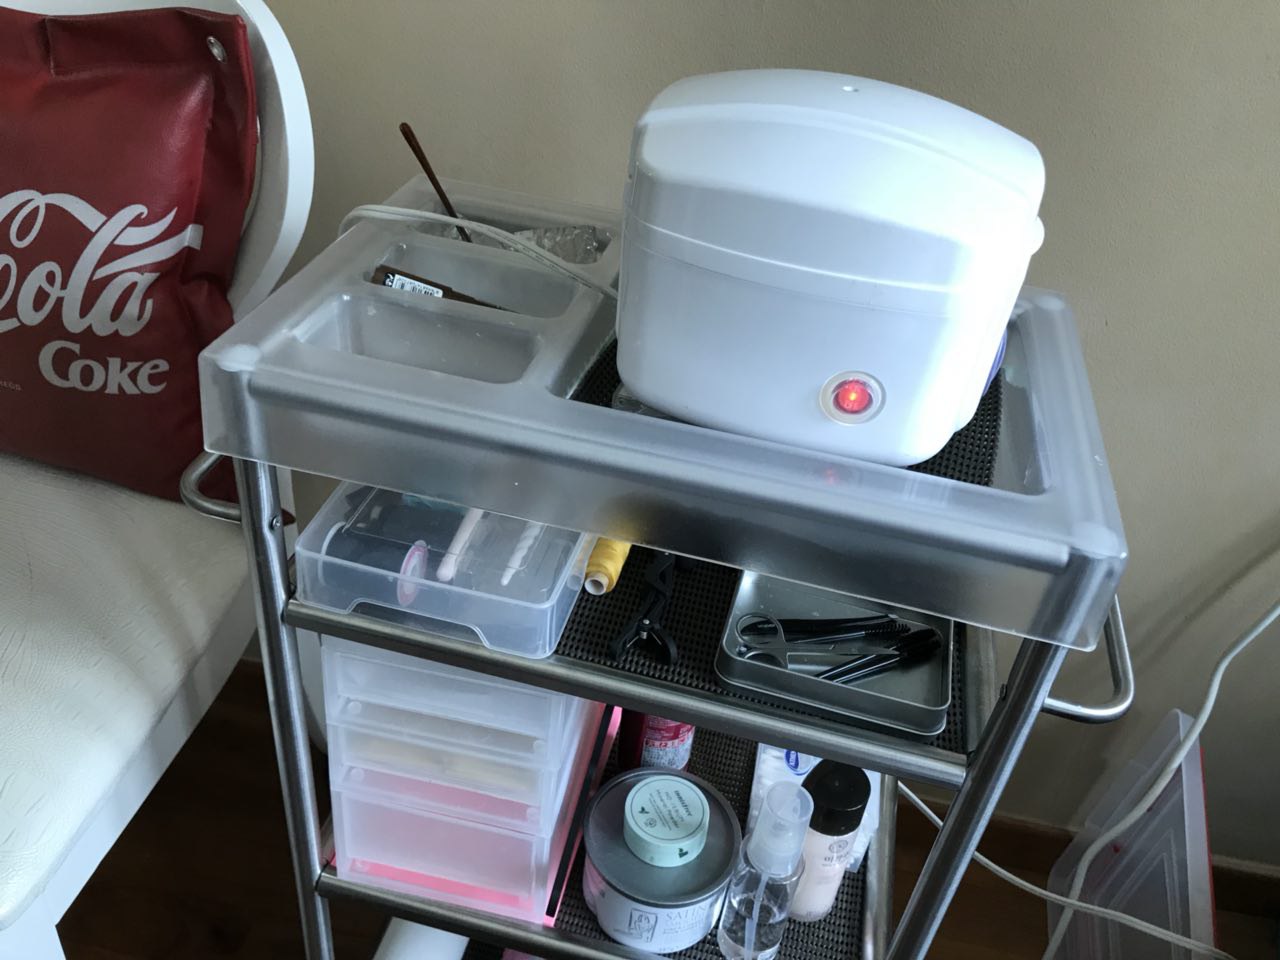
Worksite documentation:
Pain points: Since it is a home beauty parlor at an estate neighborhood, the location is inconvenient for customers. It might even deter potential customers from enlisting her services. She also relies mainly on recommendations by friends or social media to market her business.
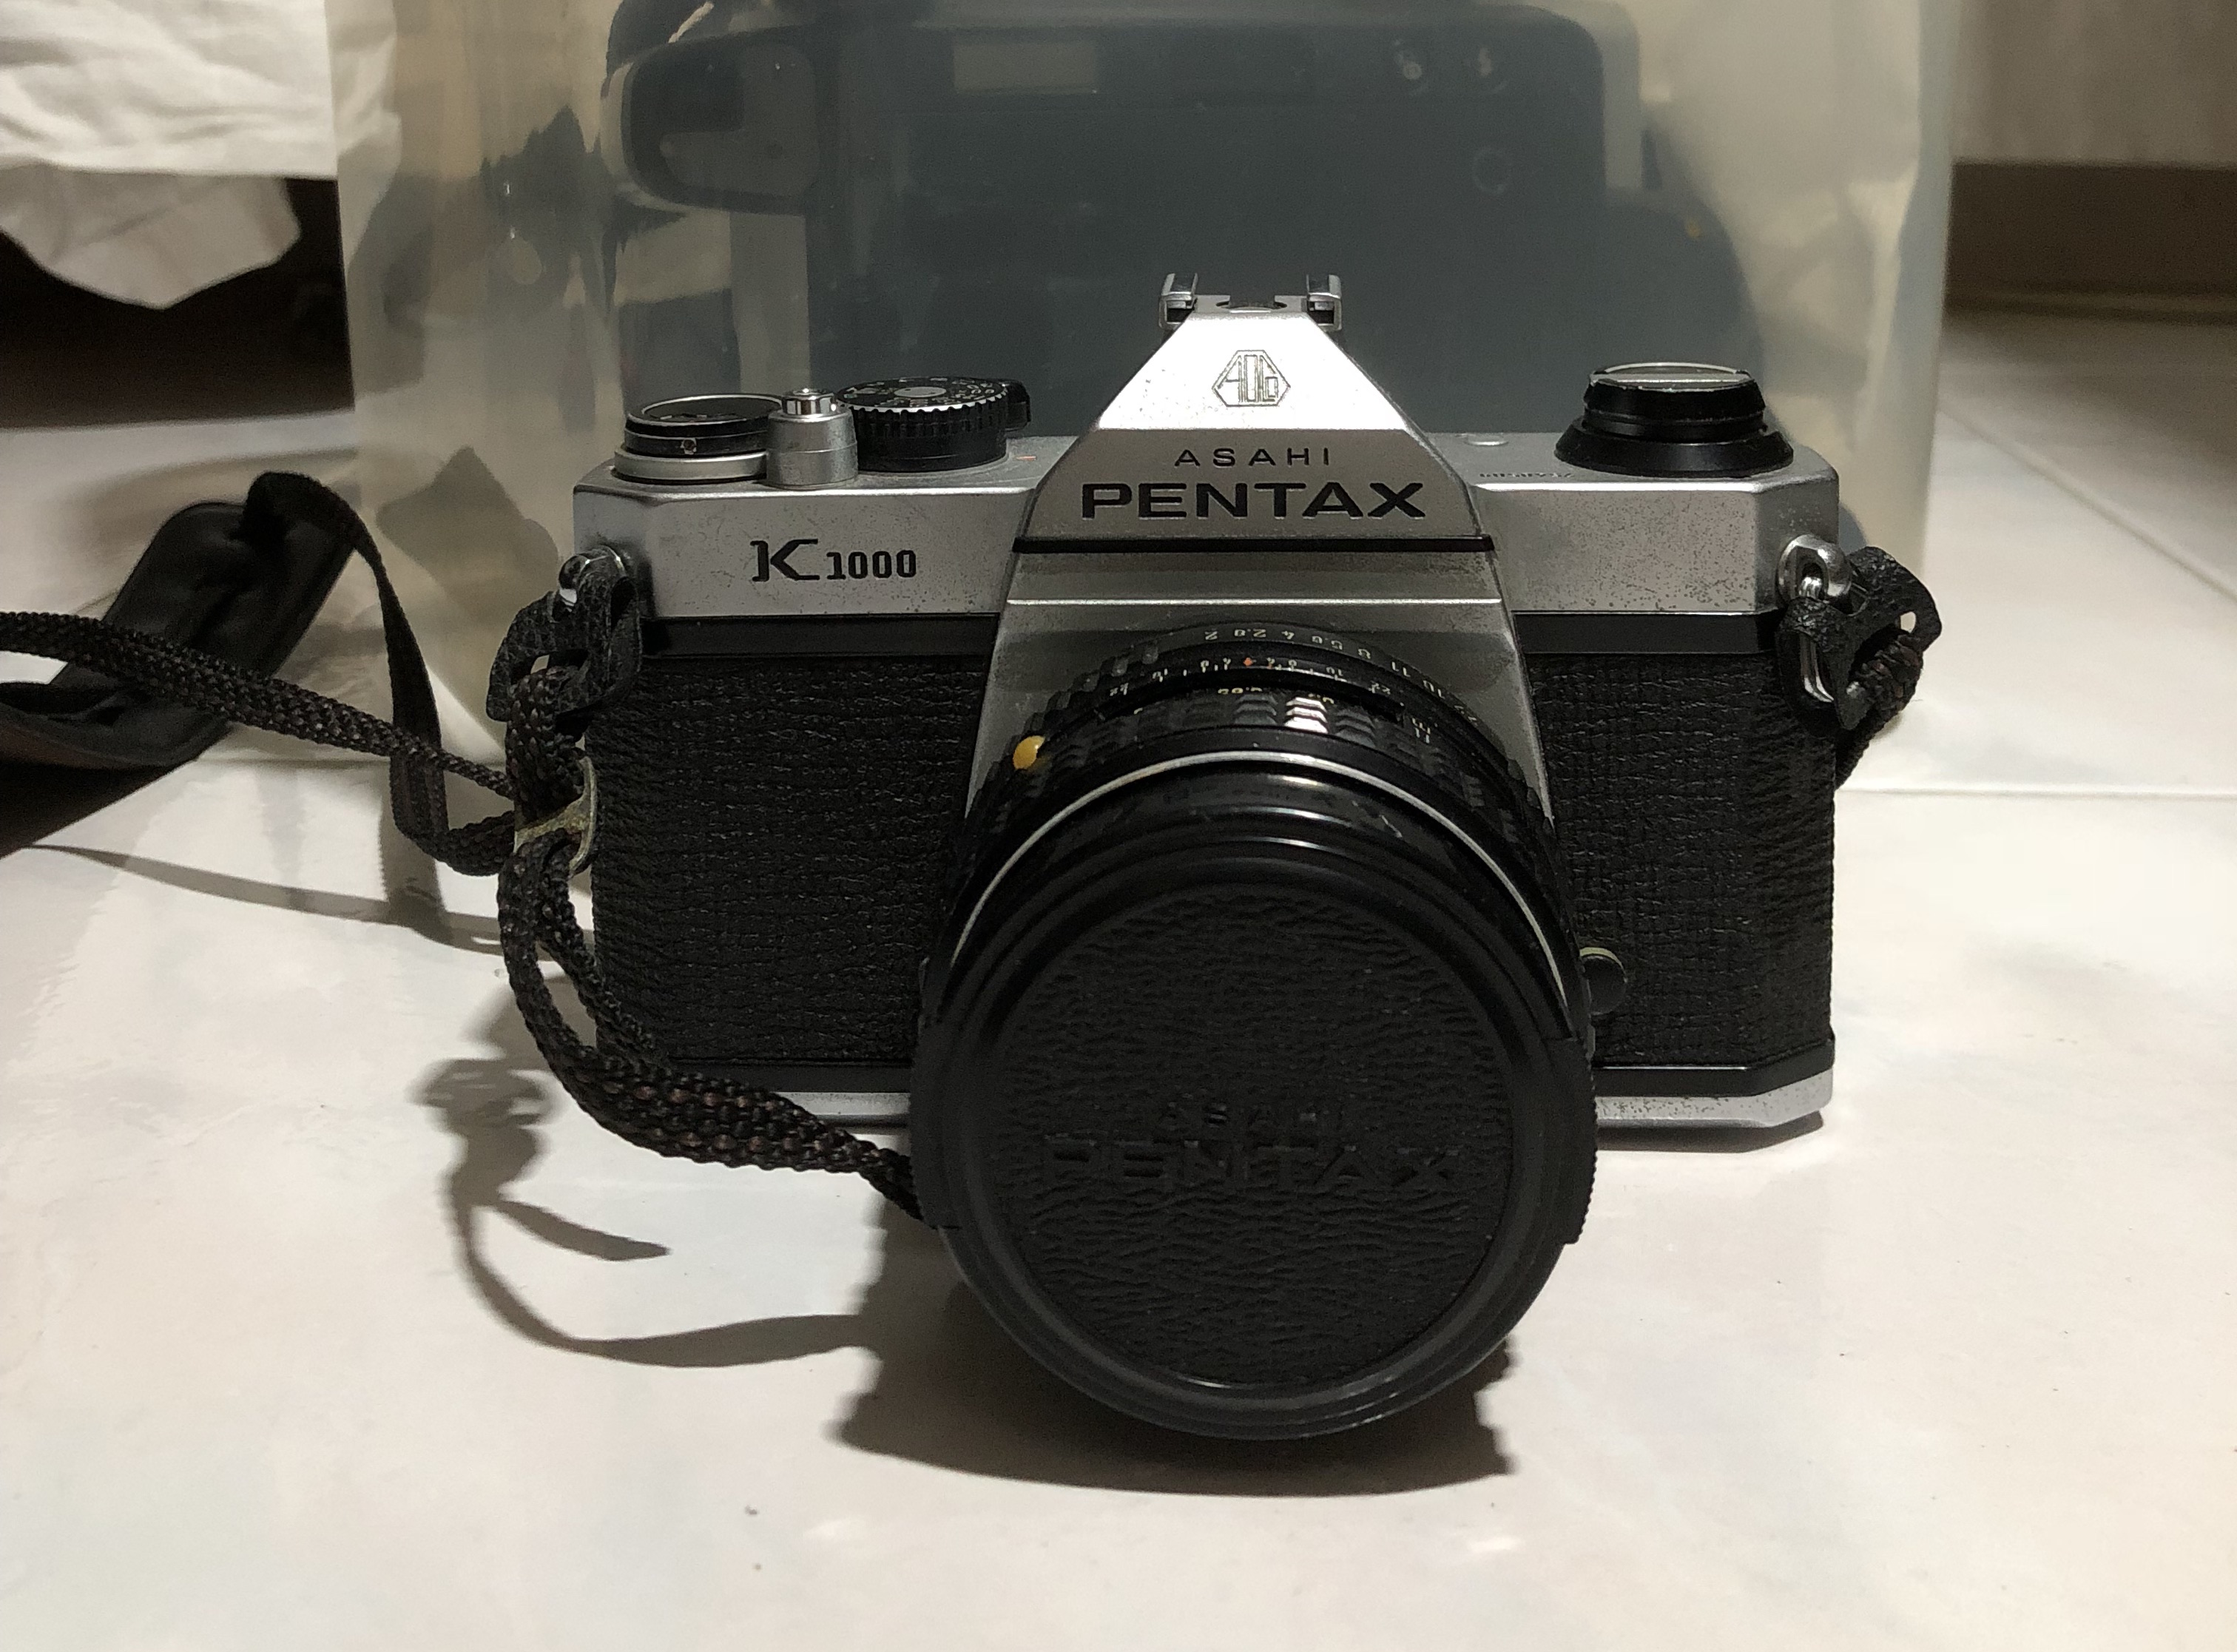
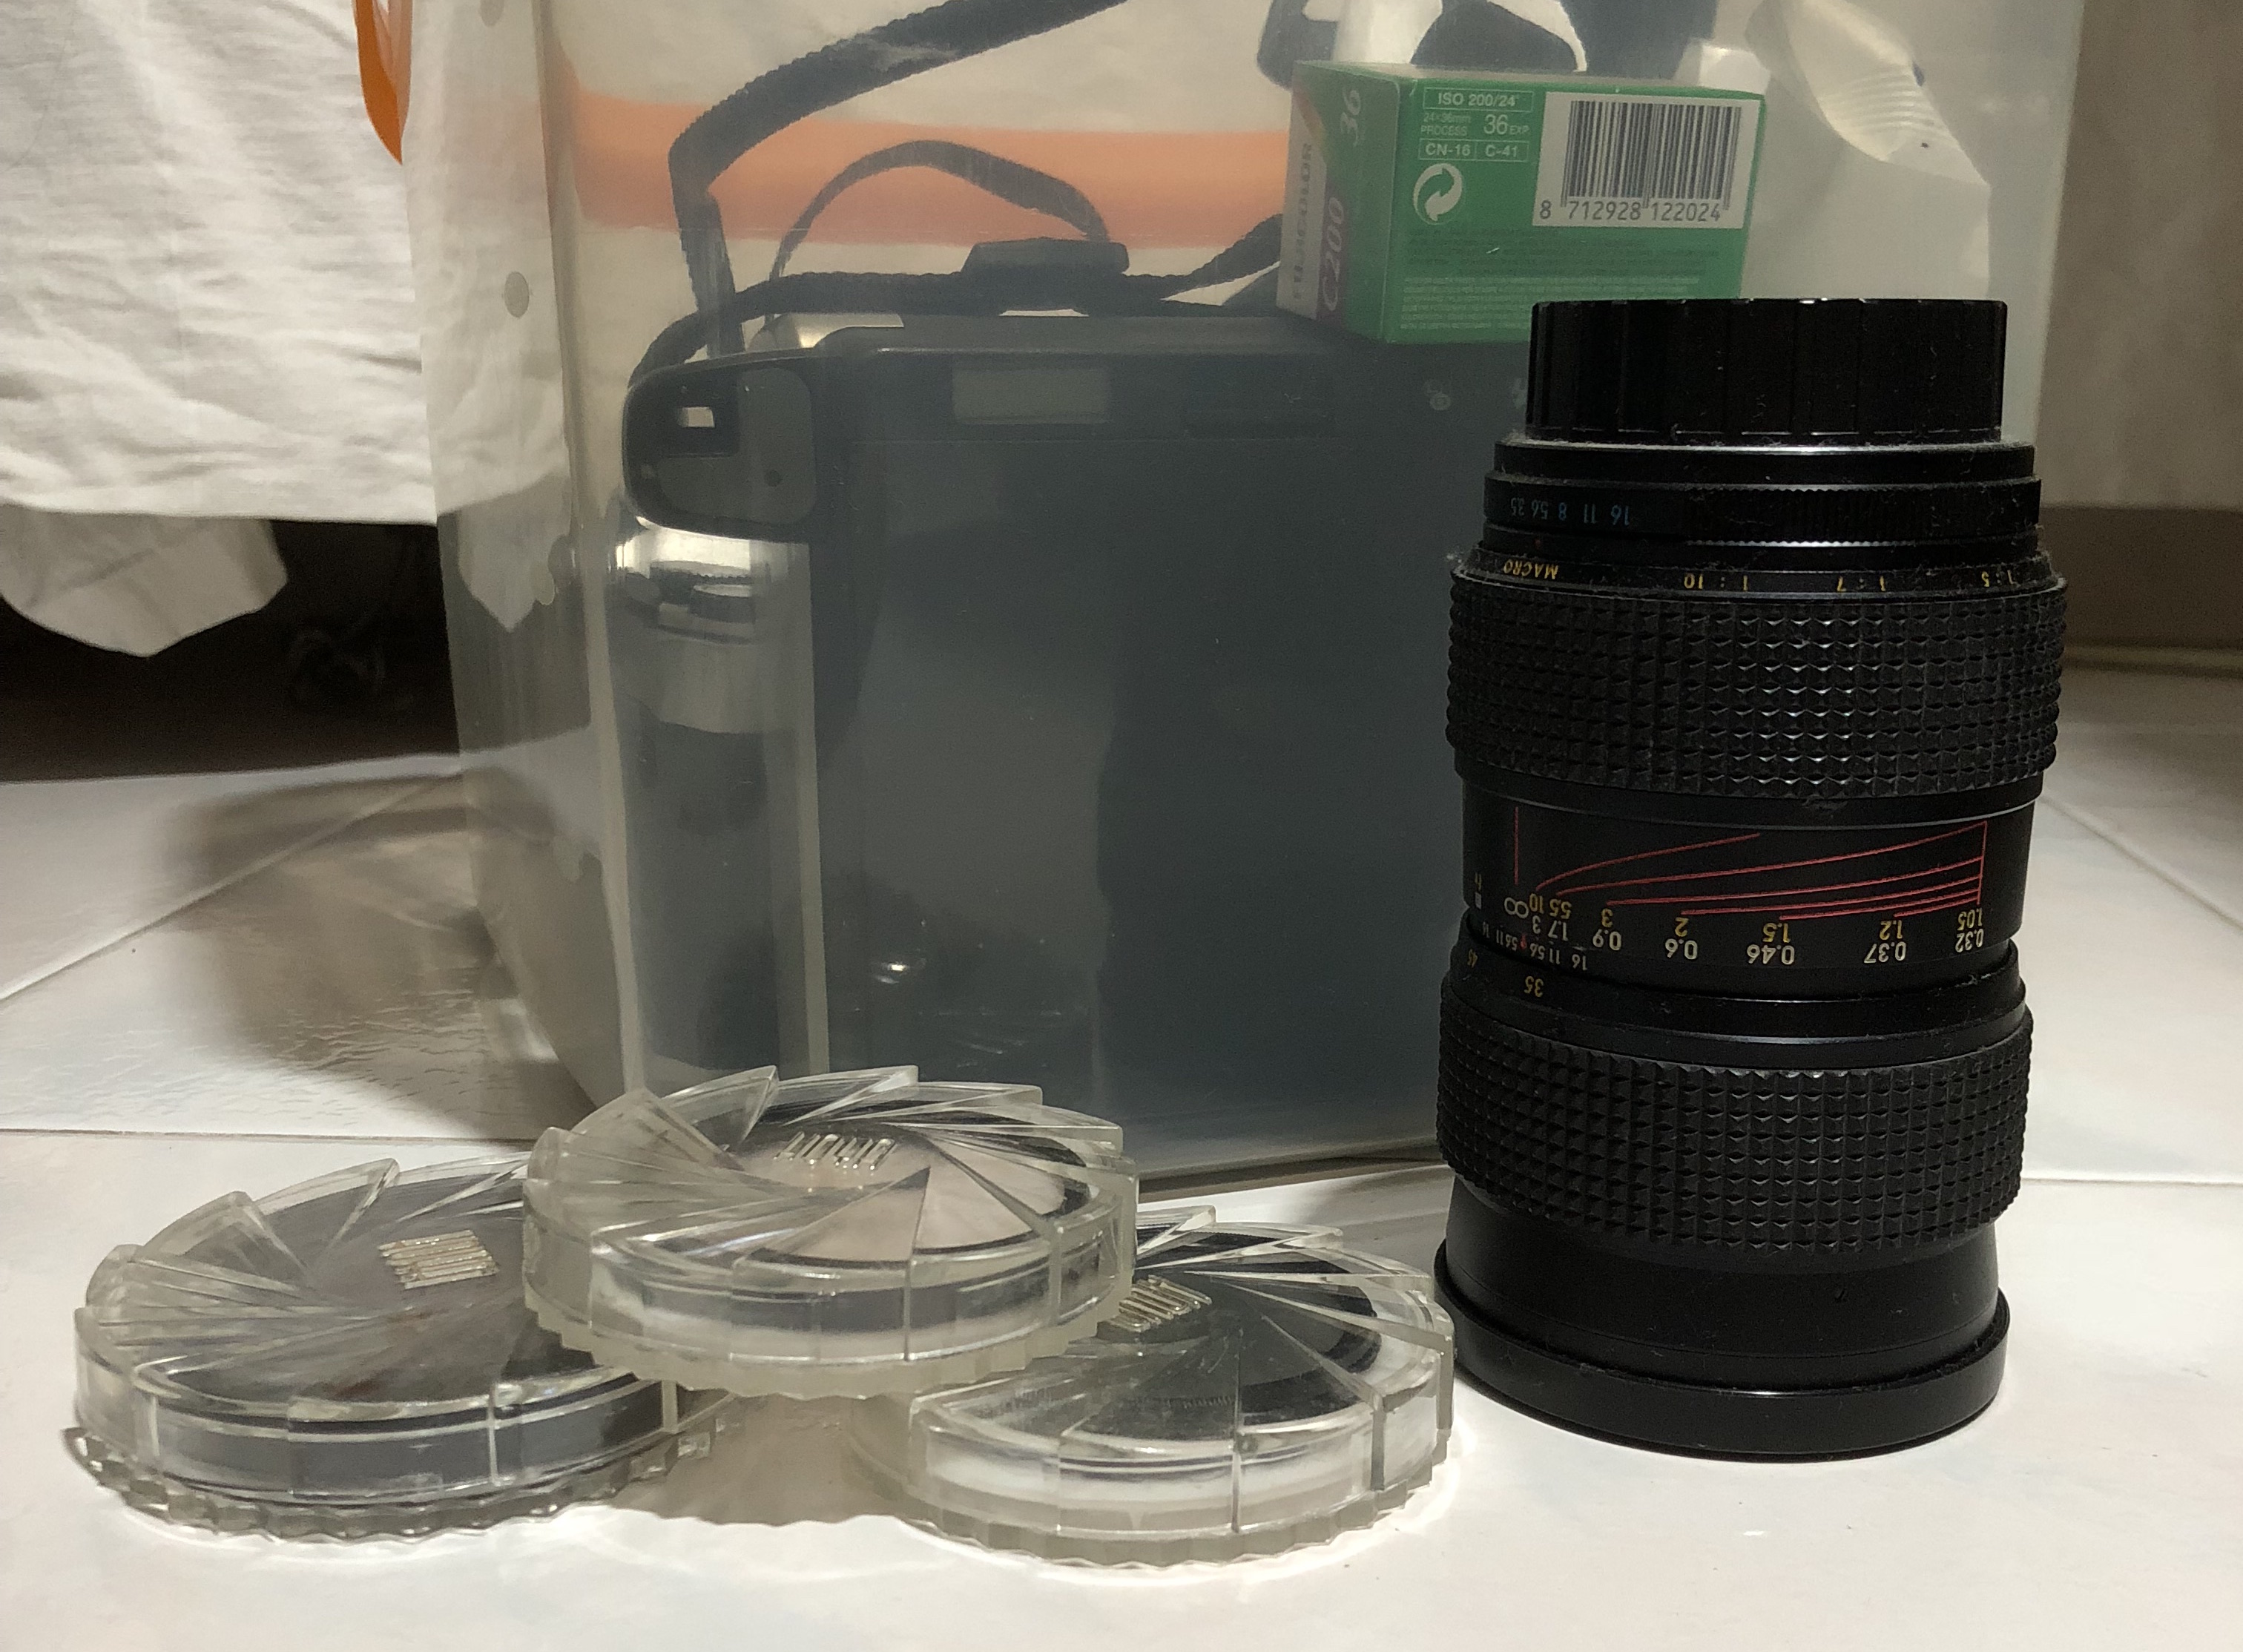
Practitioner 3 – Leisure Film Photographer
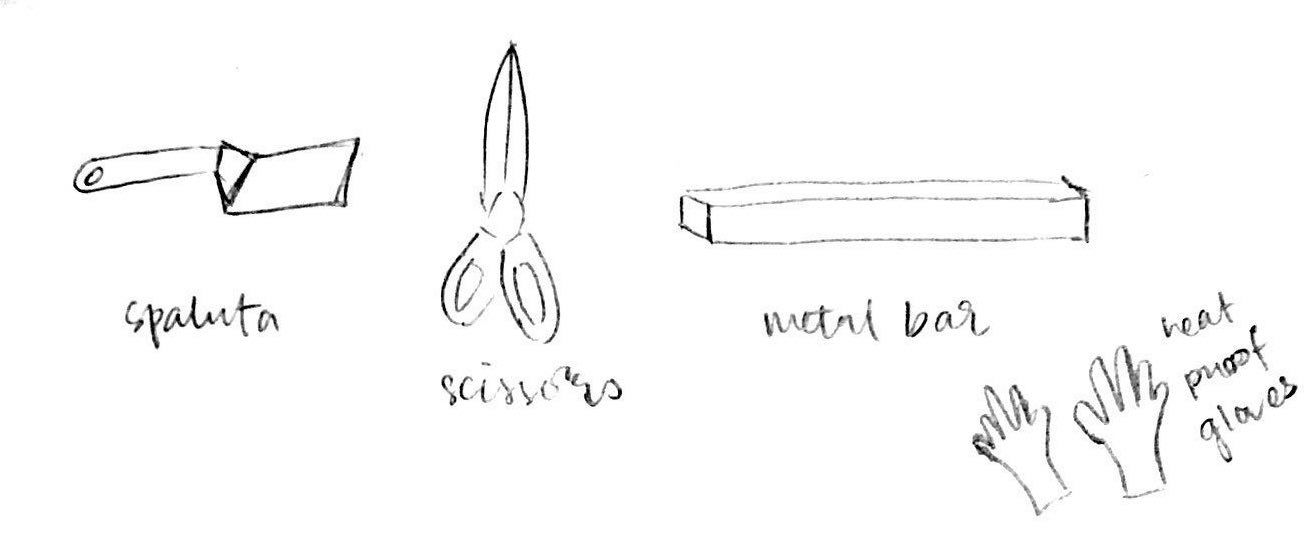
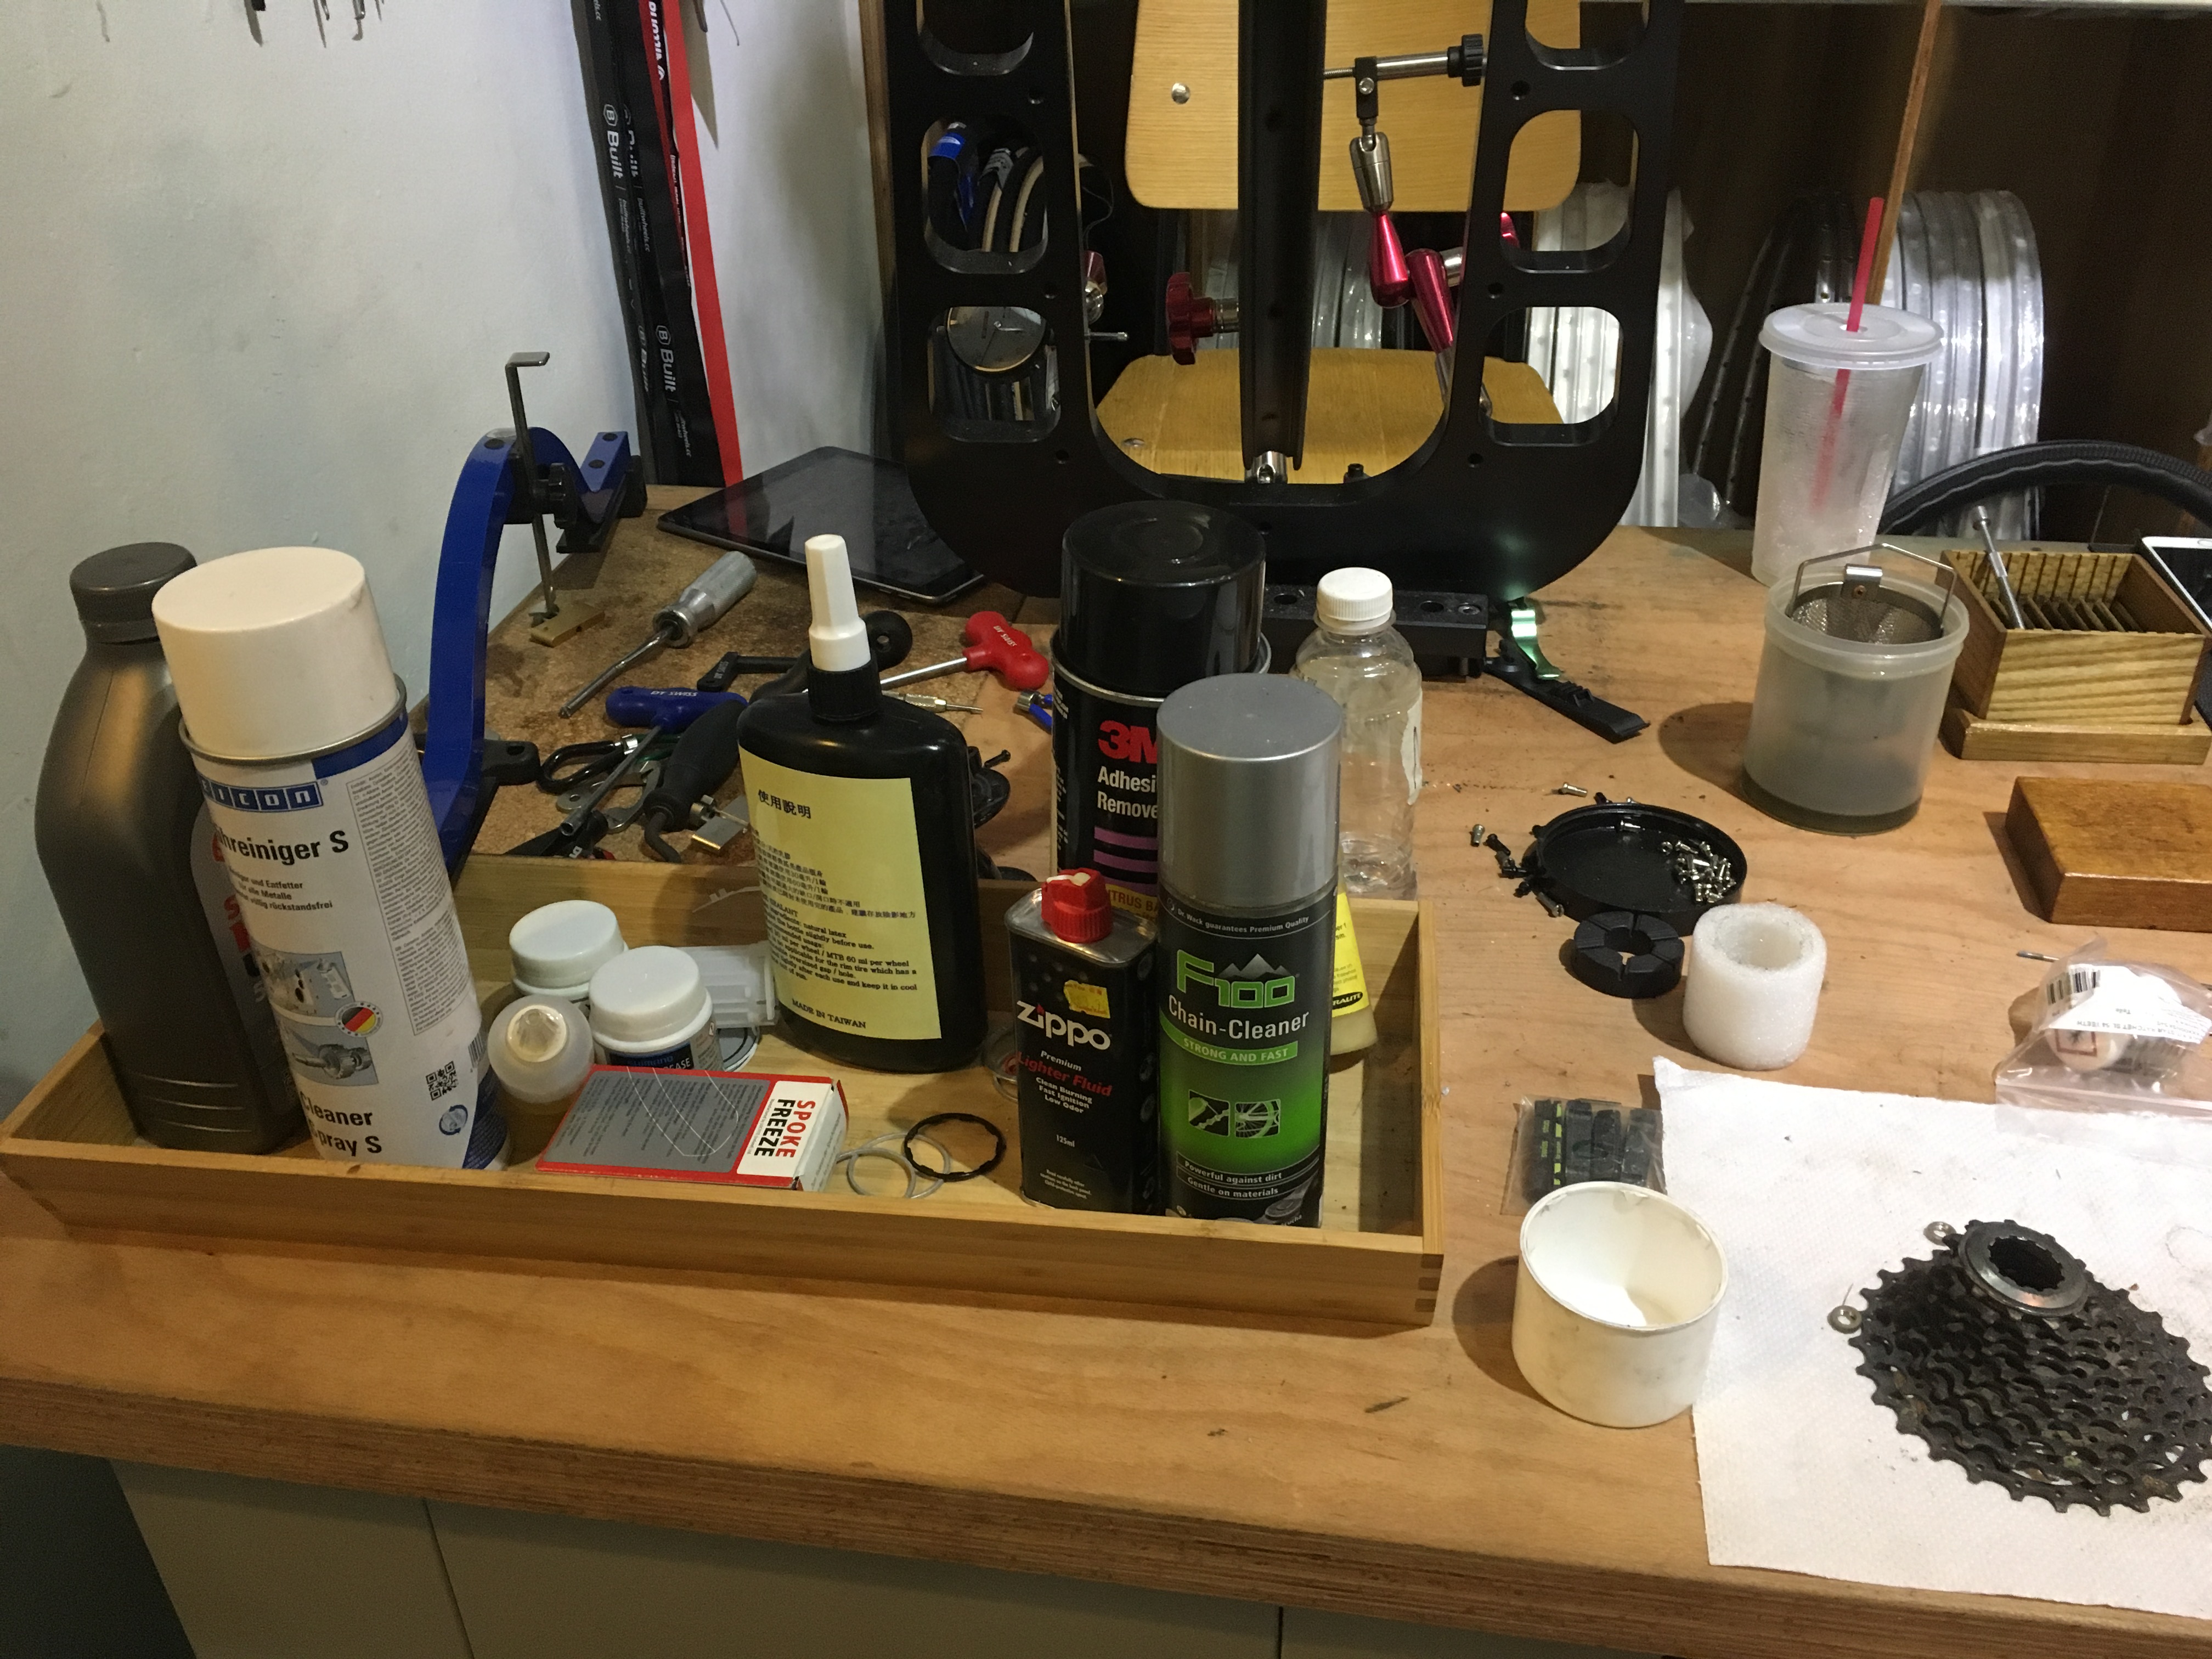
Tools:
Film camera
Lenses
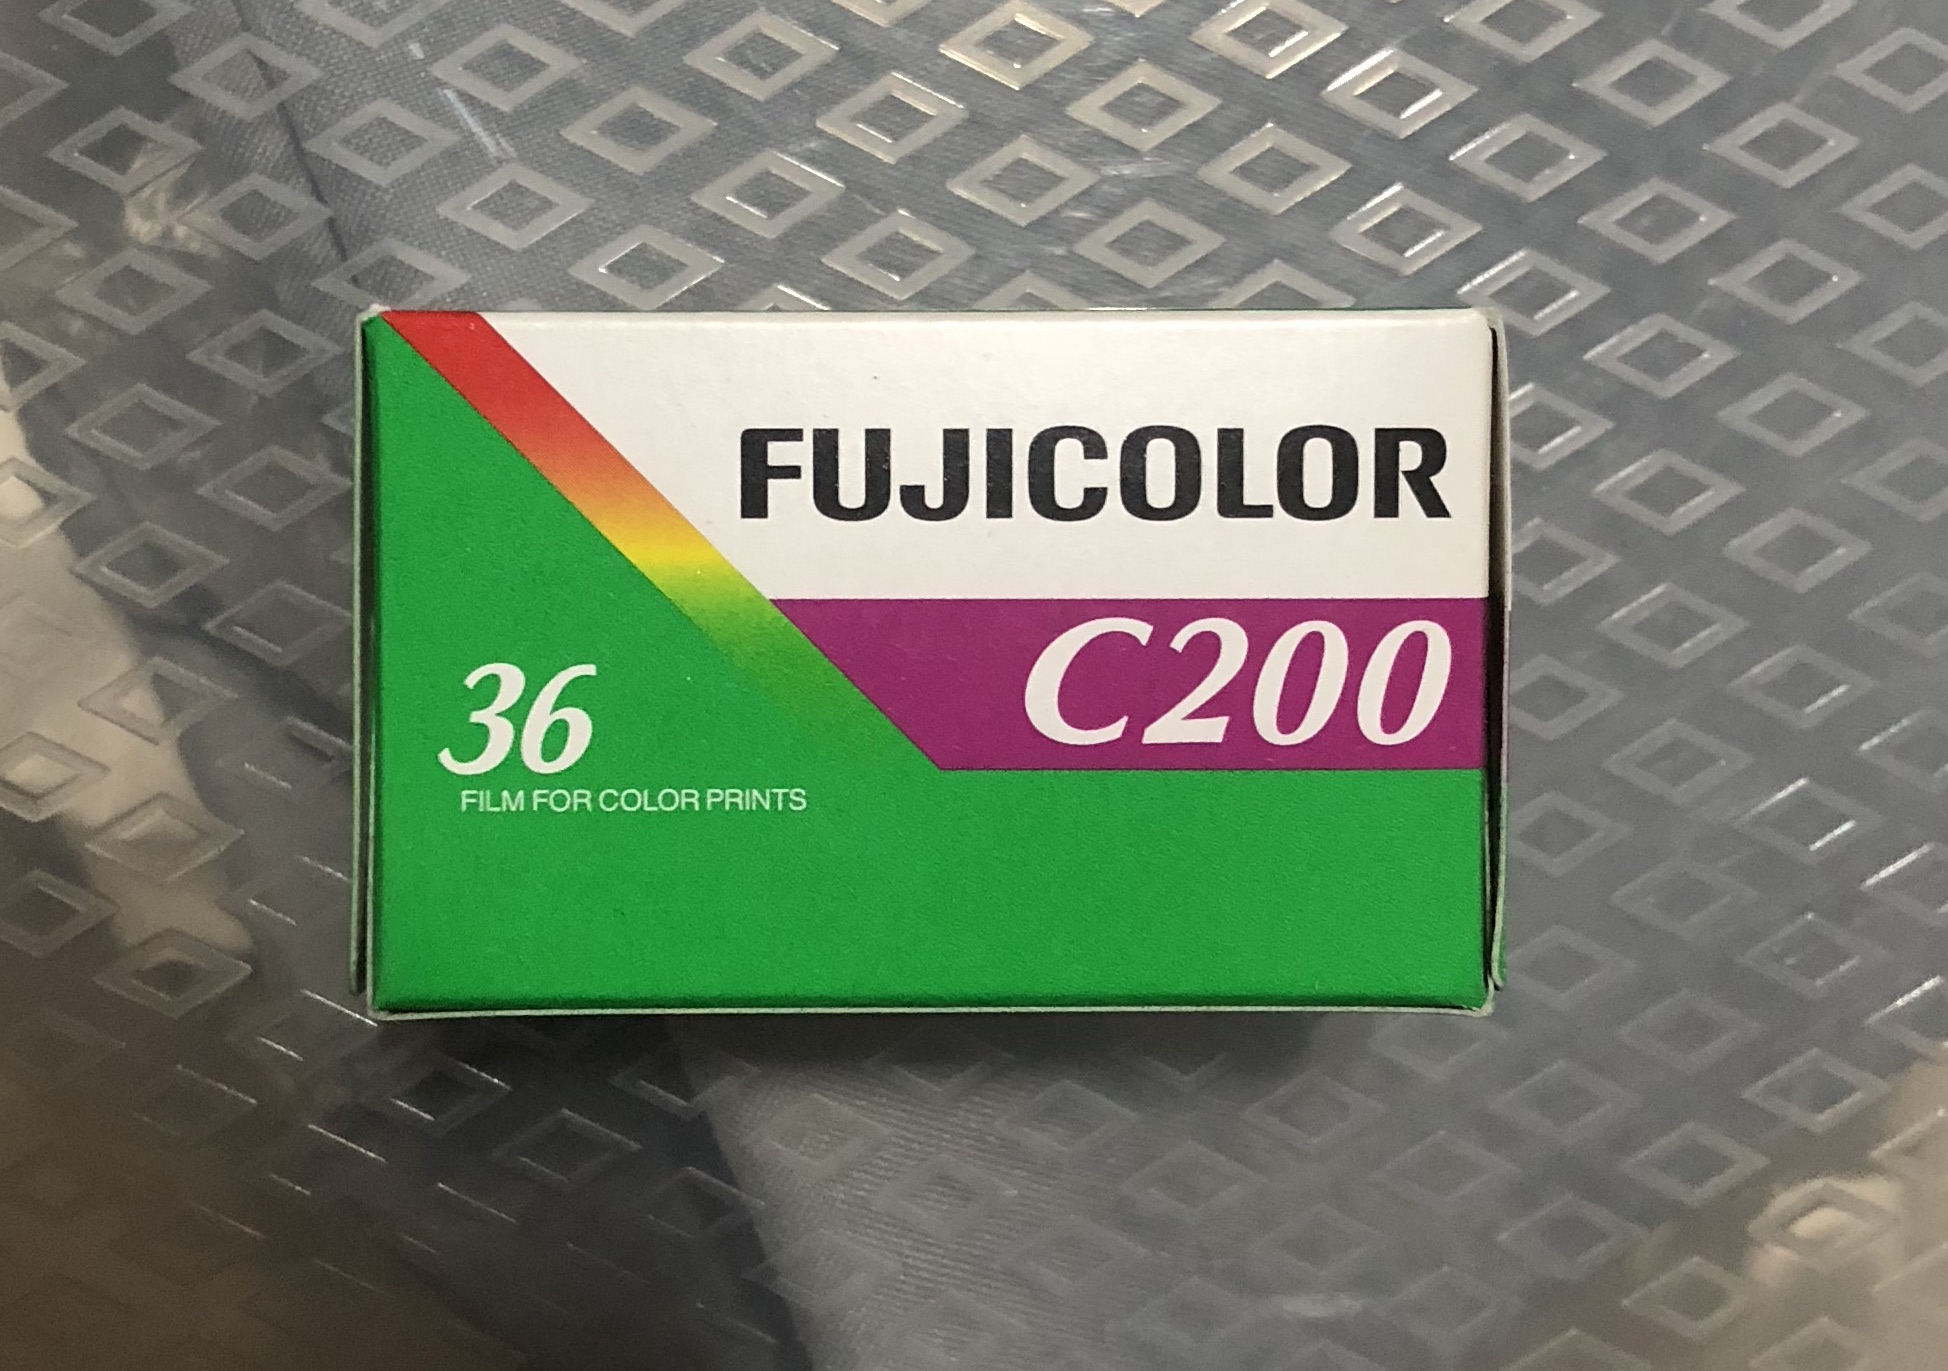
Film roll
Process documentation: It starts with loading in the film roll. Usually a film roll has around 30 exposures (exposures in this context means number of photos). Depending on the subject shot, different lenses are used. Most portrait film photographers use 35mm prime lenses. By looking at the light sensor in the viewfinder, the exposure can be adjusting using aperture (usually found on the lens) and shutter speed knobs. The film advance lever is then pulled to “load” the film and the shutter is pressed. Due to how tedious the developing process is, my friend sends them to a local photo shop to get them developed and burned into a CD, instead of printing the photos out directly because this method saves money.
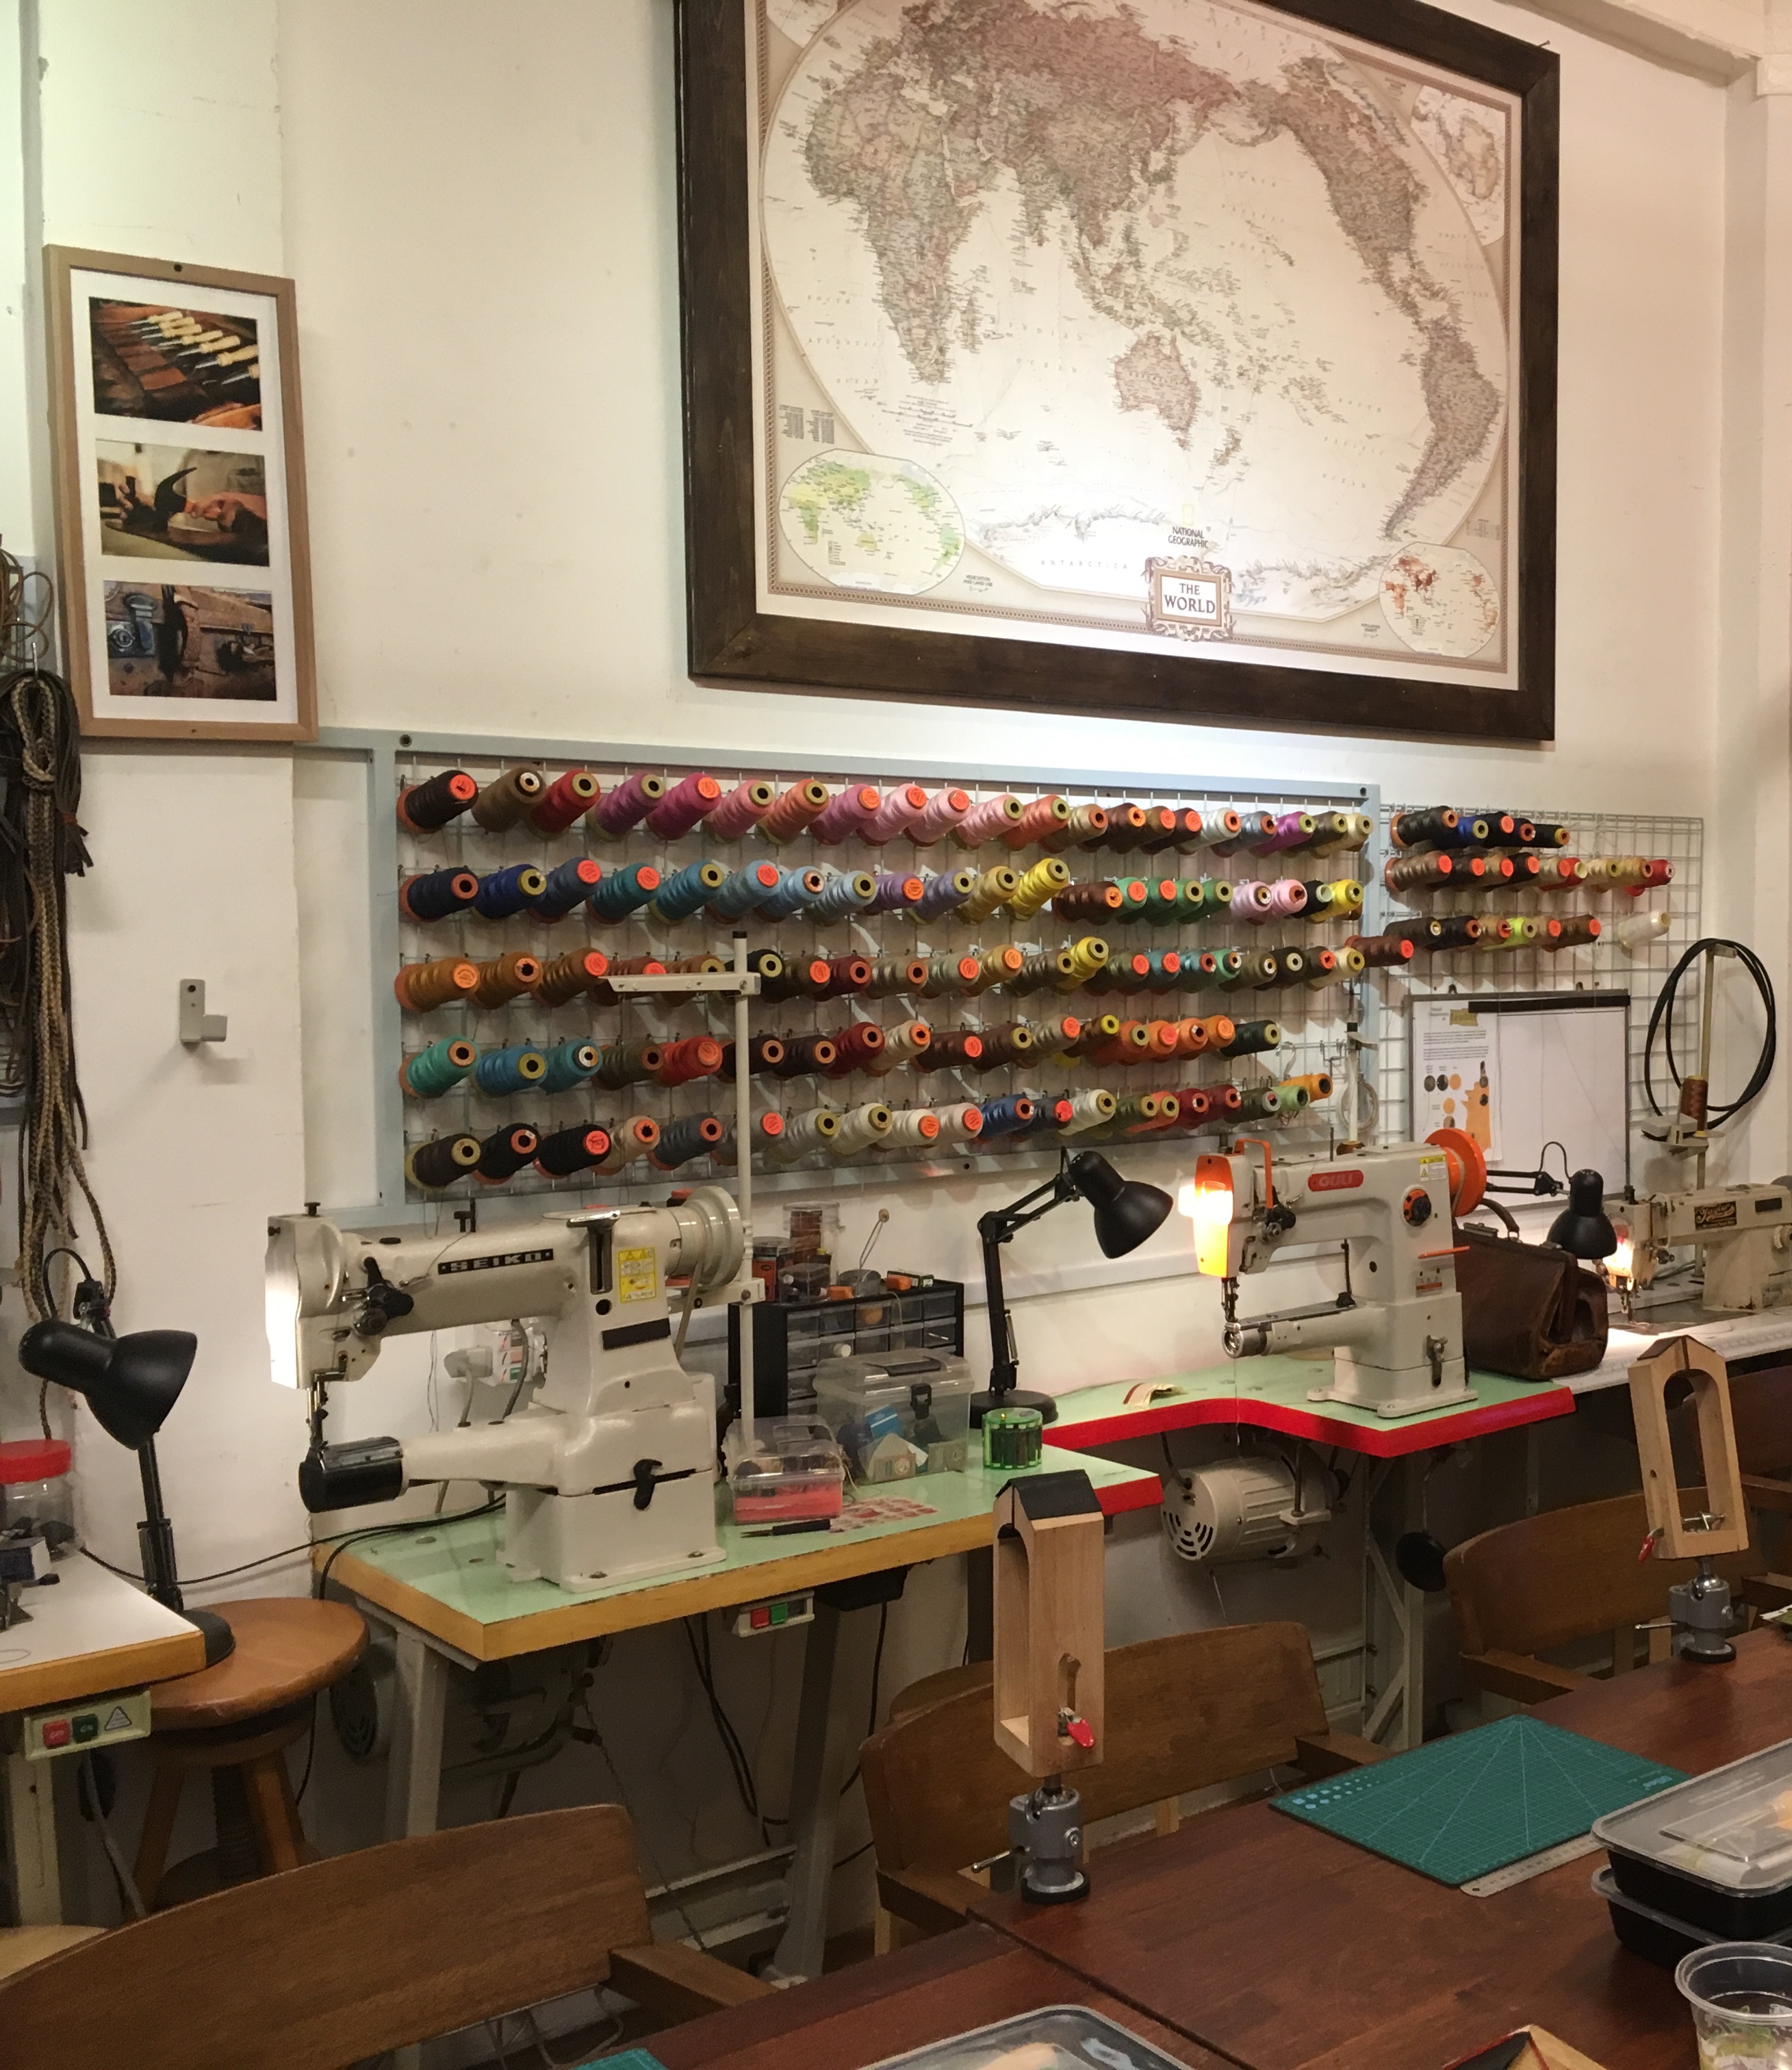
Worksite documentation: Film cameras, as with other cameras, are kept in a dry box. My friend has yet to think about investing in a proper dry box since they are pricey so she uses silica gel bags in a box to improvise for now.
Pain points: Loading the film roll is the hardest part since it is the most important part about film photography: loading the film roll the wrong way will result in pictures with wrong exposures and weird coloring. Despite having loaded film rolls plenty of times, she still chooses to follow YouTube tutorials step-by-step for the fear of loading it the wrong way.
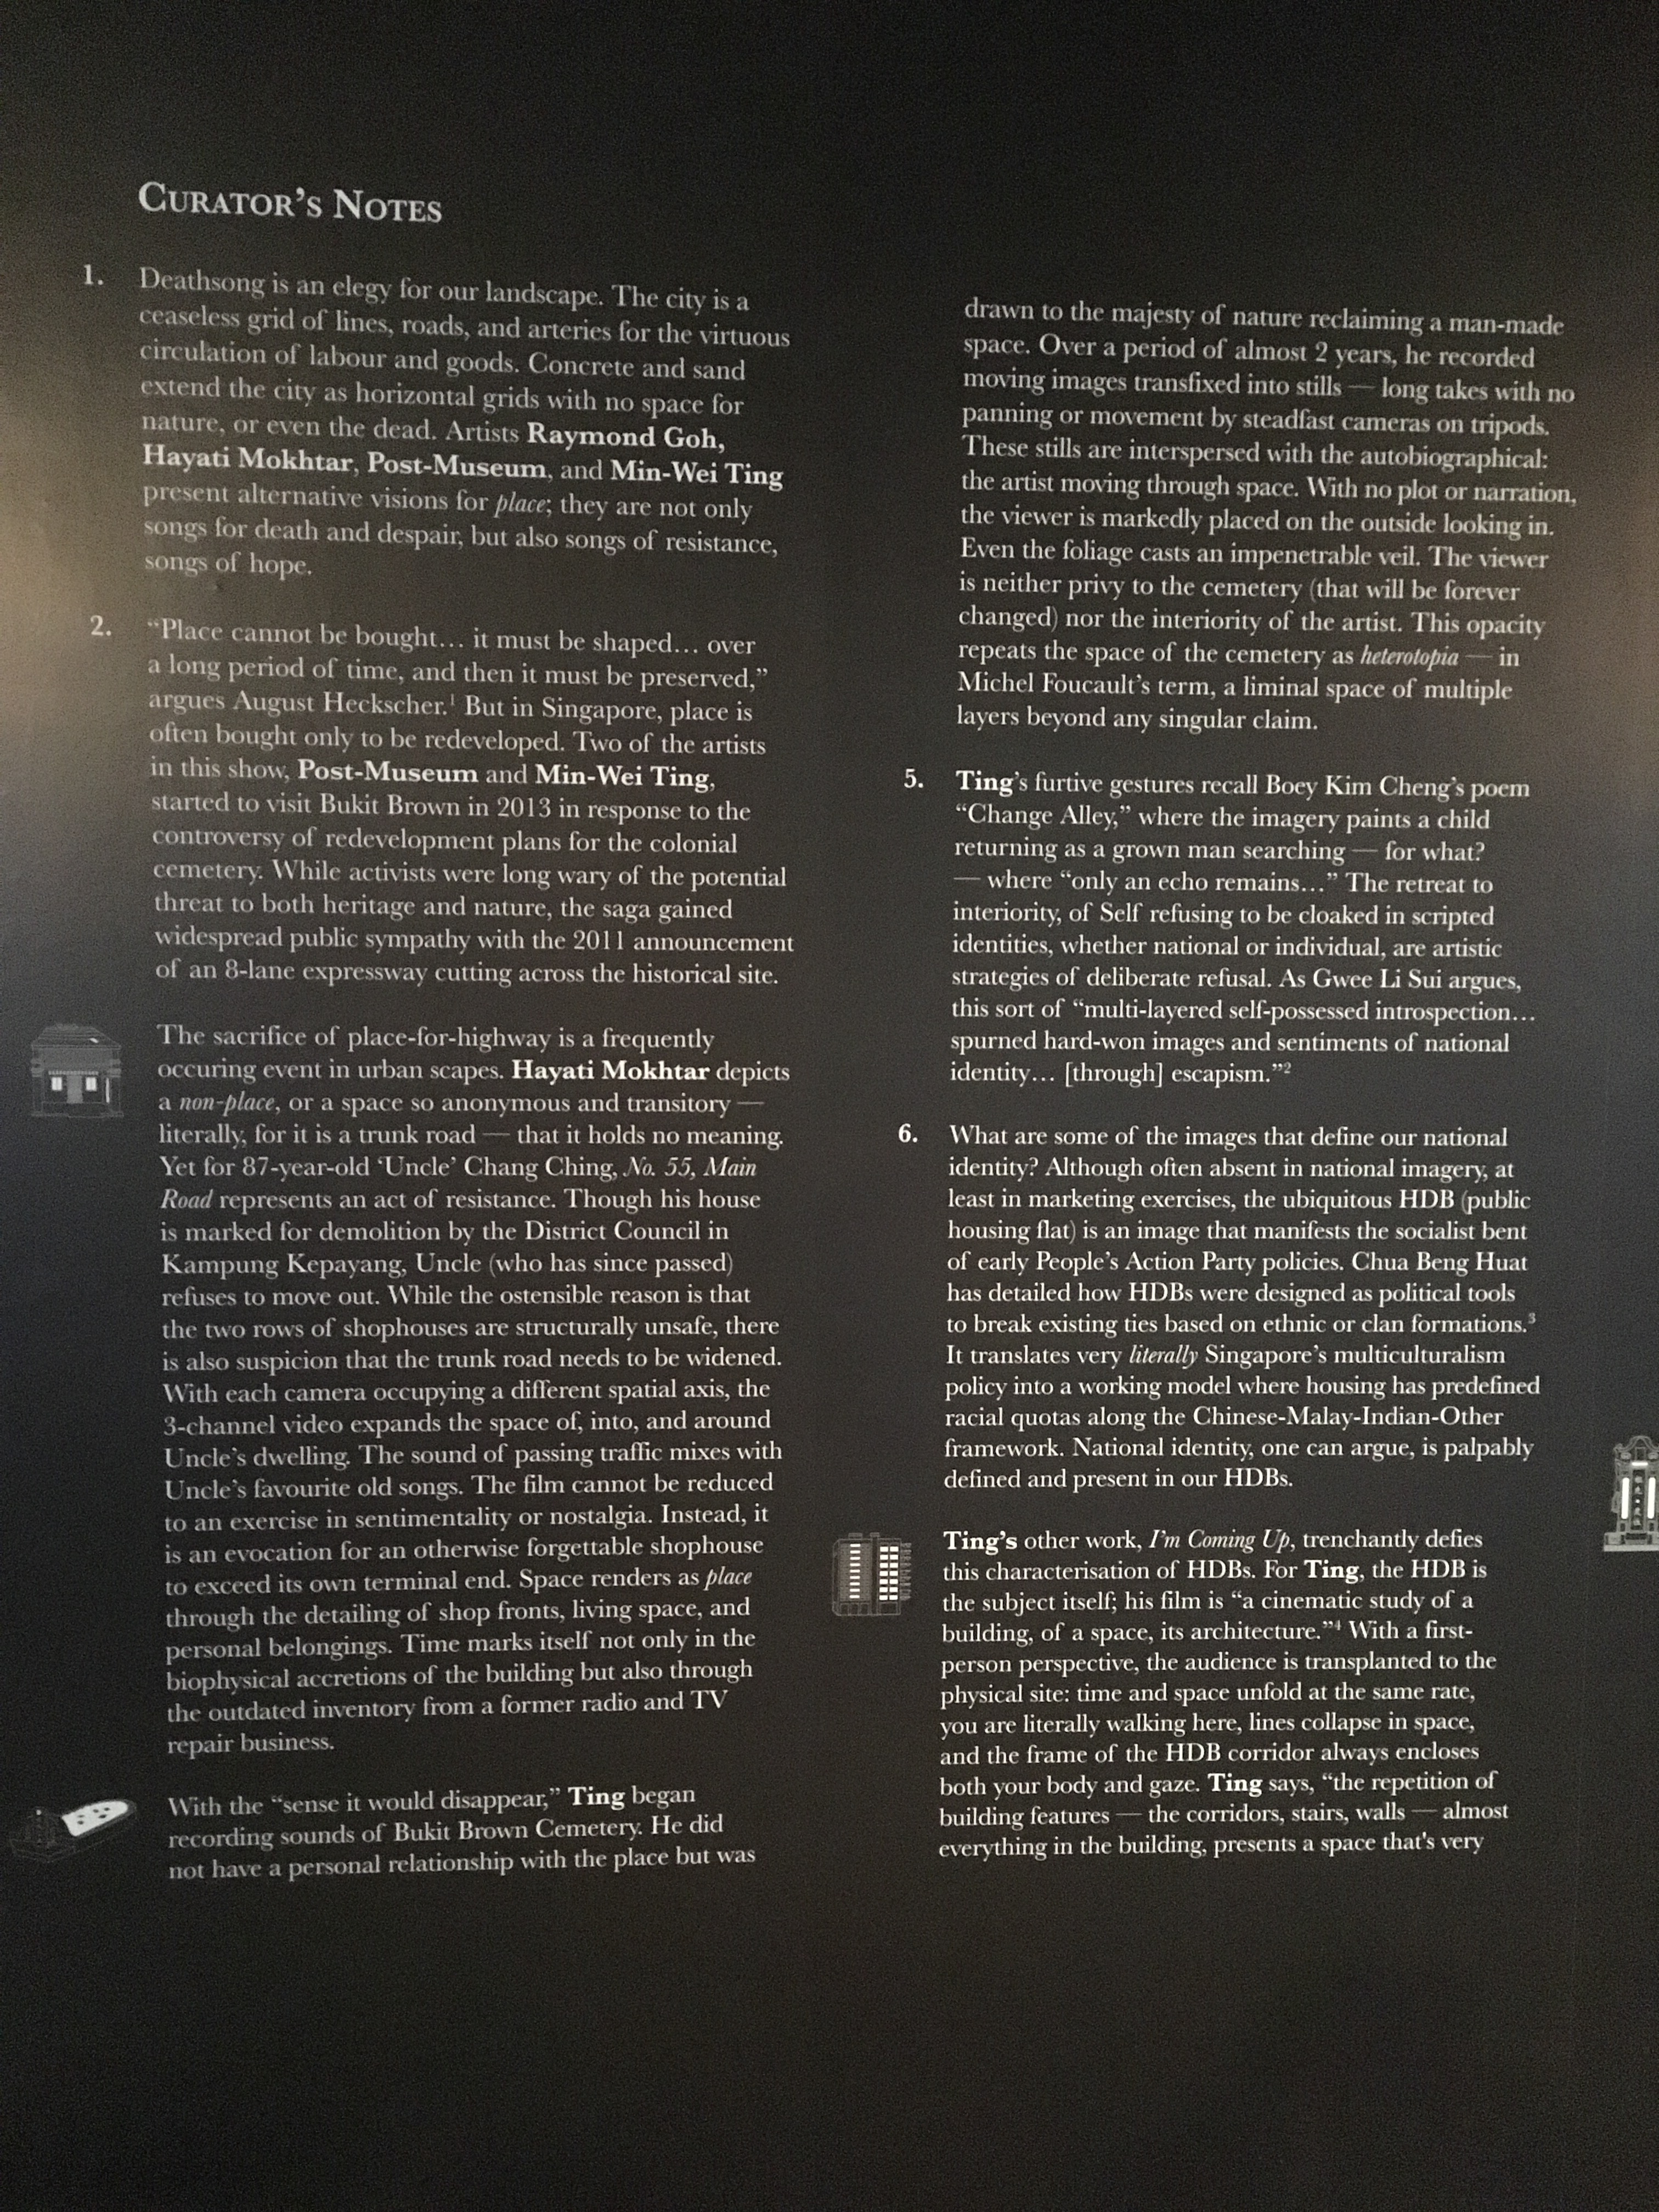
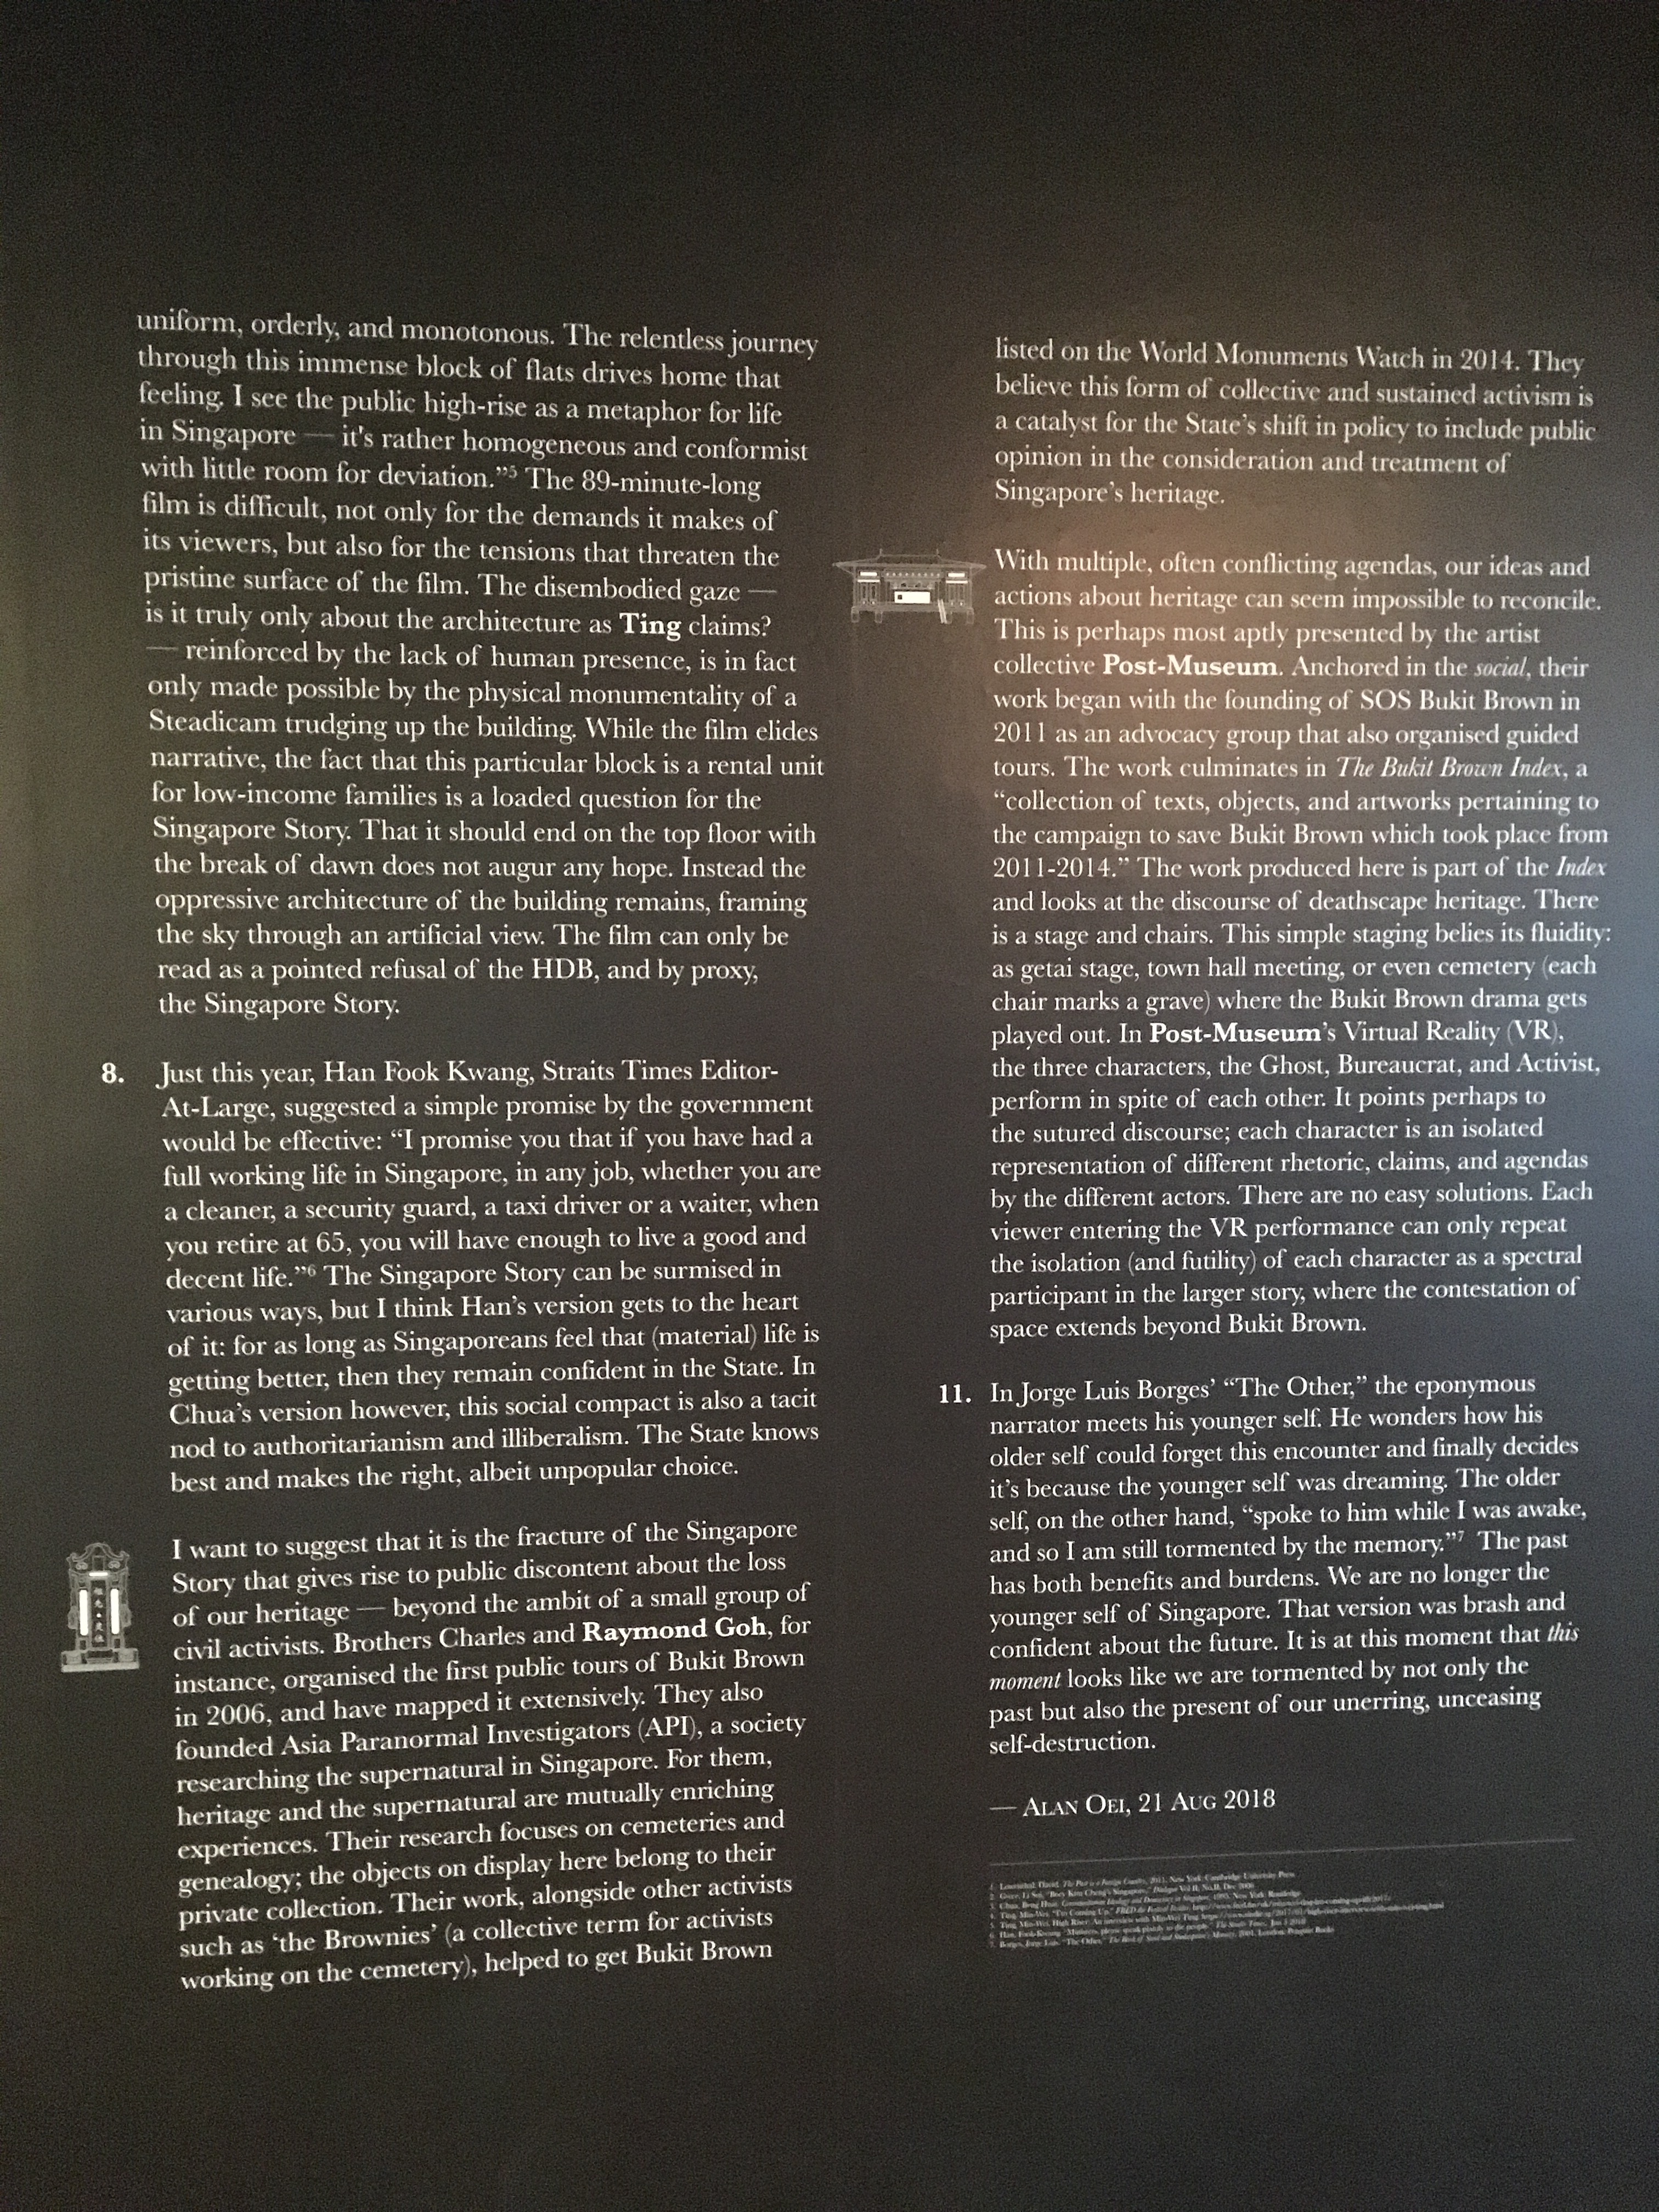
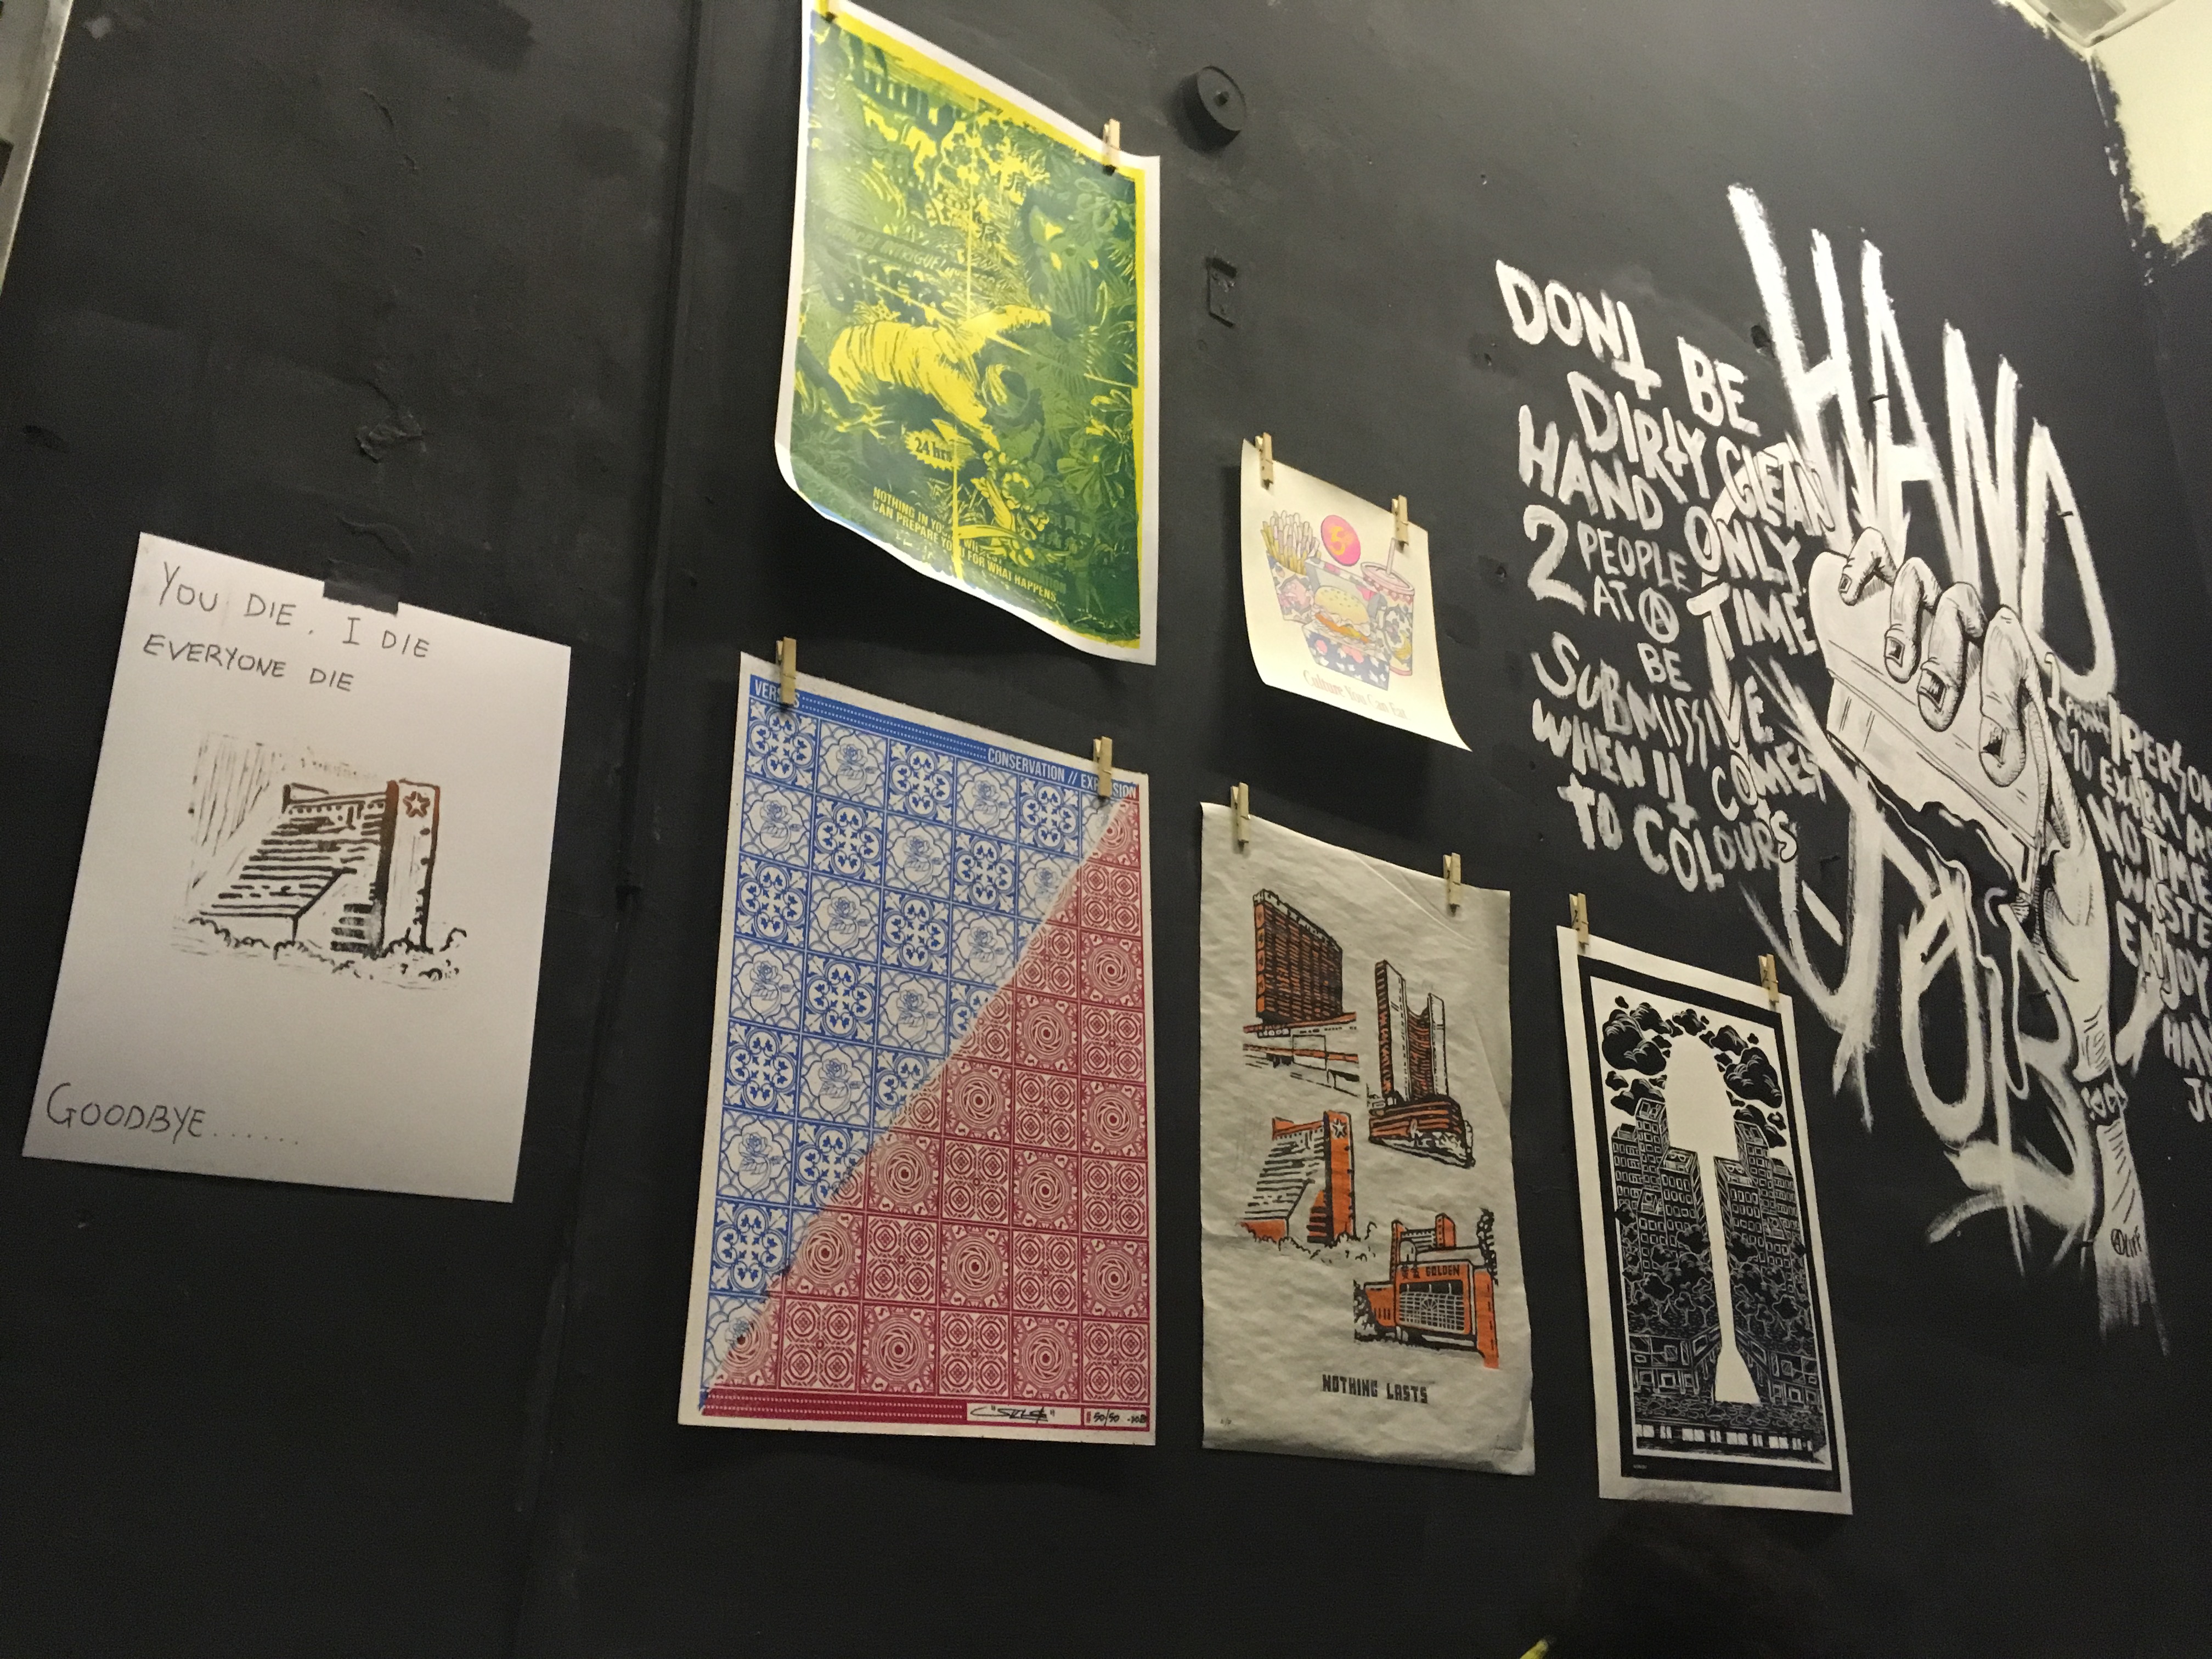
I recently had the chance to meet with the curator of an independent arts space to talk about curation and the technical details of exhibition making. The exhibition being shown when we met dealt with the notion of conservation – about Singapore’s ceaseless march towards upgrading, redevelopment, progress, and its subsequent failure to preserve spaces; how such losses are woven into wider sociocultural discourses on the production/instrumentalisation of heritage, national identity, and nostalgia. The show had a heavy emphasis on new media works, involving 3 video works and a VR installation.
Our interactions took the form of a curatorial workshop – he posed me the question of how I would curate the show myself, with a particular focus on reformulating the existing elements of the show to improve the exhibition experience. The main tools in exhibition making are as follows –
Tools:
Wall text
Labels
Lighting
Media equipment (projectors, screens, speakers)
Wiring
Design
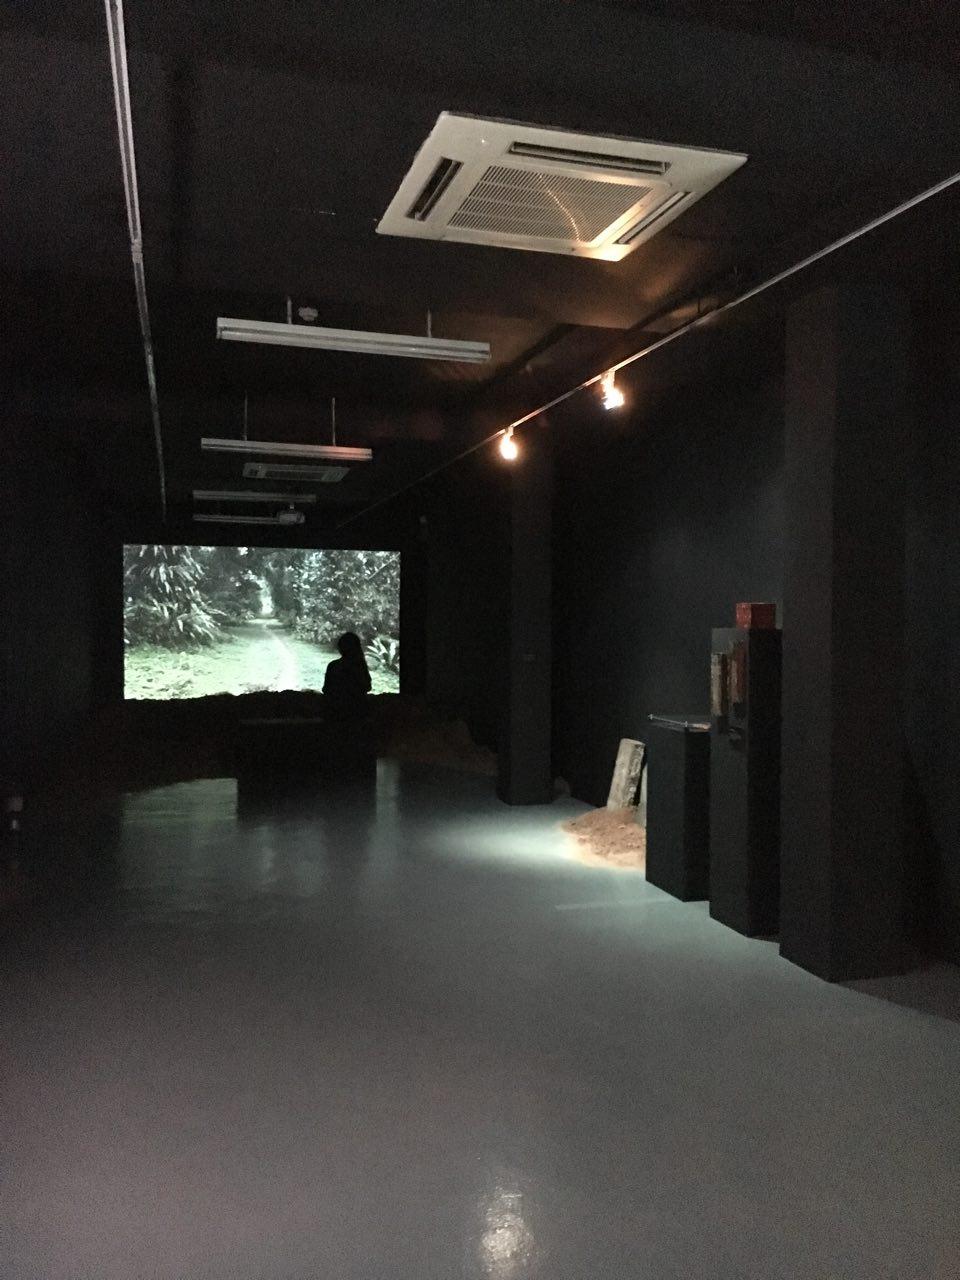
Worksite — Gallery:
First, I went through the exhibition myself, examining the worksite of the gallery space and taking note of these elements.
Visitors would enter the glass doors of the gallery to be confronted by a darkened gallery filled with soil brought over from Bukit Brown cemetery, talismans and gravestones from Bukit Brown peeking out from the dirt. Positioned over these piles of dirt were the video works – an erected screen with projection would greet the visitor on the right, and inscribed on a lit-up section of the wall was an essay – the curator’s notes for the show.
He explained that the essay would frame the entire show from the beginning and reduce the need to light up other sections in the gallery for additional labels, contributing to the atmosphere of the gallery. Text, he said, often served as anchor points for visitors in exhibitions. Having the main text at the beginning encouraged the viewer to circulate the space and revisit works and the text to make full sense of the exhibition.
The next work was a triptych of screens lined against the wall. He pointed out the wiring of the screens, which is an important consideration in exhibitions — how the wiring of components can be tucked away or made as unobtrusive as possible. He also expressed his wish for better installation of sound equipment for this video work, explaining the choice of screens instead of projections (the other two works in the room were already large projections, thus the need to scale down this work).
He also pointed out the horizontality of the work with its tracking camera movements, which encouraged the flow of visitors through the space and gave the exhibition a sense of directional quality.
Objects such as tombstones and talismans were on display with labels. He explained the use of objects being interspersed with artworks as just an interesting point of contrast/interaction, whether materially or conceptually. He talked about the use of spotlights instead of profile-cut, shaped lights, and how distance and position of lights can be played with to light an object well.
The final video work sat above another mound of dirt. Here, a chair was placed for viewers to sit. The curator talked about the chair as a means of allowing the viewer to linger for a longer period of time to appreciate a work, also talking about the silhouette it produces when a visitor sits in front of the large projection. Other considerations, such as painting the wall or fabricating a scrim to the specific aspect ratio of the video work were talked about when installing a projection.
Workshopping
We then sat down to talk about how I would have curated the show instead, given the earlier tools described. After considering everything, I sketched out a new layout within my notes:
The exhibition layout I planned didn’t change so much — I did think of, however, the following changes:
Sectioning the wall text better so it spatially corroborated with the works on display
Bringing out artefacts towards the centre of the room and scattering them out more so that not all works are wall-based
Switching the wall on which the triptych work was presented, such that there was a more immediate visual flow for the audience, bringing the screens down from the wall and placing them with the dirt for a more affective quality. Also, providing chairs such that people could linger with this work more as well.
Bringing the dirt more towards the centre of the gallery such that visitors would have a more visceral experience of walking through dirt to sit down and view the final video work.
Overall, some of the challenges one faces are:
Poor sound quality/acoustics in galleries
Technical limitations — what lights, equipment do you have available?
Working with artists produces a different outcome each time, must be able to build relationships and adapt
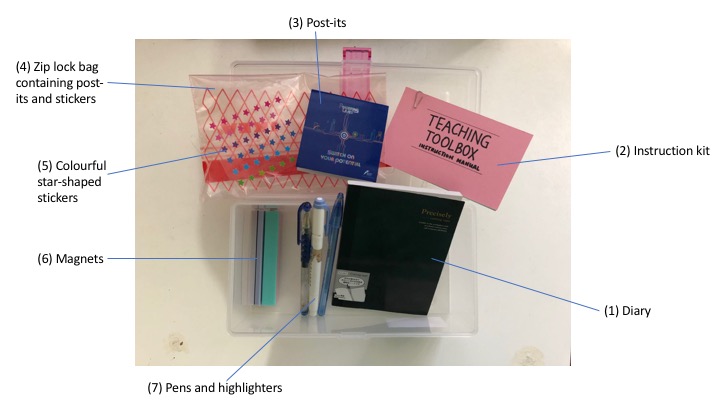
For this assignment, I wanted to design a convenient and portable tool for pre-school teachers to store their teaching materials. Thus, I used a toolbox my cultural probe kit as it can also double as a toolbox for them to use and carry around in between lessons. The subsequent segments of this post will explain the contents of the cultural probe, tasks for the teachers, as well as my findings and personal evaluation.
Top view of cultural probe kit
Contents
I used a transparent toolbox to hold the contents of the kit so that the teachers can easily locate the materials they need during lessons. Also, during my trip to the pre-school centre previously, I learnt that the teachers used baskets to store their writing materials. It was quite inconvenient for them as there were no handles for them to grip on to when they carried it around. Thus, I decided to use a toolbox with a handle for my cultural probe. My cultural probe kit includes the following items:
Fig 1: Contents of cultural probe kit (with labels)
Unfortunately, I could not include any cameras or electronic devices in the kit because I was told that the use of electronic devices is strictly prohibited in classrooms because electronic devices can distract the children and divert their attention away from the lesson.
Explanation of contents and tasks
My cultural probe kit included an instruction manual as follows:
Cover pagePage 1: Introduction
Instructions
Page 2: Brief instructions
Page 2 of the instruction manual includes some brief instructions that they should follow:
1. They should use the toolbox for one full day at the pre-school and use it to store their teaching materials. 2. Prompts them to refer to pages 3 and 4 for more instructions on the tasks they need to complete. 3. They can drop me a text message or call should they have any questions.
Task 1
Page 3: Instructions for task 1
The teachers will find the instructions for task 1 on page 3 of the instruction manual. On the left, there is a box indicating the materials they need from the kit to complete the task. For task 1, the teachers are required to record the following in the (1) diary using the (7) pens and highlighters provided after every lesson (refer to fig 1):
1. Describe your new experience with the toolbox. 2. Pen down and pros and cons of the toolbox, if any. 3. Pen down your thoughts and emotions during the lesson. 4. Include the date and lesson at the top of each journal entry.
Rationale for task 1: To understand their day-to-day schedules better, and how the toolbox improved/ hindered their teaching experience.
Task 2
Page 4: Instructions for task 2
The teachers will then find the instructions for task 2 on page 4 of the instruction manual. There is a box indicating the materials they need from the kit to complete the task. For task 2, the teachers are required to complete the following at the end of the day:
1. Rate your day out of 5 with the (5) colourful star-shaped stickers provided. Paste the stickers on the (3) post-its provided. 2. Explain briefly on the same (3) post-it why you rated your day as such. 3. Stick the (3) post-it on the back of the diary entries for that day.
Rationale for task 1: To understand their day-to-day experiences better, and the difficulties they face at school, so that I can improve on the tool design.
Practitioner’s experience with the cultural probe
I only managed to get one teacher to use my probe for two full days. However, also managed to let two other teachers mingle with the cultural probe kit for a few minutes and collated their comments afterwards. Below are my findings.
Diary entry 1Diary entry 2
Although the instructions stated that the teacher had to write diary entries after every lesson, she could not do so due to time constraint. She explained that she needed to bring the children from one classroom to another in between lessons, and she only had time to write the diary entries during the children’s nap time from 2:00pm-3:00pm.
Post-it with ratings
As for the post-its, the teacher forgot to do it on the first day. Therefore, there was only one post-it, which was done on the second day.
Findings
Below are the overall pros and cons of the toolbox that I collated based on the findings from the participant as well as the two other teachers:
The teachers are listed down some suggestions for improvements as follows:
1. Can consider adding a longer strap to the toolbox so that the teacher can carry it around instead of holding the handle. 2. Can divide the toolbox into different sections i.e. top and bottom tiers so that the things will be more organised. 3. The toolbox’s buckle can be more secure. 4. Can perhaps use a translucent toolbox instead of a fully transparent one so that it will be less distracting for the children.
Personal evaluation
I should have paid more attention to the teacher’s busy schedules while designing their probes. For example, one diary entry per day would have been more ideal given their erratic schedules.
Initially, I wanted to use a toolbox with dividers i.e. top and bottom tiers. However, I could not find a toolbox with that design and thus settled with one without dividers, and it turned out to be a big problem pointed out by the teachers as well.
This cultural probe really allowed me to understand the day-to-day experiences of the teachers, and their responses gave me great insights on how I can improve on the tool as well.
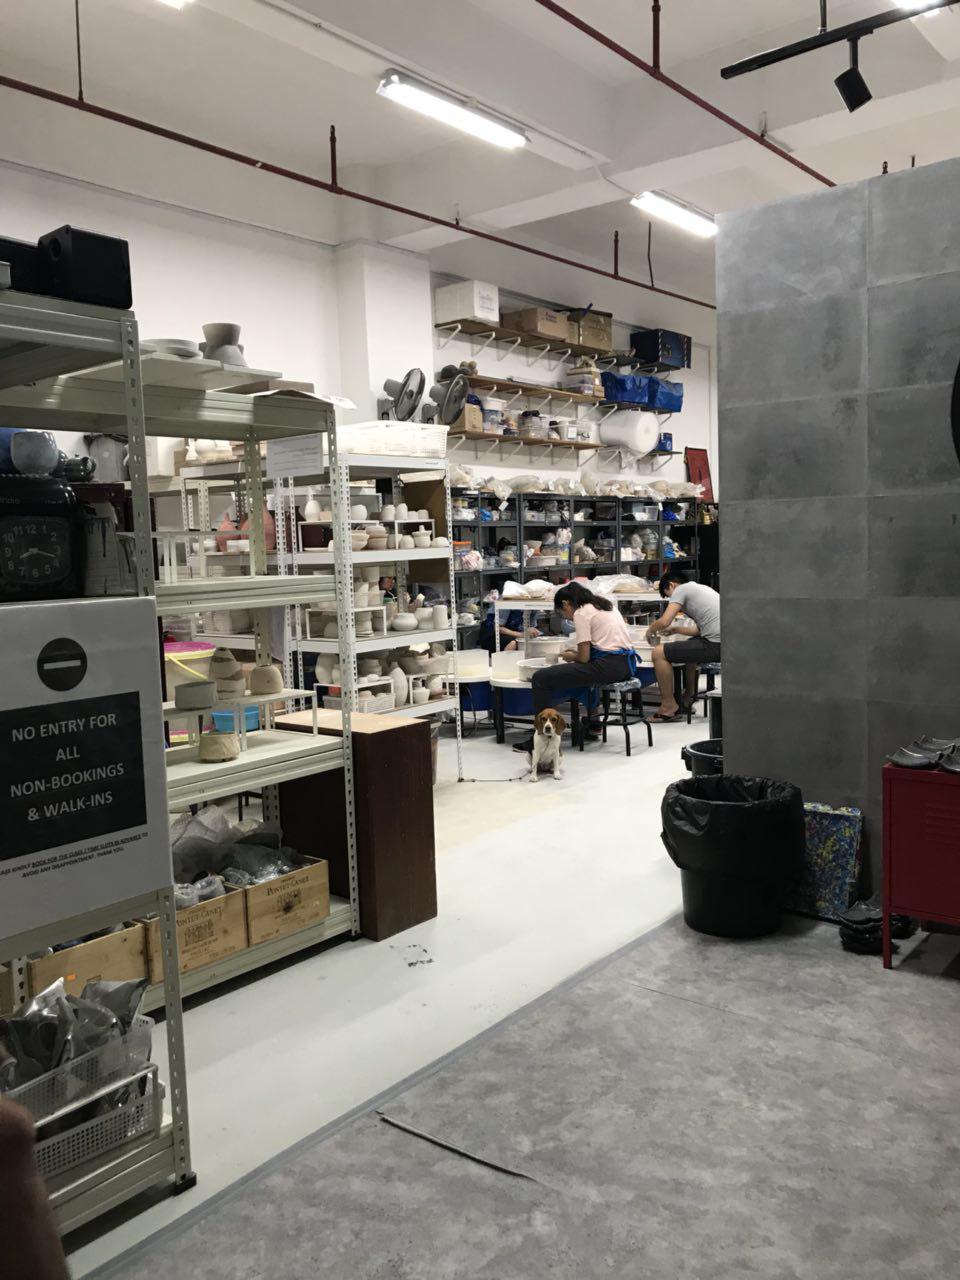
Ceramics and pottery have been around since the Neolithic period. Moving into the 21st century, it has definitely evolved into a much more refined form of art. The techniques, process and tools alike have also evolved to become more sophisticated. Additionally, the uses of ceramics/pottery pieces have also progressed from solely practical uses to artisan pieces.
Process Documentation
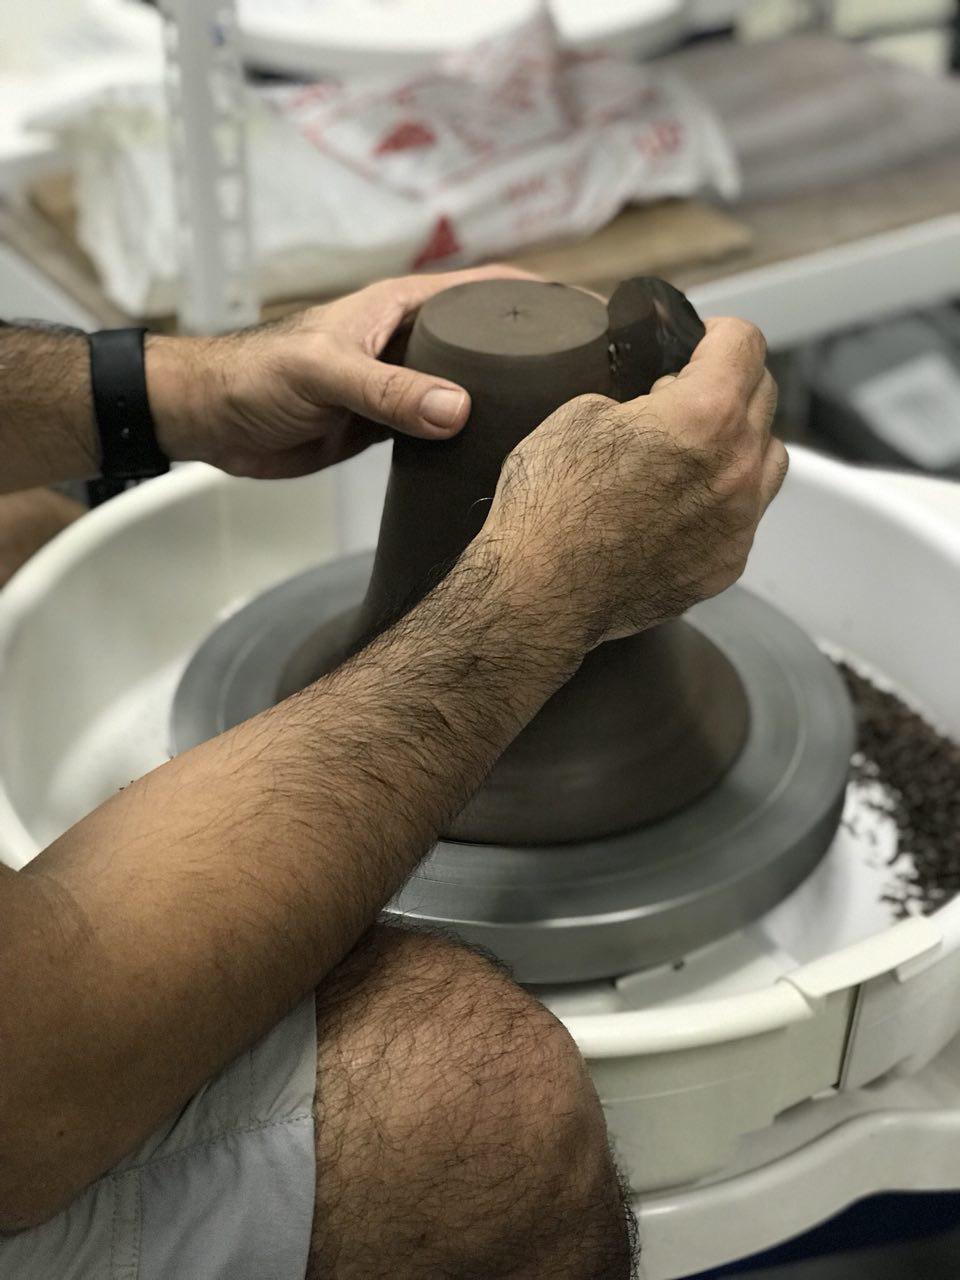
The practitioner I followed was giving a lesson that involves making wheel thrown ceramics.
Steps:
Wheelthrowing – this first step is using clay to create the shape that is desired.
Trimming is the second stage that Alvin (the practitioner) went in depth into explaining. This process is to transform the piece into different shapes and sizes and can also alter the texture.
When the trimming is complete, the third step would be allowing the piece to dry before it goes forbisque firing. Letting it set would allow the moisture in the clay to evaporate. At this stage, it would be bone dry.
The next step would be bisque firing. Here, the clay piece is put into the the film and the clay is dehydrated to prepare it for glazing.
Glazing (to add colour/texture to the piece)
Following this, it goes into the kiln again for a second fire before completion.
trimming
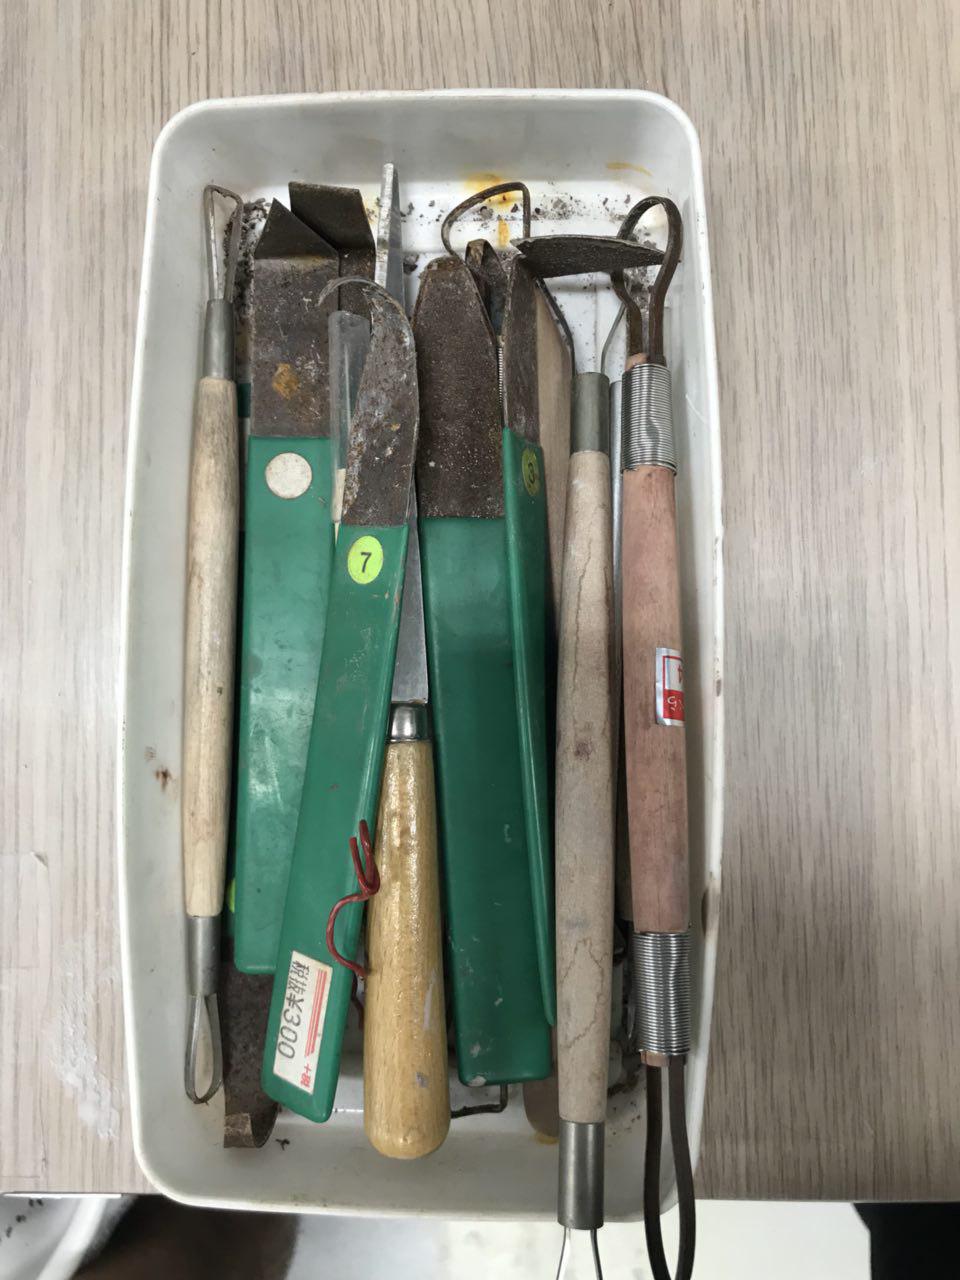
Tools Used
At Alvin’s workshop, he went into detail on step 2 which is trimming and here are the tools that are used at this step.
Ribbon Trimming tools
Hook Trimming tools
Scraper
Worksite Documentation
A ceramic artists’ workplace is definitely not portable. This is due to the high amount of heavy equipment that is used such as the pottery wheel and also the kiln. Additionally, to carry smaller yet bulky items like the glazes would be a hassle. The worksite also houses a large number of artwork both finished, in process and also the actual clay itself. The worksite also requires a water outlet and many power sockets to power the kiln and potter’s wheel.
Pain Points
At the worksite, there were other ceramic practitioners. They said that the difficulties of practicing ceramics in Singapore is that it is not a super affordable or accessible practice. Also, the transition from a newbie to a master takes many years and also a lot of patience. In the technical aspect, creating “successful” clay works also involves plenty of trial and error – what you expect may not always be what you get. For example, in the process of throwing, you may end up with another shape that you have not anticipated. Or when you glaze, the colour and texture might be different after coming out from the kiln. Also, precision and steady hands are needed while doing refinement works like trimming. This is difficult and only comes with hours of practice.
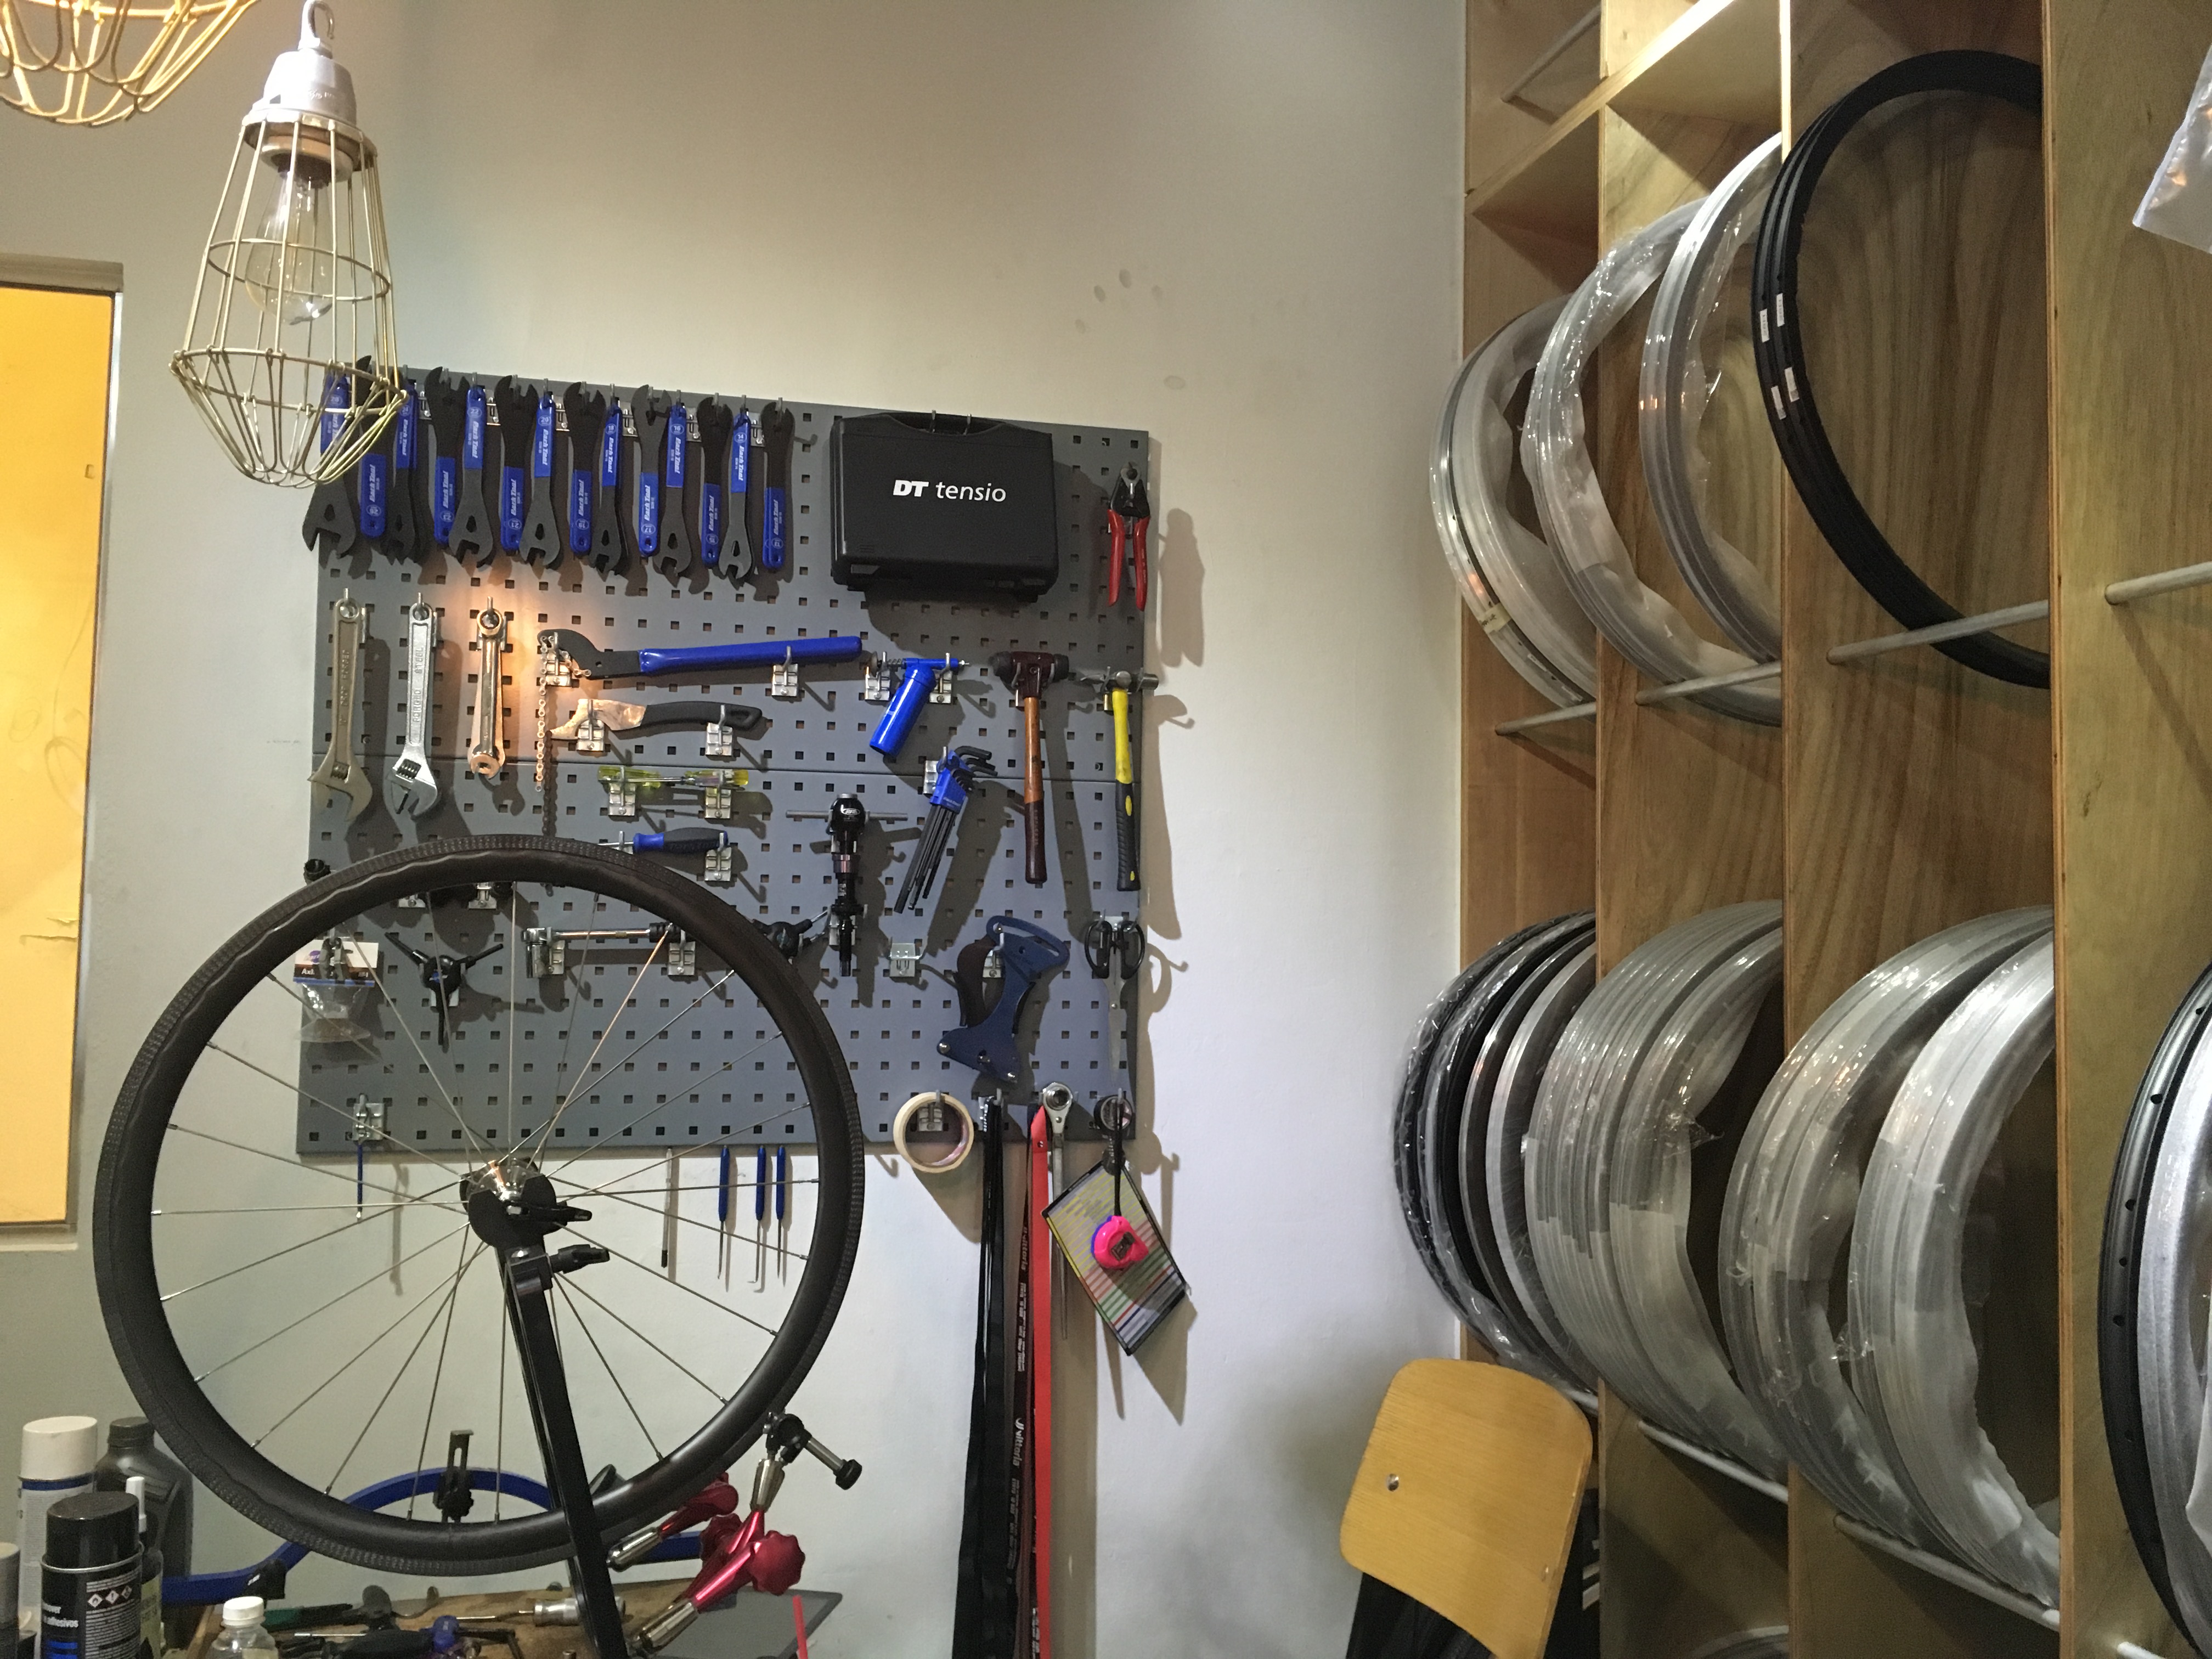
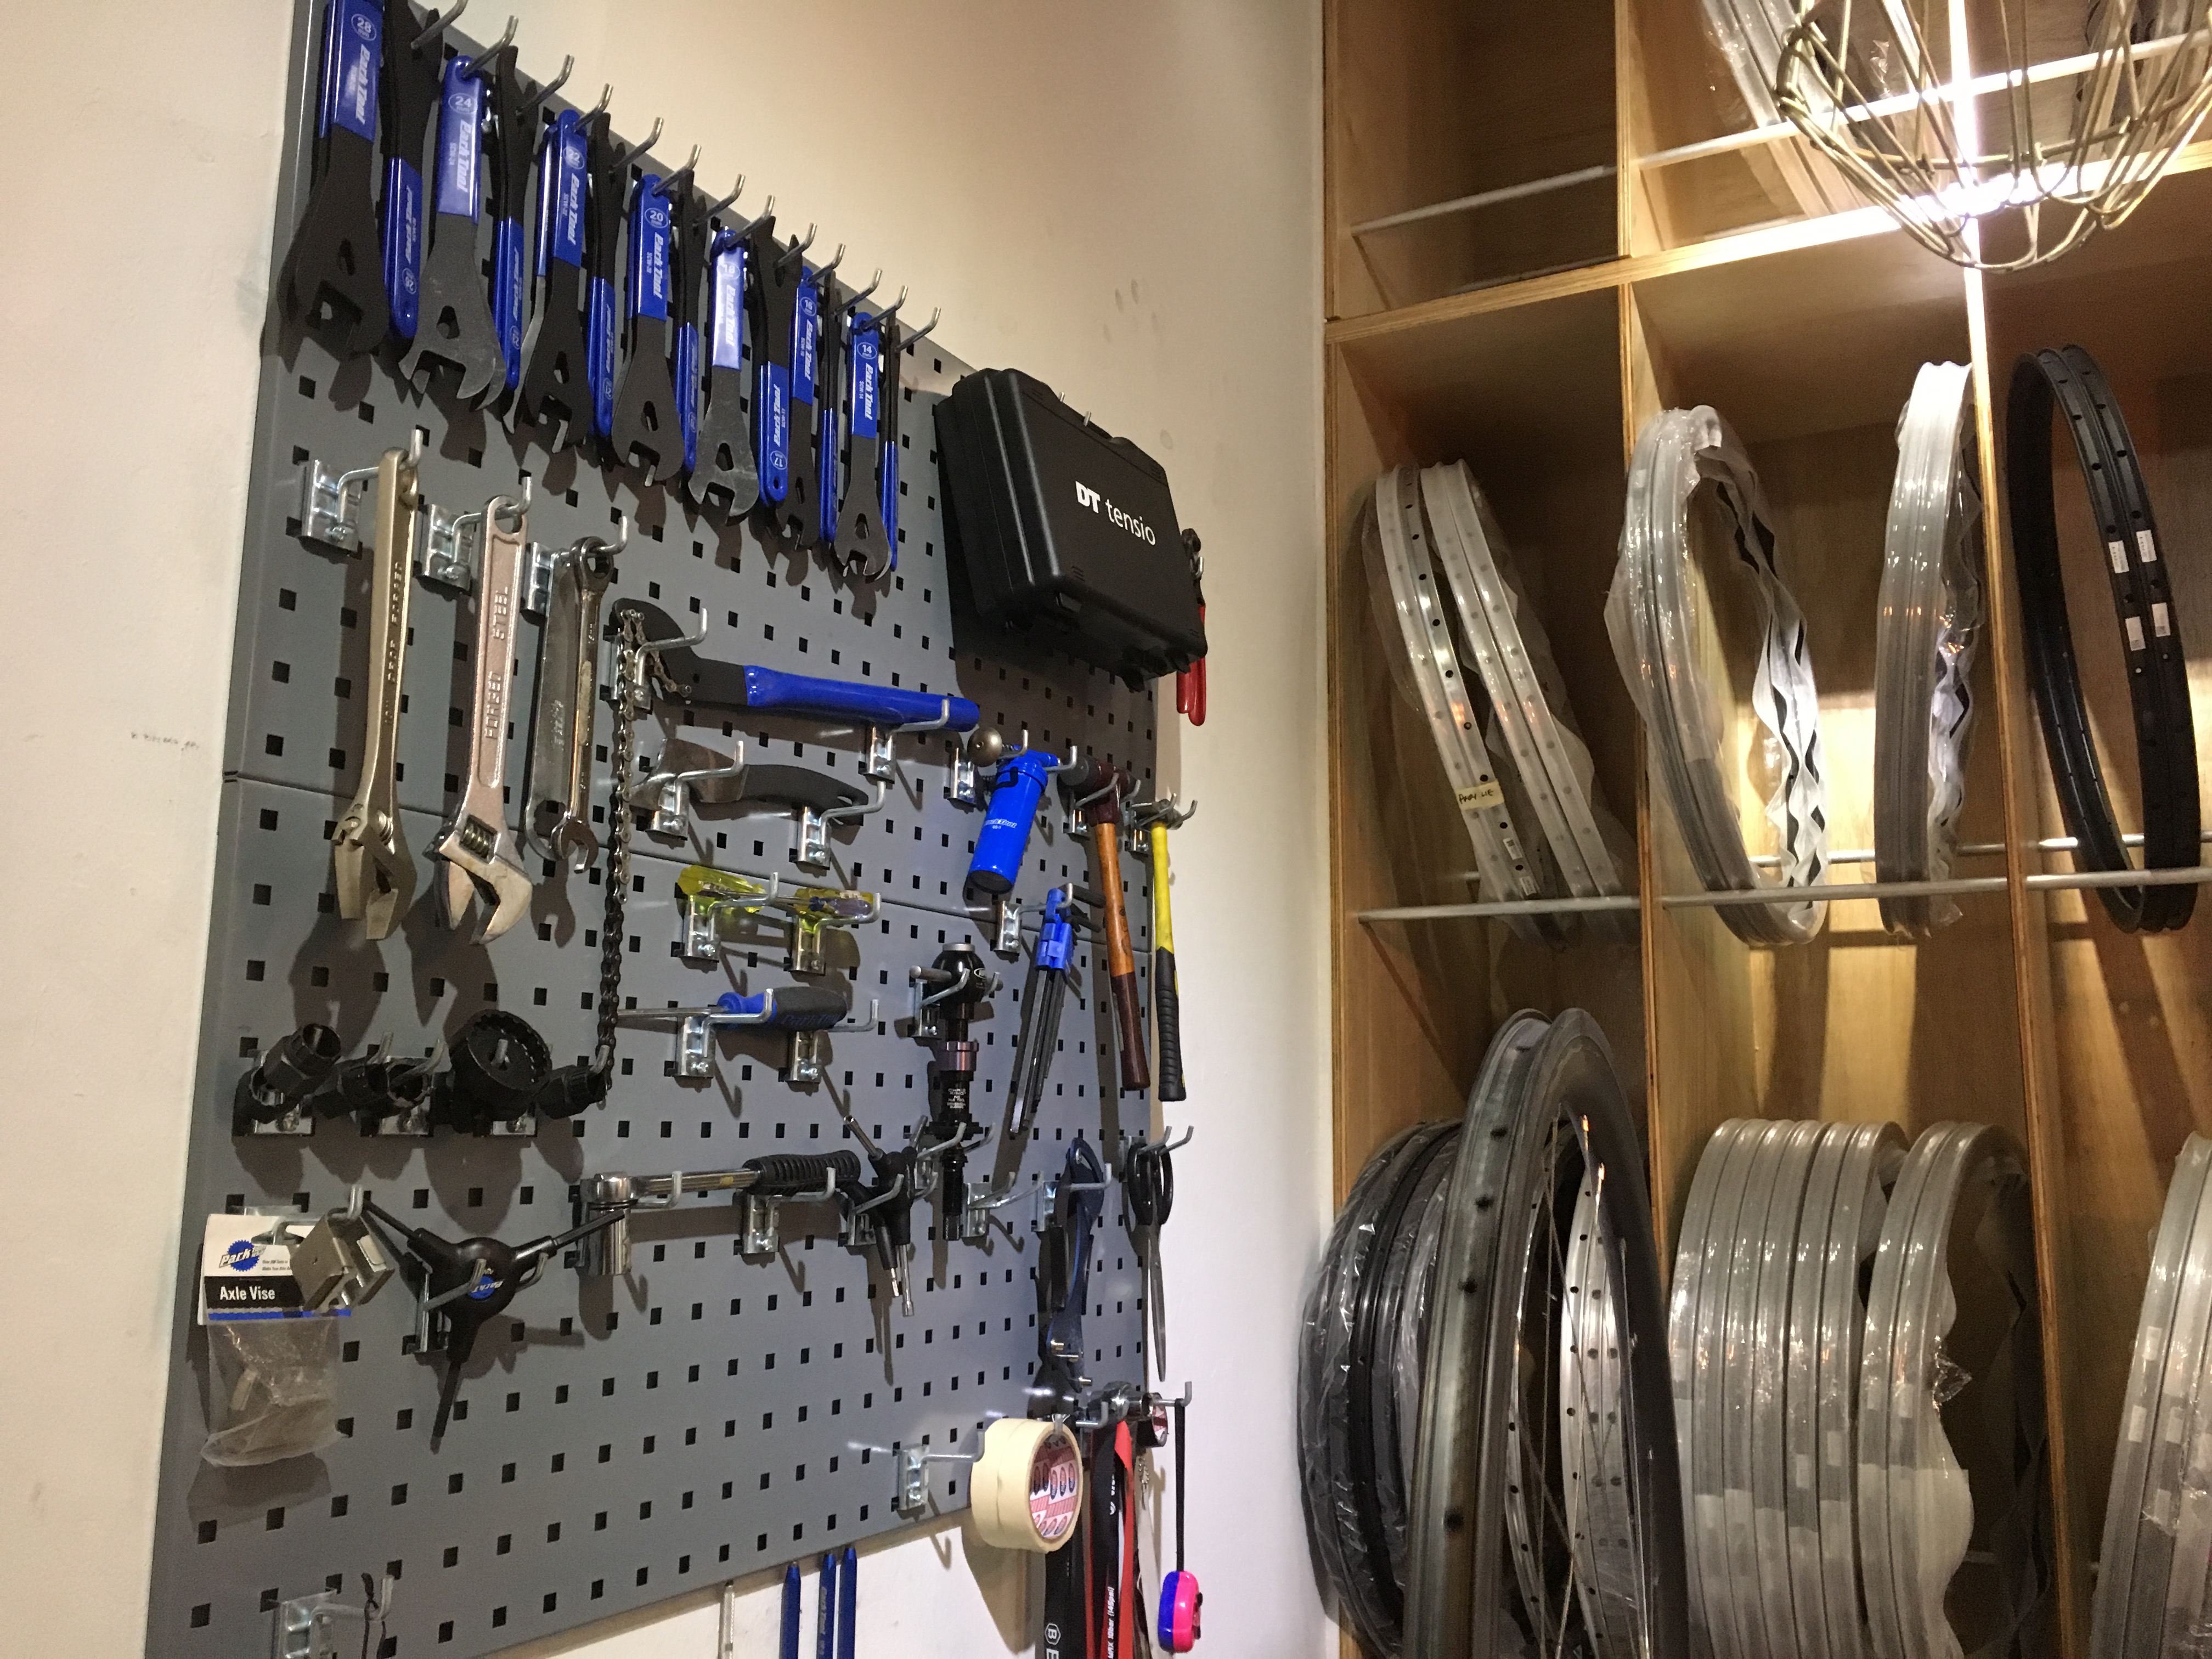
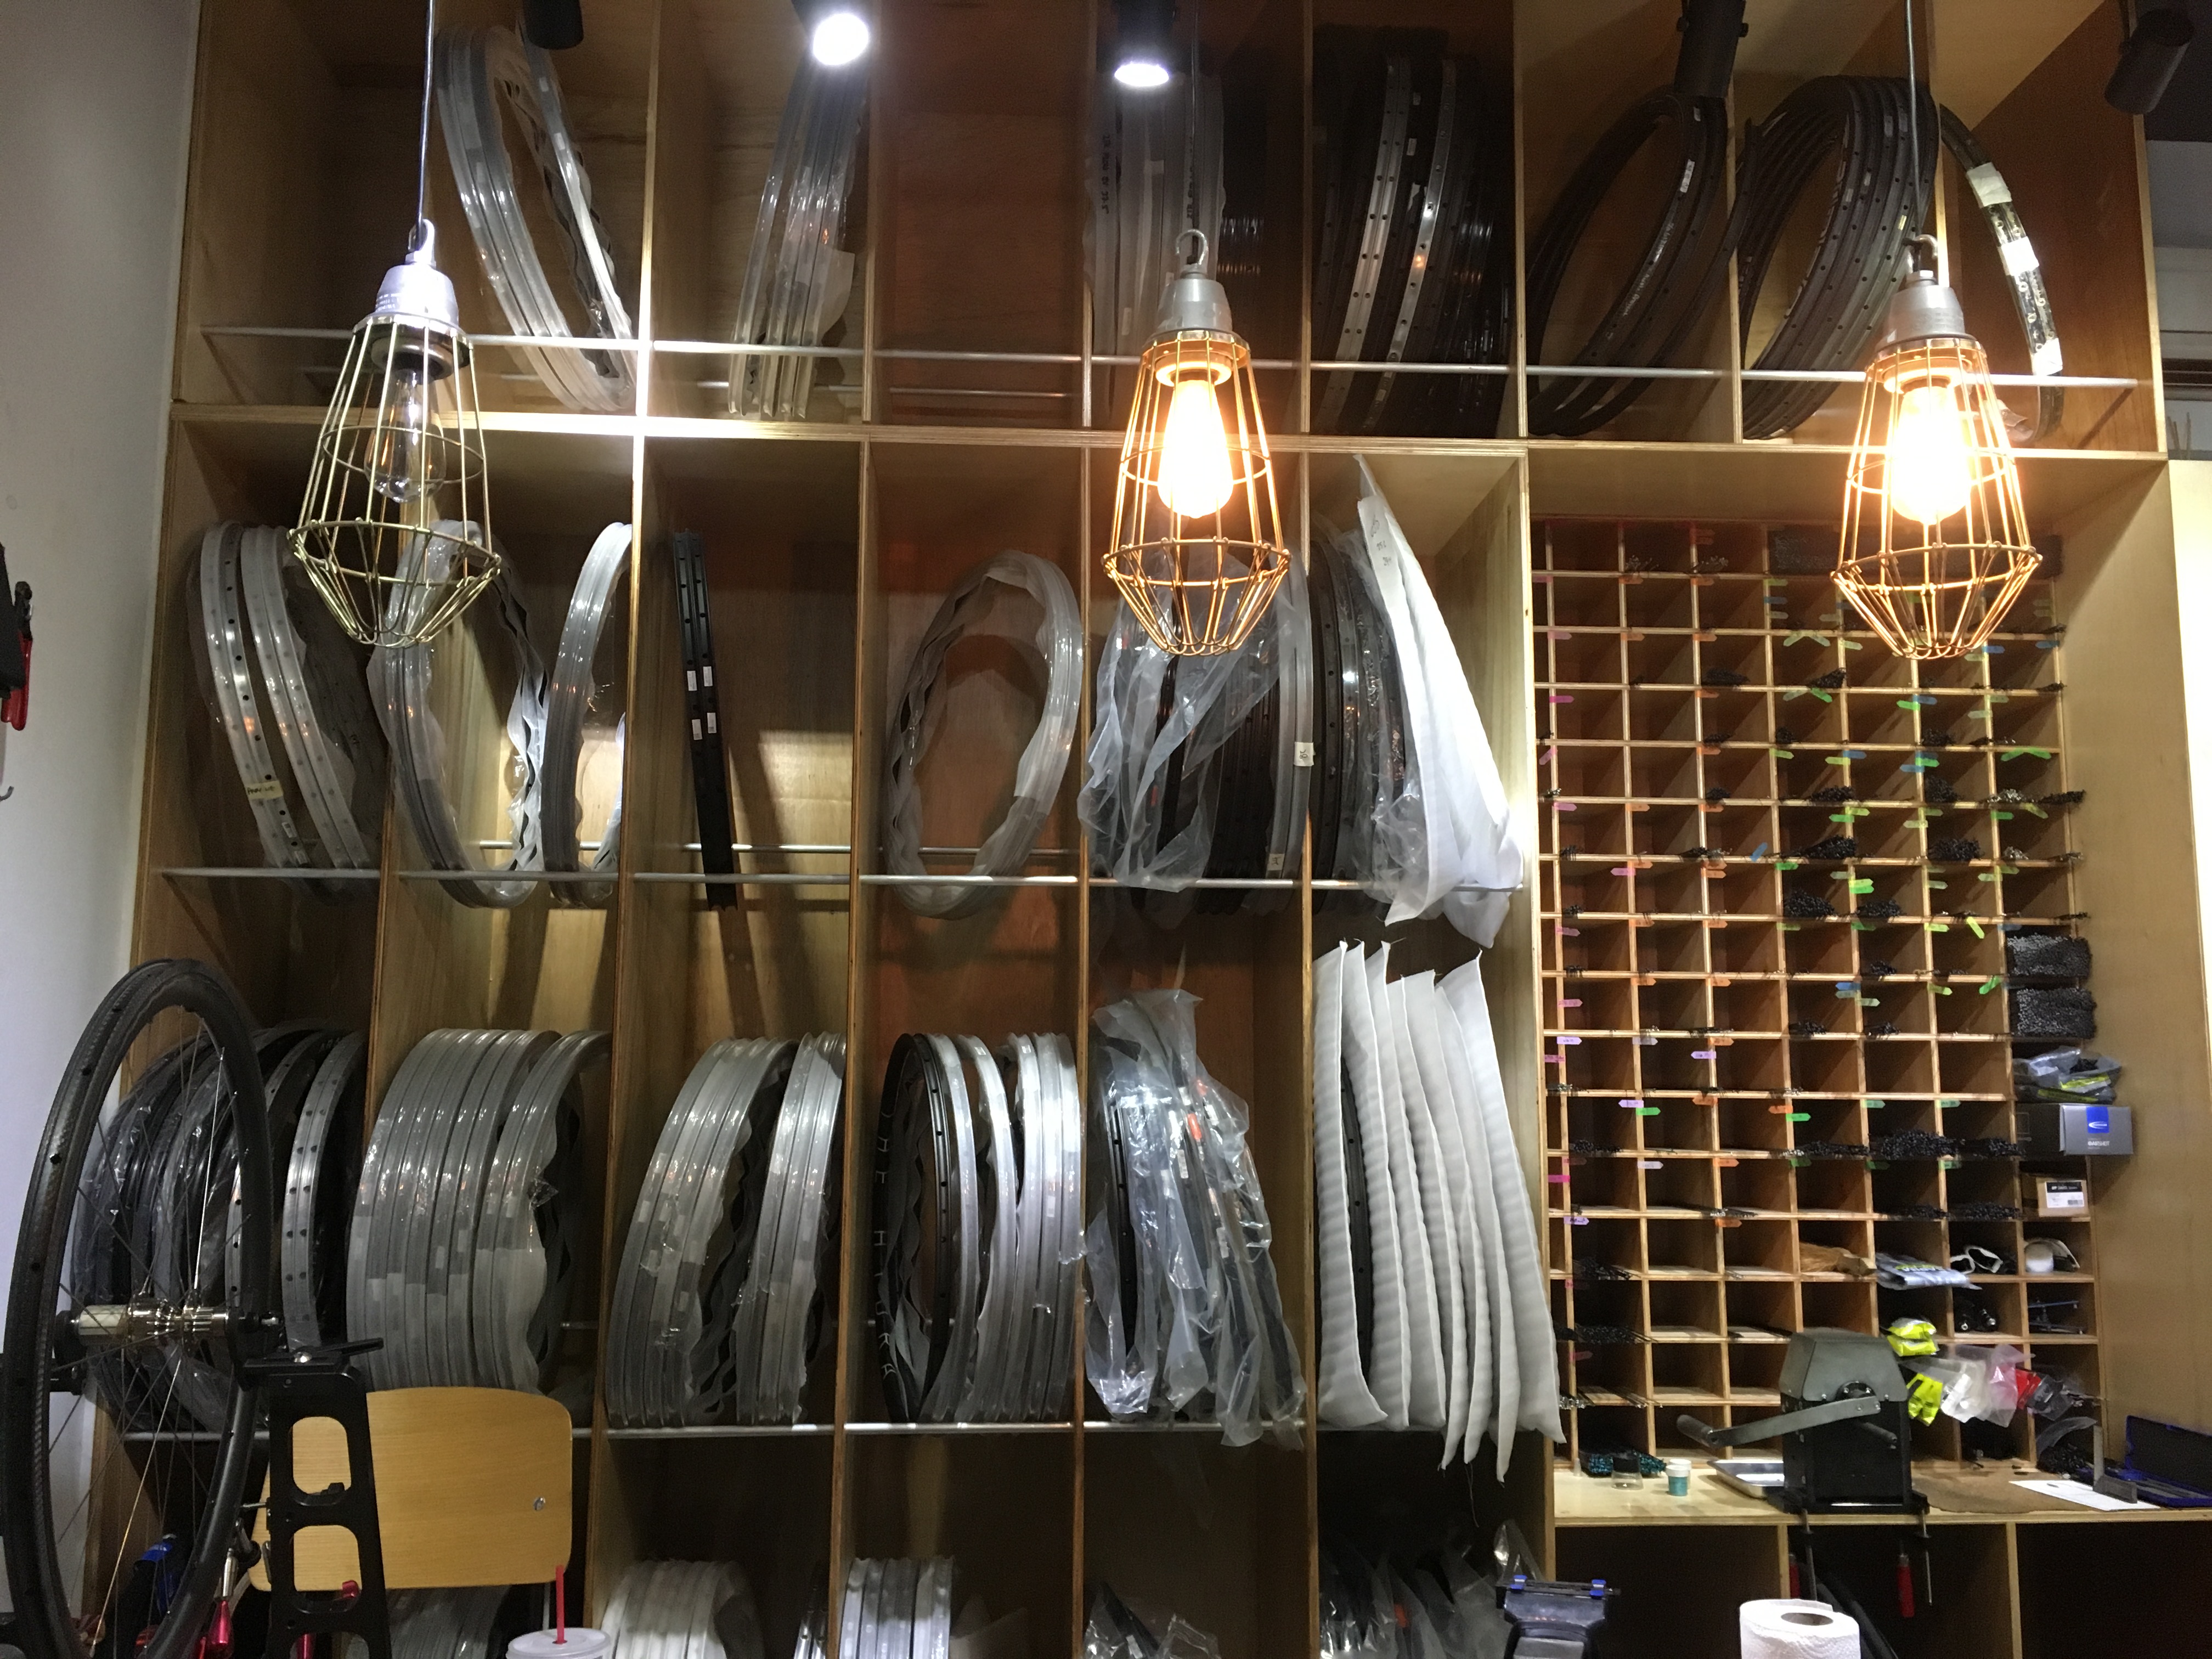
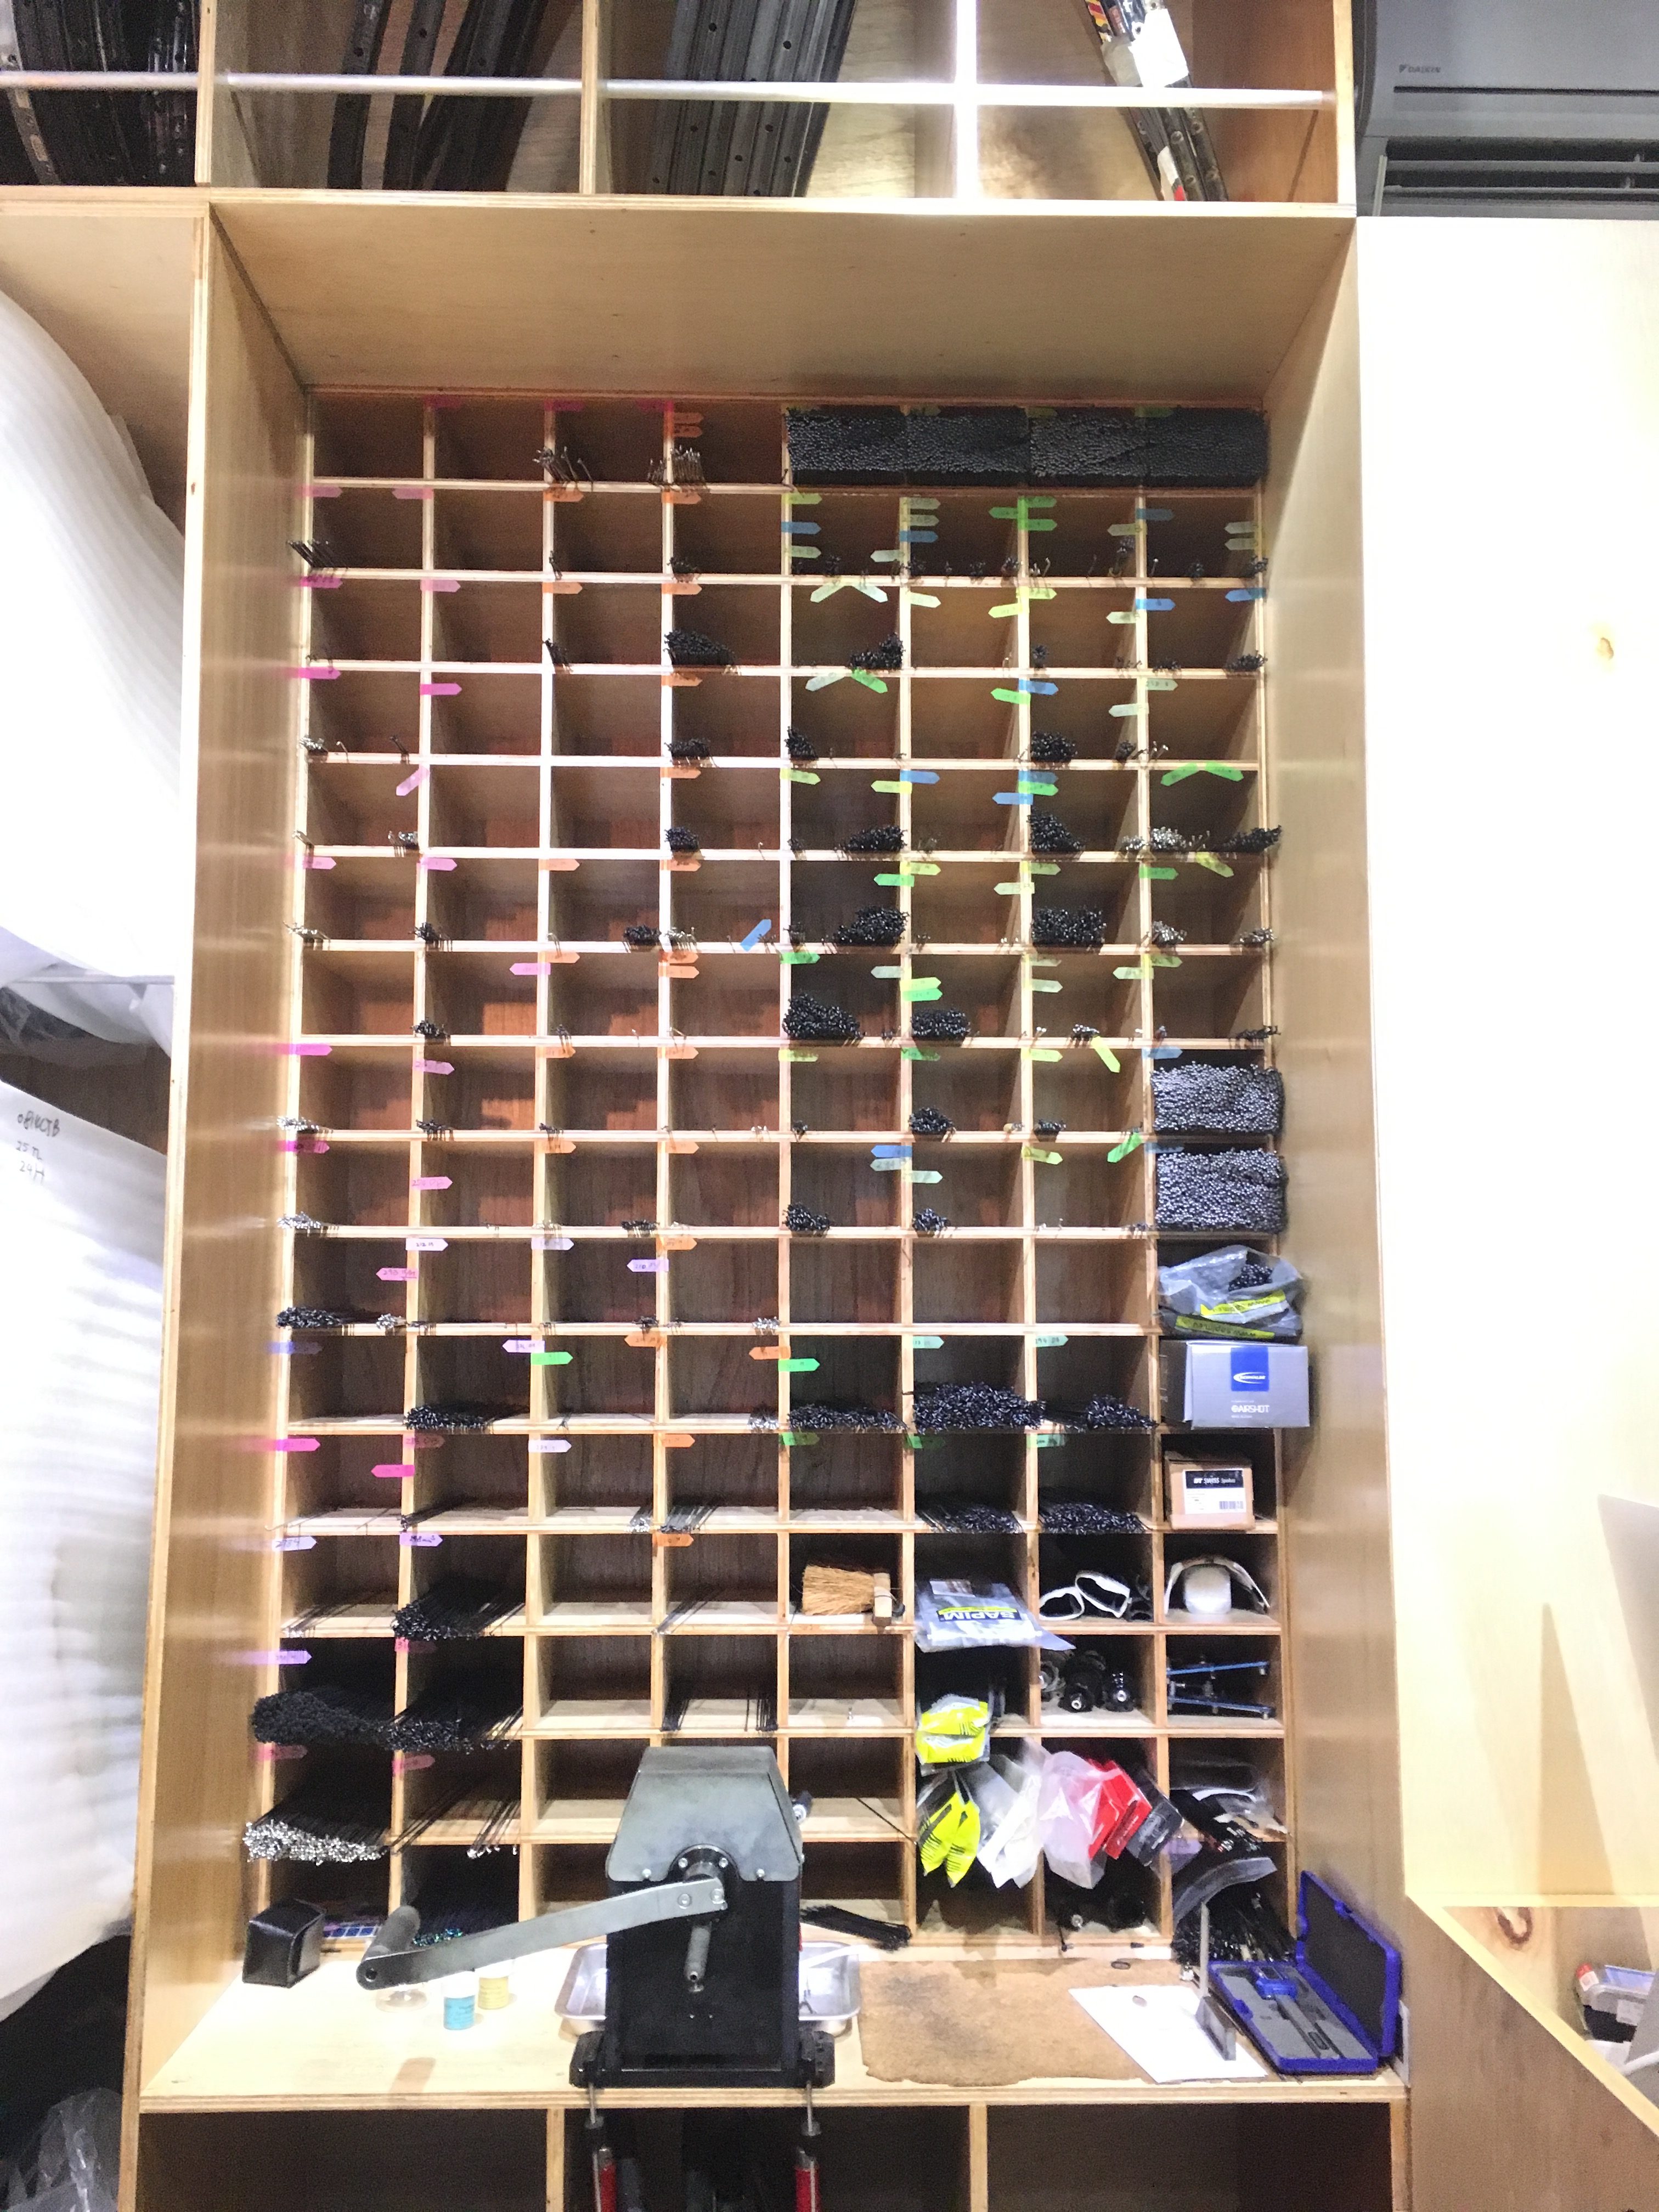
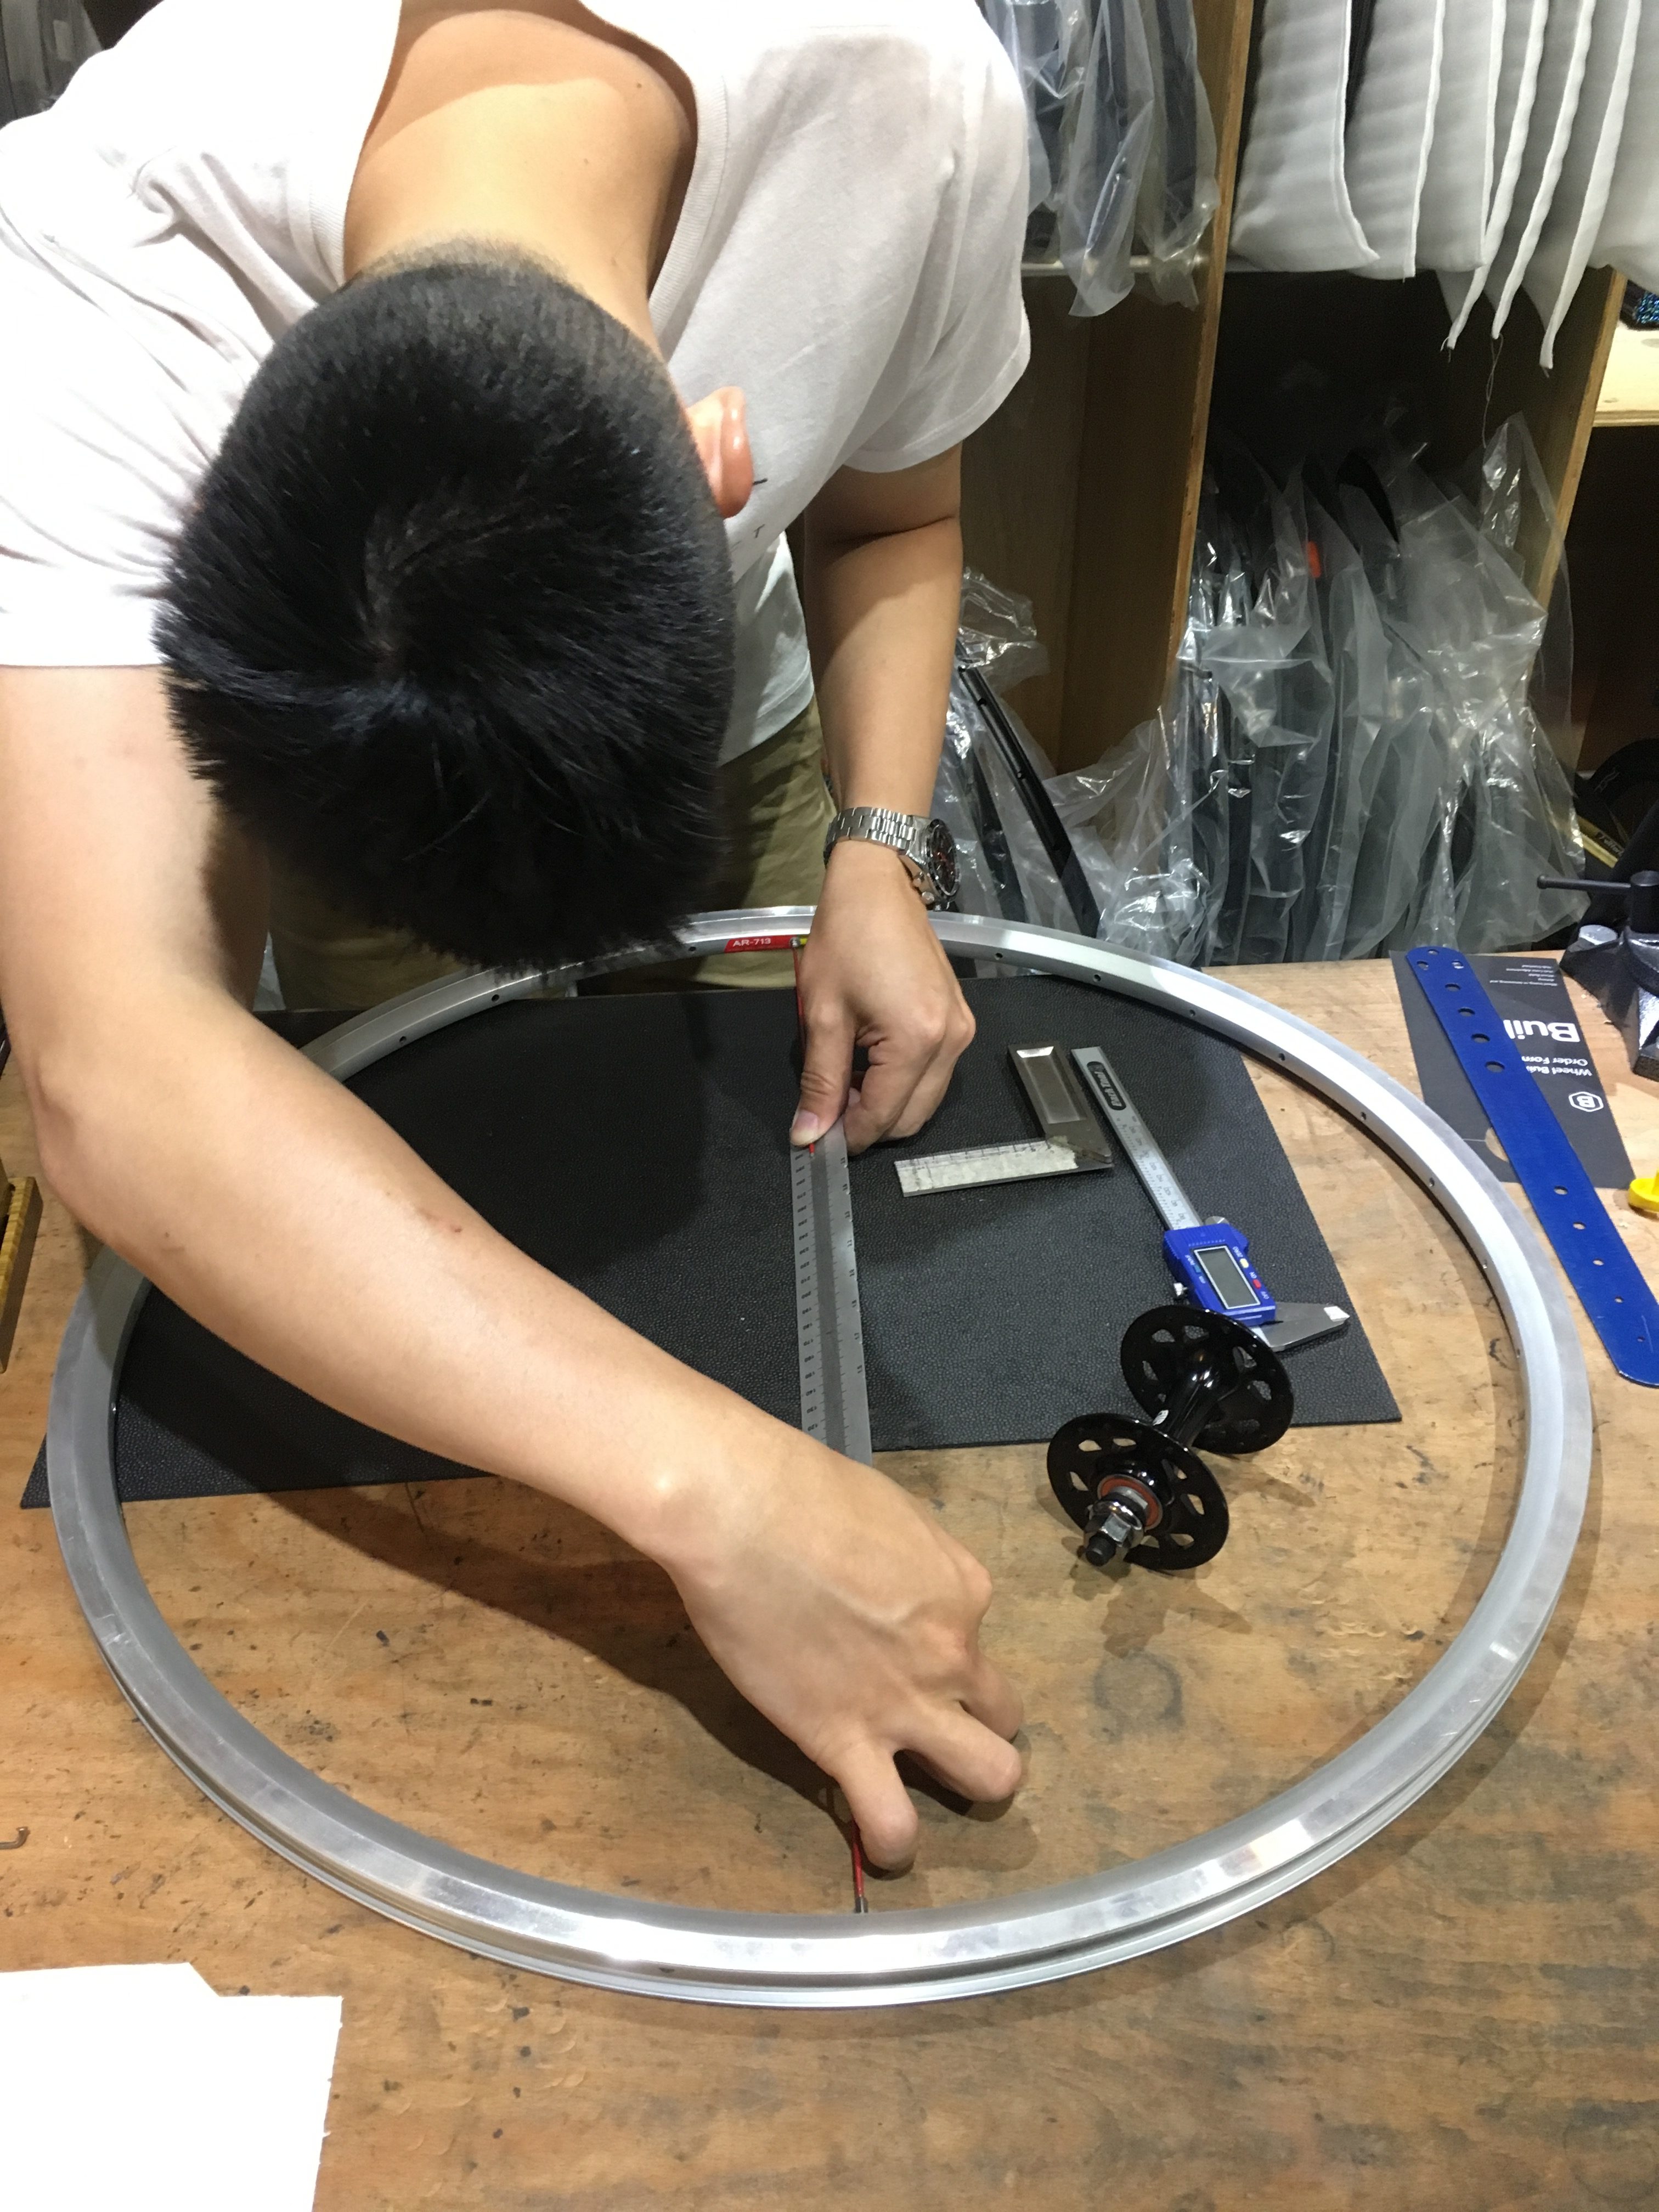
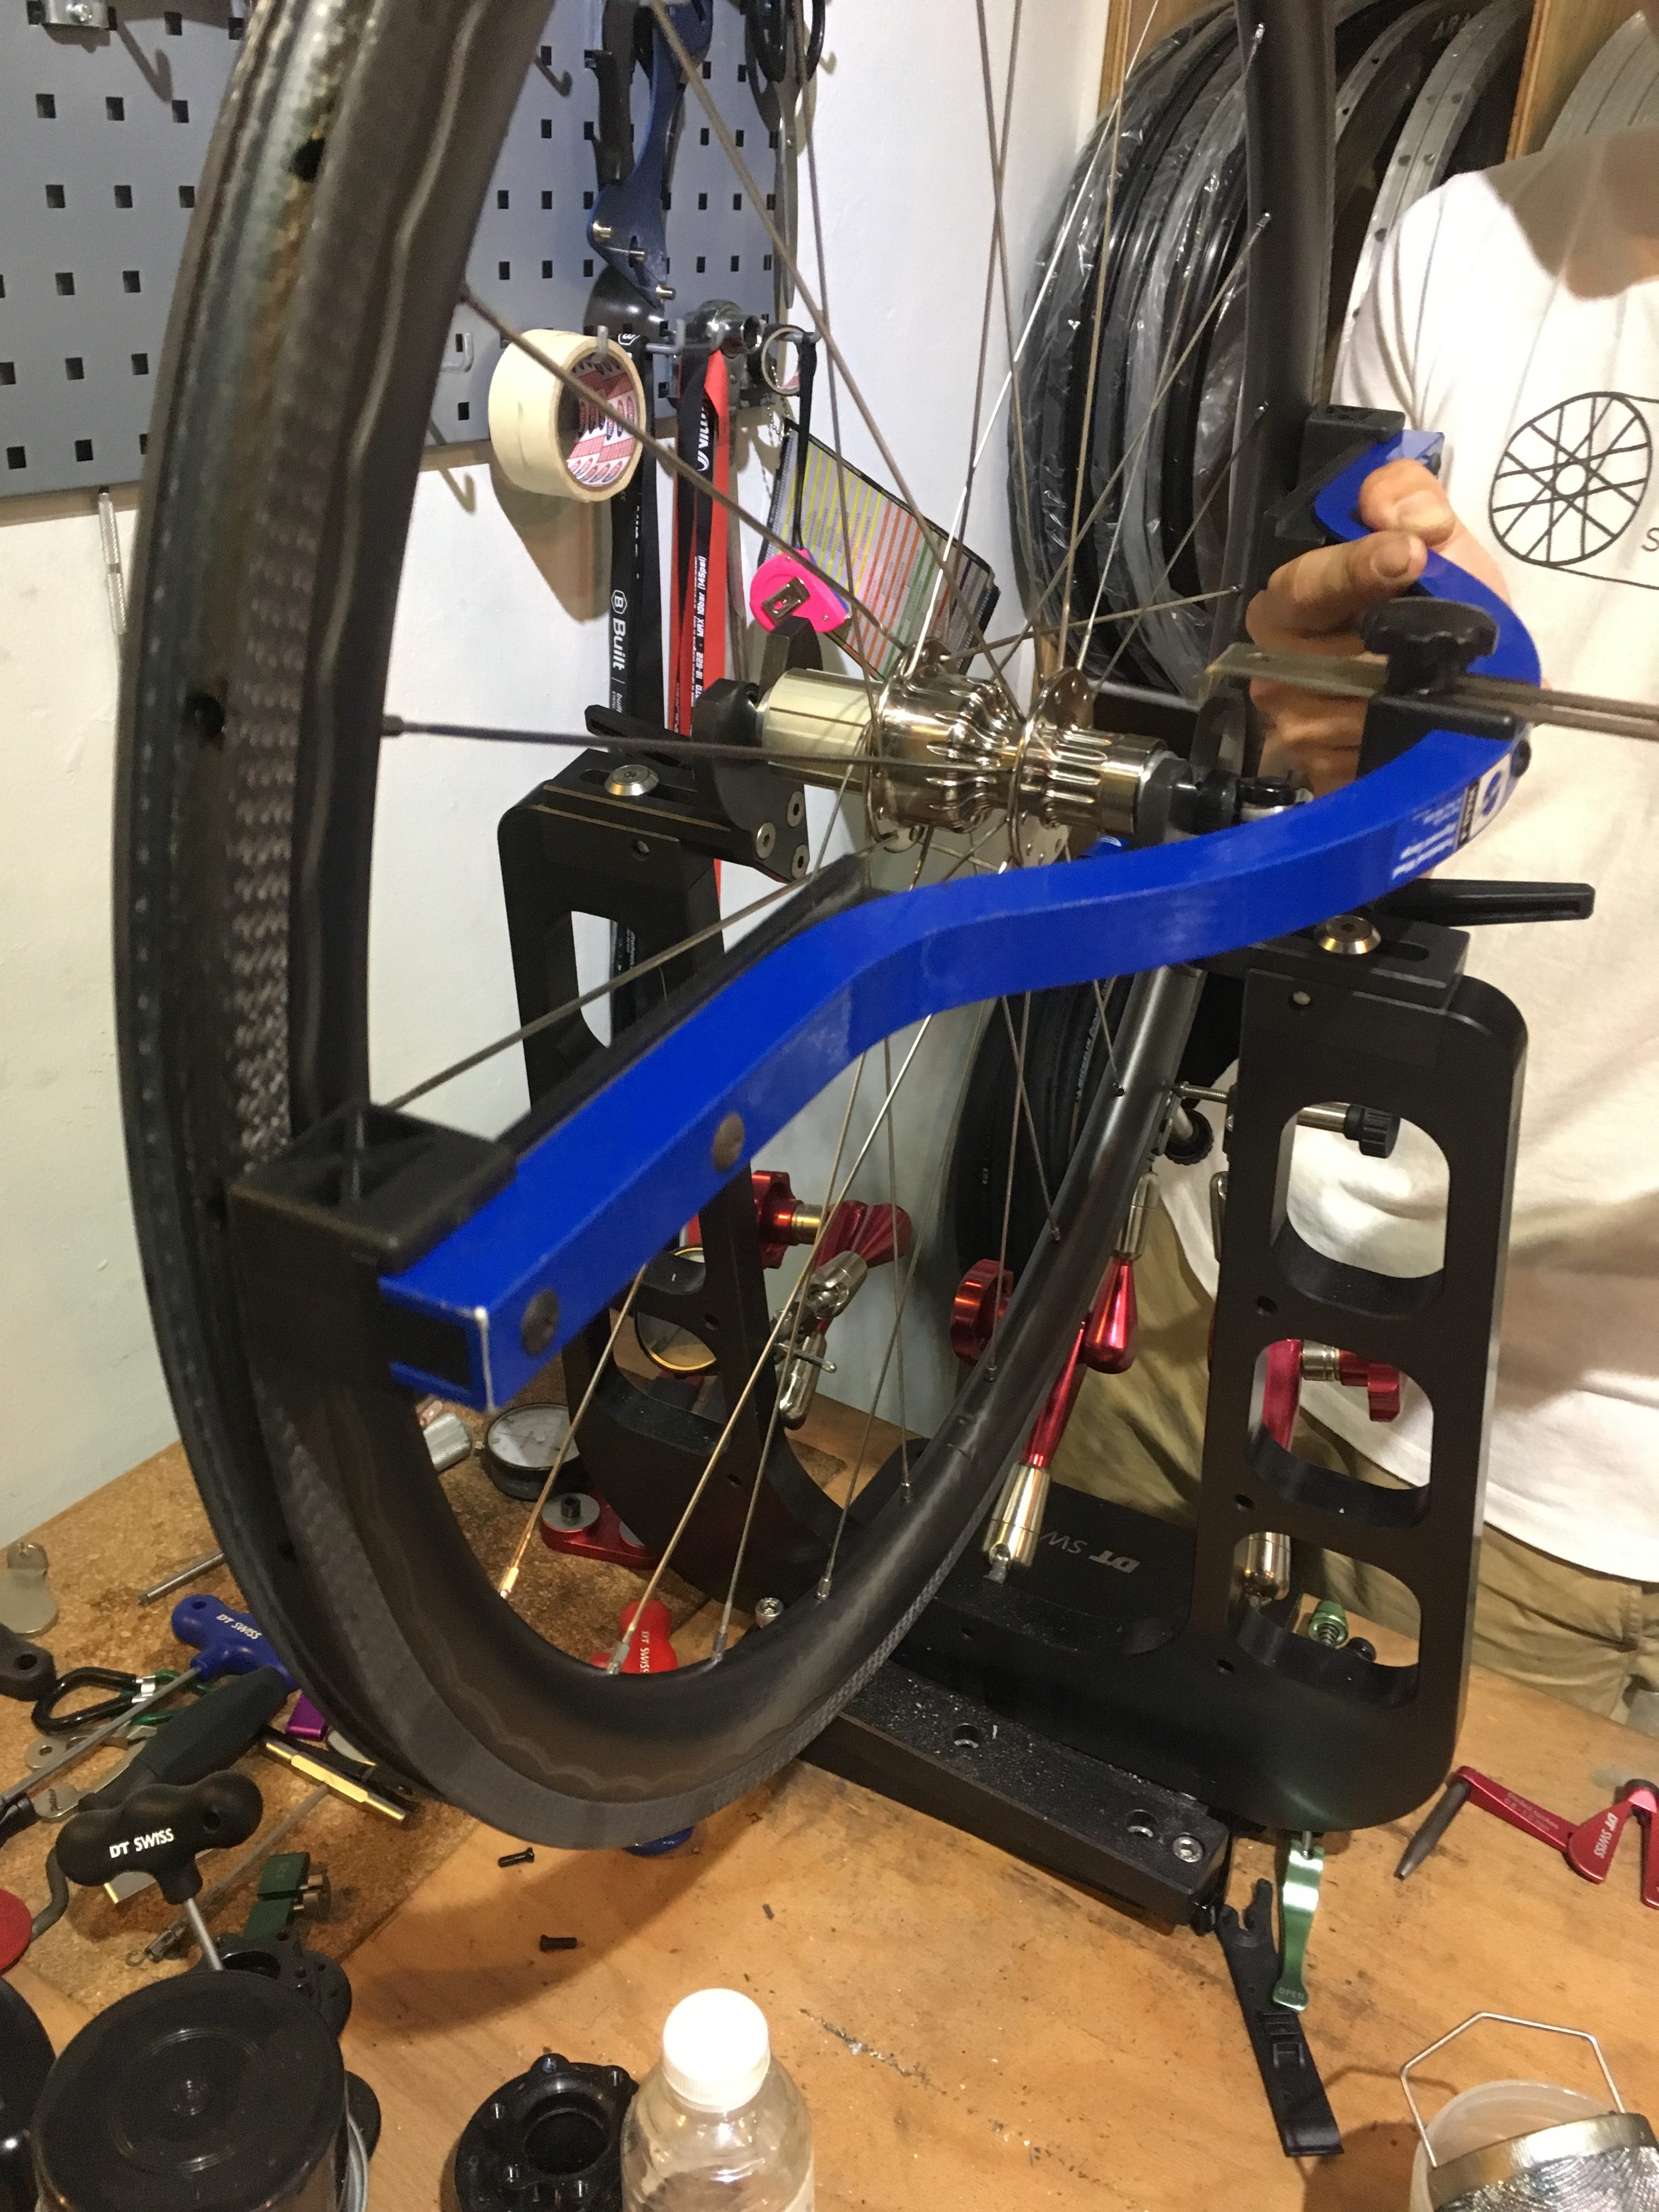
Step 1. Find desired hub and rim, and count the number of spokes required
Step 2. Measure the rim and hub for the spoke length needed
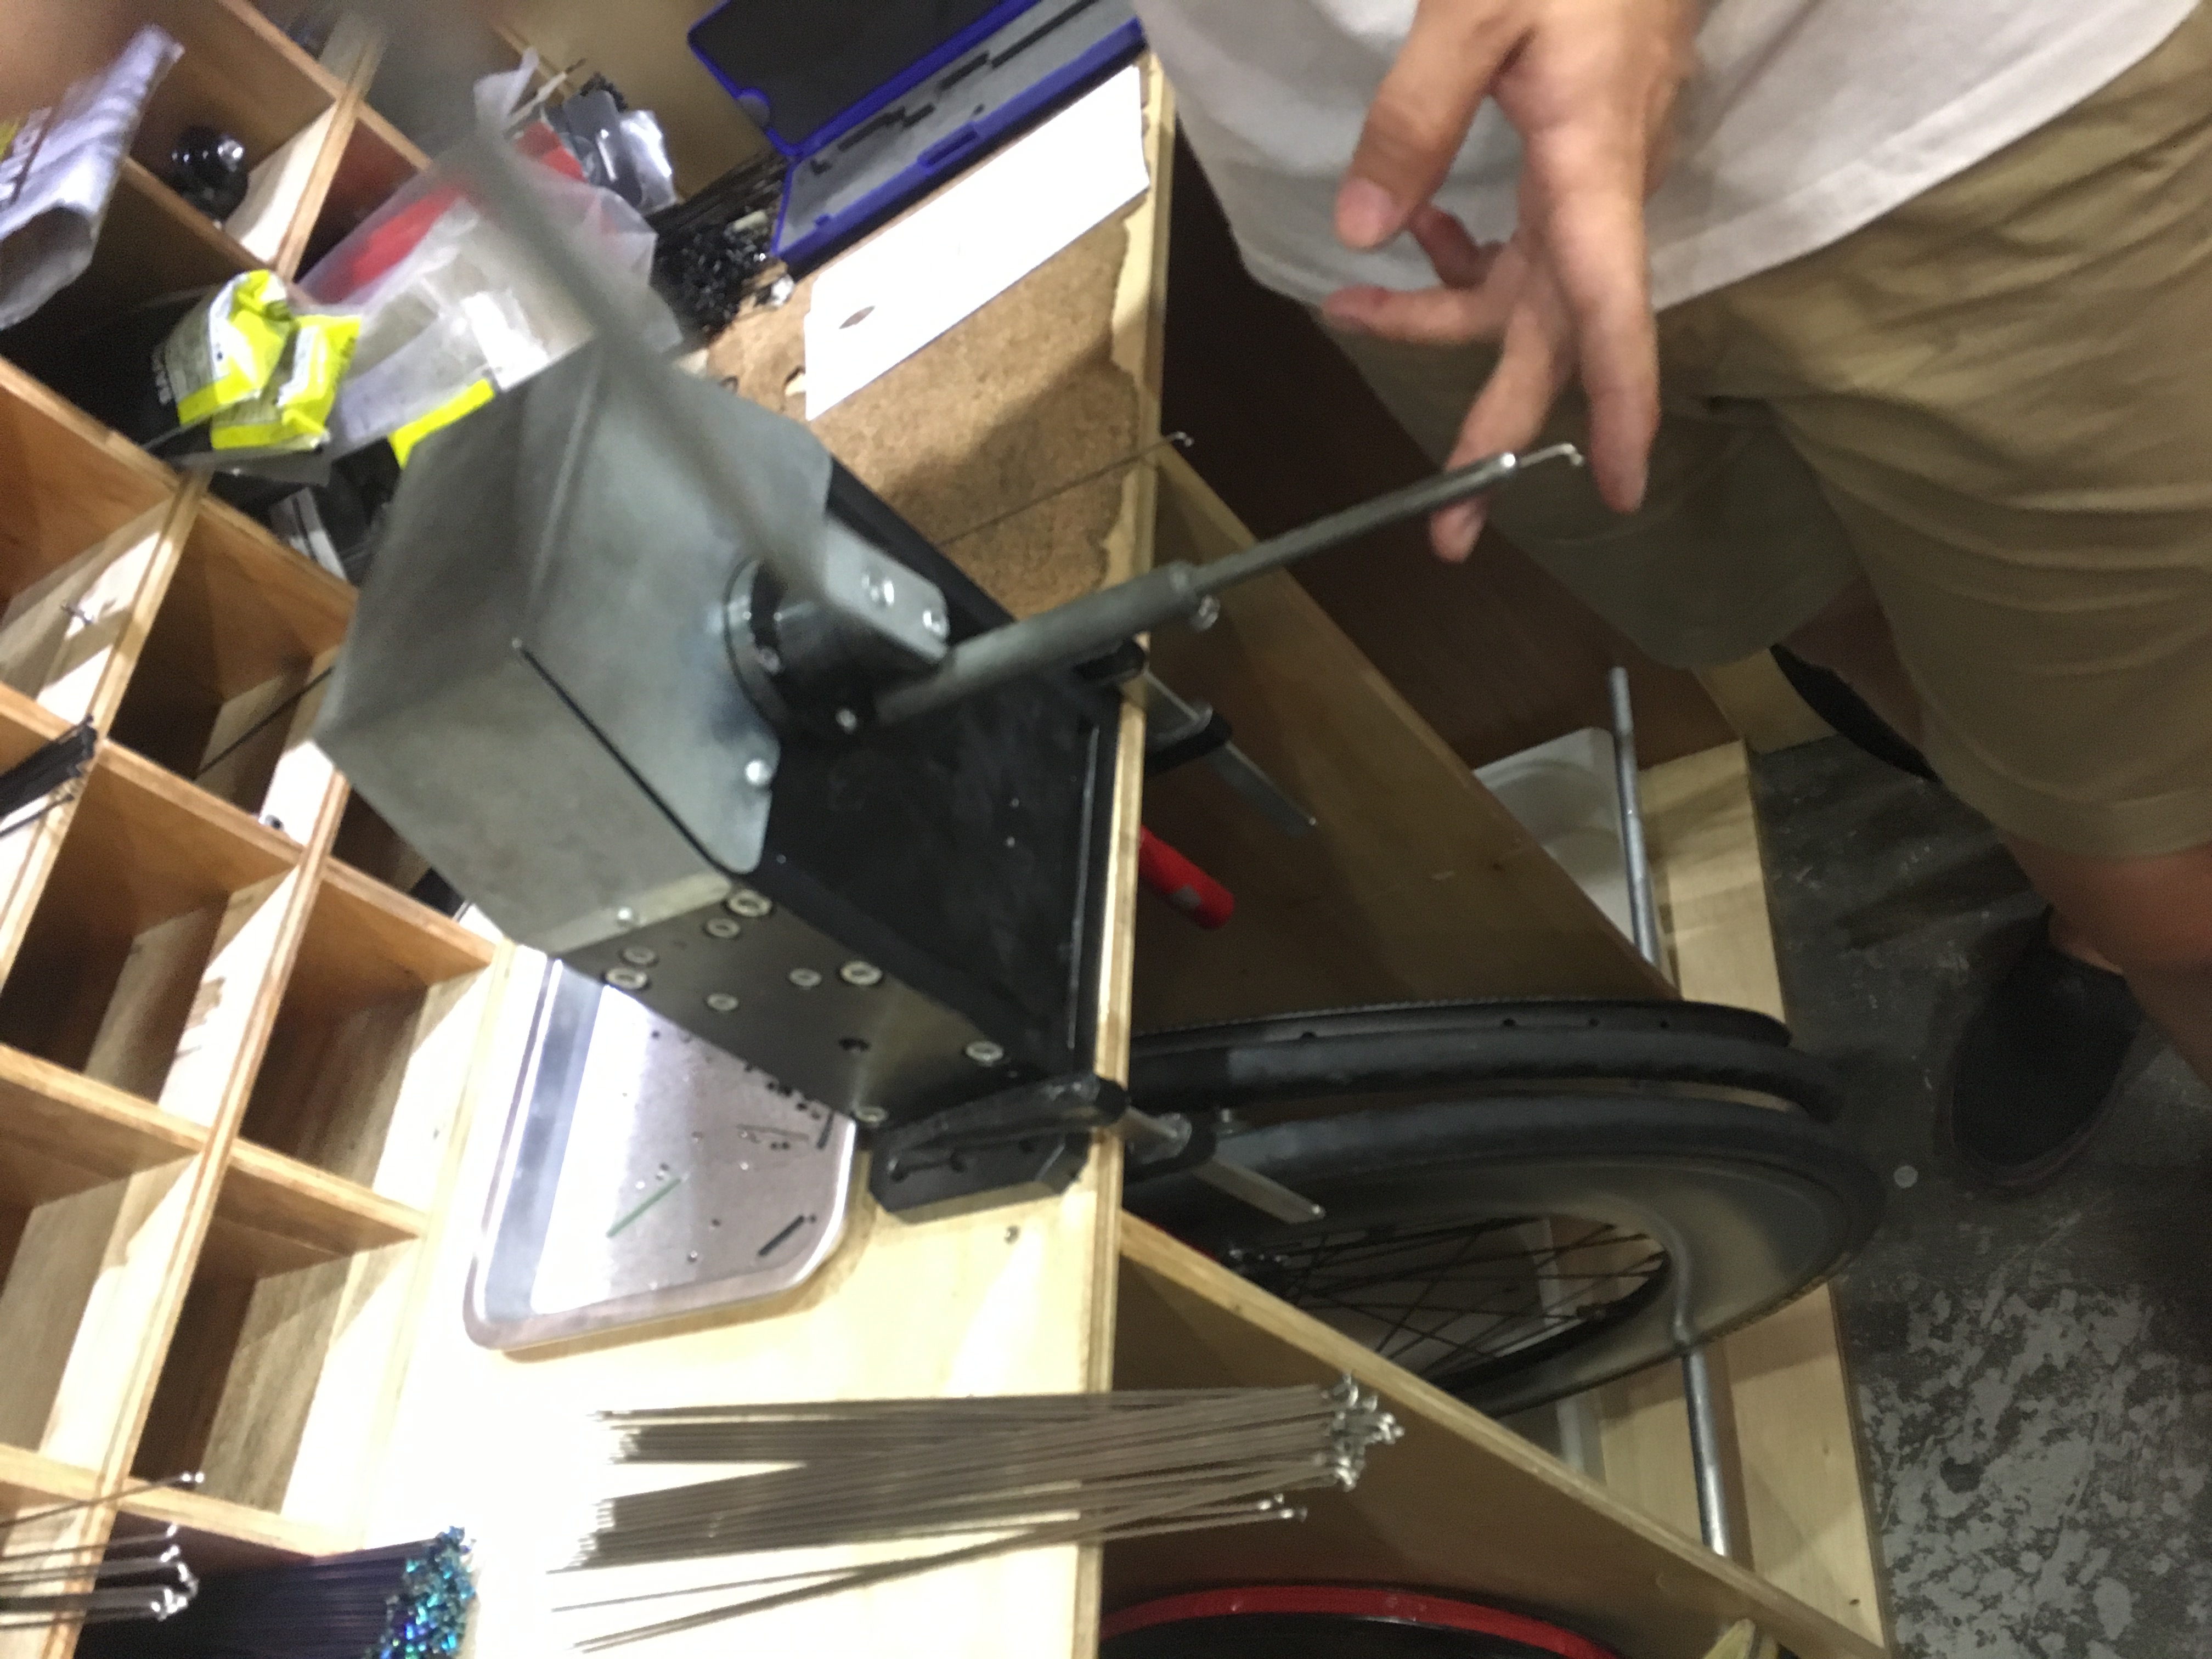
Step 3. Cut the spokes to the correct length using the spoke cutter
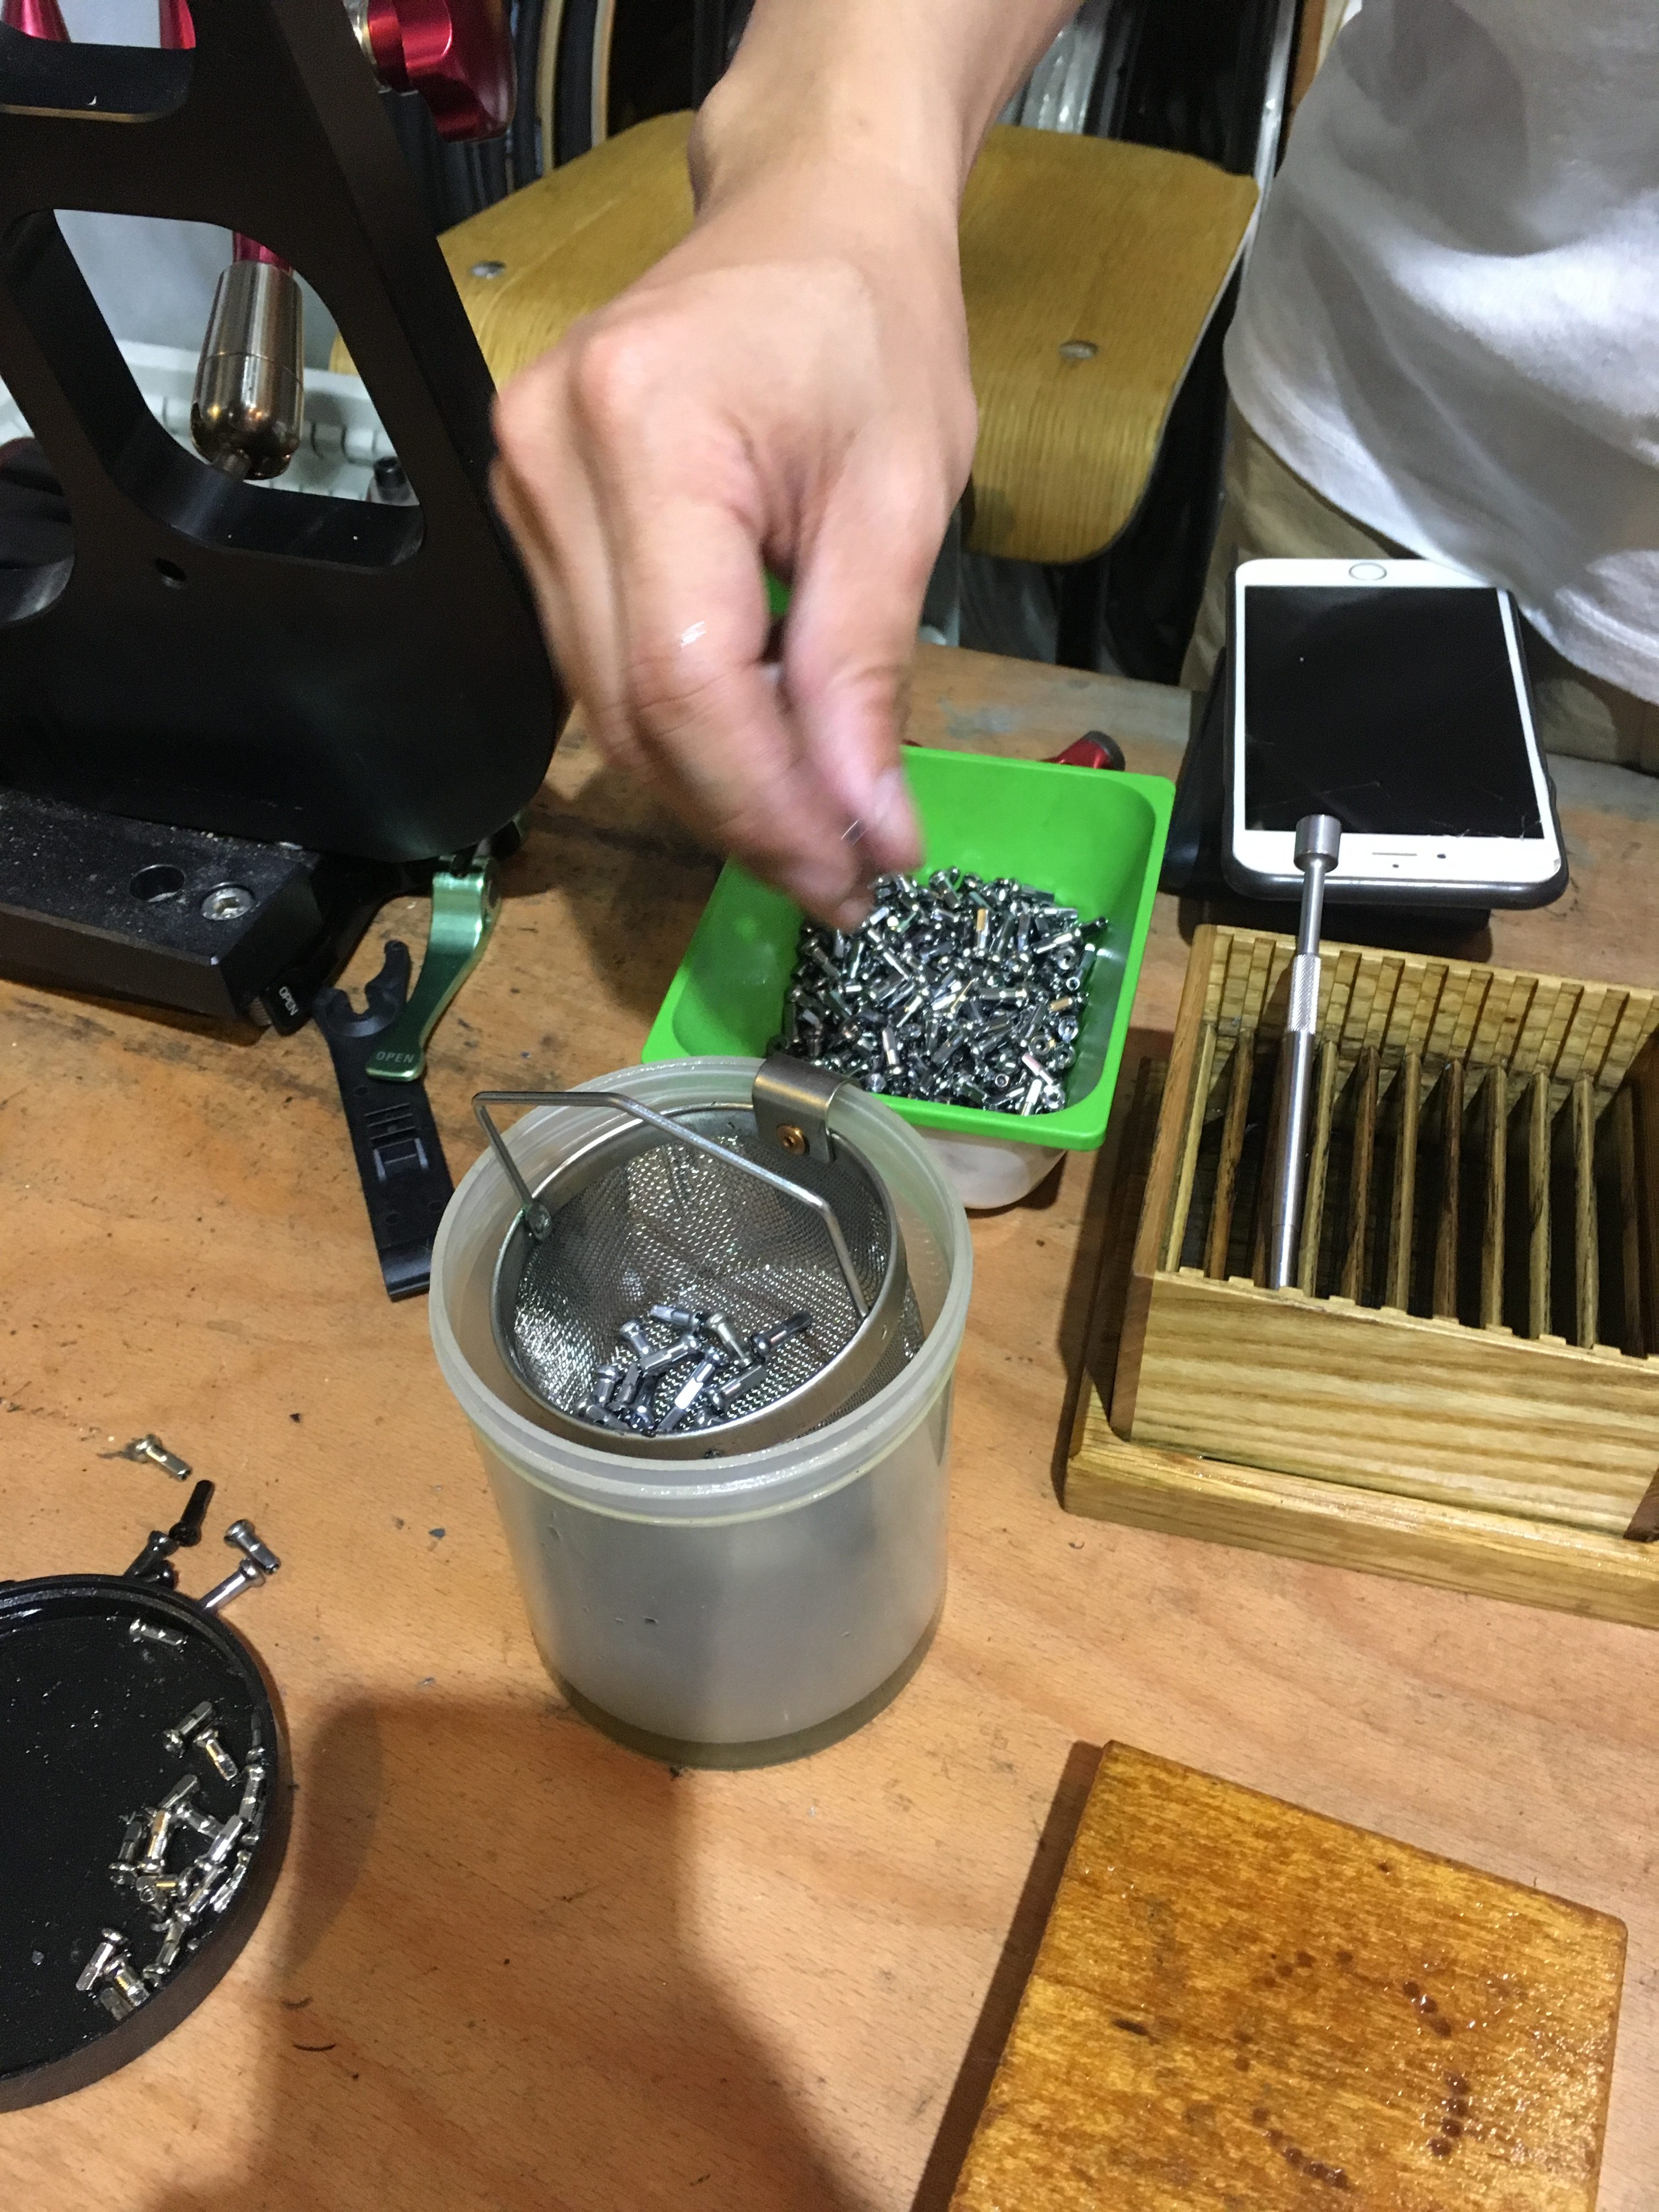
Step 4. Count the number of nipples required and oil them
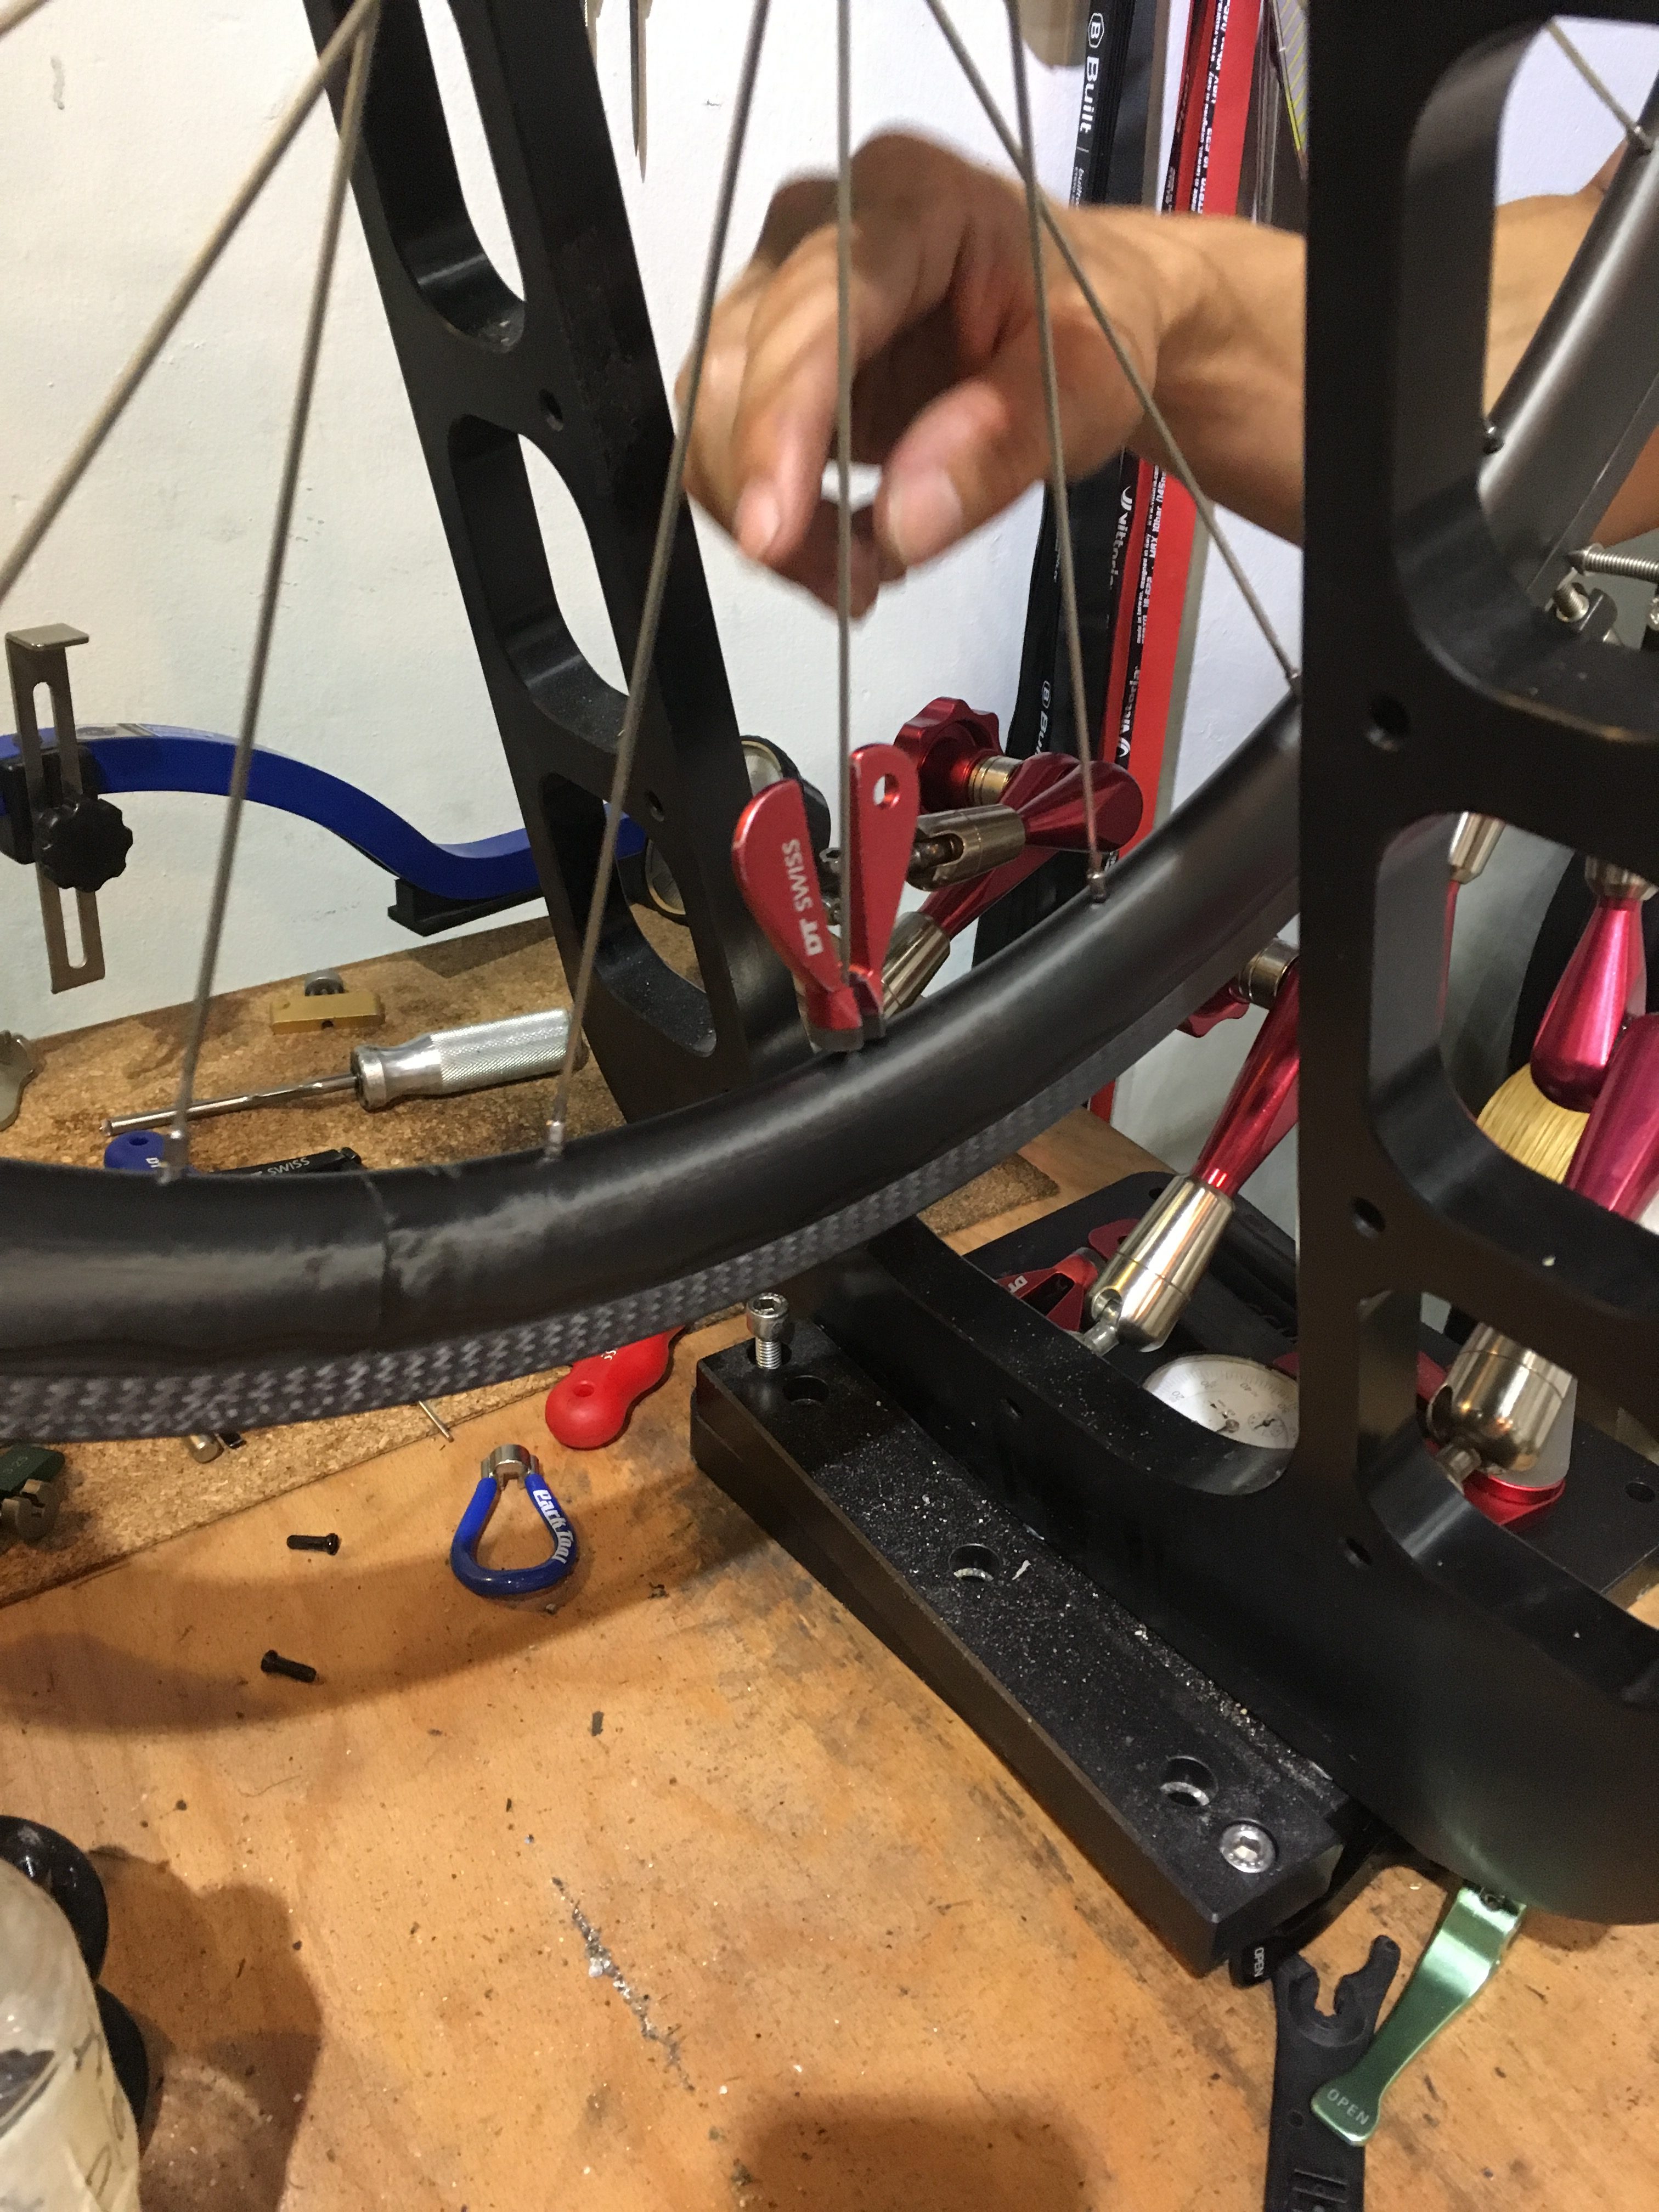
Step 5. Lace the spokes through the rim and the hub using the screwdriver
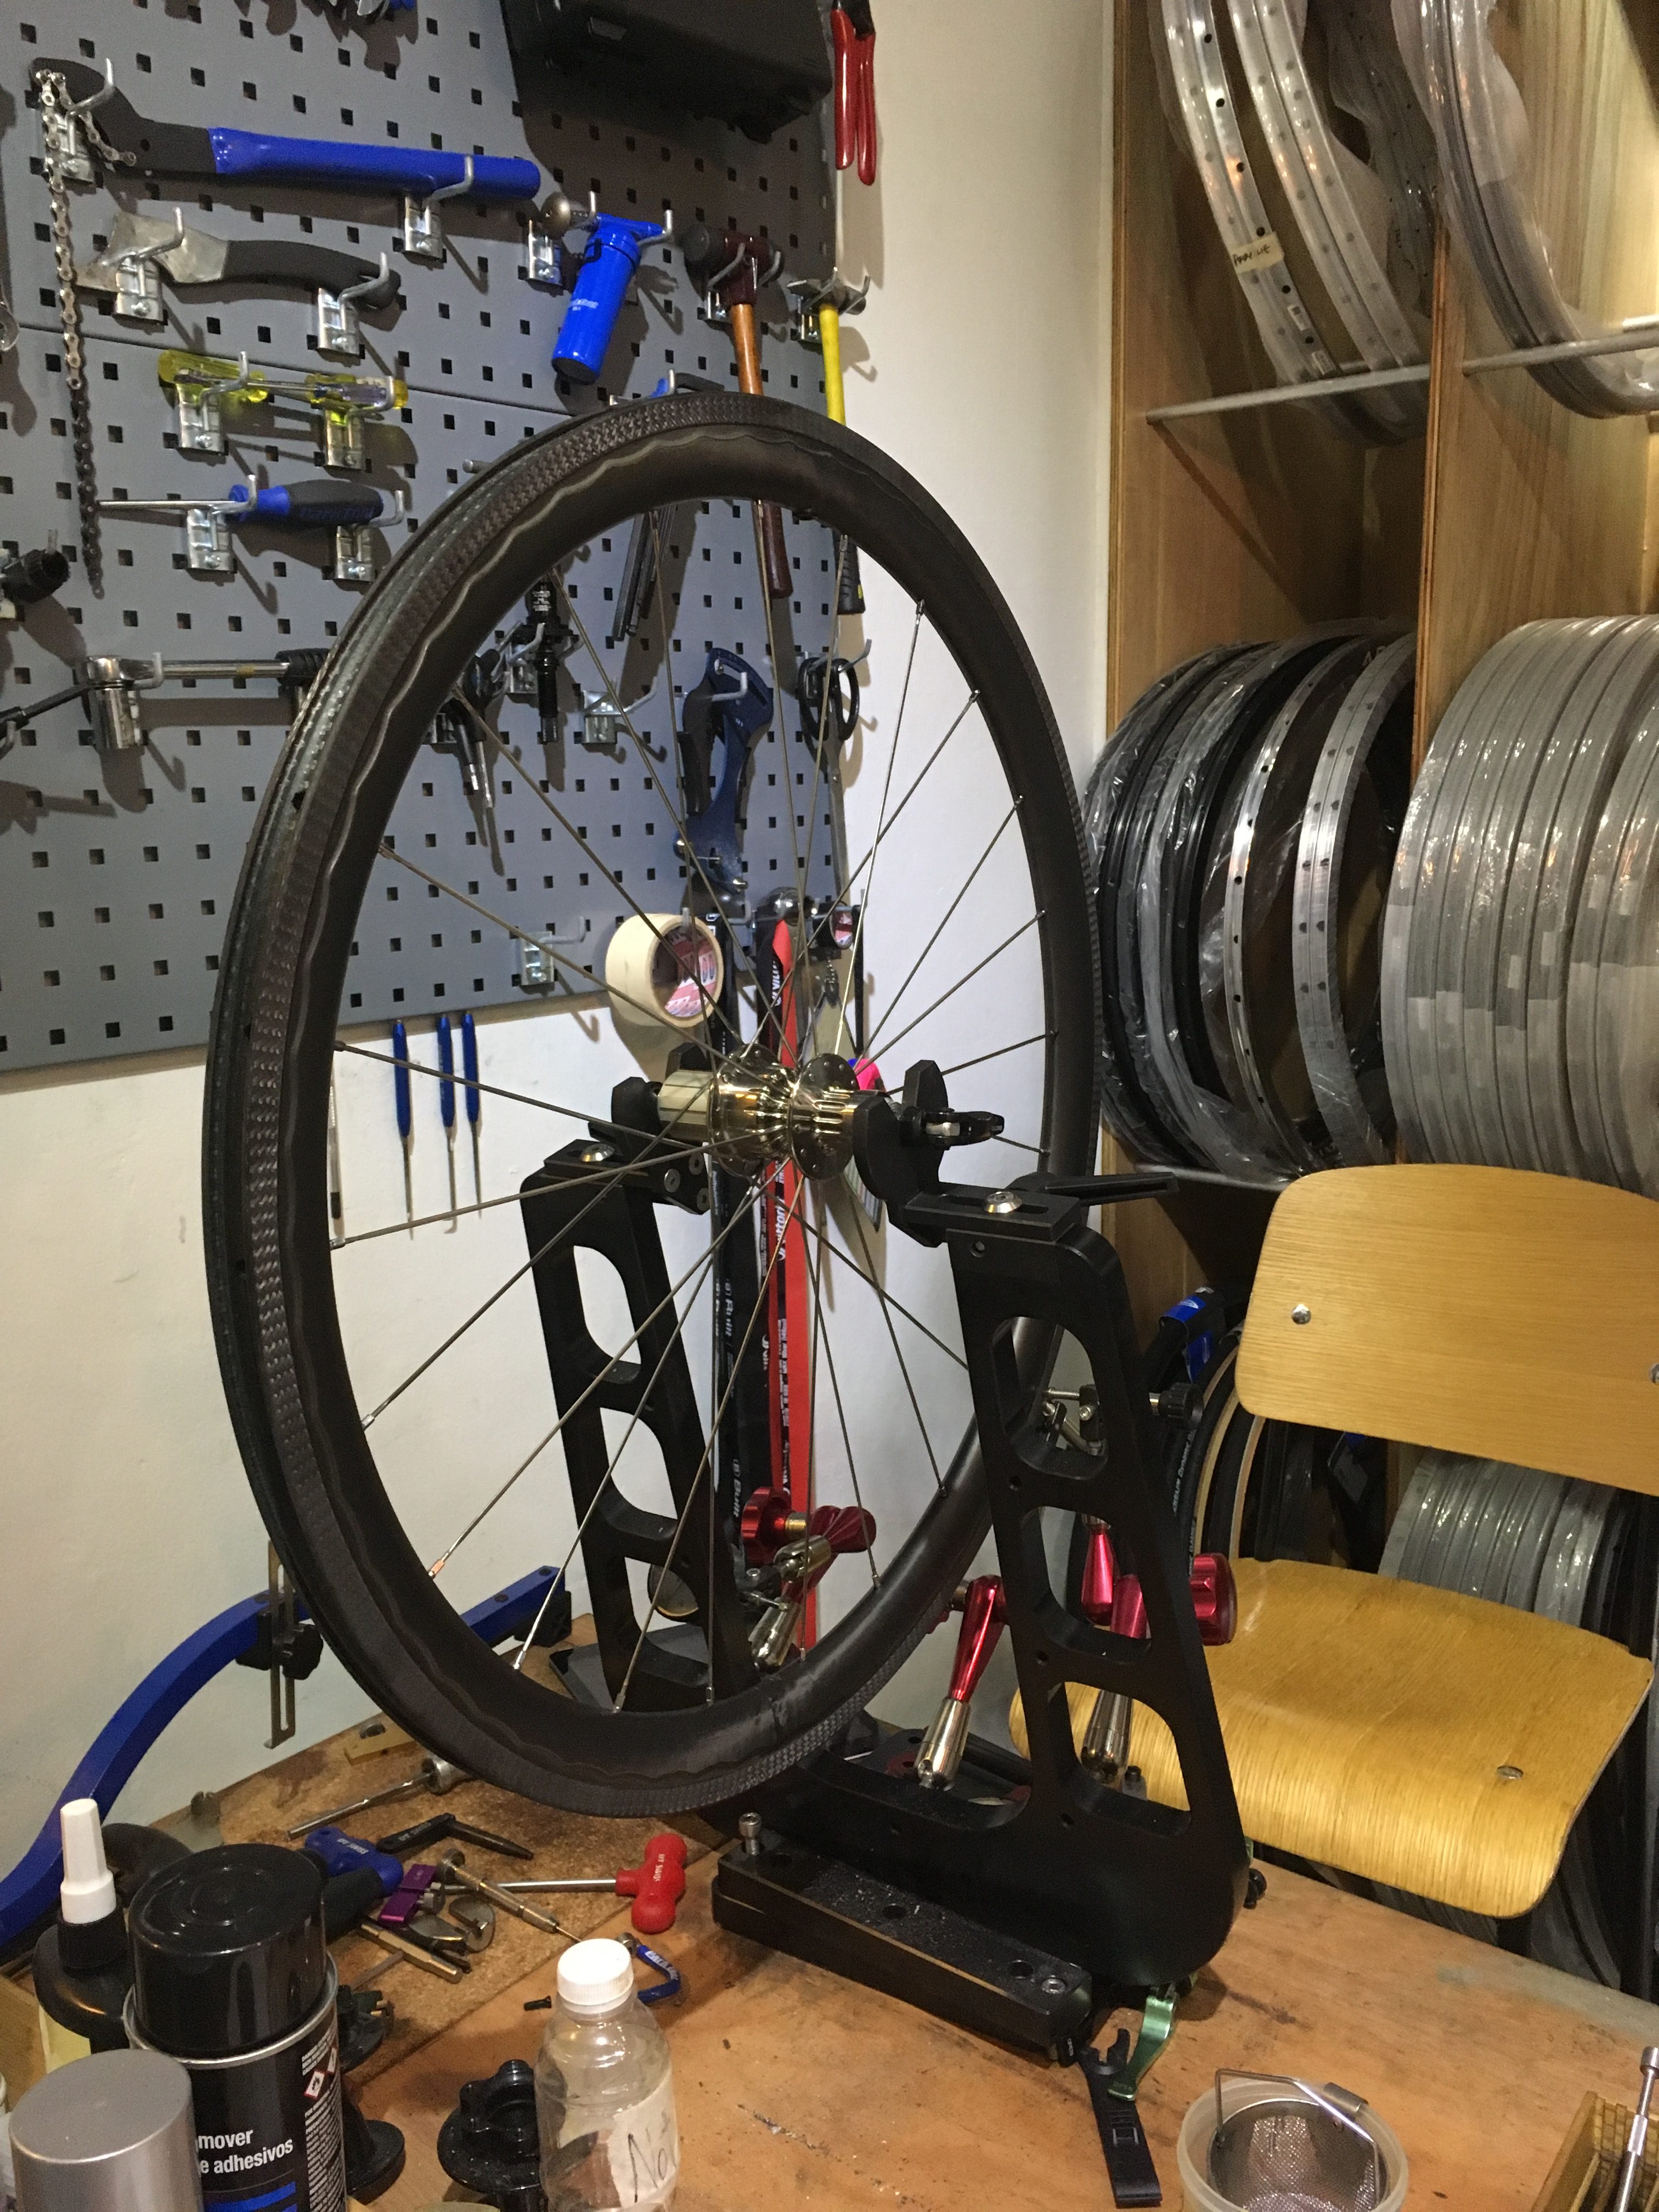
Step 6. Put the wheel on the truing stand and further tighten the spokes using the spoke wrench
Step 7. Check the tension of the spokes using the spoke tension meter, and ensure that the spokes have the correct and same tension. Adjust along the way.
Step 8. Use the dishing tool to ensure that the hub is in the center of the rim
Pain Points:
Precision is extremely important in building a wheel, especially when safety is of concern.
The back and forth process of checking then adjusting is also extremely tedious.
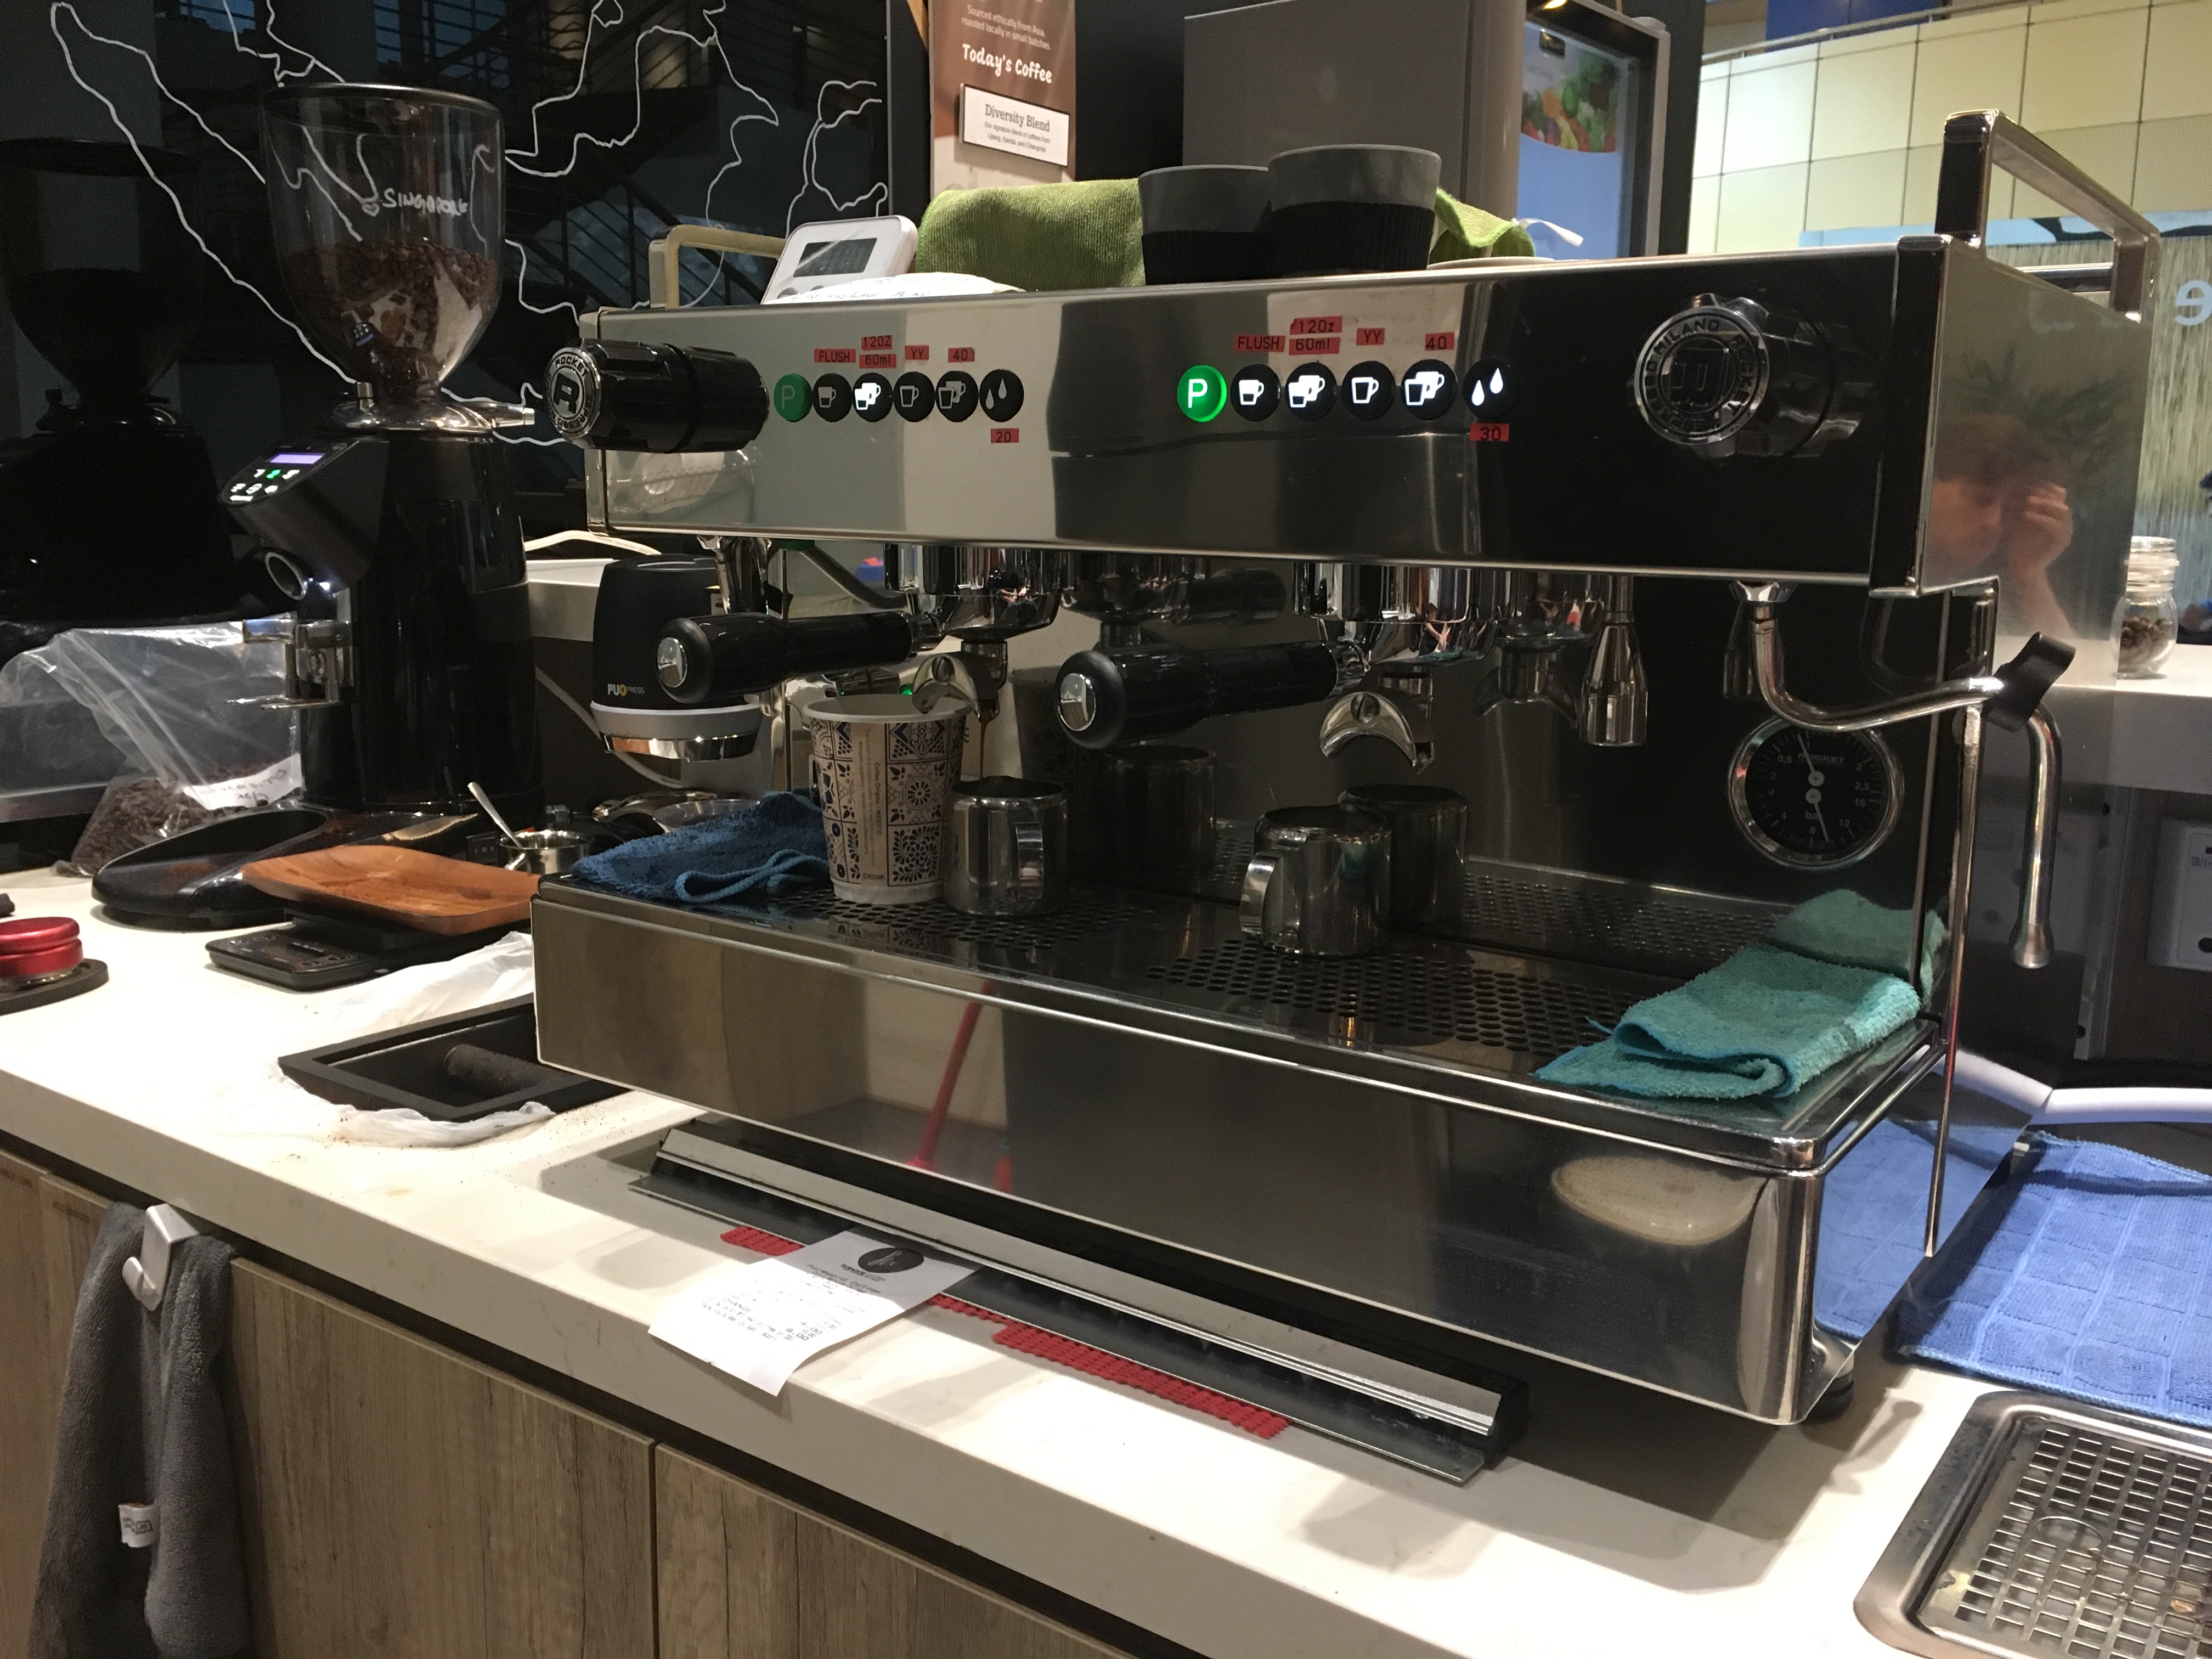
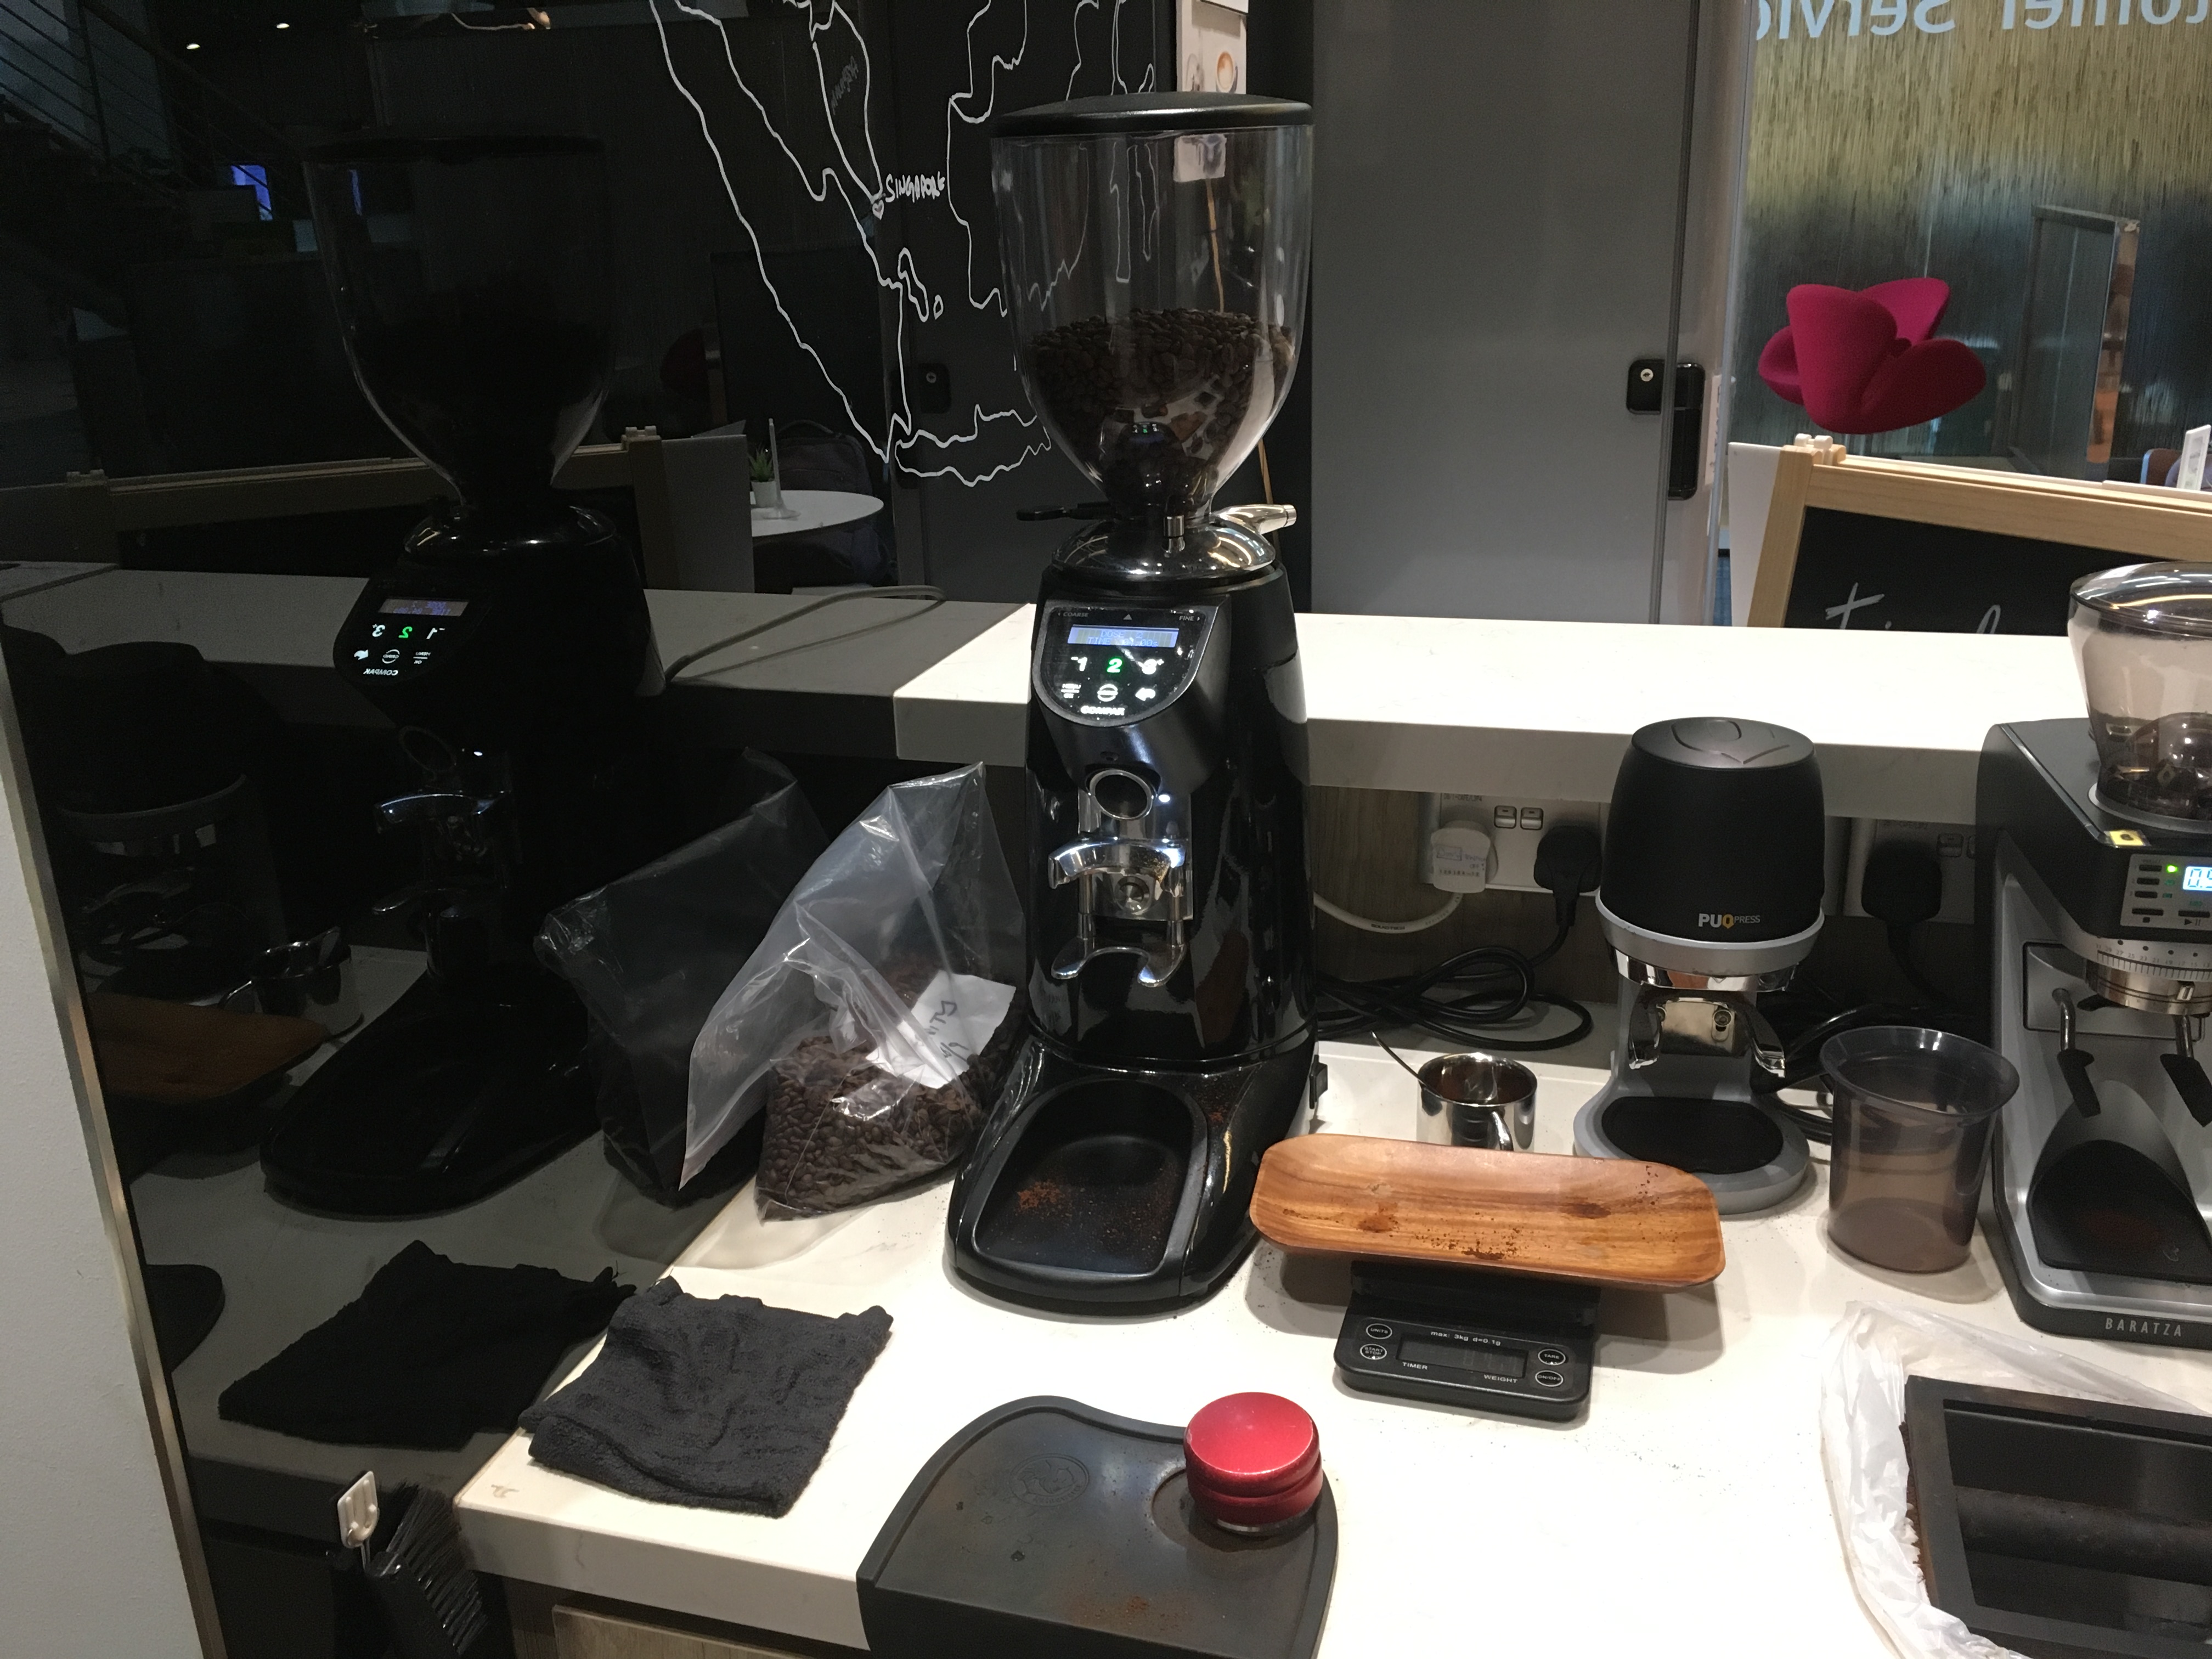
Step 1. Grind the coffee beans and place them in the portafilter
Step 2. Use the distributor to evenly distribute the coffee grinds
Step 3. Use the automatic tamper machine to densely pack the coffee grinds together
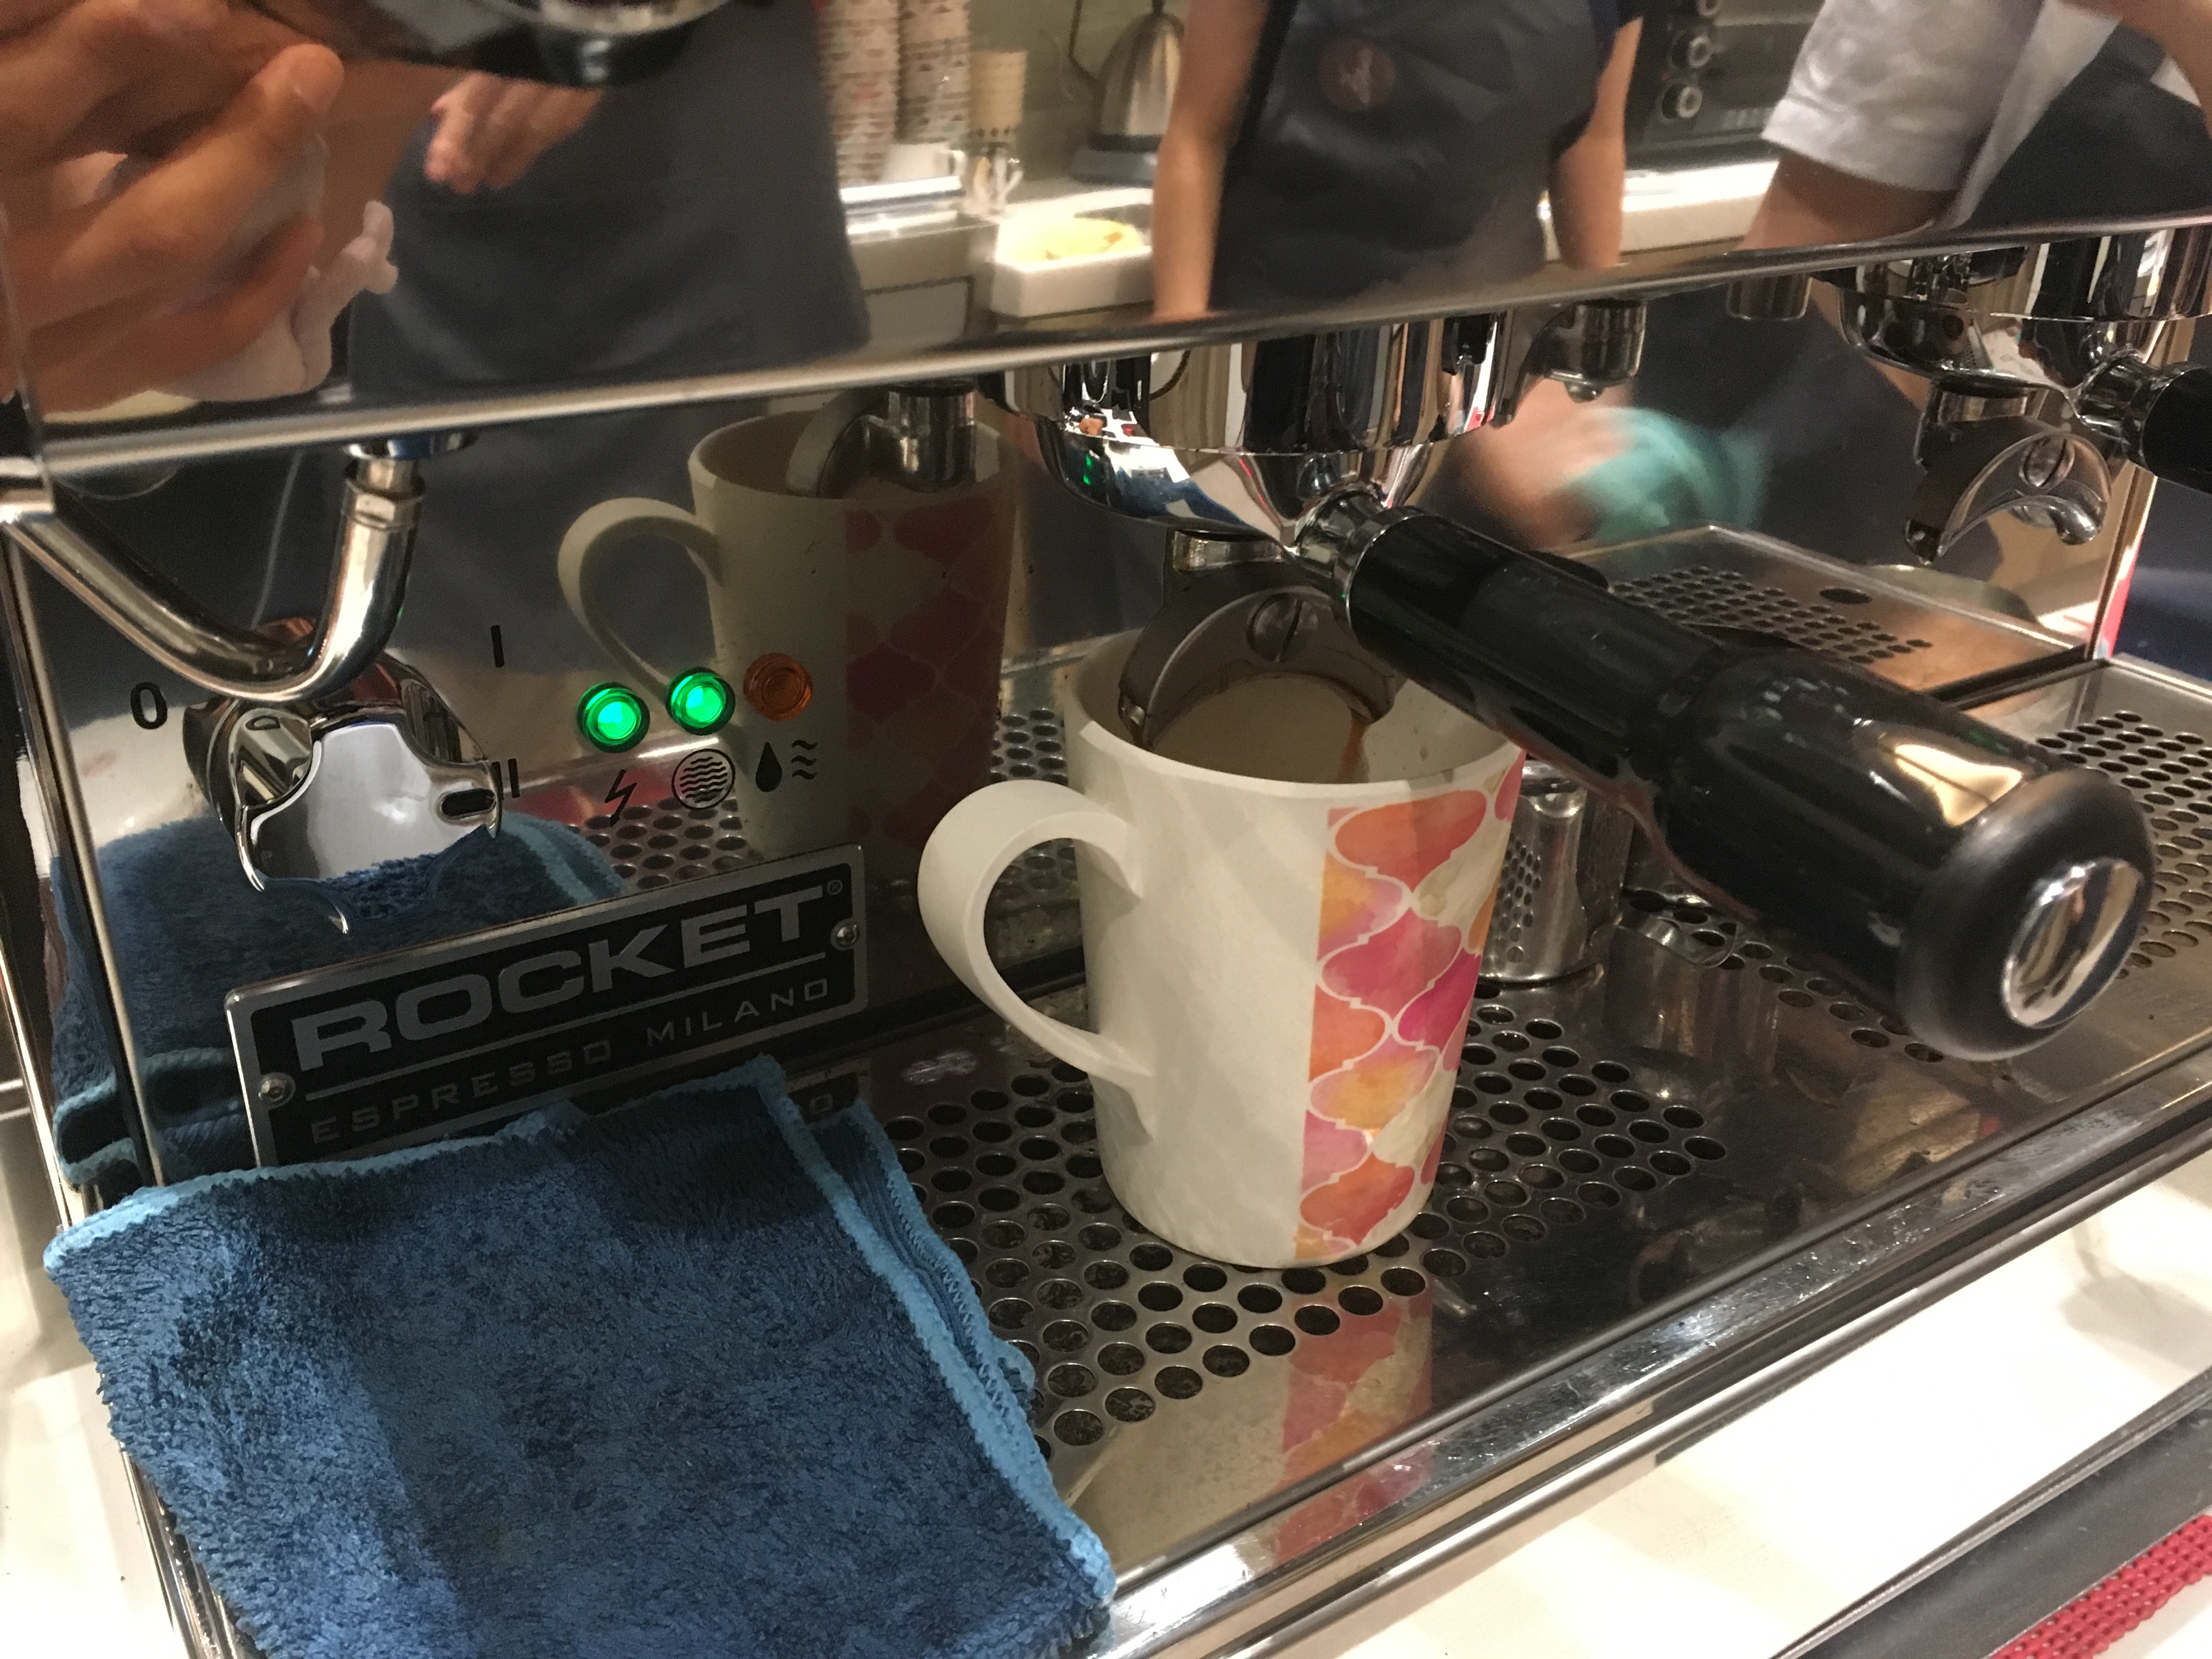
Step 4. Put the portafilter in the espresso machine and make coffee
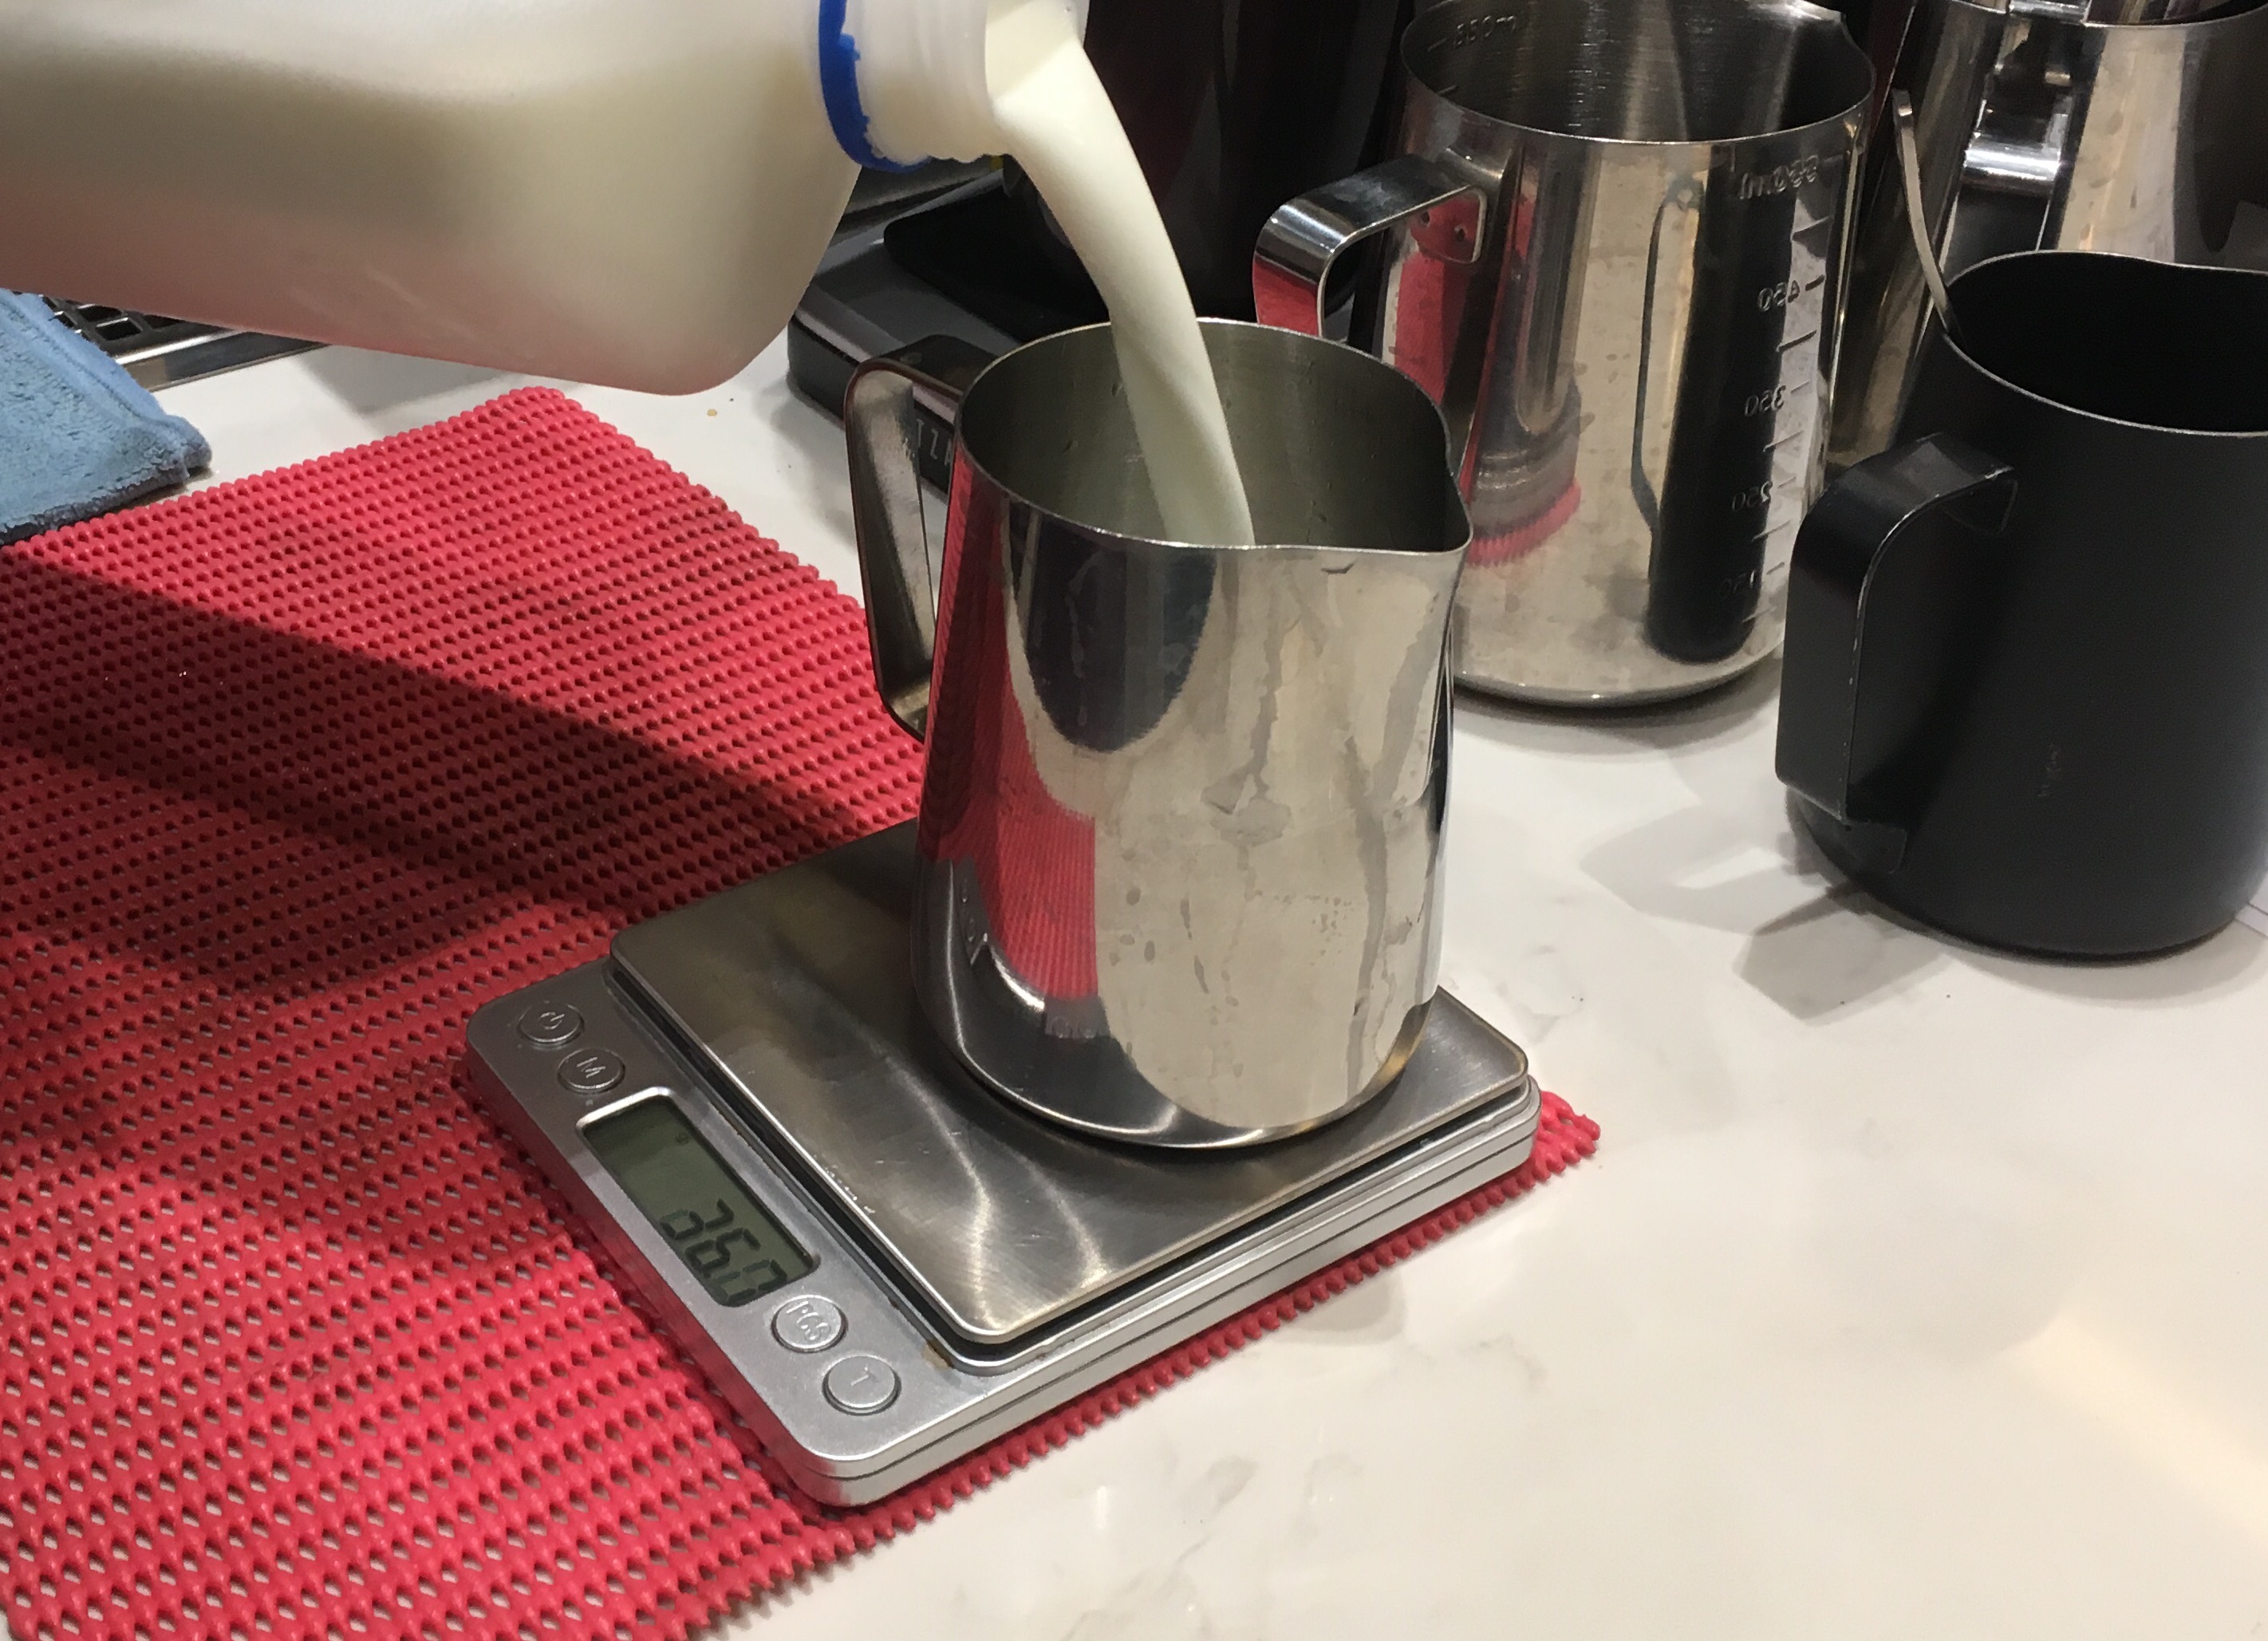
Step 5. Pour some milk in the milk jug and use the steam wand to froth it
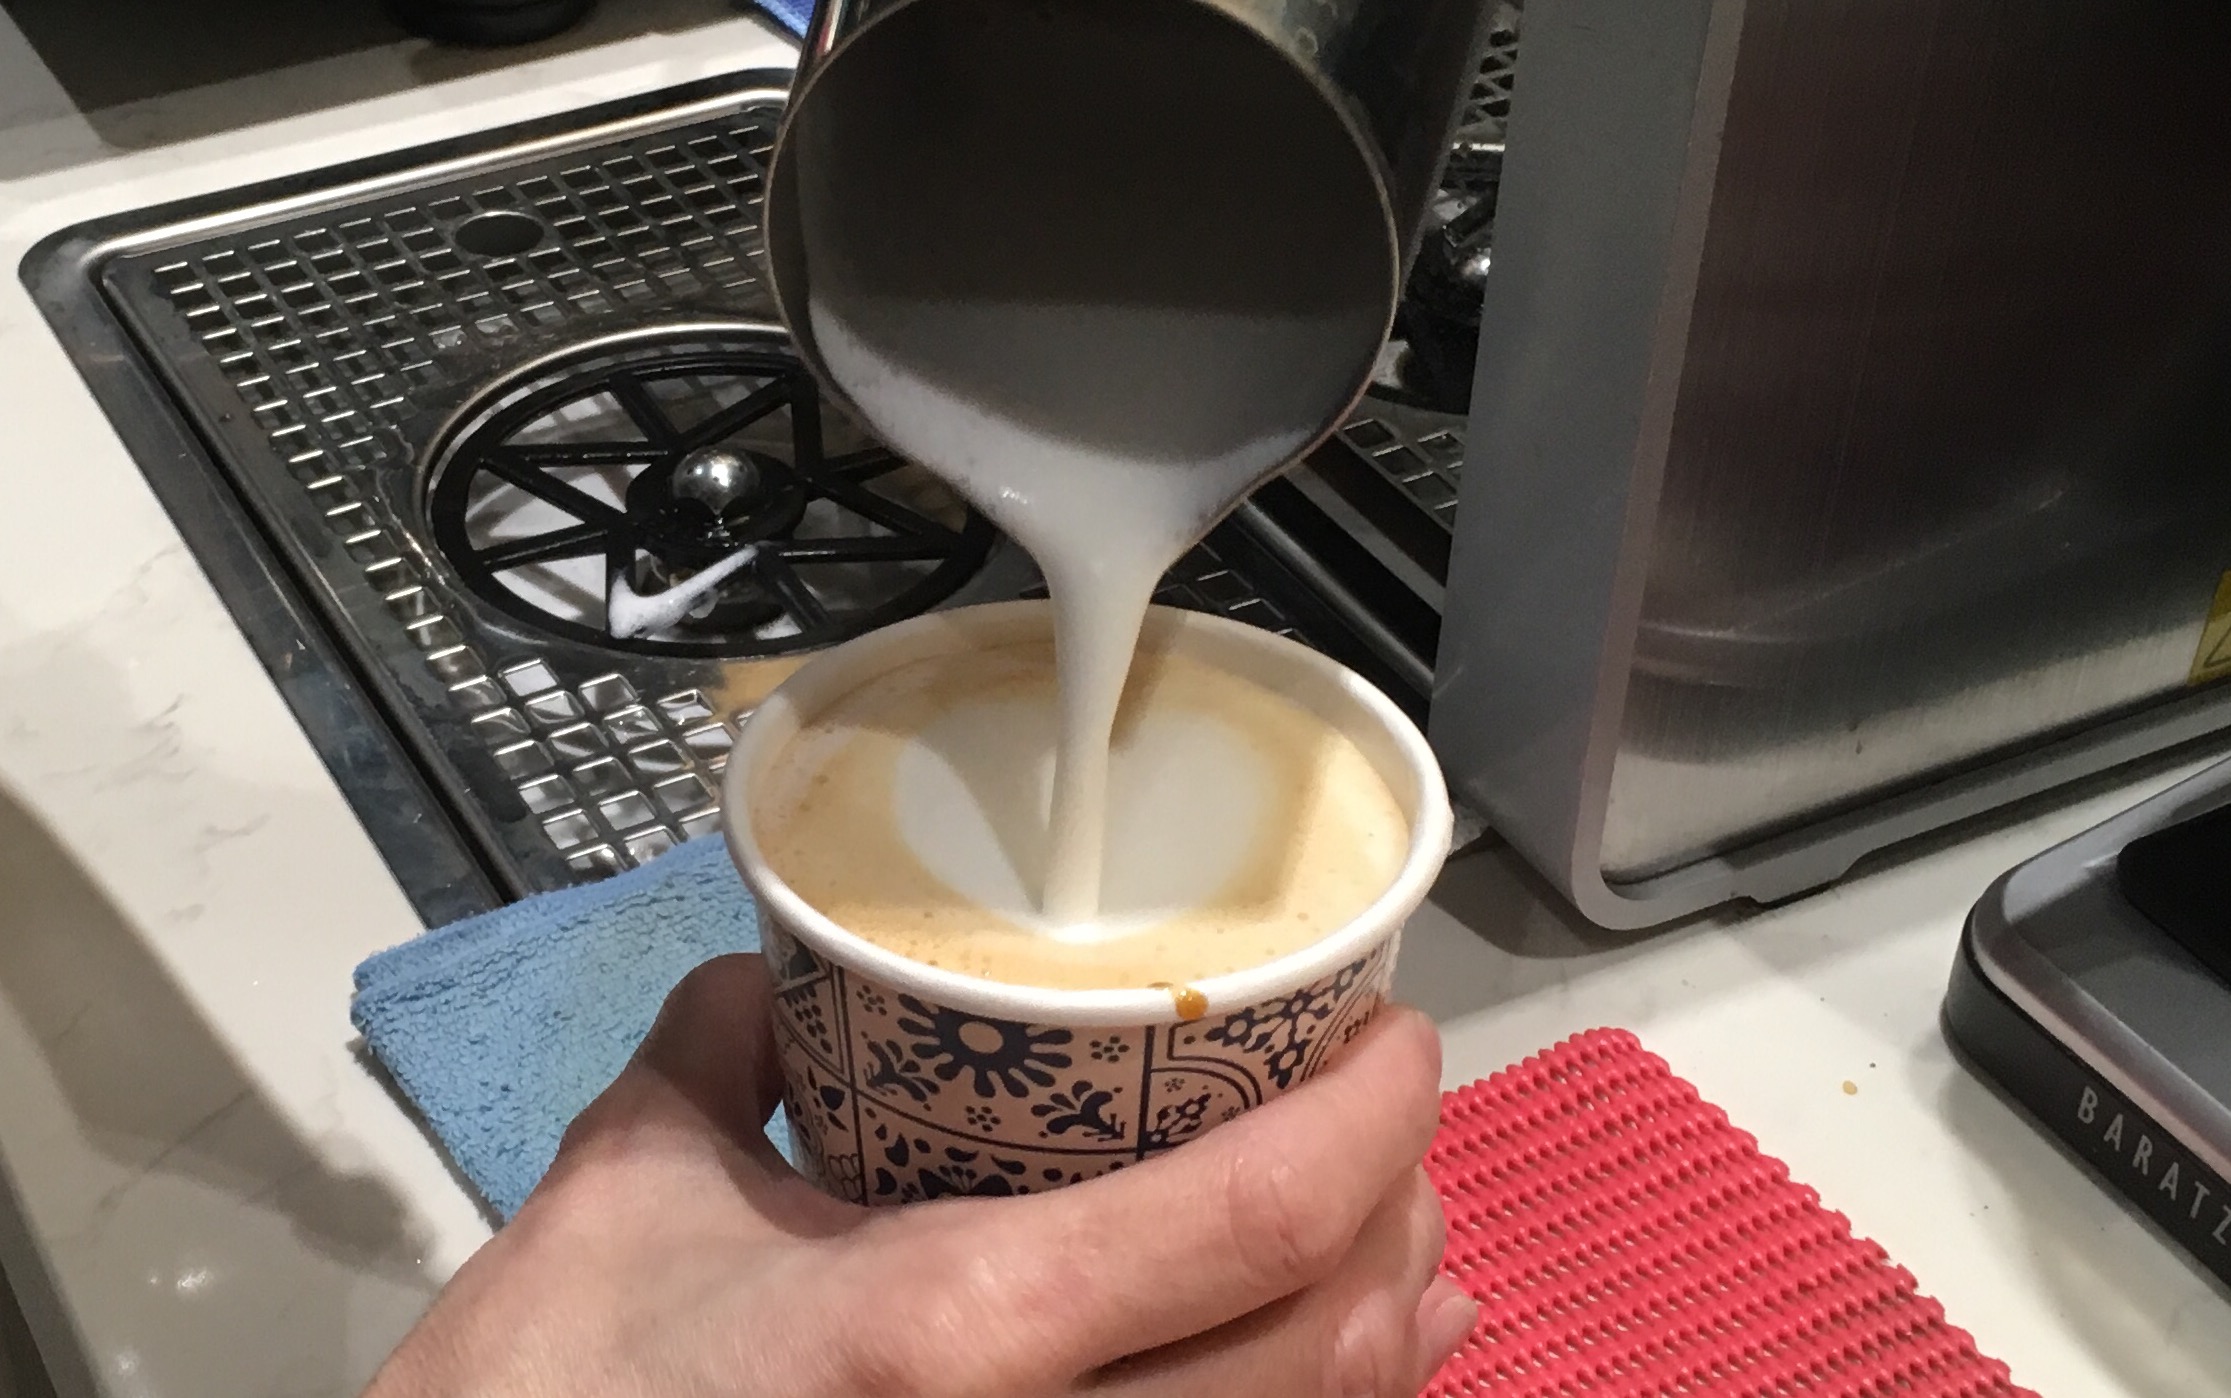
Step 6. Pour frothed milk into cup of coffee and make designs if desired
Latte Art
Pain Point:
Most of the process is automated, like with the espresso machine. However, there was one main difficulty, which was to froth the milk correctly – which will be to ensure that the bubbles formed are small bubbles to ensure better integration with the coffee. Furthermore, the steam wand is extremely hot, so one has to practice caution.
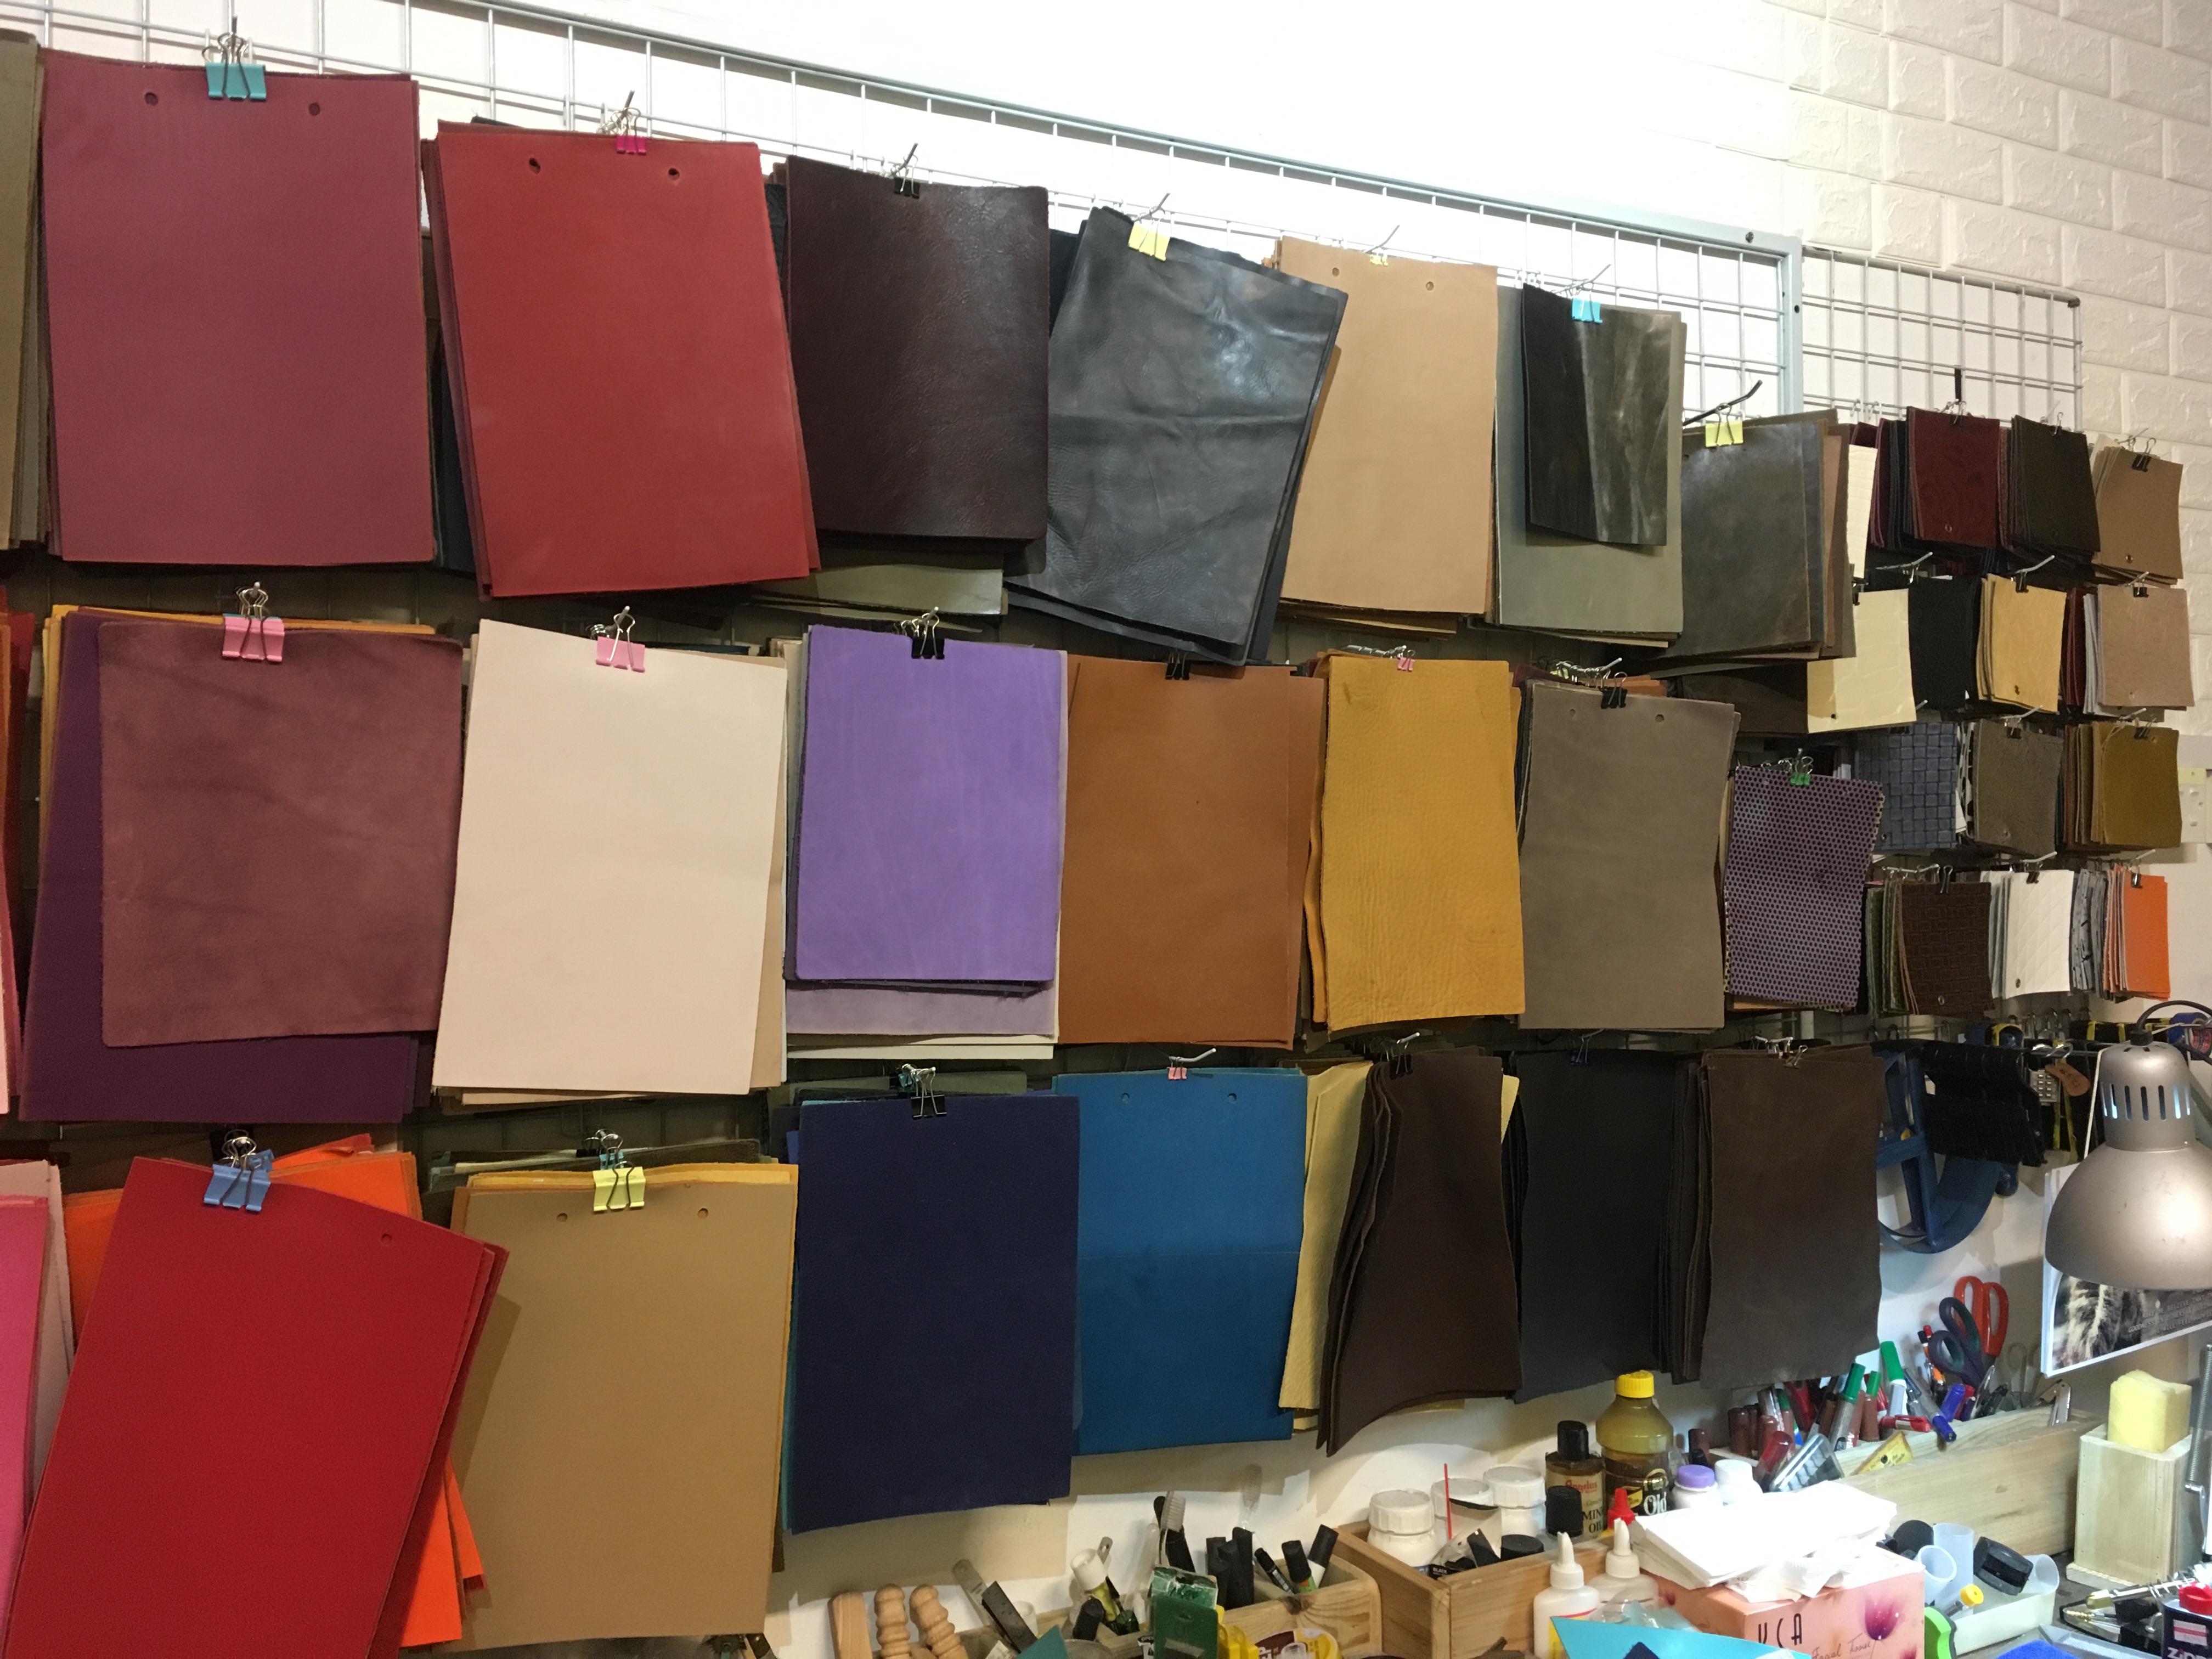
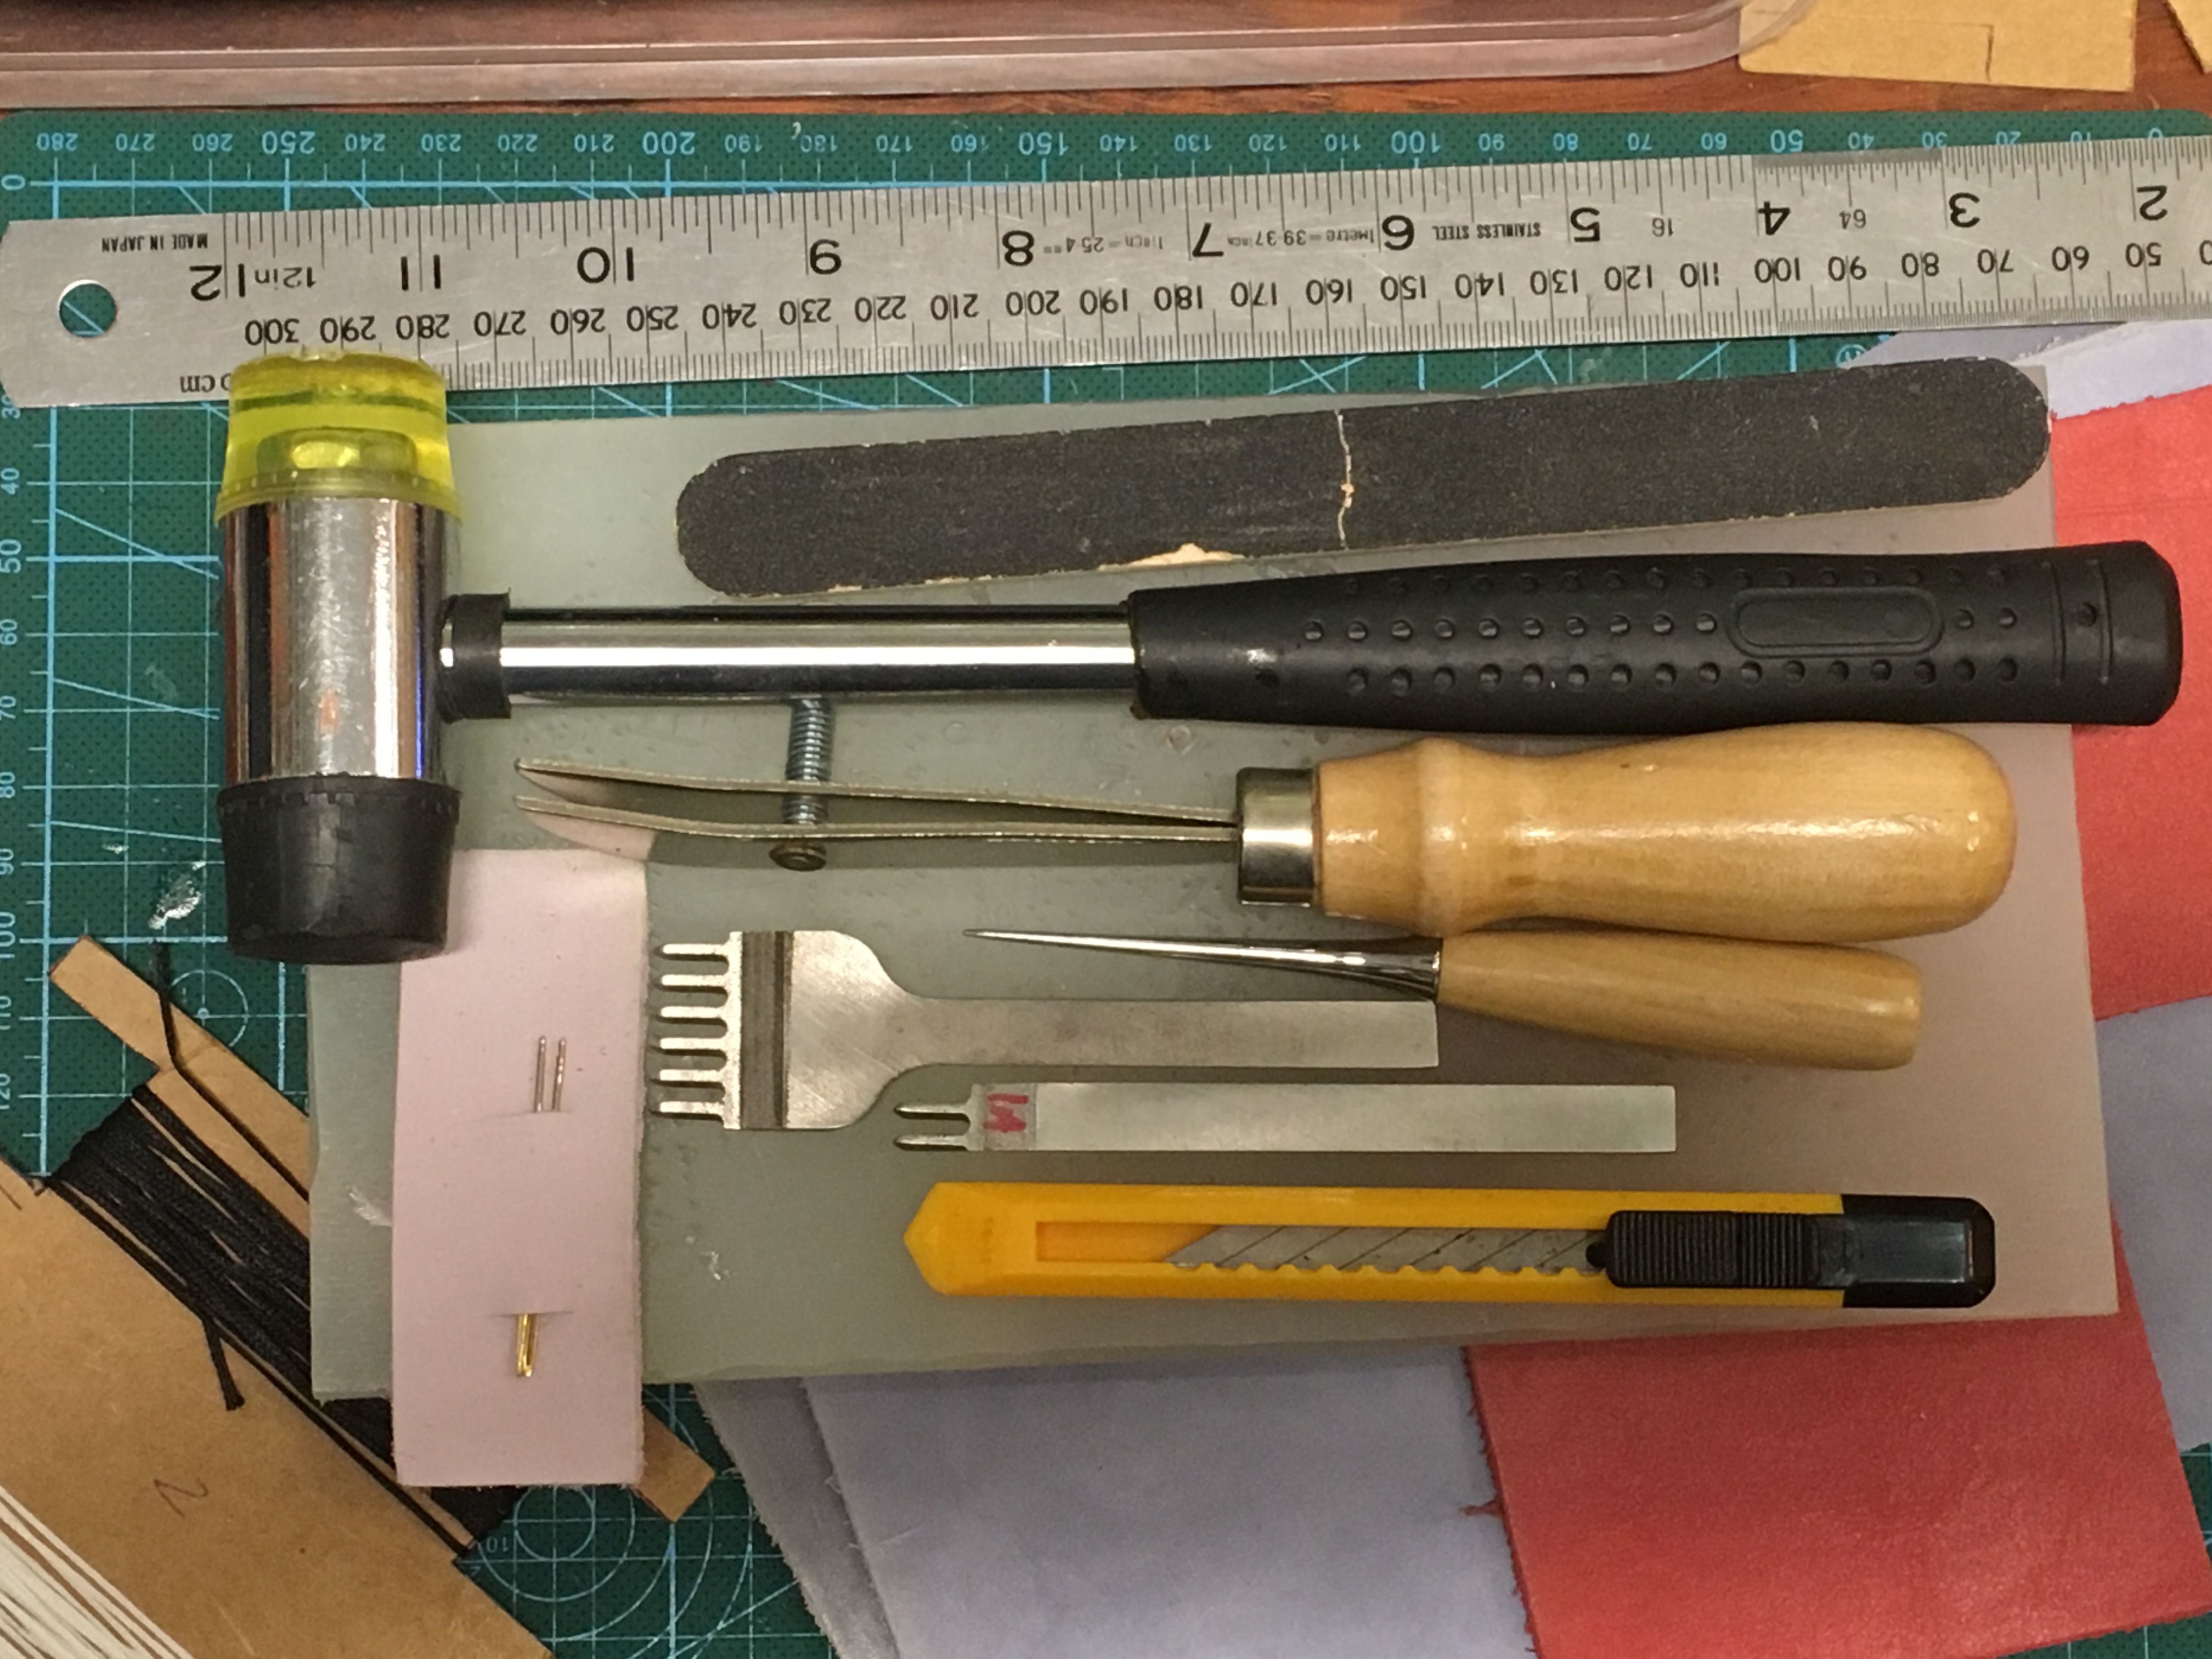
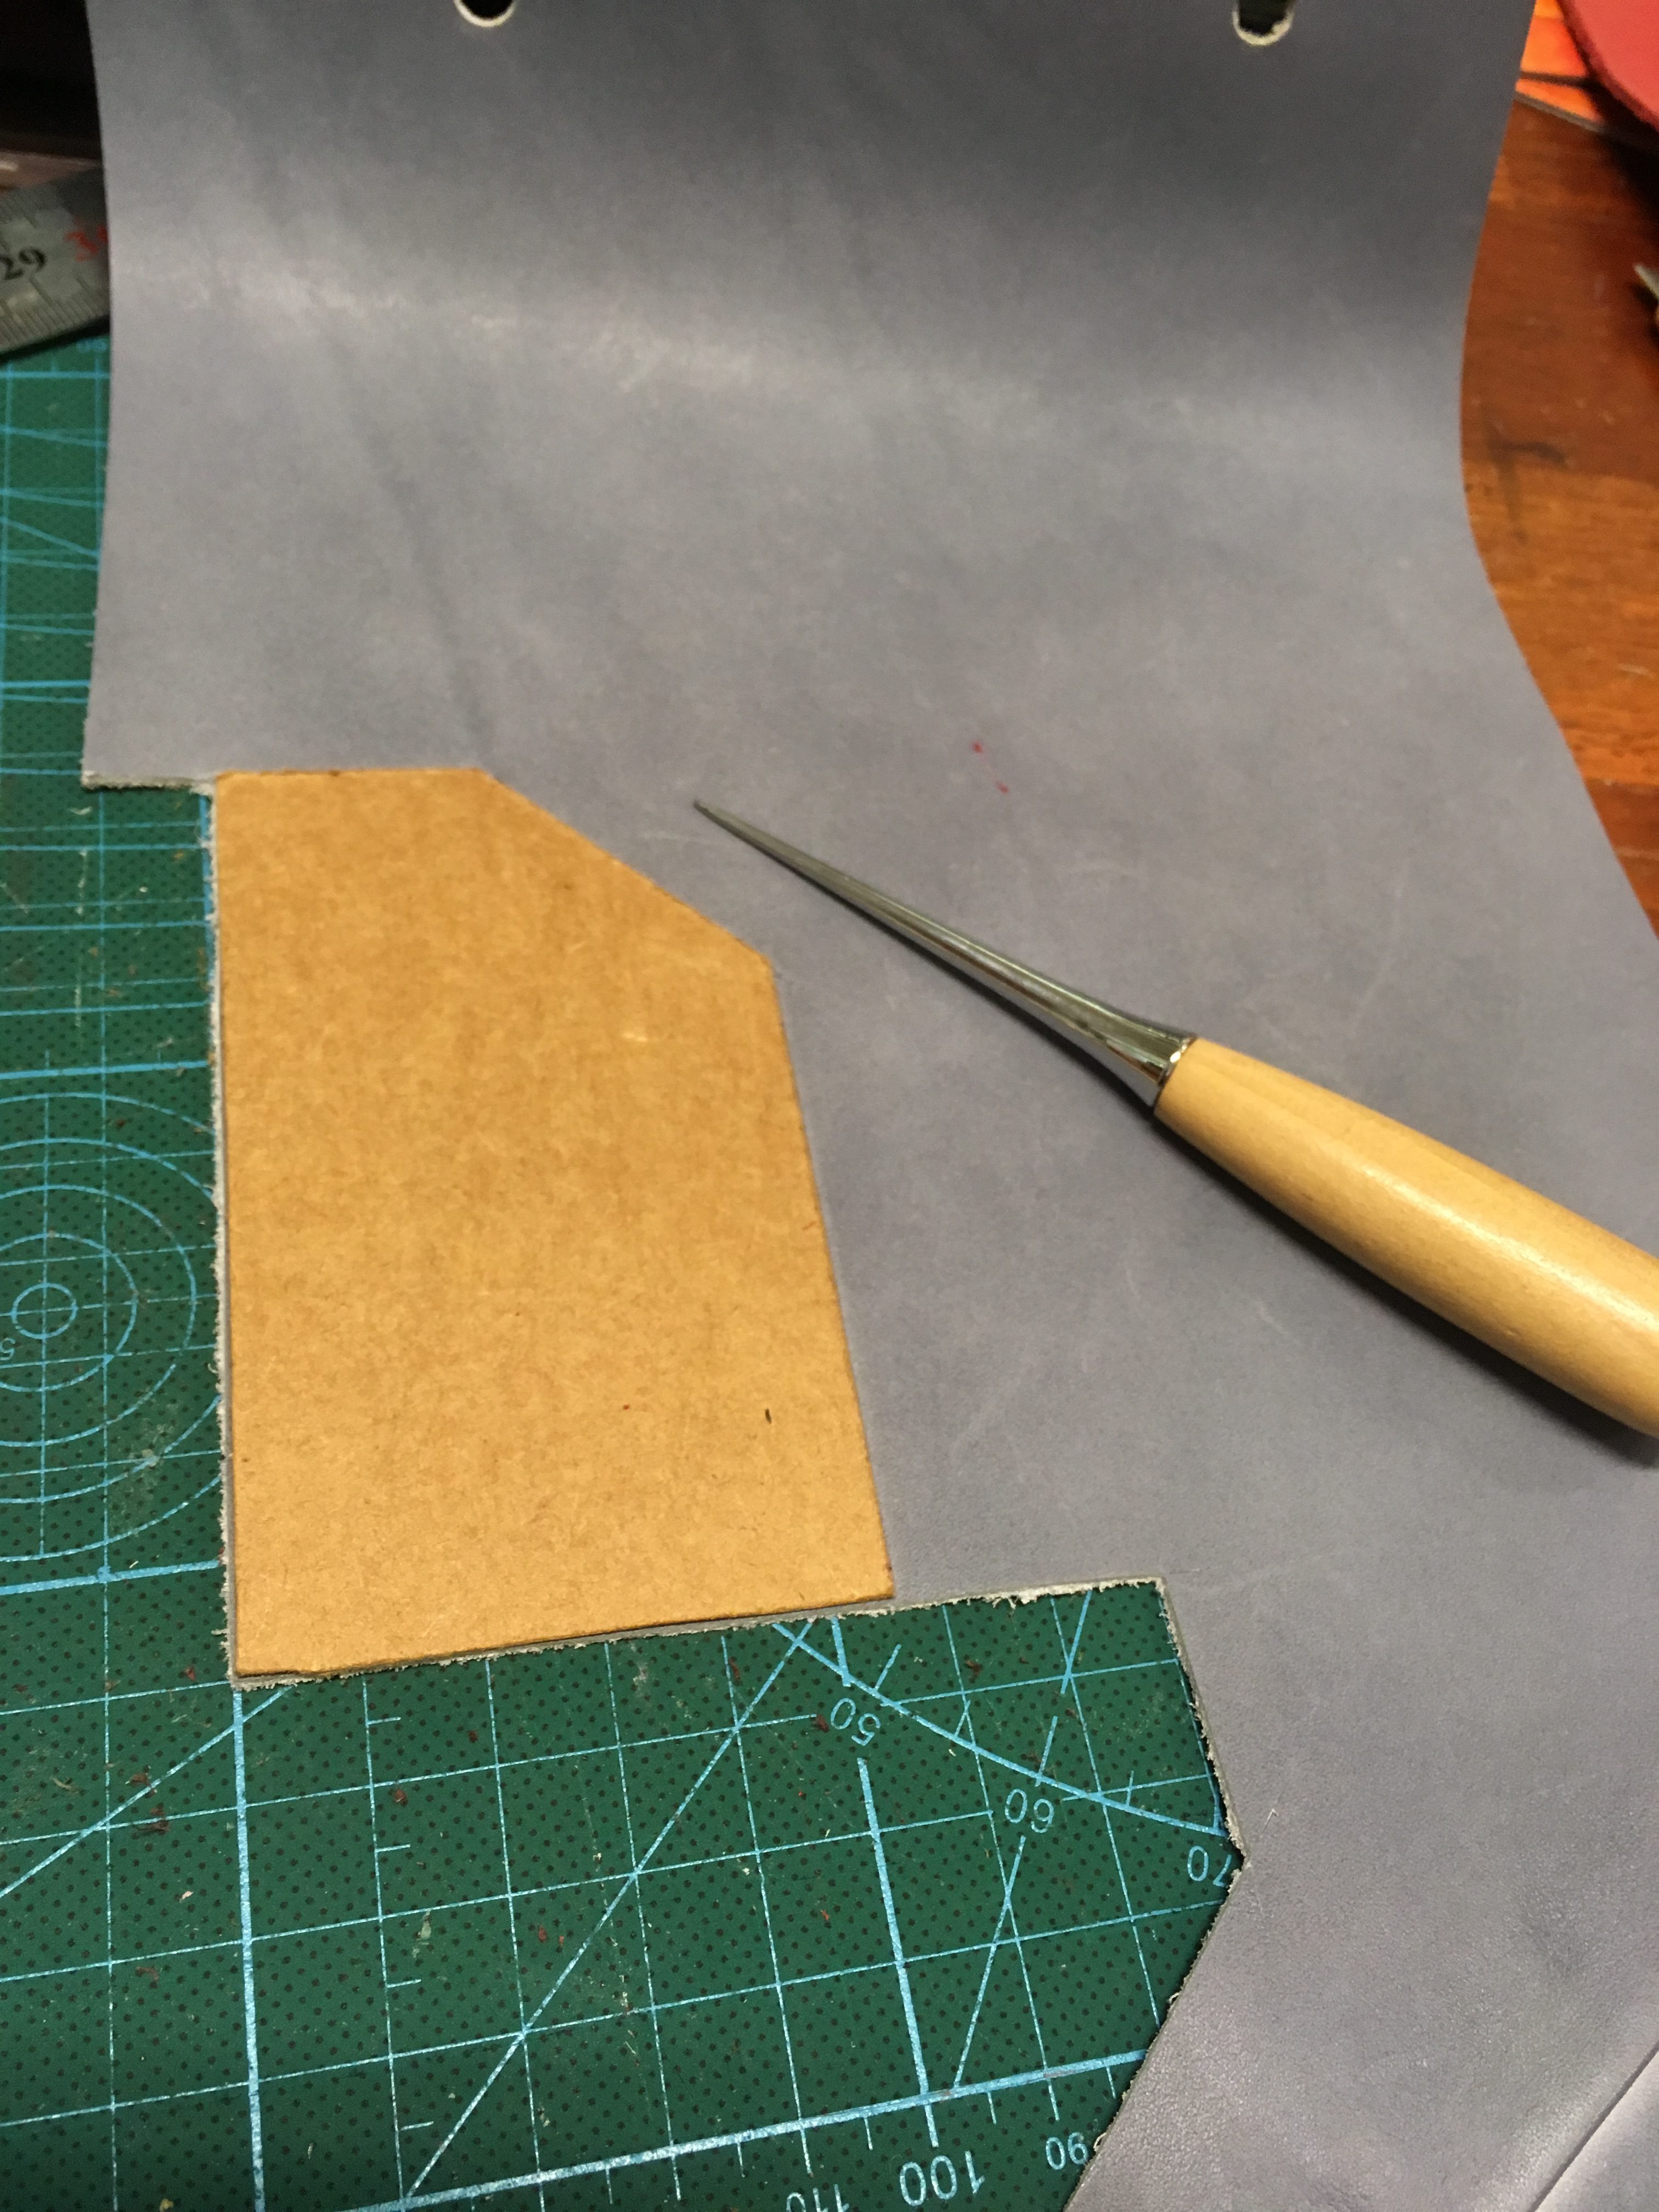
Step 2. Use the scratch awl to lightly indent guide lines for cutting
Step 3. Cut the leather into desired shape and size
Step 4. Use the creaser to indent guide lines for sewing
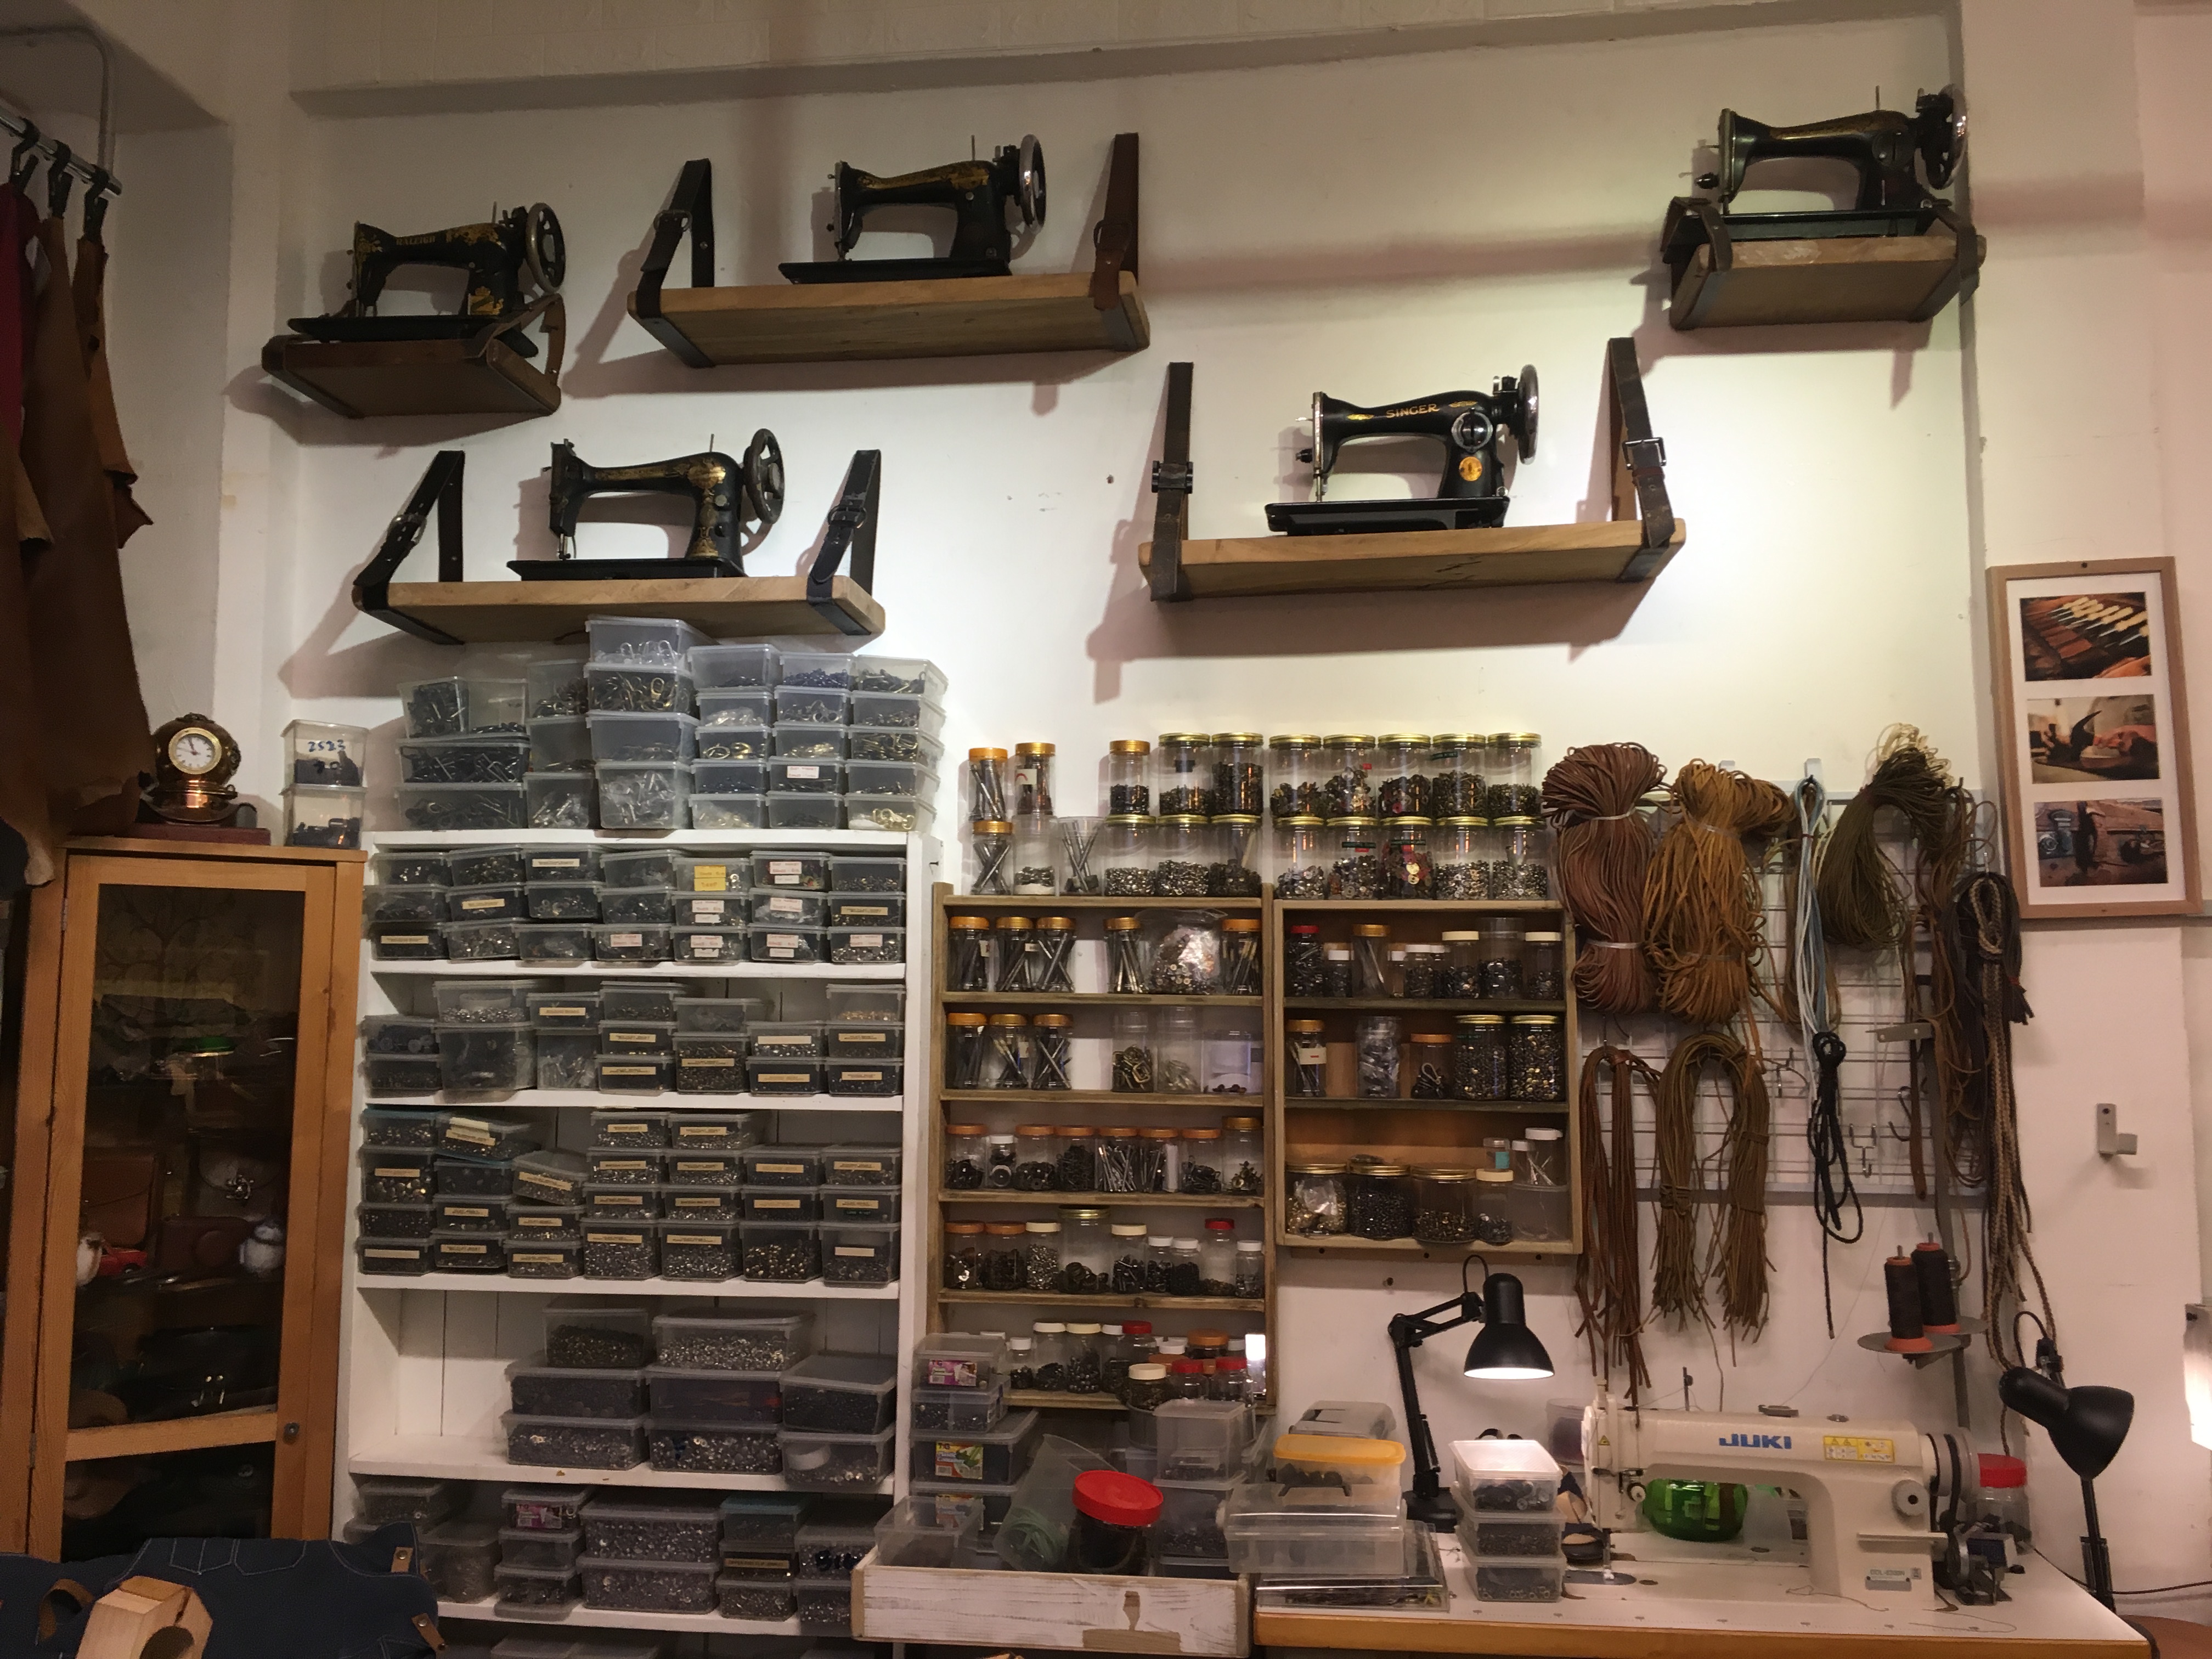
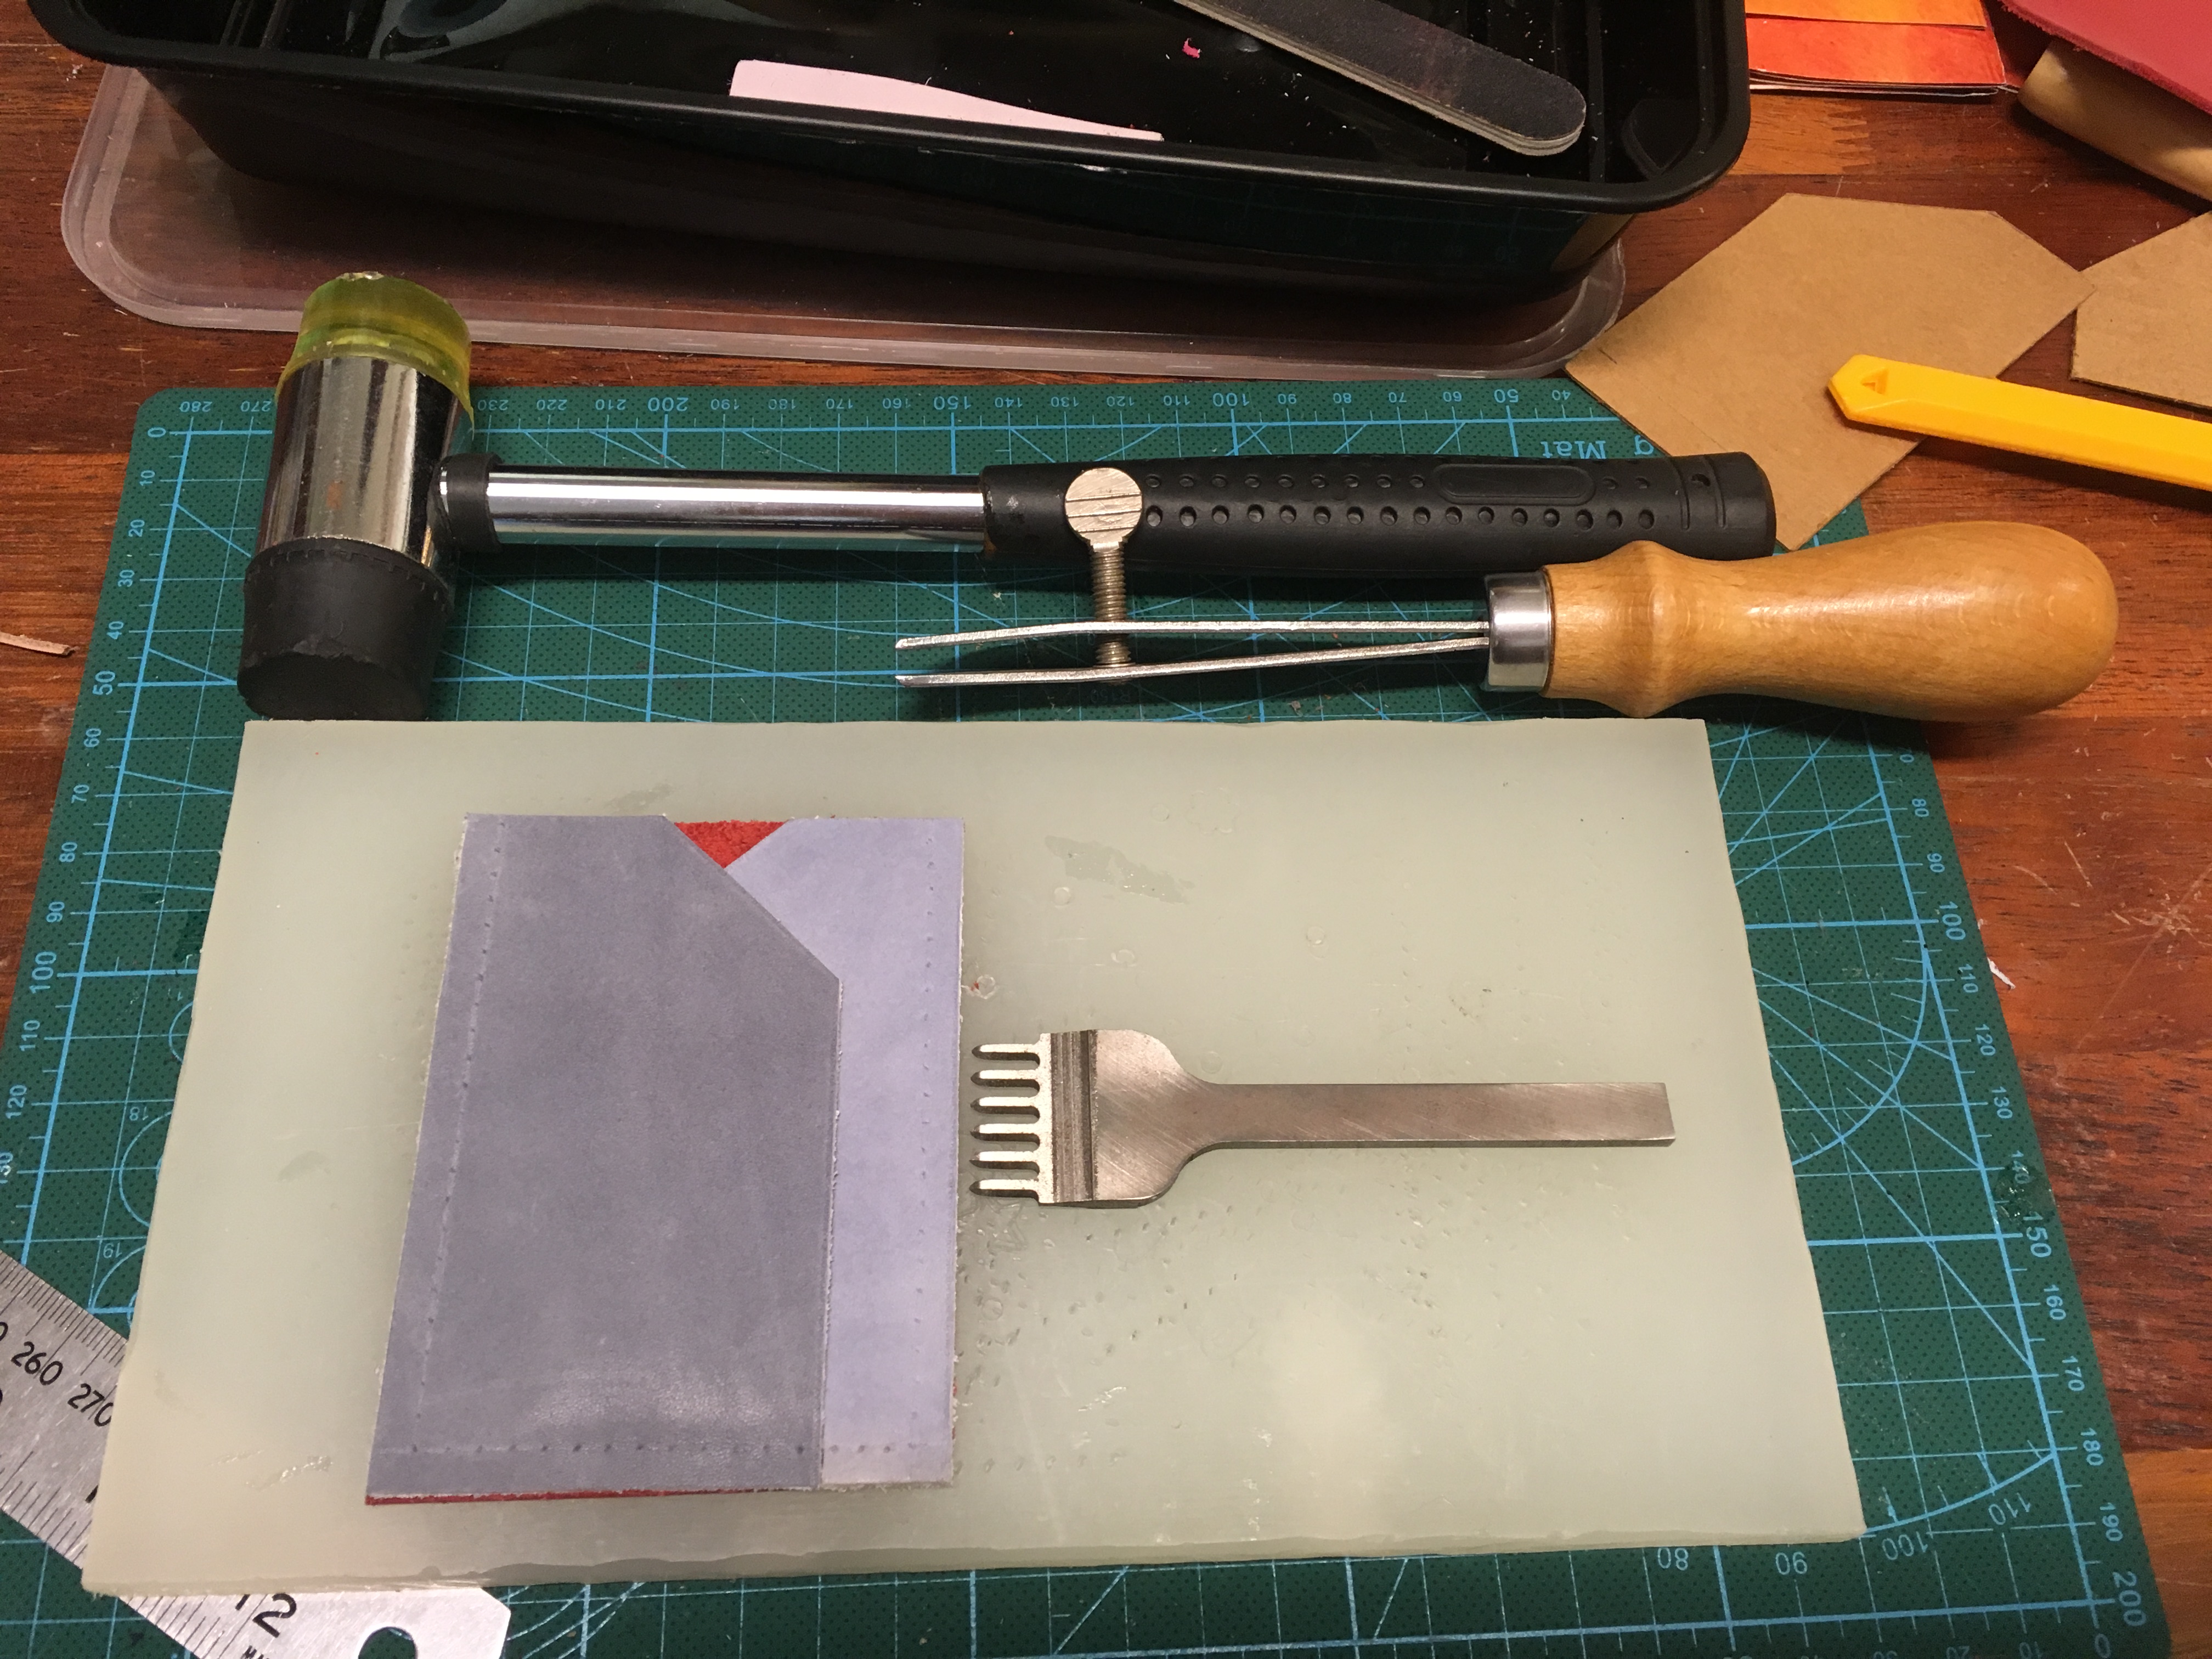
Step 5. Use the fork to lightly indent where the holes are going to be
Step 6. Using the hammer and fork, punch holes into the leather
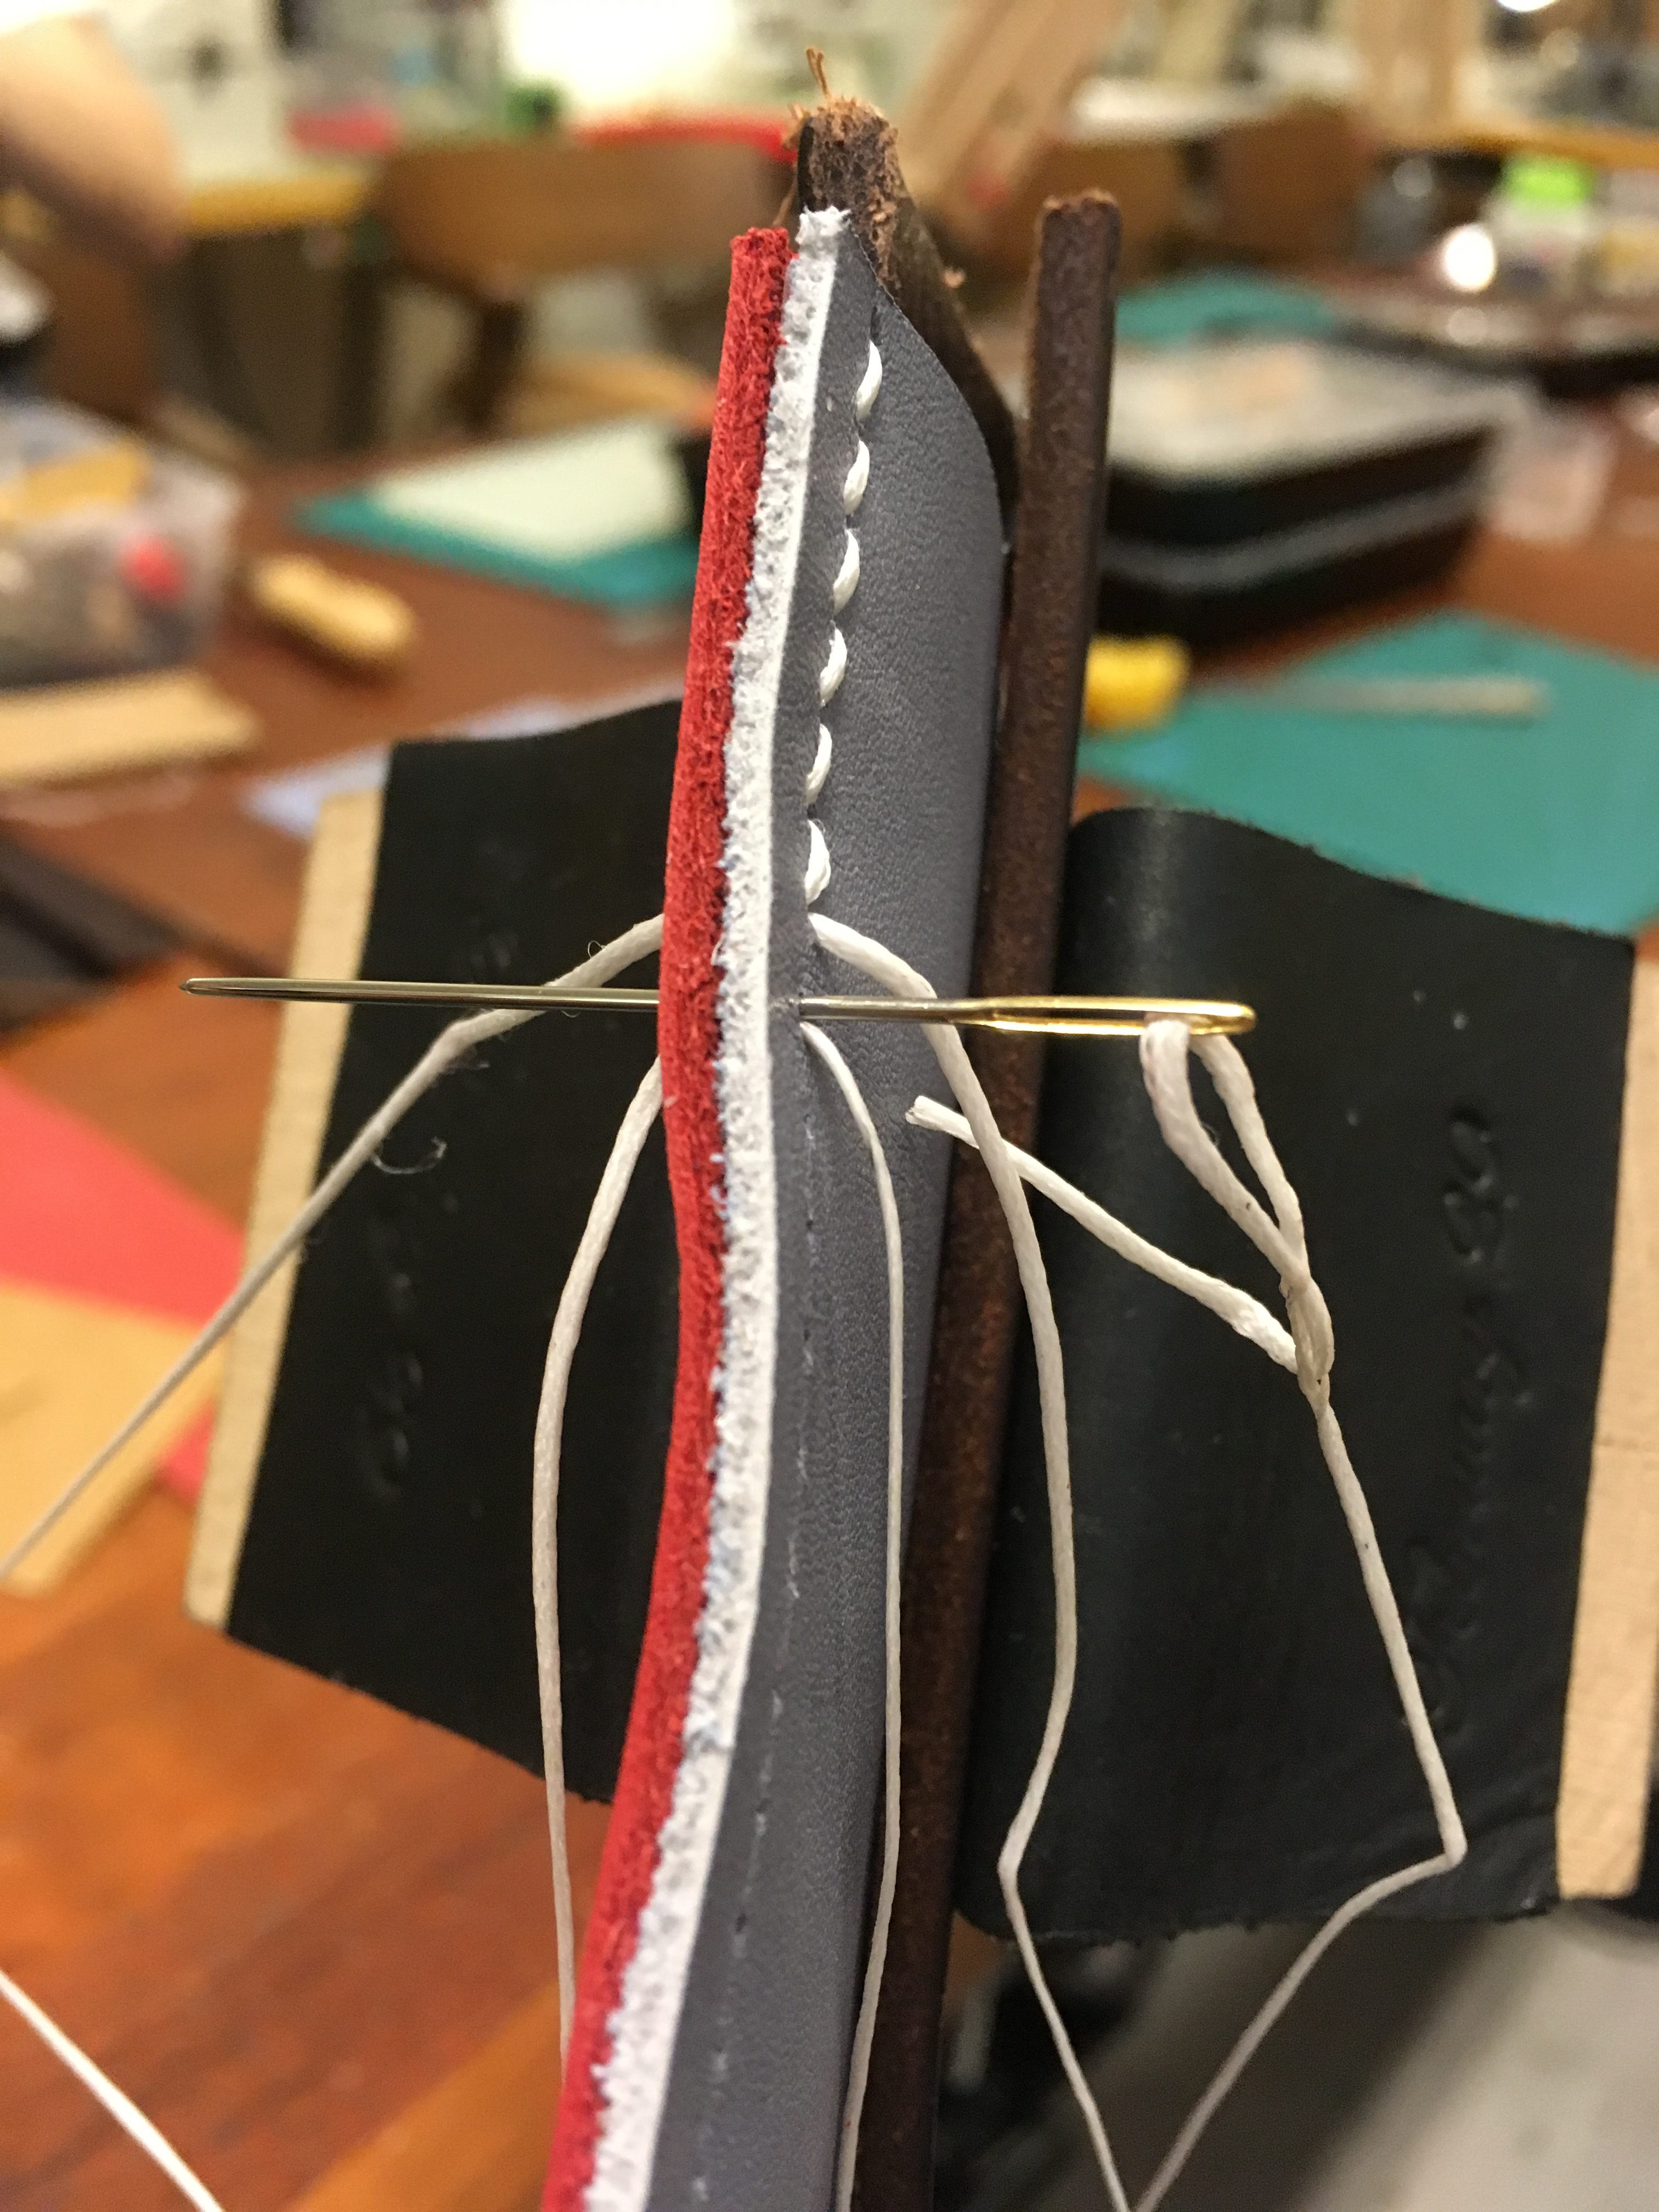
Step 7. Choose desired thread and thread it through the needle
Step 8. Clamp the leather pieces together and start sewing
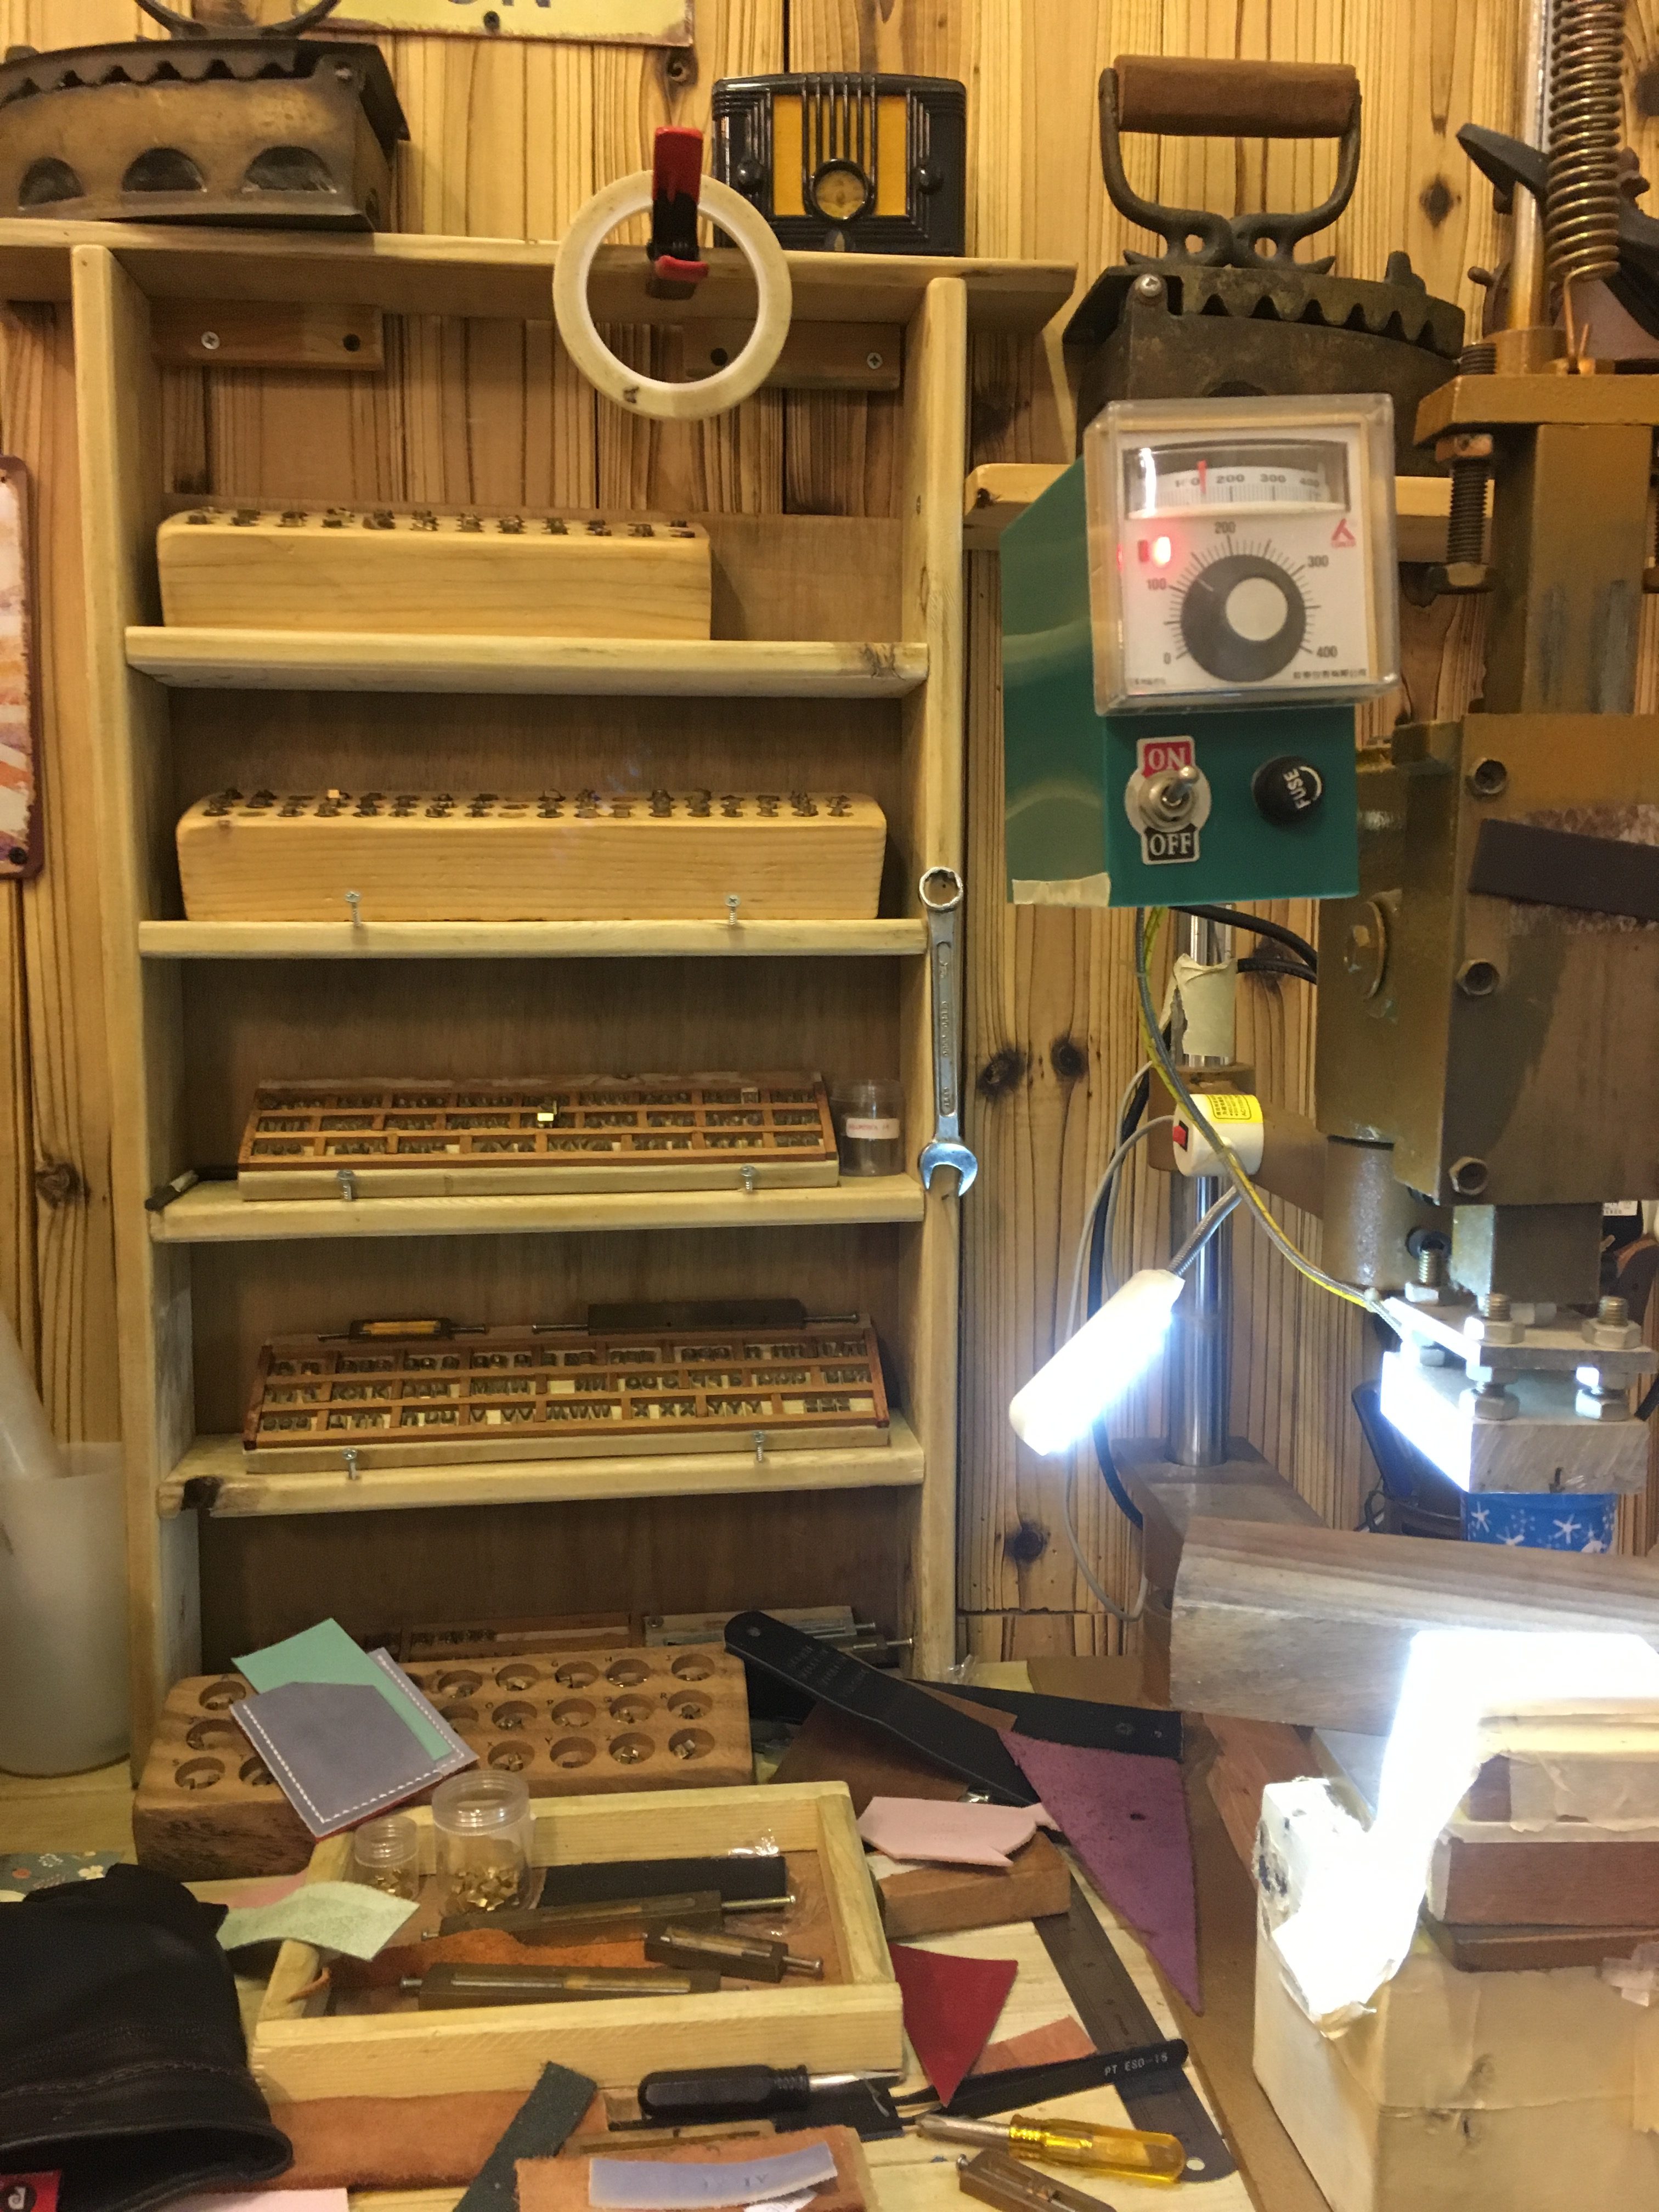
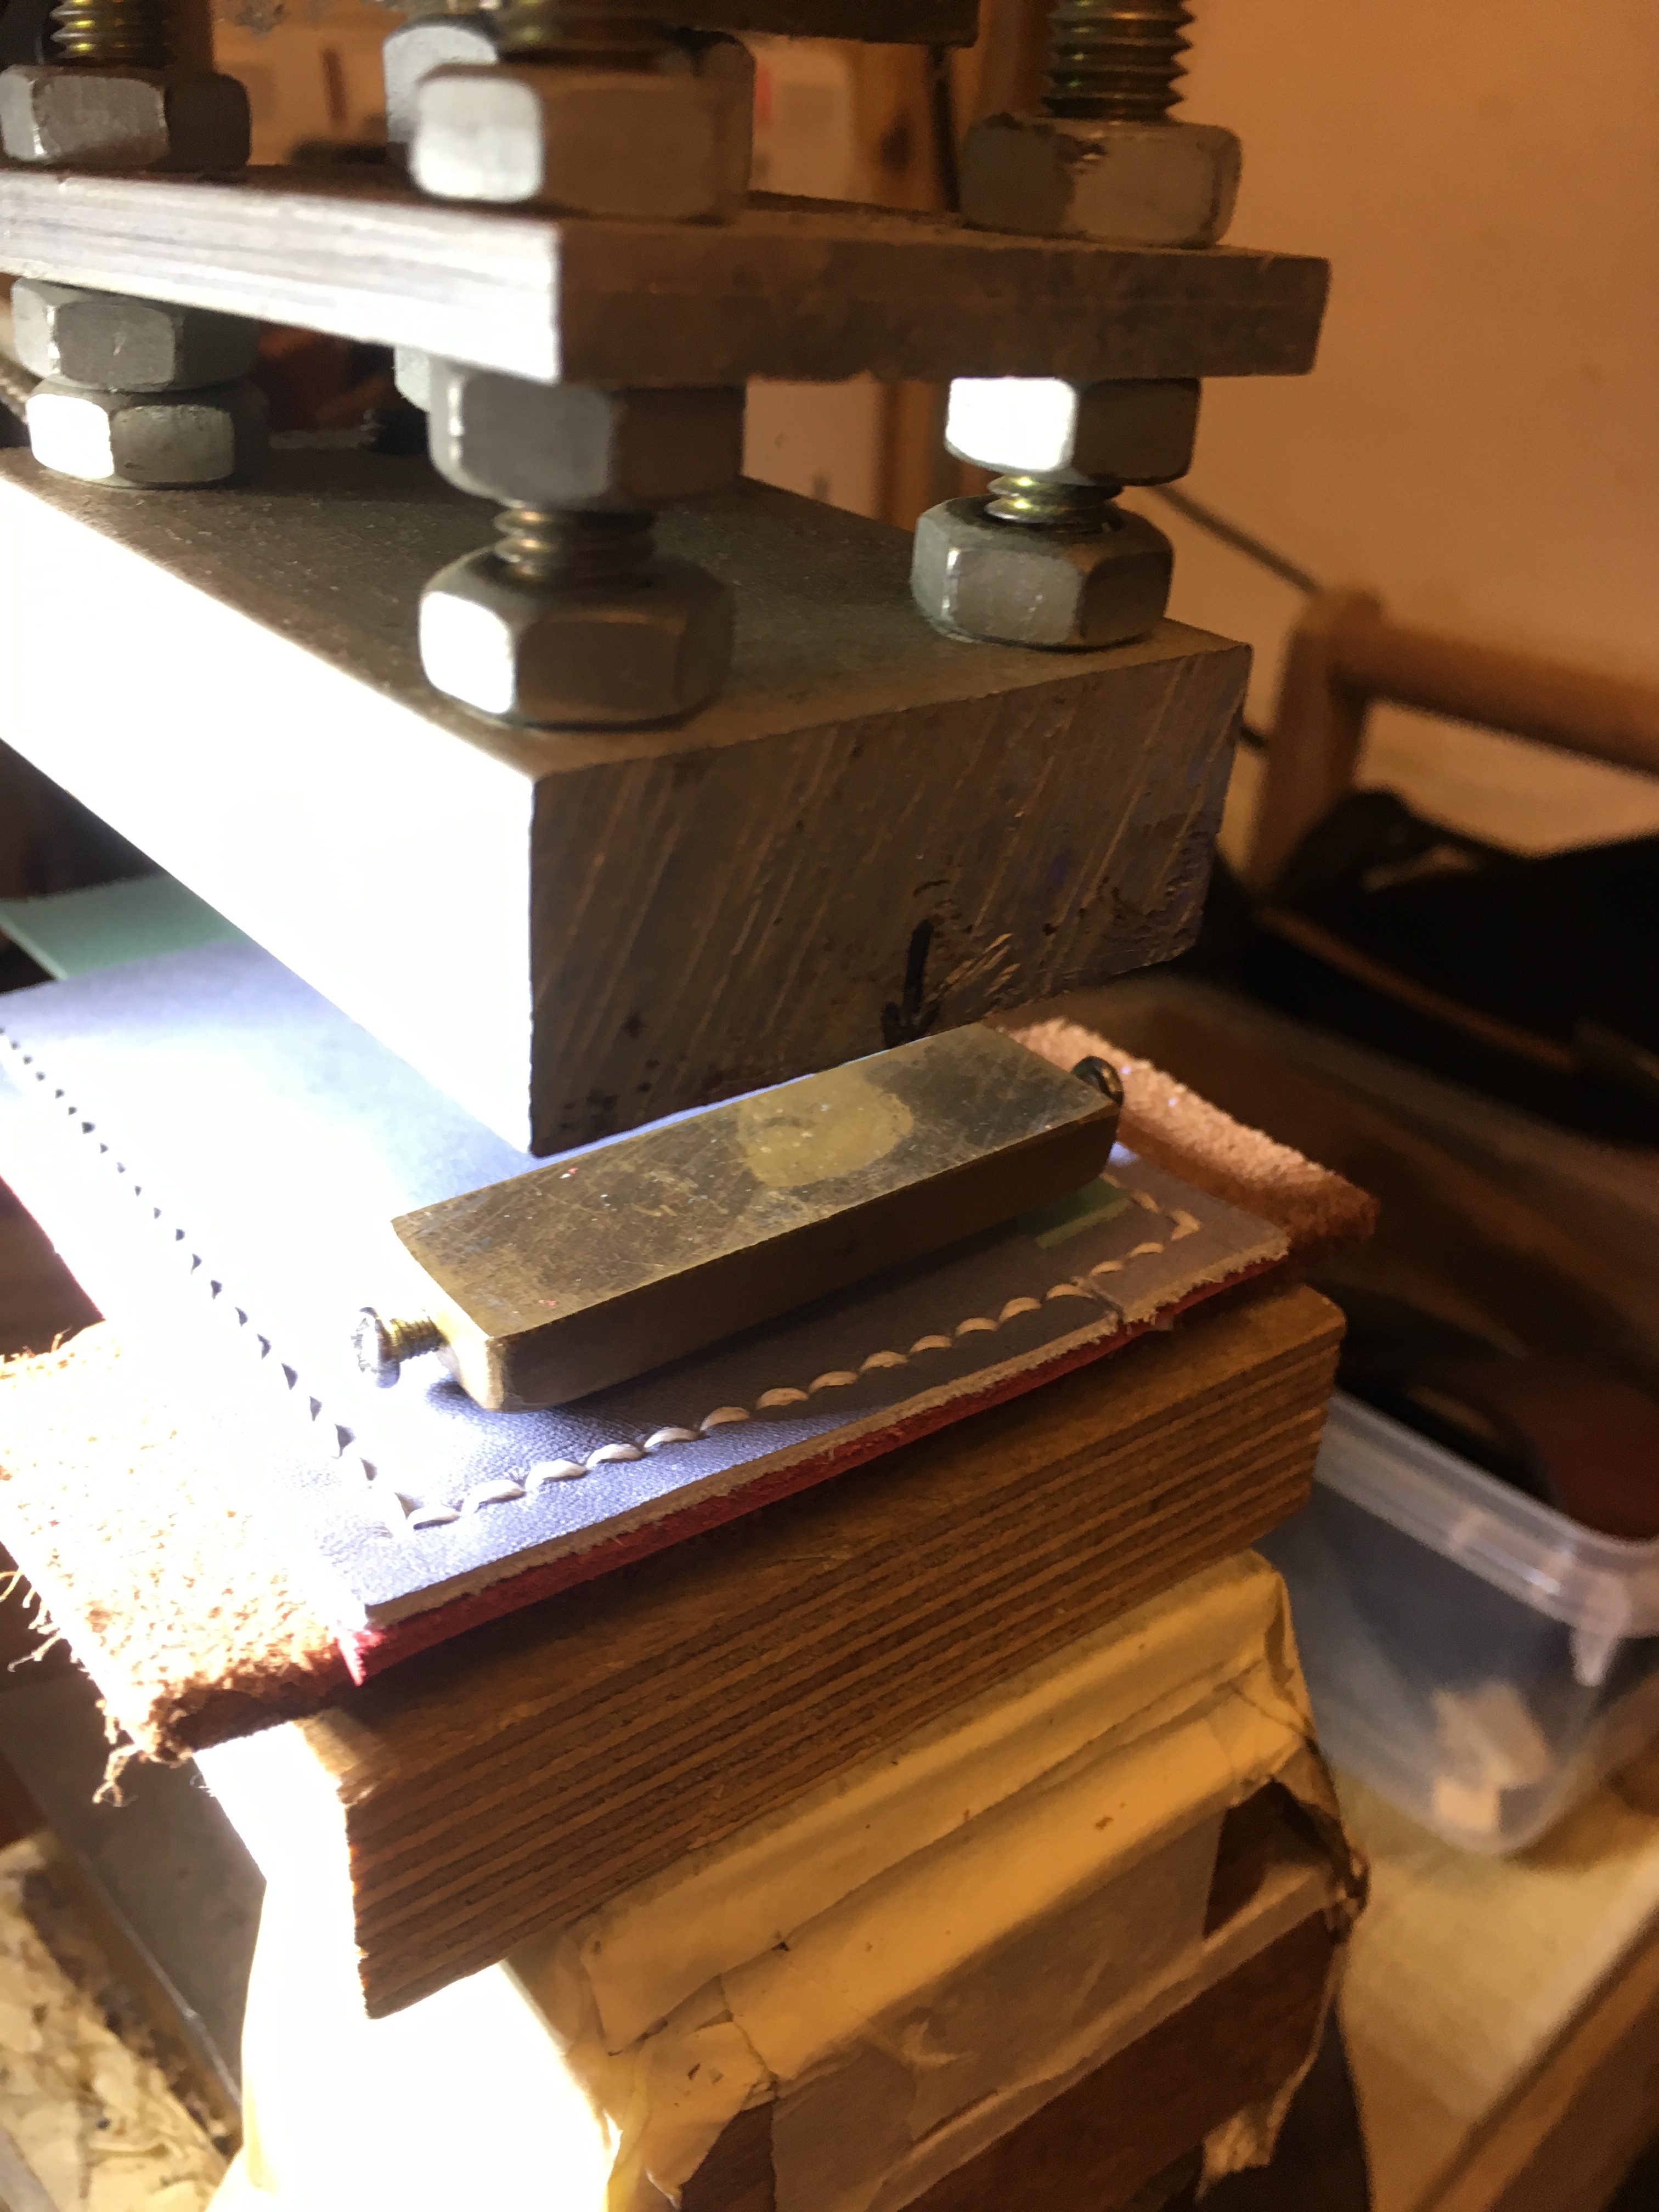
Step 9. If desired, deboss letters into the final product
Debossing my initials using the heat machine – temperature is at 150 degrees celsius!
Pain Points:
Depending on the hardness and thickness of the leather, it can actually be quite delicate. For example, when cutting a thin piece of leather, one has to be very careful not to stretch it out.
Precision is also very important, especially when the product is meant to be sold.
Finally, lots of strength is actually needed, especially during the process of punching holes into the leather.
Alex (protagonist) – an ordinary office lady in her mid 20s
Warren (antagonist) – Billionaire Tech Mogul with a hidden agenda
Genre: Adventure
Storyworld:
The era of convenience has reached its peak – Everything is disposable. Mankind no longer has to lug around their burdensome things, all they need is the Infinity Draw. The Infinity Draw is a device strapped on every human’s wrist, with gleaming tentacles hidden away, ready for command. Upon receiving information from their digital synapses, the robotic arms grow and draw as desired. Mini parachute drones, almost invisible to the eye, float around like party balloons, ready to connect to the robotic arms and supply them with the materials needed. Huge giant robots, the most advanced yet dumbed down piece of artificial intelligence, roam the Earth, picking up all the discards.
Important Technology:
Infinity Draw (based on the Zentangle Robotic Arm Design Prototype) – extremely fast 3D Printing
Responsive and Automated Giant Robots
Responsive and Automated Mini Parachute Drones
Short Story:
The Infinity Draw does everything for humankind, from drawing food to signing important documents. One day, everything shuts down. The robotic tentacles remain unmoveable no matter how the users will them to move. The huge robots pause halfway in motion, and the parachute drones suspend in the thick air, not tinkling around like they use to. Everything is in a standstill and everybody does not know what to do. Then, they start moving again, but not like they used to. They move in eery harmony, photocopies of each other, not controlled by anybody visible. Alex sets out to find out the cause of this technological malfunction, only to stumble across a much larger conspiracy that involves billionaire tech mogul Warren Wick.
Method:
This story idea will probably translate well to both books or film.