
Practitioner 1 – Candy making by Sticky
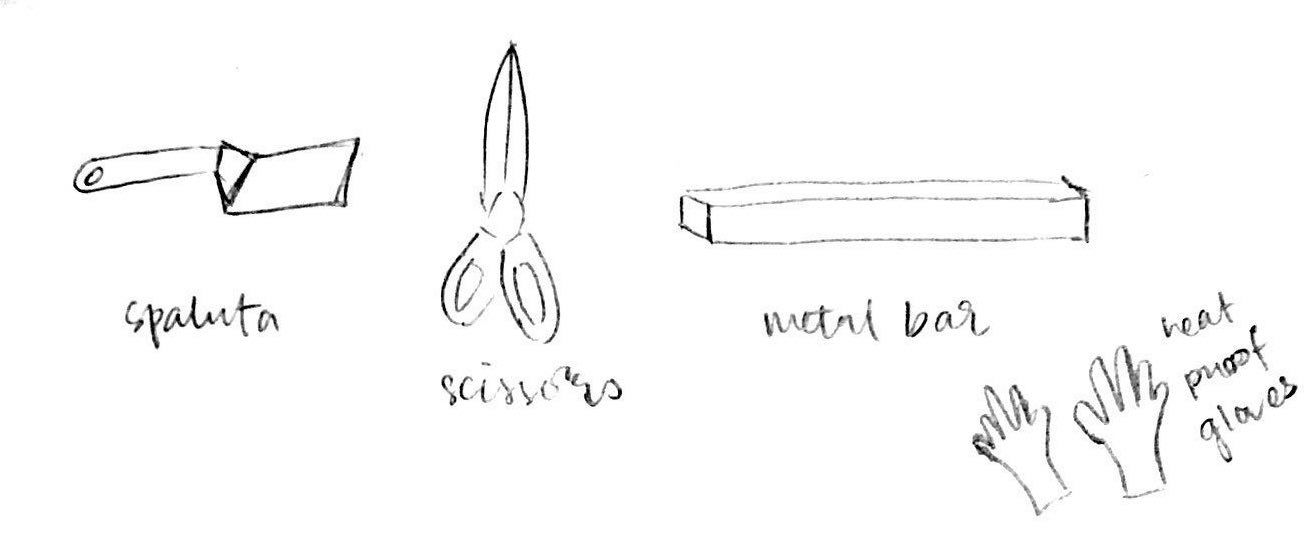
Tools:
- Spatula
- Heavy duty scissors
- Metal bar for shaping
- Heatproof gloves

Process documentation:
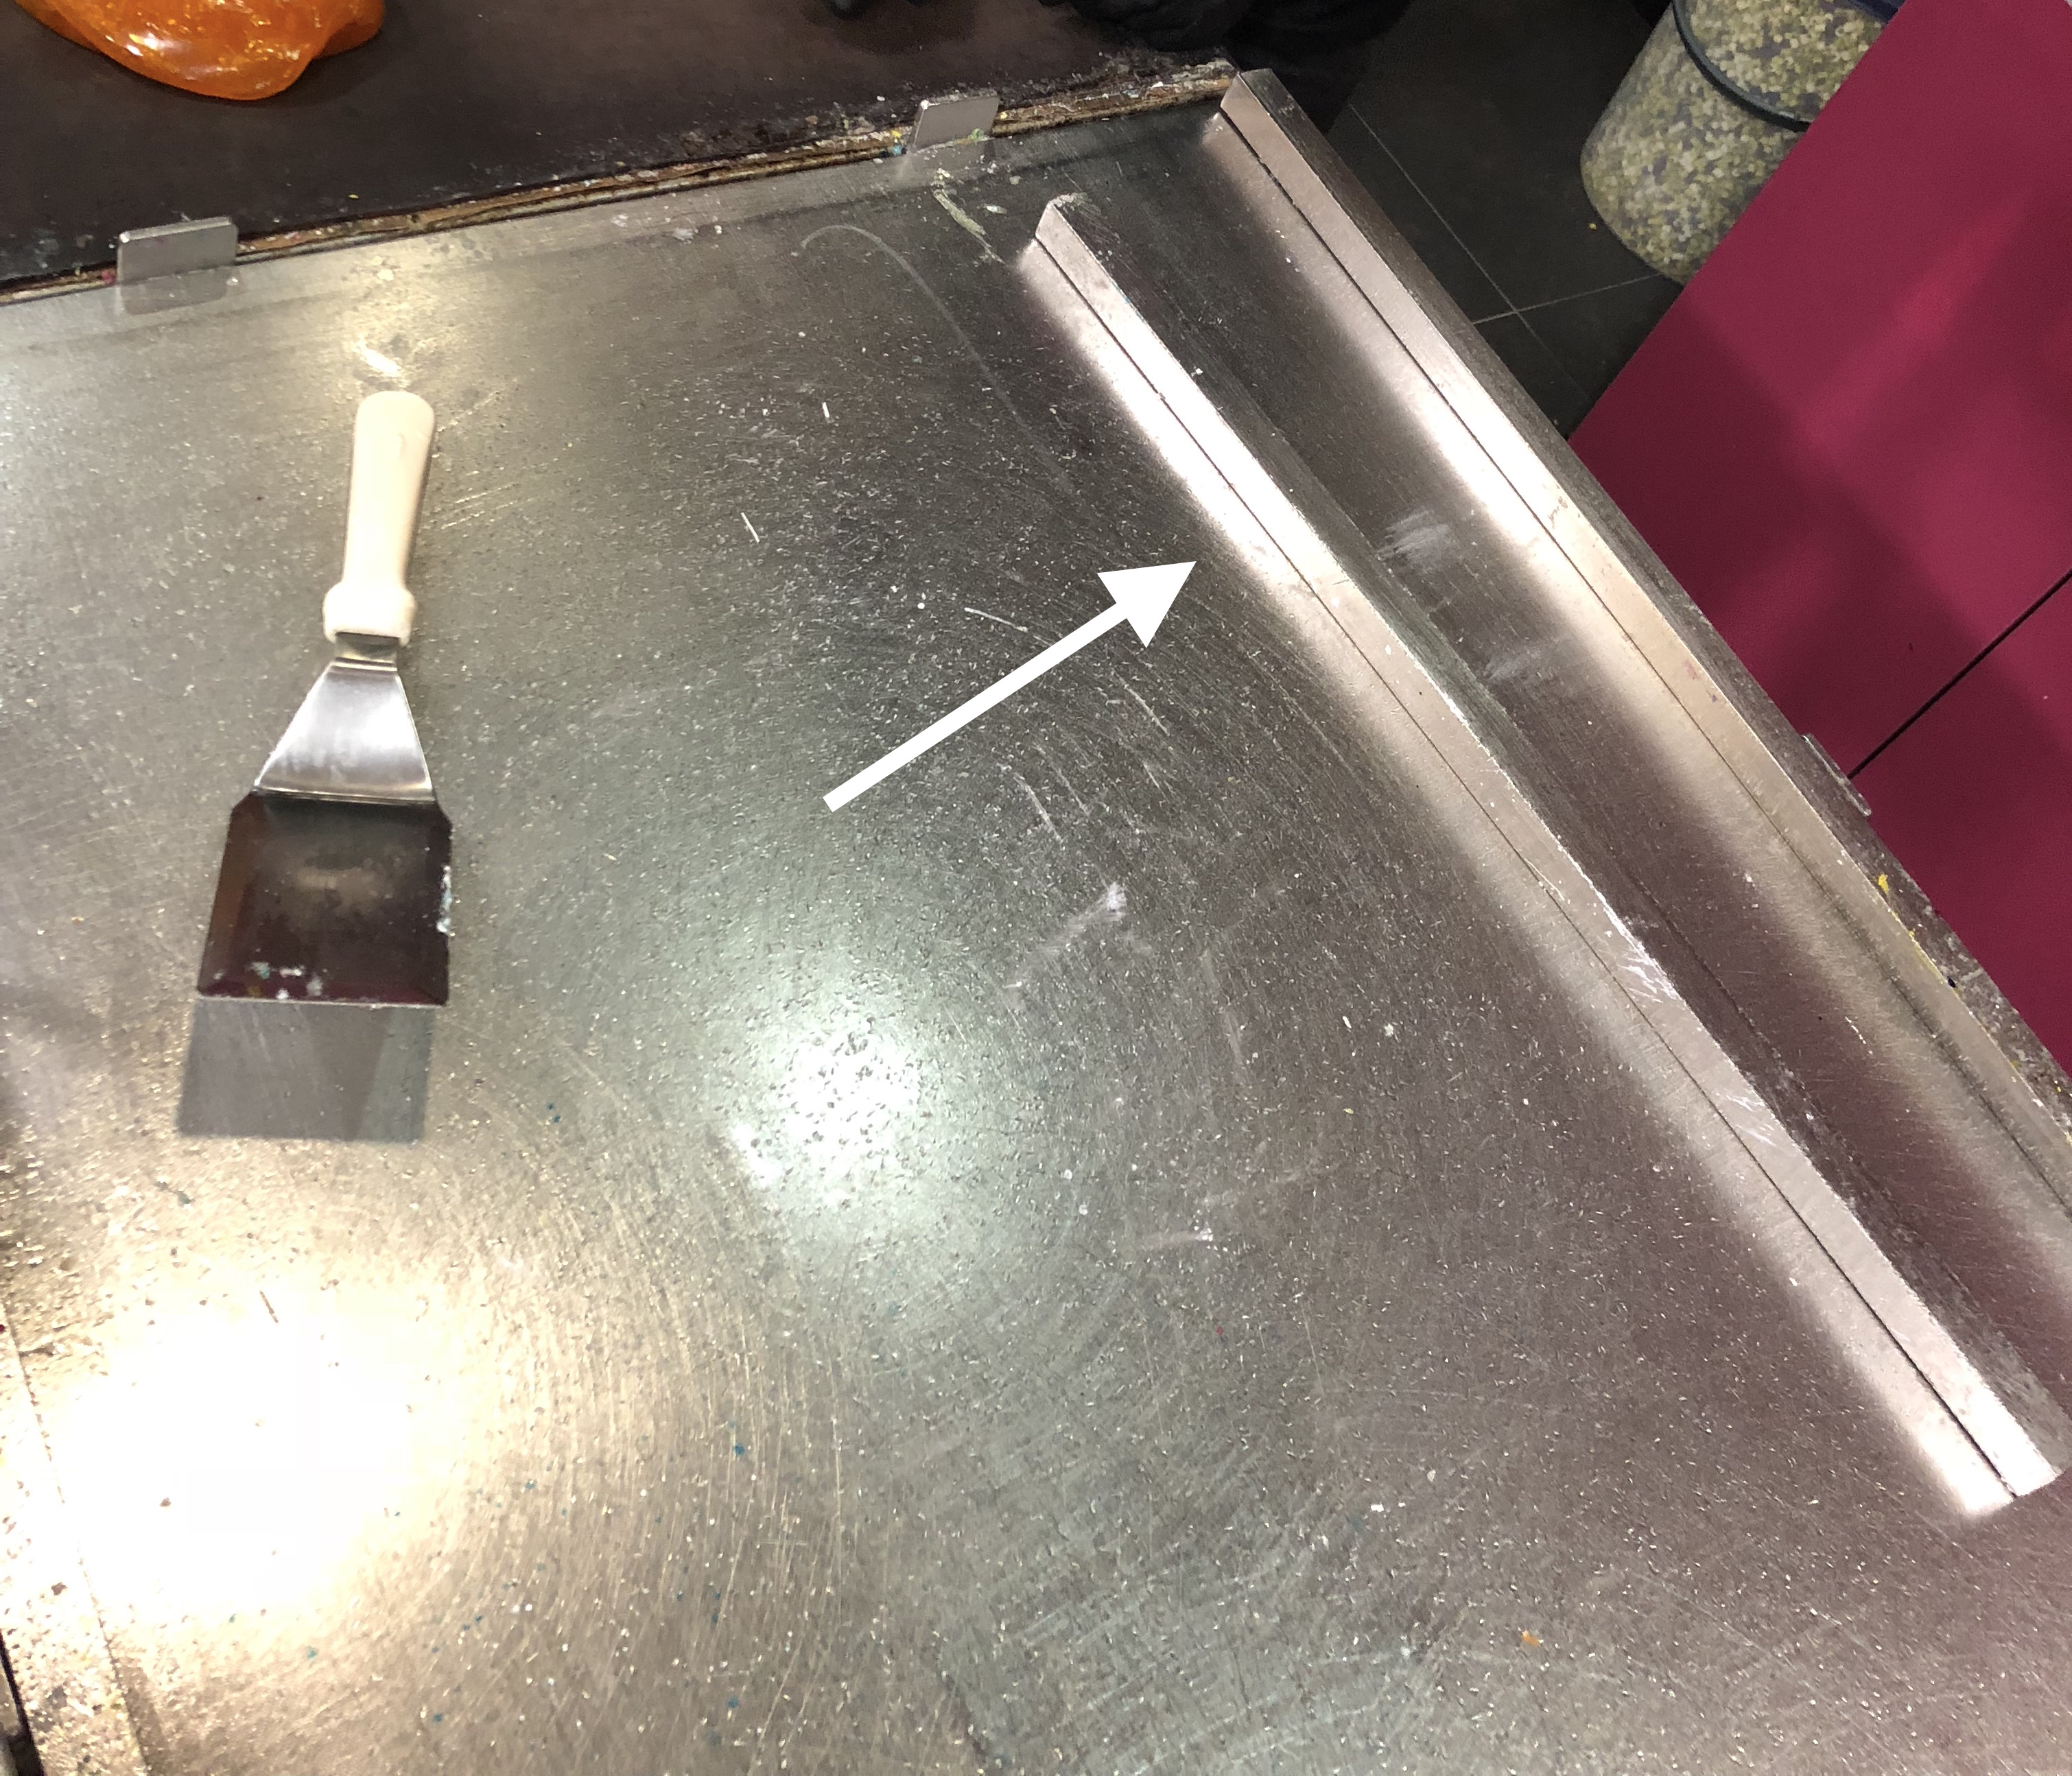
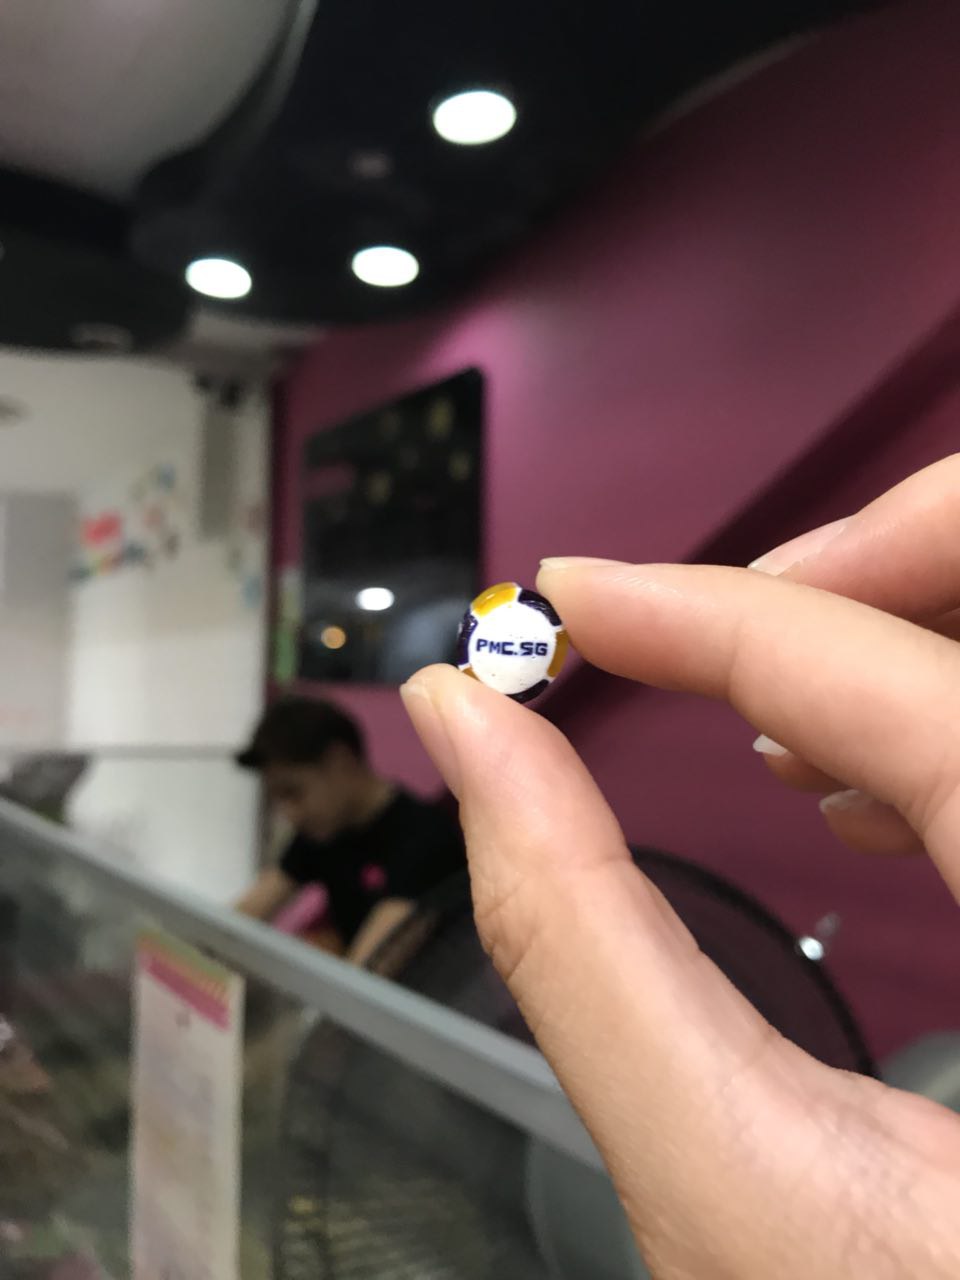
First, the candy is made by boiling sugar and other ingredients in. Then, coloring is added and folded into the candy. Depending on how much of each color is required, different sizes of candy are used. The candy also needs to be stretched. For this order, the background is white with three letters in the center. The candy artists first create the letters by combining long strips of different colored candies then wraps it in a layer of white candy, followed by colors of the surrounding border. It is cooled using a fan and then cut using a metal spatula quickly and with force.
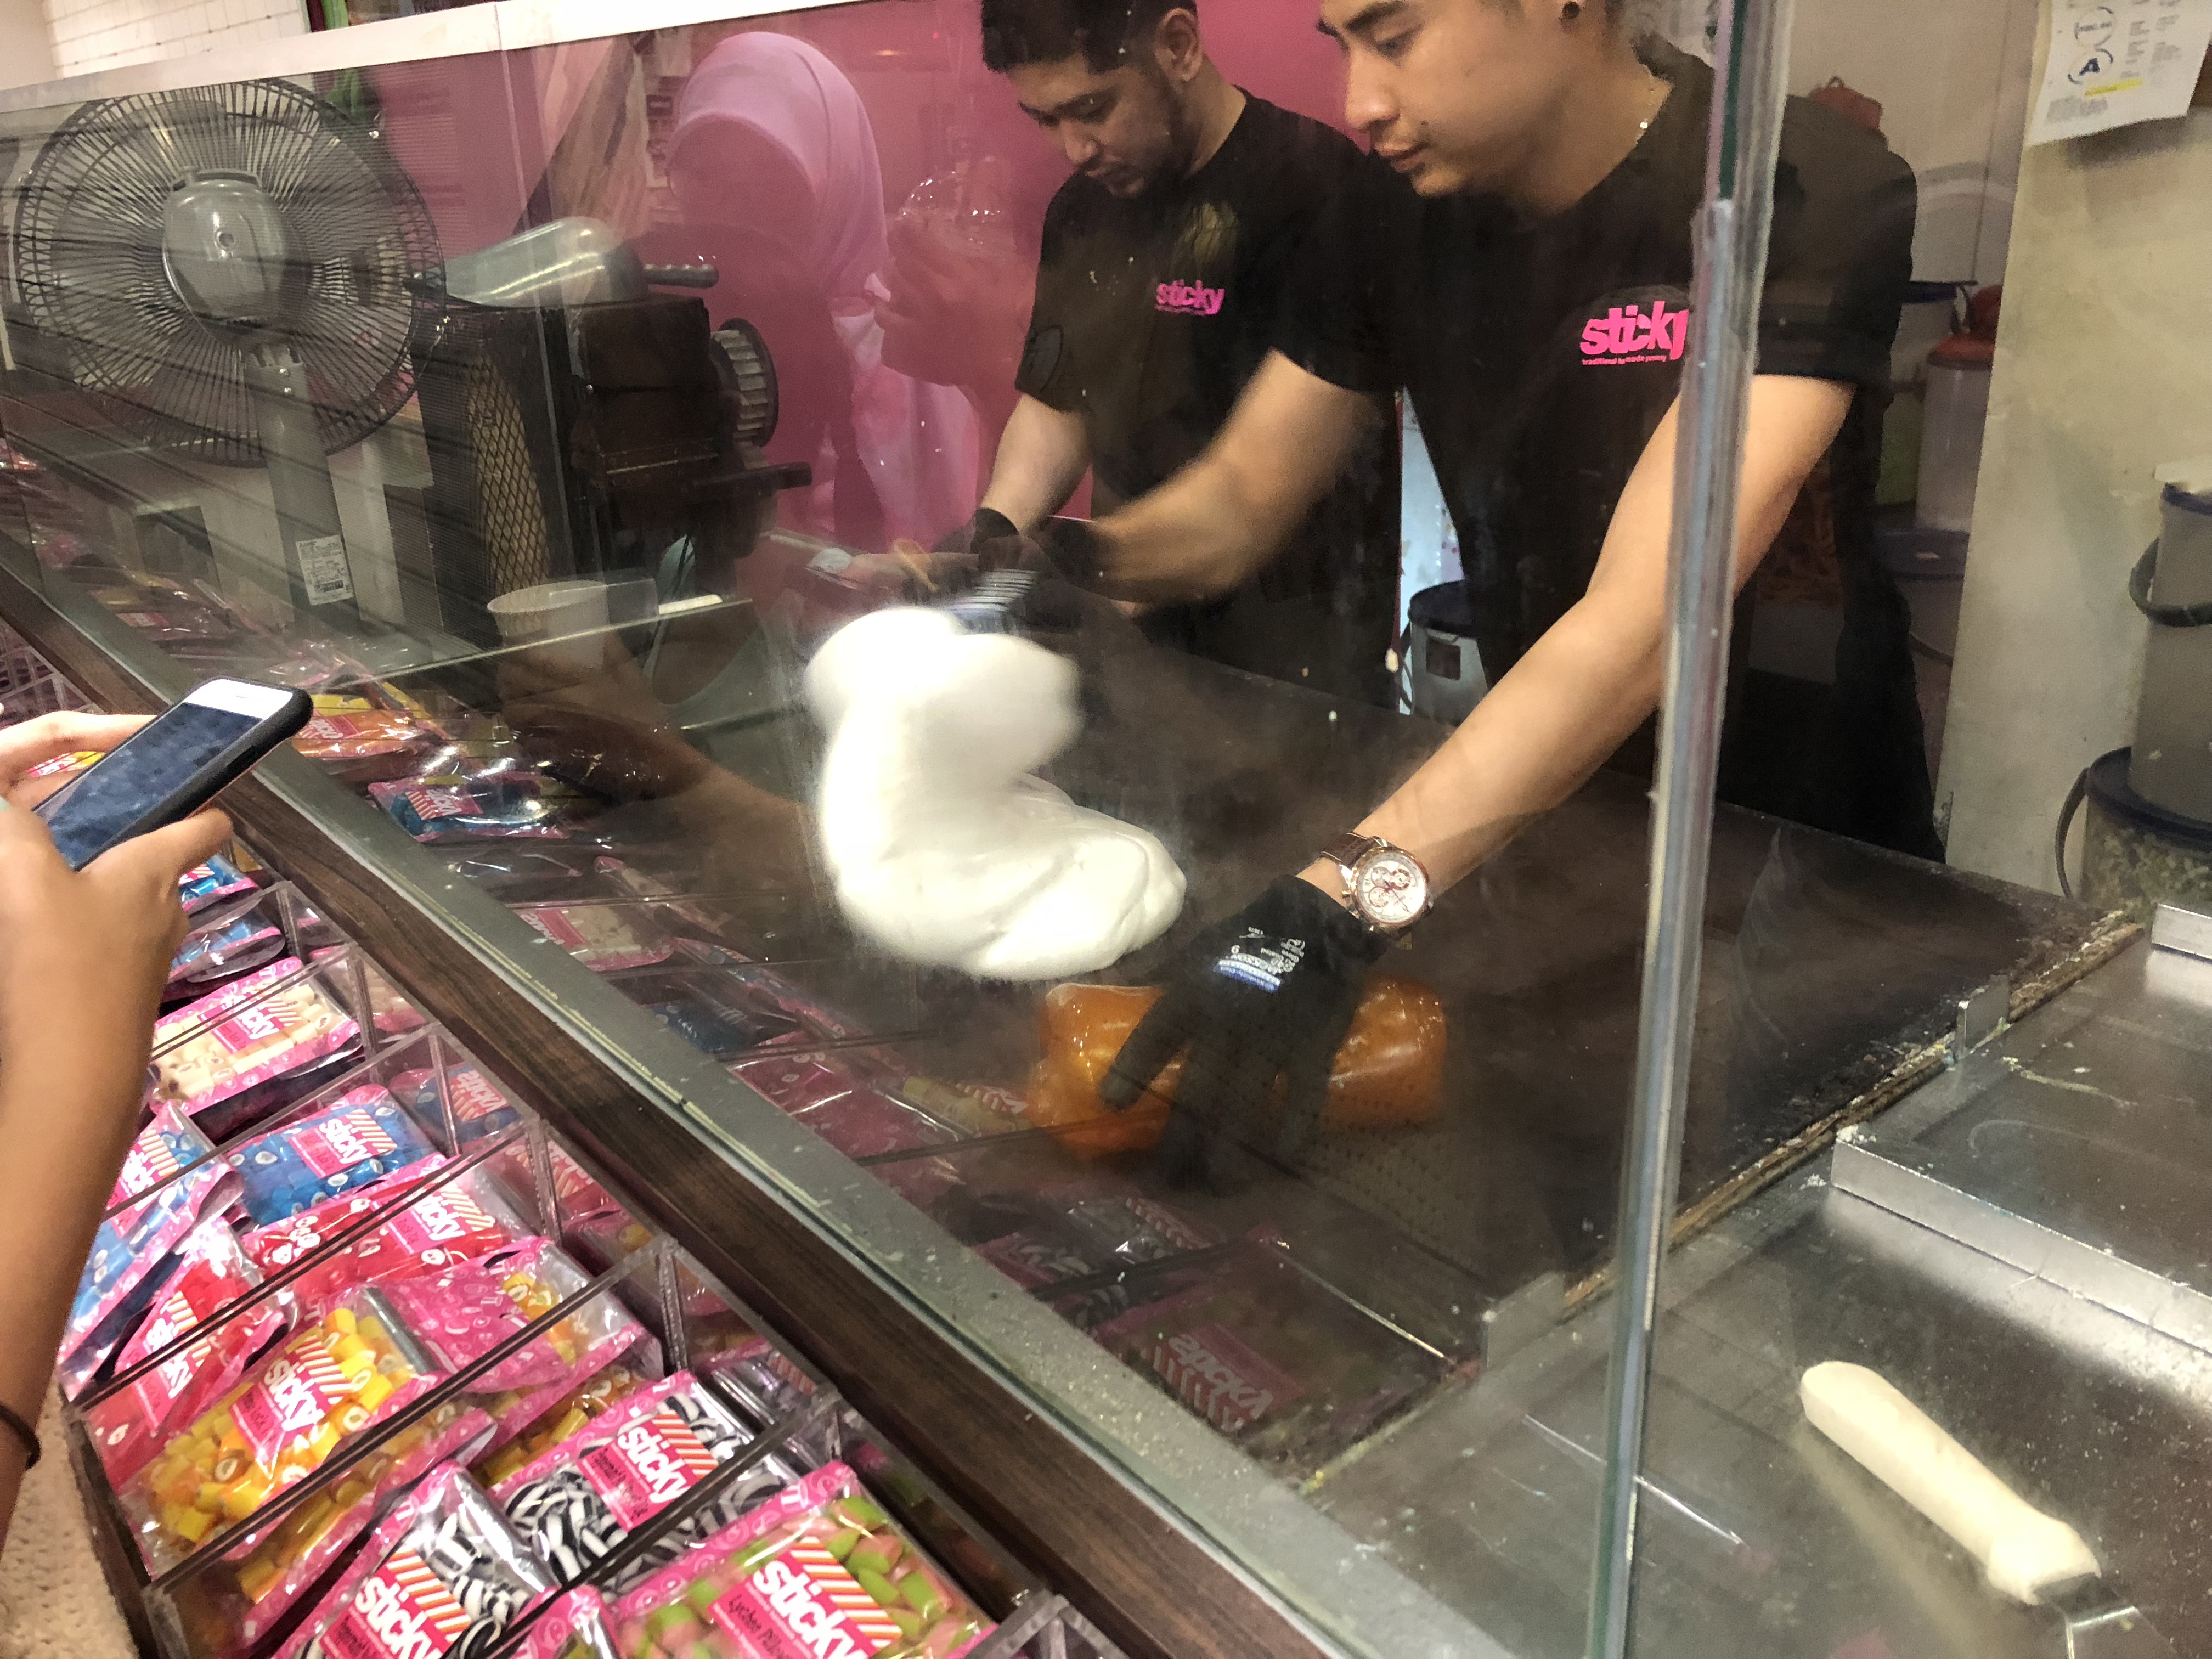
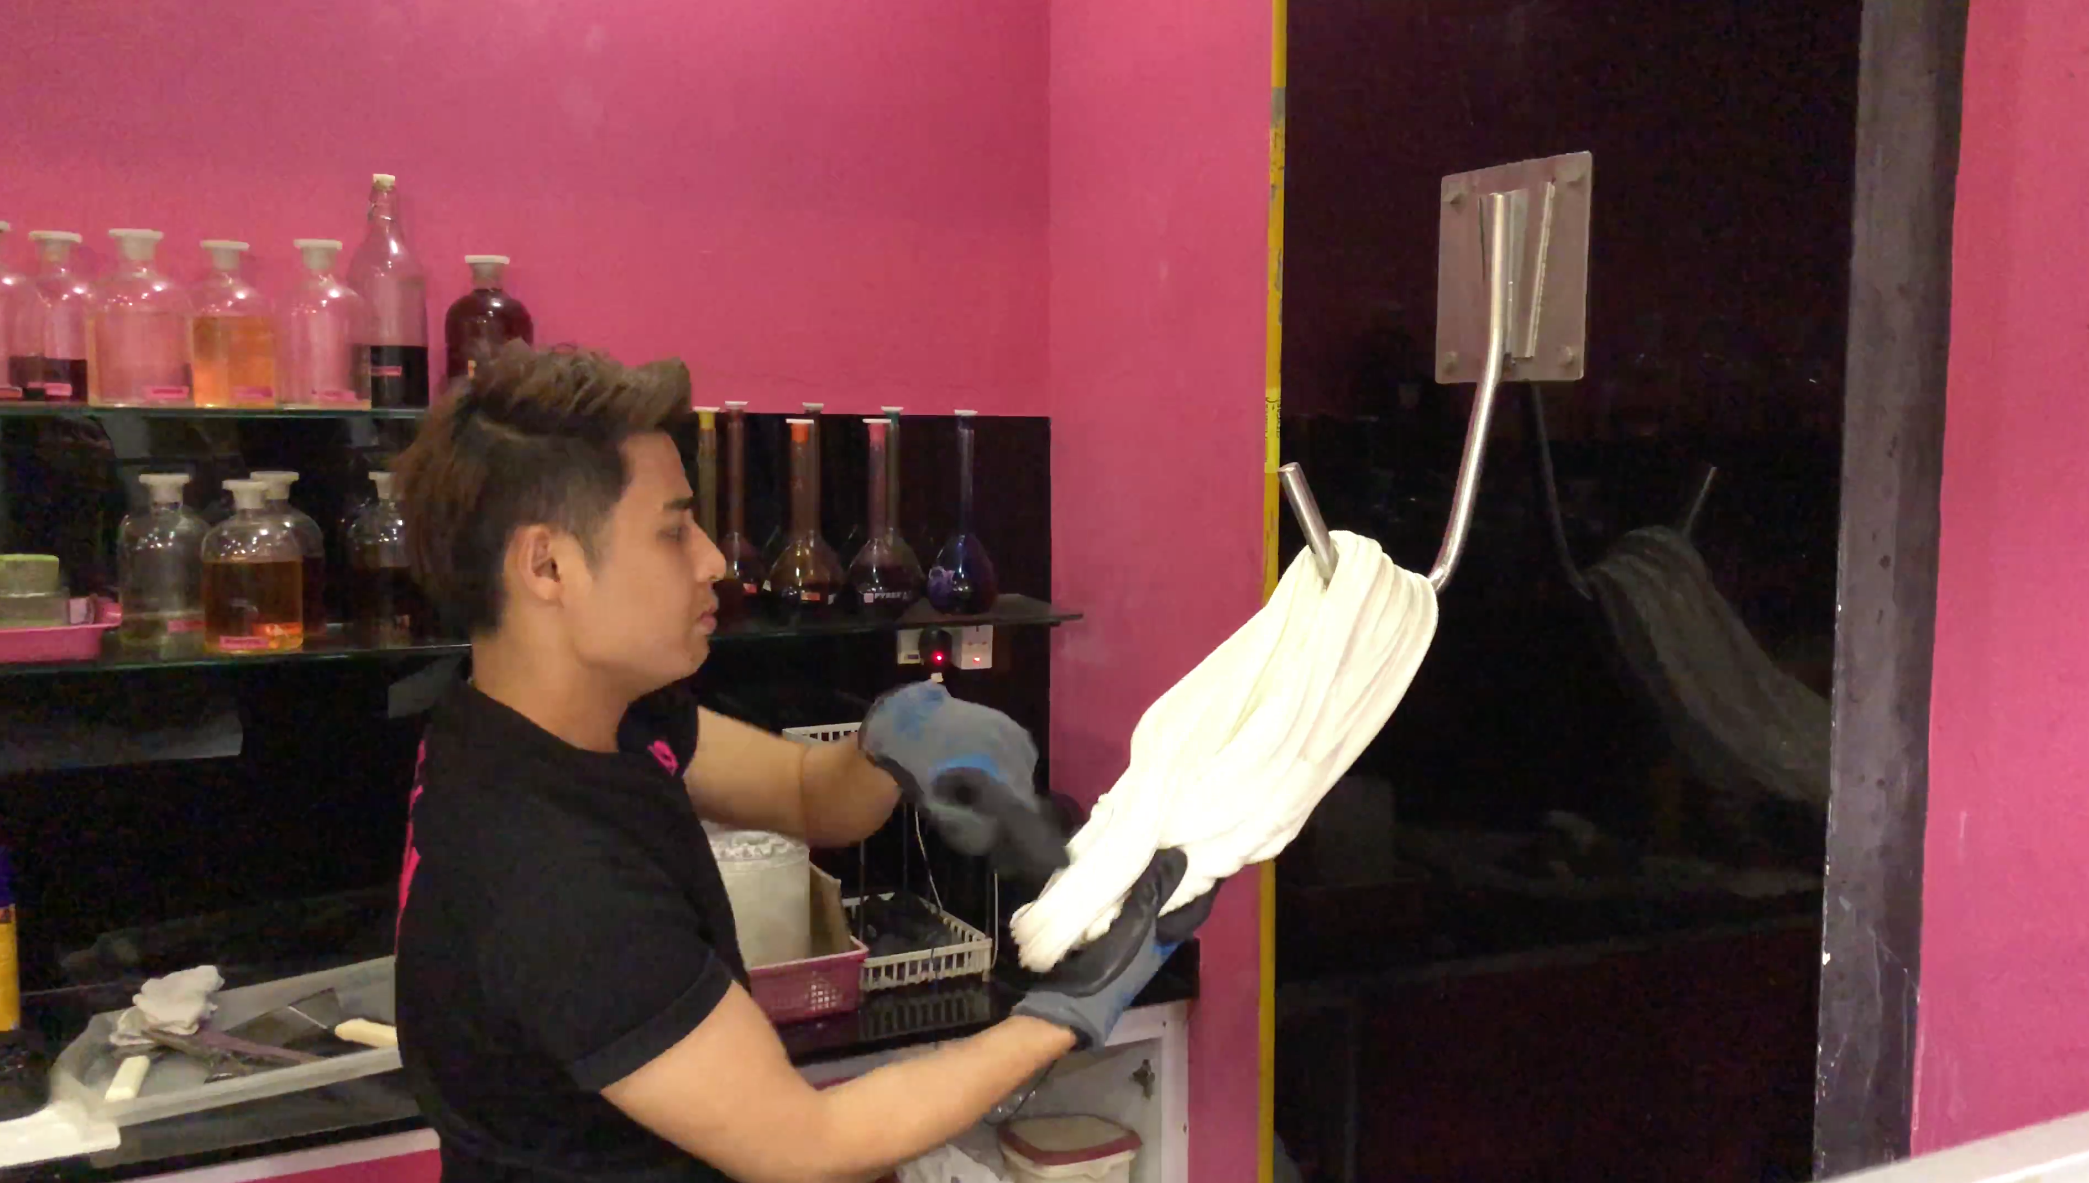
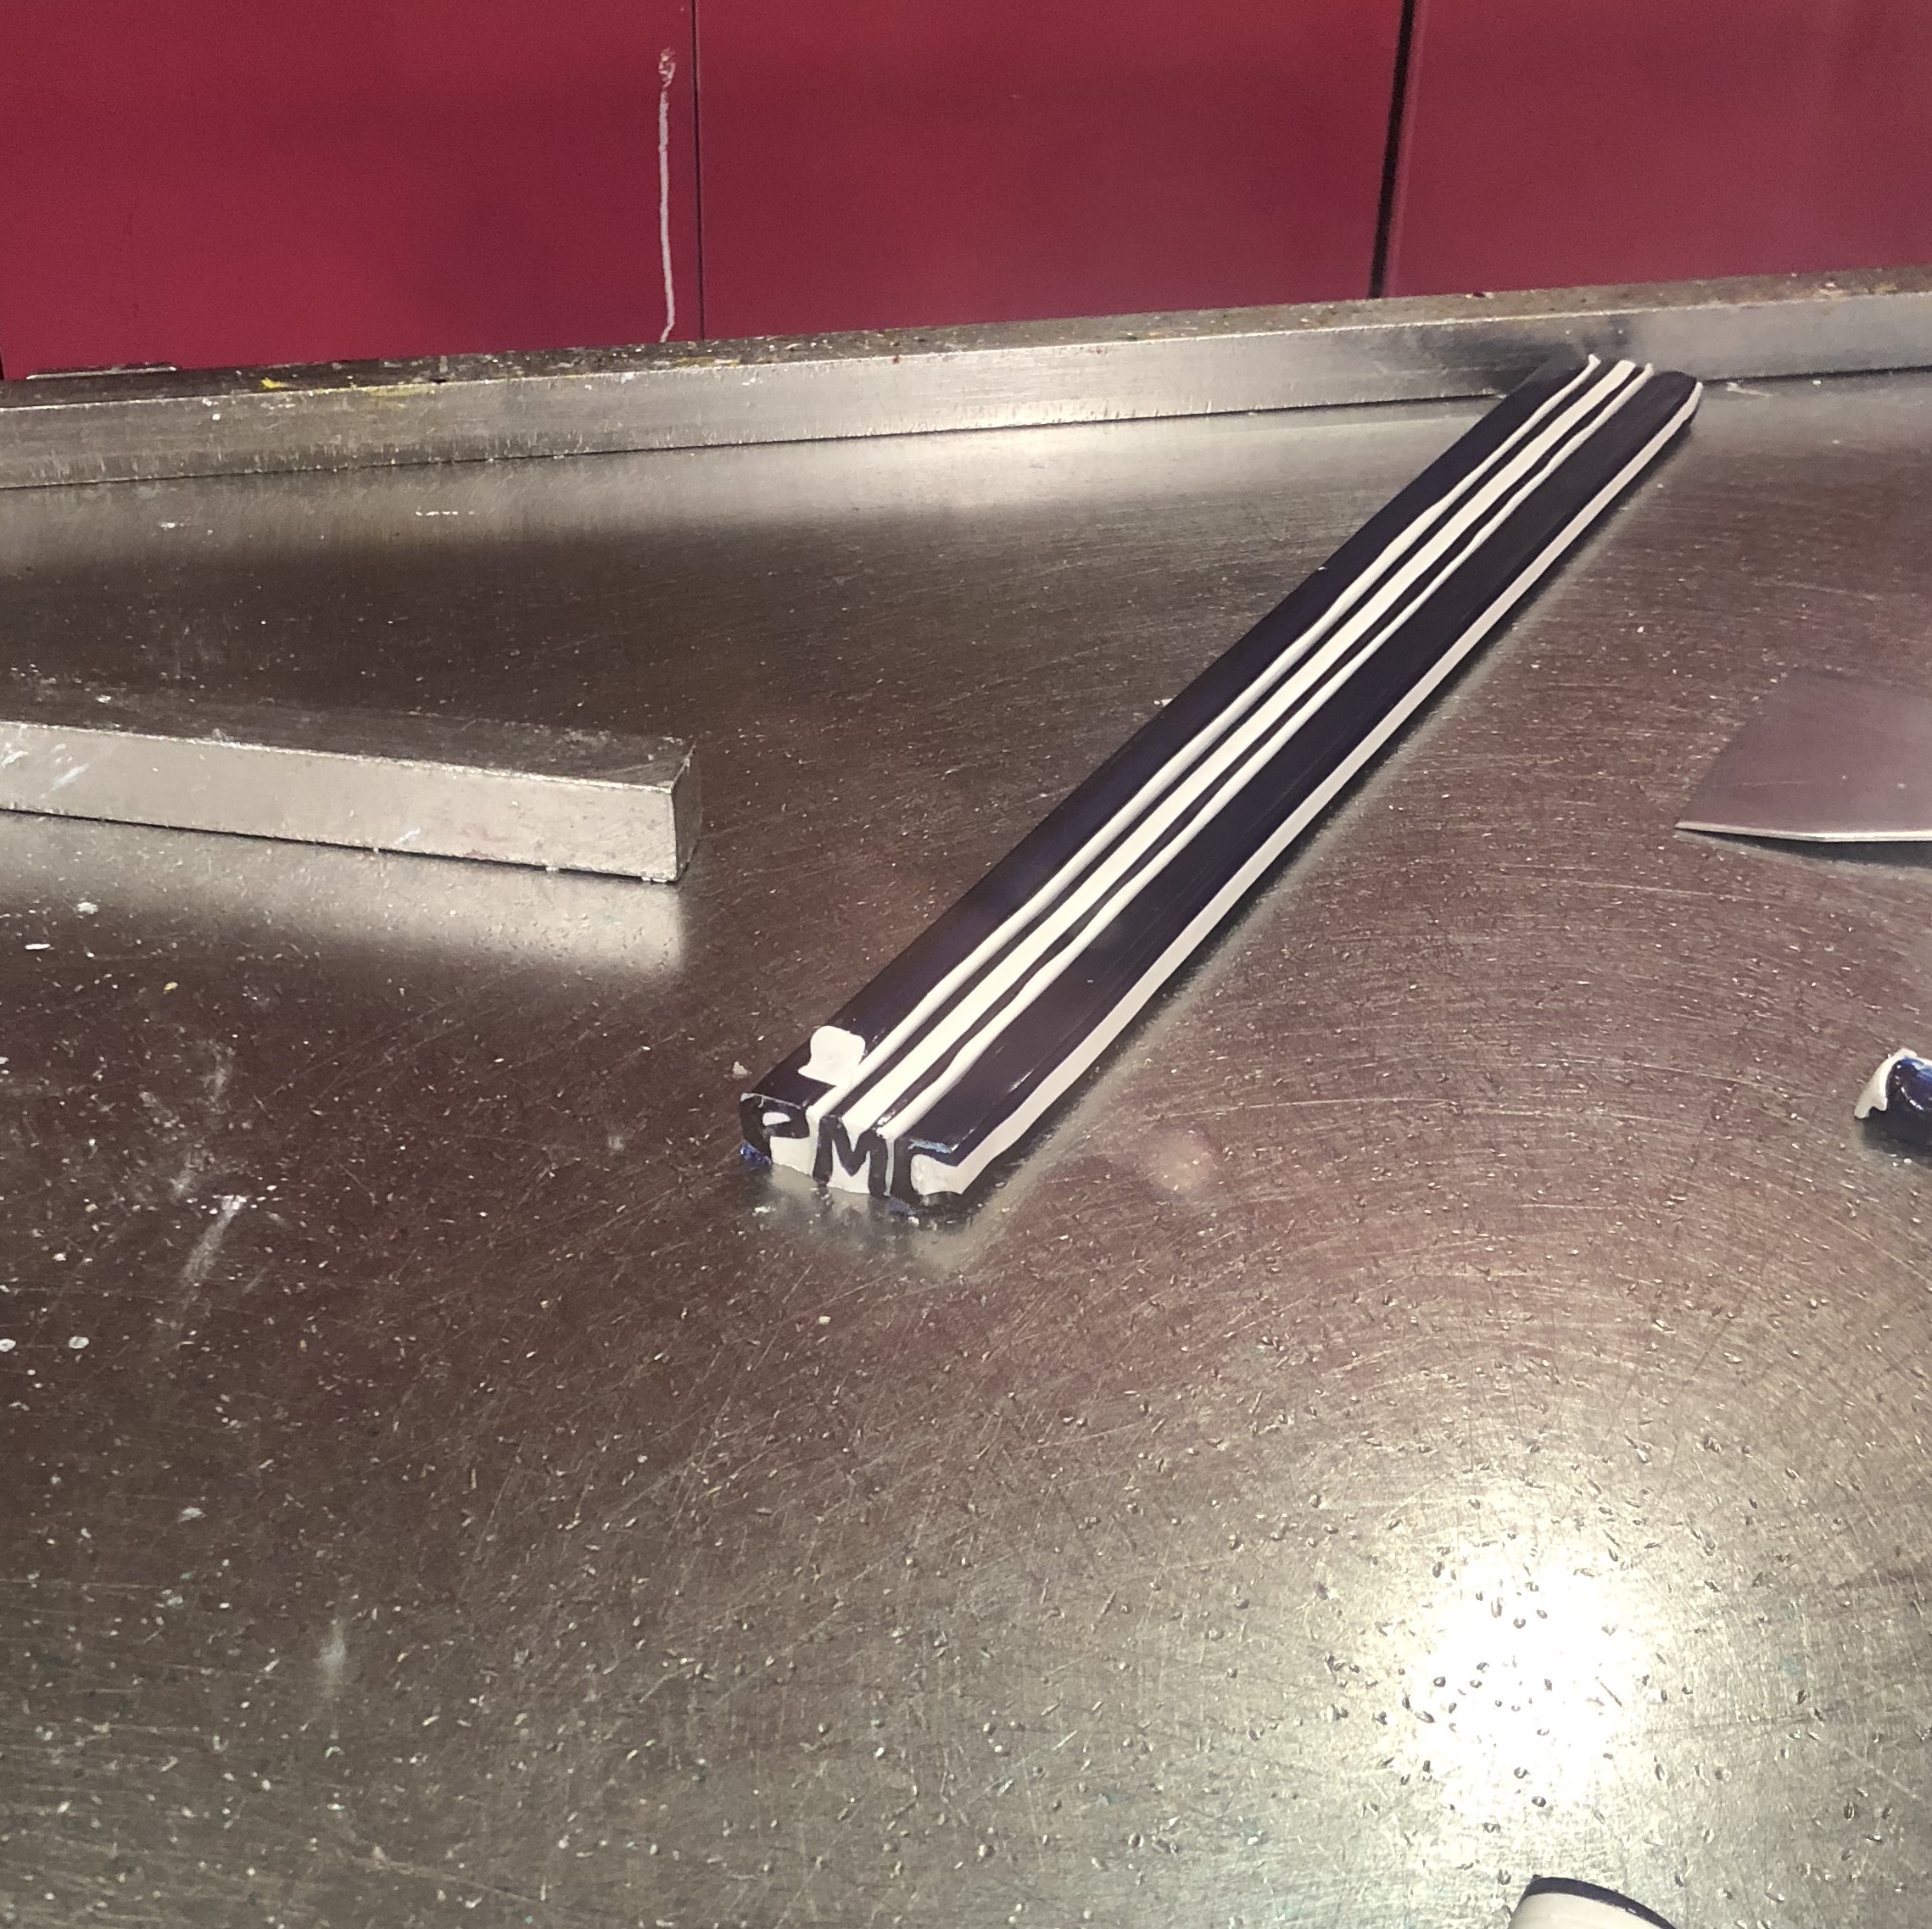
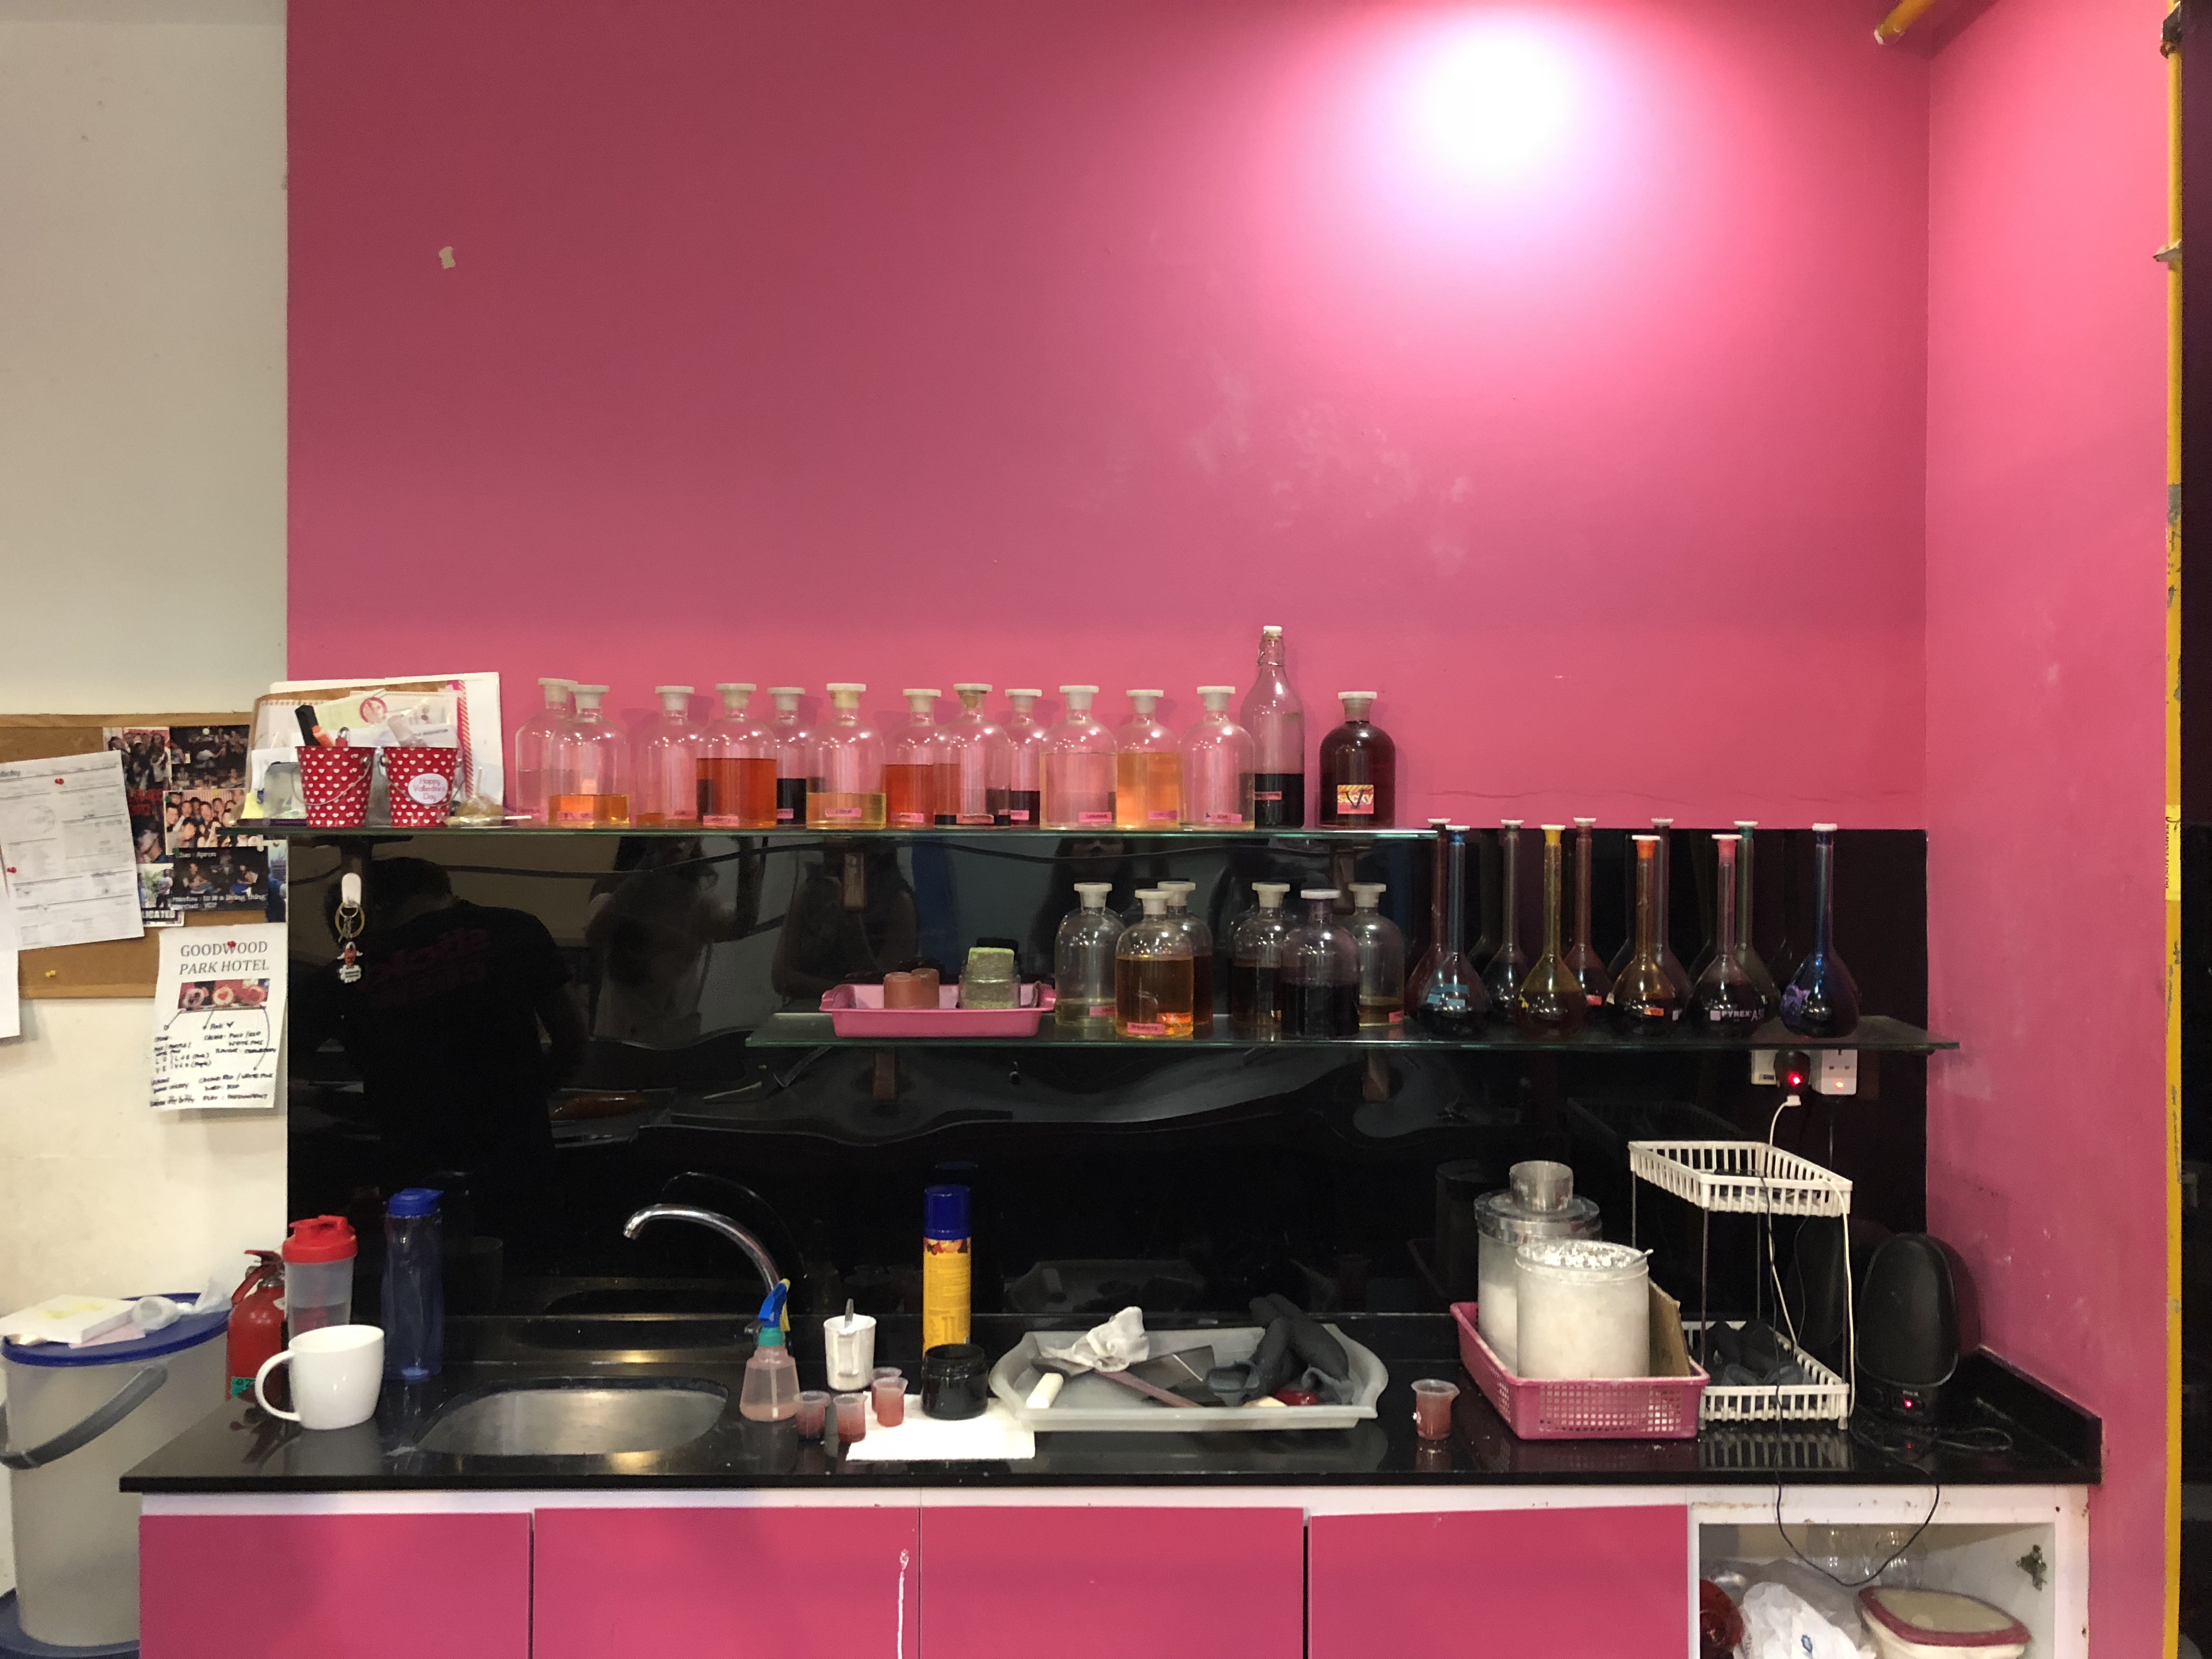
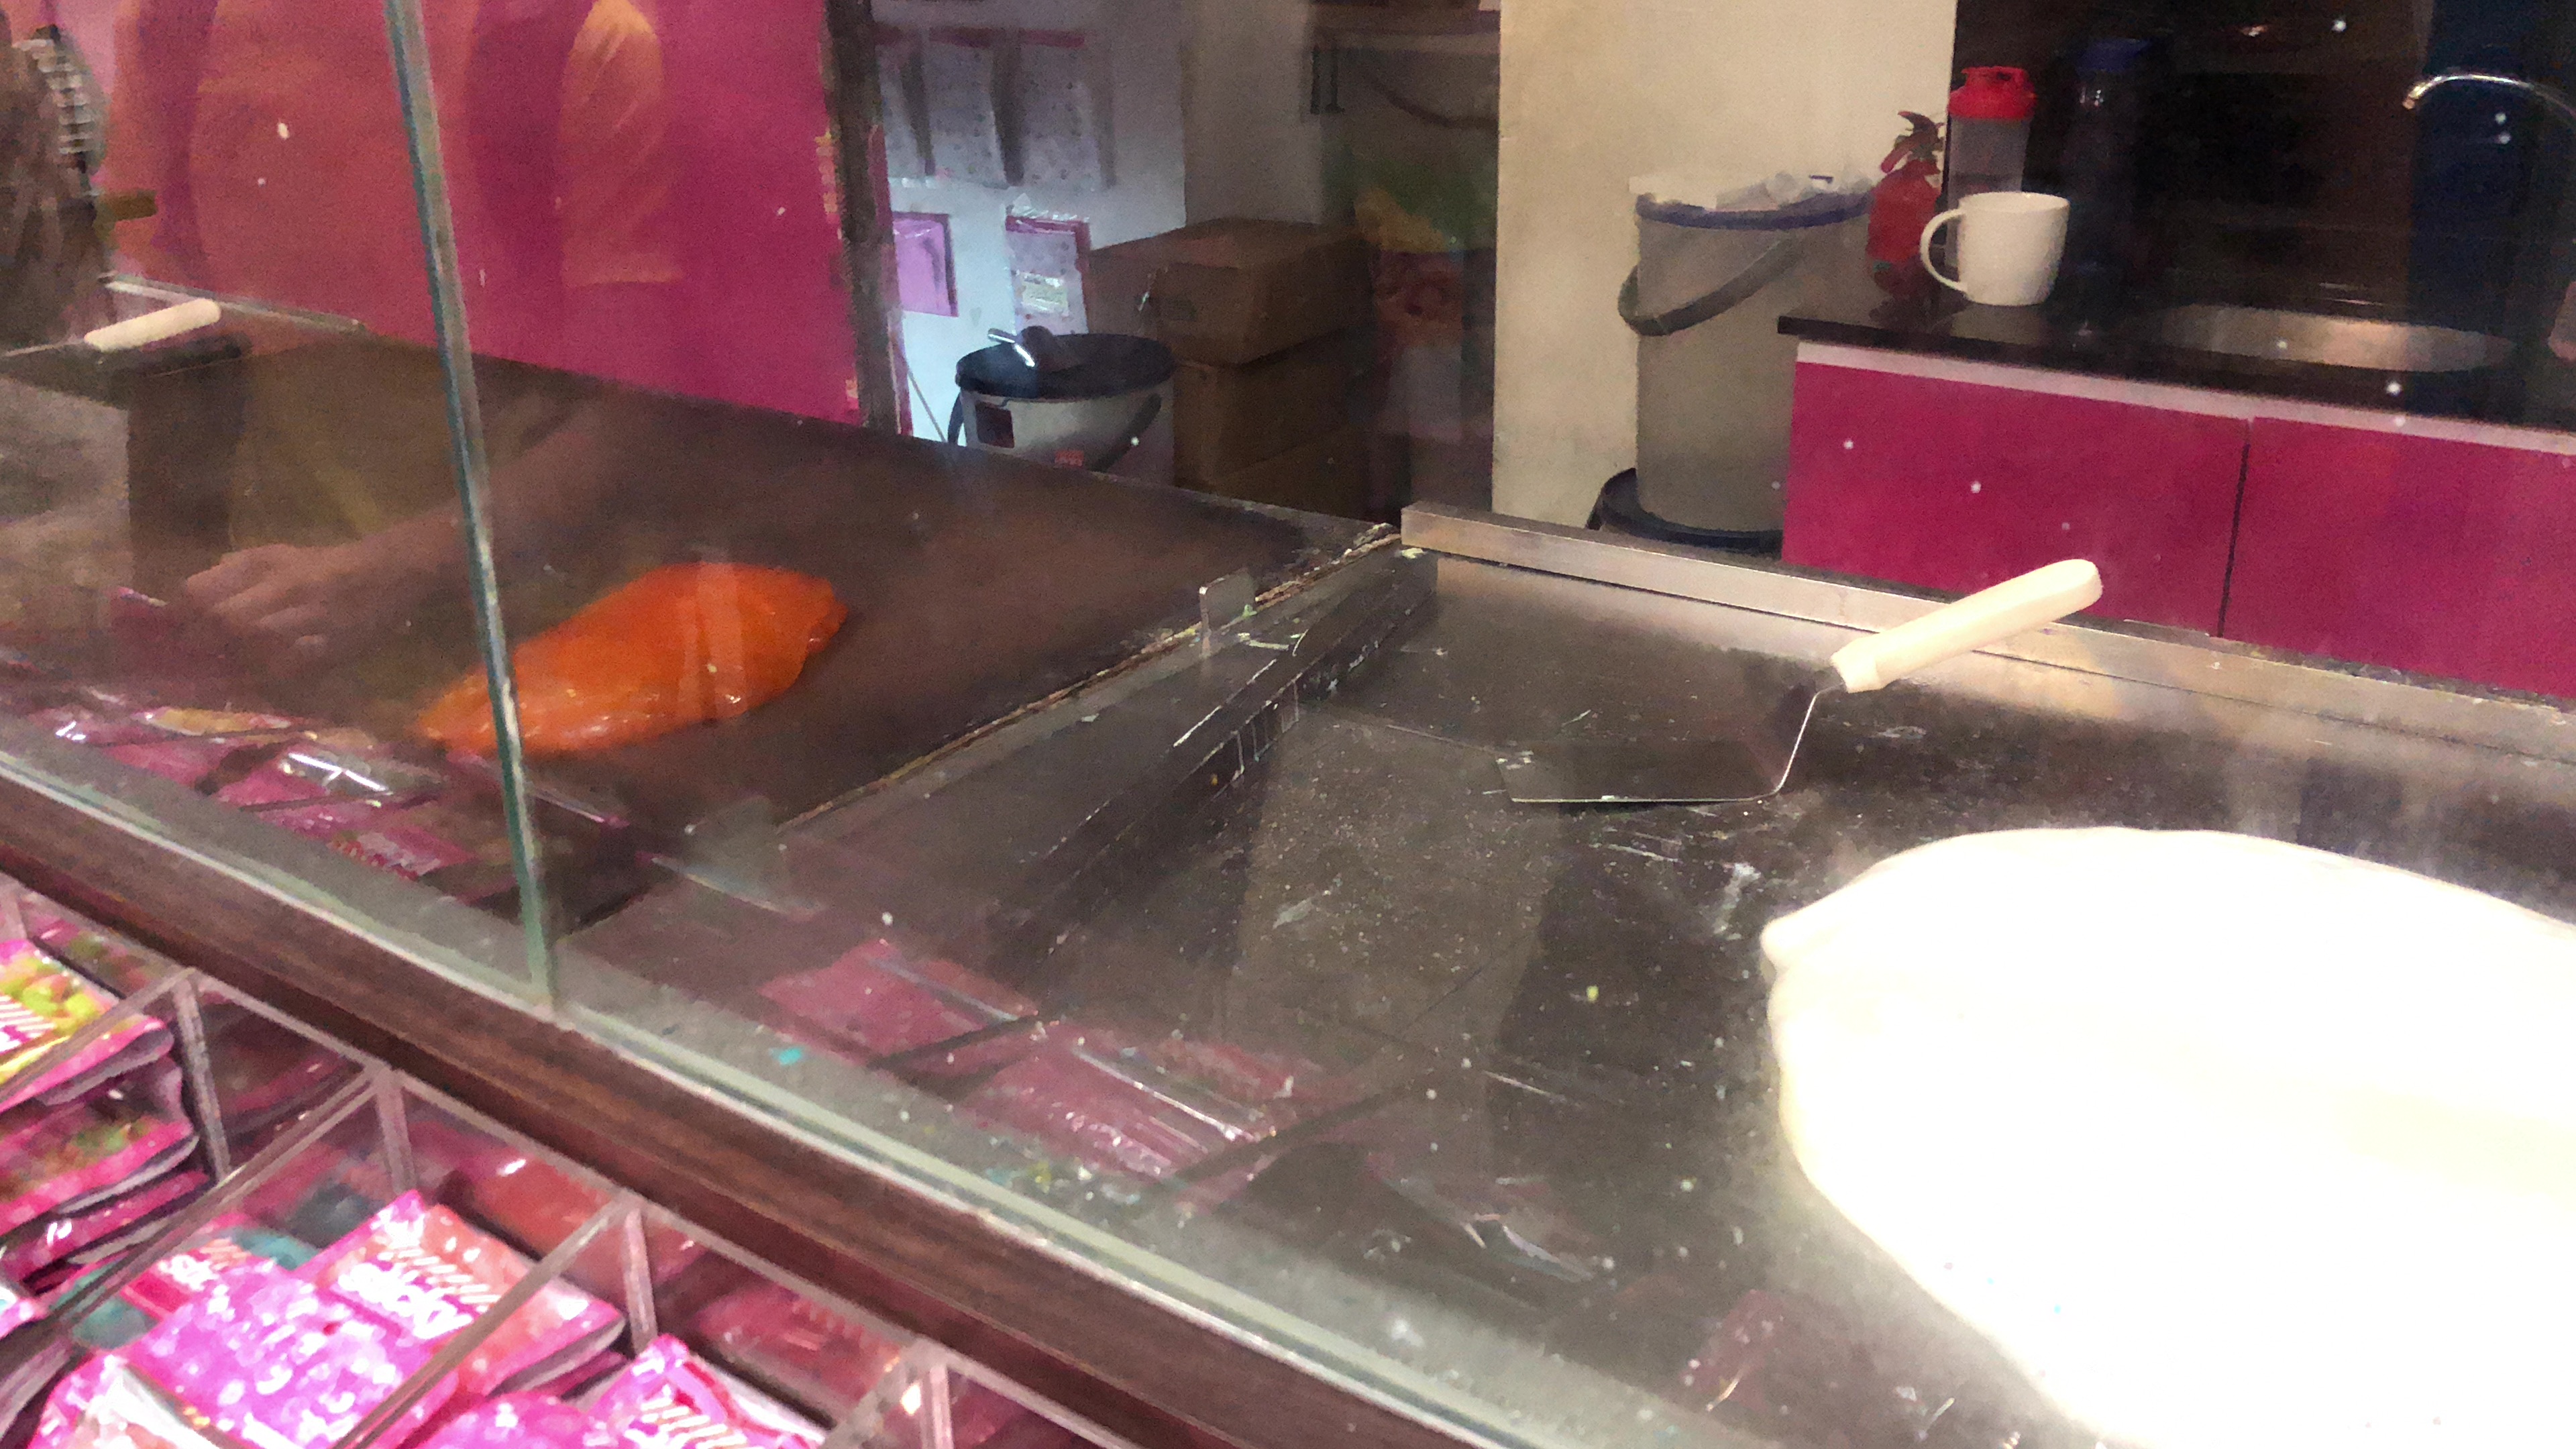
Worksite documentation:
Pain points:
The candy artists have expressed that putting intricate logos are art is the toughest part.
Practitioner 2 – Home beautician by Brows by Rach
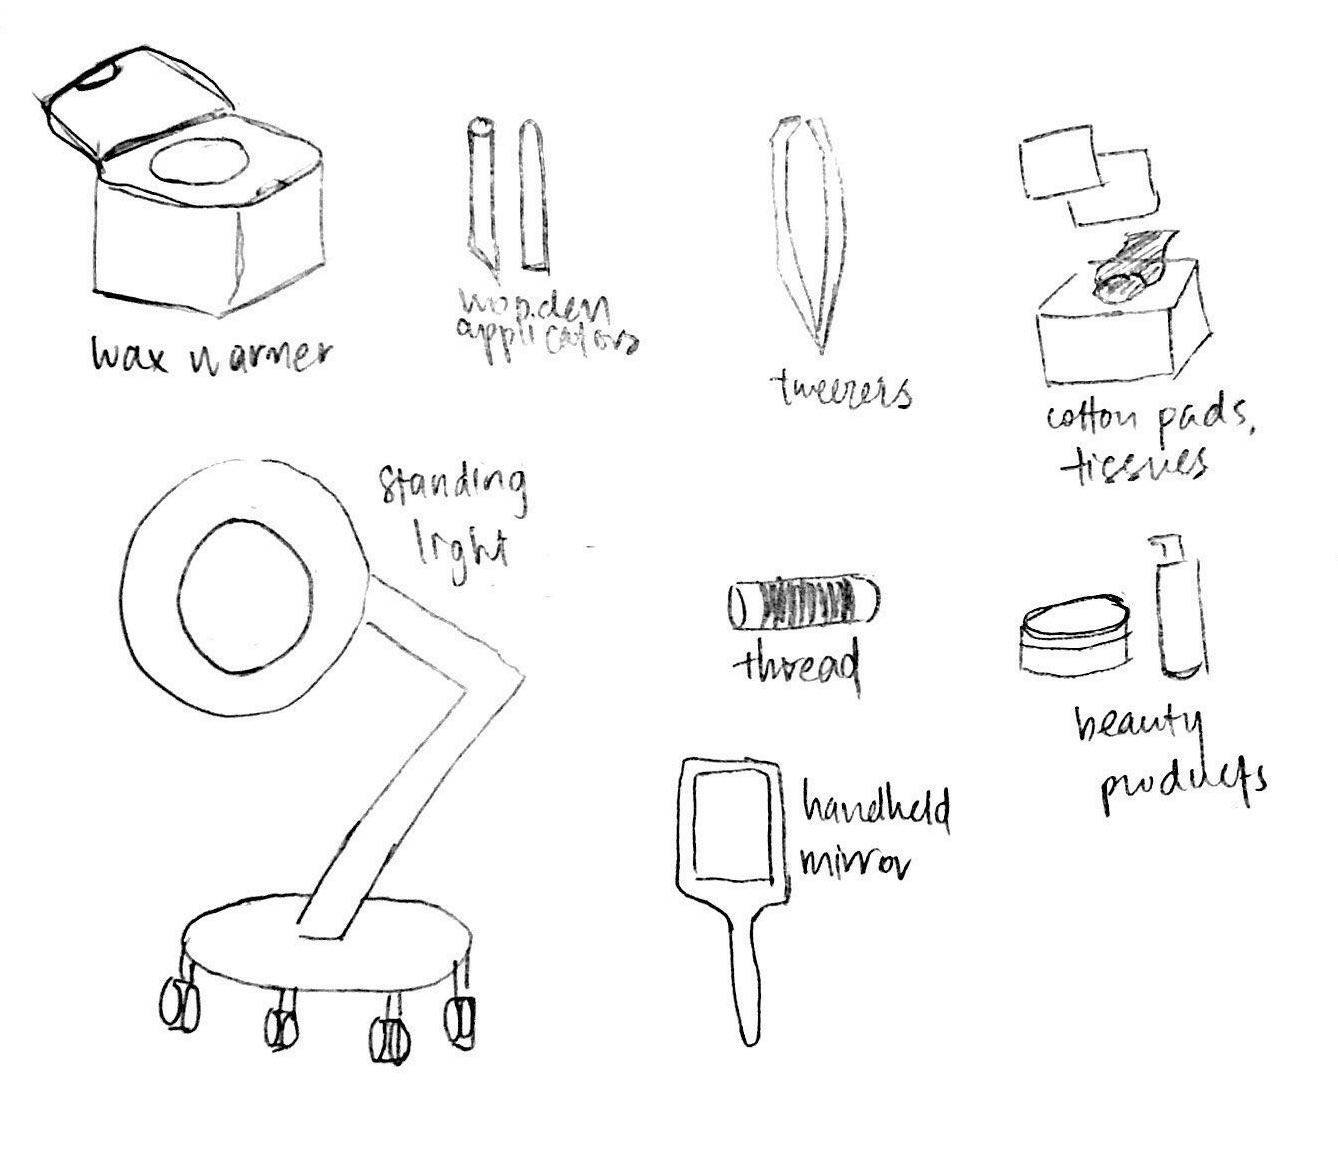
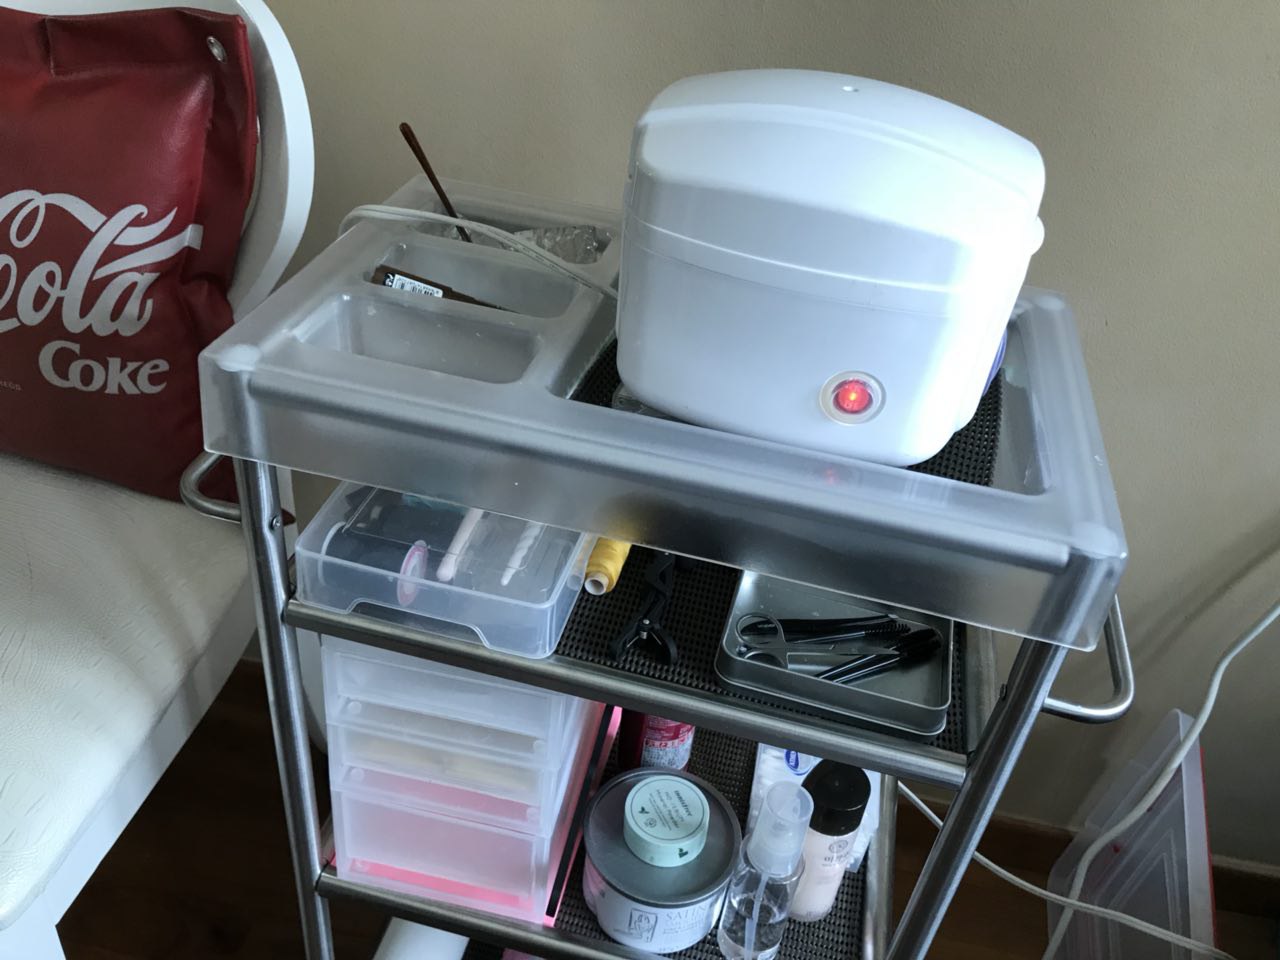
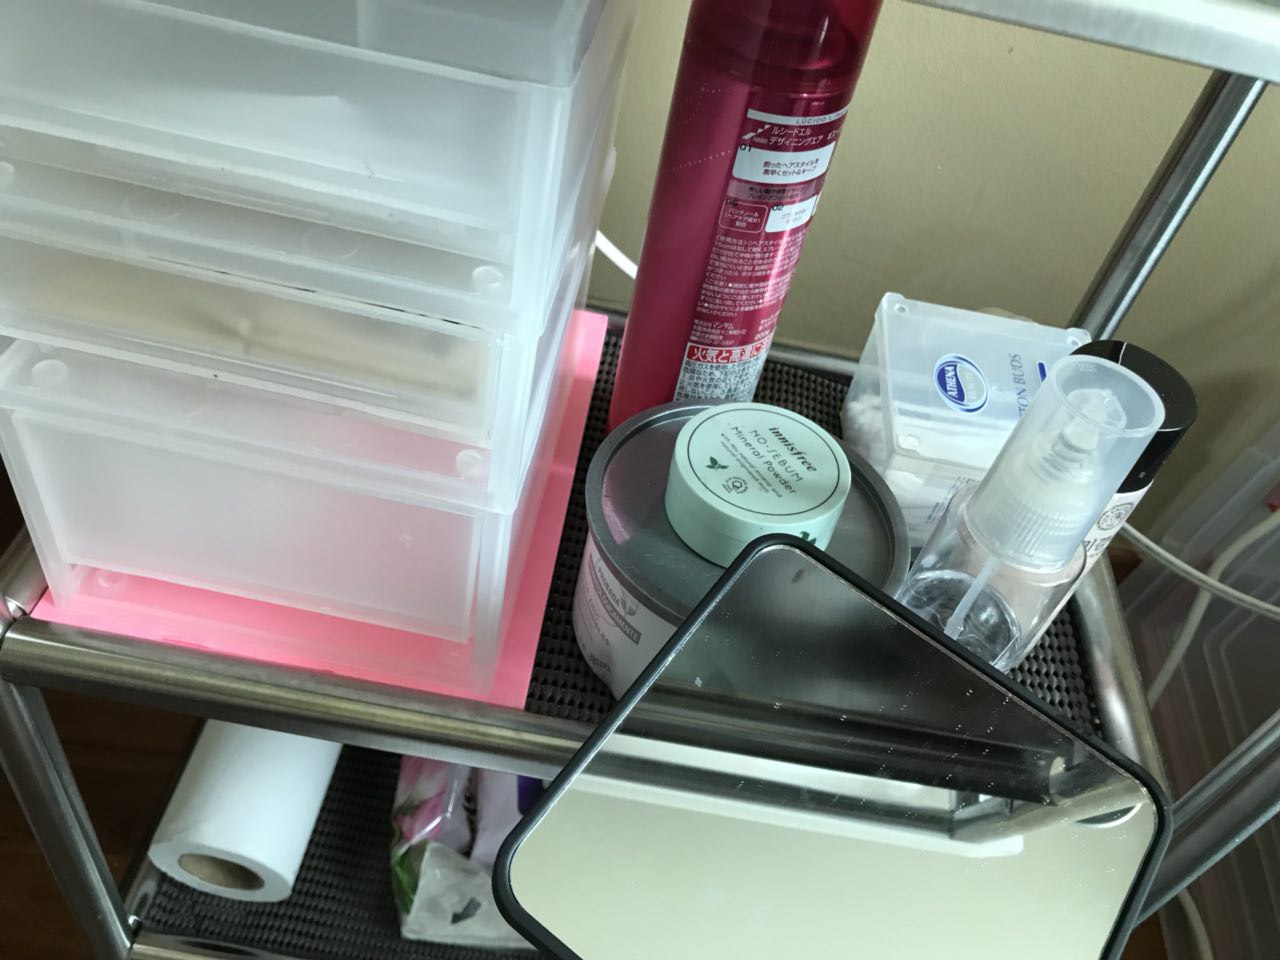
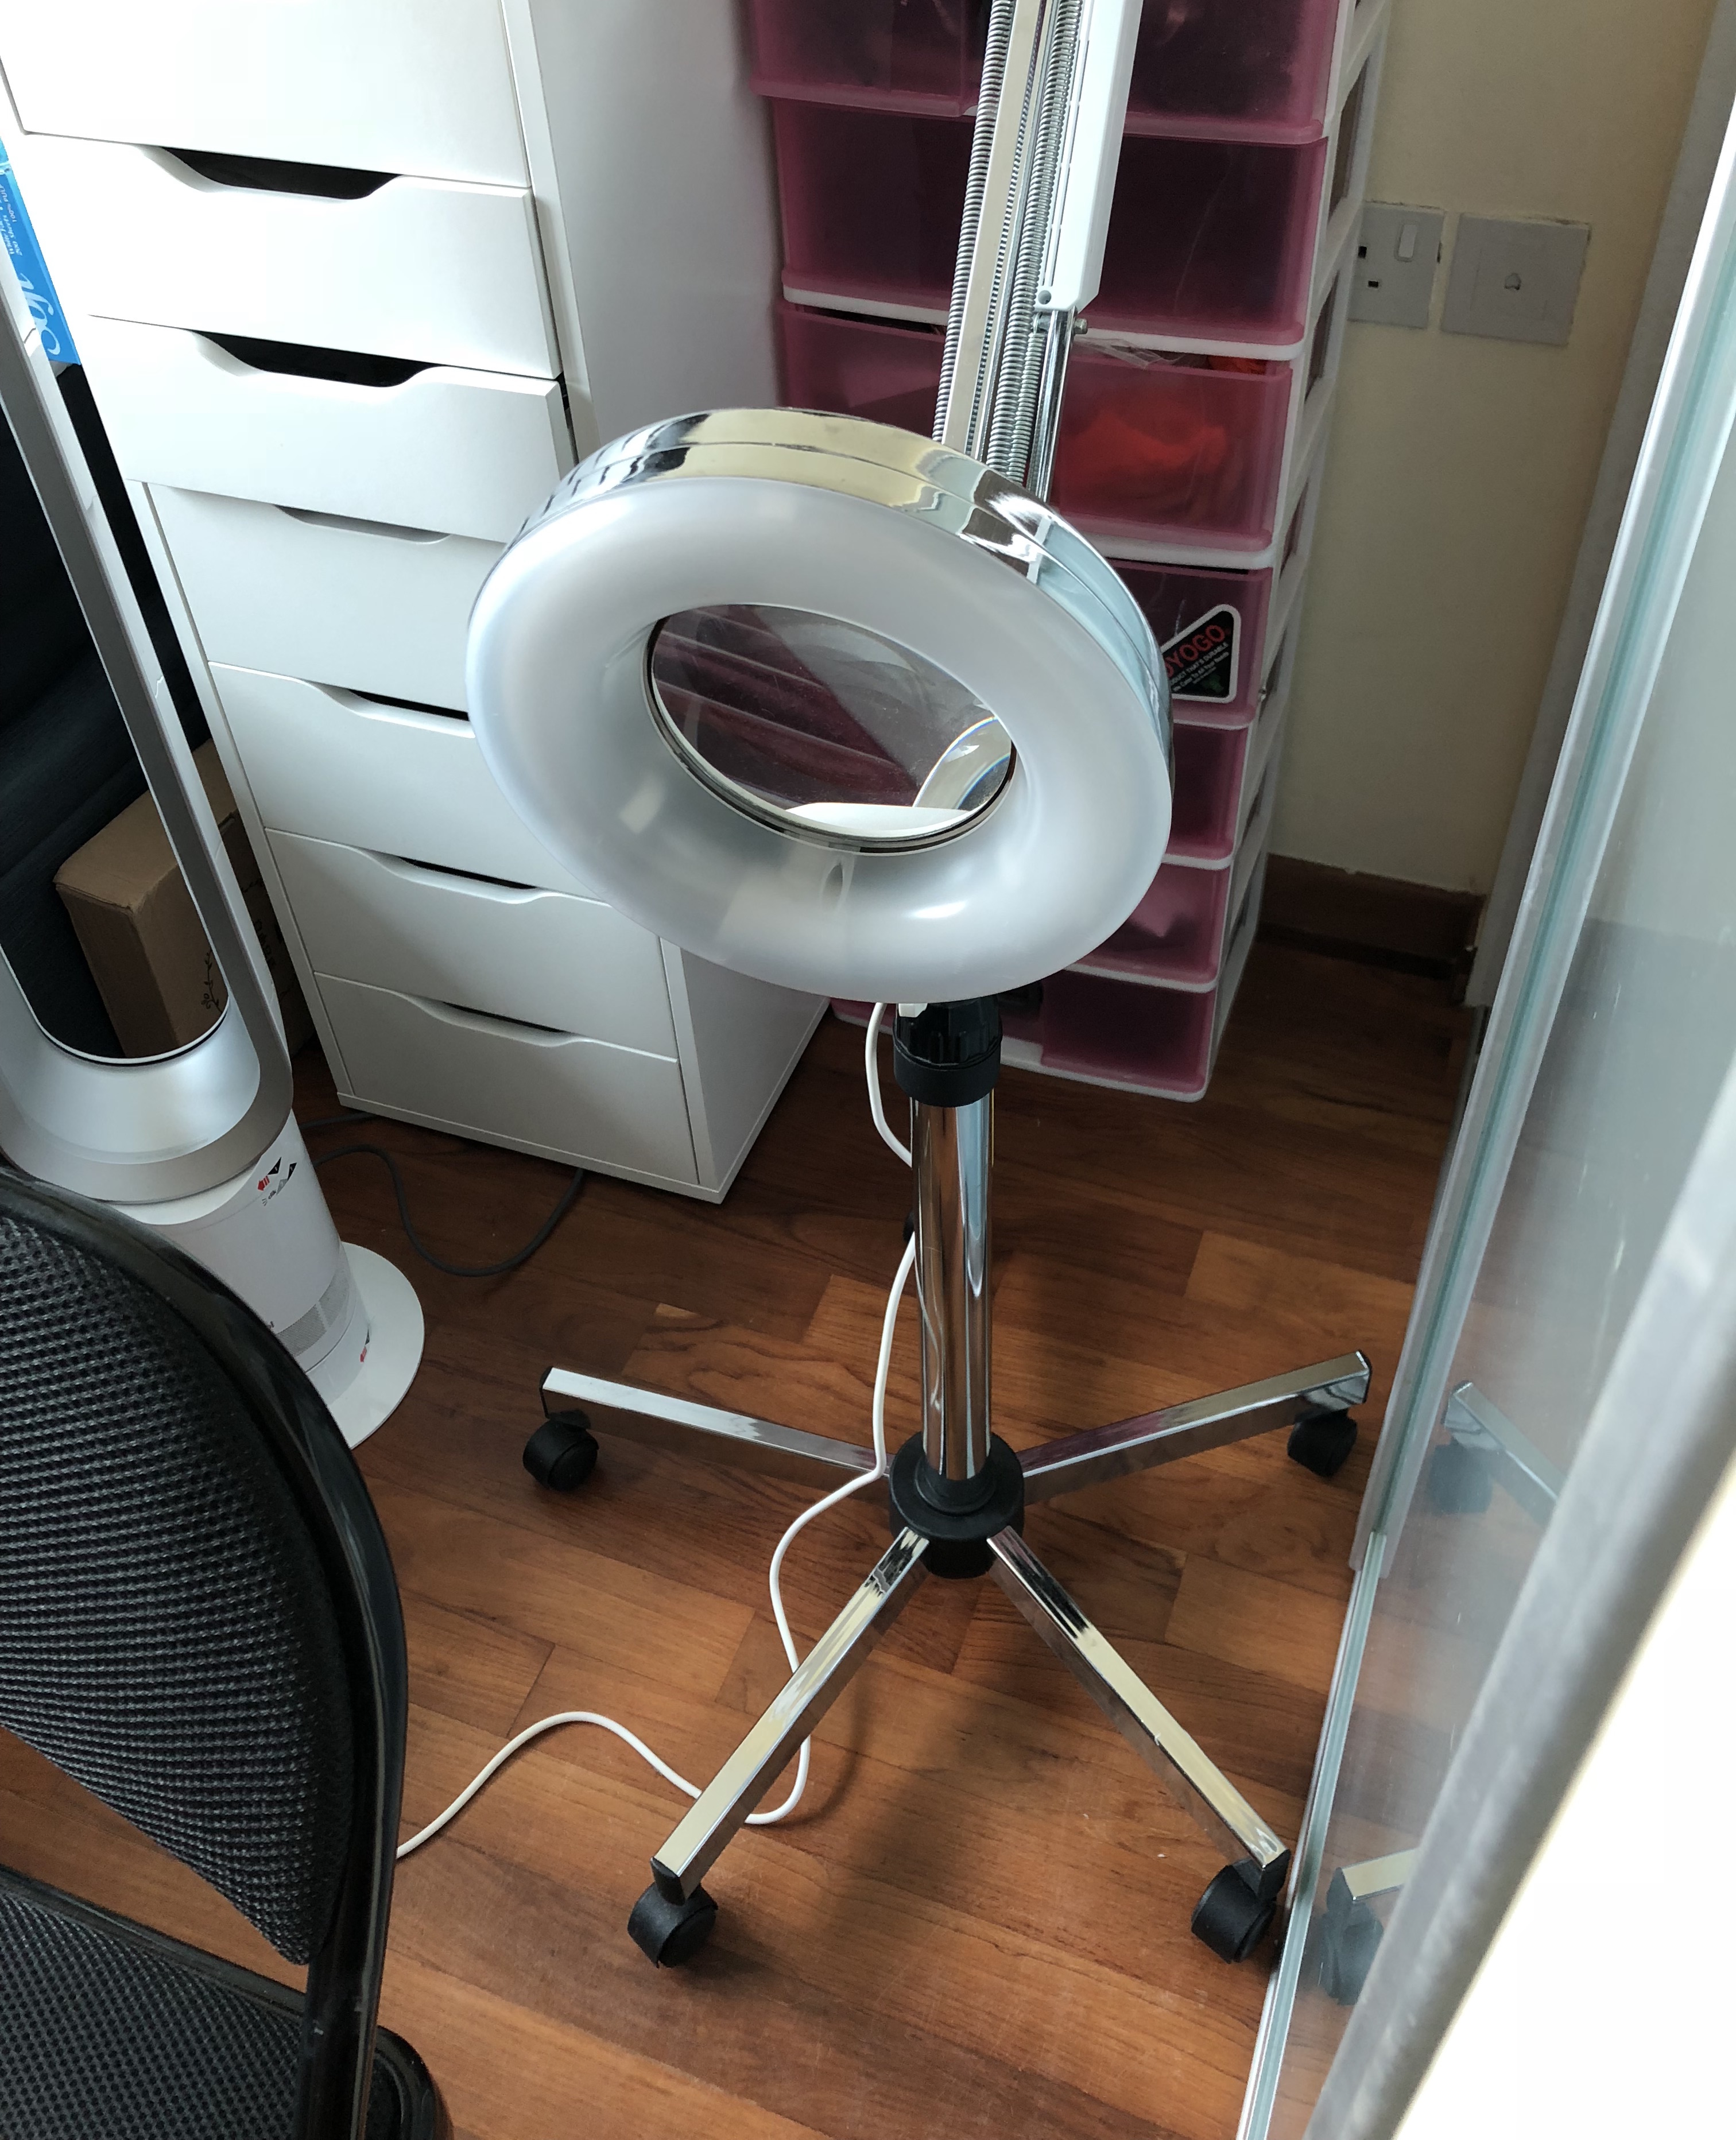
Tools:
- Wheeled cart
- Wax warmer
- Wooden applicators: flat ice-cream stick, thin round cylinder
- Thin cloth strips
- Thread u
- Cotton pads and tissue paper
- Tweezers
- Various skincare products: powder, baby oil, eyebrow spoolies
- Hand mirror
- Standing light
Process documentation:
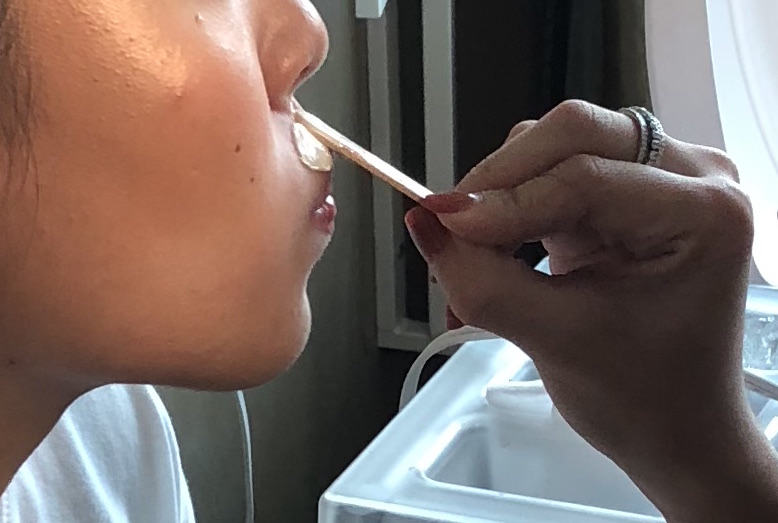
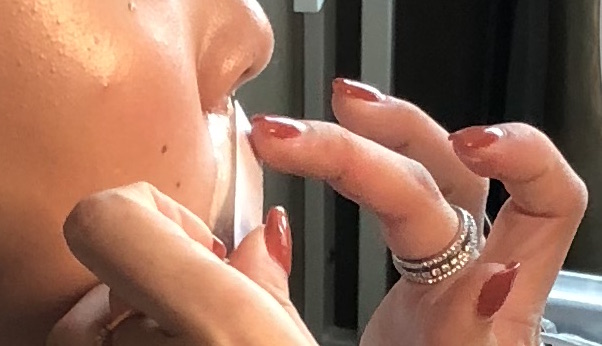
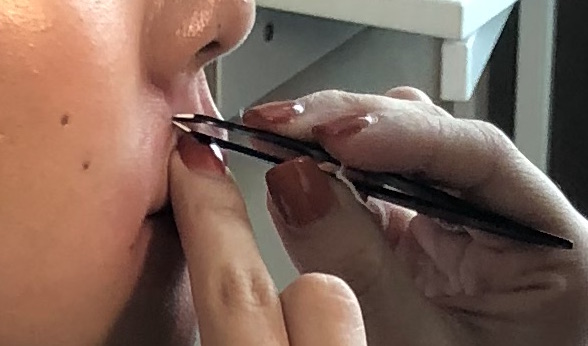
The to-be-waxed area is first cleaned and powdered to ensure the wax sticks onto the skin. The wax was pre-melted in the wax warmer. Using a flat wooden applicator, she coats with a thin even layer of wax and applies it onto the skin. Then cloth strips are placed on the waxed areas and ripped in a swift motion. After all necessary areas are covered, a tweezer is used to remove hairs that were not waxed off. Residue left is removed using a cotton pad with baby oil.
Worksite documentation:

Pain points:
Since it is a home beauty parlor at an estate neighborhood, the location is inconvenient for customers. It might even deter potential customers from enlisting her services. She also relies mainly on recommendations by friends or social media to market her business.
Practitioner 3 – Leisure Film Photographer
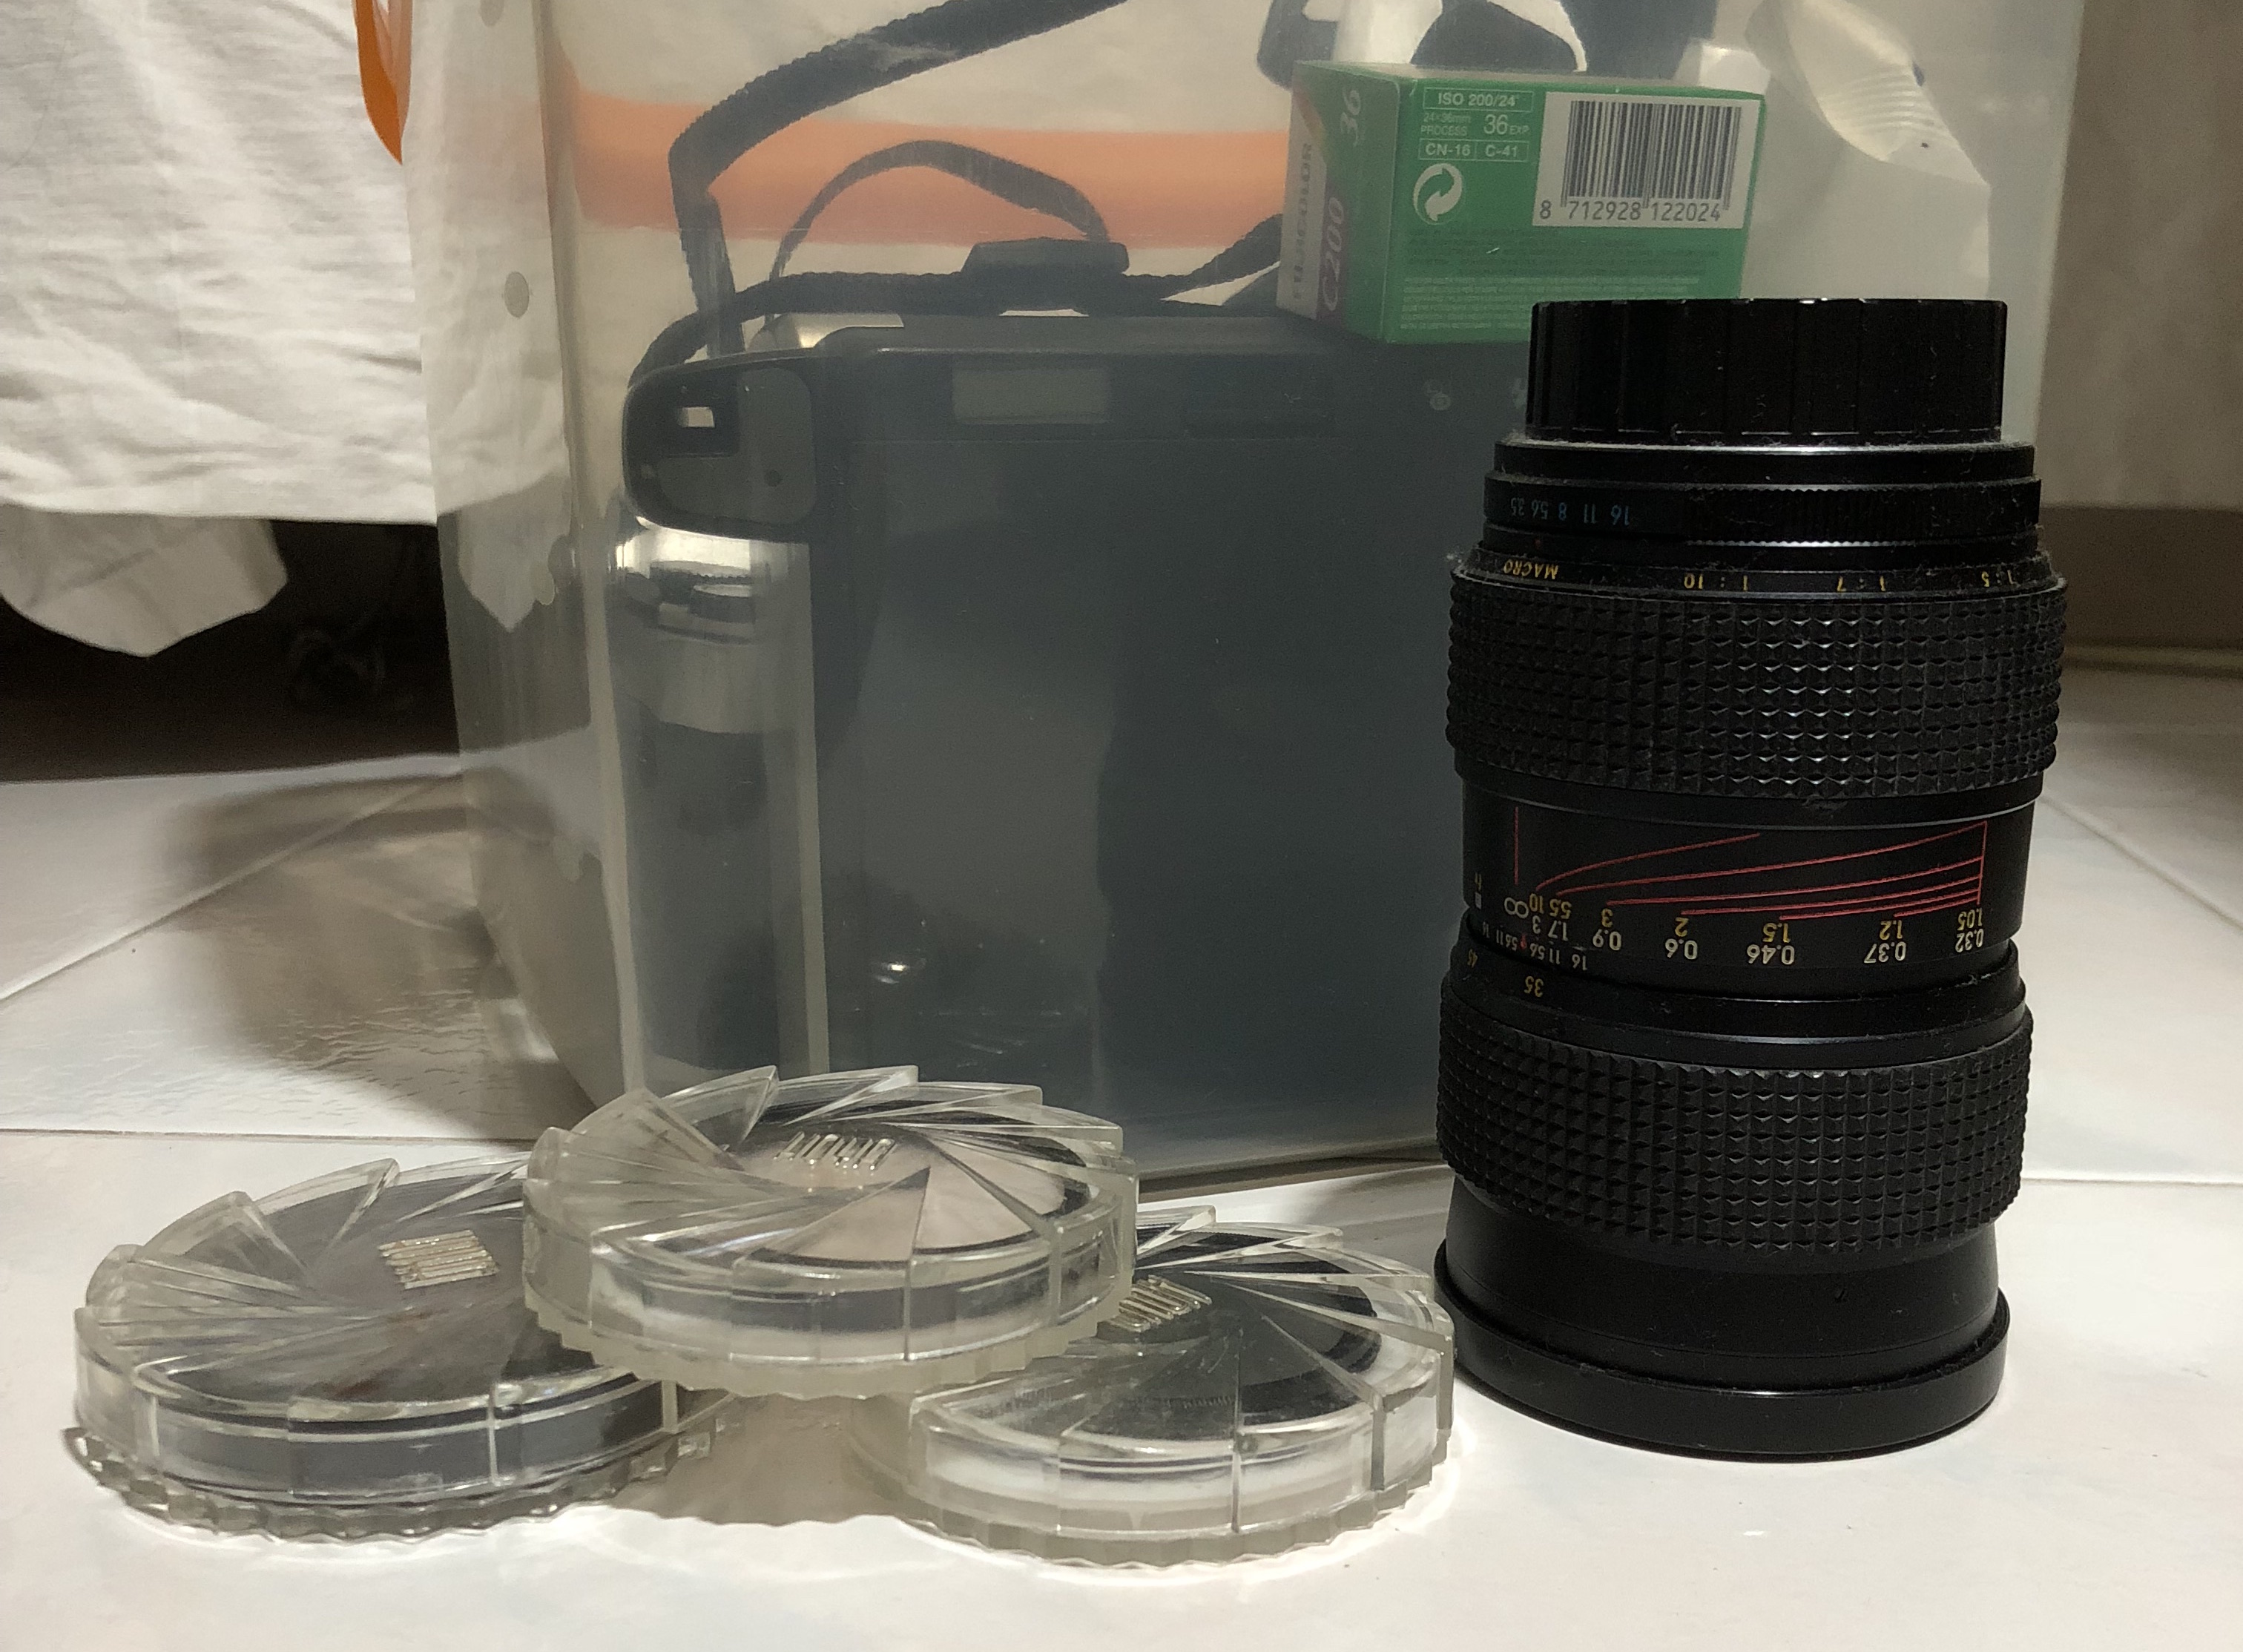
Tools:
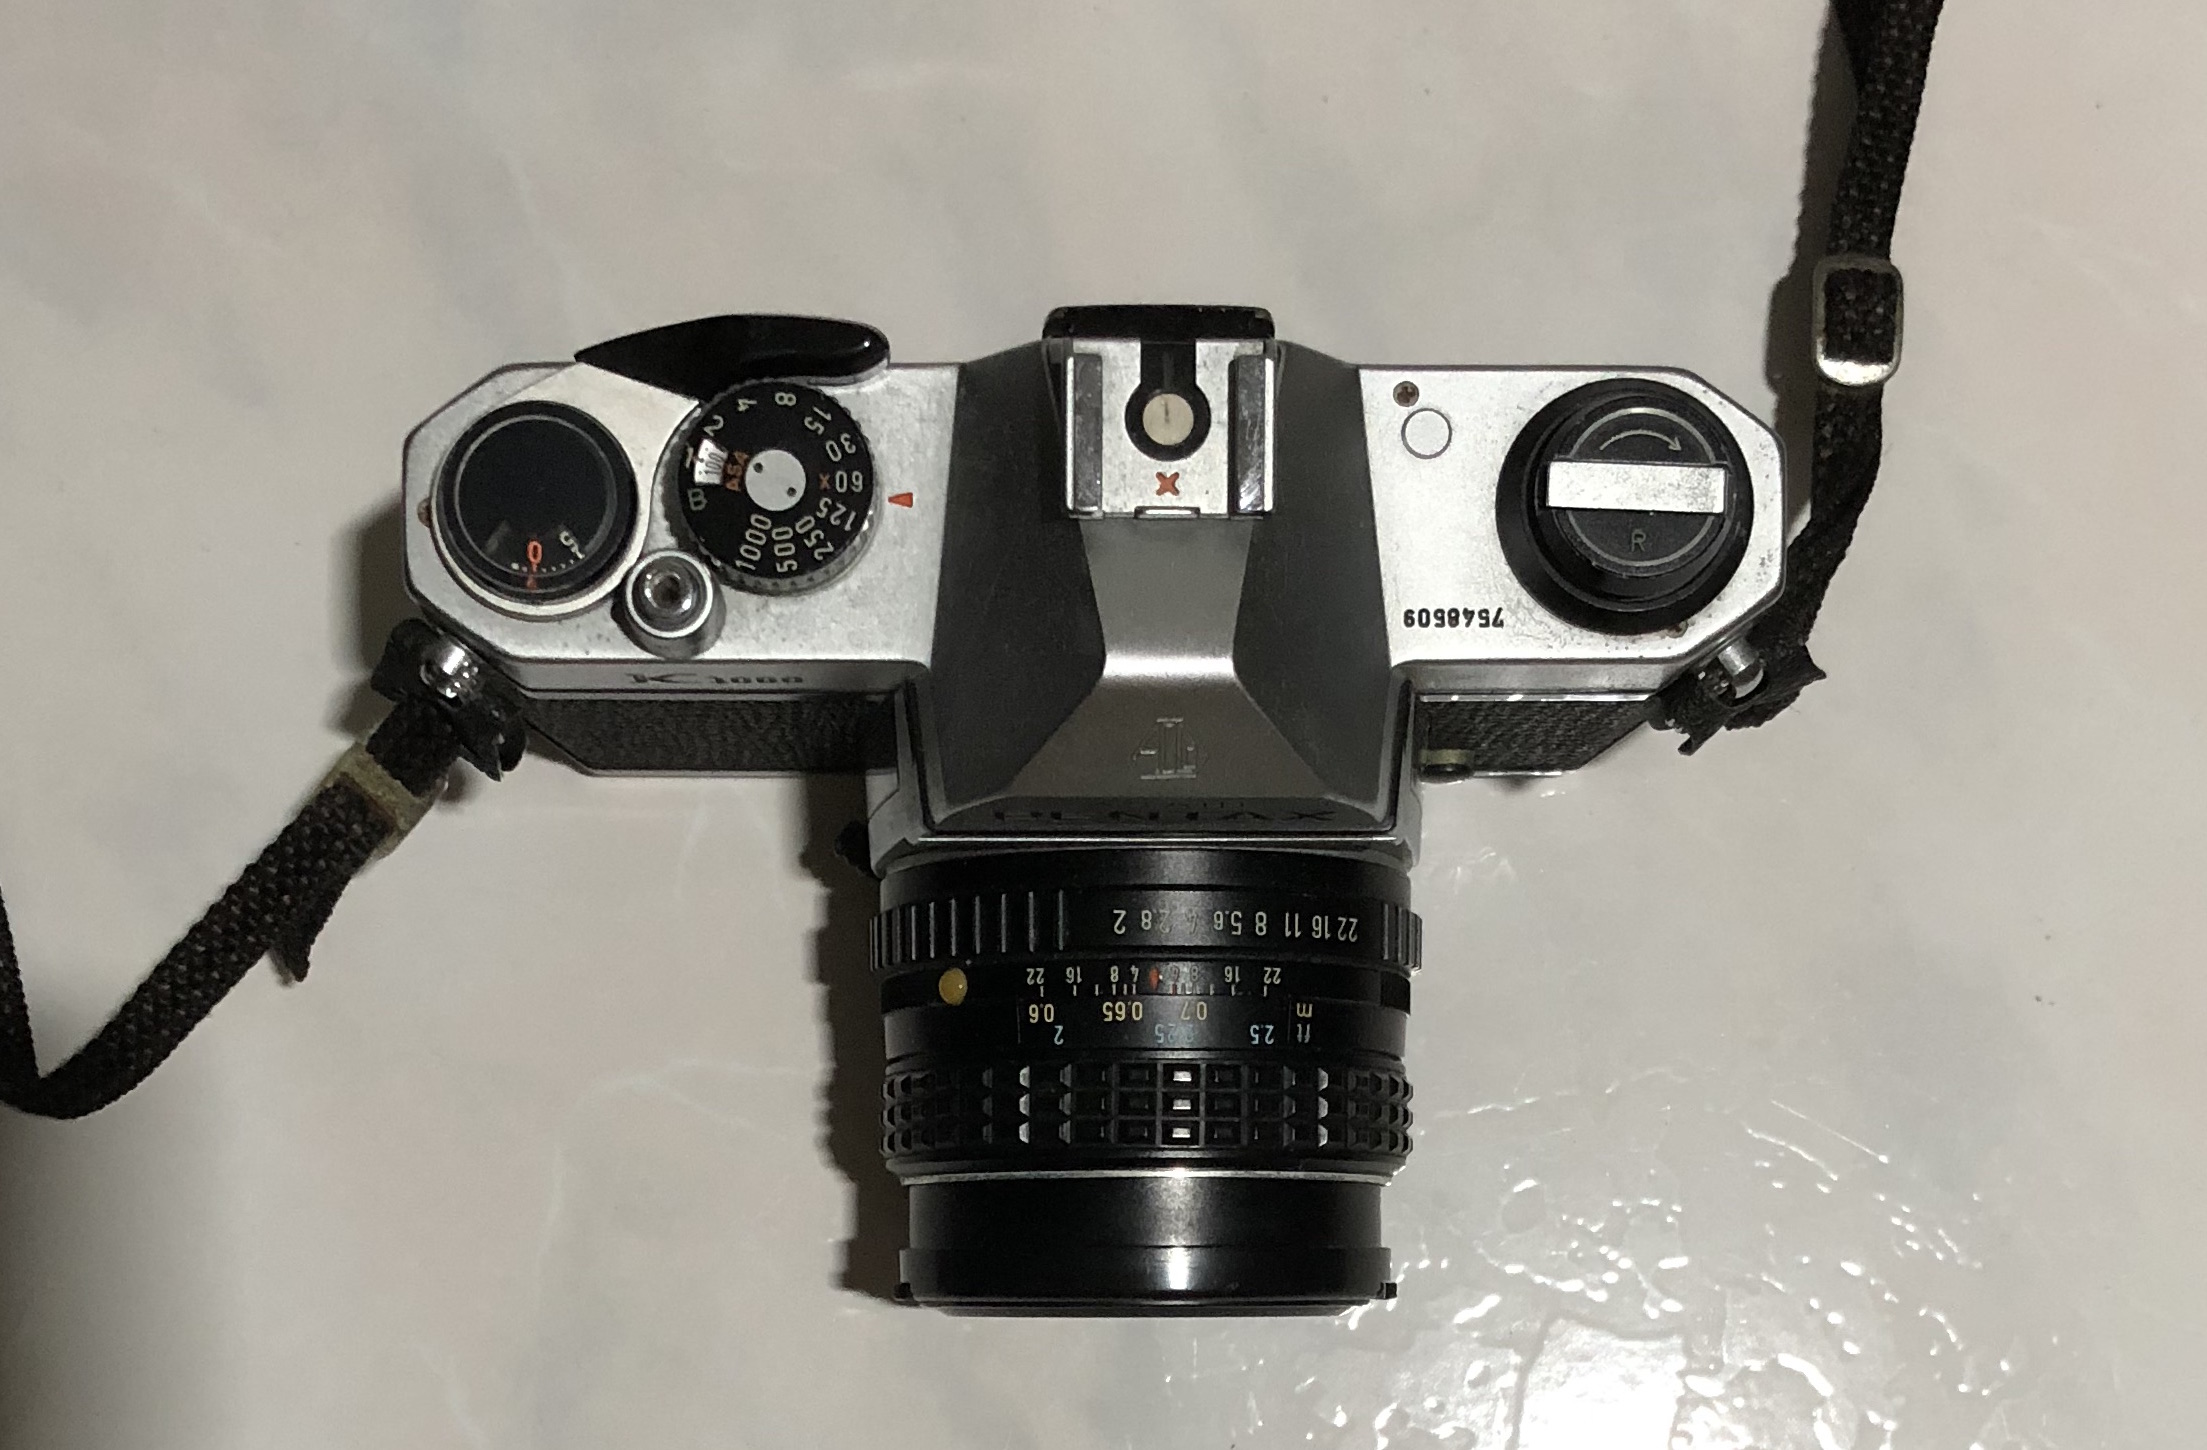
- Film camera
- Lenses
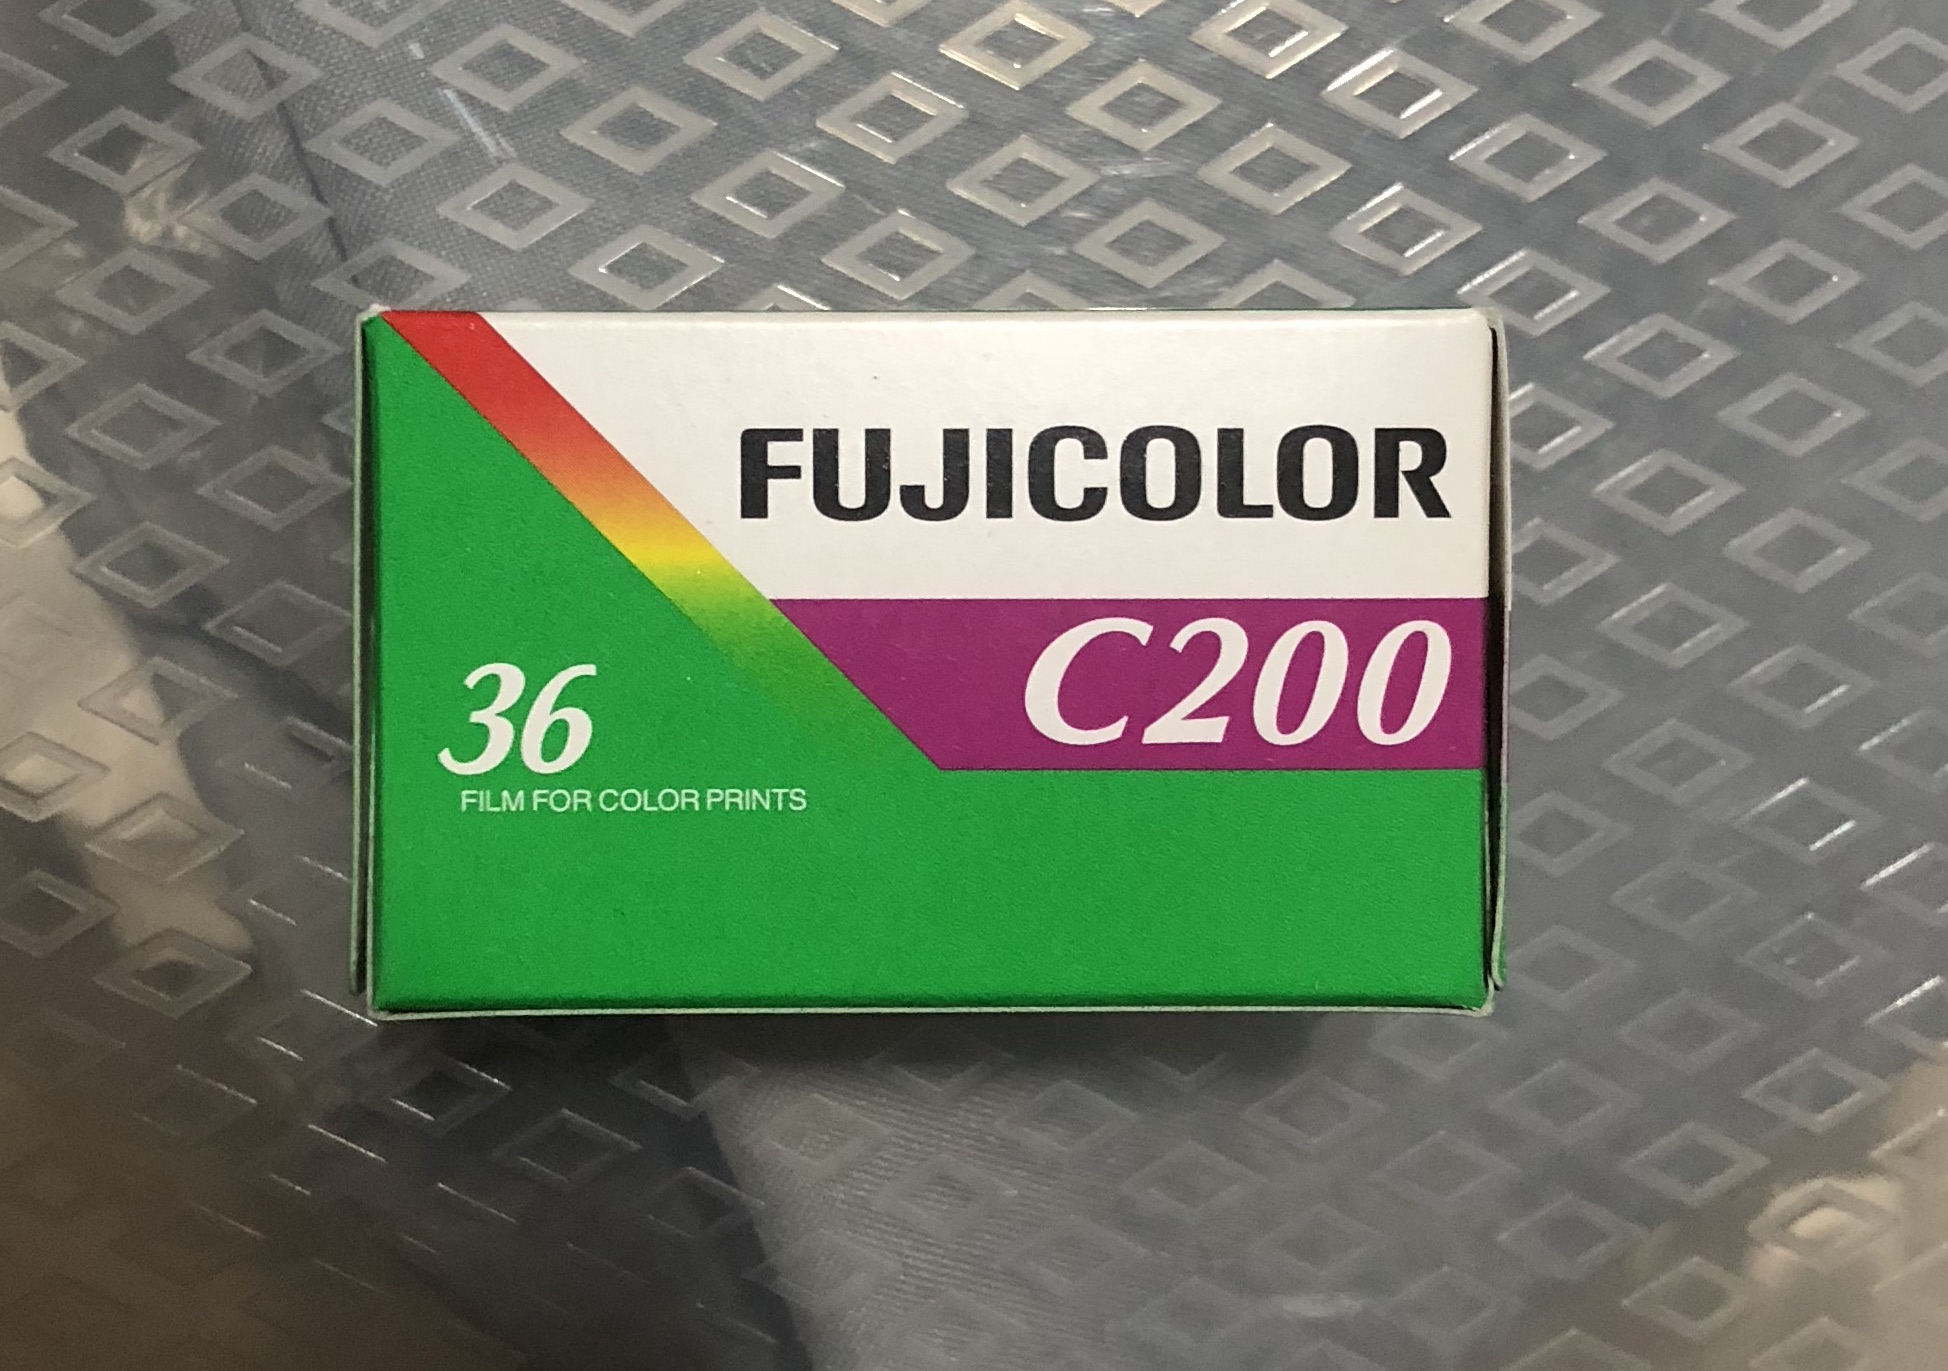
- Film roll
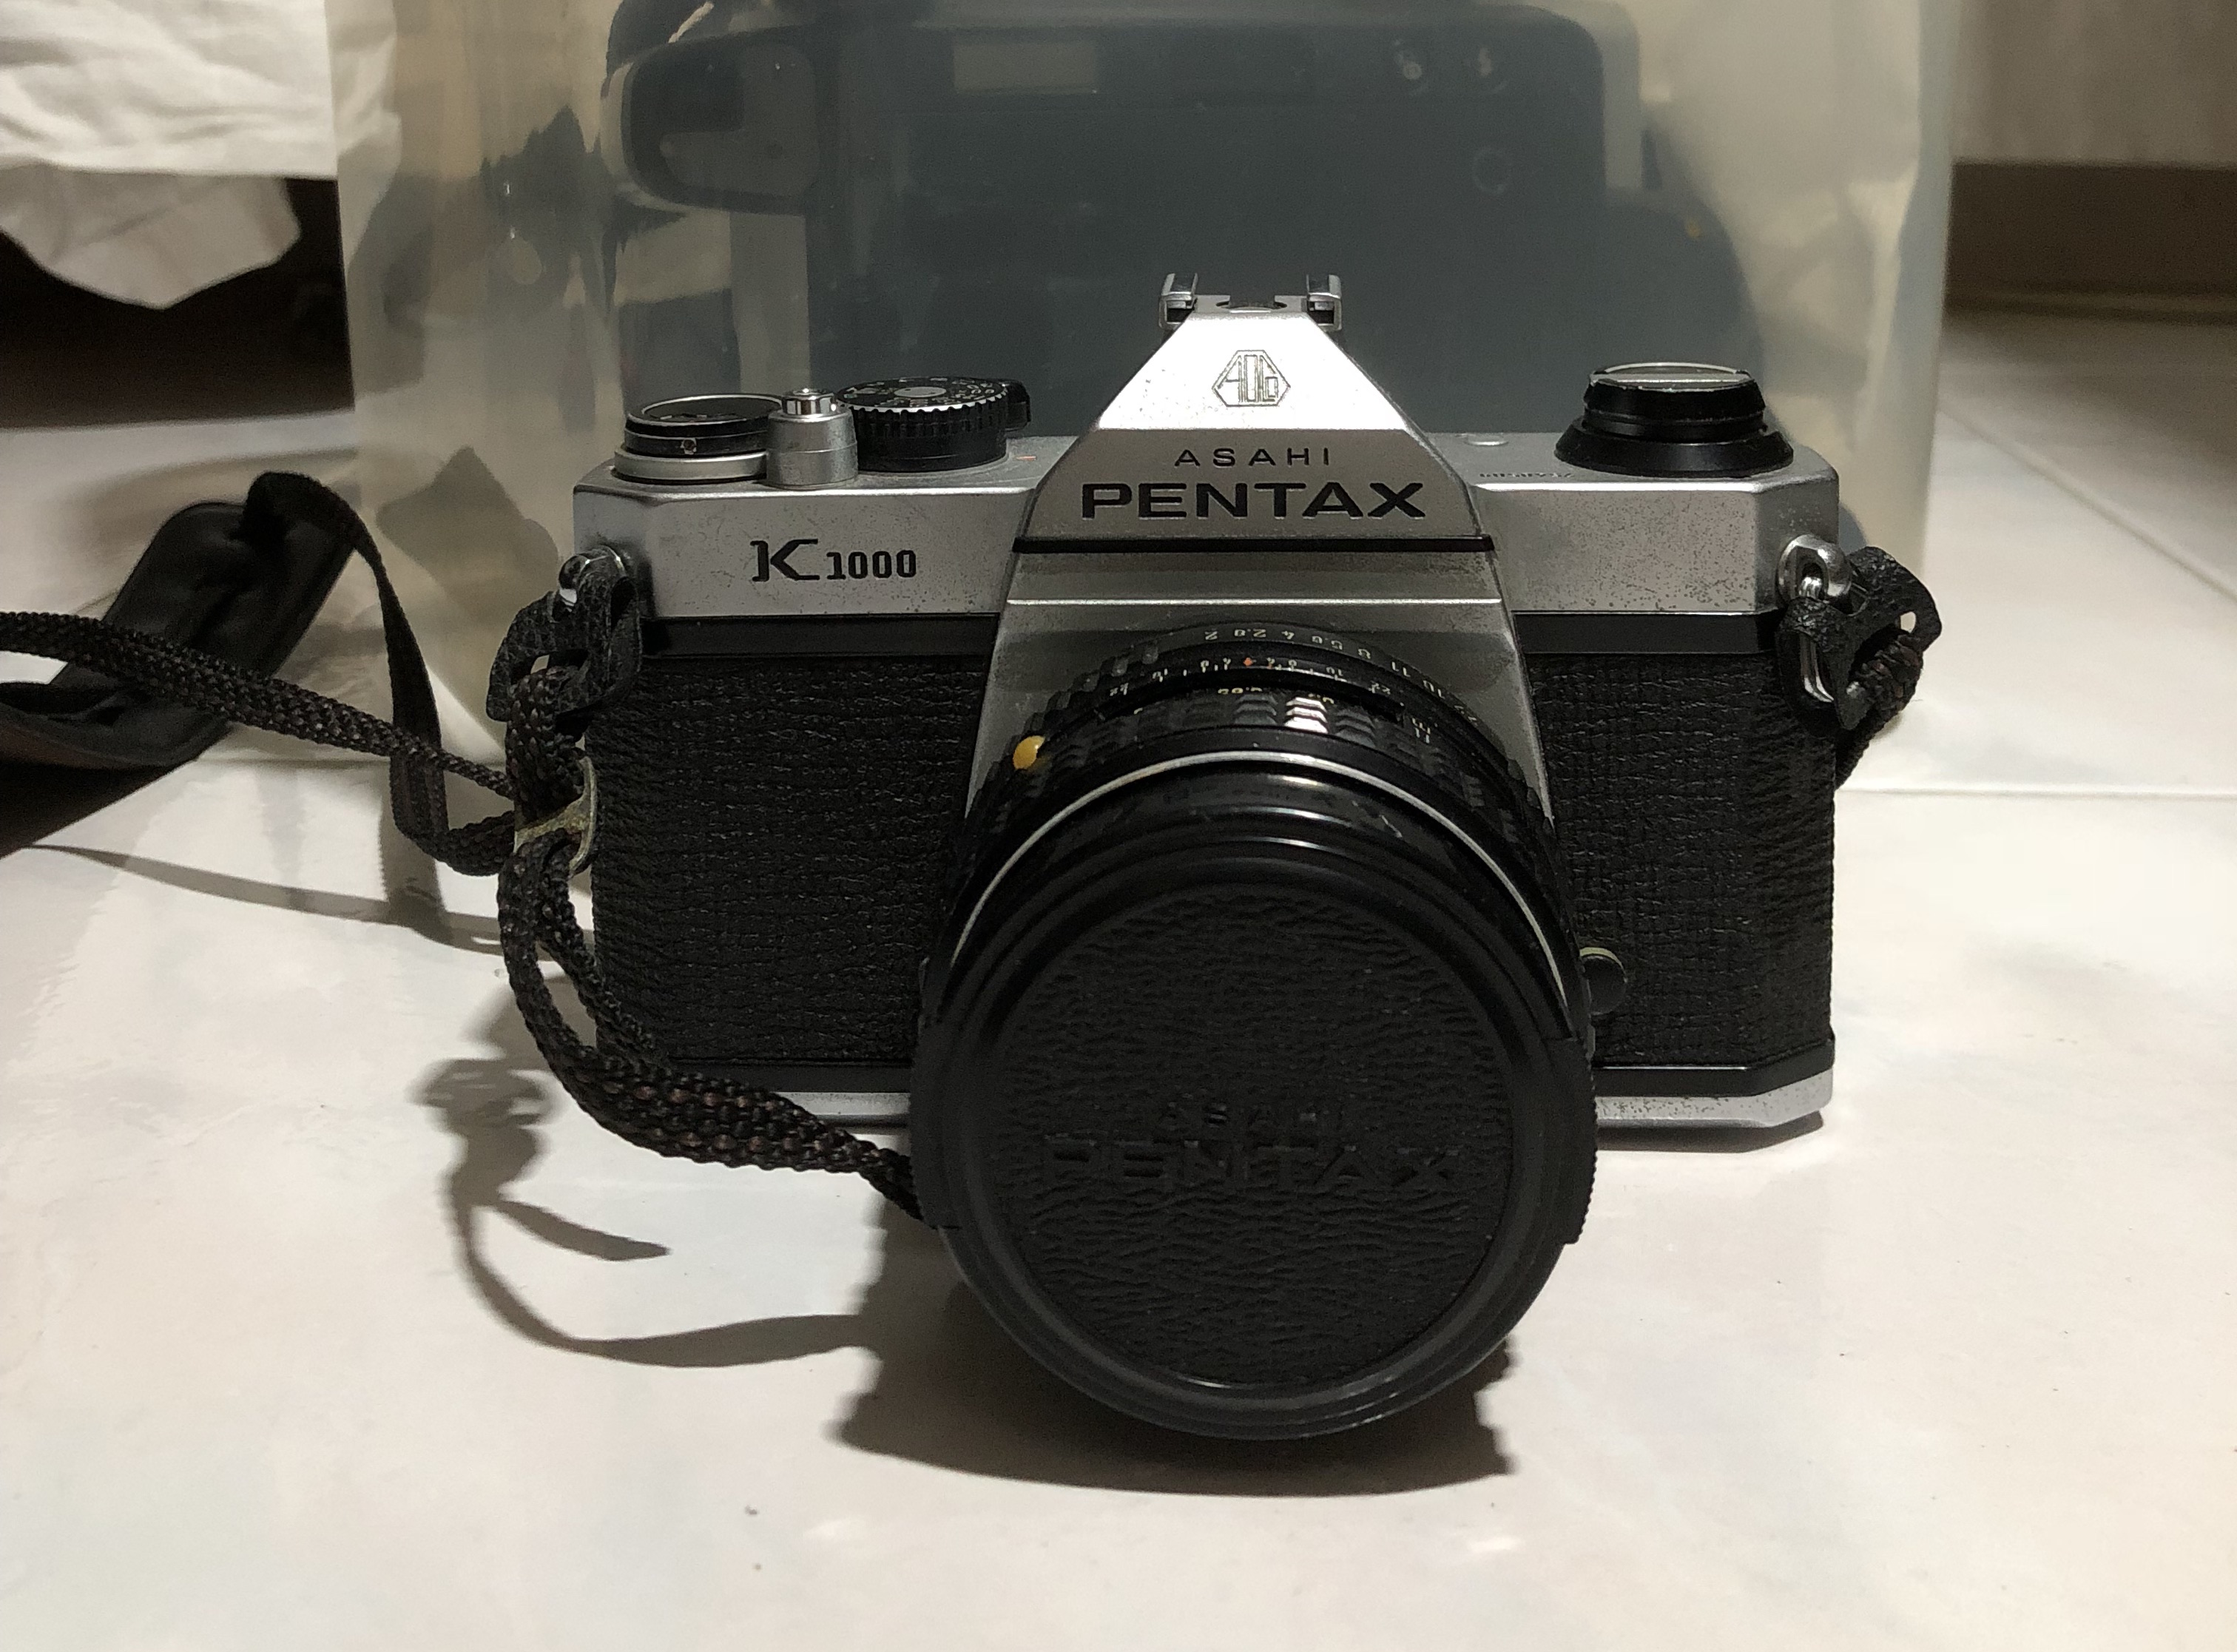
Process documentation:
It starts with loading in the film roll. Usually a film roll has around 30 exposures (exposures in this context means number of photos). Depending on the subject shot, different lenses are used. Most portrait film photographers use 35mm prime lenses. By looking at the light sensor in the viewfinder, the exposure can be adjusting using aperture (usually found on the lens) and shutter speed knobs. The film advance lever is then pulled to “load” the film and the shutter is pressed. Due to how tedious the developing process is, my friend sends them to a local photo shop to get them developed and burned into a CD, instead of printing the photos out directly because this method saves money.
Worksite documentation:
Film cameras, as with other cameras, are kept in a dry box. My friend has yet to think about investing in a proper dry box since they are pricey so she uses silica gel bags in a box to improvise for now.
Pain points:
Loading the film roll is the hardest part since it is the most important part about film photography: loading the film roll the wrong way will result in pictures with wrong exposures and weird coloring. Despite having loaded film rolls plenty of times, she still chooses to follow YouTube tutorials step-by-step for the fear of loading it the wrong way.