Field Trips – Darren Lee

  1. Theo10
  2. Red Dot Design Museum
  3. Artist talk – NGUAN  

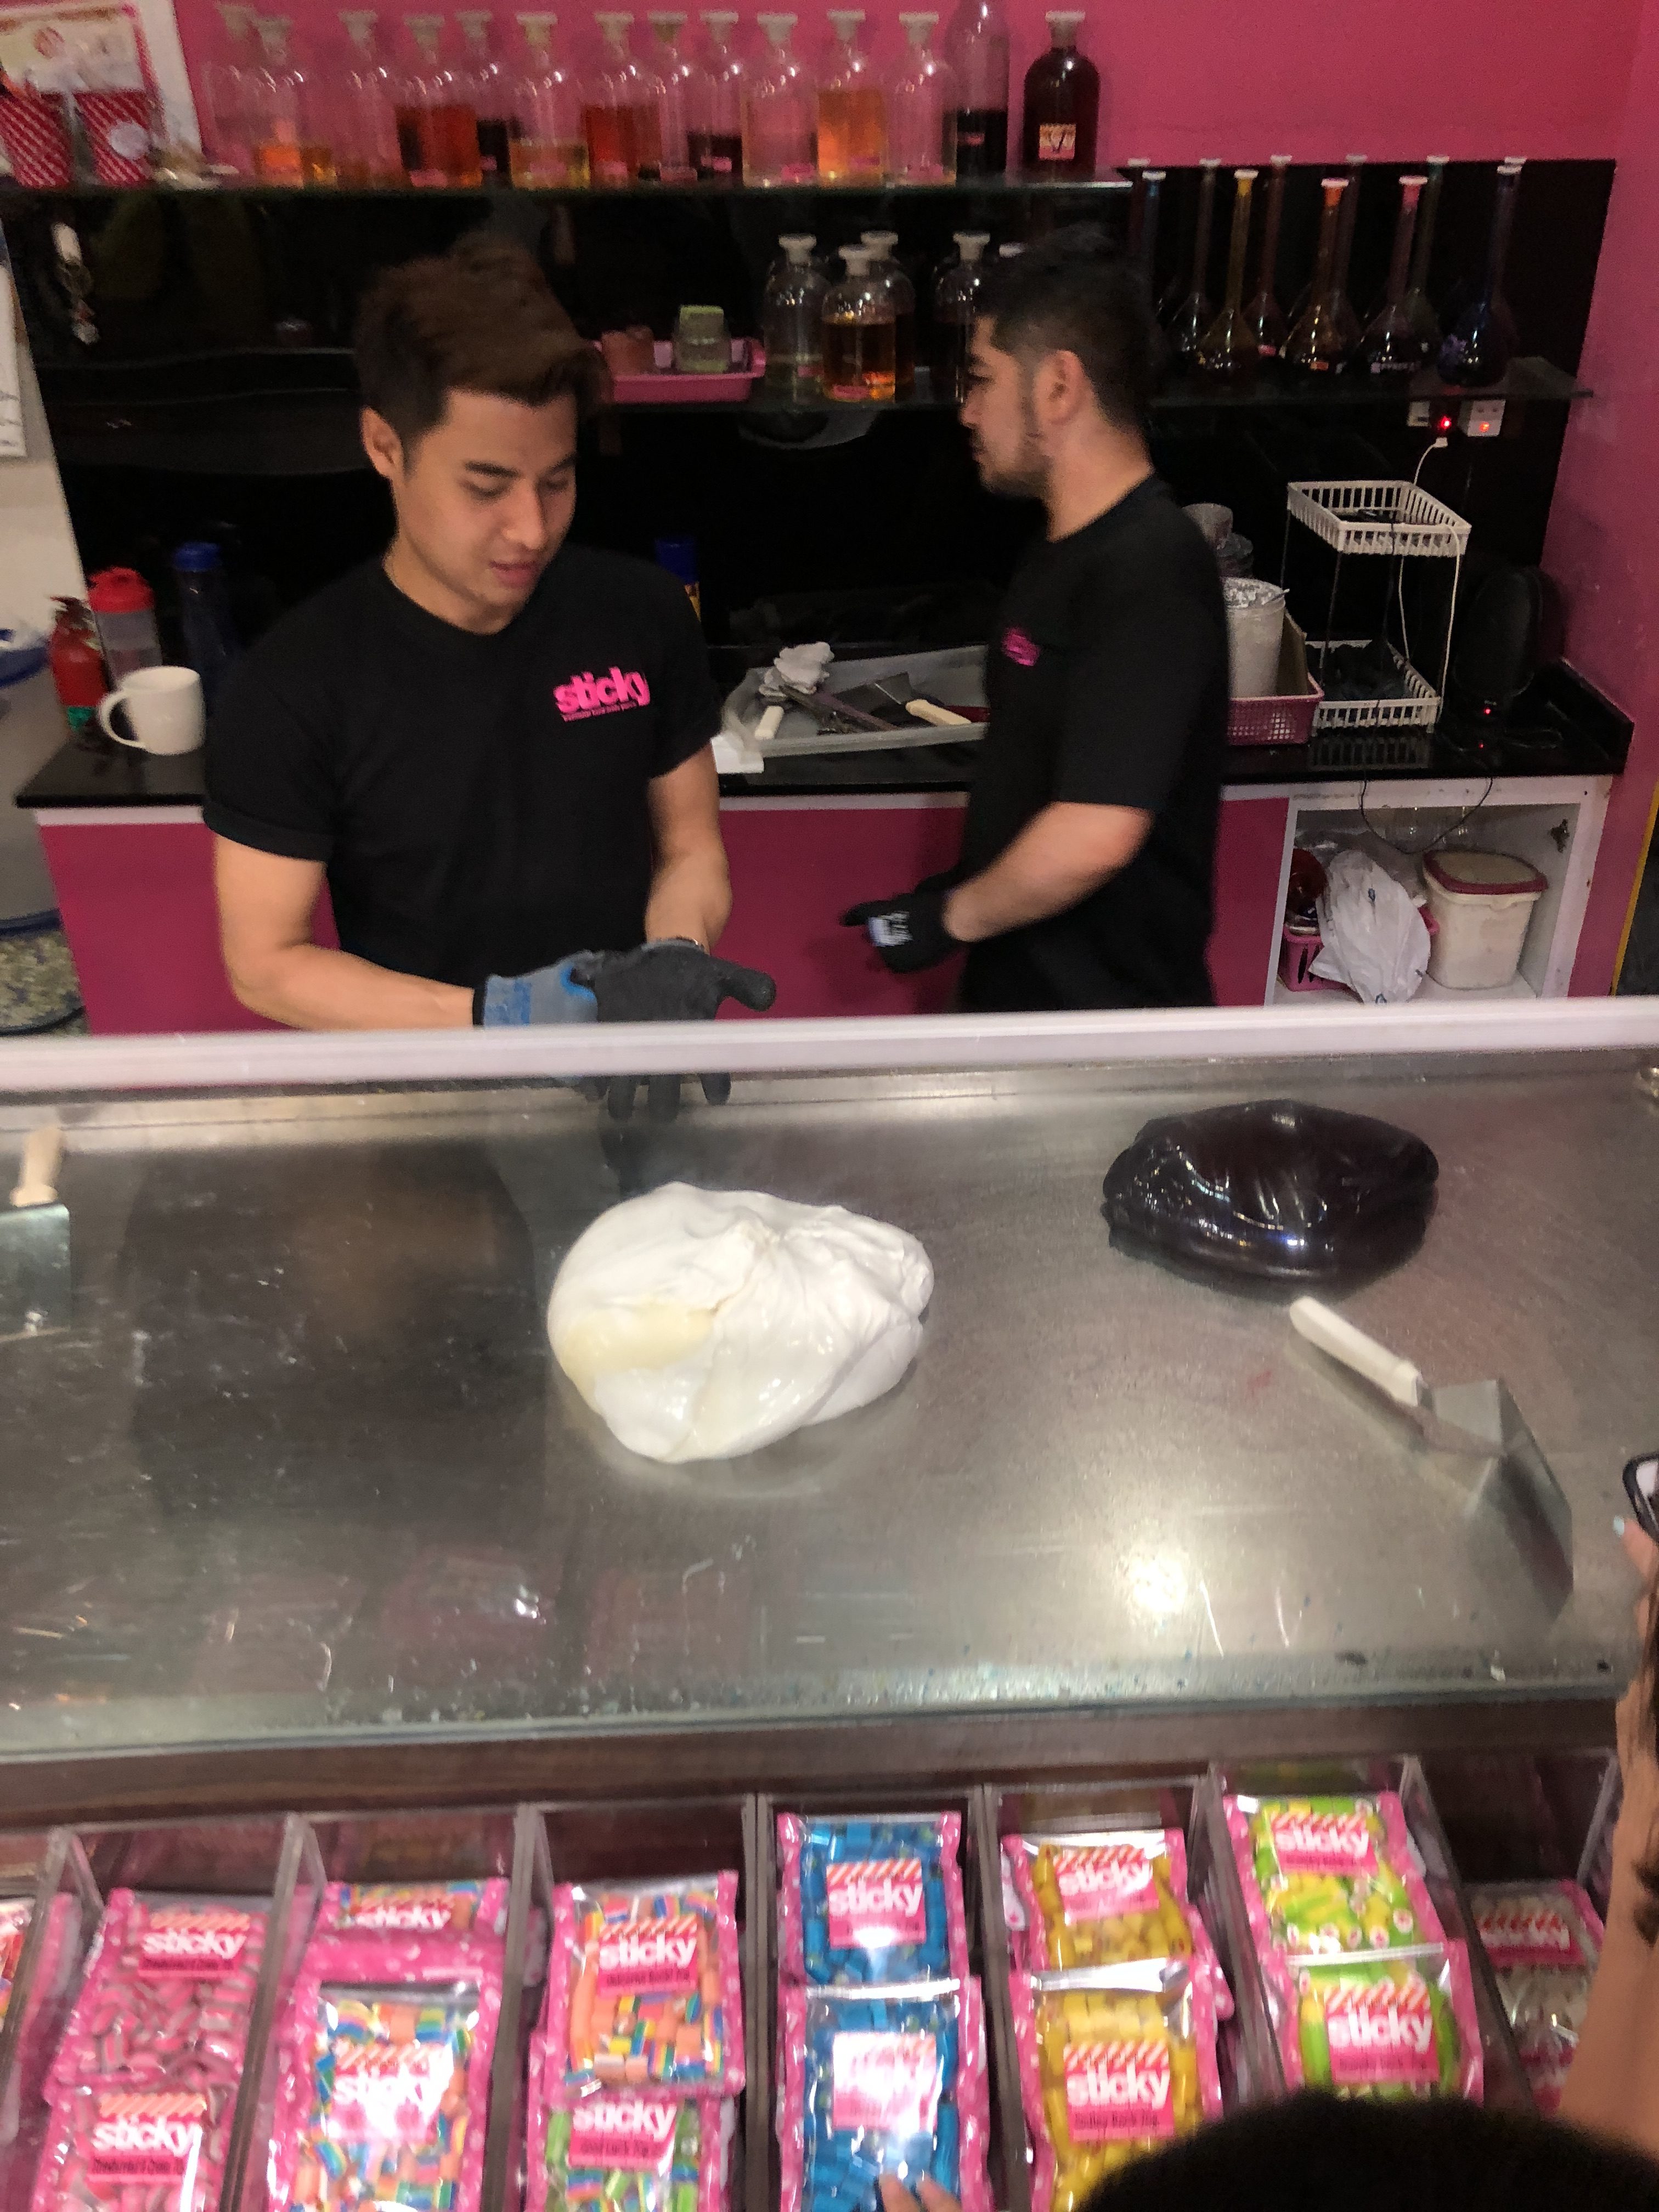
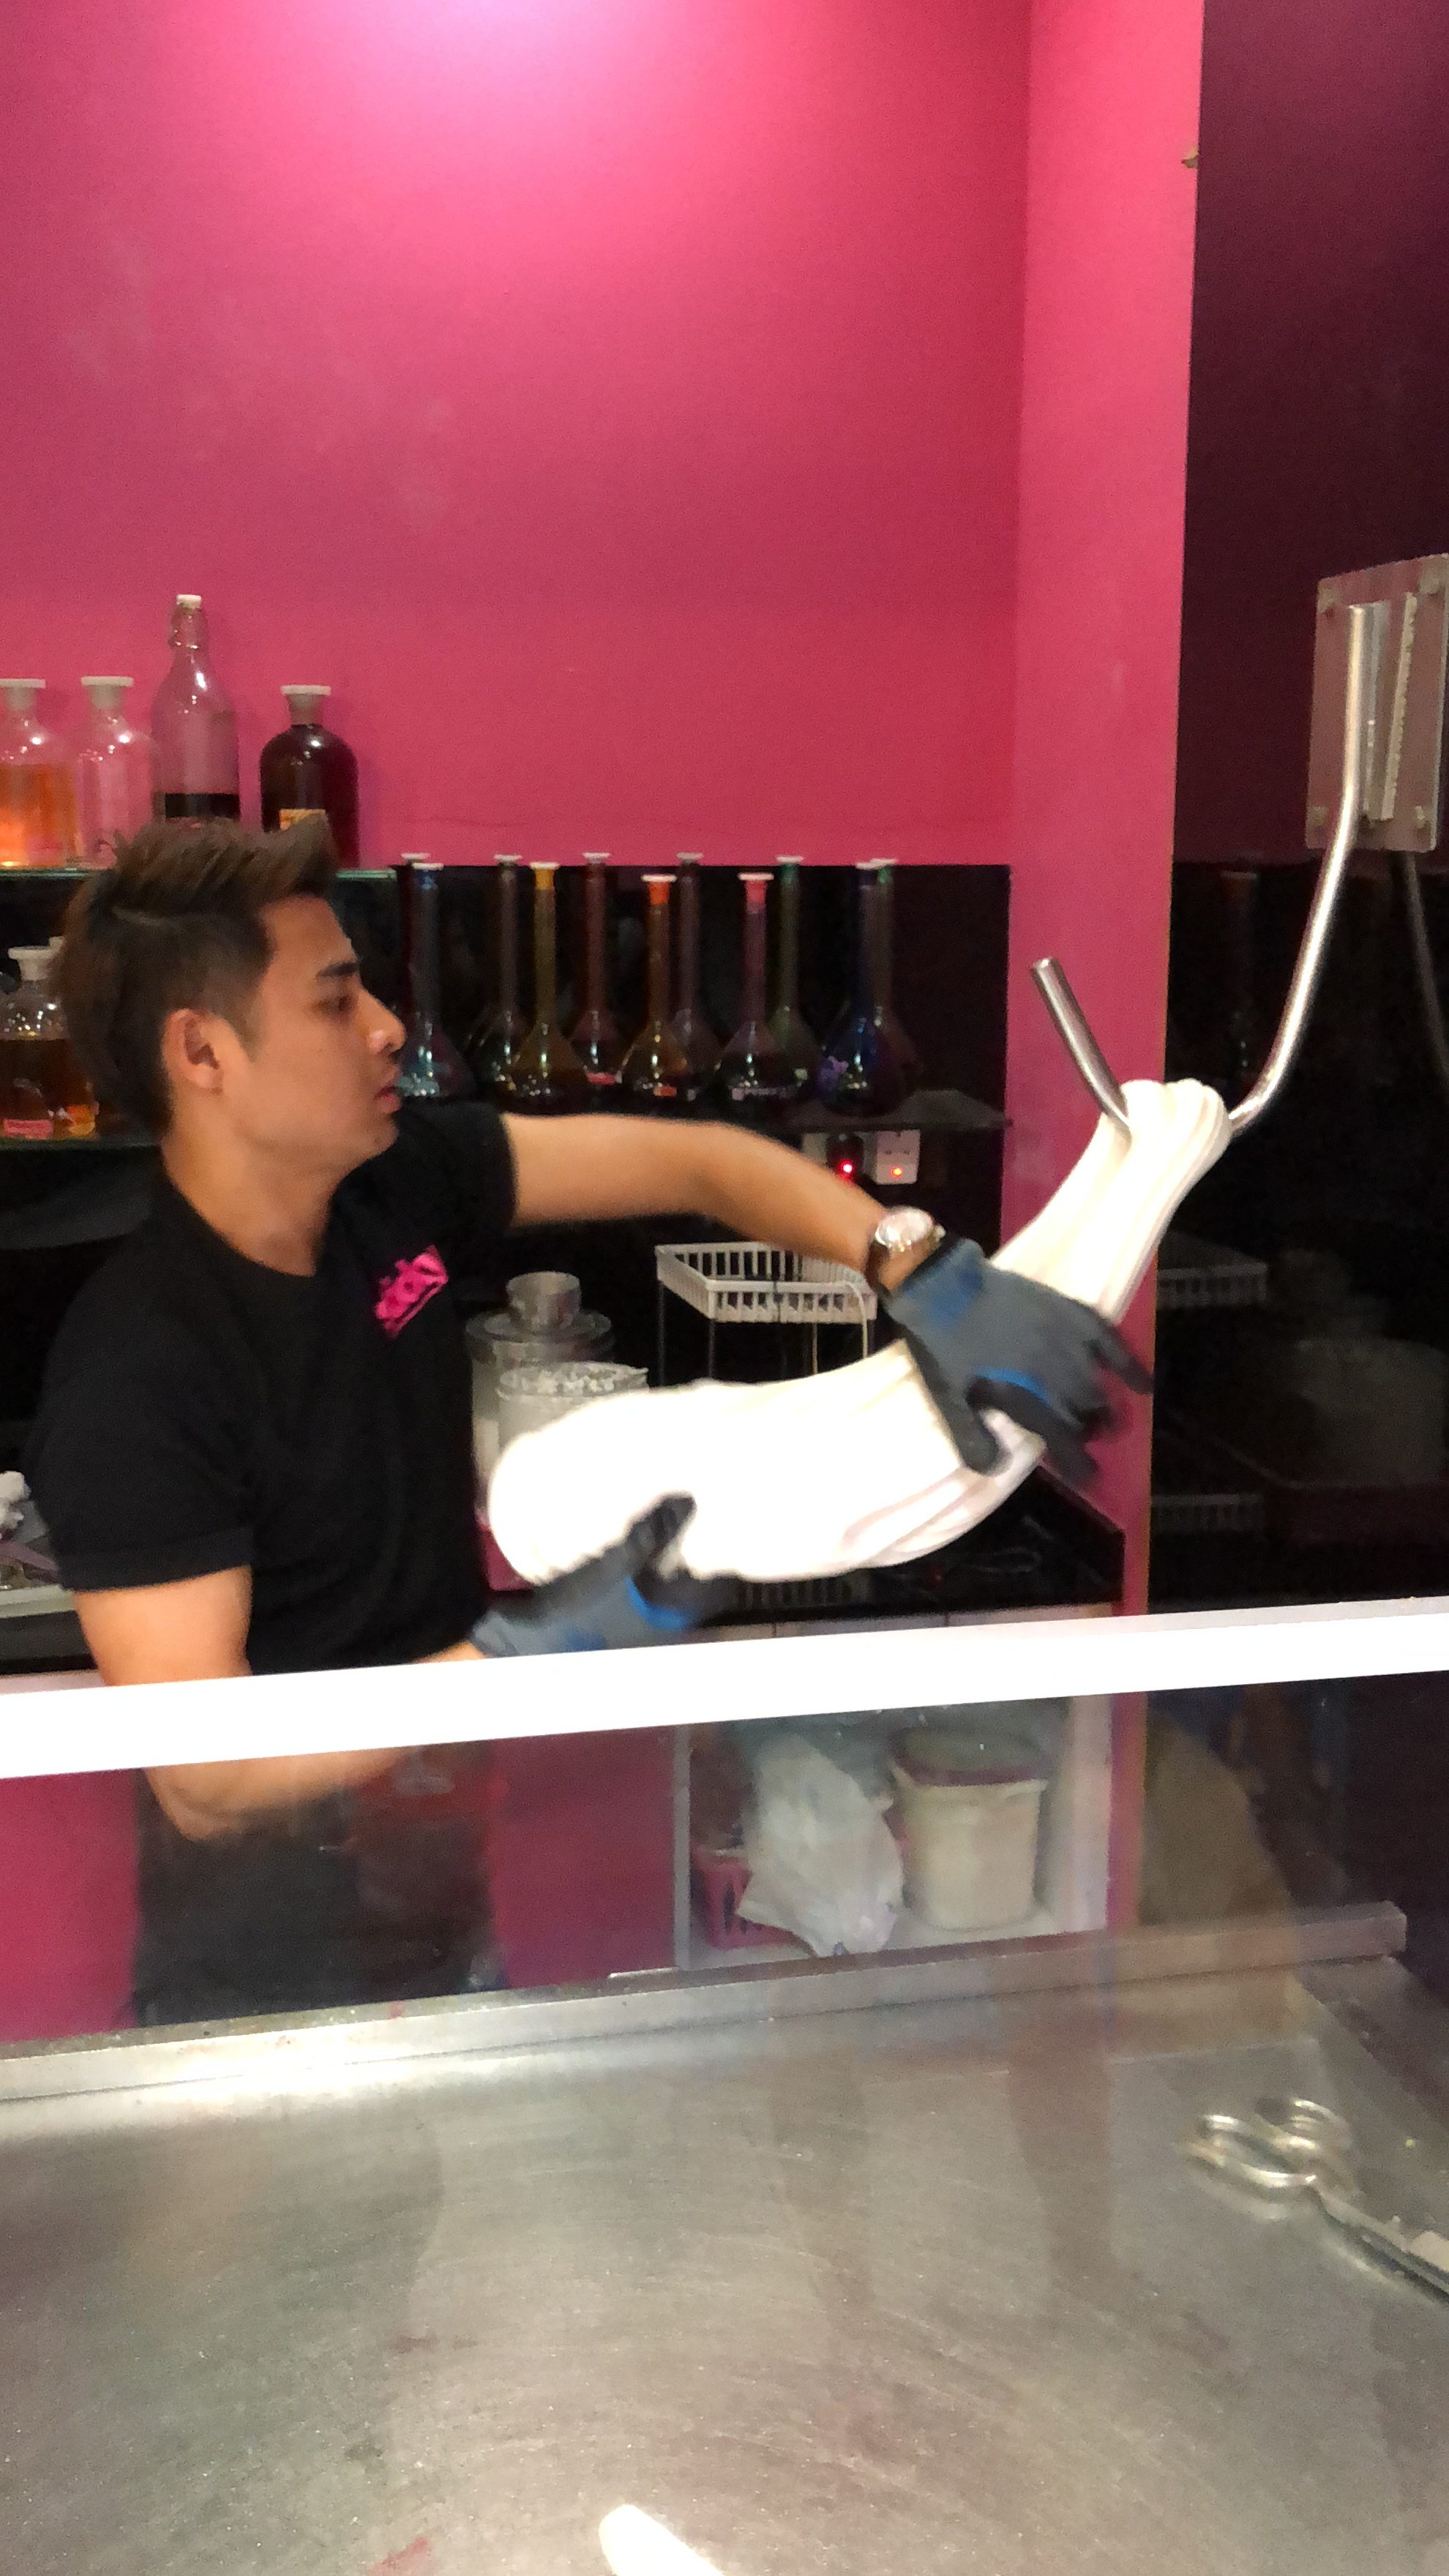
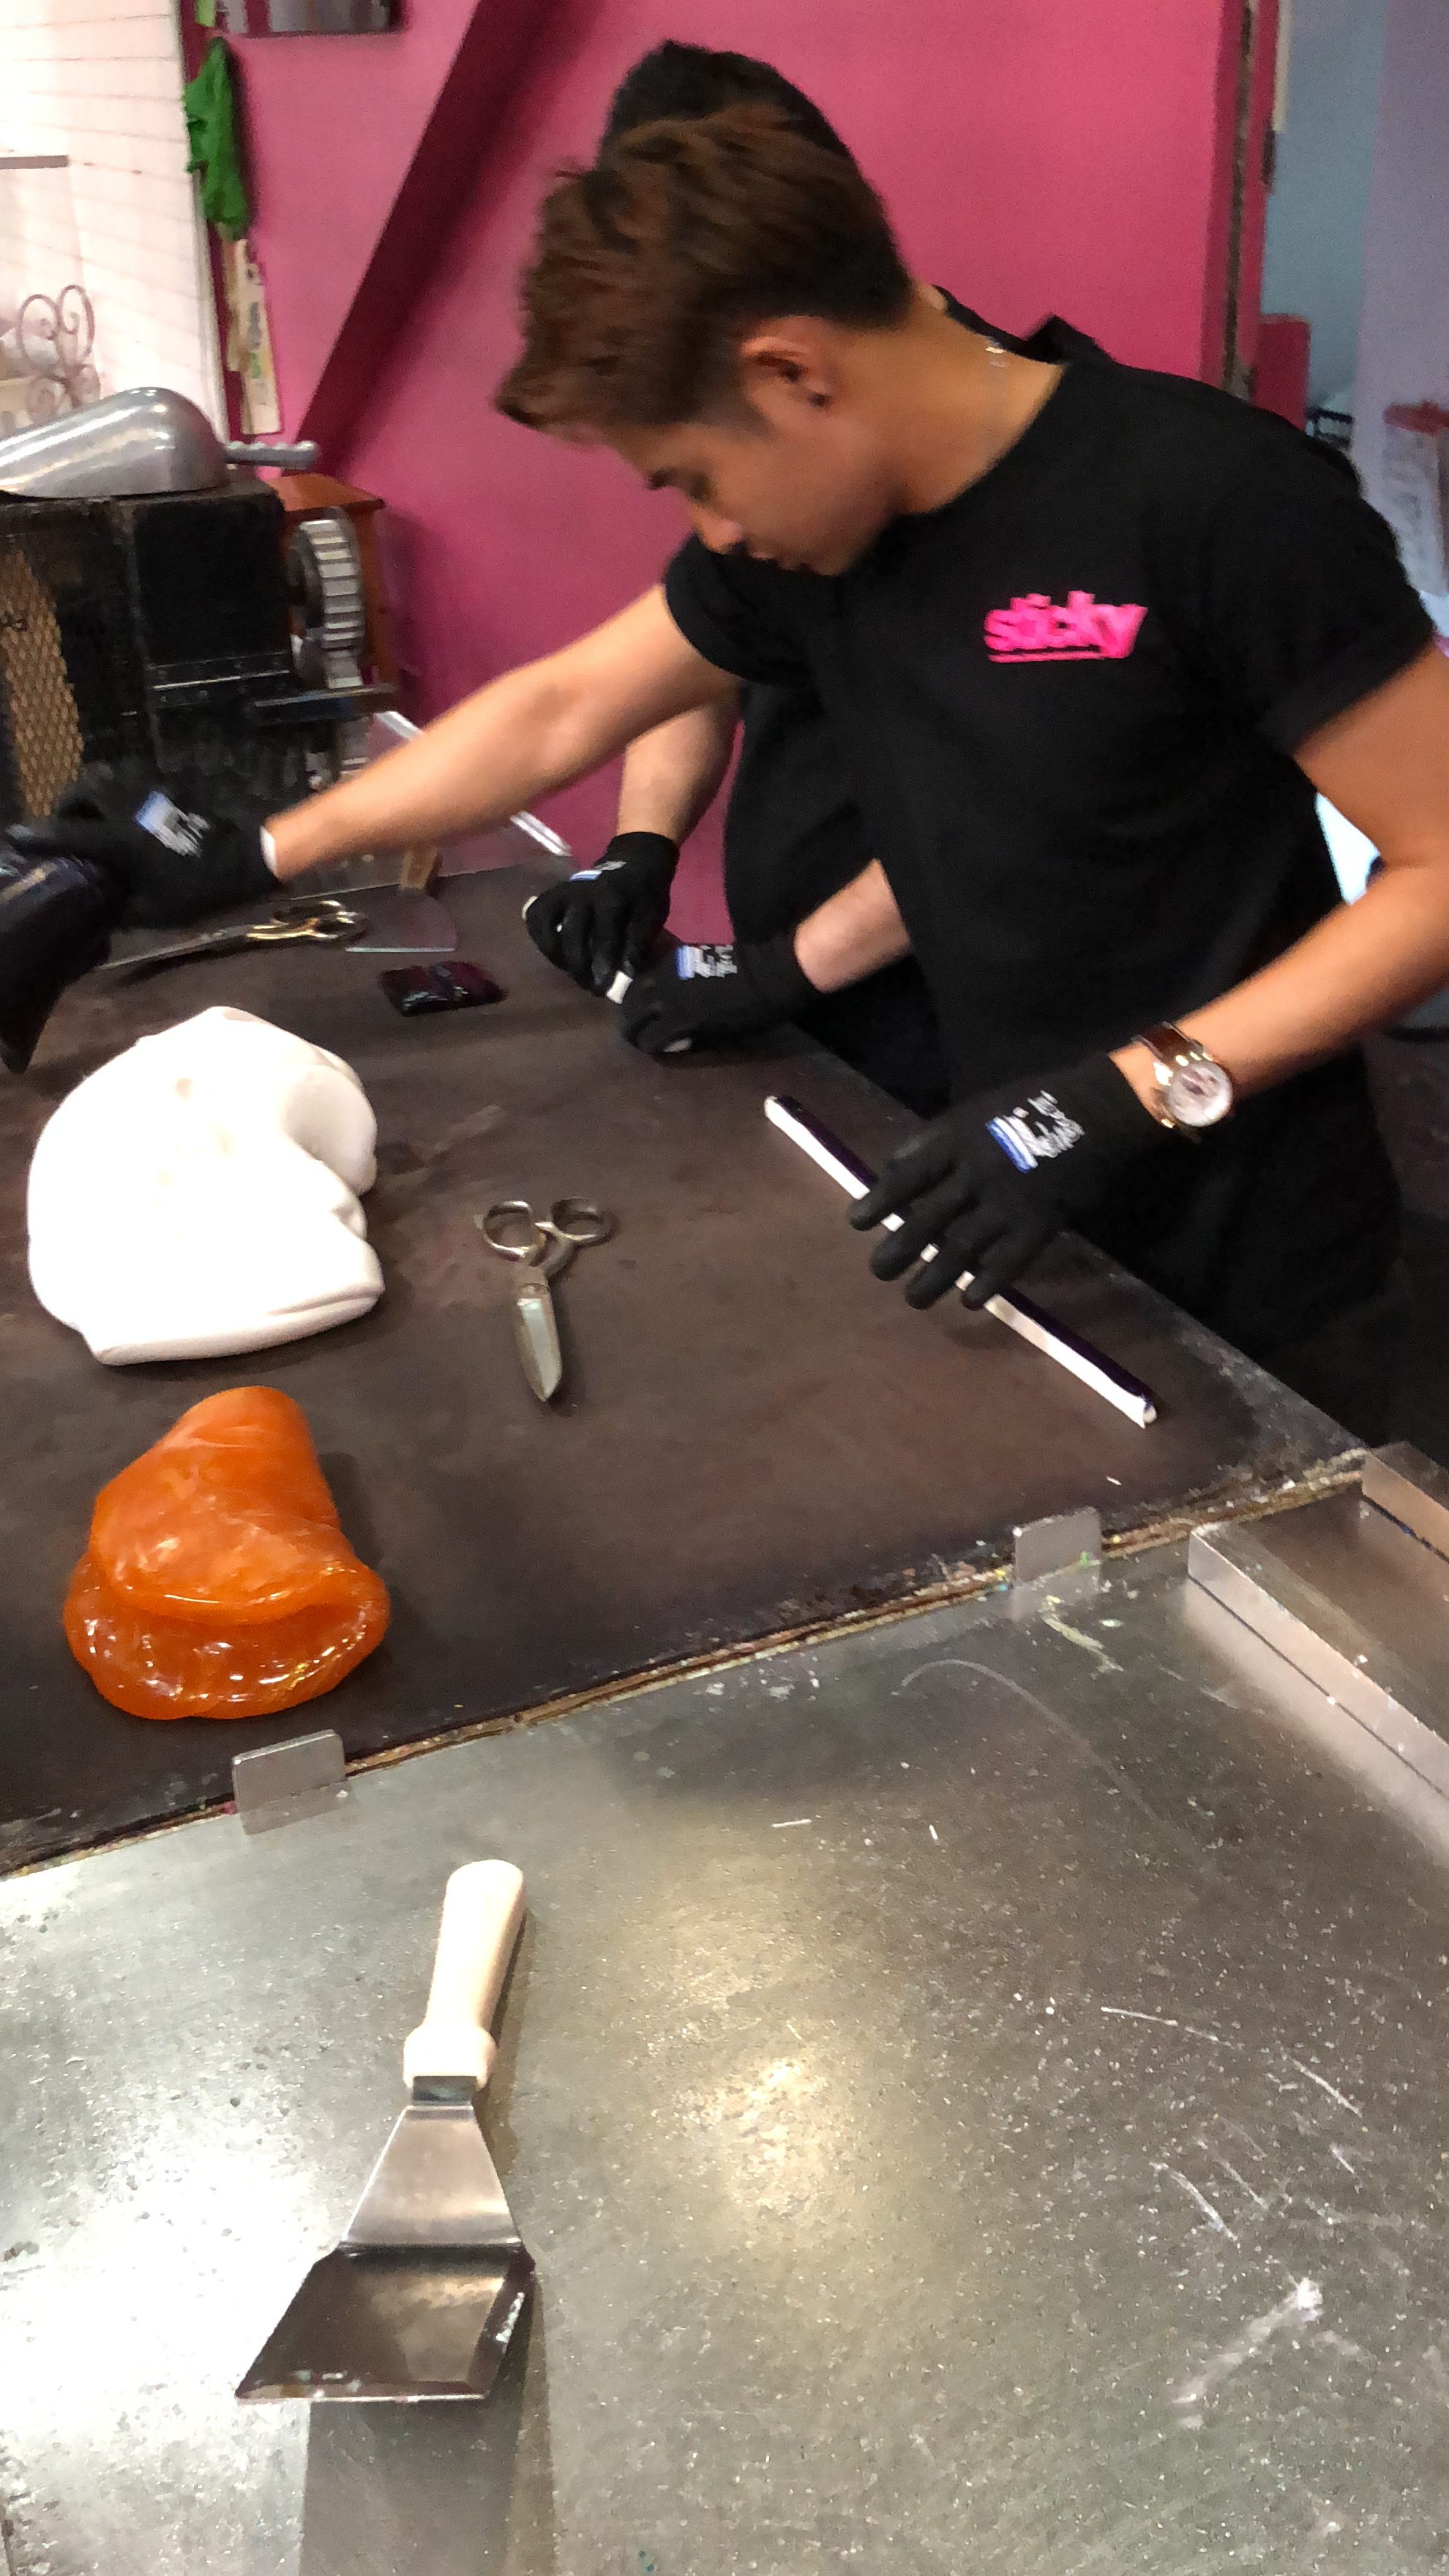
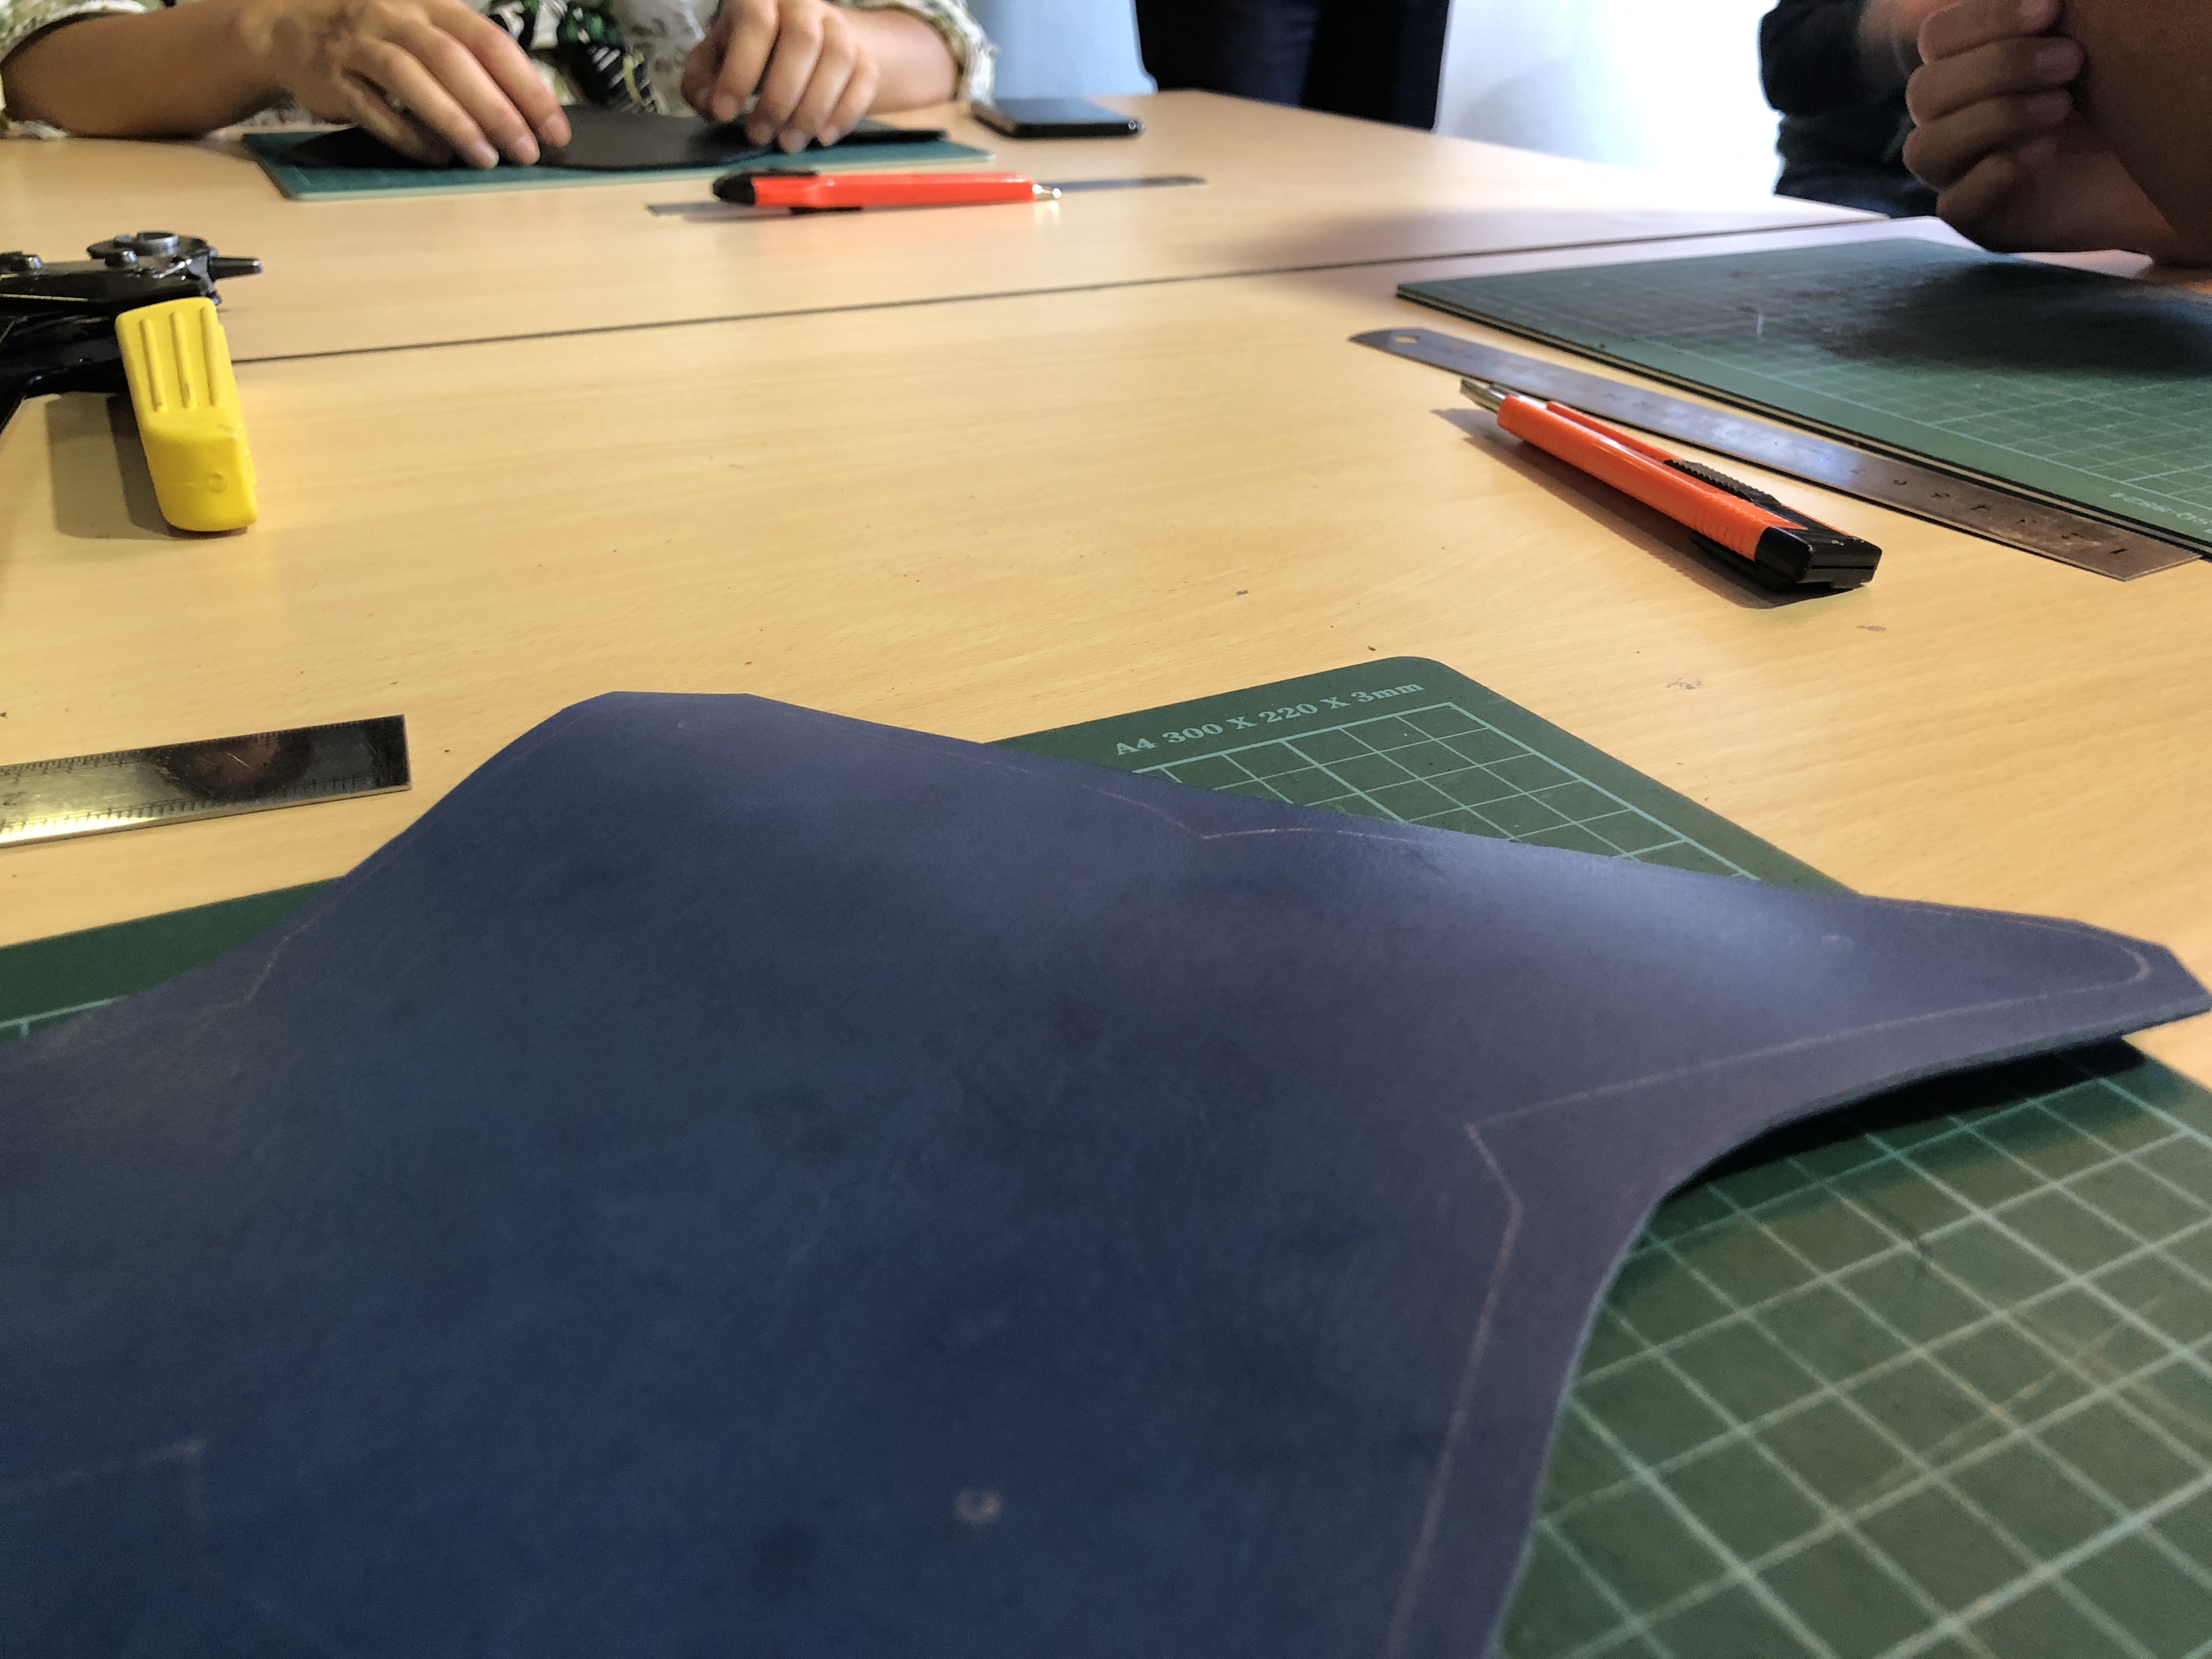
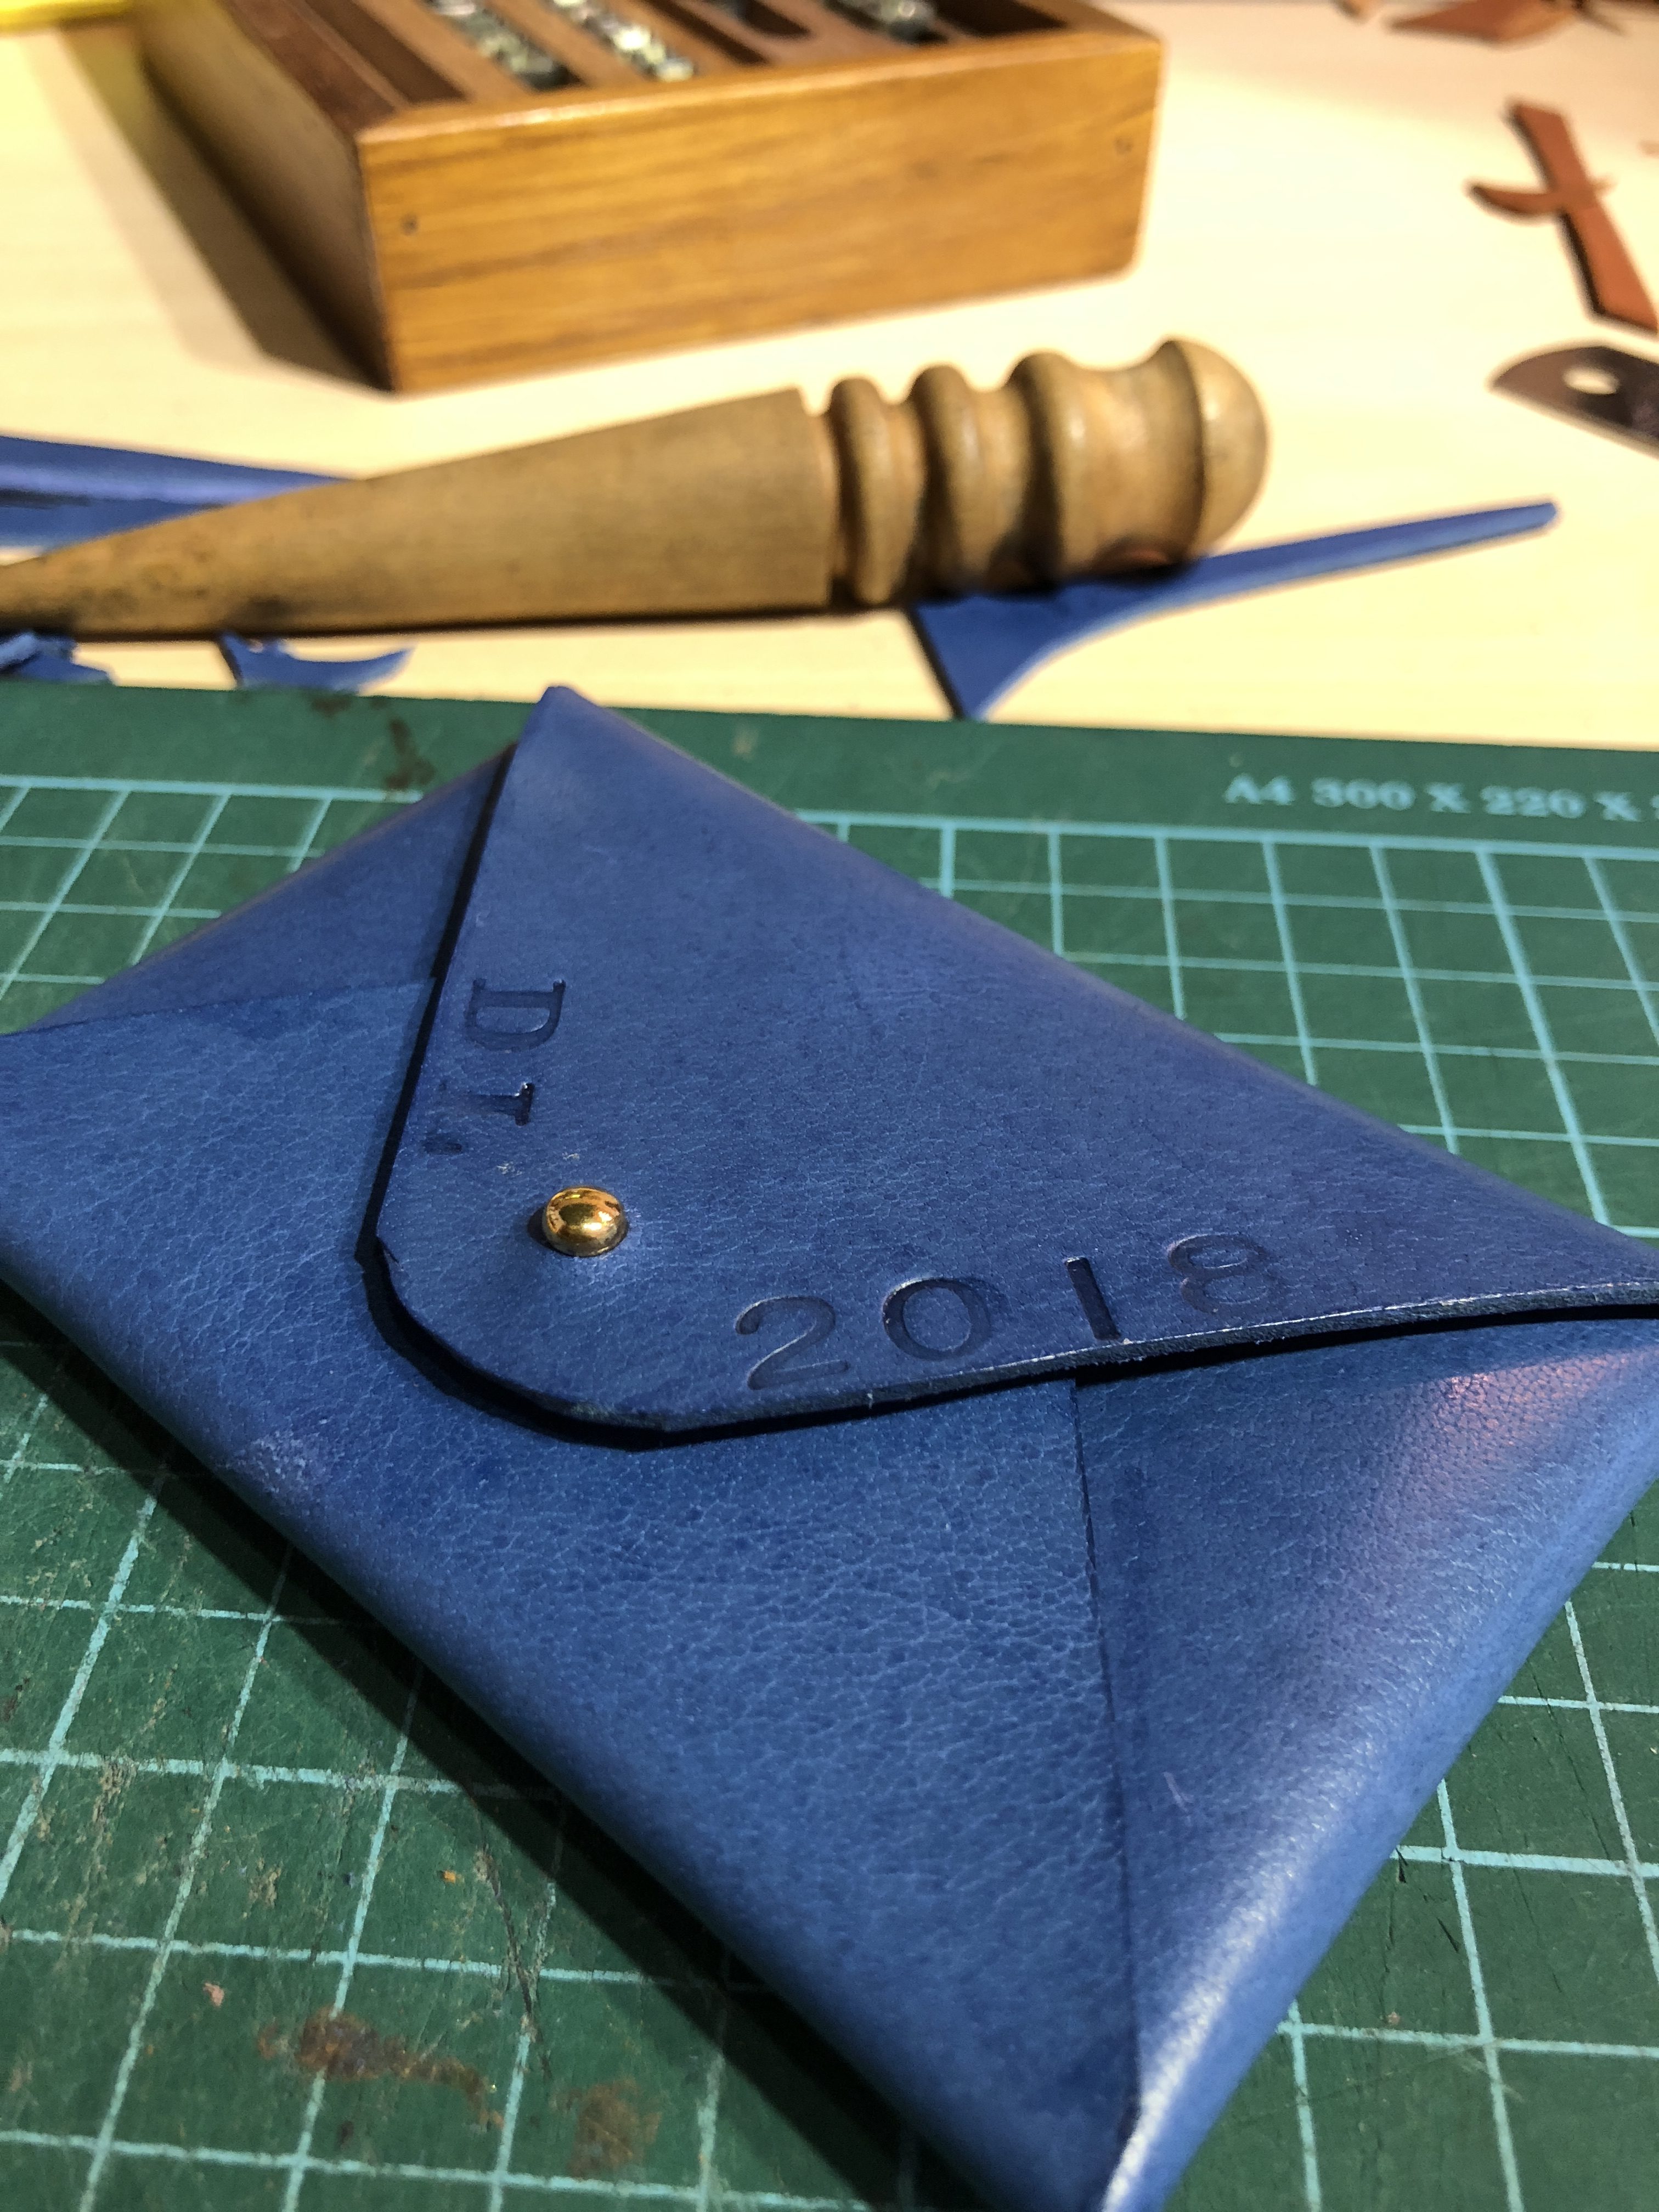
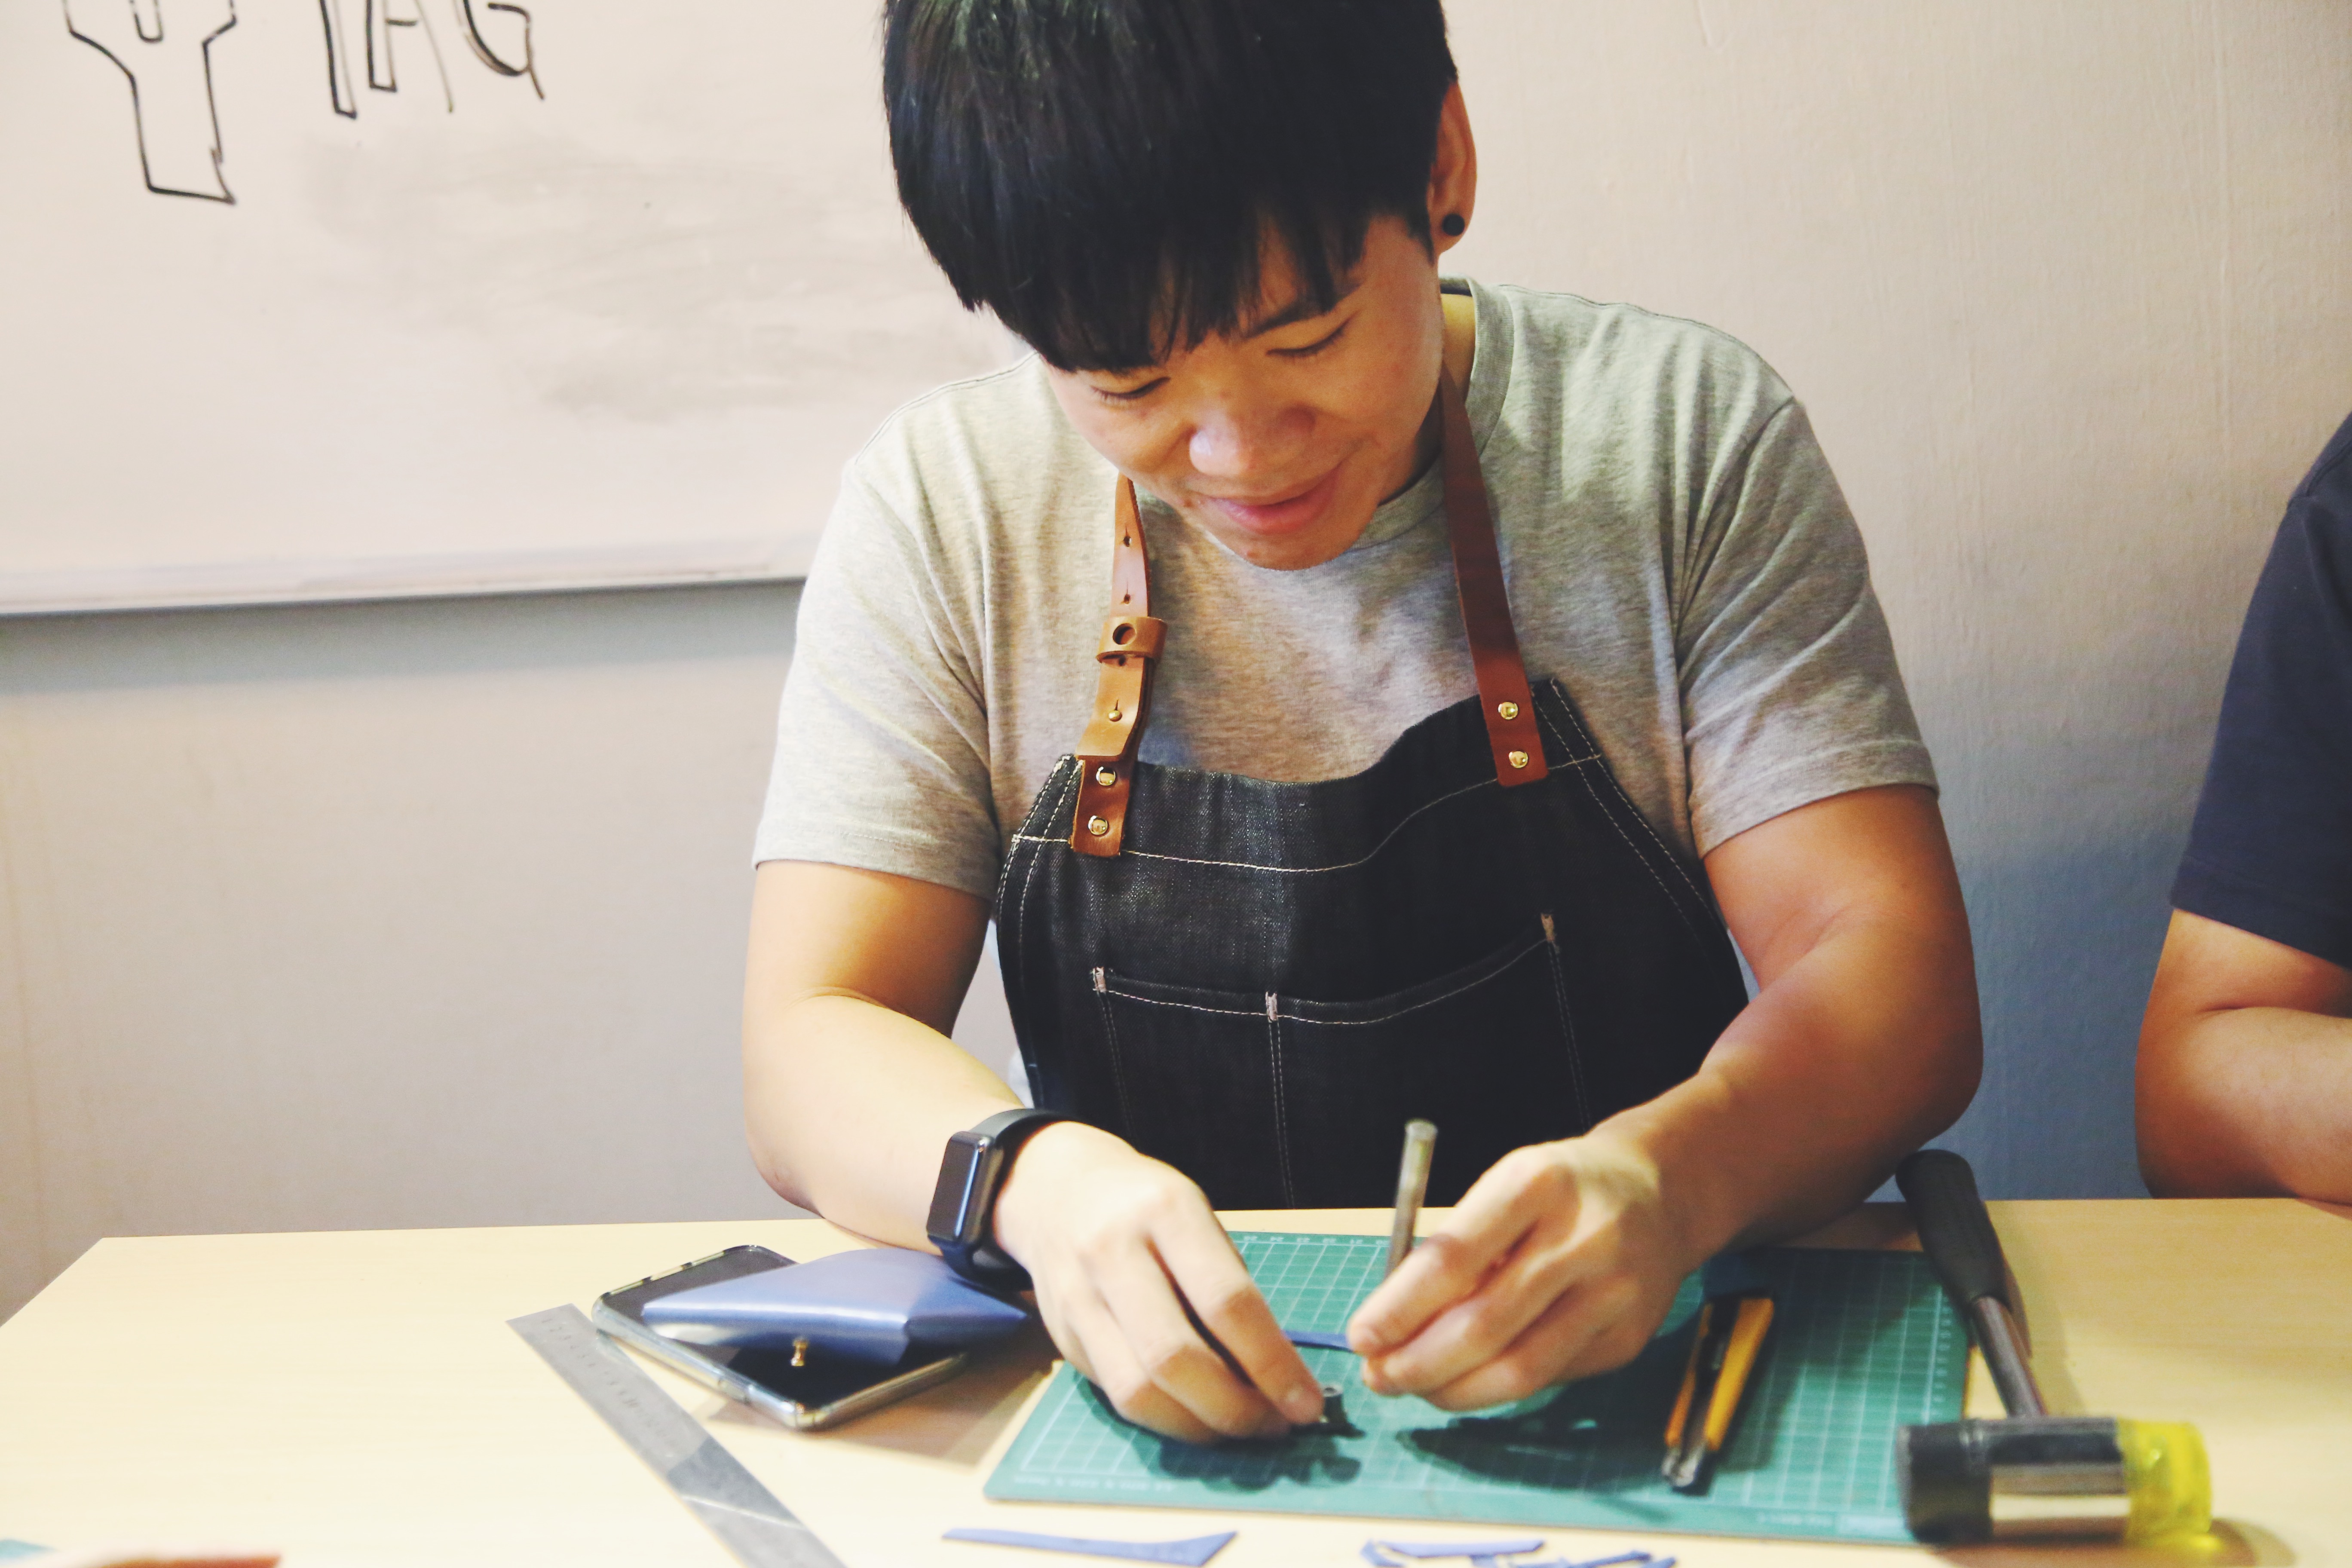
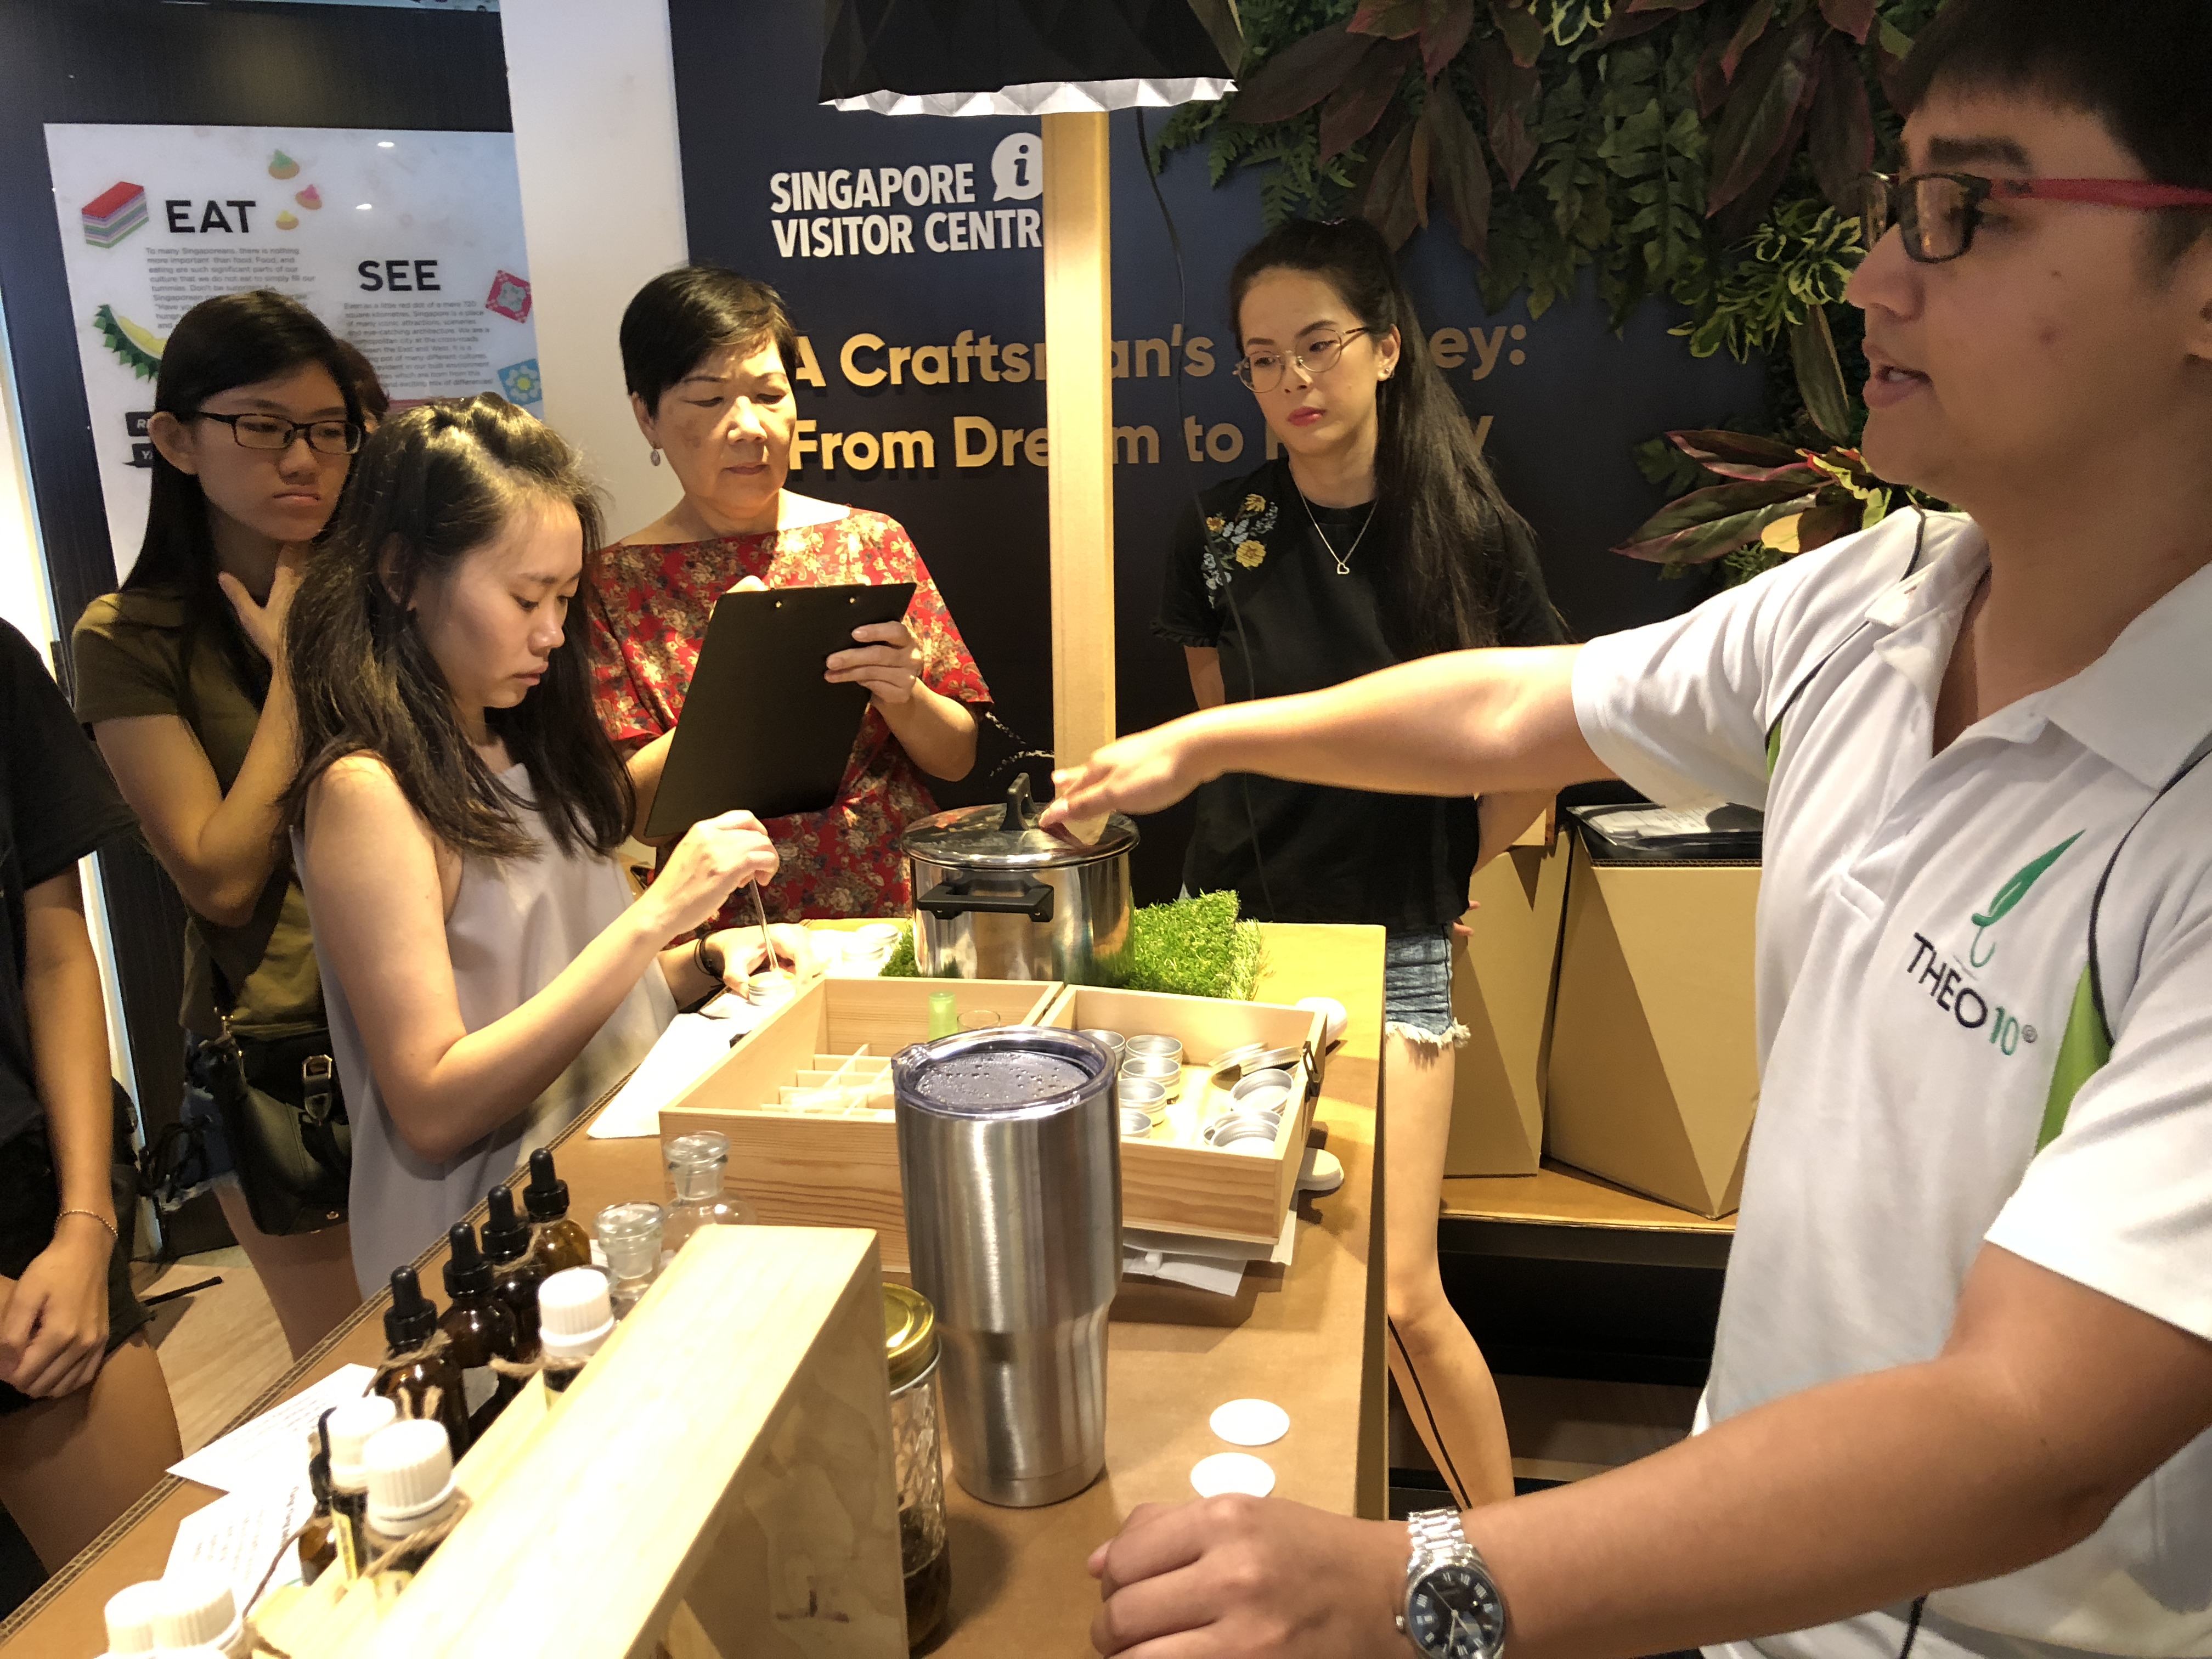
A Craftsman Journey – From Dream to Reality (Theo10) – September 22

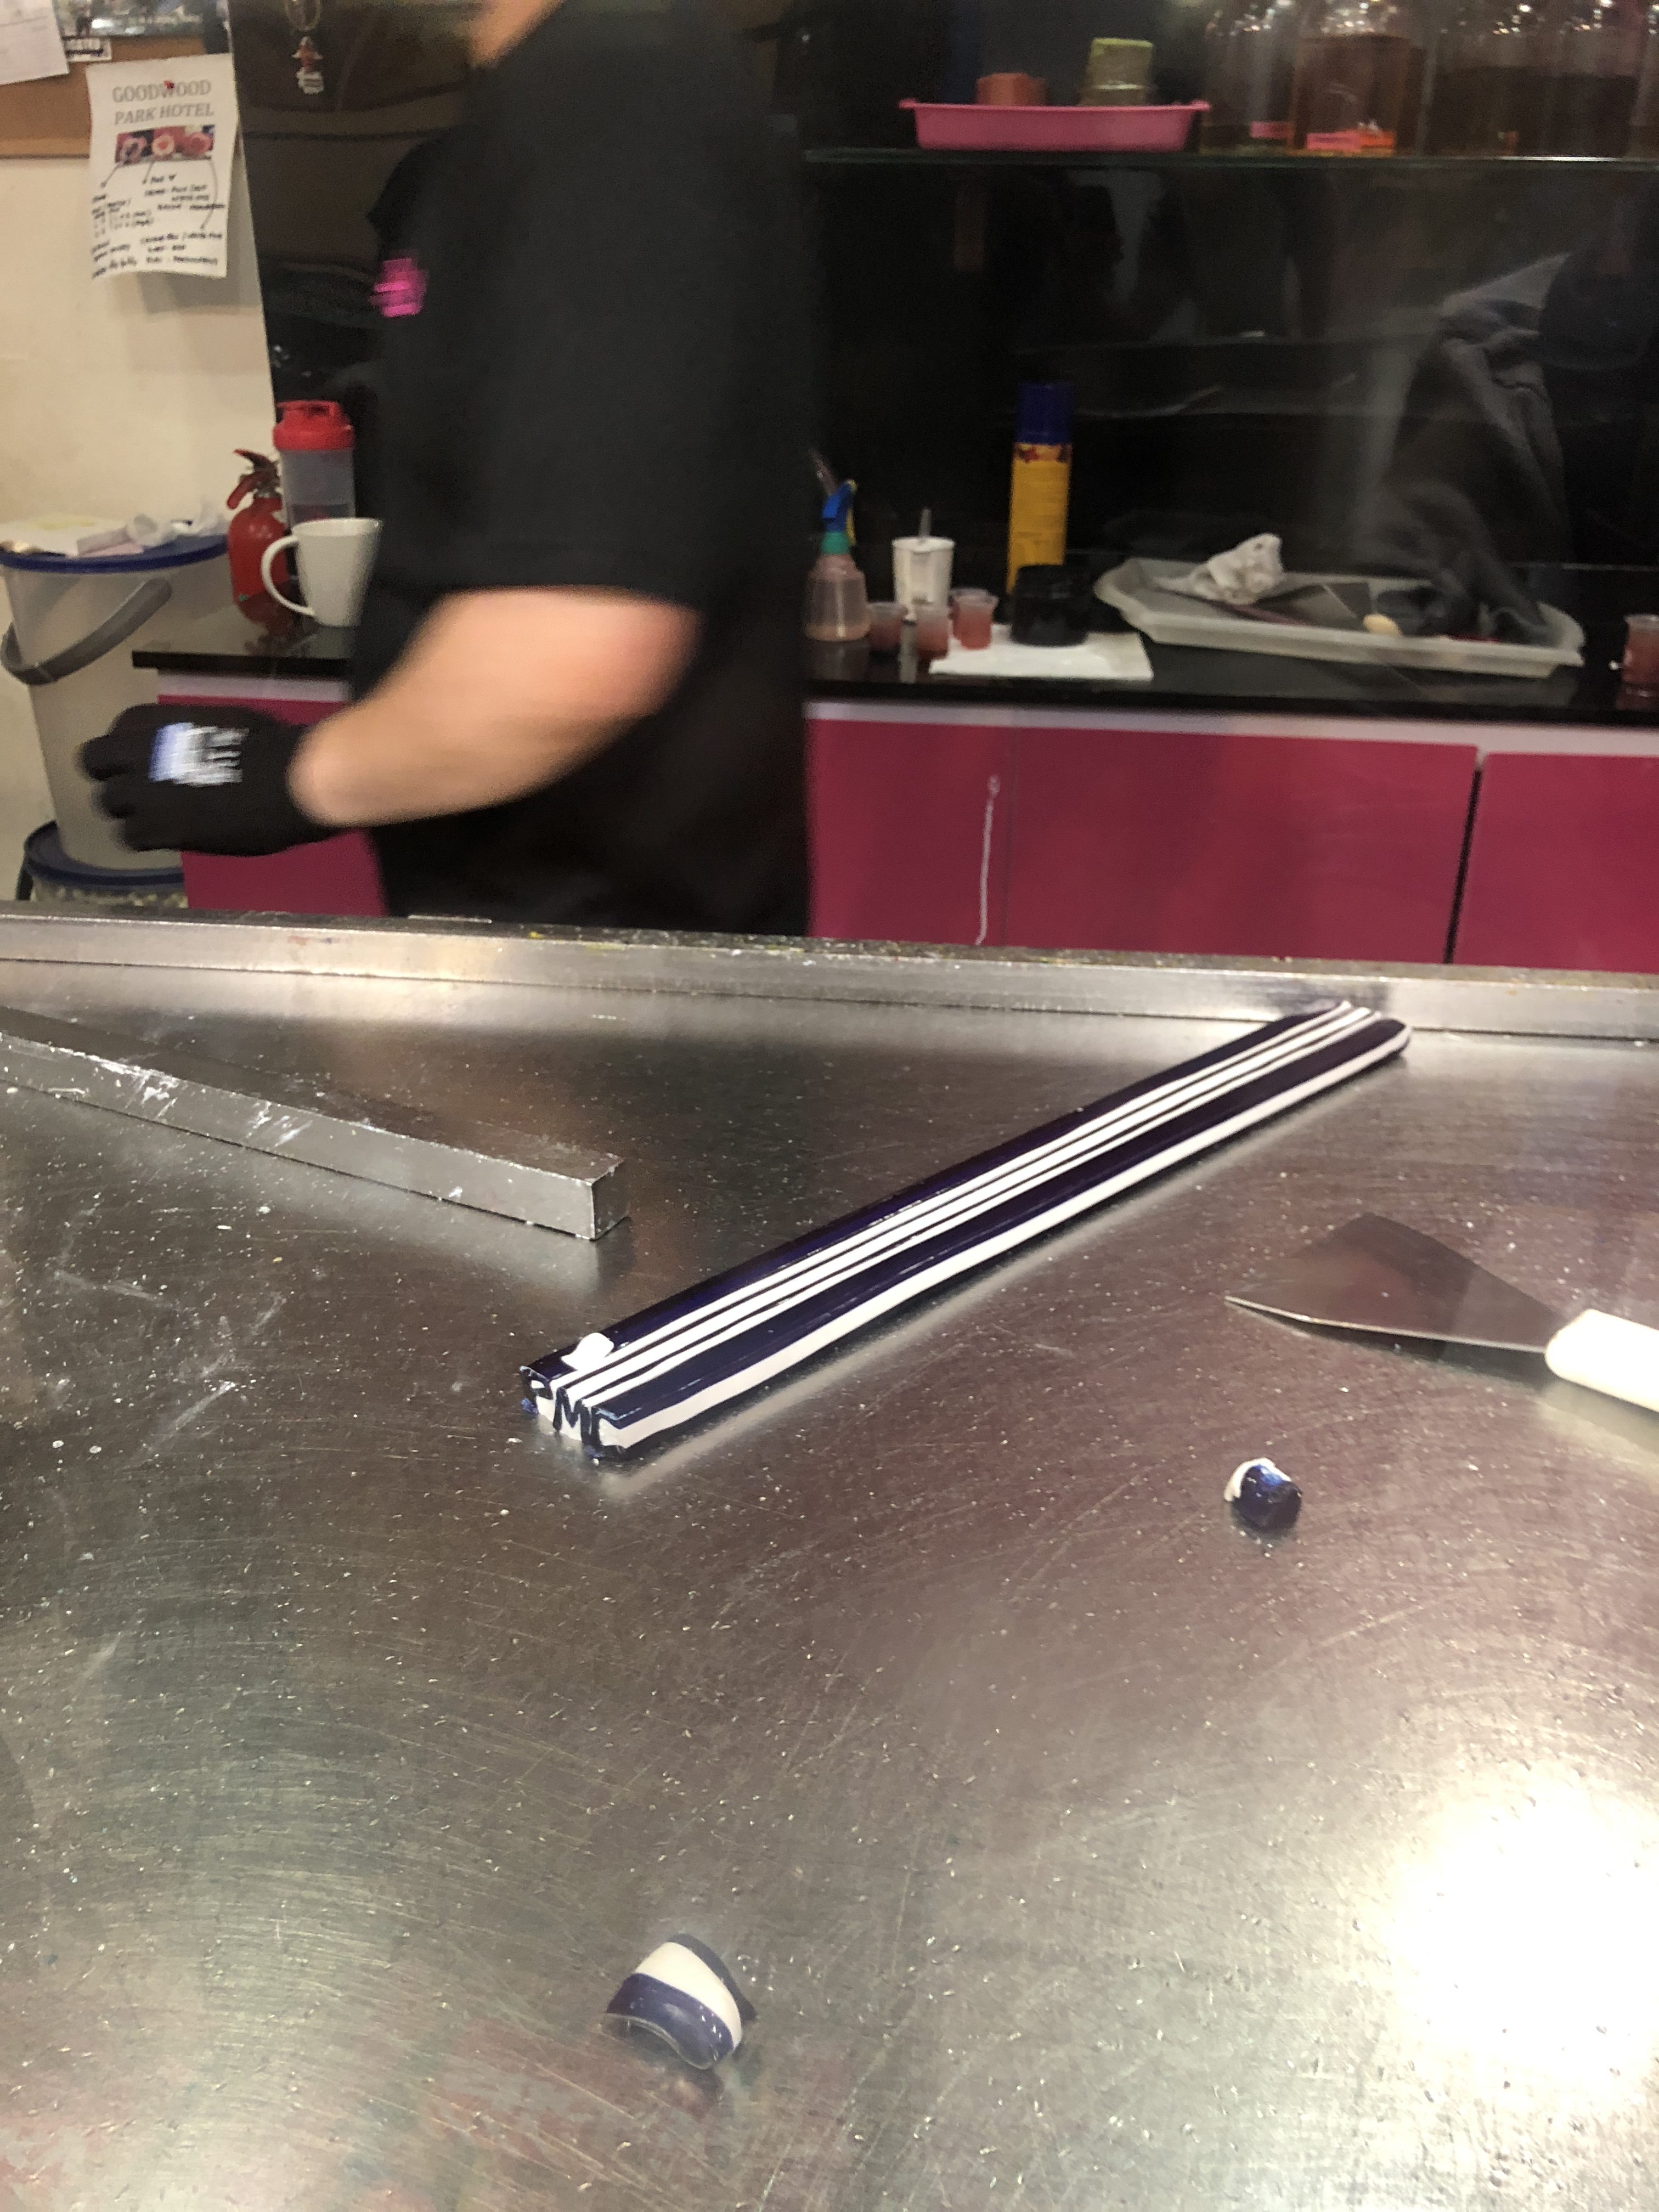
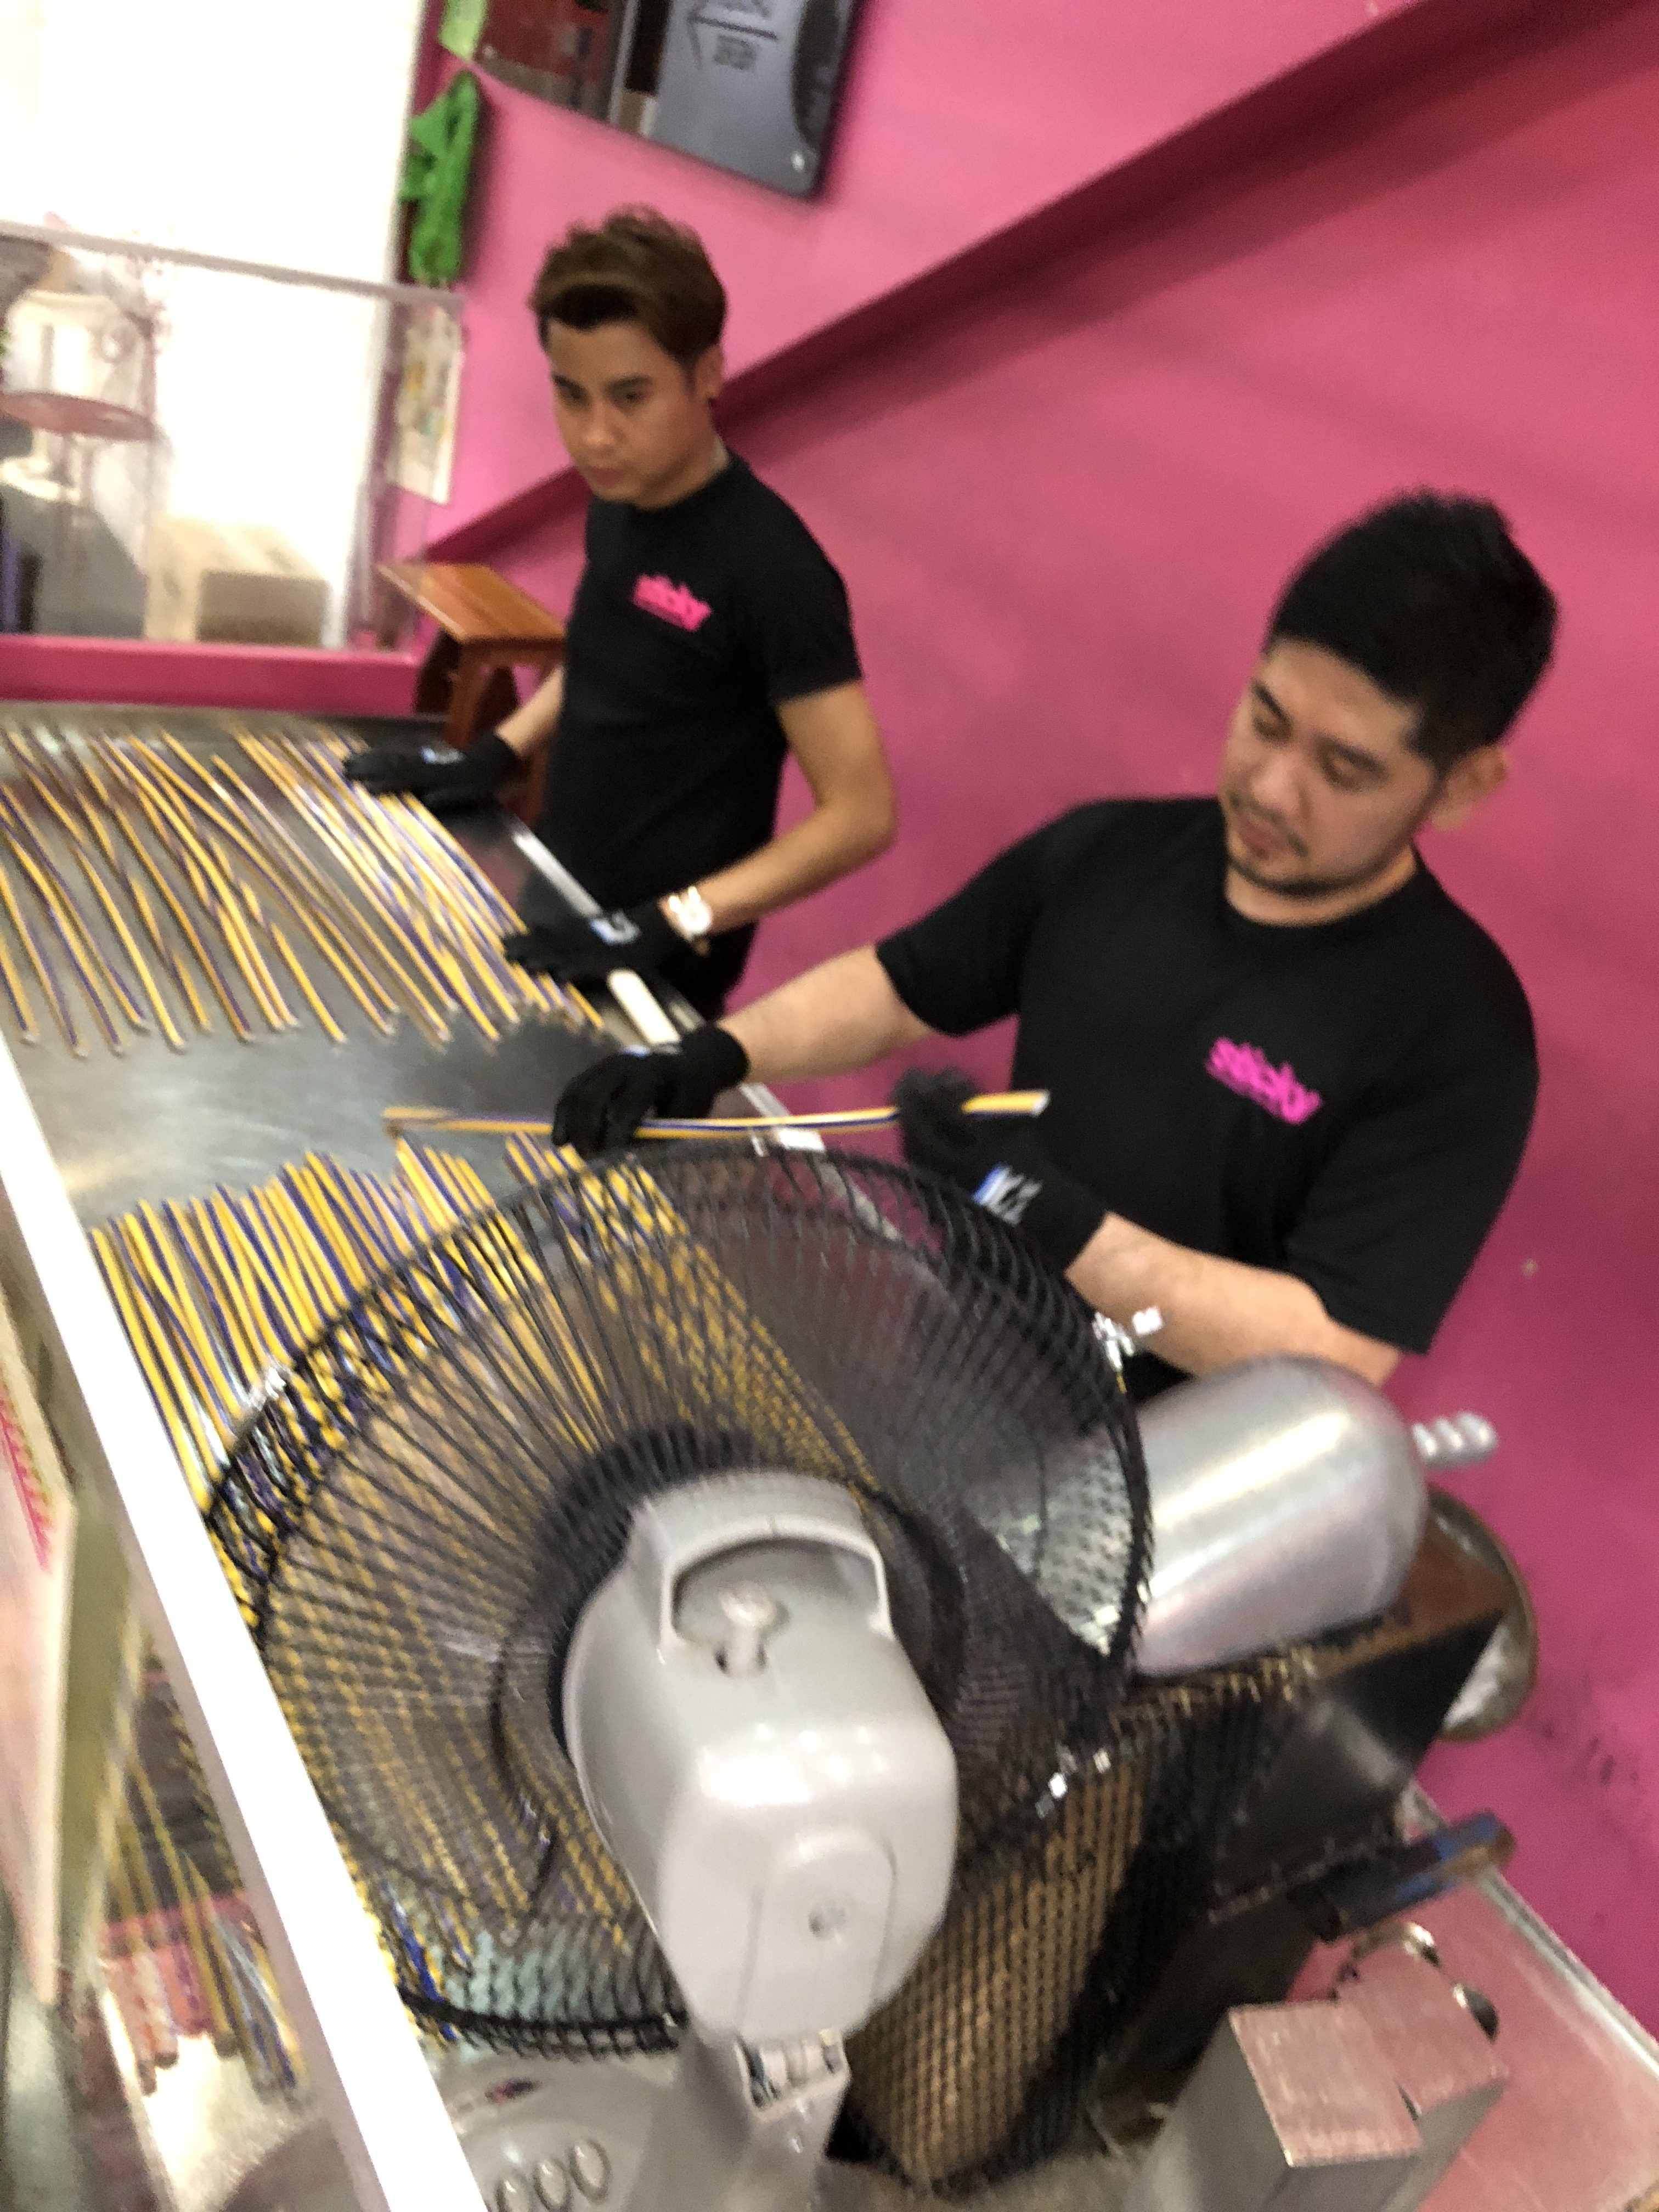
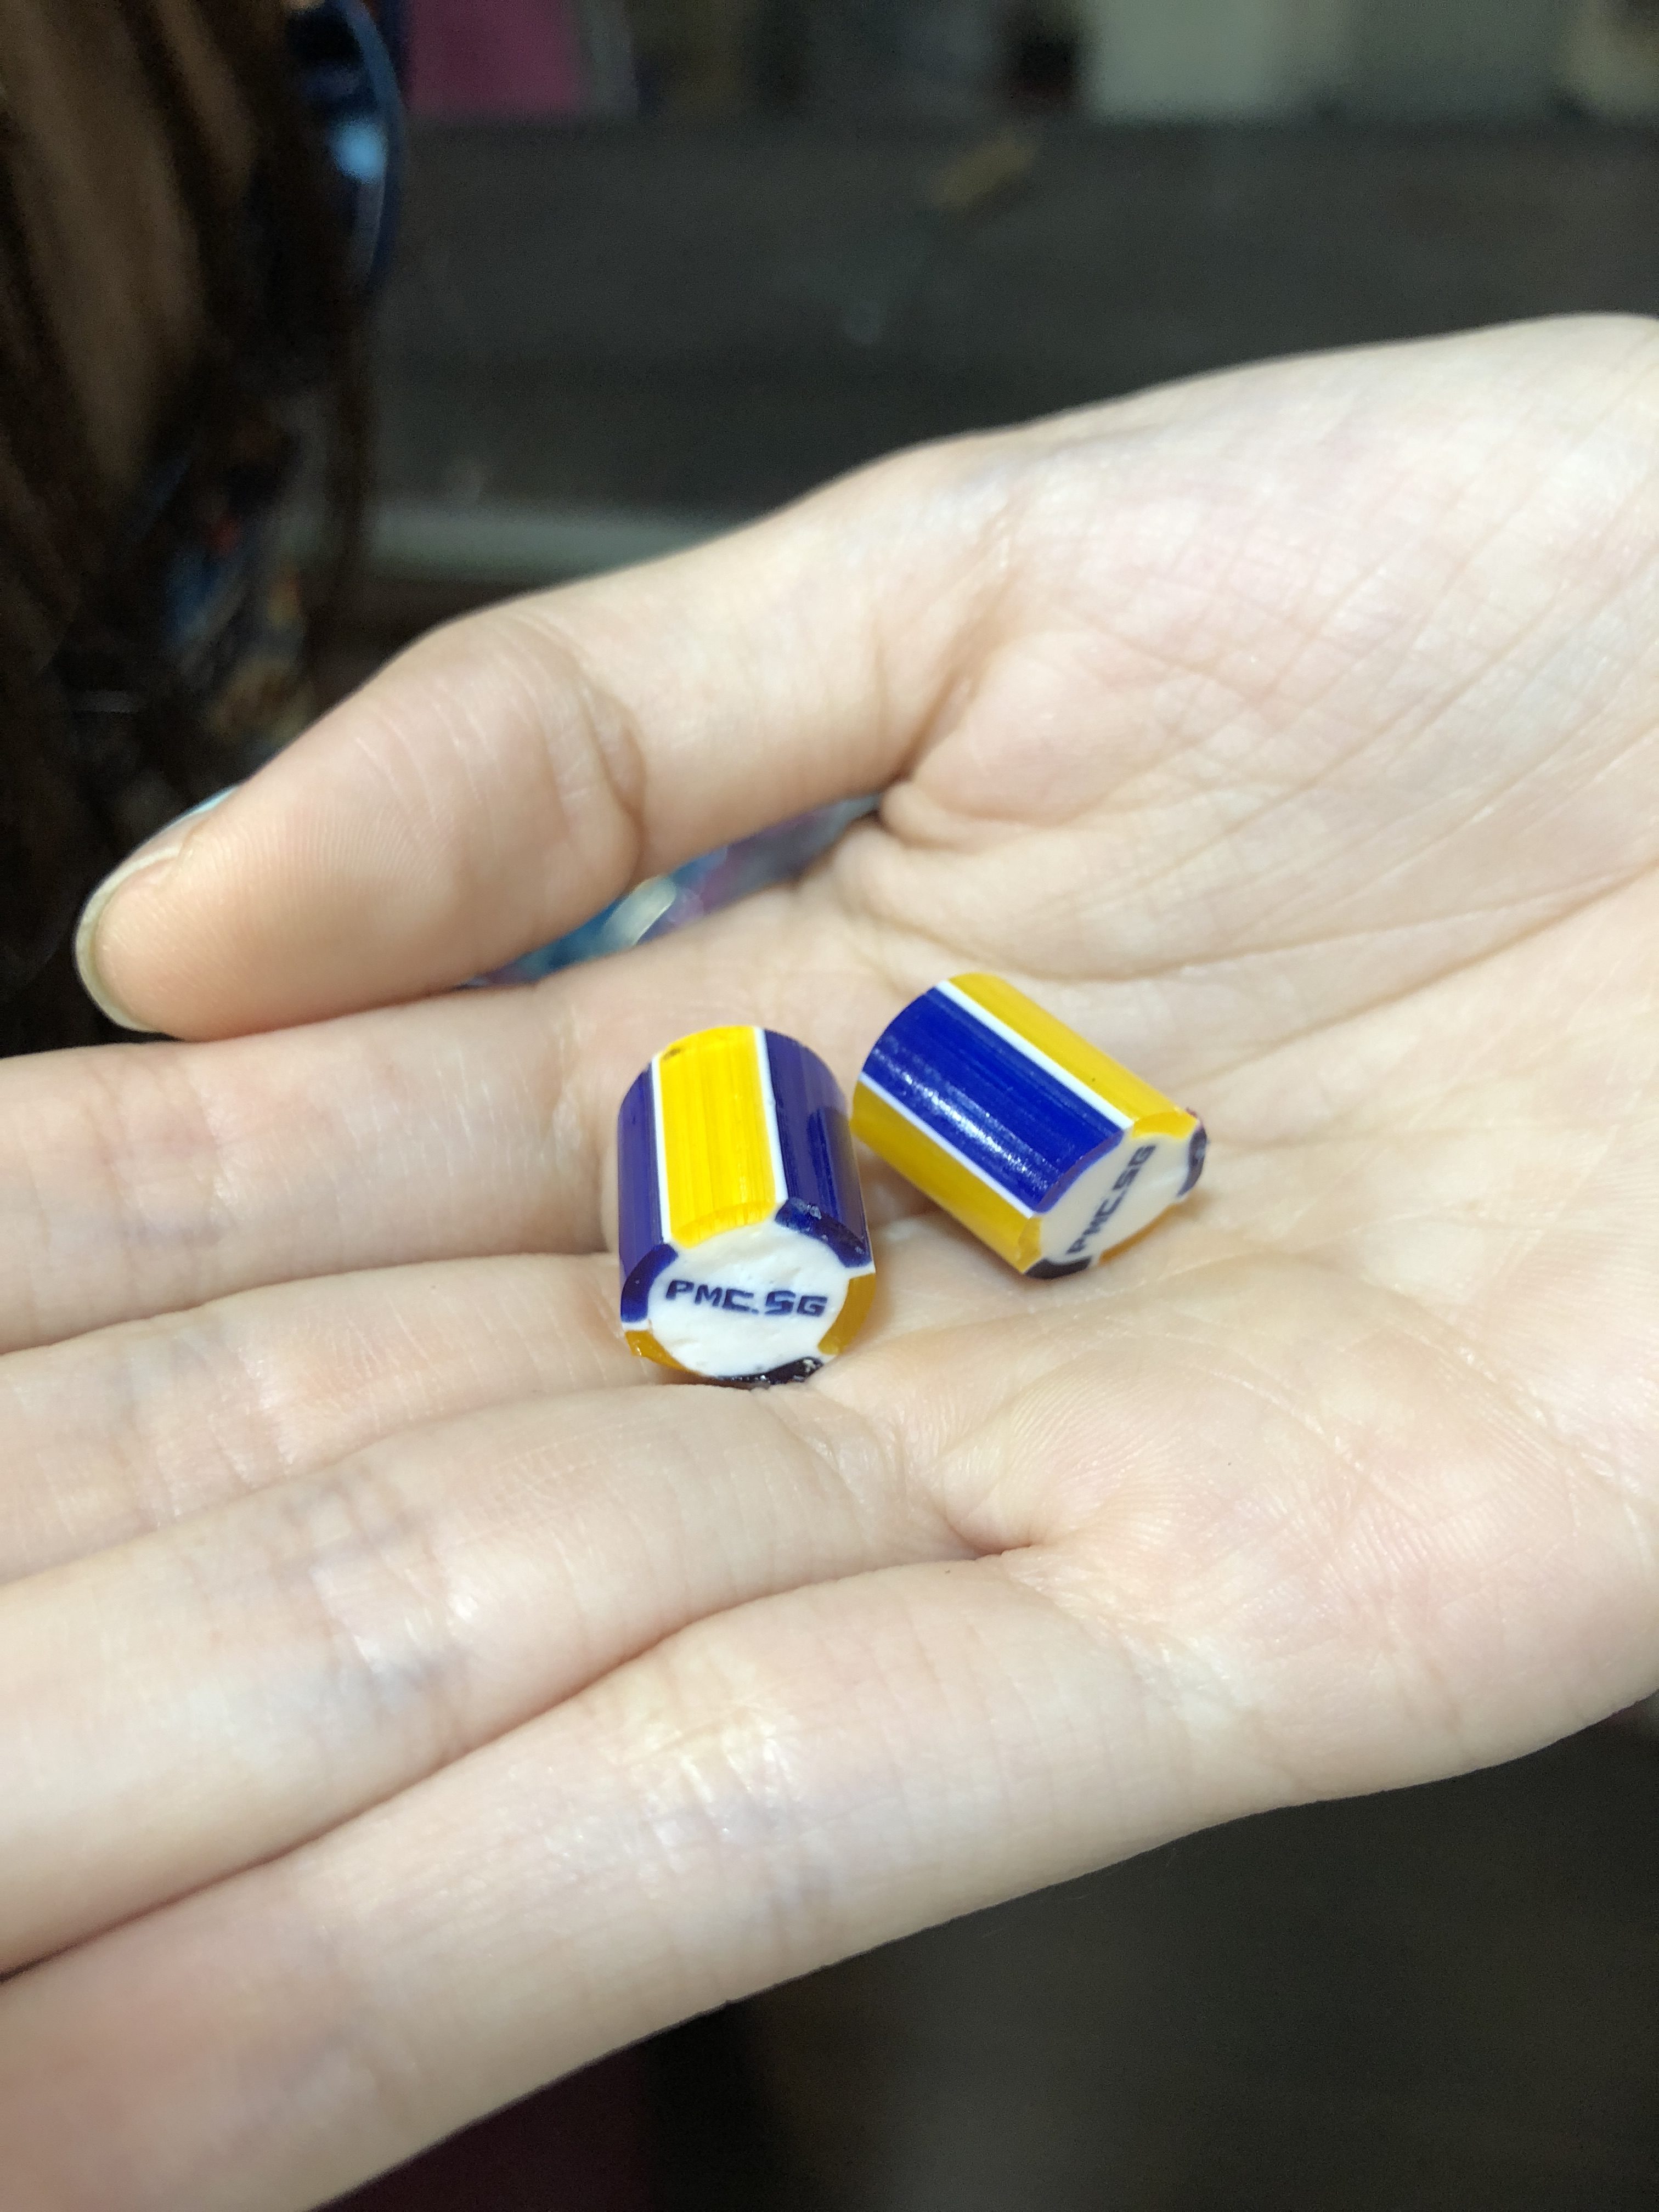
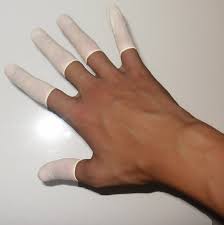
It was a rather interesting and very interactive field trip where we learned how to make our own moisturizers and mosquito repellents using scents. Theodore explained his process, pain points, and tools used and the benefits for his products such as the moisturizer being good for eczema.

He also gave insights about the history of his business after the outbreak of mosquito vector-based outbreaks, how he got a grant by Spring Singapore, and was featured on several news channels.
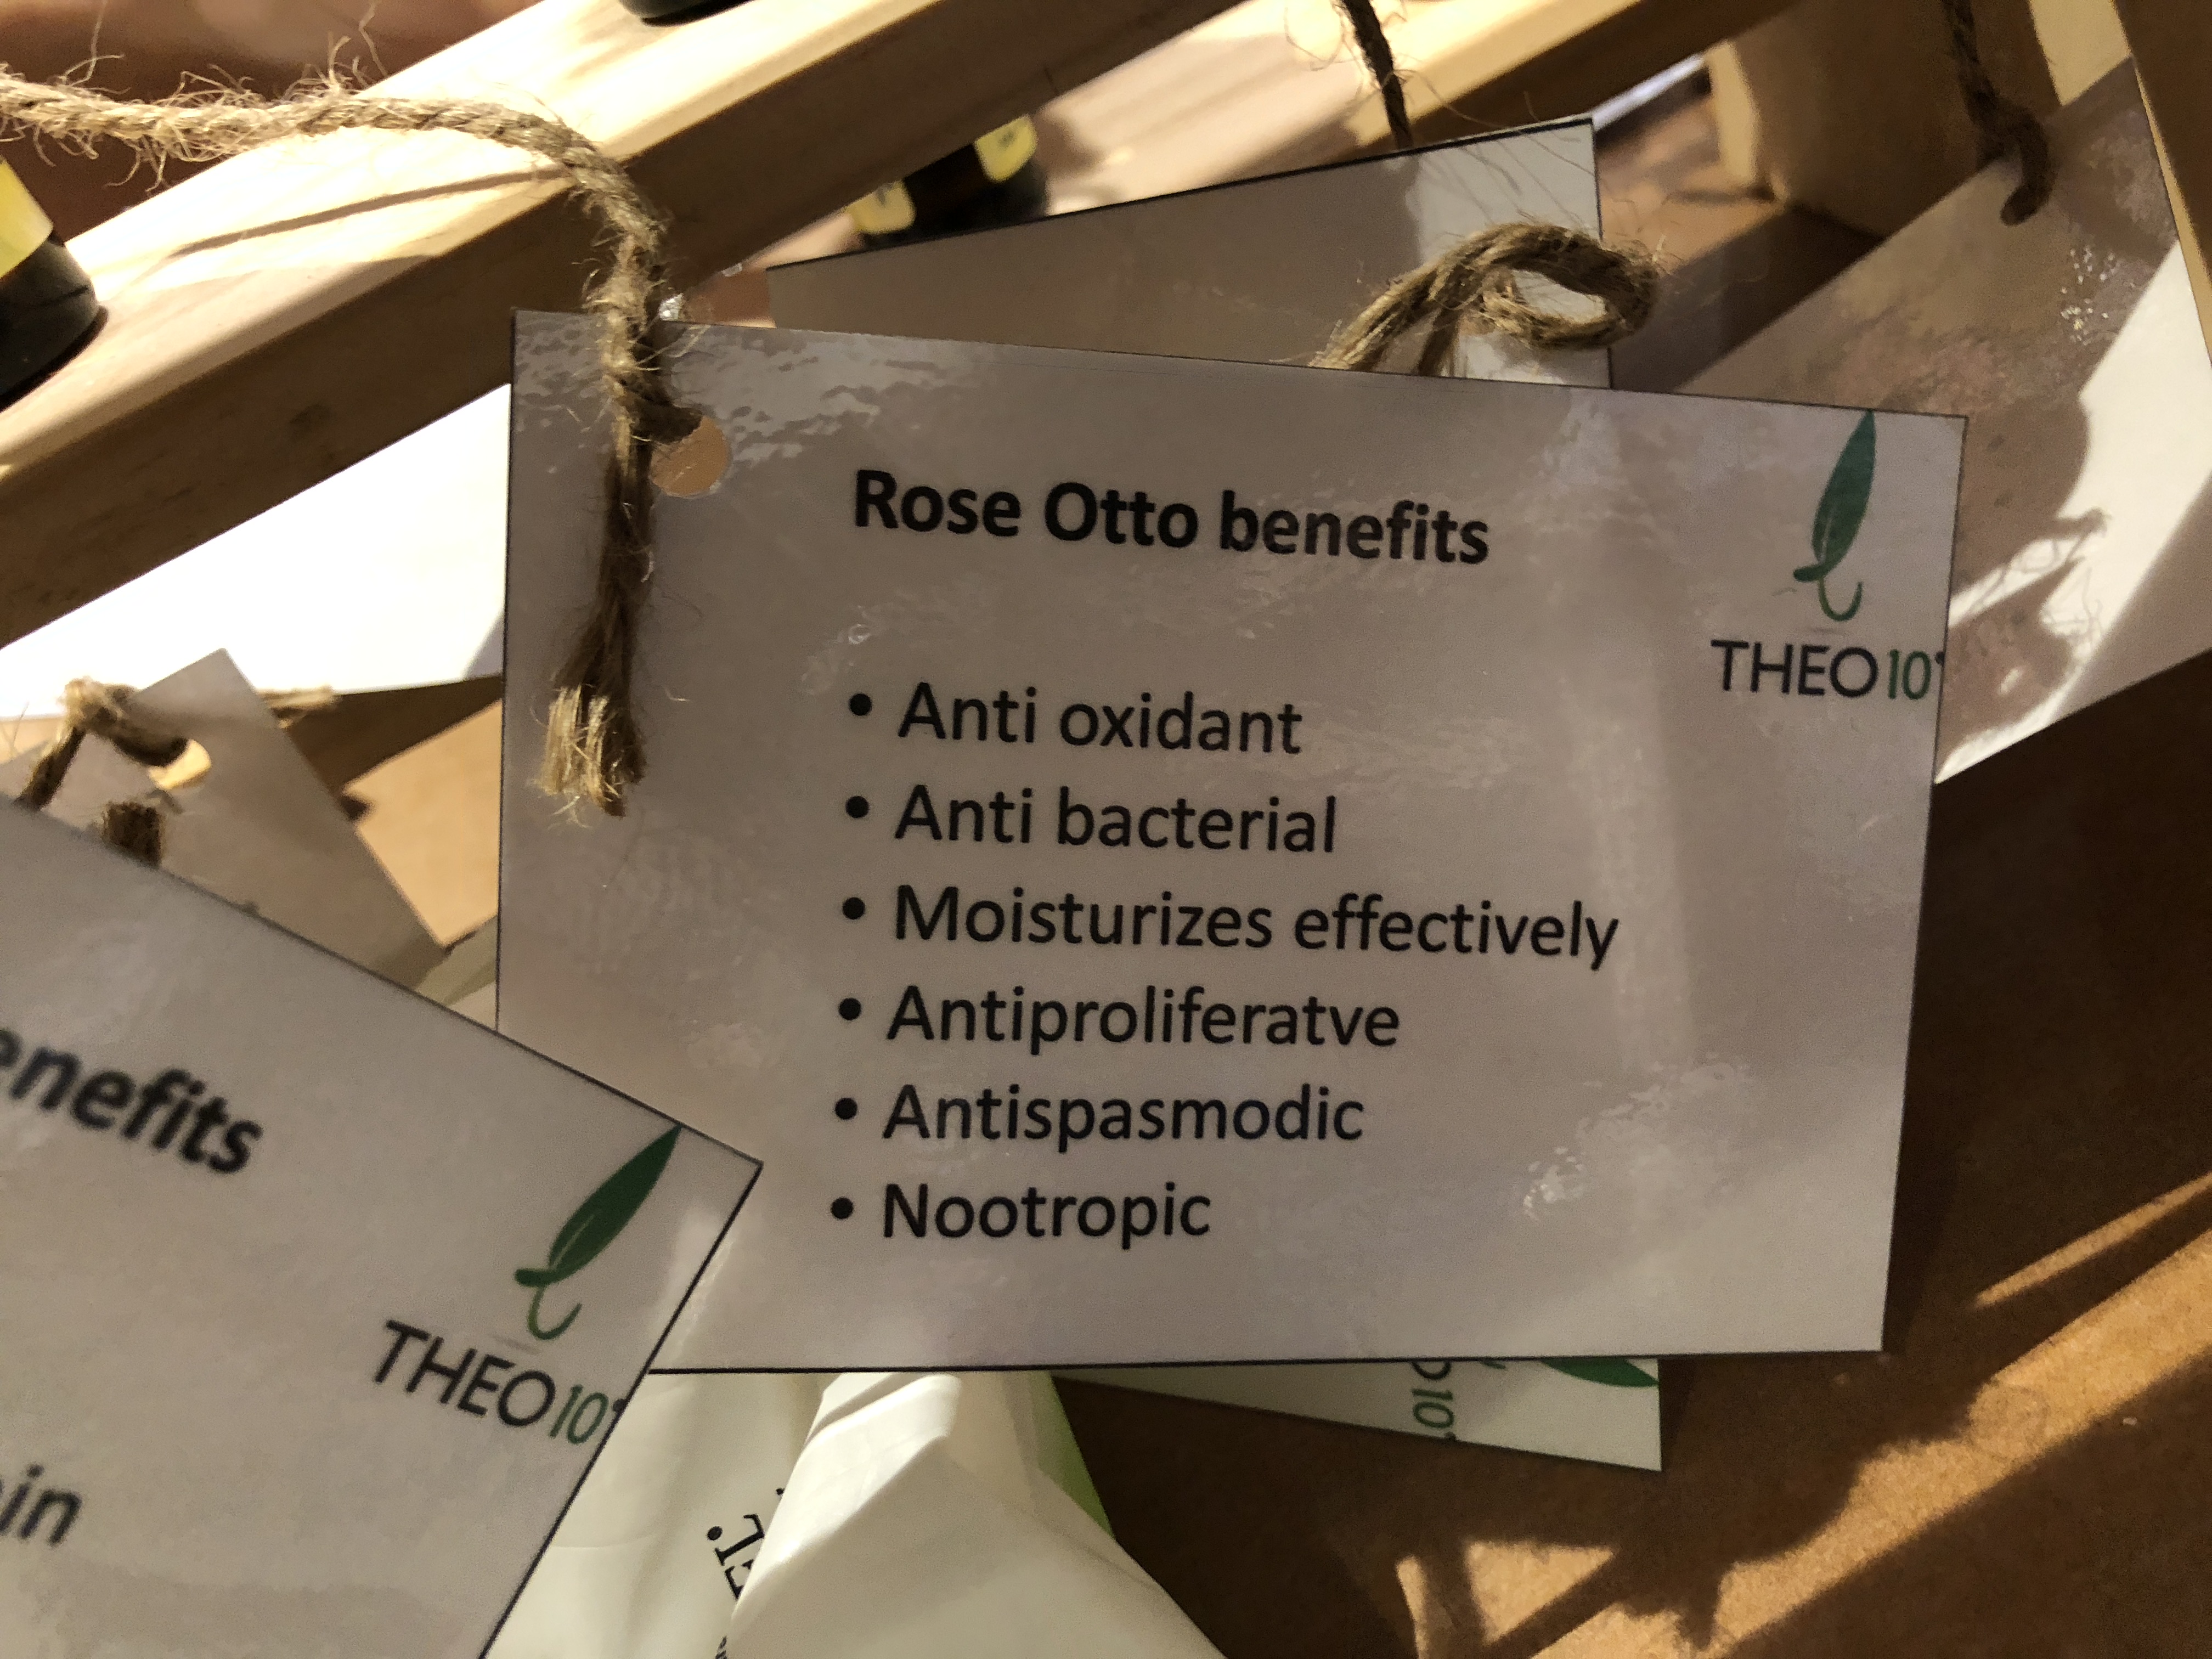
Theo demonstrating how to make moisturizer
Beneficial properties of each stuff

Moisturizer

  • 10 drops of essential oil
  • A mixture of paste
  • Must be kept warm while stirring
Our moisturizer

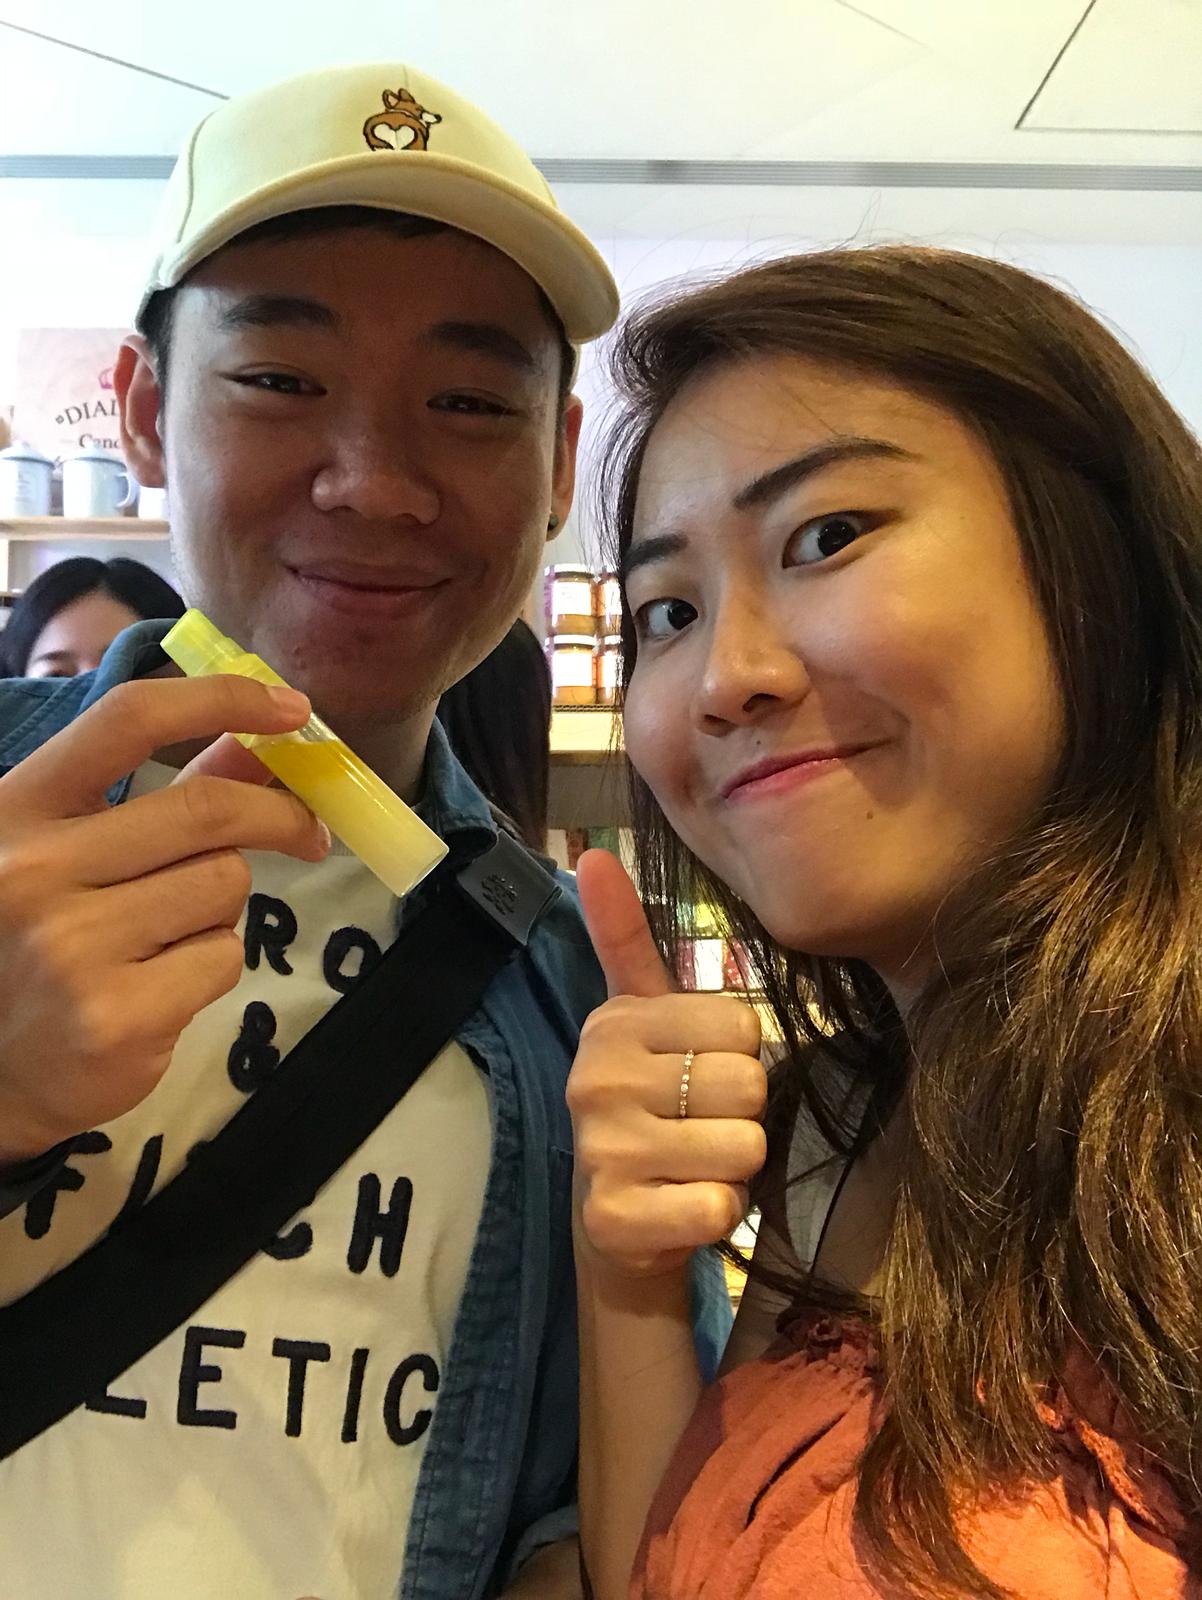
Test mosquito repellants

  • Add Base made from Neem tree
  • Add 2ml of base
  • Add 10ml of water
  • Add essential oils
  • Mix until odour disappears
Celine and I after making our citrus-ey Mosquito repellent

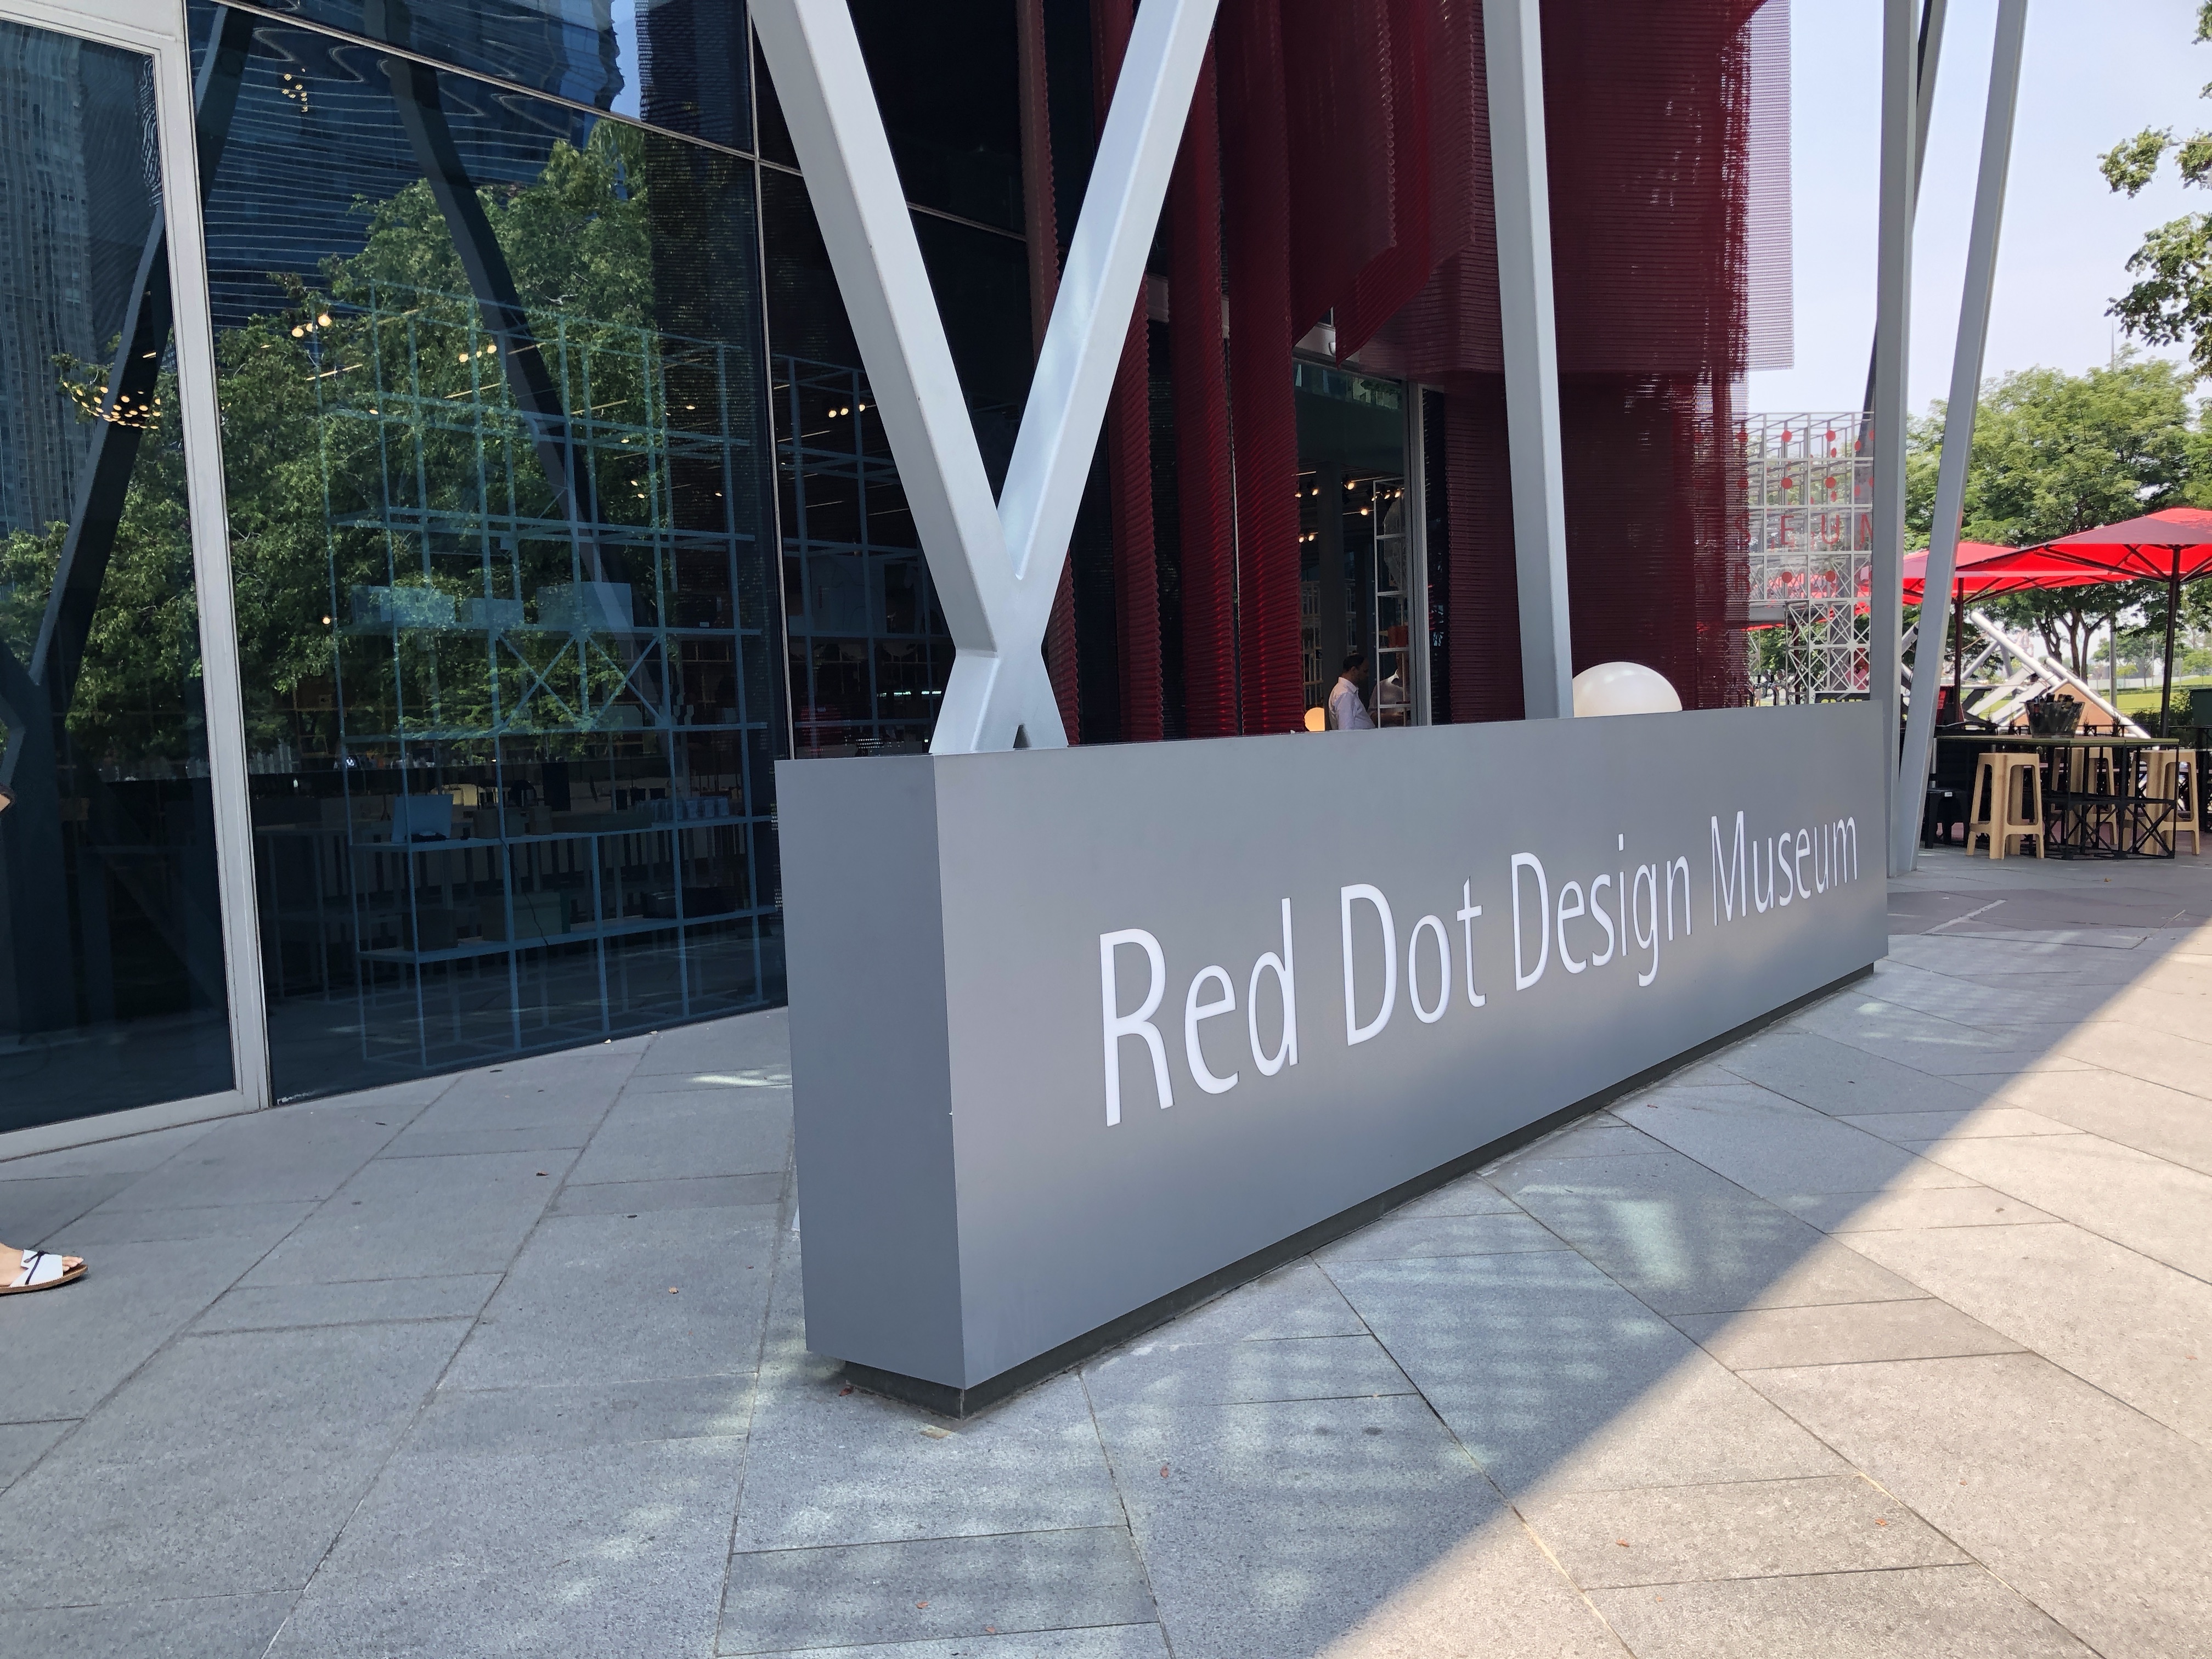
Red Dot Design Museum – September 25

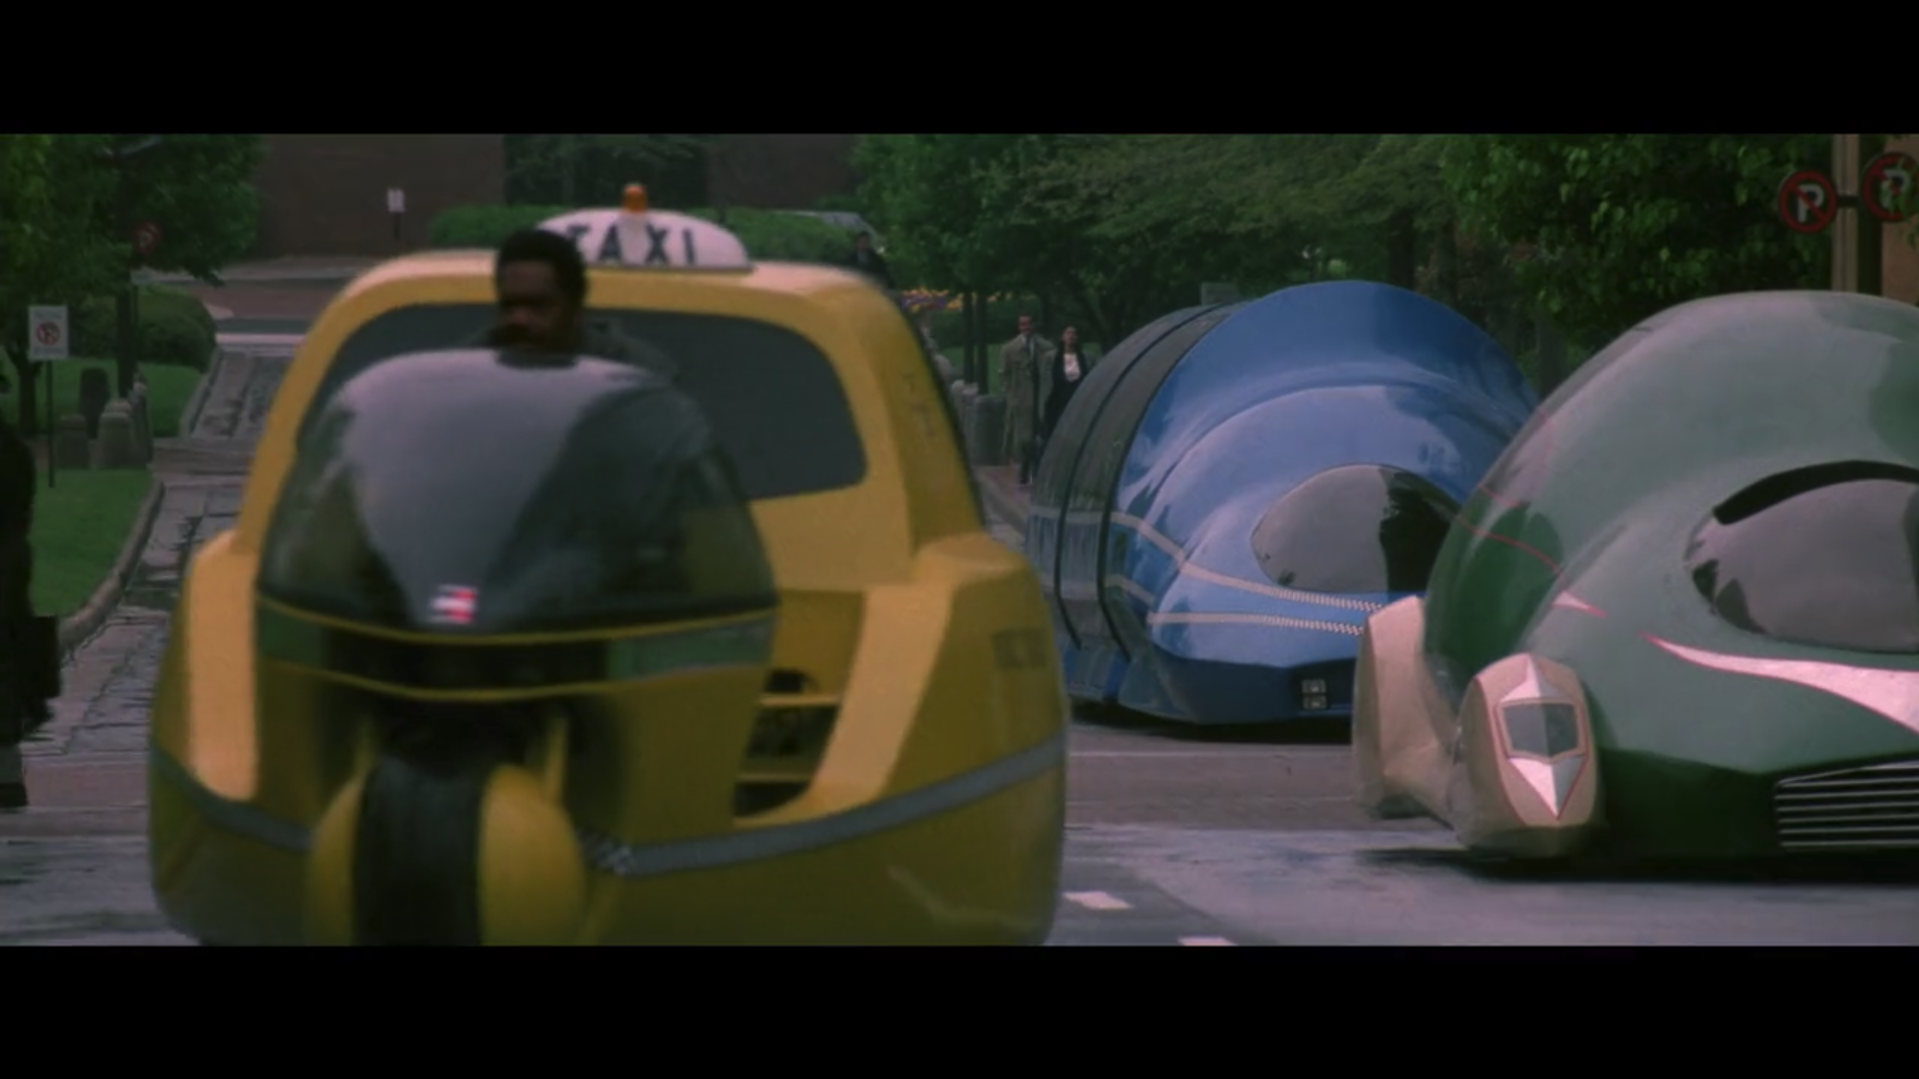
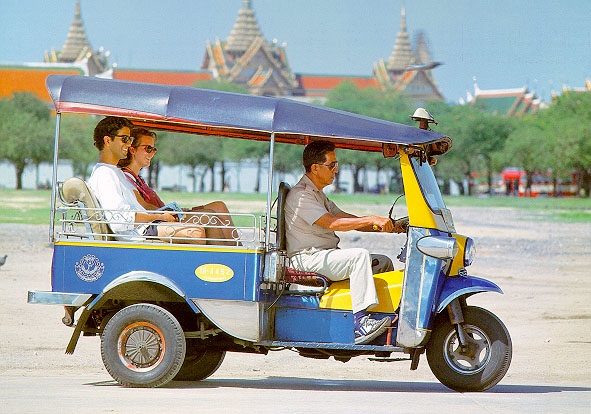
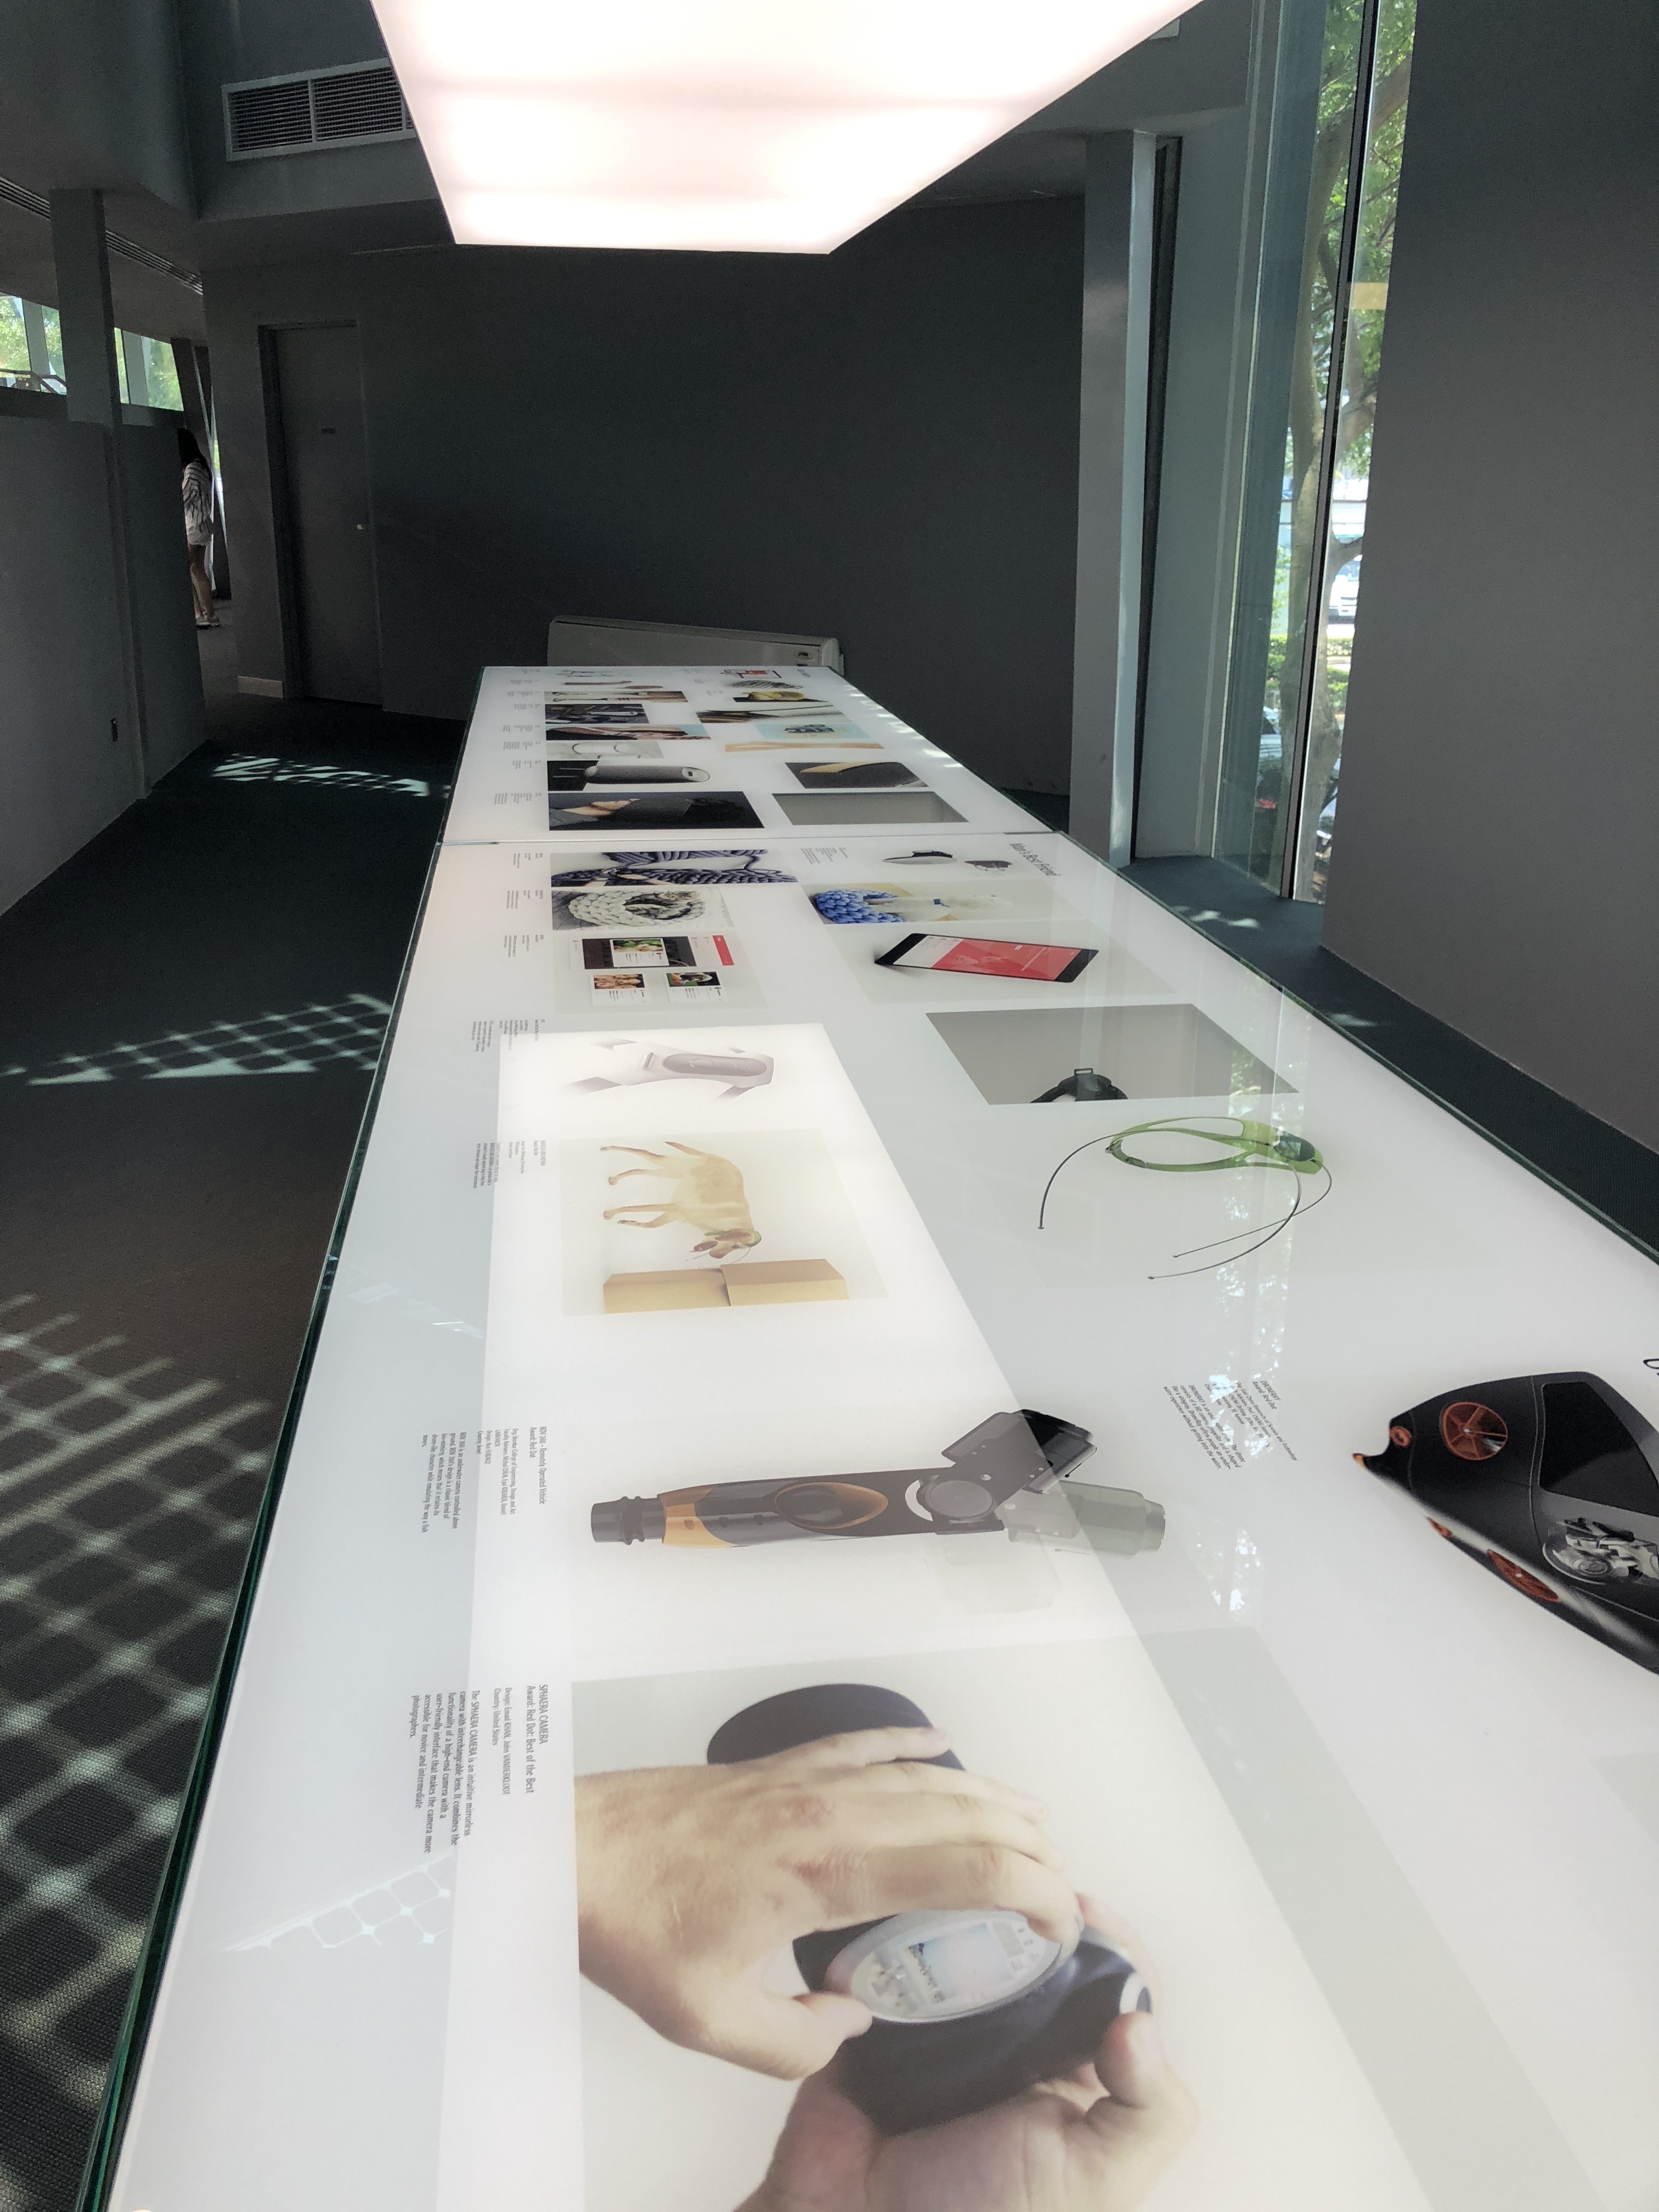
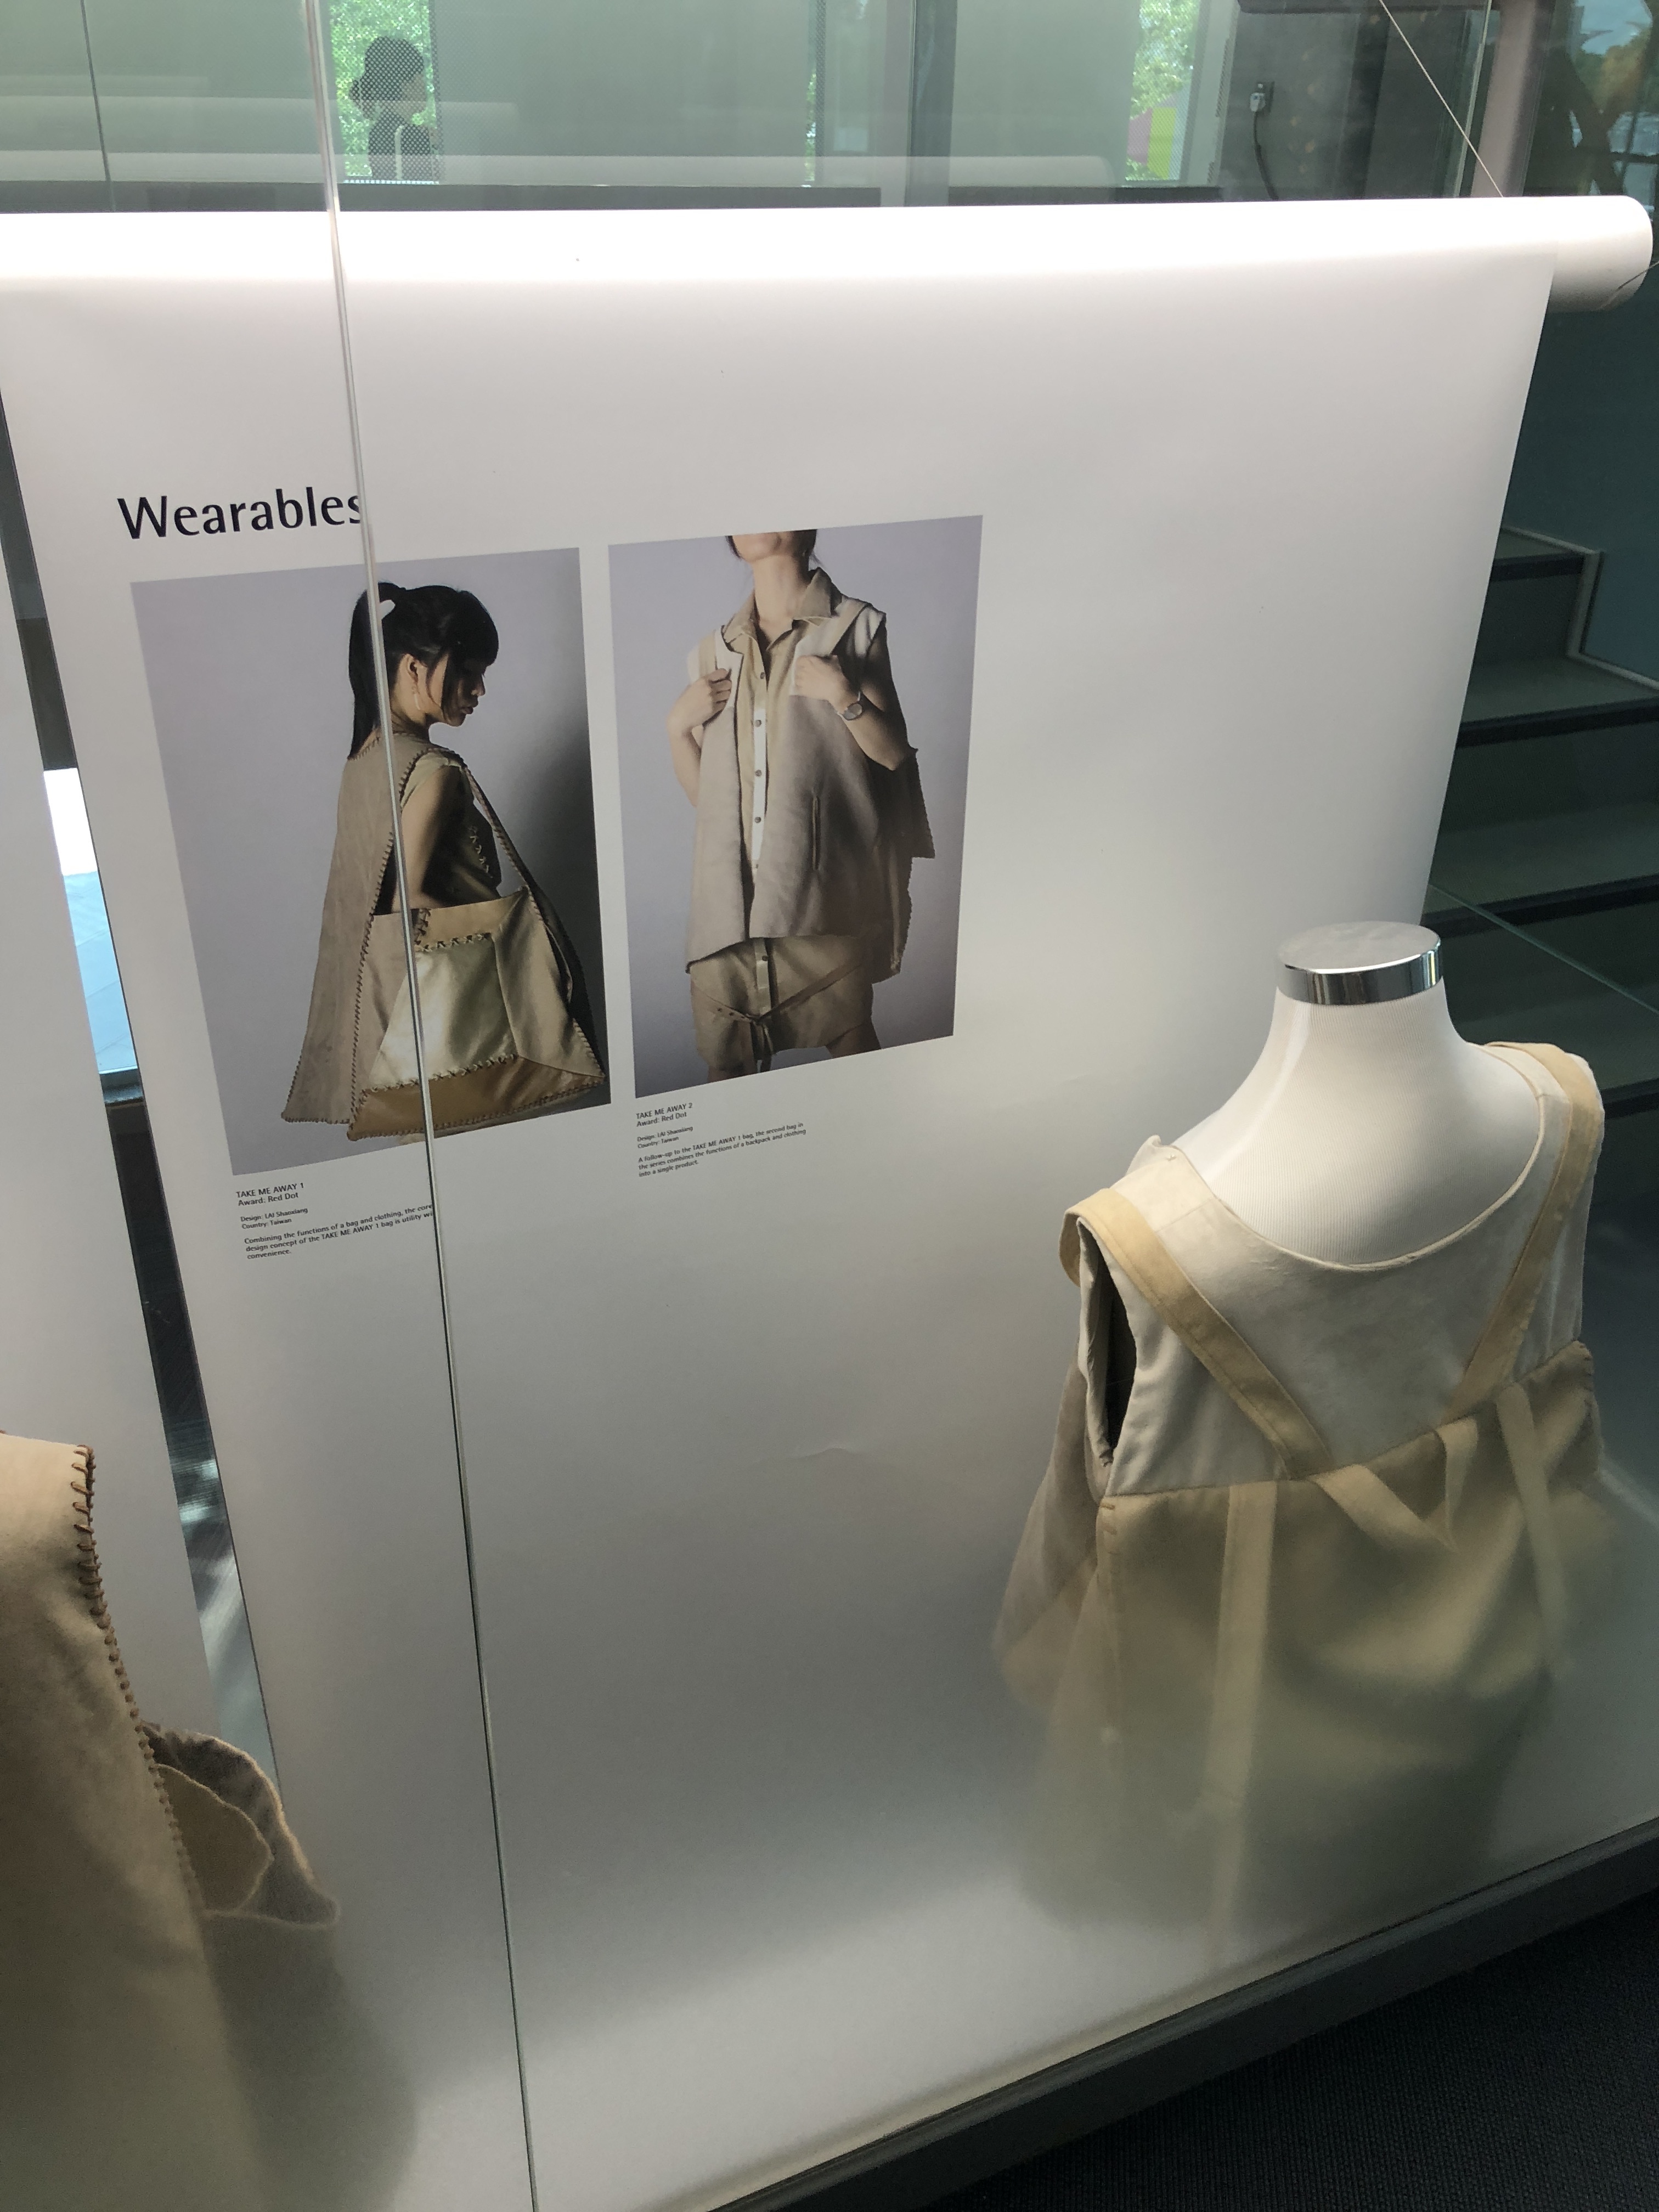
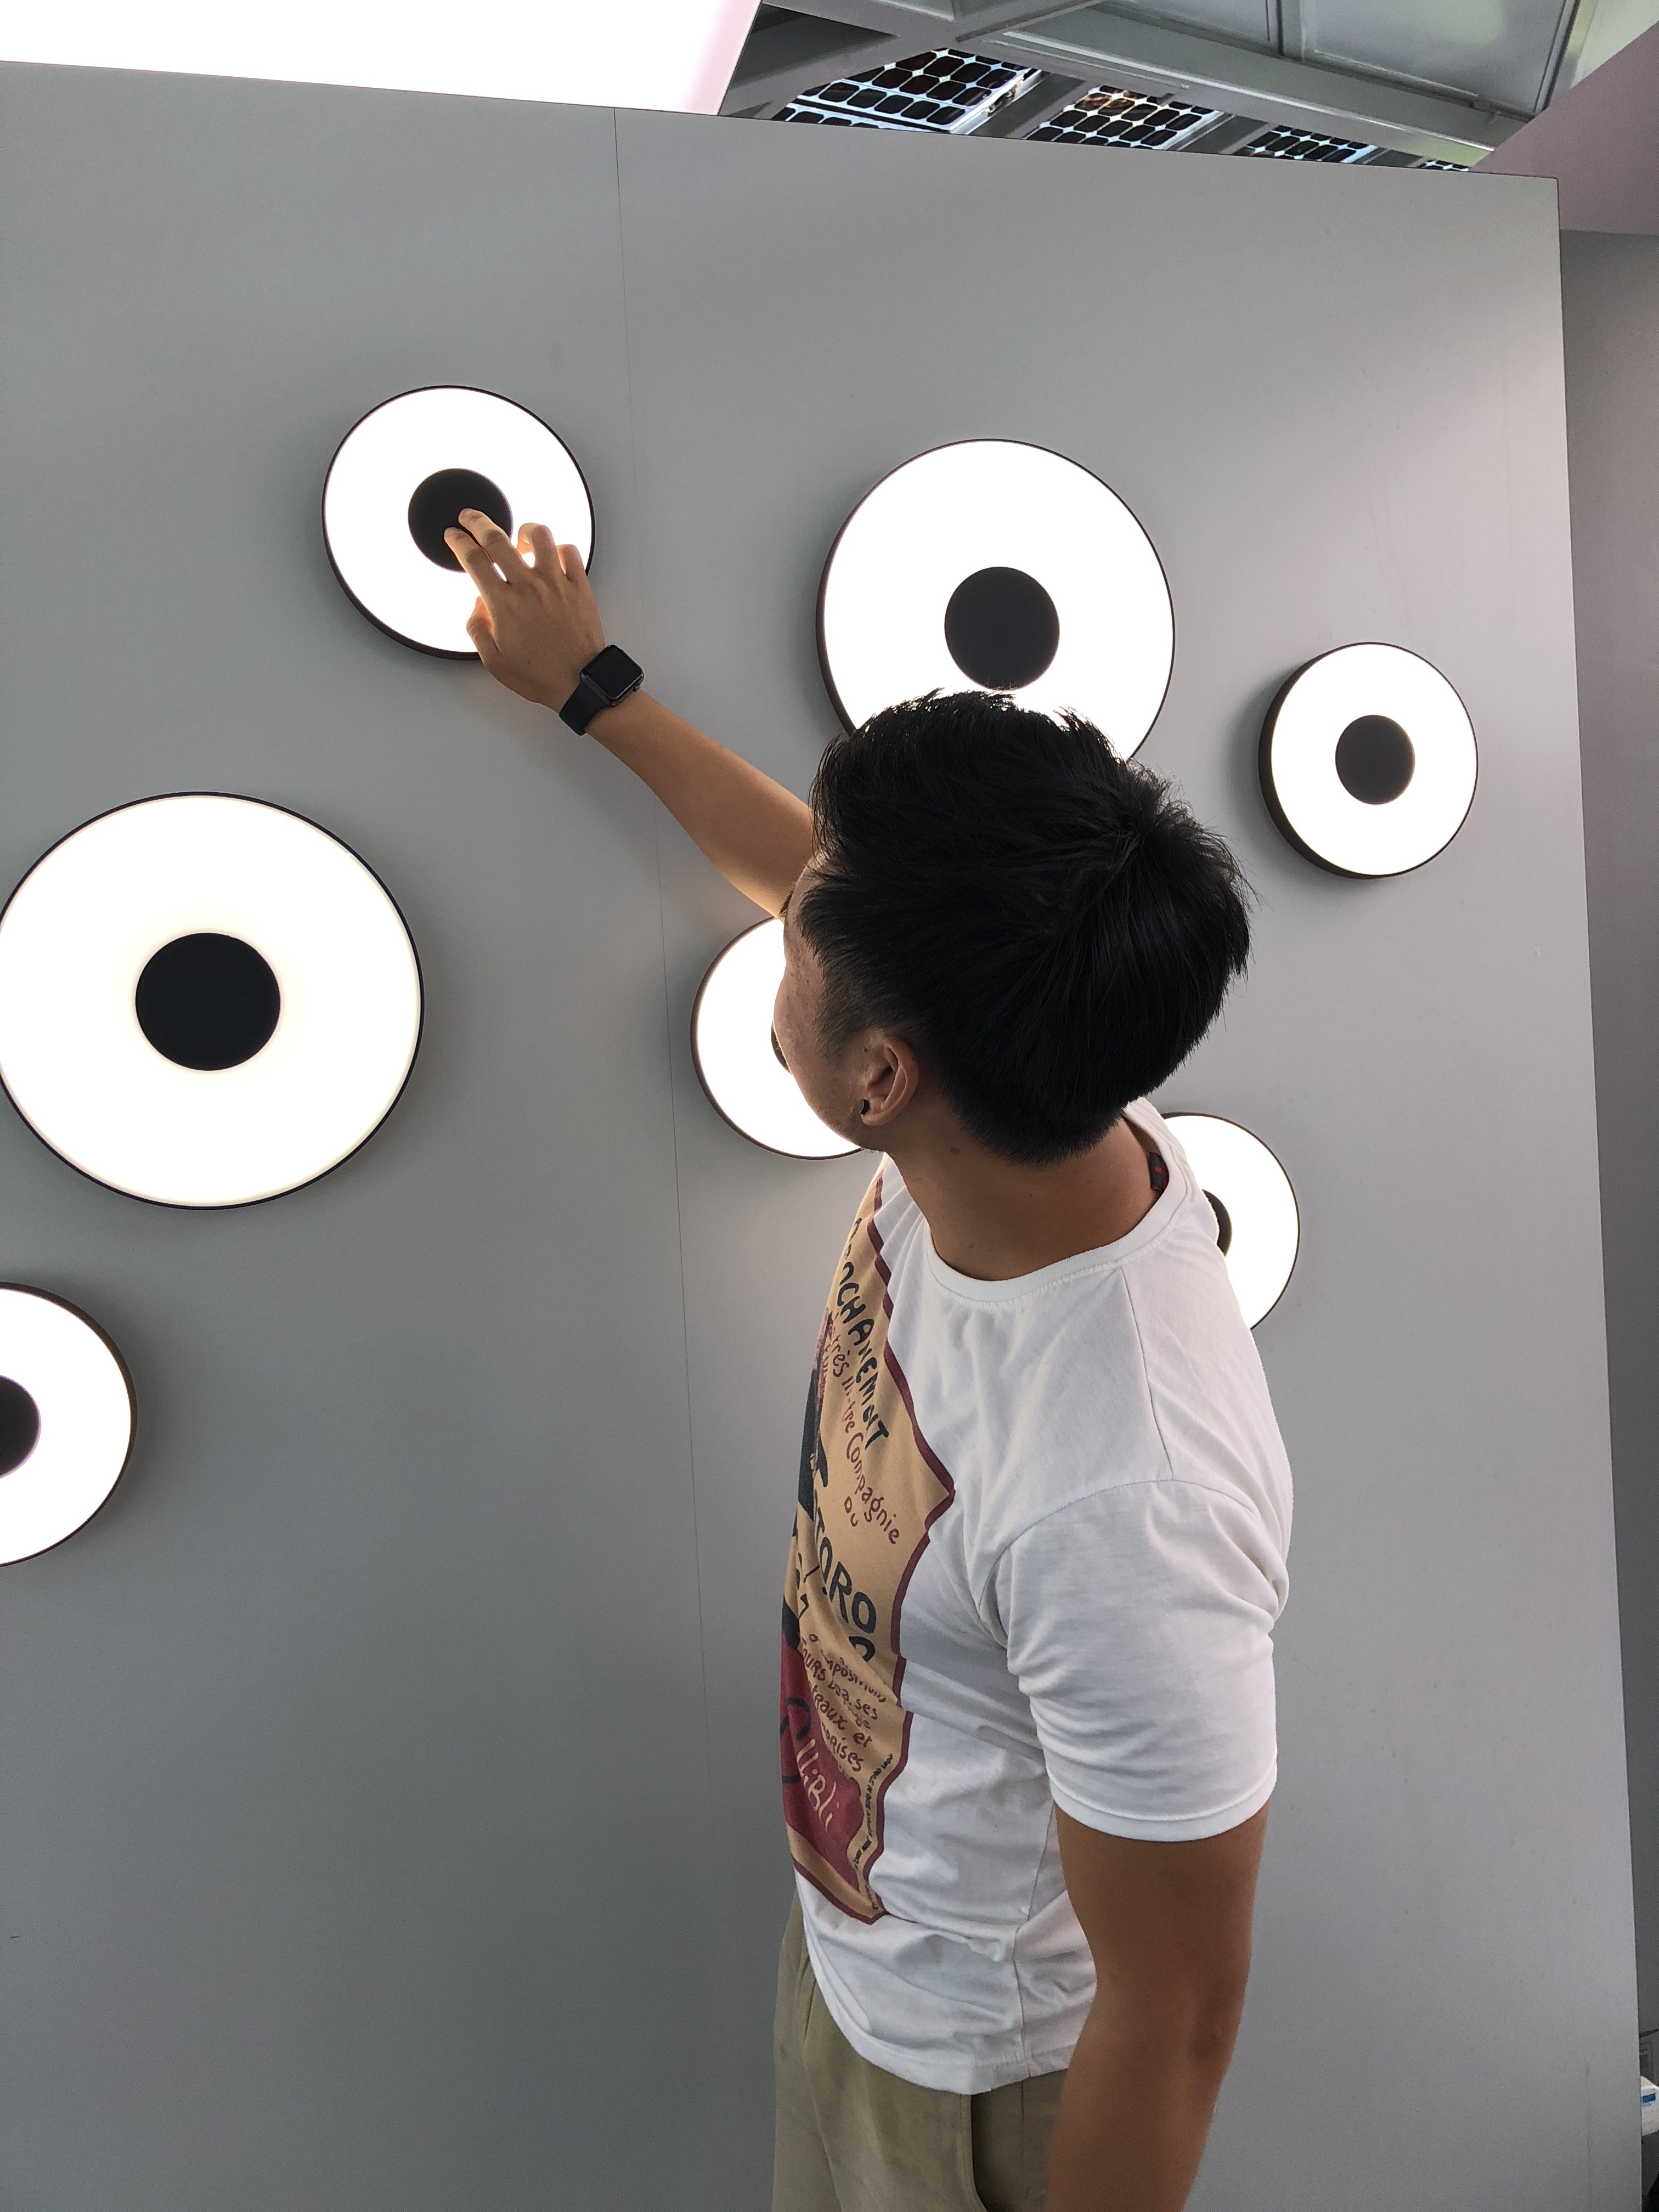
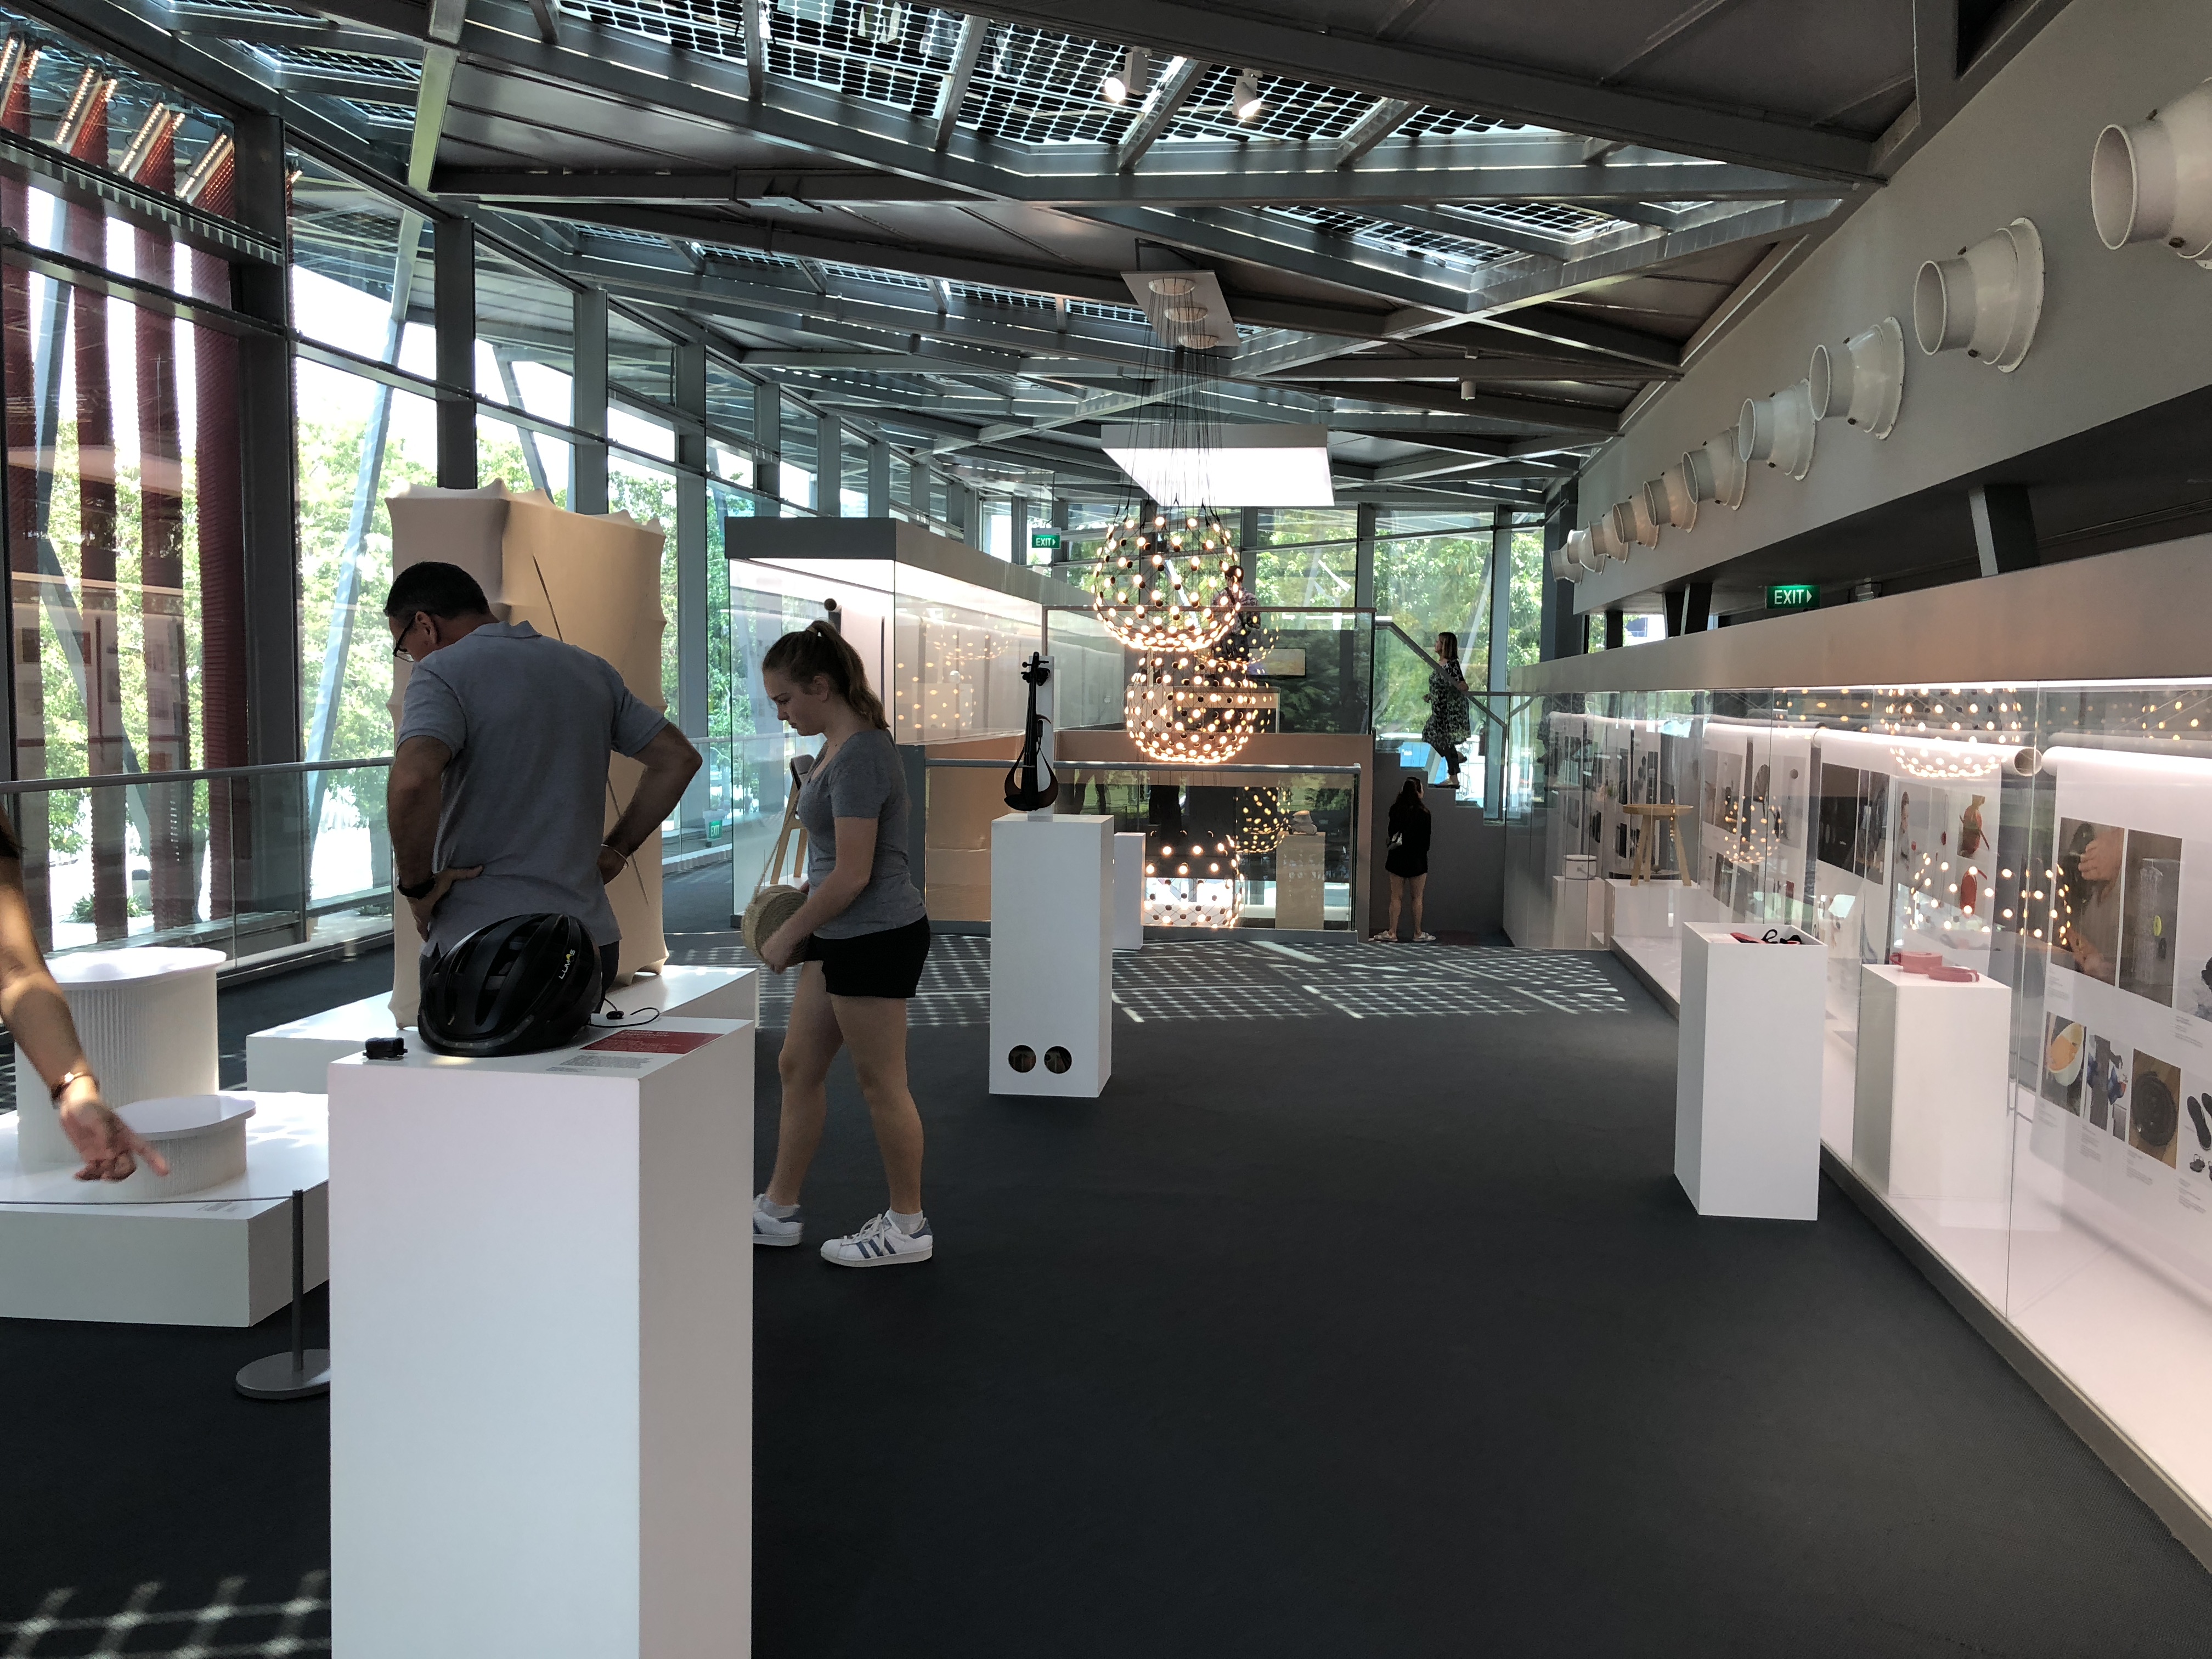
I joined a field trip with some of my classmates to the Red Dot Museum to view the permanent exhibition, “A Preview of the Future – Red Dot Award: Design Concept”. Over here we saw an exhibit of really cool industrial design concepts and products which were really interesting as it showcases more than 345 award-winning design concepts of all kinds from wearables to furniture and funky contraptions which gave inspiration to some of our work.

Entrance of the Red Dot Design Museum

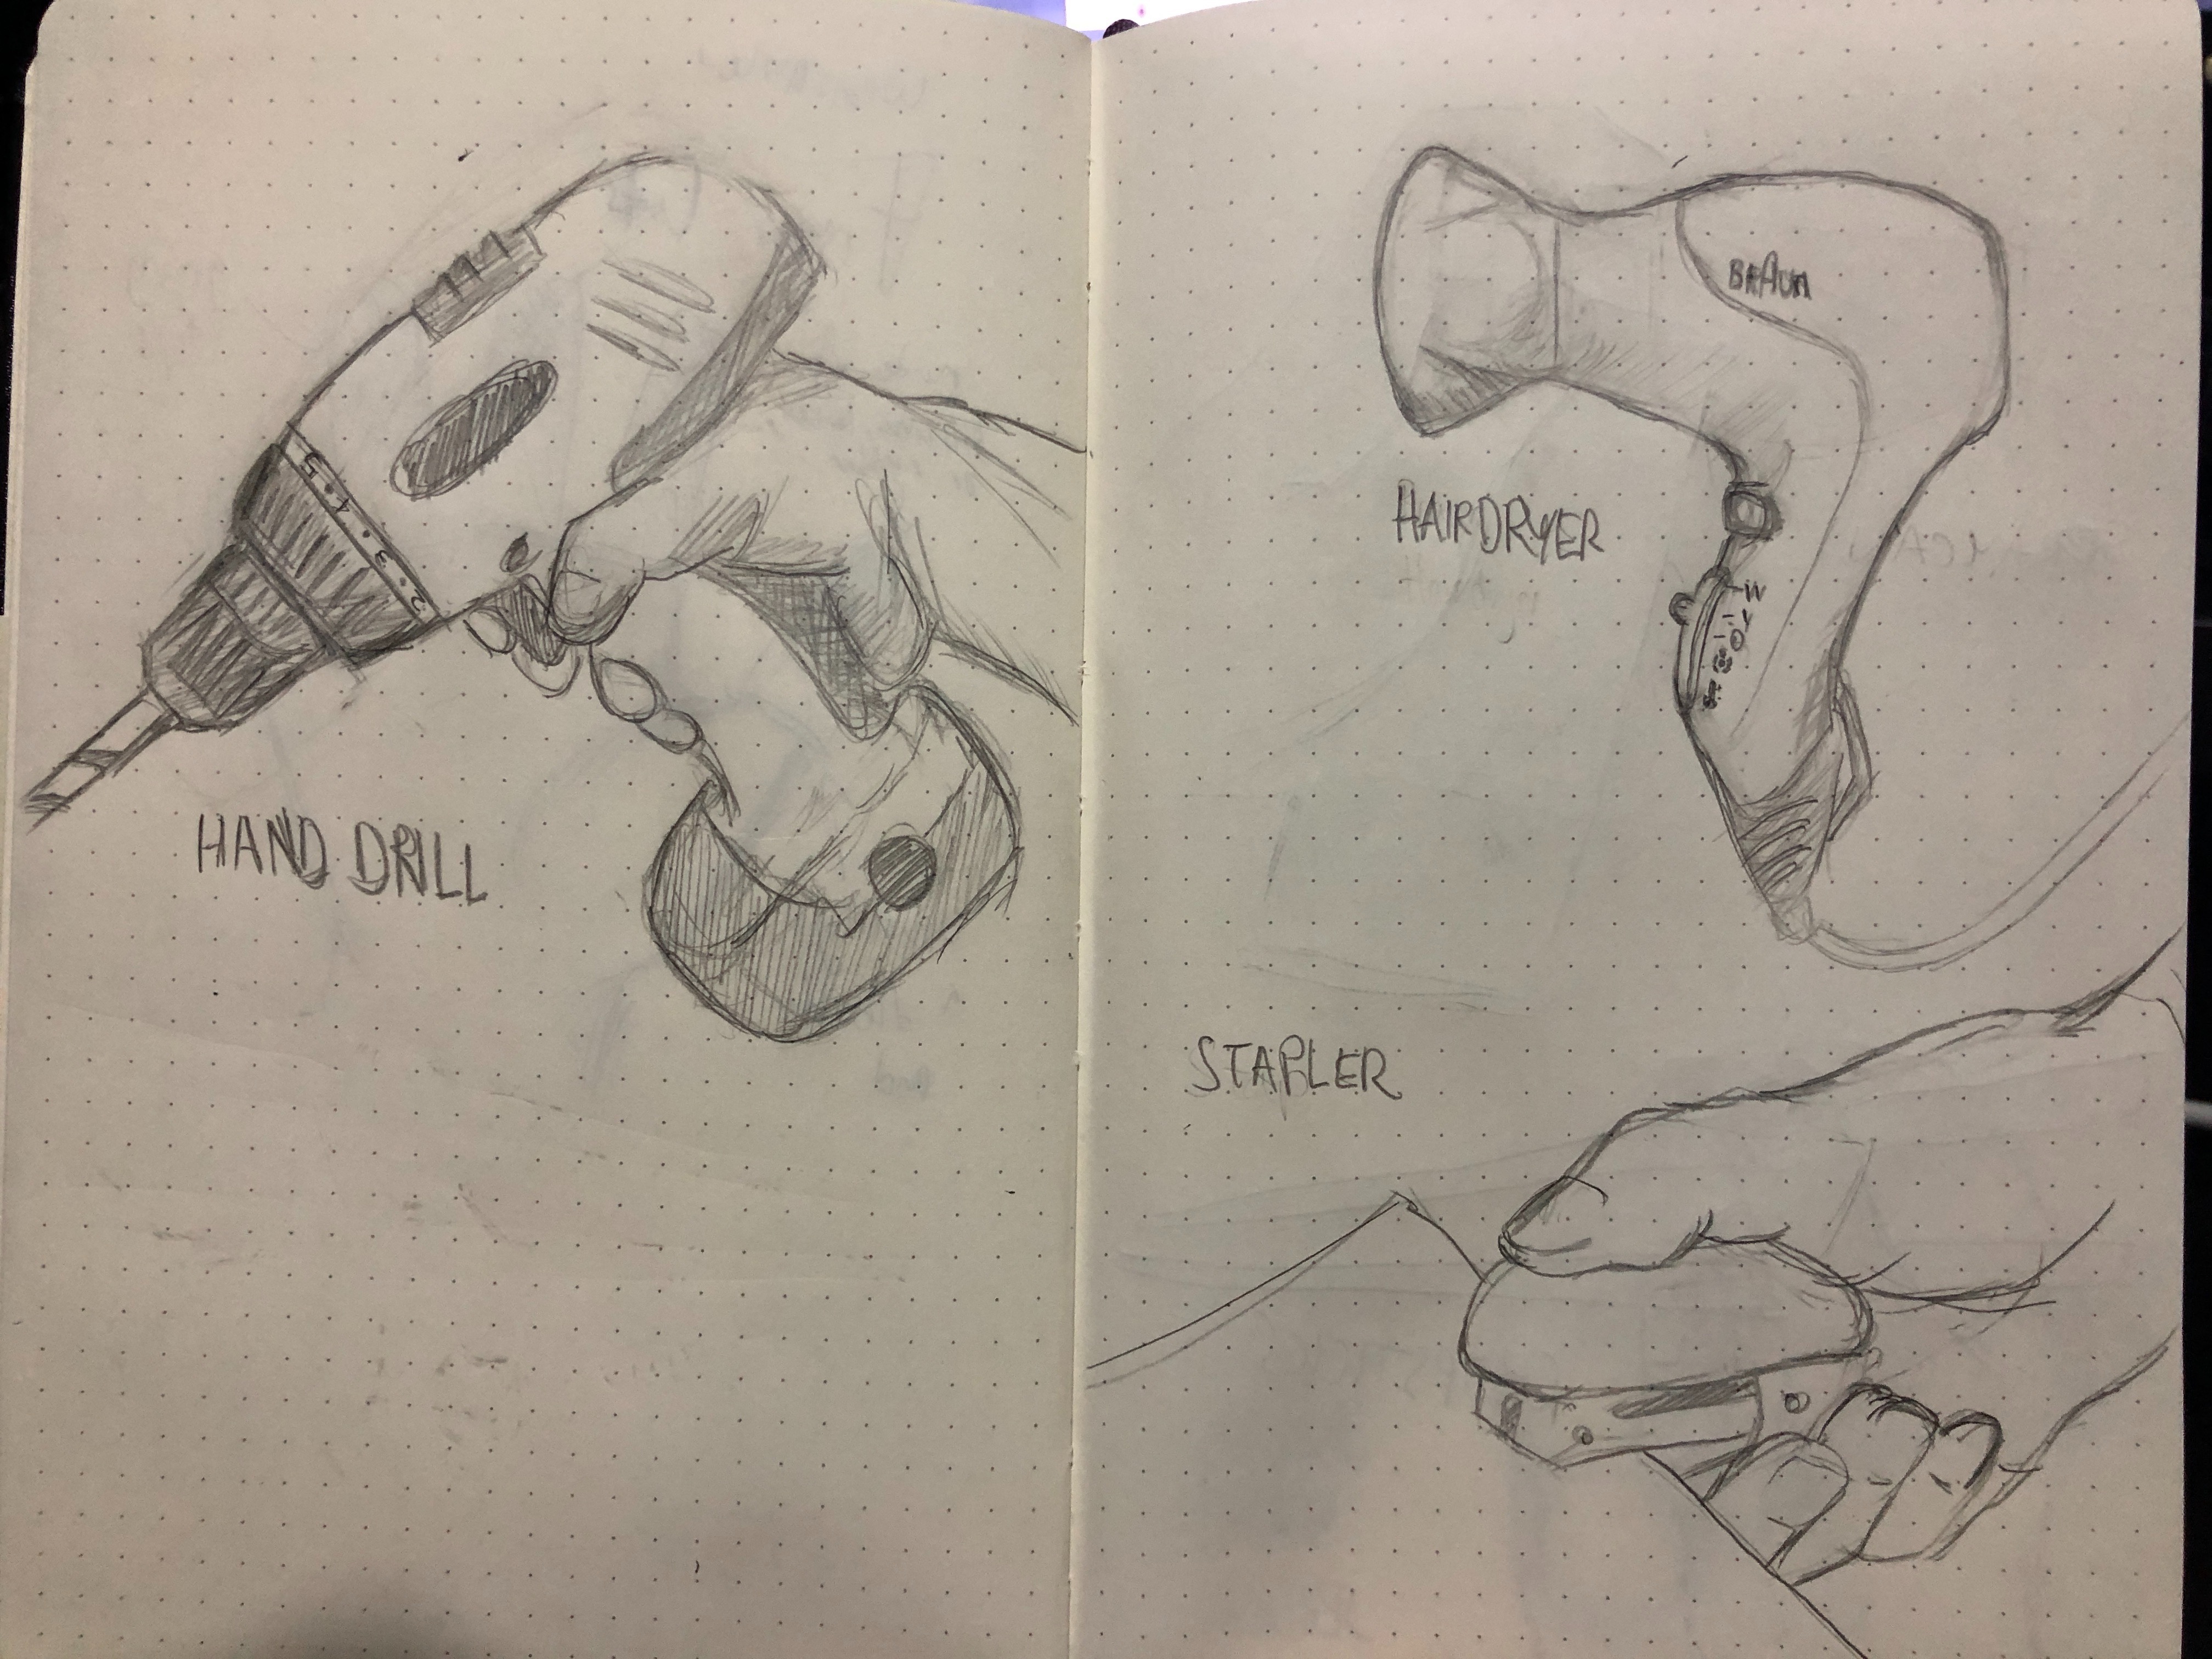
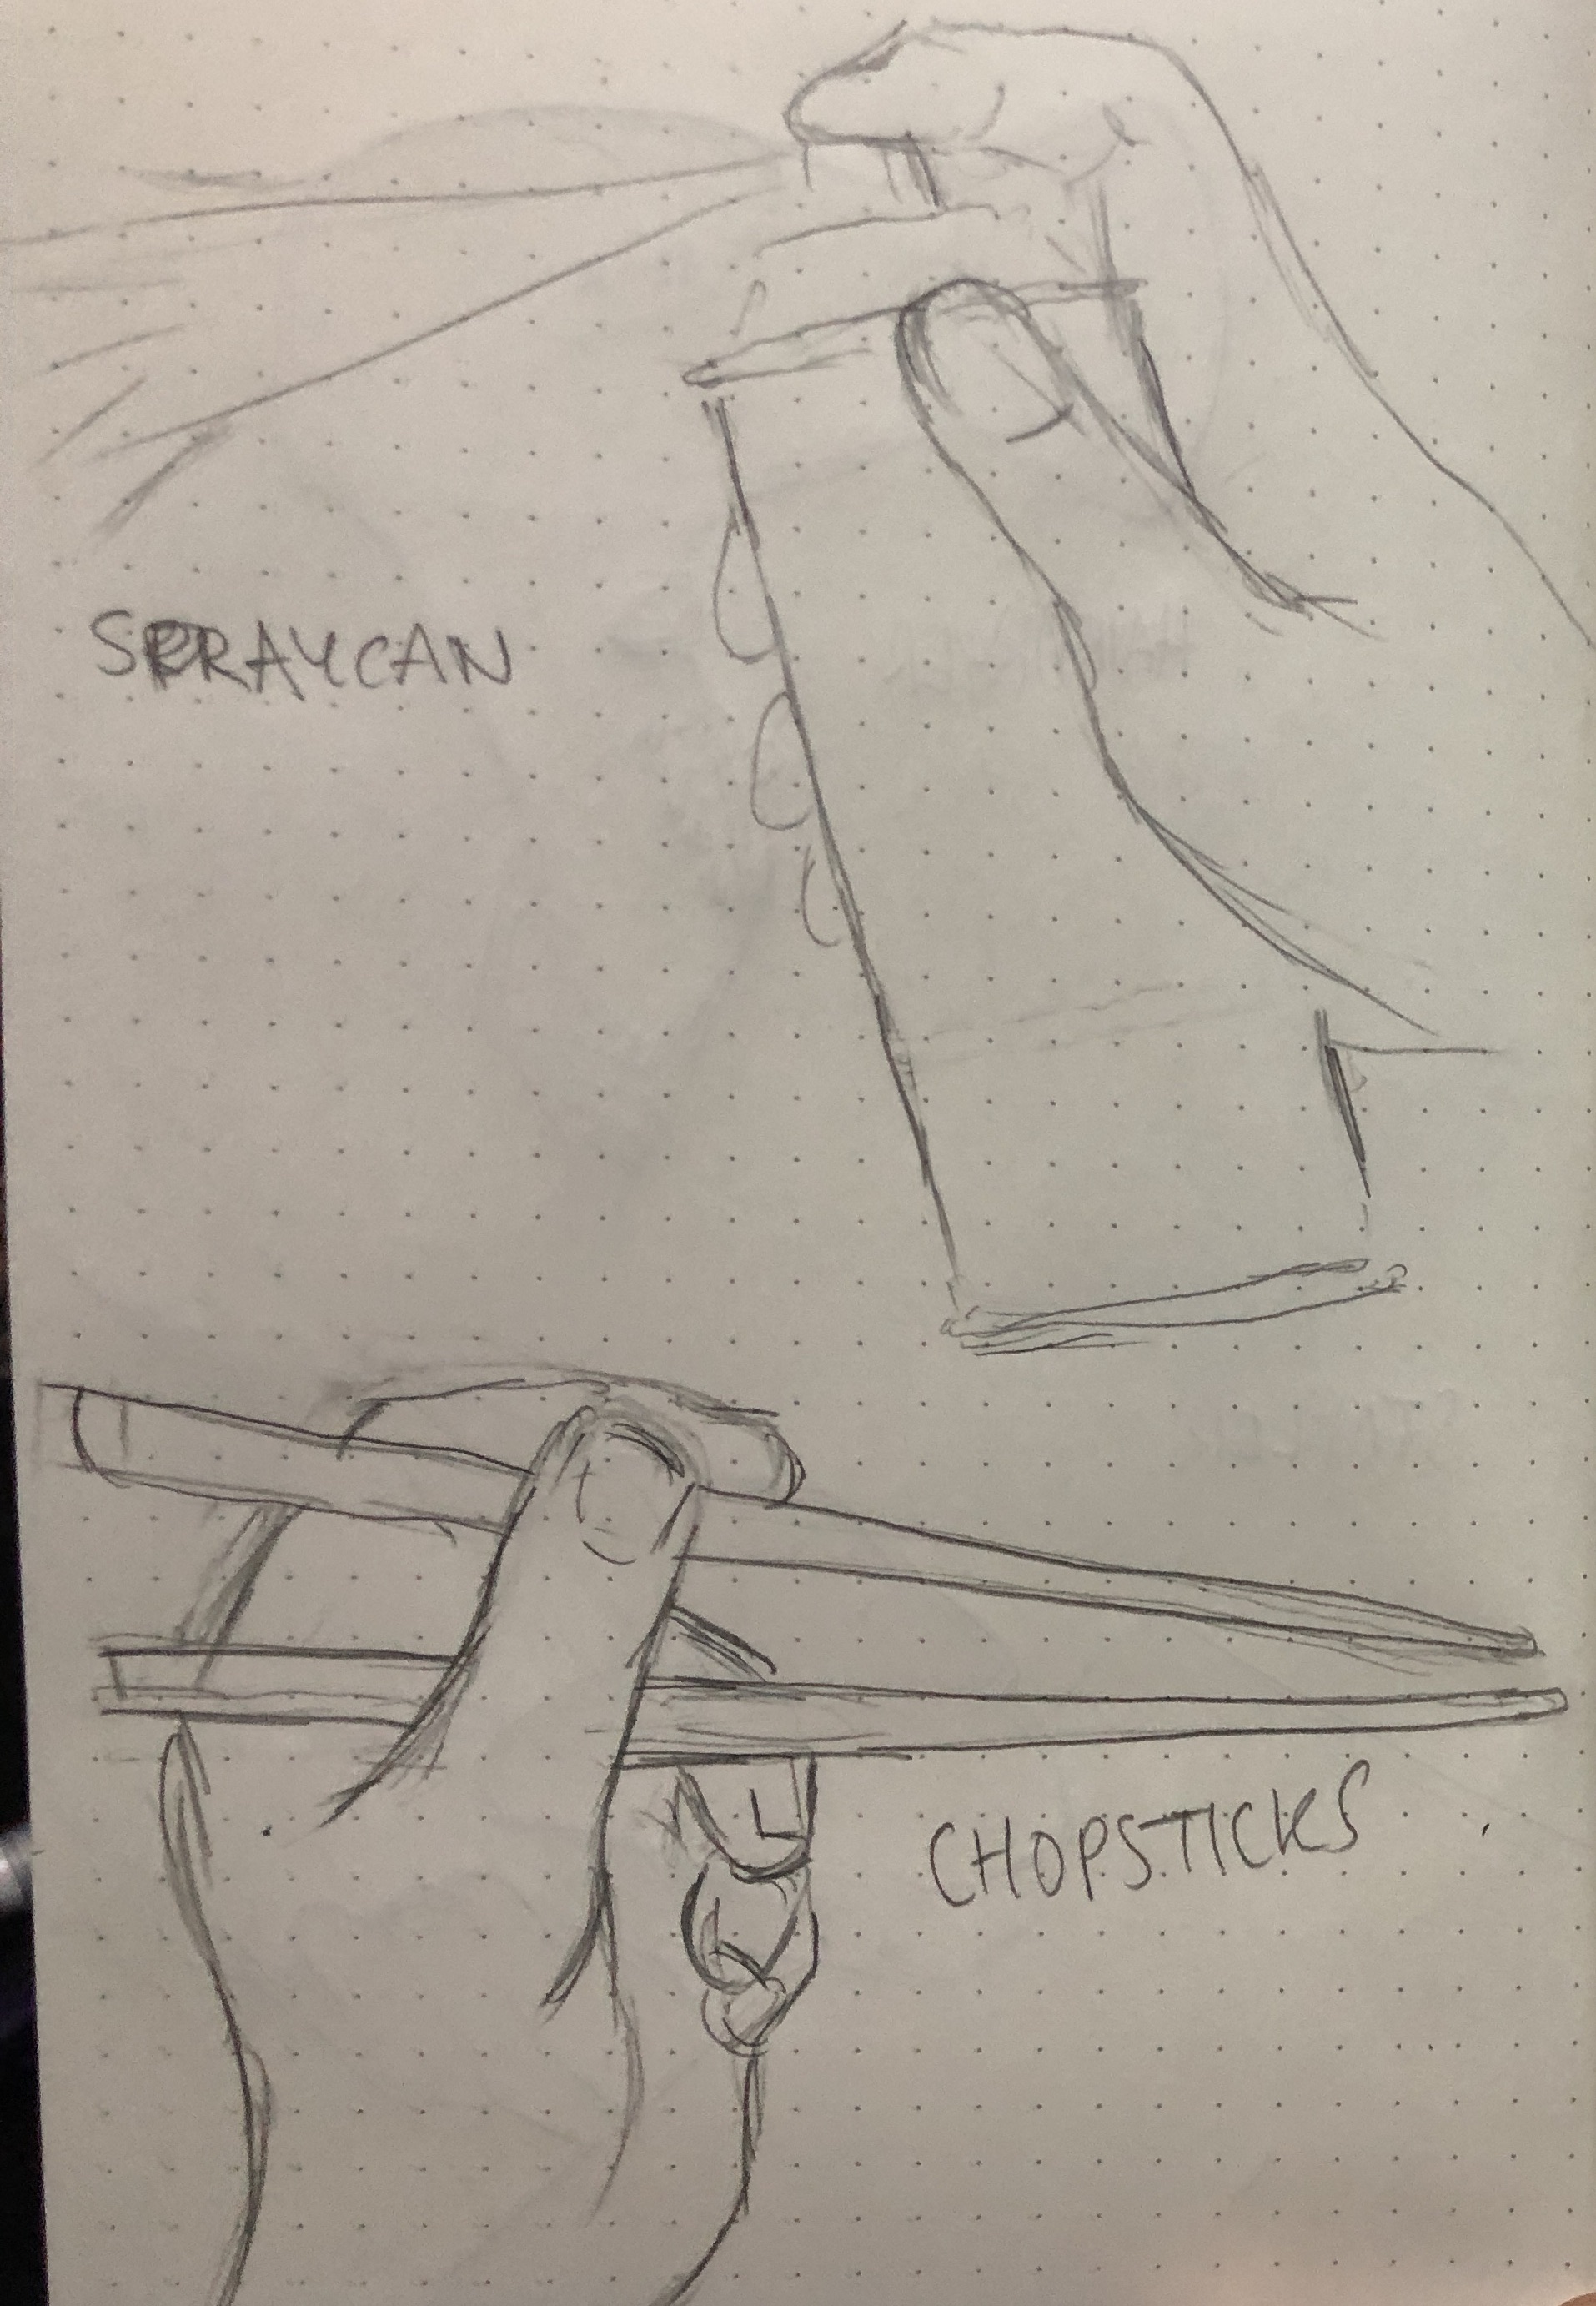
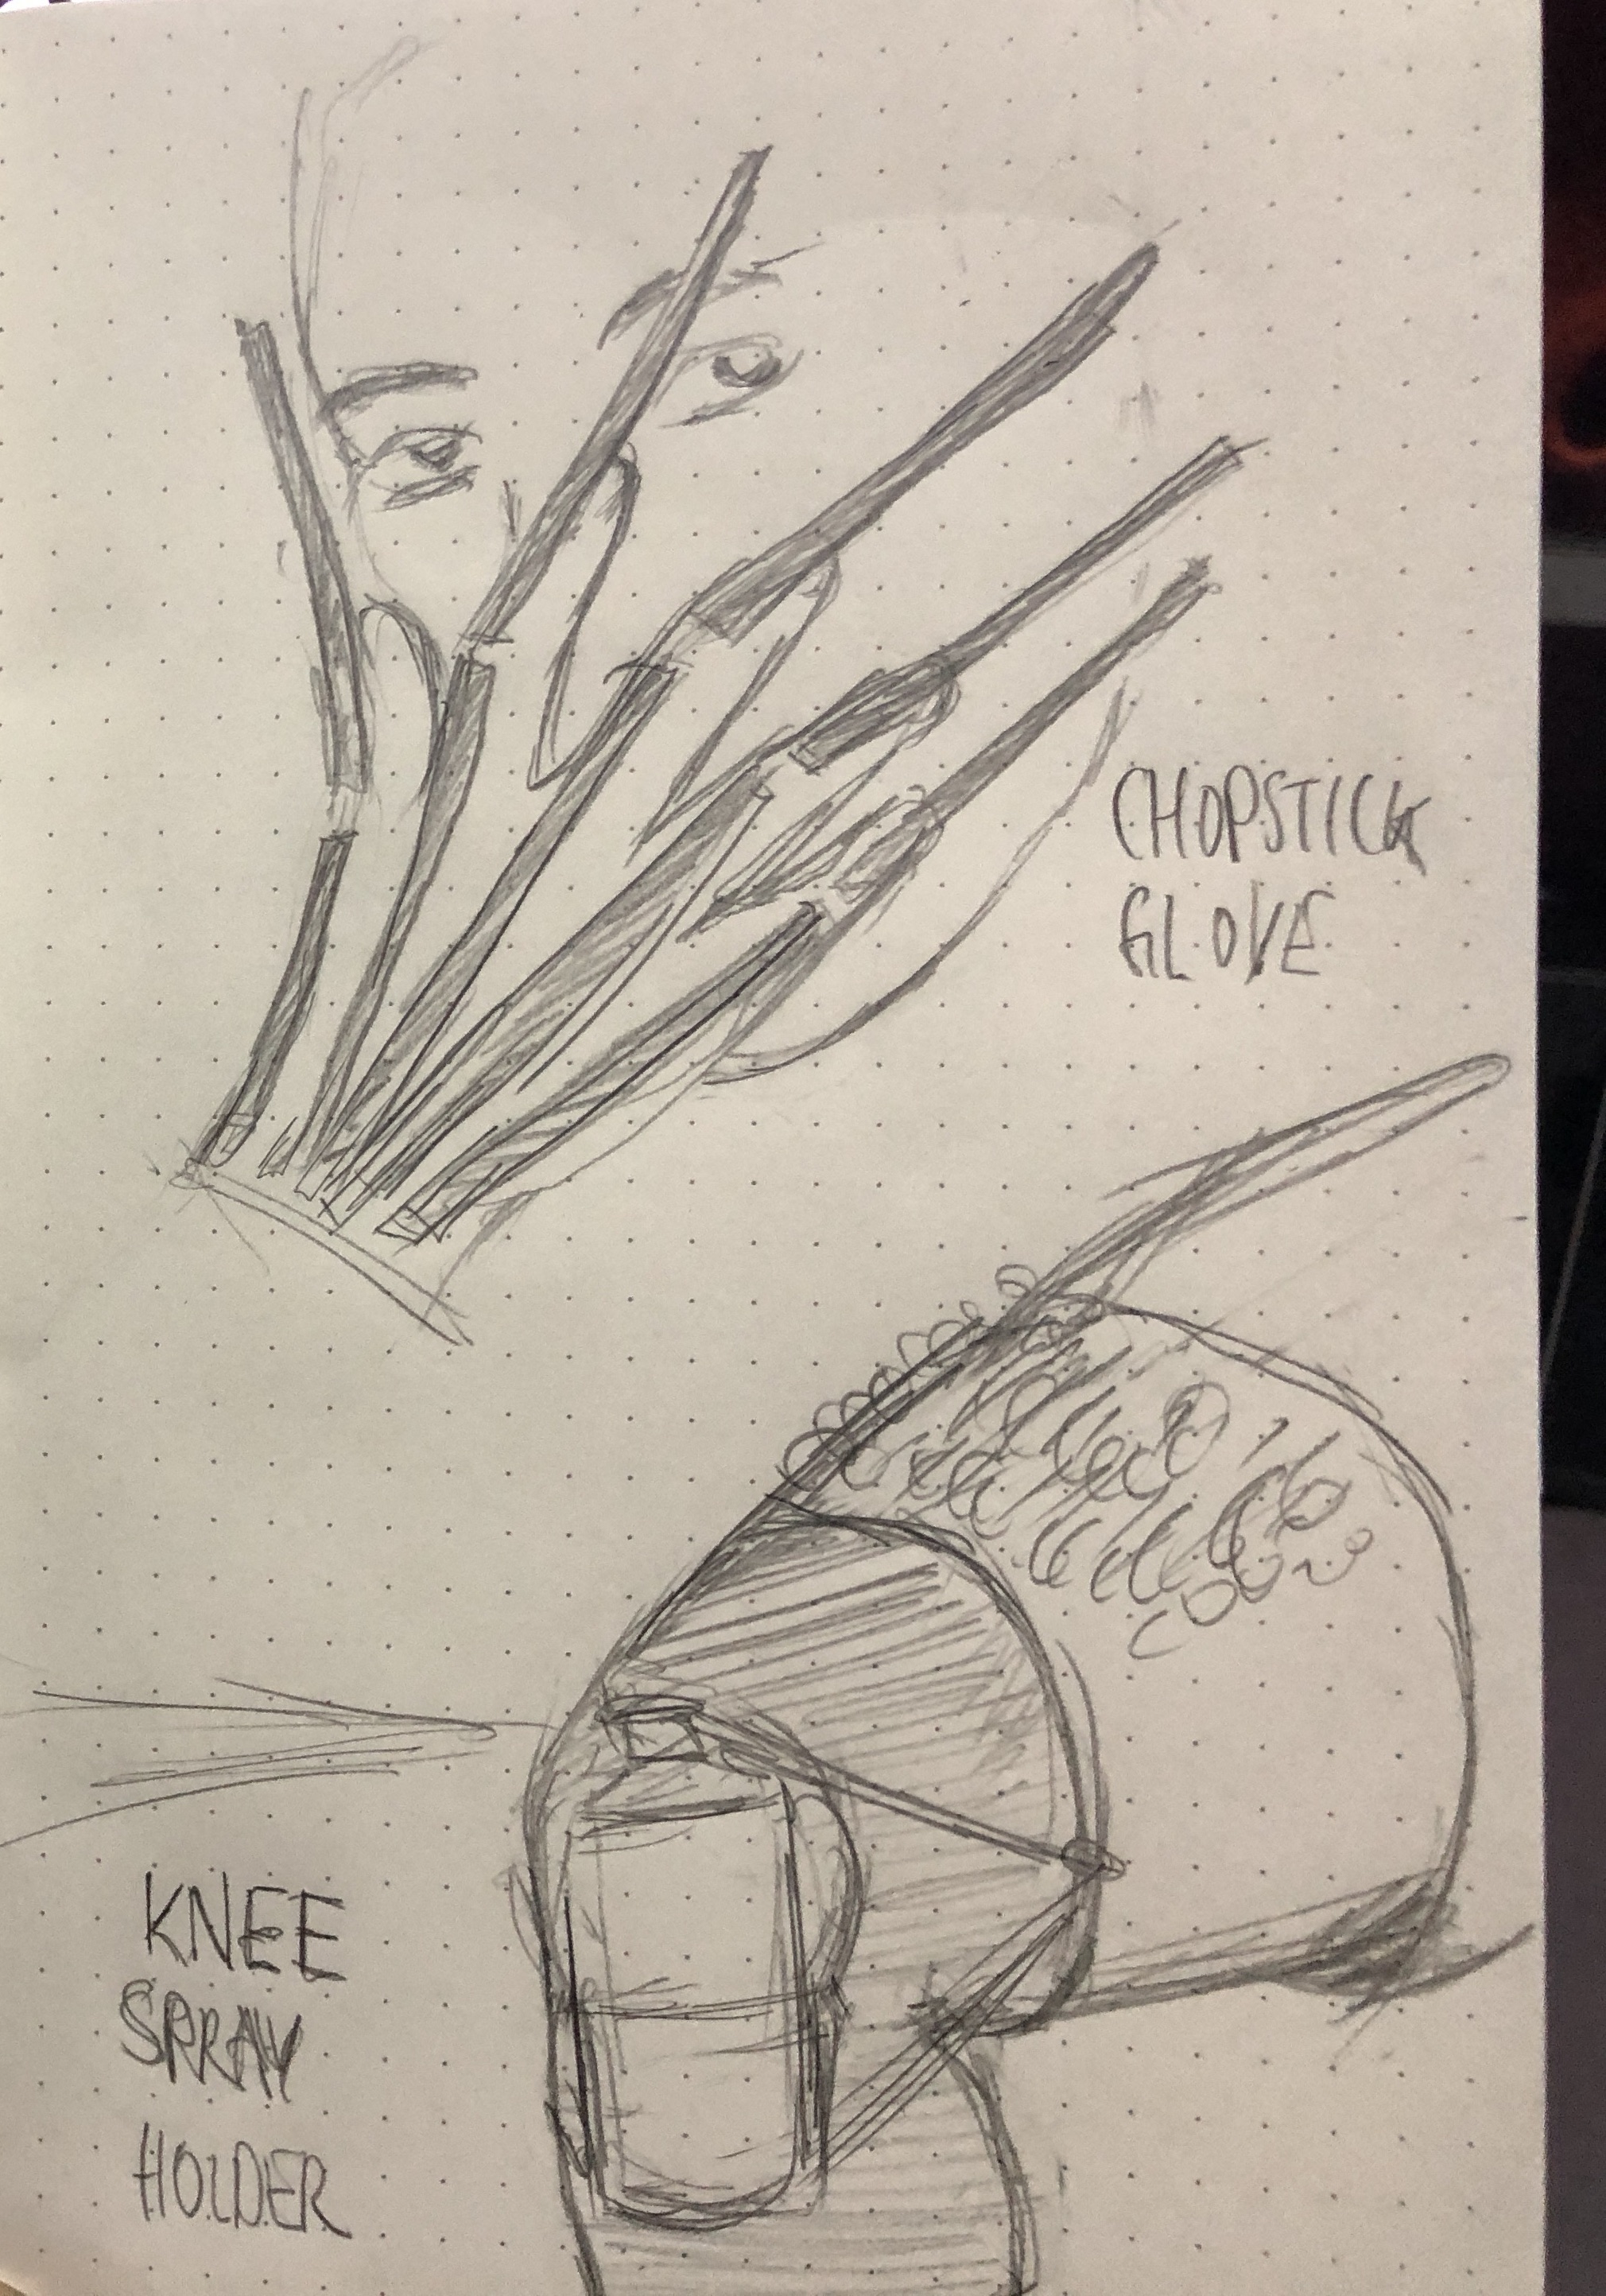
Photos of concepts and products in the exhibit

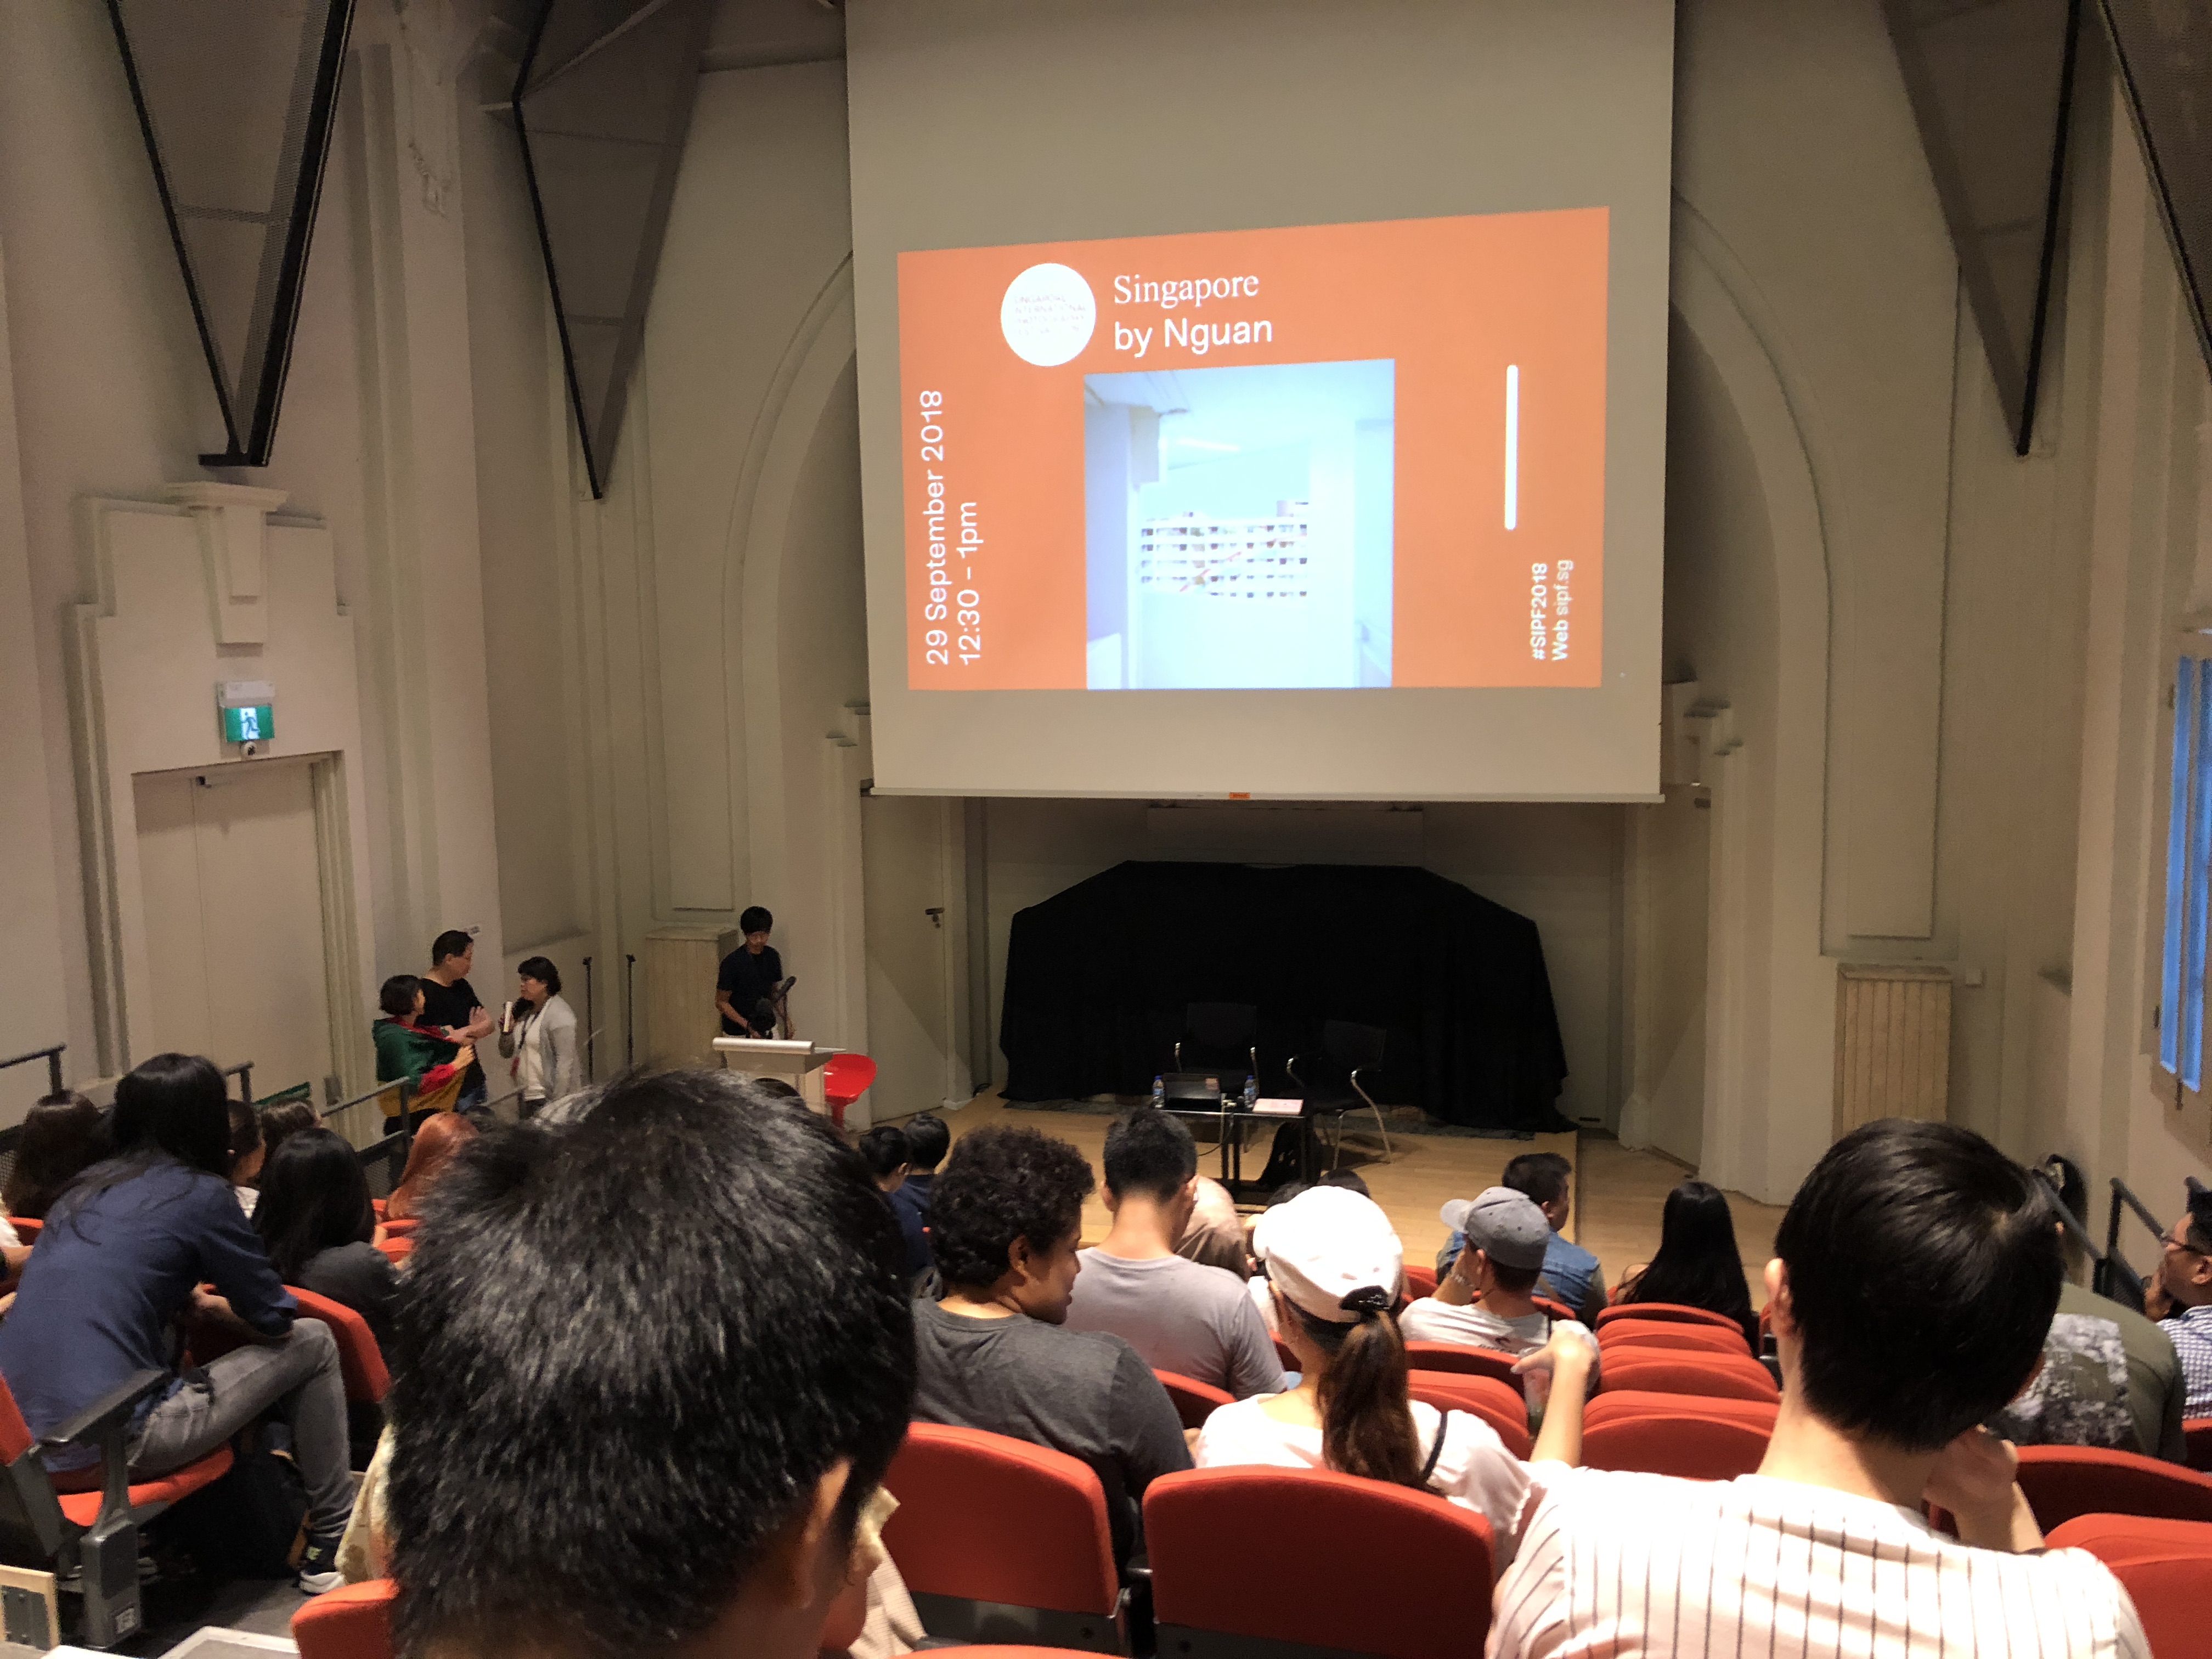
 Artist Talk – NGUAN – September 29

We joined a photographer’s talk by Nguan who showcased his tips for great street photography and how he does it. It was interesting to hear from the artist himself the stories behind a few shots and how he shot to fame.

Talk at the event venue at the National Design Center

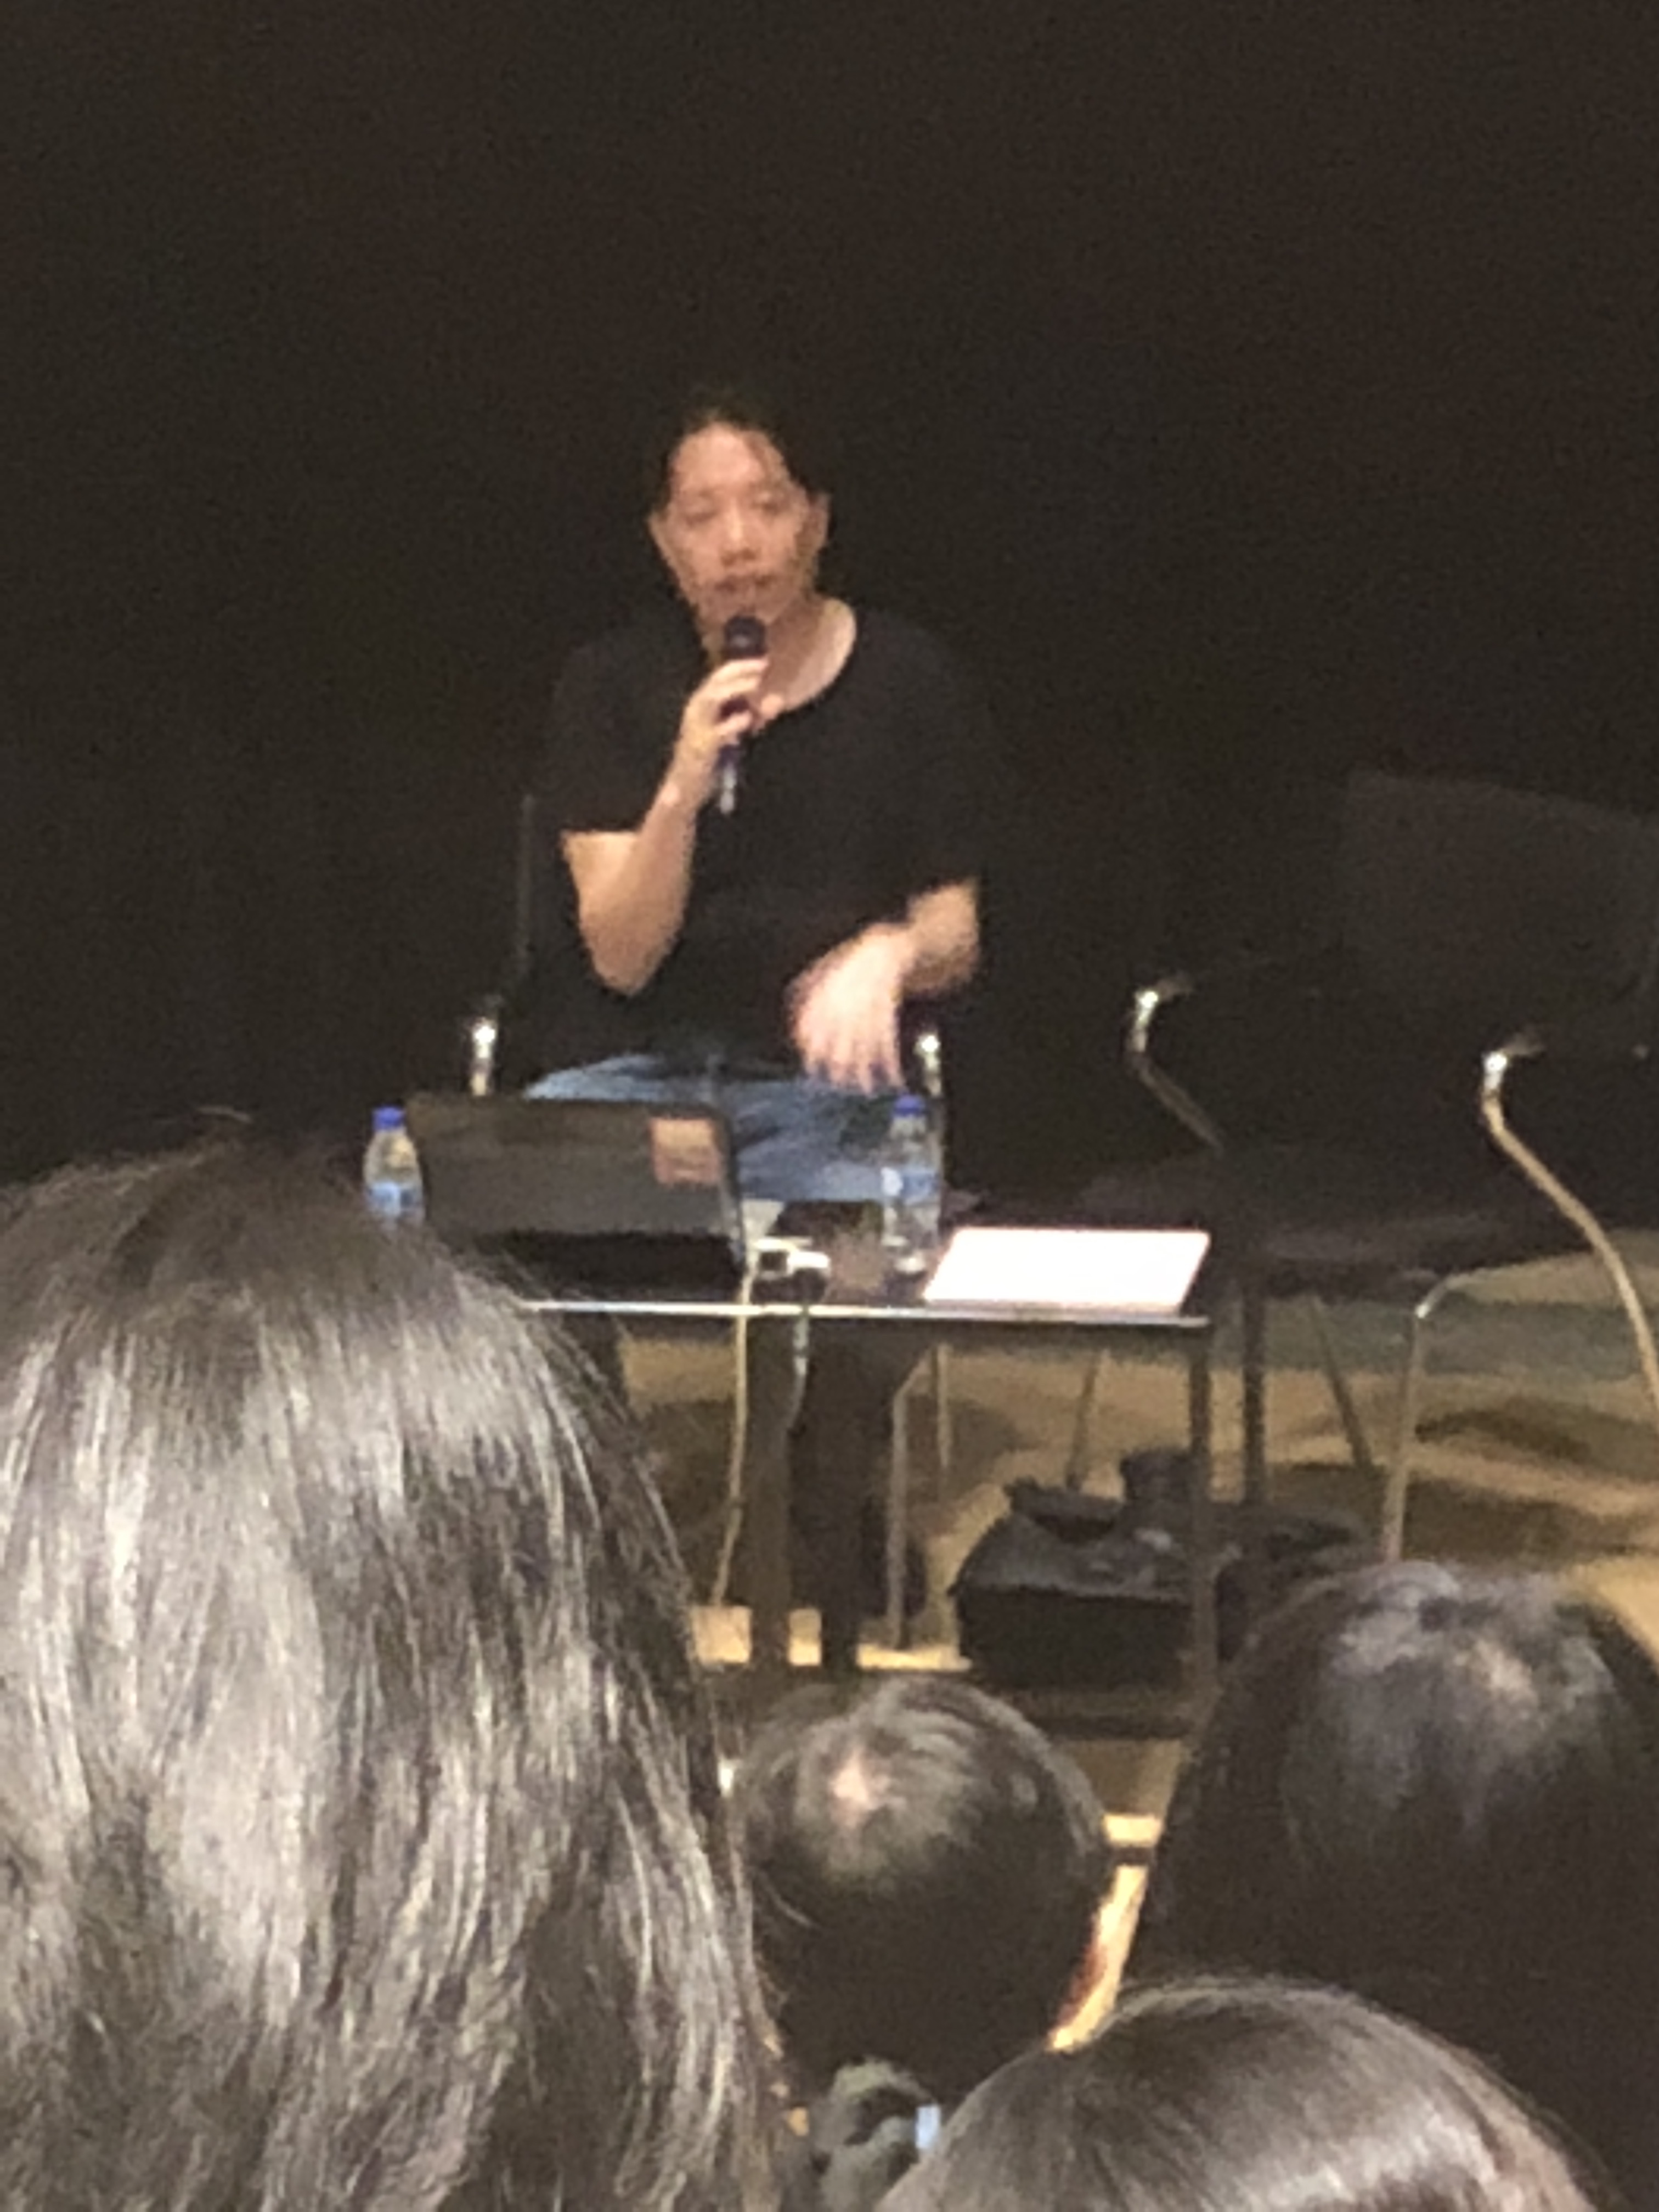
Here are a few tips he gave during the talk:

  1. Time of photos has made his shots more interesting such as older artifacts and venues – But cannot rely too much on time alone. He’s not too fond of the past but using the photos of the past to portray a fantasy of Singapore
  2. Lighting for shots after after sunset at about 6pm
  3. Perception: all photographers are looking for best angles. Find same view in a new way
  4. Motion blur: represent the world in an unreal fashion. Something he doesn’t do a lot
  5. His style is a shallow depth of field. Unusual for street photography
  6. Color palette: Children’s book with dark undercolor. Wanted to try emulate the look of color pencils. Initial intention. Recognizable style by repeating over and over again.

Small Design Detail – Darren Lee

Movie title: Freejack (1992)

A small design decision that I noticed in a transitioning scene is that the taxis look different in the future (2009 supposedly in the movie). These taxi-vehicles look like some tuk-tuks (like those in Thailand) where the the vehicle operates with 3 wheels only. Unlike the tuktuk we see on the streets, the driver is exposed to the elements of the weather but the passengers would be safe within a sheltered area. The ‘taxi’ sign still remains on top of the vehicle but nowadays, ride-sharing apps like ‘Uber’ or ‘Grab’ changed the concept of taxi entirely..

Explore Practitioner 3: Life Drawing – Darren

Process Documentation/Practice:

I joined a life drawing session by accident (didn’t know what life drawing meant). It was an event organized by the Hive in Lavender, where people gather to draw a nude model. It was definitely a different experience — one that was rather shocking/surprising as it was my first life drawing session. It was indeed enjoyable.

The session started at about 7pm.

All the participants have arrived and collected the materials provided for drawing just outside the main studio.

We were briefed on how the session was going to go — the model will do 4 poses (each for 20 mins) with a 5-minute interval between each pose so that the model can rest.  

After the brief, classical music was played at a low volume and the model walked into the center and stayed in his first pose. I was shocked. You could hear giggles from the other participants. The artists and myself then started drawing the model in whichever angle we are positioned in.

At each 5 minute break, we would go around looking at each other’s pieces.

After 4 poses, the drawing session was over.

Tools Used:

  • Standing Artboard
  • Charcoal
  • Pencil
  • Kneadable Eraser
  • Crocodile Clip
  • Spotlights on model

Worksite:

The worksite was an open space with a table in the middle for model to pose in surrounded by the standing art boards and spotlights. It wasn’t cluttered and there was room for people to walk around the room if they wish to draw the model at a different perspective.

Personal Insights/Pain Points:

I felt that one has to have familiarity with the drawing tools in order to draw nice pieces. For instance, it was my first time using charcoal and I had no idea how much strength I should be applying on the paper for an intended effect. Much practice for human anatomy was also needed as the human anatomy is very complex — coming in different forms and shapes. After the 2nd pose, I felt that my hands were getting a little tired from holding up (there was no support for your hand as you draw). Lastly, I felt hard to manage so many tools and keeping hold of my other completed sheets at a place was hard. I went around asking and chatting with others and noted that it was a matter of practice indeed and they just simply place all the other stuff on the floor or another surface. I felt that the overall experience was rather therapeutic.

Explore Practitioner 2: Sweet-Making – Darren

Process Documentation/Practice:

We paid a visit to Sticky, a business that makes custom rock candy confectionery. The candy is completely hand-made. After asking the practitioners permission to observe and partake in the process, we were able to see the entire process of making a custom order.

Sticky had an order for a custom design — required a website’s URL. So it was pretty interesting to see how they produced the characters one at a time.

They first had to melt the sugar into a working paste for about 20 minutes. Once melted, they can start the process of making the candy. They have 3 different colors – blue, white, and orange paste for the custom order.

They place the slabs on the cooling rack first and then kneaded it. After a few rounds of kneading, the slabs were stretched on a hook to make it more elastic to work with.   

After kneading, they put it on the warm table to work on it.

Once done, they will snip parts of the bigger slab and work on the details from inside-out — starting with the URL. They mold the pieces and then shaped it properly to get the desired effect. The shape is then reinforced with a metal rod.

The process repeats until the entire character is done, wrap it with the white paste and then finally prepare the outer layer.

The outer layer is wrapped around and then they start pulling the giant candy into the smaller signature tubes which is cooled down further with a fan.

Once cooled, the small individual tubes are then cut into the recognizable Sticky candy we know.

Tools:

  • Gloves
  • Scraper
  • Metal Rod
  • Hook for stretching the candy
  • Scissors
  • Fan for cooling down candy

Worksite:

The worksite is open to the public to observe the candy-making proces but only staff could enter the actual site. They have a rack of food coloring and a ‘kitchen’ at the back to prepare the sugar paste for working. In the front, they have large desks – one for keeping the candy paste warm and another that is cool to harden the candy. All their tools are just placed on the desks.

Personal Insights/Pain Points:

I never knew that the candy-making process would be so long and exhausting! You could see the practitioners breaking out a sweat especially with the kneading and forming of the characters. It is pretty labor intensive for pieces with a lot more detail. You need to have an eye to see the characters forming — I didn’t notice it until only halfway through! There was no mold and every detail was formed by the 2 artisans.

Explore Practitioner 1: Leather Crafting – Darren

Process Documentation:

I joined a class to craft a leather cardholder. The practitioner started off with a piece of conditioned leather that has a cutout drawn in pencil. We would cut it out with a penknife guided by a ruler for the straight parts and free-hand for the curved edges. We were also told to use a good amount of force for smooth edges.


Once the shape has been cut out, using a leather hole-puncher, holes of differing sizes are made in the sides of the cutout for the cardholder’s opening and holder. Three edges were folded multiple time and held it together by screwing a metal piece to form the pocket of the cardholder.


Oil is applied to the edges with a balm to smoothen the edges and protect it from external damage. At this stage the wallet is more or less done and the final step is to customize indentations.

To make an indentation, a small indentation kit is provided with different characters that can be left on your leather product. To make an indentation, you dap a little water on the area for indentation with water. It is then hammered lightly to prevent it from punching through the product. You are done whenever you are satisfied with your design!

Processed with VSCO with f2 preset

Me testing out the indentation tool on a smaller strip of leather before on my finished product.

Tools:

  • Penknife, ruler, and cutting board for cutting out shape of wallet
  • Wearable Craftsman Apron for protection
  • Hole-puncher
  • Oil Balm Applicator
  • Hammer and Indentation toolset to leave your desired mark on leather product

Worksite:

The worksite is a small craft workshop with proper benches, chairs, and desk lights for the practitioner to perform their craft with focus. Materials (leather and bits) are stored all around the workshop on hooks/shelves on walls. There was a part of the workshop with a big hydraulic press machine for bigger indents that can’t be done normally.

Personal Insights/Pain Points:

It’s a really cool practice that requires precision and concentration to get the job done. You can express creativity with your work with choice of color and indentation. However, once you mess up, it is almost irreversible — a mistake on a good piece of leather is hard to recover and costly (raw material is expensive). Overall, the craft itself is not as easy as it seems as you require accuracy and precision when cutting and imprinting on leather.  

Practice Storyworld – Darren

The World of New Archania 

Art by Gia Nguyen: https://www.behance.net/gallery/17925001/Personal-Cyber-punk-medieval-

Lore of New Archania: 

  • A millennium ago, Archania was a land where races such as humans, dwarves, and elves, as well as mythical creatures, coincide peacfully. It was rich with greenery and all races lived in harmony. Then one faithful day, a meteor shower struck the land and wiped out 50% of the population due to unknown radiation that caused living conditions to change entirely. The landscape of Arcania changed due to the radiation causing tectonic plates to shift, wildlife to transform, and food and drinking water became scarce. The survivors of all races adapted to the new environment and was forced to fight over scarce resources to stay alive. This resulted in territorial battles and a series of wars for several centuries. They also inspected the meteorites and found advanced alien technology —dubbed Archanium— to which they utilized to build their empires and weapons. It is now YEAR 1089Z, where the races have built giant kingdoms and empires. While food and water is no longer a problem and war has not broken out in the past century, the kingdoms are keeping to themselves — the hatred built up from several centuries of bloodshed and war still linger and there is an unspoken law within each kingdom that prohibits them from interacting with other races. This is New Arcania. 
Art by Gia Nguyen: https://www.behance.net/gallery/17925001/Personal-Cyber-punk-medieval-


Characters:

  • [Human] Rupert Cendol, King of Human in city of Youtopia, largest city inhabited by humans in New Arcania.
  • [Human] Captain Mike Straw, Captain of Spades, the largest division in the Royal Army. 
  • [Dwarf] Tauhey Yuvtiao, Lord of Dwarves. 
  • [Dwarf] Douhan the Blacksmith. 
  • [Elf] Maiham Laxsa, Queen of Elves. 
  • [Elf] Kate Ousup, Elf Princess.
  • [Mythical Creatures] Alien Dragons, Insectoids, Arcane Witches.  


Important Technology:

  • Archanium Weapon Technology
  • Archanium Advanced Agriculture Technology 
  • Archanium Transportation Technology
Art by Gia Nguyen: https://www.behance.net/gallery/17925001/Personal-Cyber-punk-medieval-


Genre: Fantasy Adventure / Romance 

Story: The city of Youtopia was running low on Archanium supplies, spent mostly on development of weaponry for the Royal Army. Archanium is also used to for farming/food production and more of it would ensure survival of the human race.  
Captain Mike Straw, King Rupert’s most trusted advisor, was entrusted a mission to go on an excursion for more Archanium mining spots at the Twinklelight Forest within the Human Territories. Twinklelight Forest is located along the perimeters of the Elven Territories and this was a highly dangerous mission. 
This is the story of a covert mission that was meant to take less than a fortnight that changed the fate of Captain Mike and the land of New Archania.


Method:

  • Probably will tell it through a movie or a game
  • Role of the device: To help create sounds for the movie/game
  • Props and actors: Battle Armor  

Documentation for Prototypes and Models -Darren

Creative Practice: Foley – the reproduction of everyday sound effects for film and videos from small creaky step sounds to explosions in Hollywood. All kinds of tools are used to recreate the desired sound effects. All kinds.  

Tools Used: Since a foley artist can use ANYTHING as a tool, I took common tools used in everyday life and sketched them out. 

  1. Hand Drill 
  2. Hairdryer
  3. Stapler
  4. Spraycan 
  5. Chopsticks 

Drawing of tools: 

My prototype: The idea is to make the foley artist’s job more fun when producing sounds for recording which led to whacky designs you saw in class.

The chopstick glove is useless in grabbing stuff due to the design but still can be used to make chopstick sounds when struck against another object. 

Holding a spray can be tiring. Why not use the retraction of your knee to create the sound so that you have free hands to make other sounds?

Wearable Research – Darren

Finger Cots

Practice it works in
Informally known as finger condoms, you probably have seen these little wearables around before such as the grocery store. It is widely used in various industries but two prominent ones that I will mention are in the office and for medical use. In the workplace, finger cots can prevent paper cuts when going through many pages of paper and prevent contamination when dealing with delicate parts like semiconductors. In the medical field, it can be used for a range of medical procedures such as topical applications and keeping a wound dry because of its water-tight properties.

Specific Use
Often made up of flexible and materials like silicone, rubber, and latex, its specific use is for protection against accidental cuts, water, and heat. Additionally, it is made of anti-slip material like latex and rubber and often laced with grooves, allowing one to have a firmer grip.

Mobility
Being small and made of flexible material, mobility of fingers/hands are not affected by the wearable. Additionally, it is more comfortable and less restrictive compared to a glove.

Utility vs Fashionability
The finger cot has plenty of utility providing many functions (mainly protection) but is not as fashionable because of how odd it looks just covering your fingers. It does come in different colors such as bright orange or plain beige. 

Oculus Rift

Practices used in

The Oculus Rift is a developed and manufactured by Oculus VR, a division in Facebook, and released in 2016. The headset is often used in Virtual Reality entertainment such as games, education, media, and art. It is also used for furthering the development of the VR technology (testing) with development kits.

Its specific use

The VR headset is connected to the system which allows its users to be immersed in a virtual reality by surrounding your sense of sight and hearing. It has other equipments such as as controllers, a head tracking system, and an operating system. It even has an app store (Oculus Store) to purchase software/programs for VR. It is used for all kinds of uses from media, education, social, industrial, but mainly for gaming. 

Mobility

The worn device is connected to a computer via a cable and movement with the headgear is limited to the length of the device. You are able to move your head around in all directions from your neck as part of the VR experience.

Utility vs Fashionability

The Oculus Rift is clunky and slightly heavy but it does a darn fine job of obscuring your senses to make the experience seem super surreal. It is not fashionable at the very least in terms of appearance (you won’t walk around with the headgear in public) but the carbon black makes it look pretty sleek.