
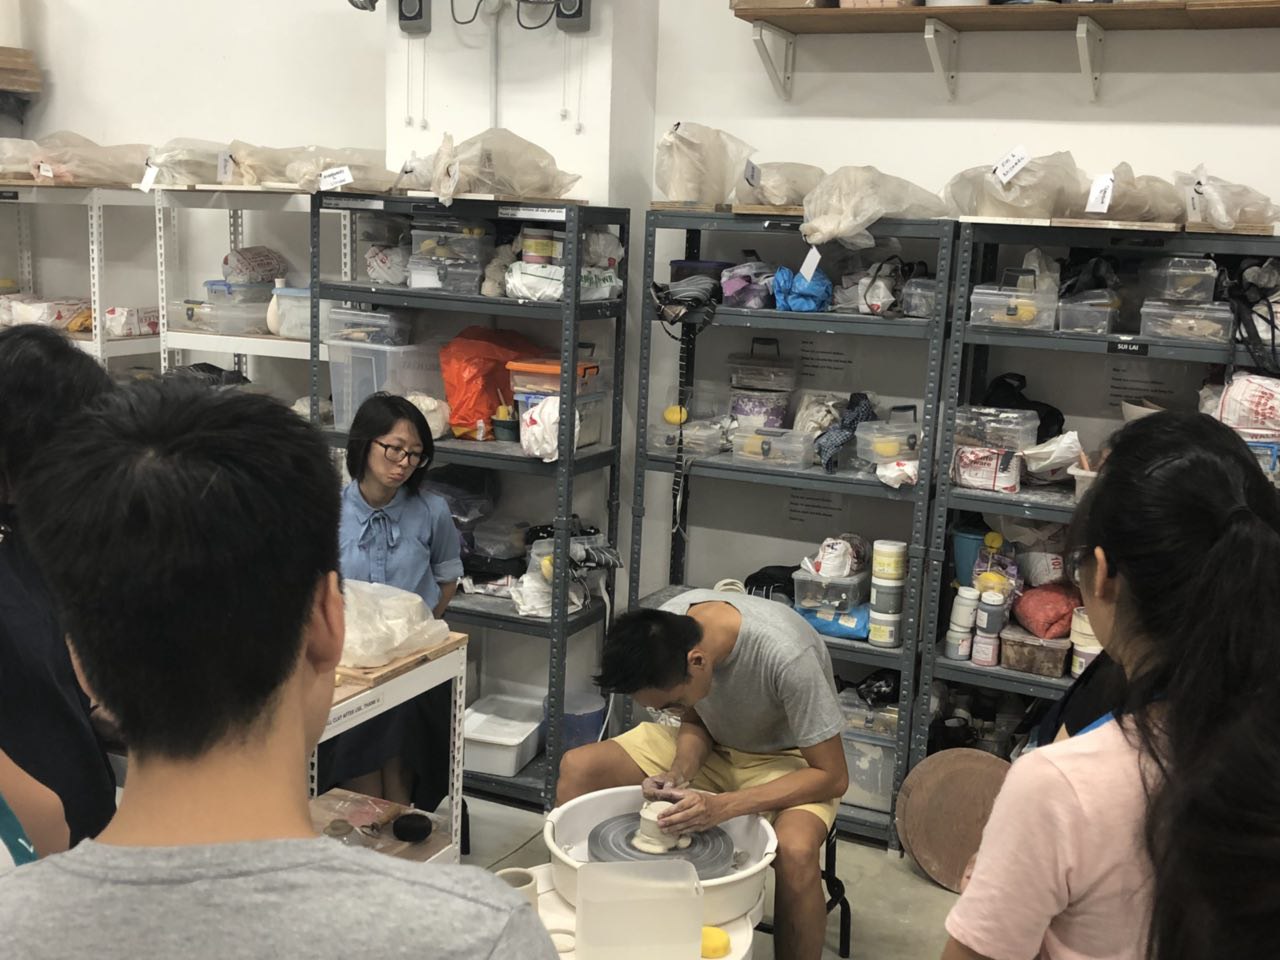
This afternoon, I participated in a ceramic pottery class. In particular, today’s class taught us how to trim a pot. Before the class started, I had the wonderful opportunity to sit down for a short interview with the practitioner, Alvin, who gave me a crash course in ceramic pottery making.
Practice Documentation and Tools Used
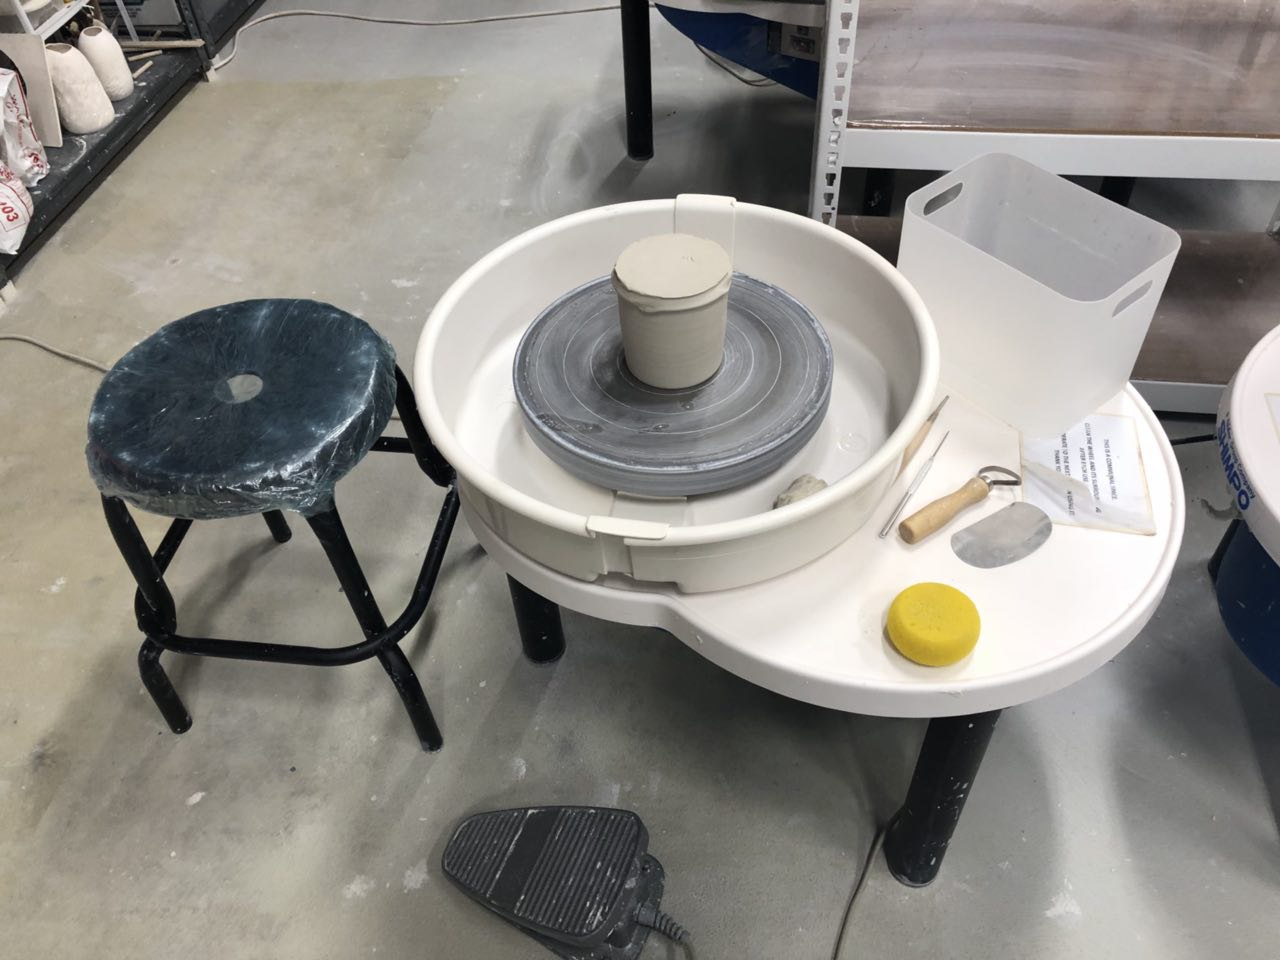
Step 1: Preparing and centering the clay, and creating the shape you want
Tools used:
– Clay
– Potter’s wheel
First, the practitioner has to prepare some clay and place it on the wheel to start moulding it into the shape that he wants. This process is also known as throwing, which refers the entire activity of shaping the clay on the potter’s wheel.
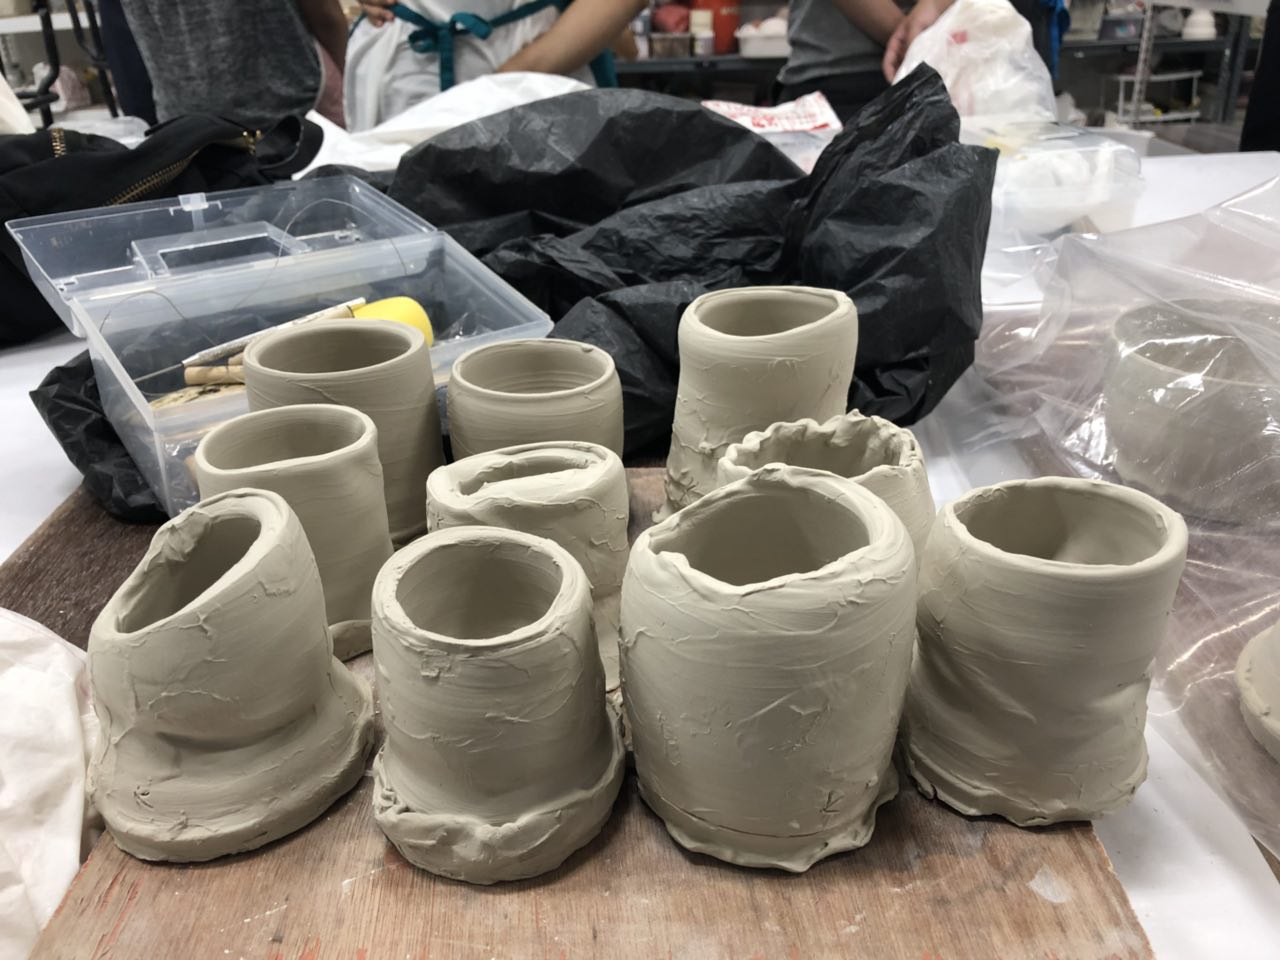
Step 2: Raising the walls
Next, the practitioner needs to pull the clay apart to create a dome and start raising the walls of the dome. Once it’s done, set the clay aside for it to dry a little. The clay shouldn’t look perfect, in fact, it should look very uneven. The clay should look something like this:
Step 3: Trimming
Tools used:
– Loop, wire and ribbon tools
wire and ribbon tools
The third step is trimming the clay to even it out. Once the clay is almost dry, place it back onto the wheel. Use three small wedges of softer clay to hold it in place. Get the trimming tools and gently shave away layers of clay until the shape is perfect. Once the top is done, place it upside down and do the same until the bottom has a nice, even foot to stand on.
participant trimming her clay

Step 4: Firing
Tools used:
– Kiln
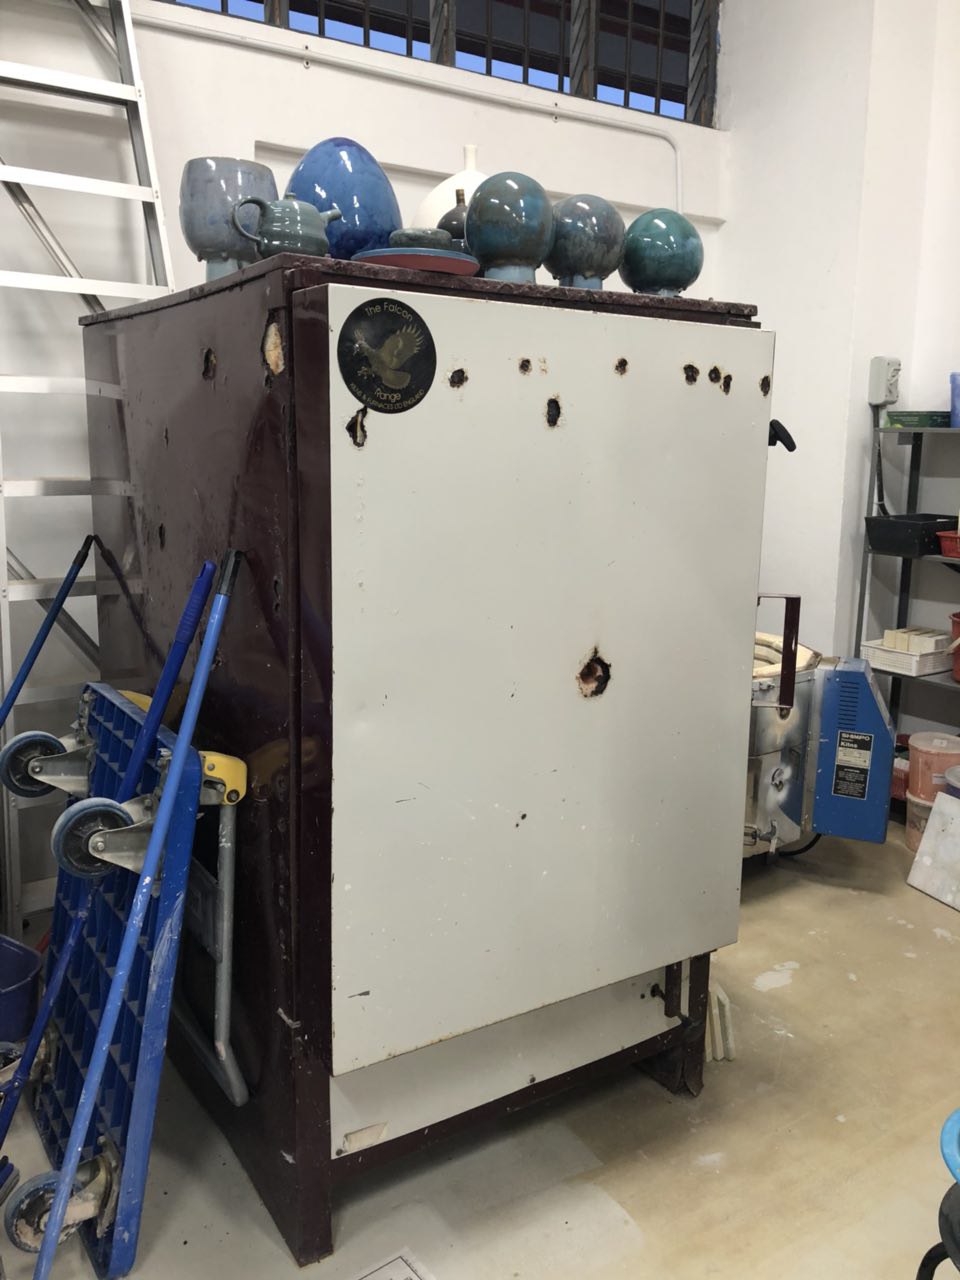
When the clay is completely dry, it will be placed in a special oven called a kiln, which bakes the clay at very high temperatures. After the clay is baked, it will turn from grey to a slightly peachy colour as shown here:
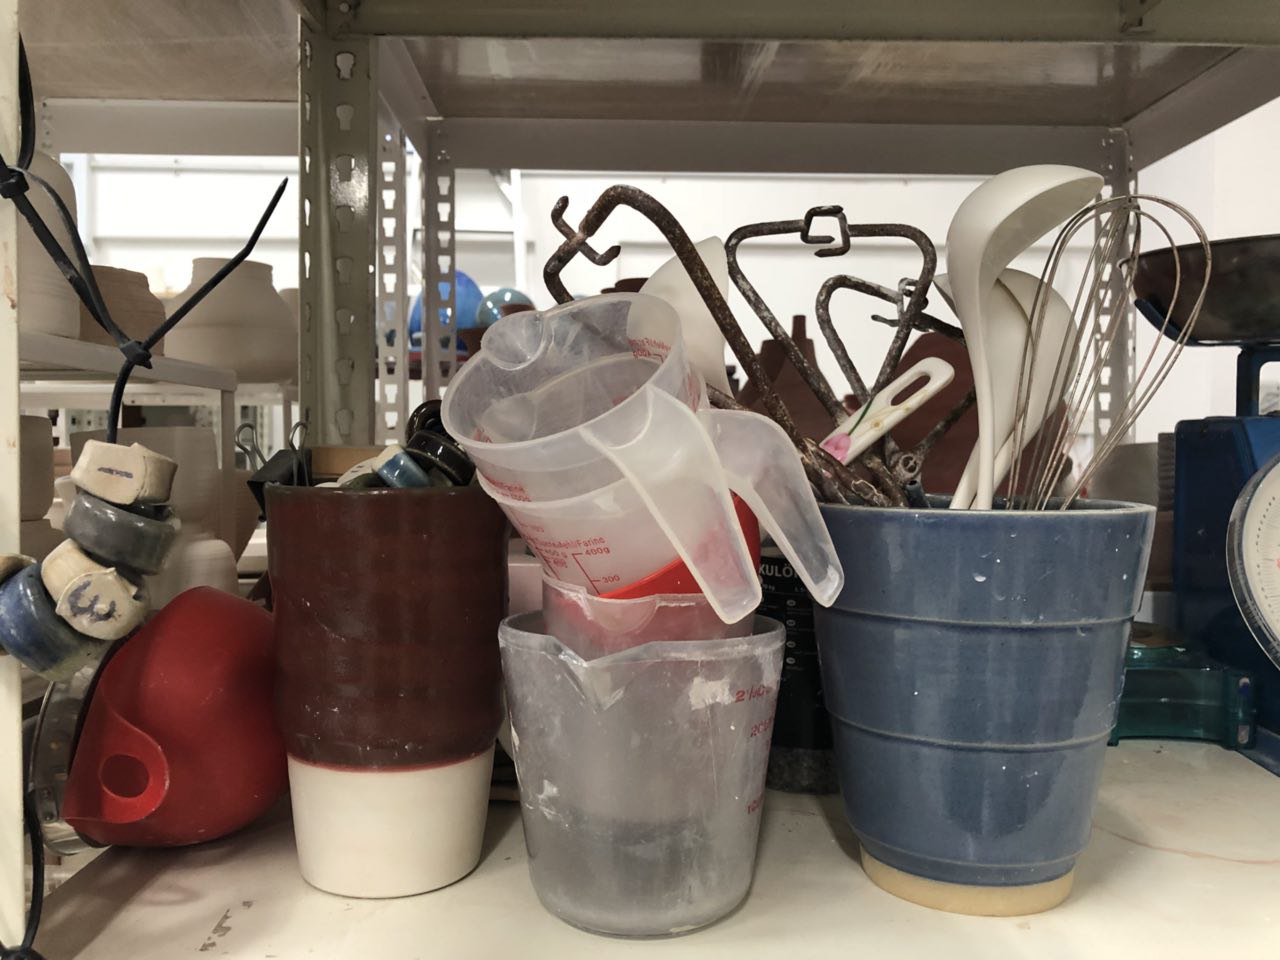
Step 5: Glazing
Tools used:
– Paint brushes
– Glaze
– Measuring cups and mixing tools
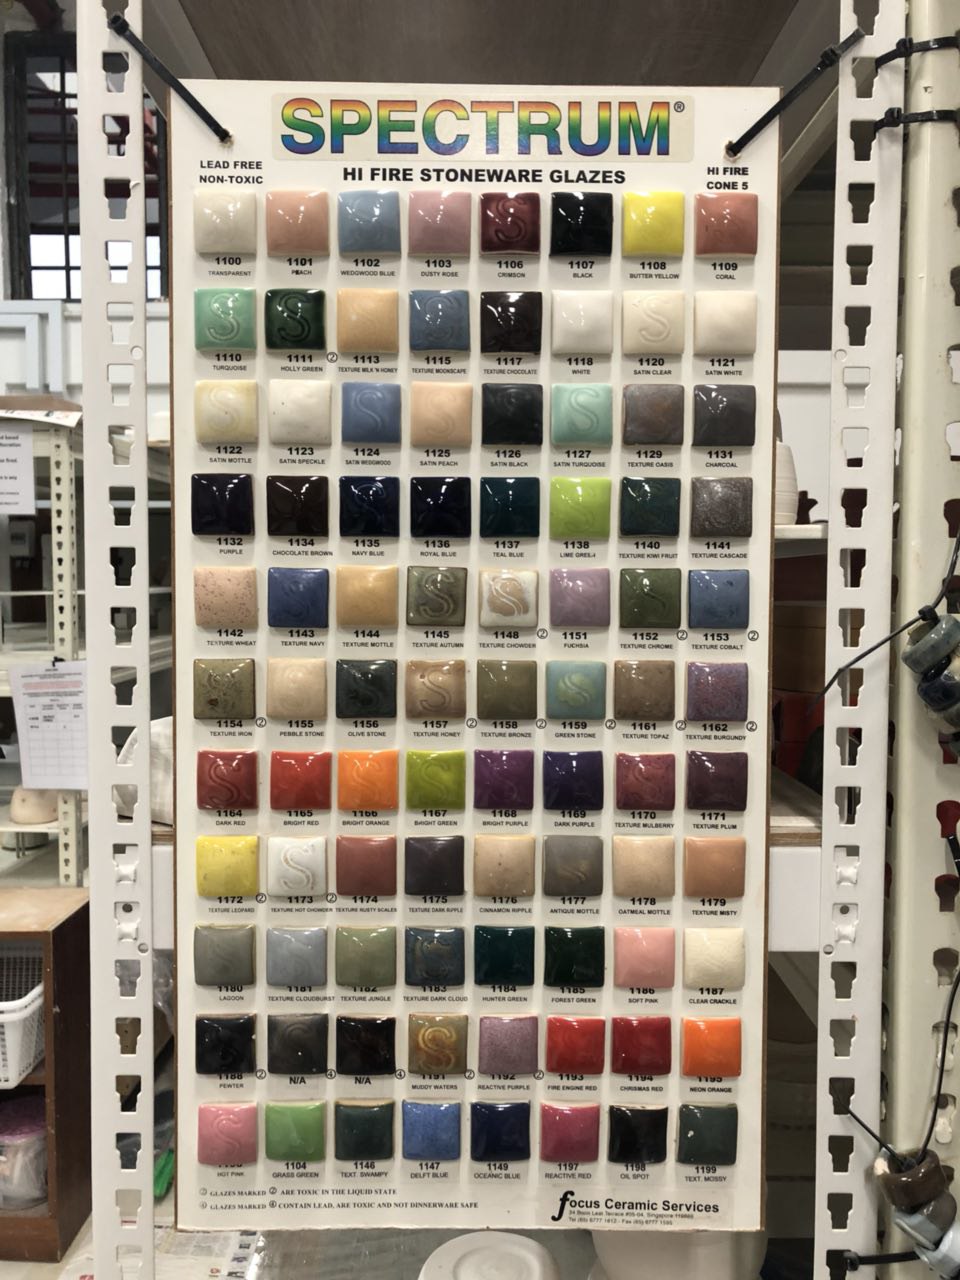
After the clay is fired, colour can be added to it using glaze, which is a special mineral-based paint that turns into a smooth, glossy surface for the final product.
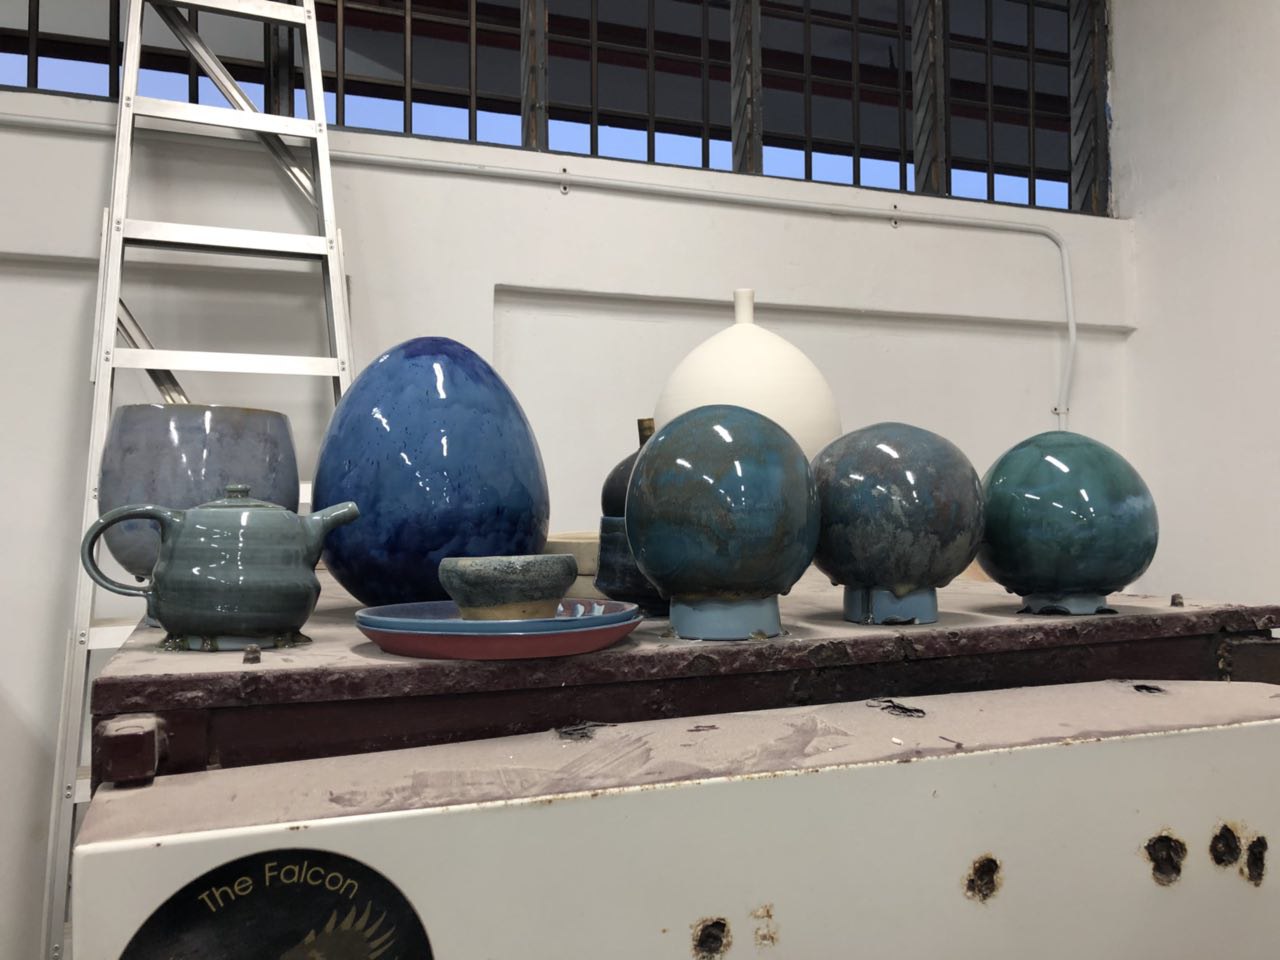
Step 6: Second round of firing
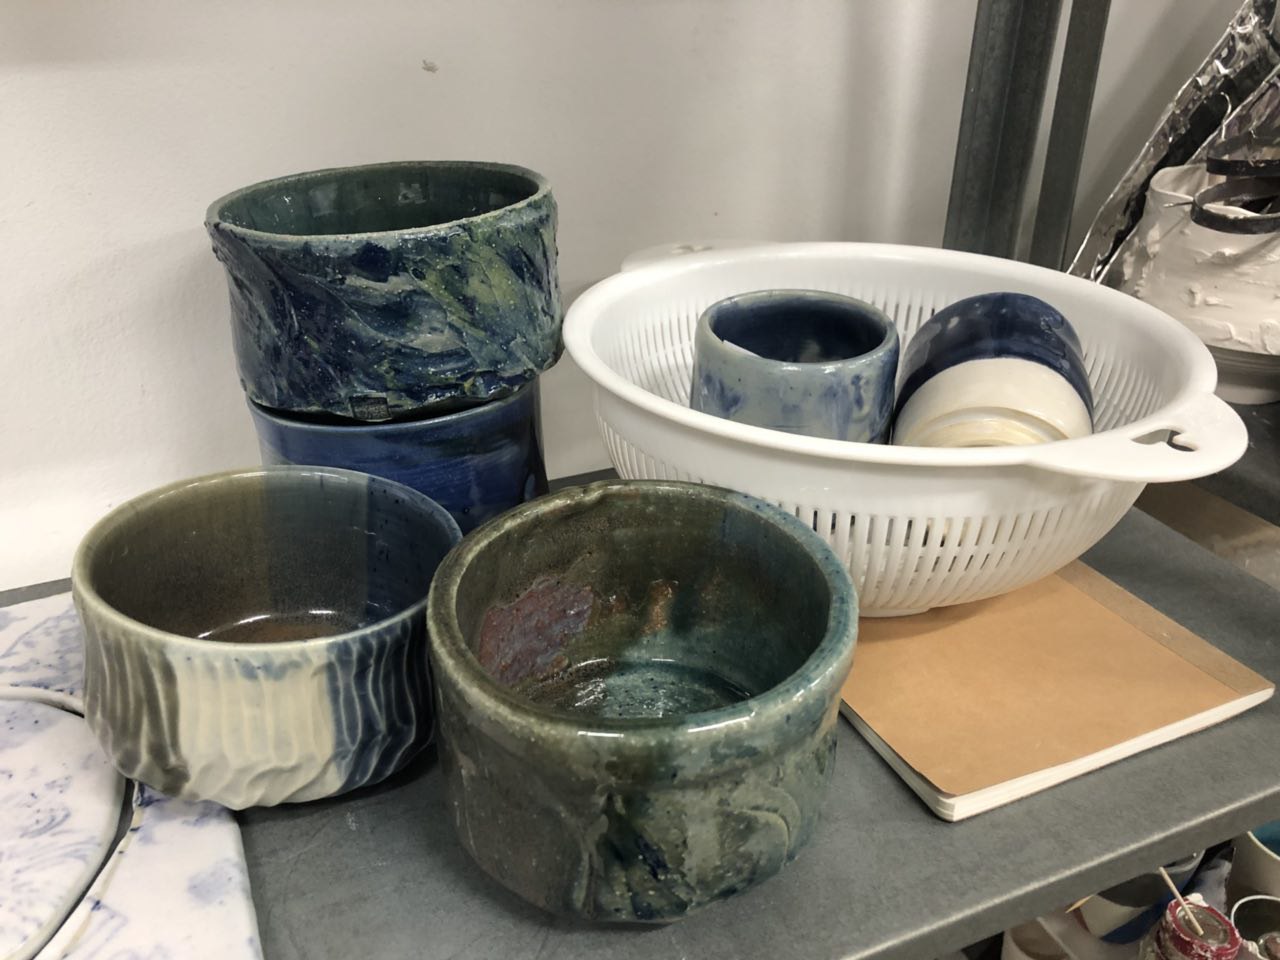
After the glaze has dried, the clay needs to be fired again in the kiln to make the colours hard and glossy. Here are some final products made by the practitioner and other students:
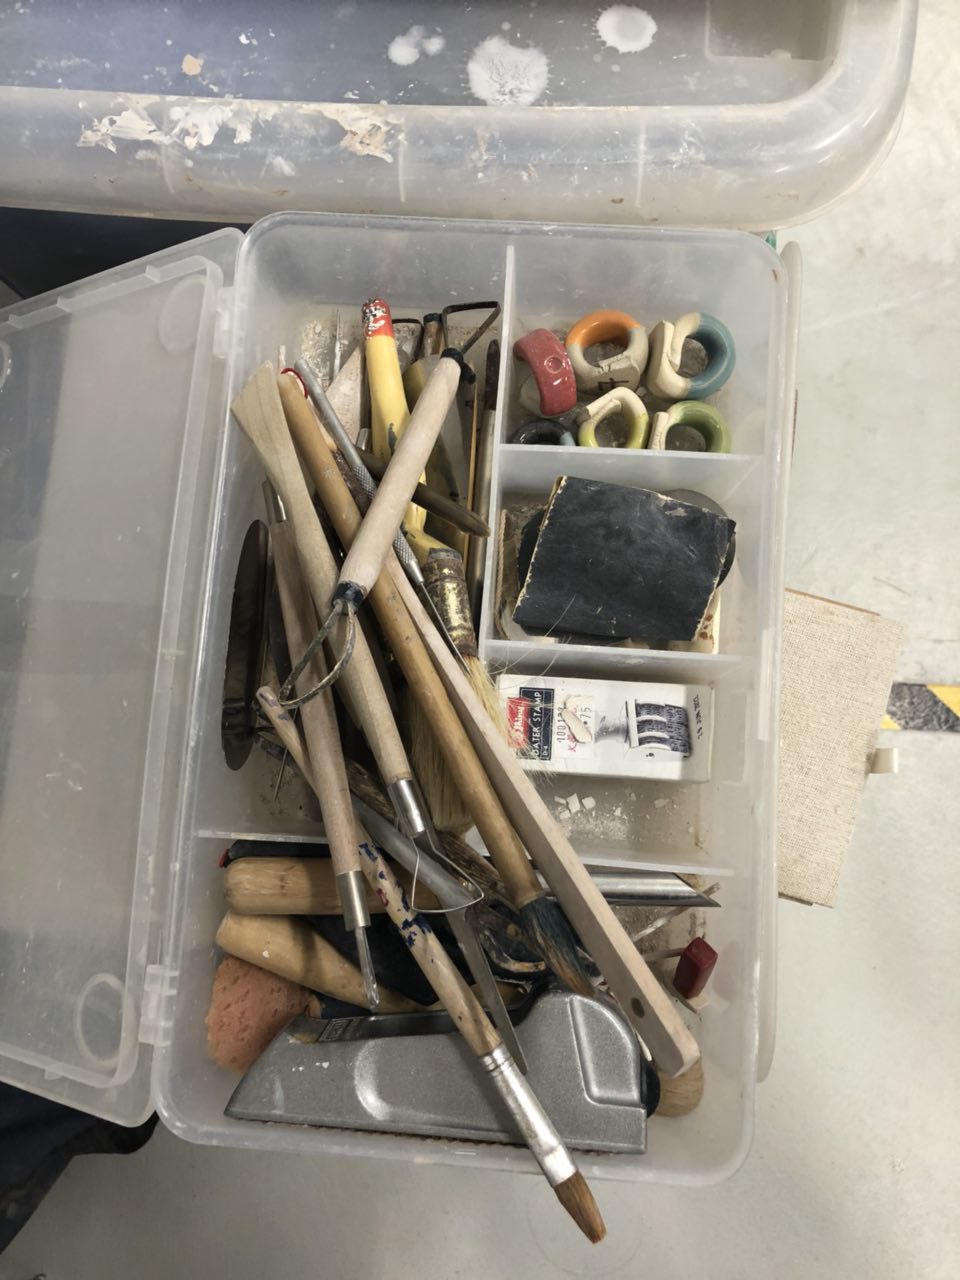
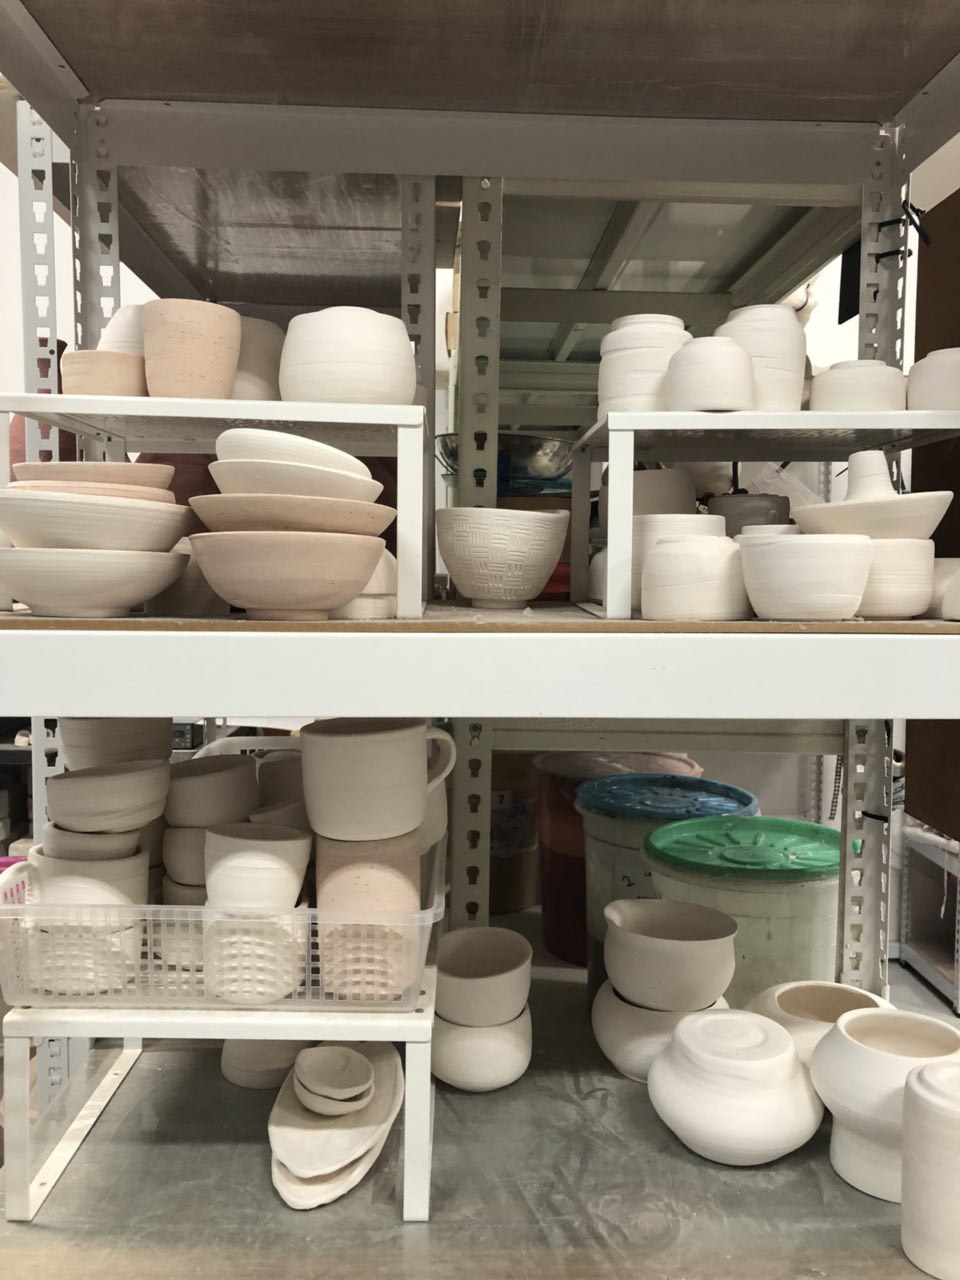
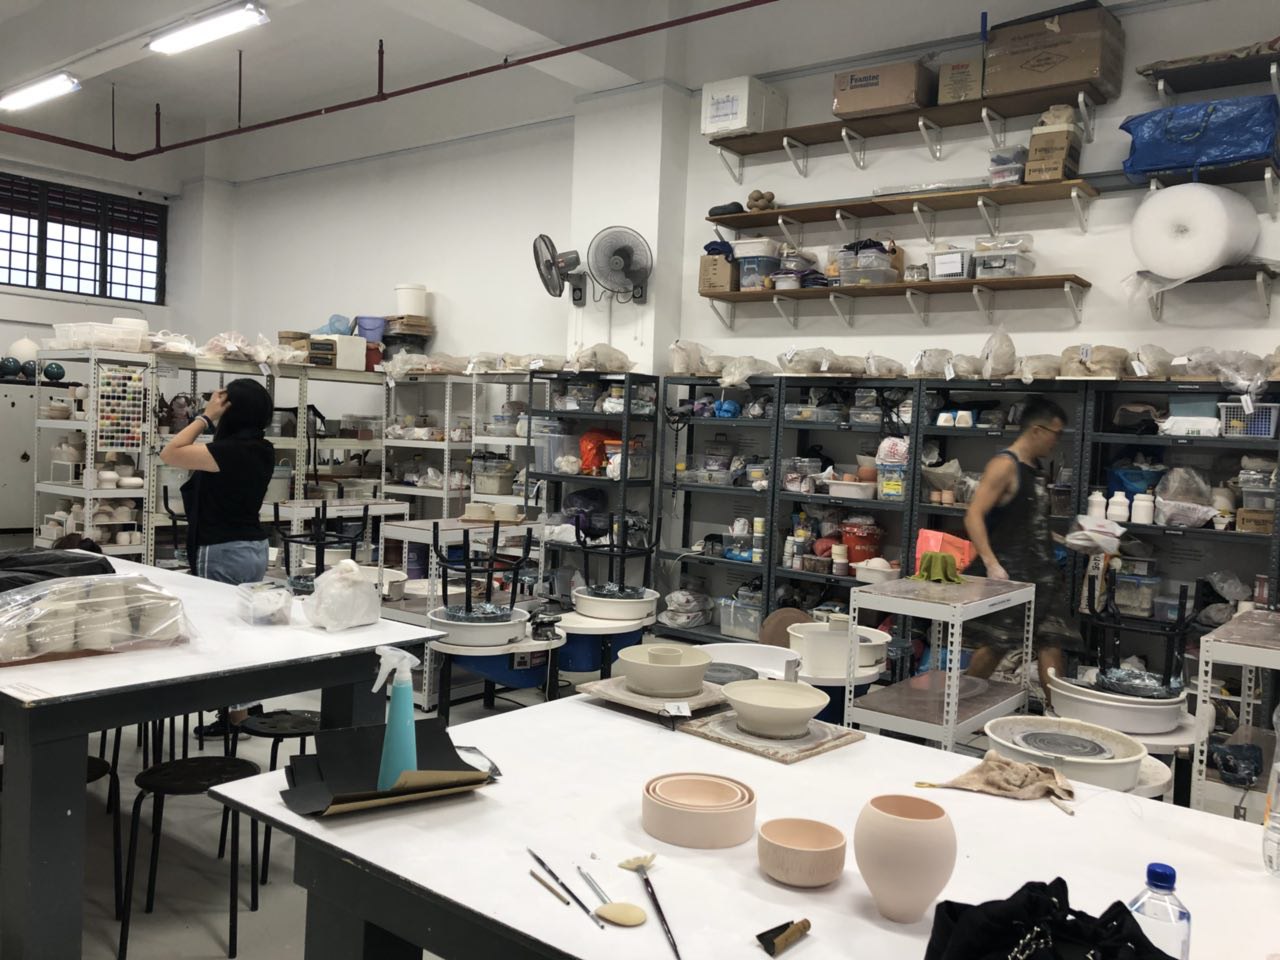
Worksite Documentation
The worksite was generally messy and cluttered, but the shelves which stored the clay, tools and unfinished products were quite neatly organised. Each practitioner also had their own toolbox which contained pottery tools such as trimming tools, paint brushes and sand paper.
Pain Points
Since I only had the chance to try out trimming, I could only document my experience for that portion of ceramic pottery making. In my opinion, trimming is one of the most challenging steps because it requires a lot of focus and hand stability. If you are not careful, you may cut off an uneven portion and you will be left with a slanted piece of work. Also, if your hand loses control after a while, you may drop the trimming tool in the potter’s wheel. In summary, trimming requires a lot of patience and determination.