
Photography comes in many forms, from photojournalism to portraits to a selfie with friends, today’s digital world is very much a hotbed for photography. People cherish capturing their moments and being able to keep them forever. Photographs do this for them and
Process Documentation
Usually, when there is a shoot, we prepare for it the night before by packing the equipment that we need. If it is a studio shoot, then the backdrop and light box are already in the office and nothing much is needed to prep. However, if it is a photo booth event, then we have to reach 1 hour earlier to set up the stands backdrops, laptop, adobe lightroom, props and the camera. The process usually goes like this: customers come to the booth, their photos are taken by the photographer, the sd card containing the photo is passed to the photo editor, the photo is edited on Lightroom and fitted to the right dimensions, before it is sent to the printer that we have on site.
Steps
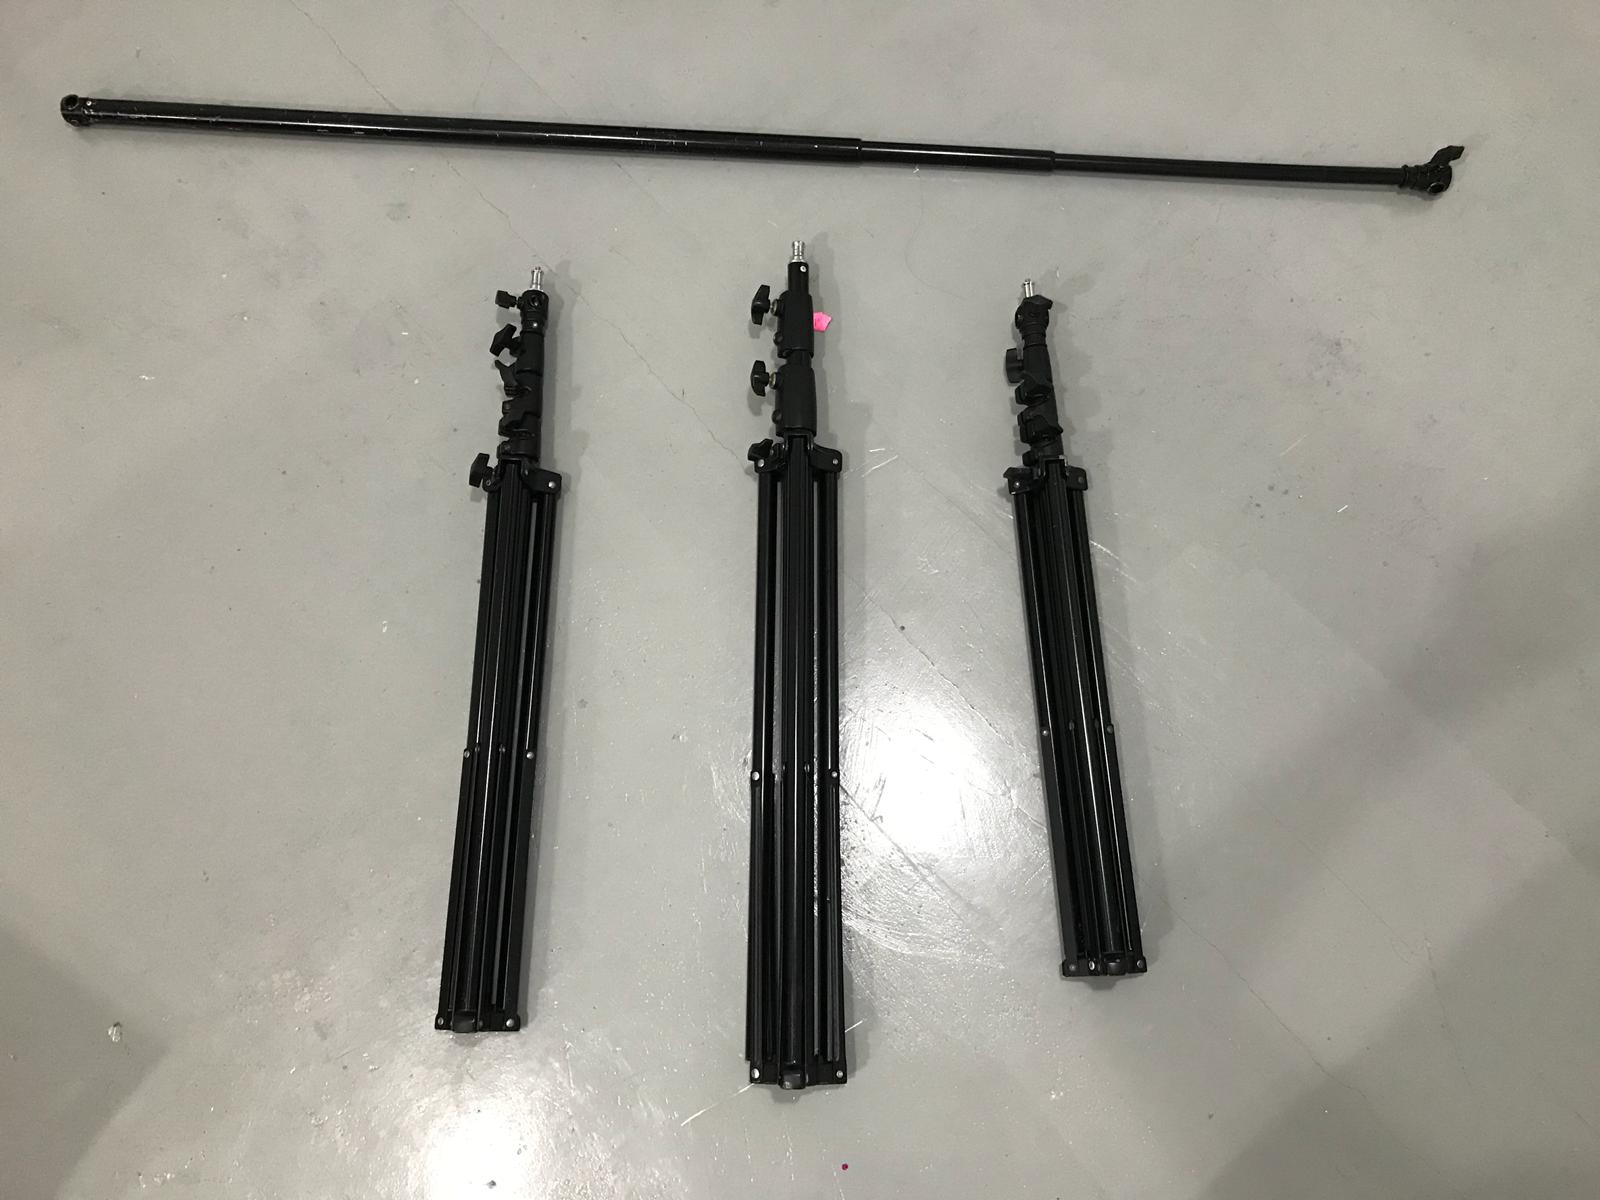
- Extend stands and set up backdrop
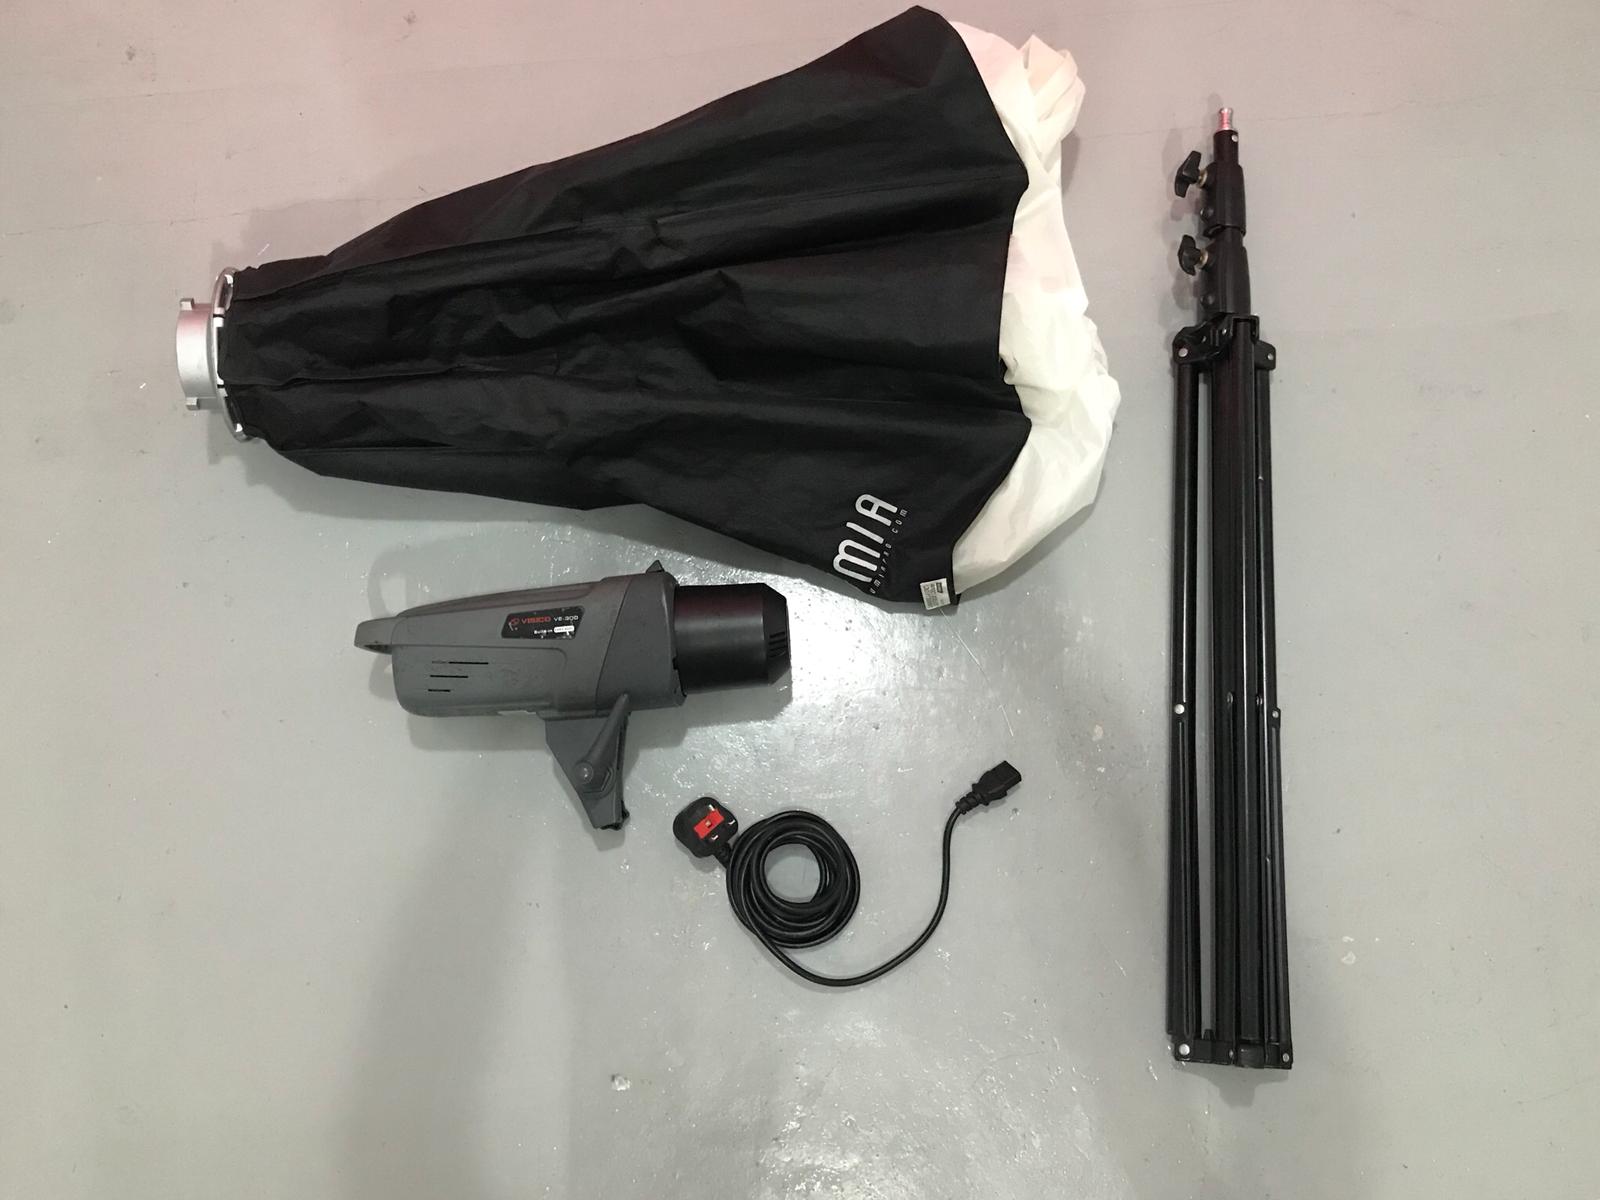
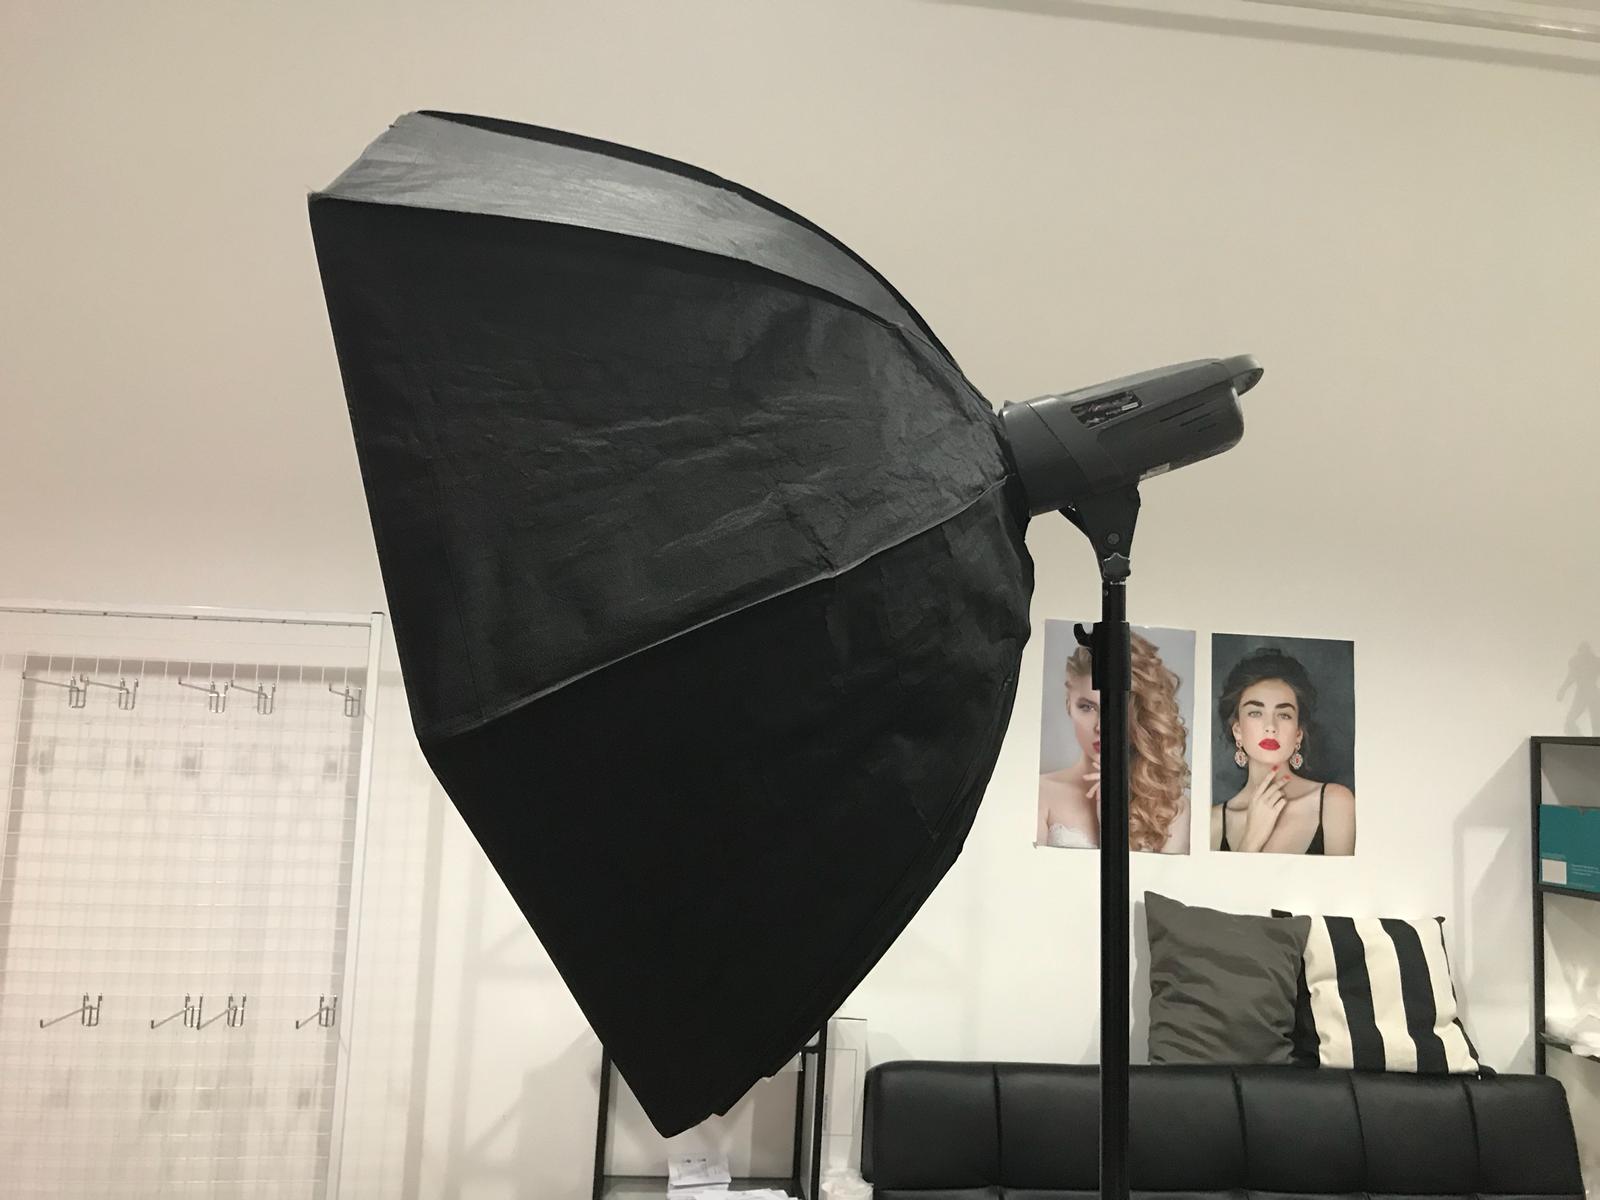
- Set up Light box
- Set up printing and editing station
- Connect light box, printer and laptop to electrical outlet
- Set up props
- Test shot
- Adjust camera settings
- Sd card to laptop
- Edit photo on Lightroom
- Print it out
- Attach backing to it
- Display and tada
Tools Used
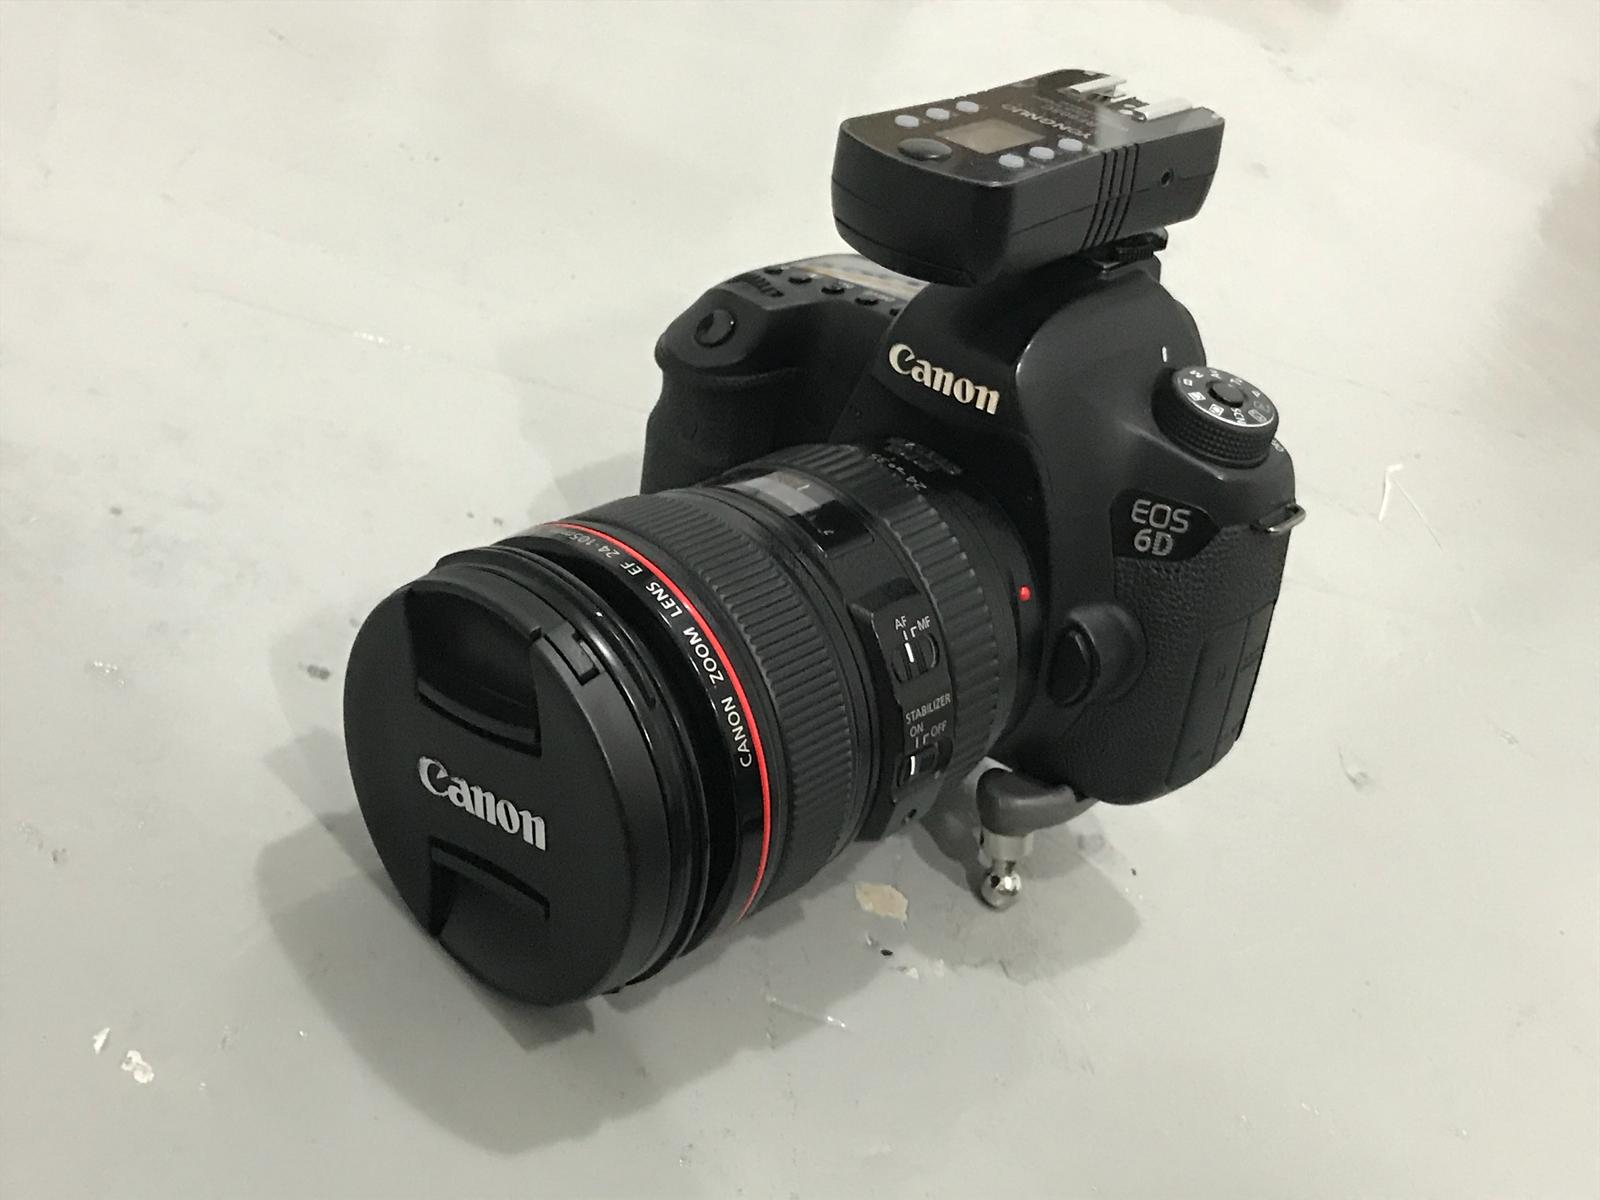
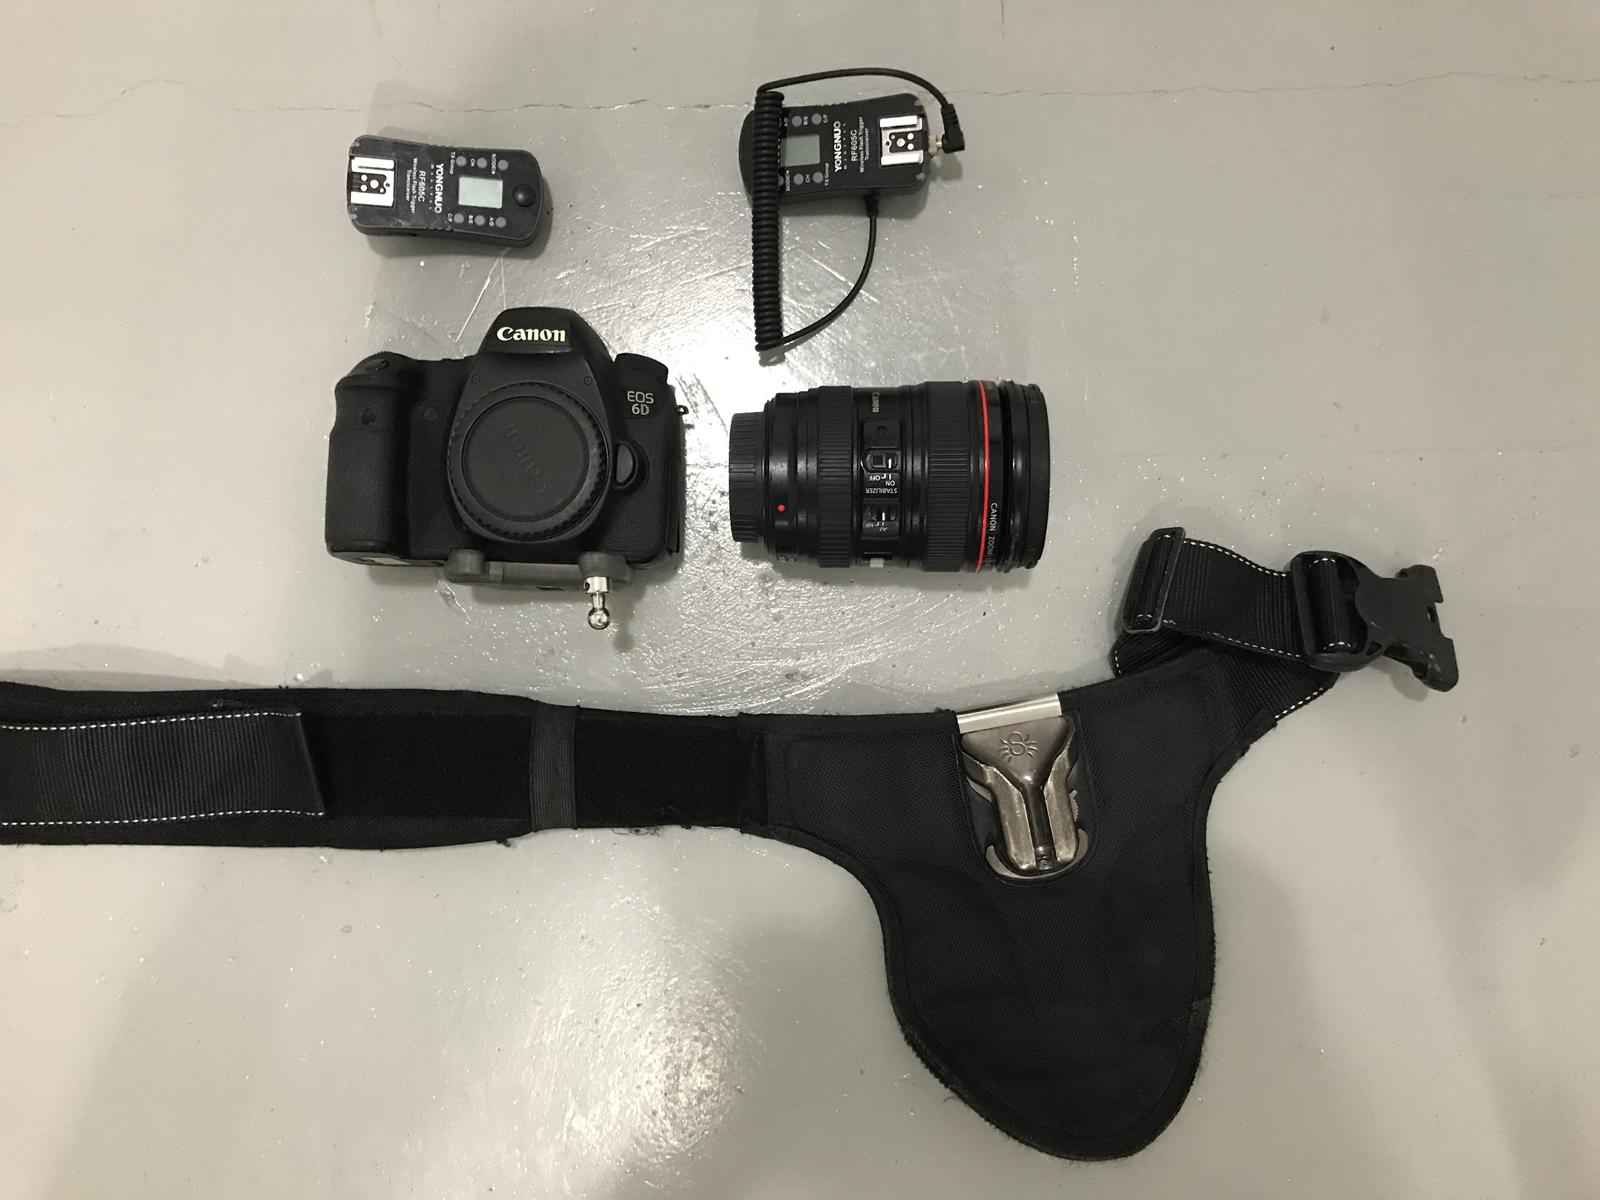
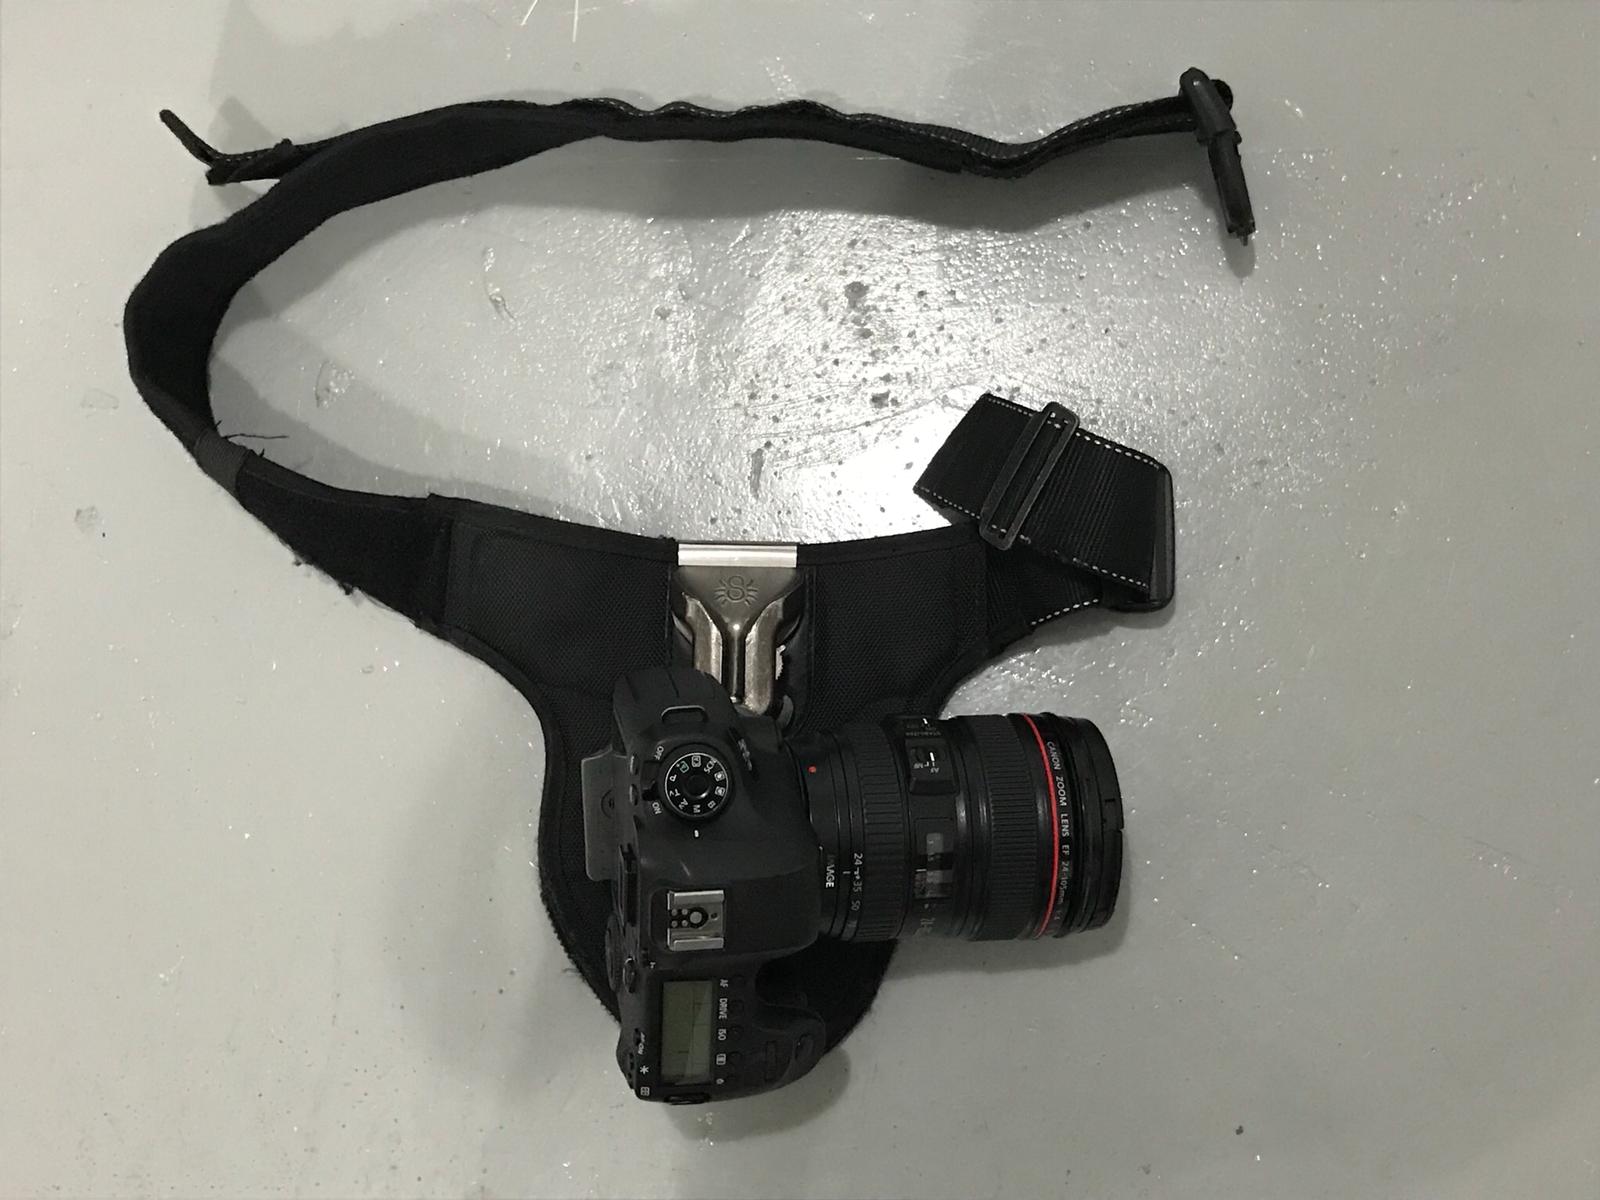
- camera
- laptop
- printer
- extension wire
- backdrop stand
- backdrop
- light stand
- Light box
Worksite Documentation
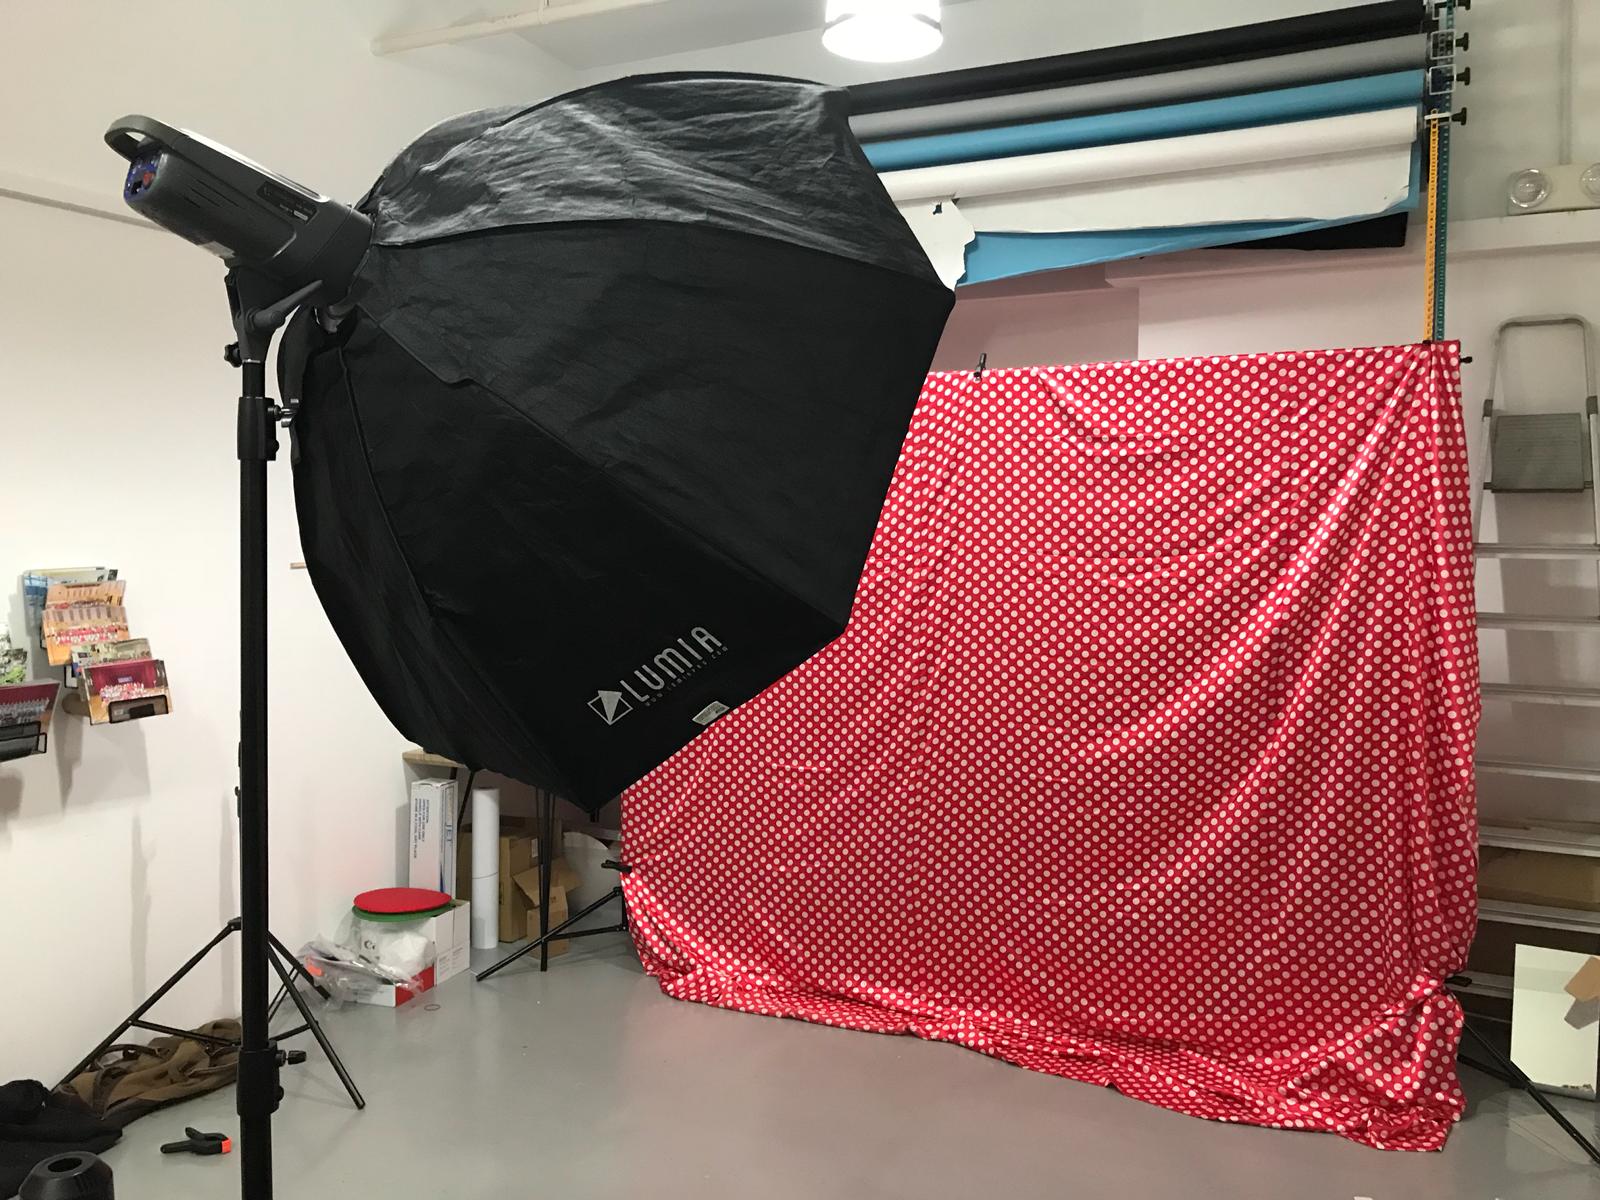
Quite a large space needed for this practice as there has to be a proper backdrop and enough space for the photographer and light stand to be stationed at. There also has to be enough space for the model/subject to pose at. Aside from these there is also a separate space needed for the printer and laptop. In general the tools used are quite bulky and stationed in their own areas.
Pain Points
One key factor is how if one tool malfunctions, the entire system is affected. We have had cases where the laptop was not functioning or the printer was too slow that it affected the production. If one tool backfires, the rest goes down with it too.
Also another pain point is that because the tools used are bulky, one has to be careful where it is placed or how it is set up so that it does not affect people navigating through the space.
Lastly, all these are reliant on electricity so if there isn’t a charging point, the process will be affected as well.