
Creative Practice
Clifford owns an art-fashion brand selling prints and apparel with original designs and for over 2 years, he has been using the silk-screen printing method for his tees.
Tools used
I did similar research on silkscreen printing a few weeks back, but I thought engaging in the practice with an experienced practitioner would offer me a different perspective, and allow me to compare his unique printing process with my previous research. Similar to my research findings, Clifford uses the following tools:
- Wooden Squeegee
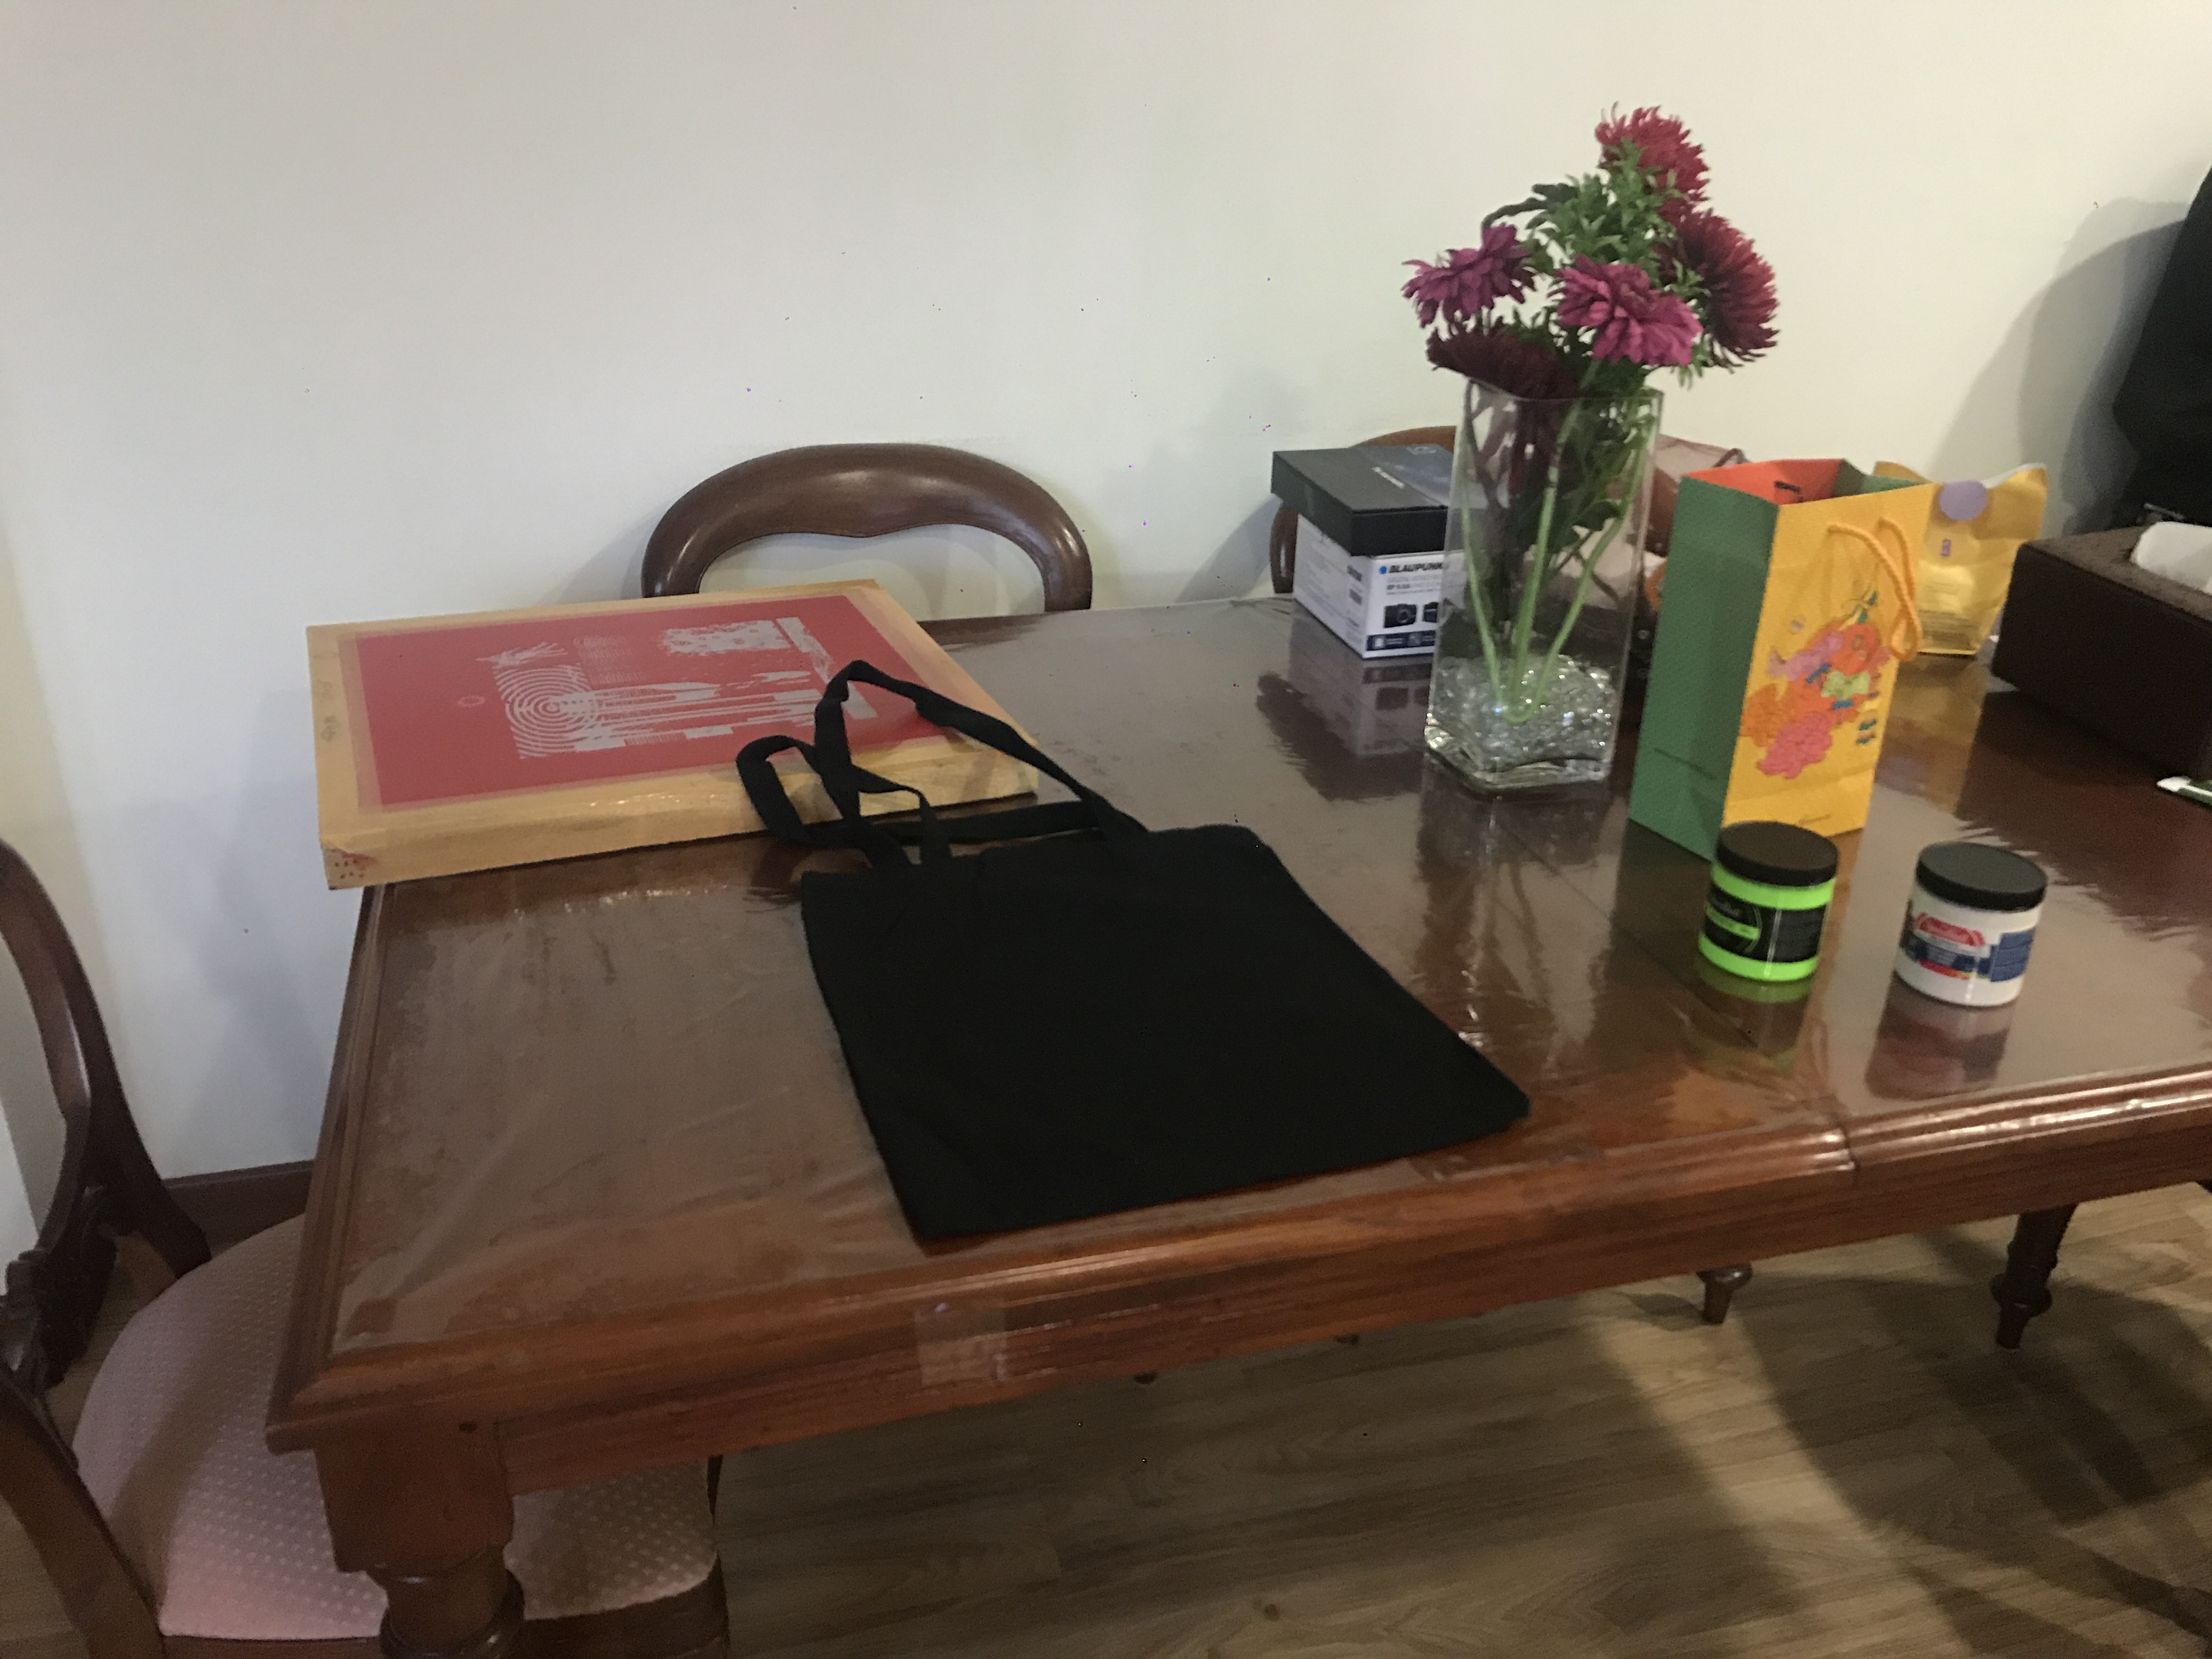
- Printable material: shirt and canvas tote bag (any fabric)
- Speedball fabric paint: green, white, black (any colour)
There were a few exceptions:
- Pre-burned silk-screens – Rather than burning an artwork onto a silk screen at home using
Diazophoto emulsionandArtwork positive, Clifford prefers to get it done professionally at a local printing shop. For greater precision and convenience, he finds $60 (for an A3-sized screen) worth every dollar. - Tape – Since Clifford does not own a printing machine, he uses tape for alignment.
Worksite / Set-up
Clifford doesn’t own a studio; rather he works from his living room, which is spacious, well-lit and well-ventilated. According to Clifford, these are ideal qualities of a work space used for silk-screen printing due to constant manoeuvres of screens and prints, and the paint involved. He divides his living room into 2 stations, both far apart from one another:
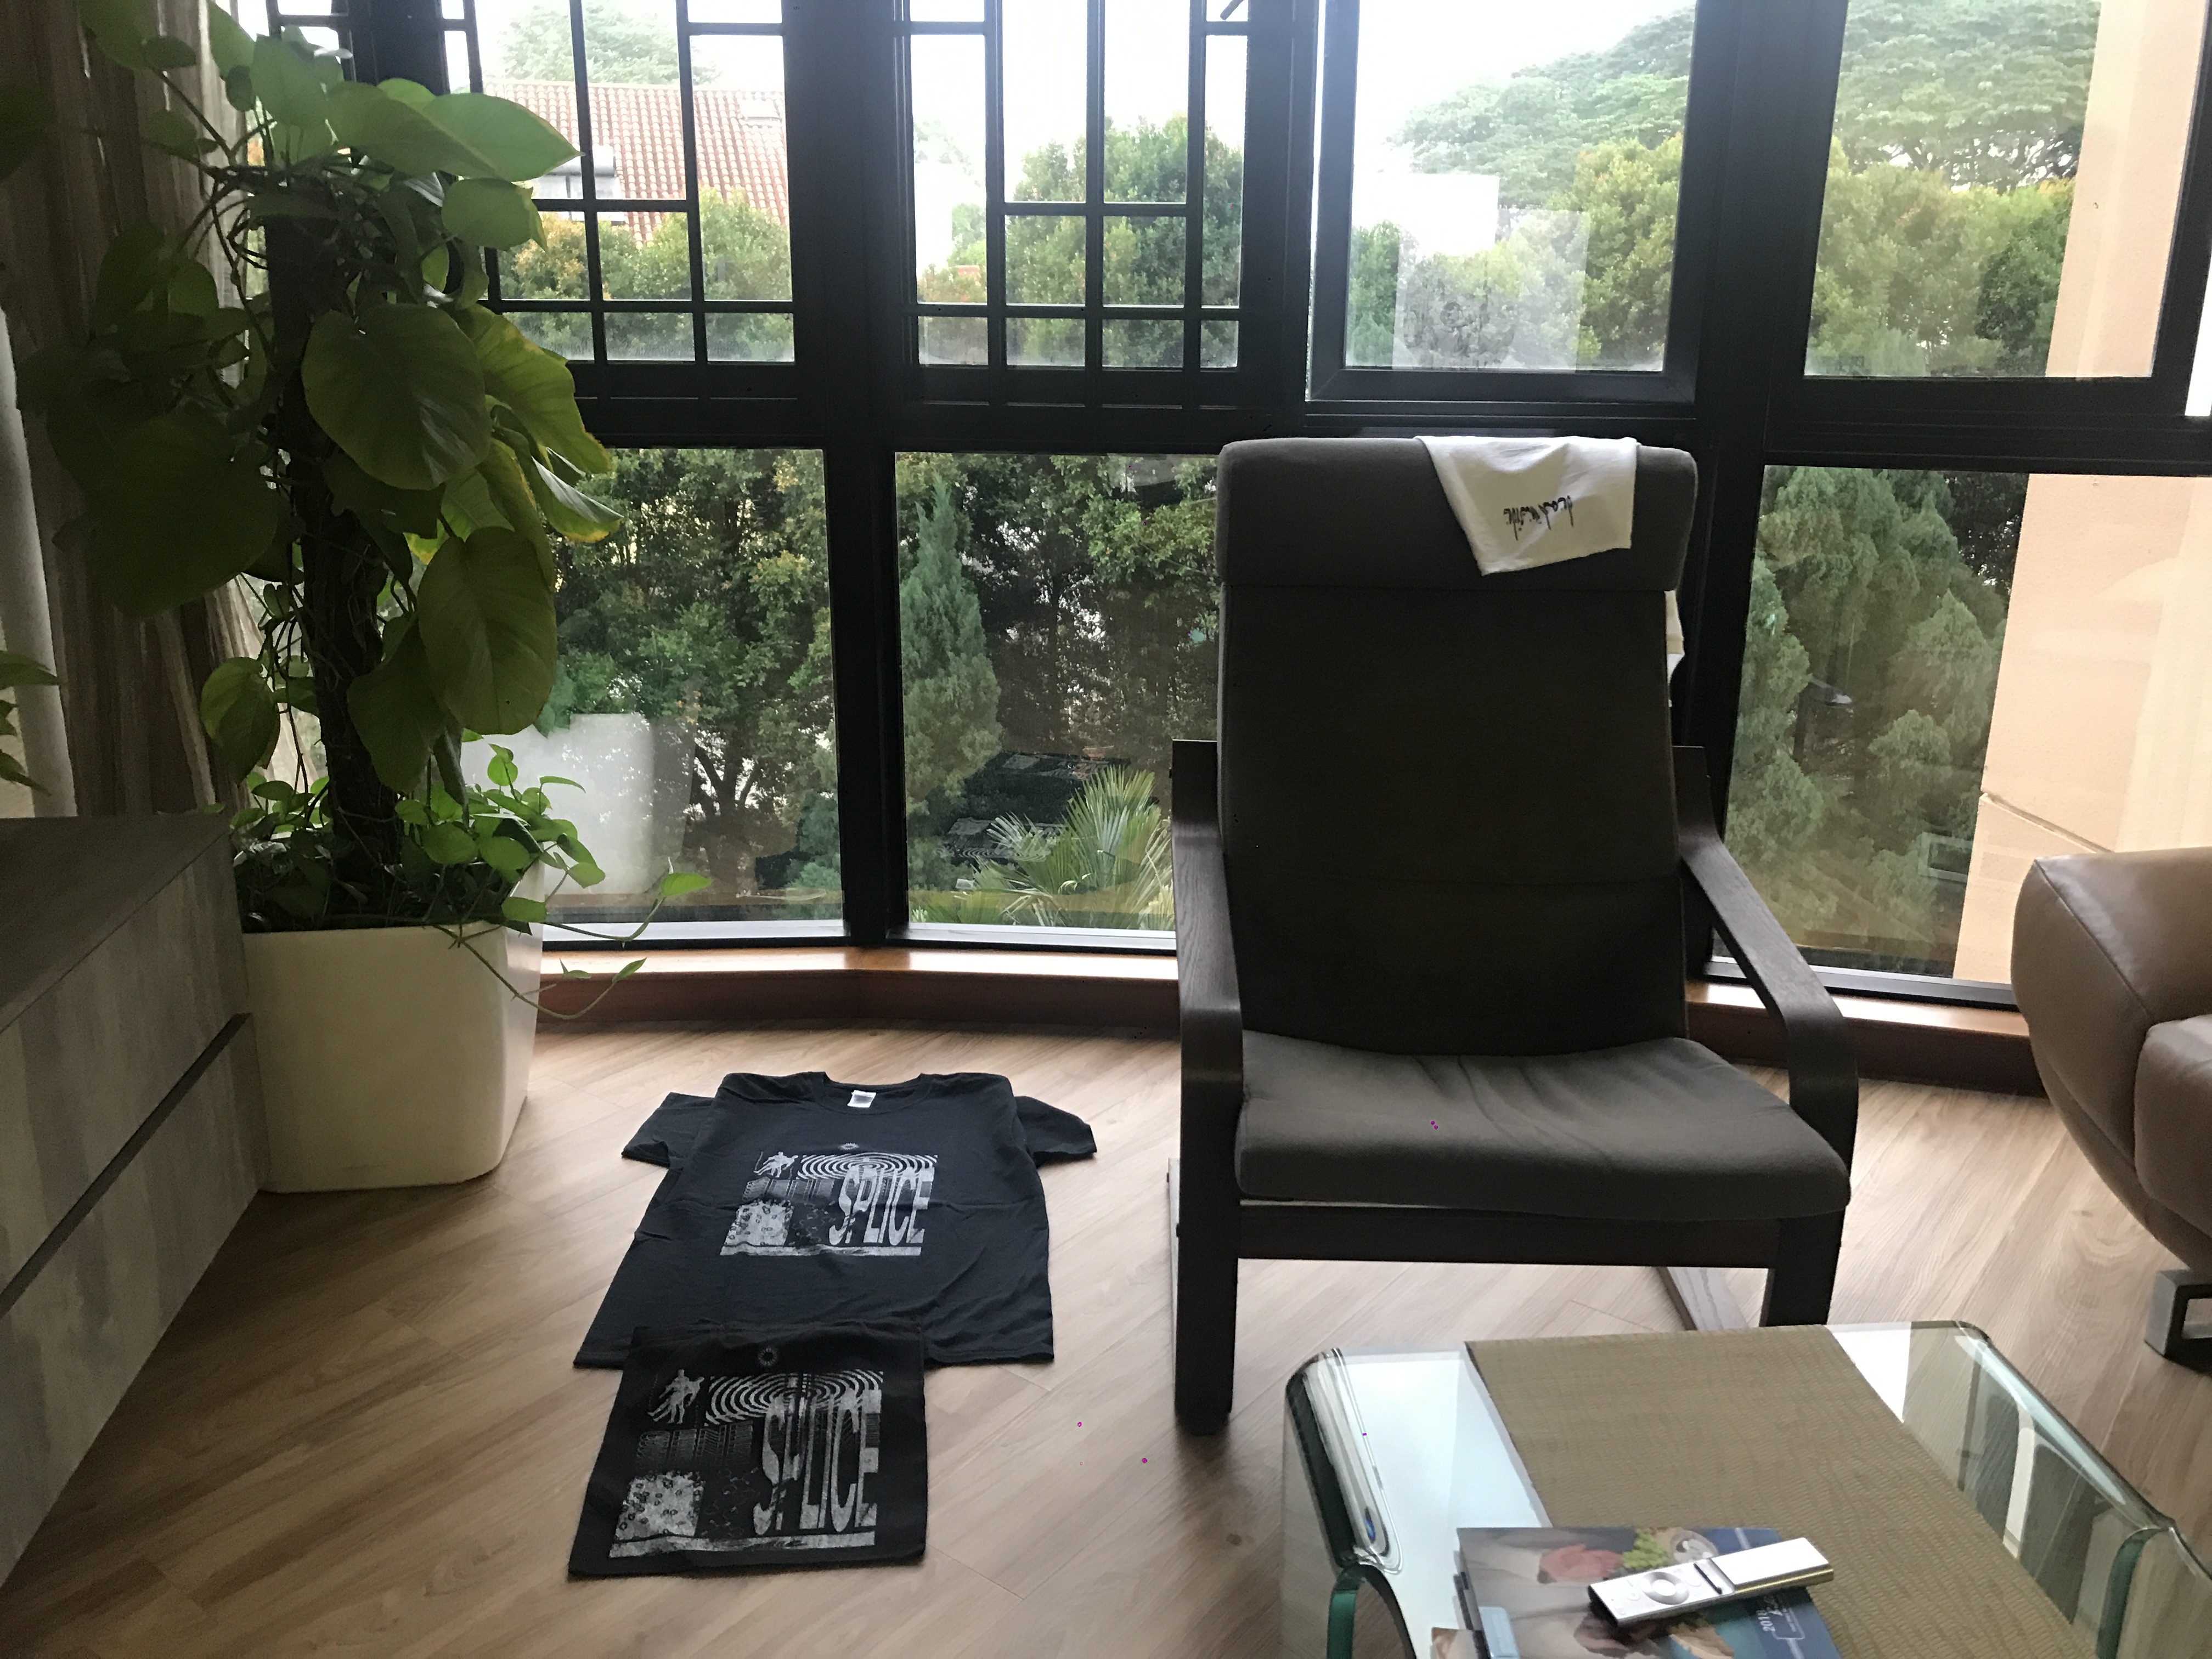
Flat surfaces are needed for both stations to print designs clearly and to prevent staining.
Another important station is the washing zone, where he washes his screens in between prints.
As for storage, he keeps all tools and paints in his bedroom cabinets, while the screens in the storeroom, just for cleanliness sake.
Process
I was involved in designing an artwork a few weeks prior to prepare for this printing session. The design process was unexpectedly rigorous but necessary; sending multiple drafts back-and-forth between Clifford and I ensured that correct dimensions were used and keeping the printer in the loop ensured that details were apparent enough for printing. The design turned out better than I had expected. All we got left to do is print!
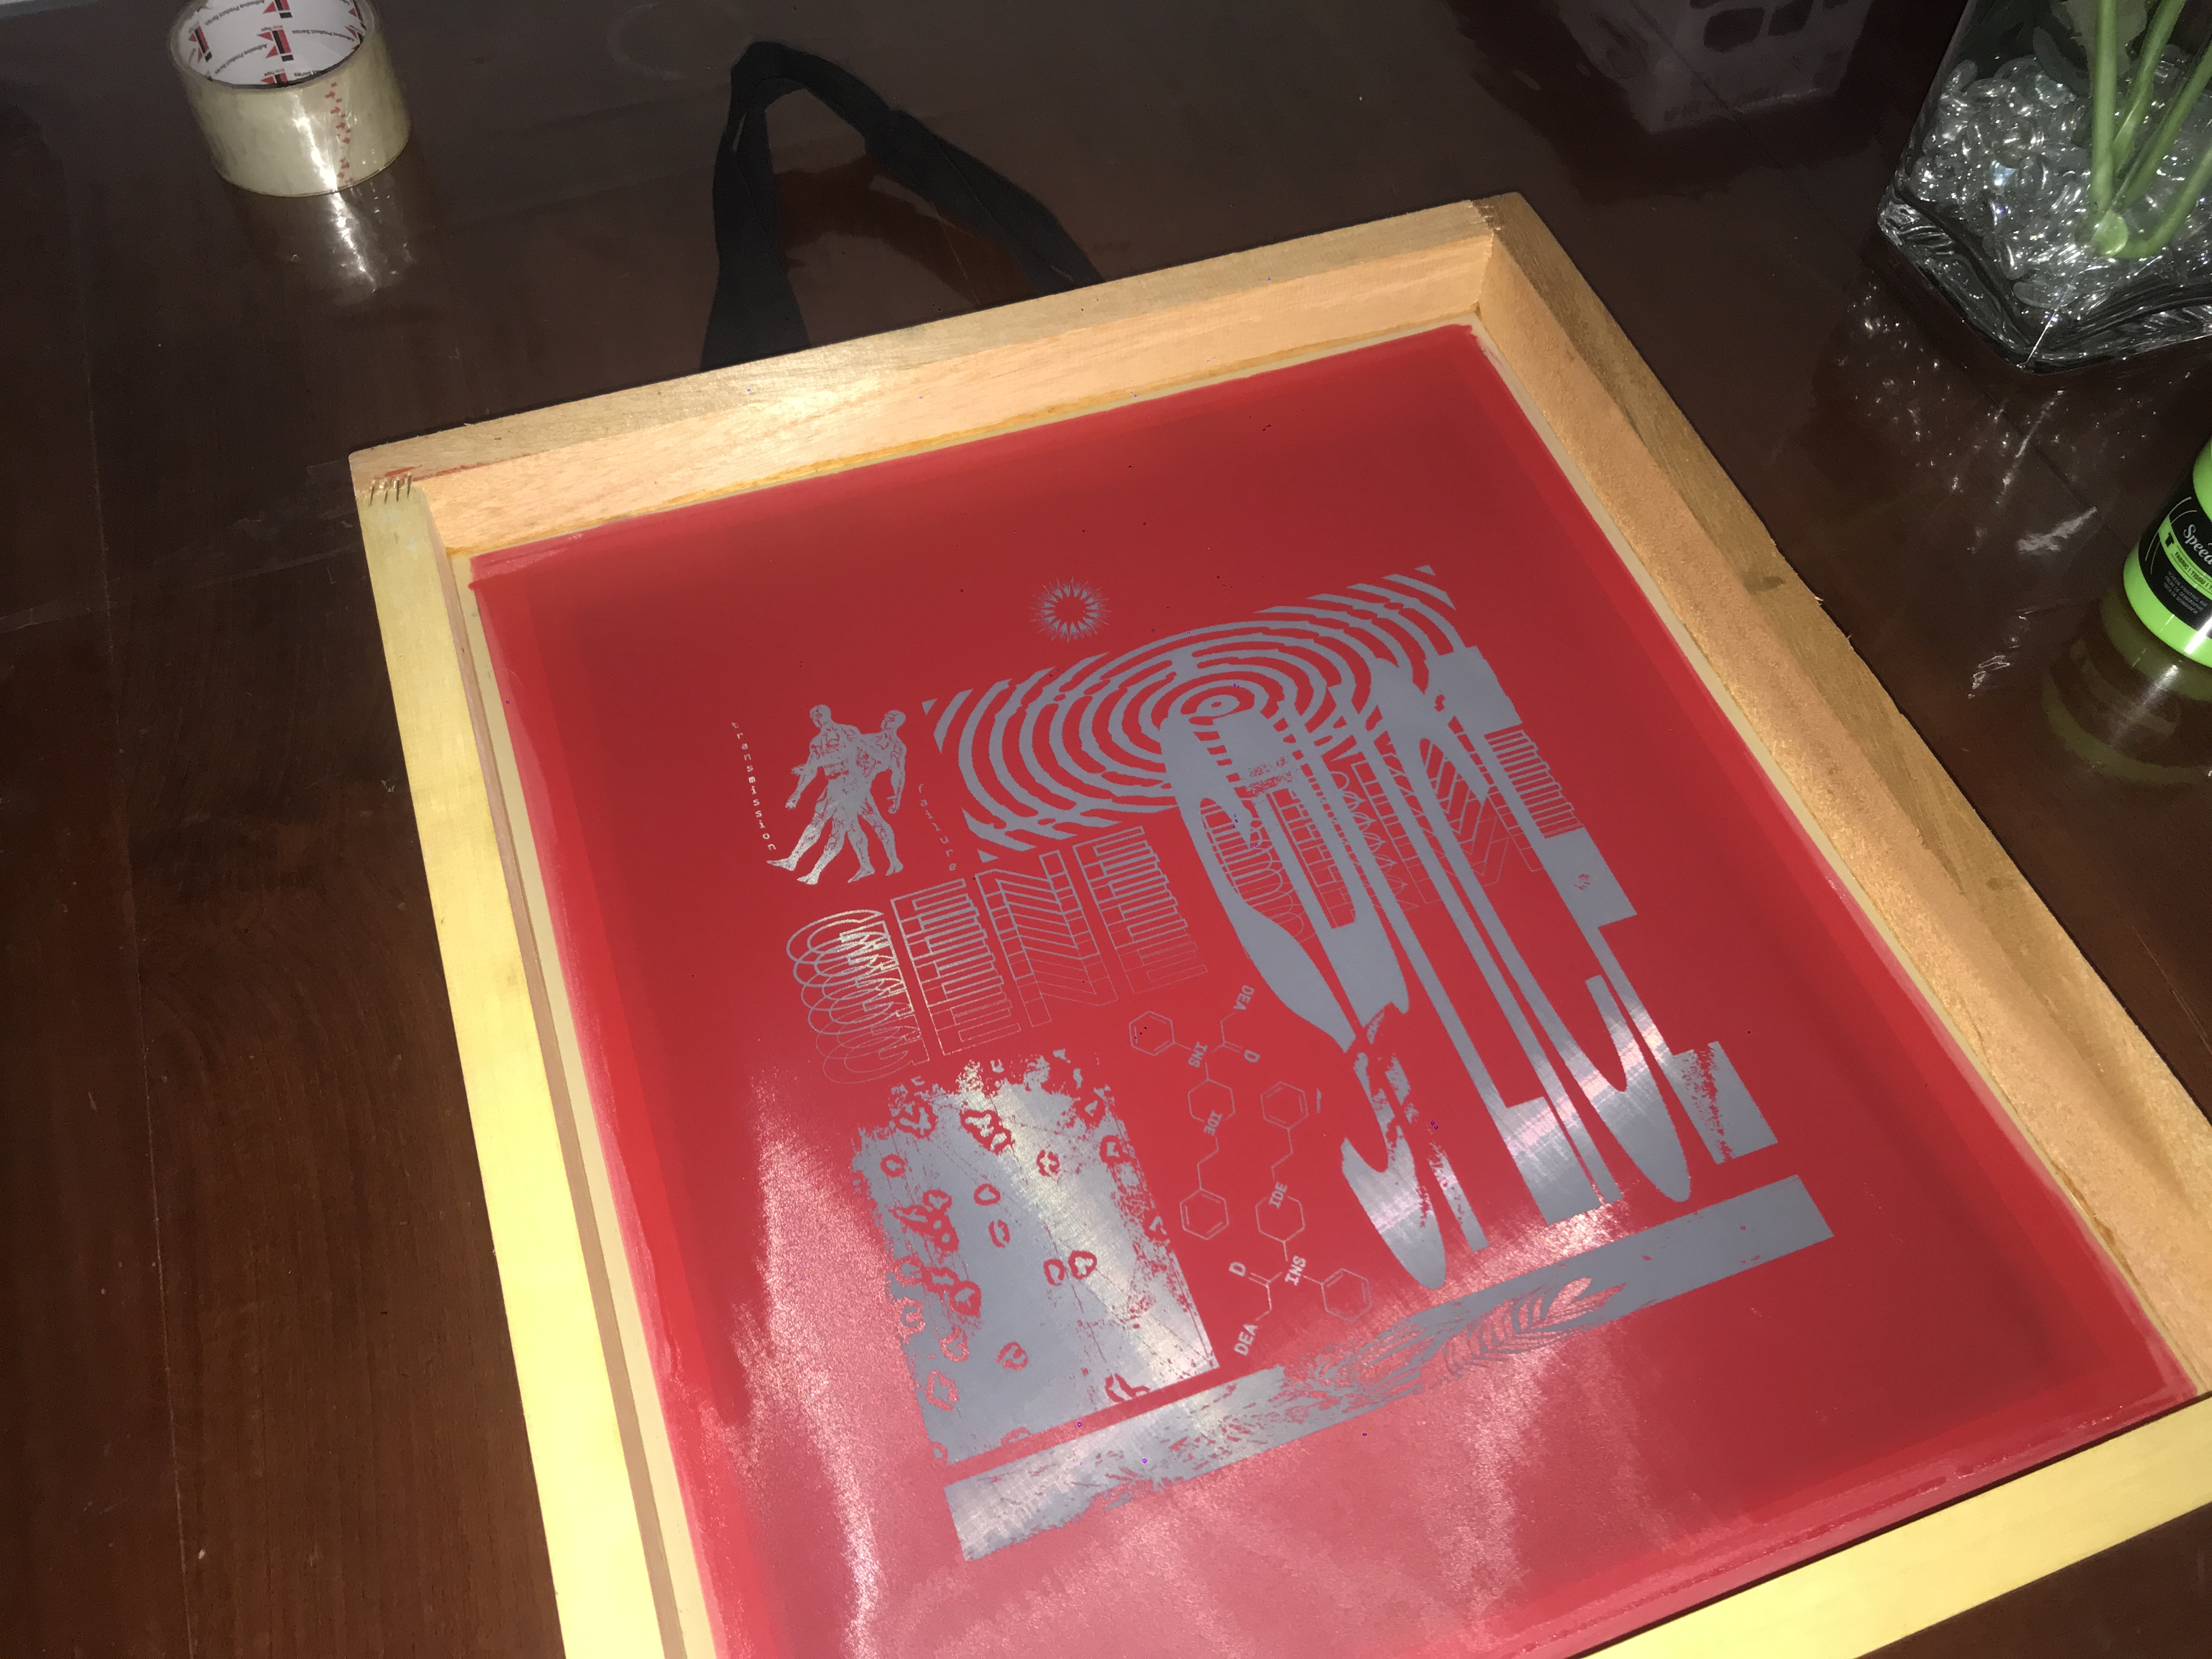
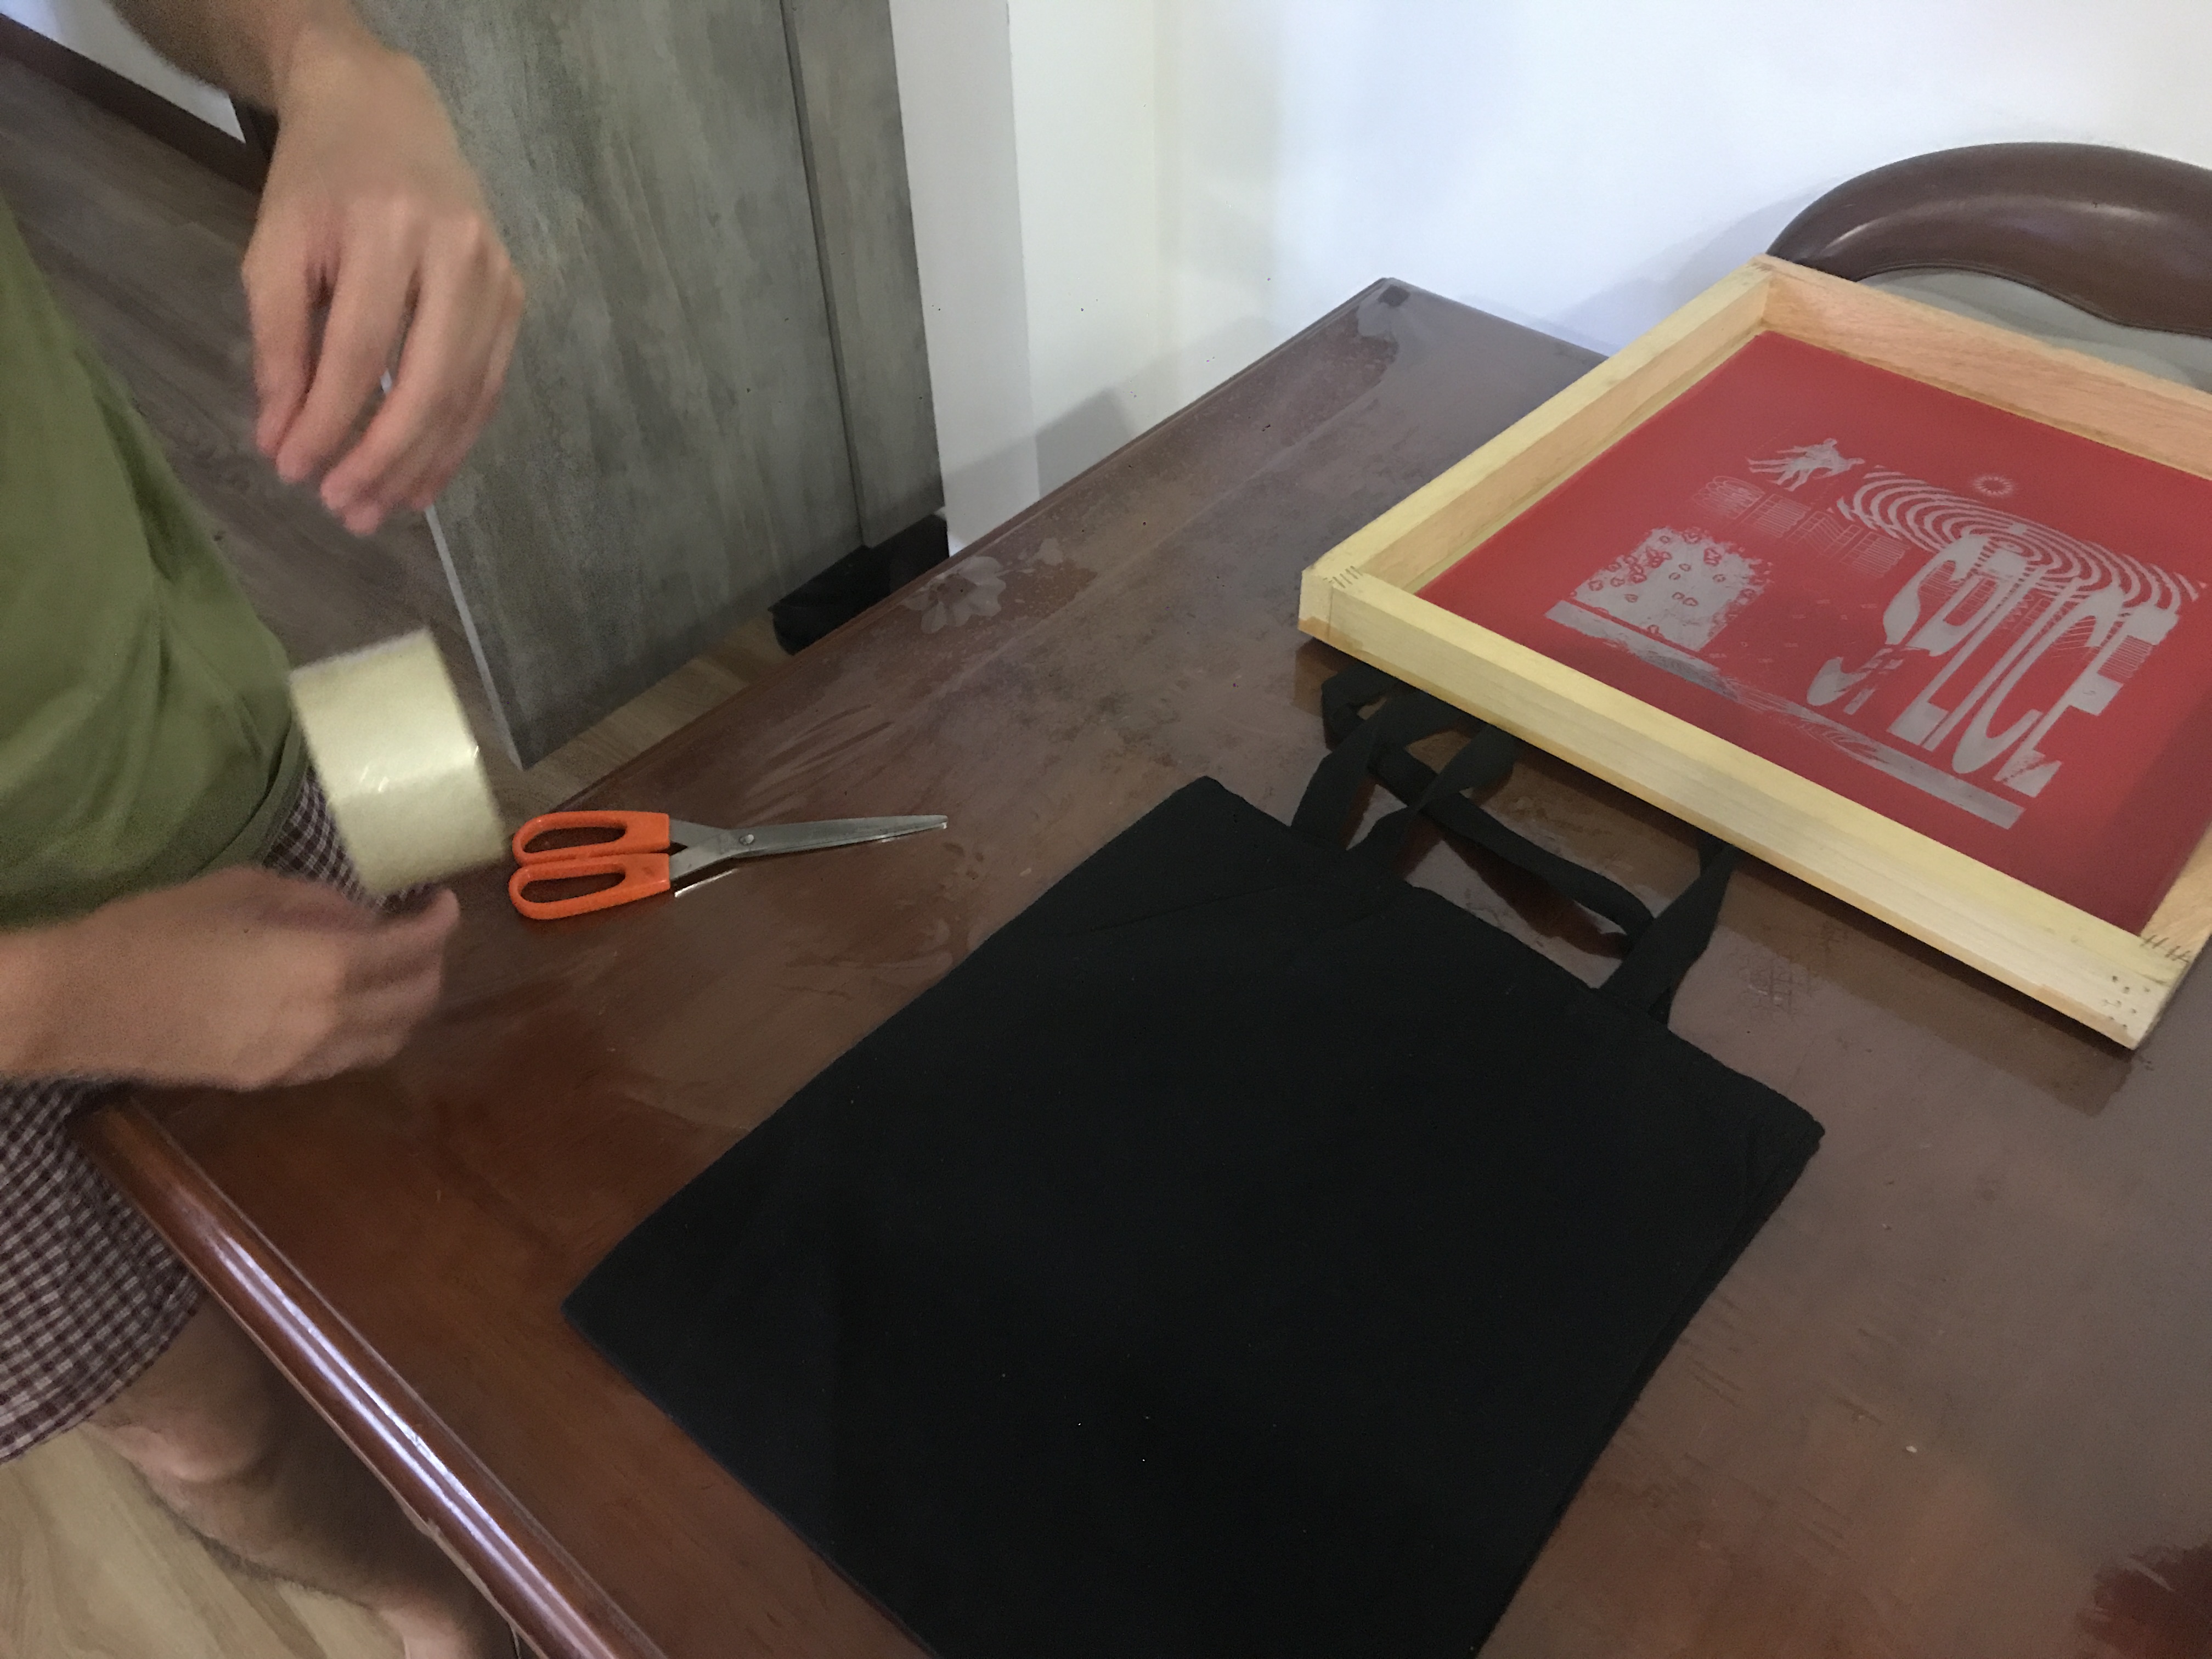
1. Demarcating alignment 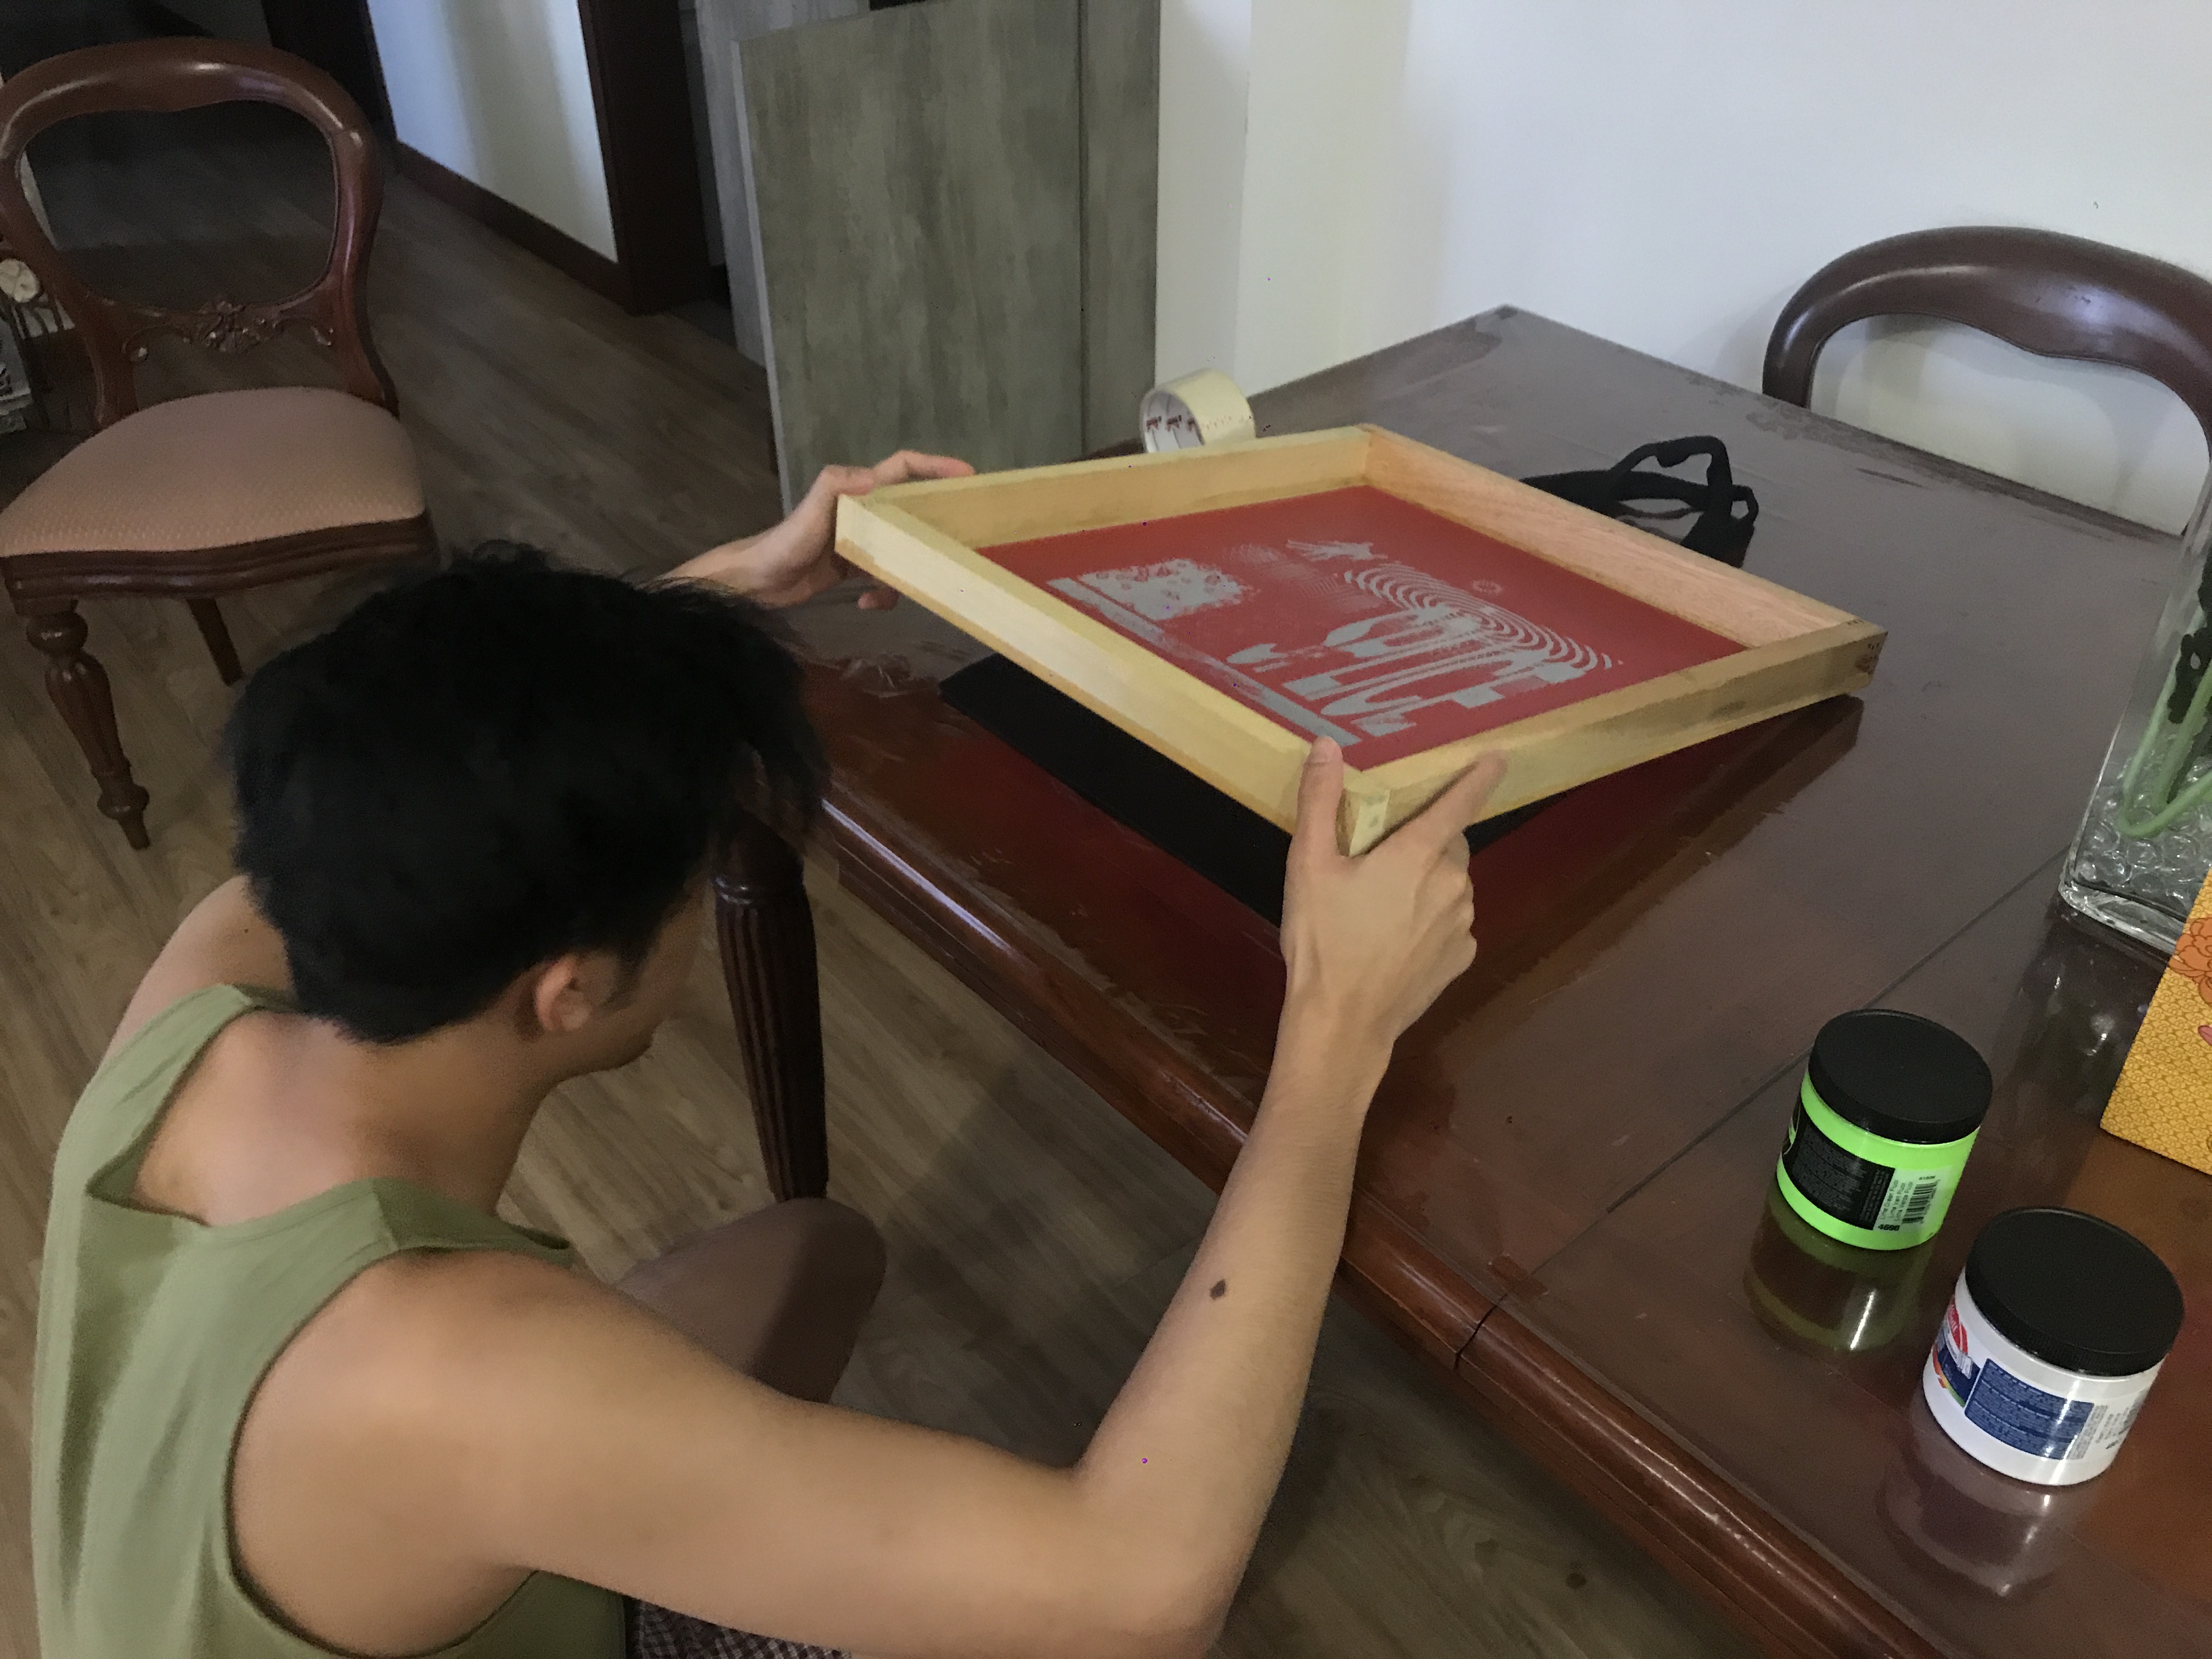
2. Adjusting silkscreen so the artwork is centralised 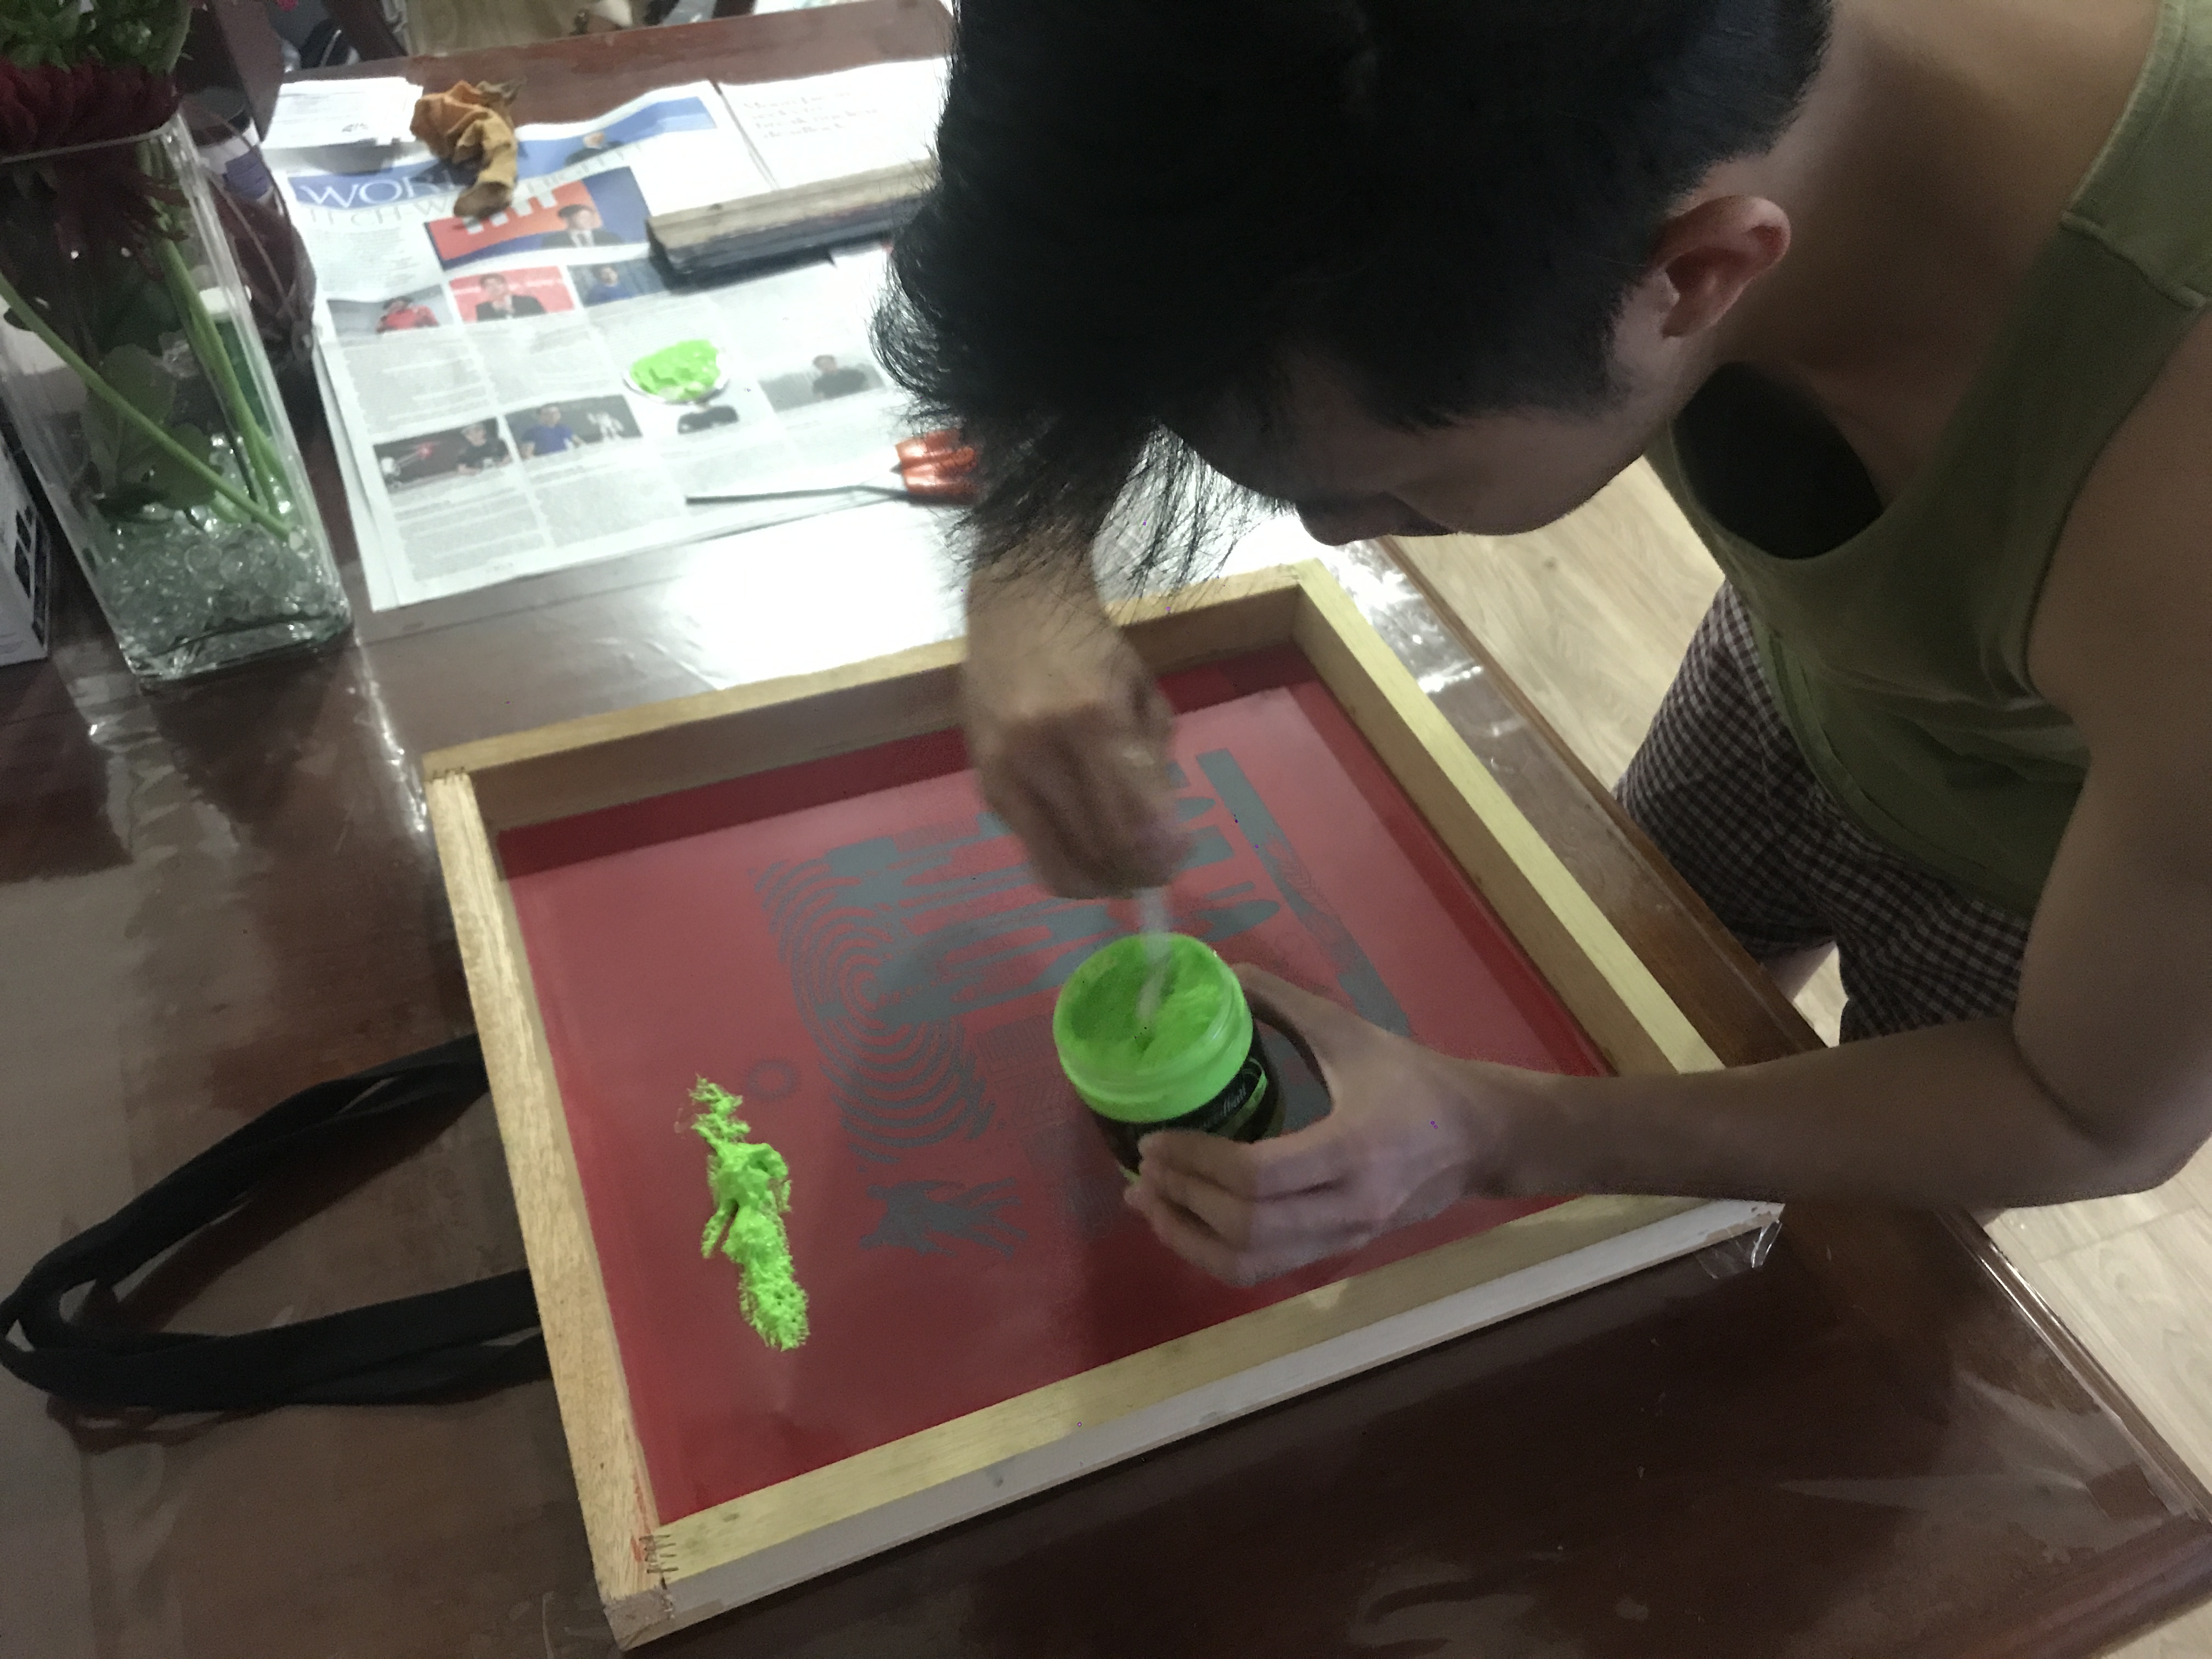
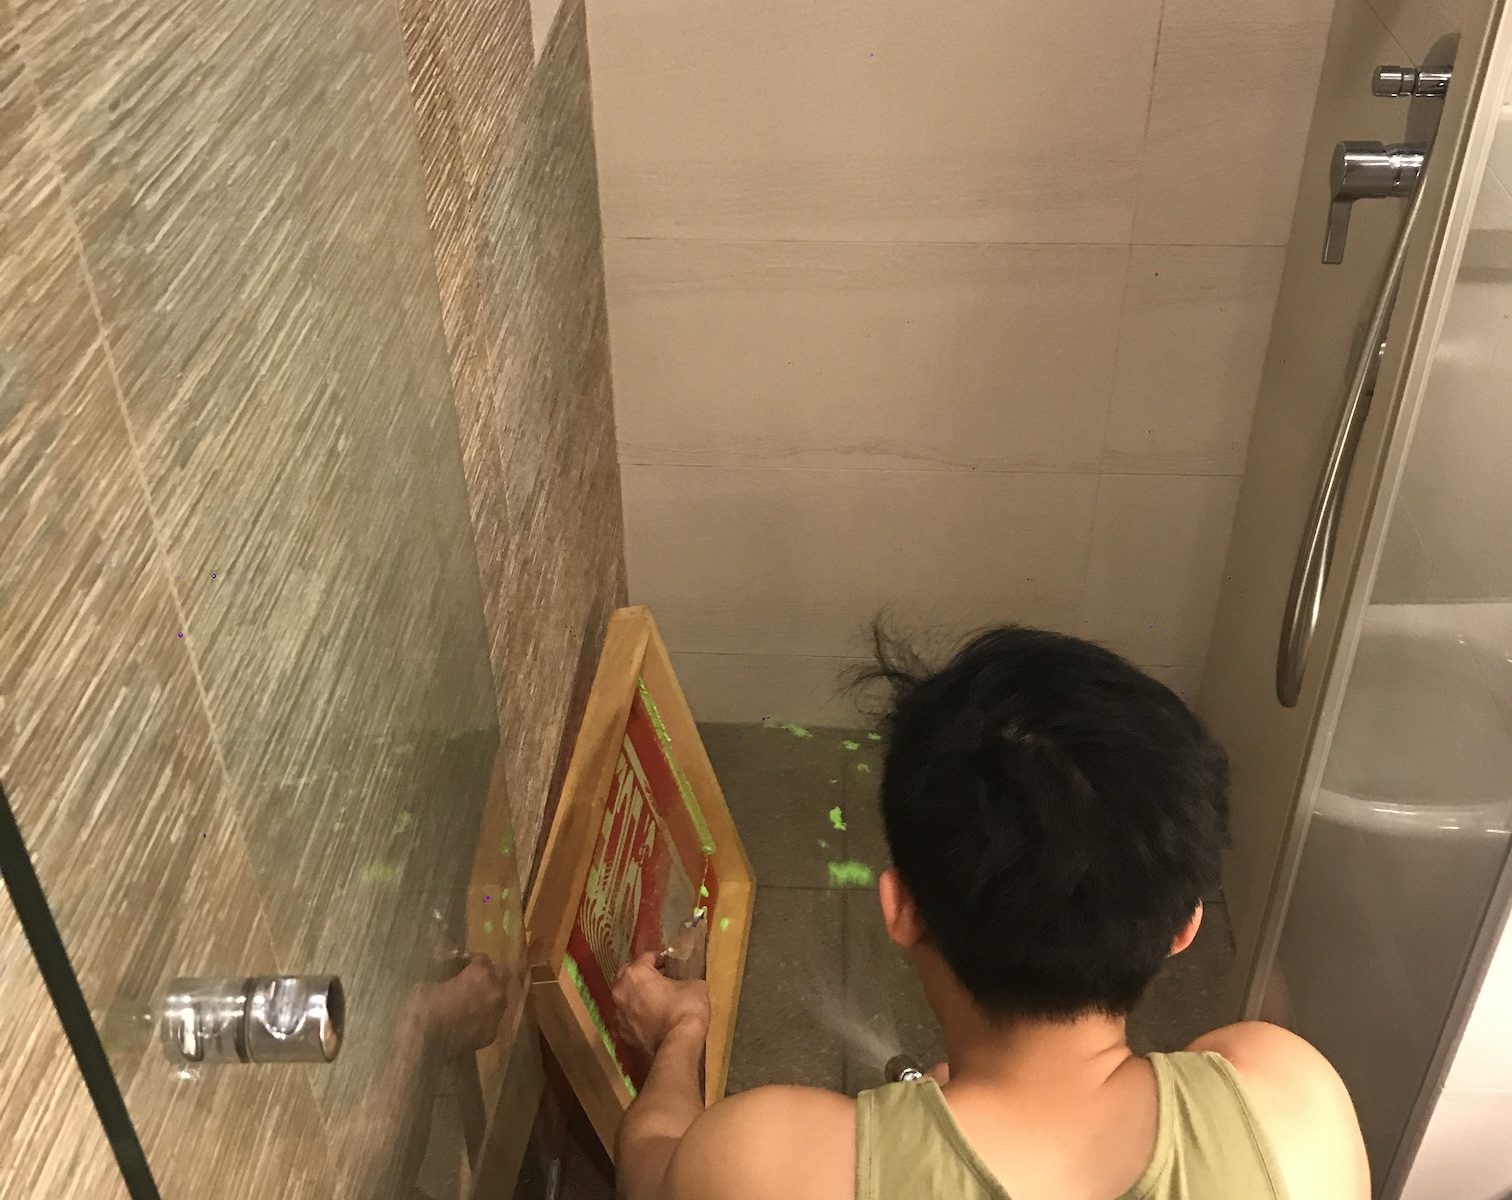
3. Scooping paint onto the screen 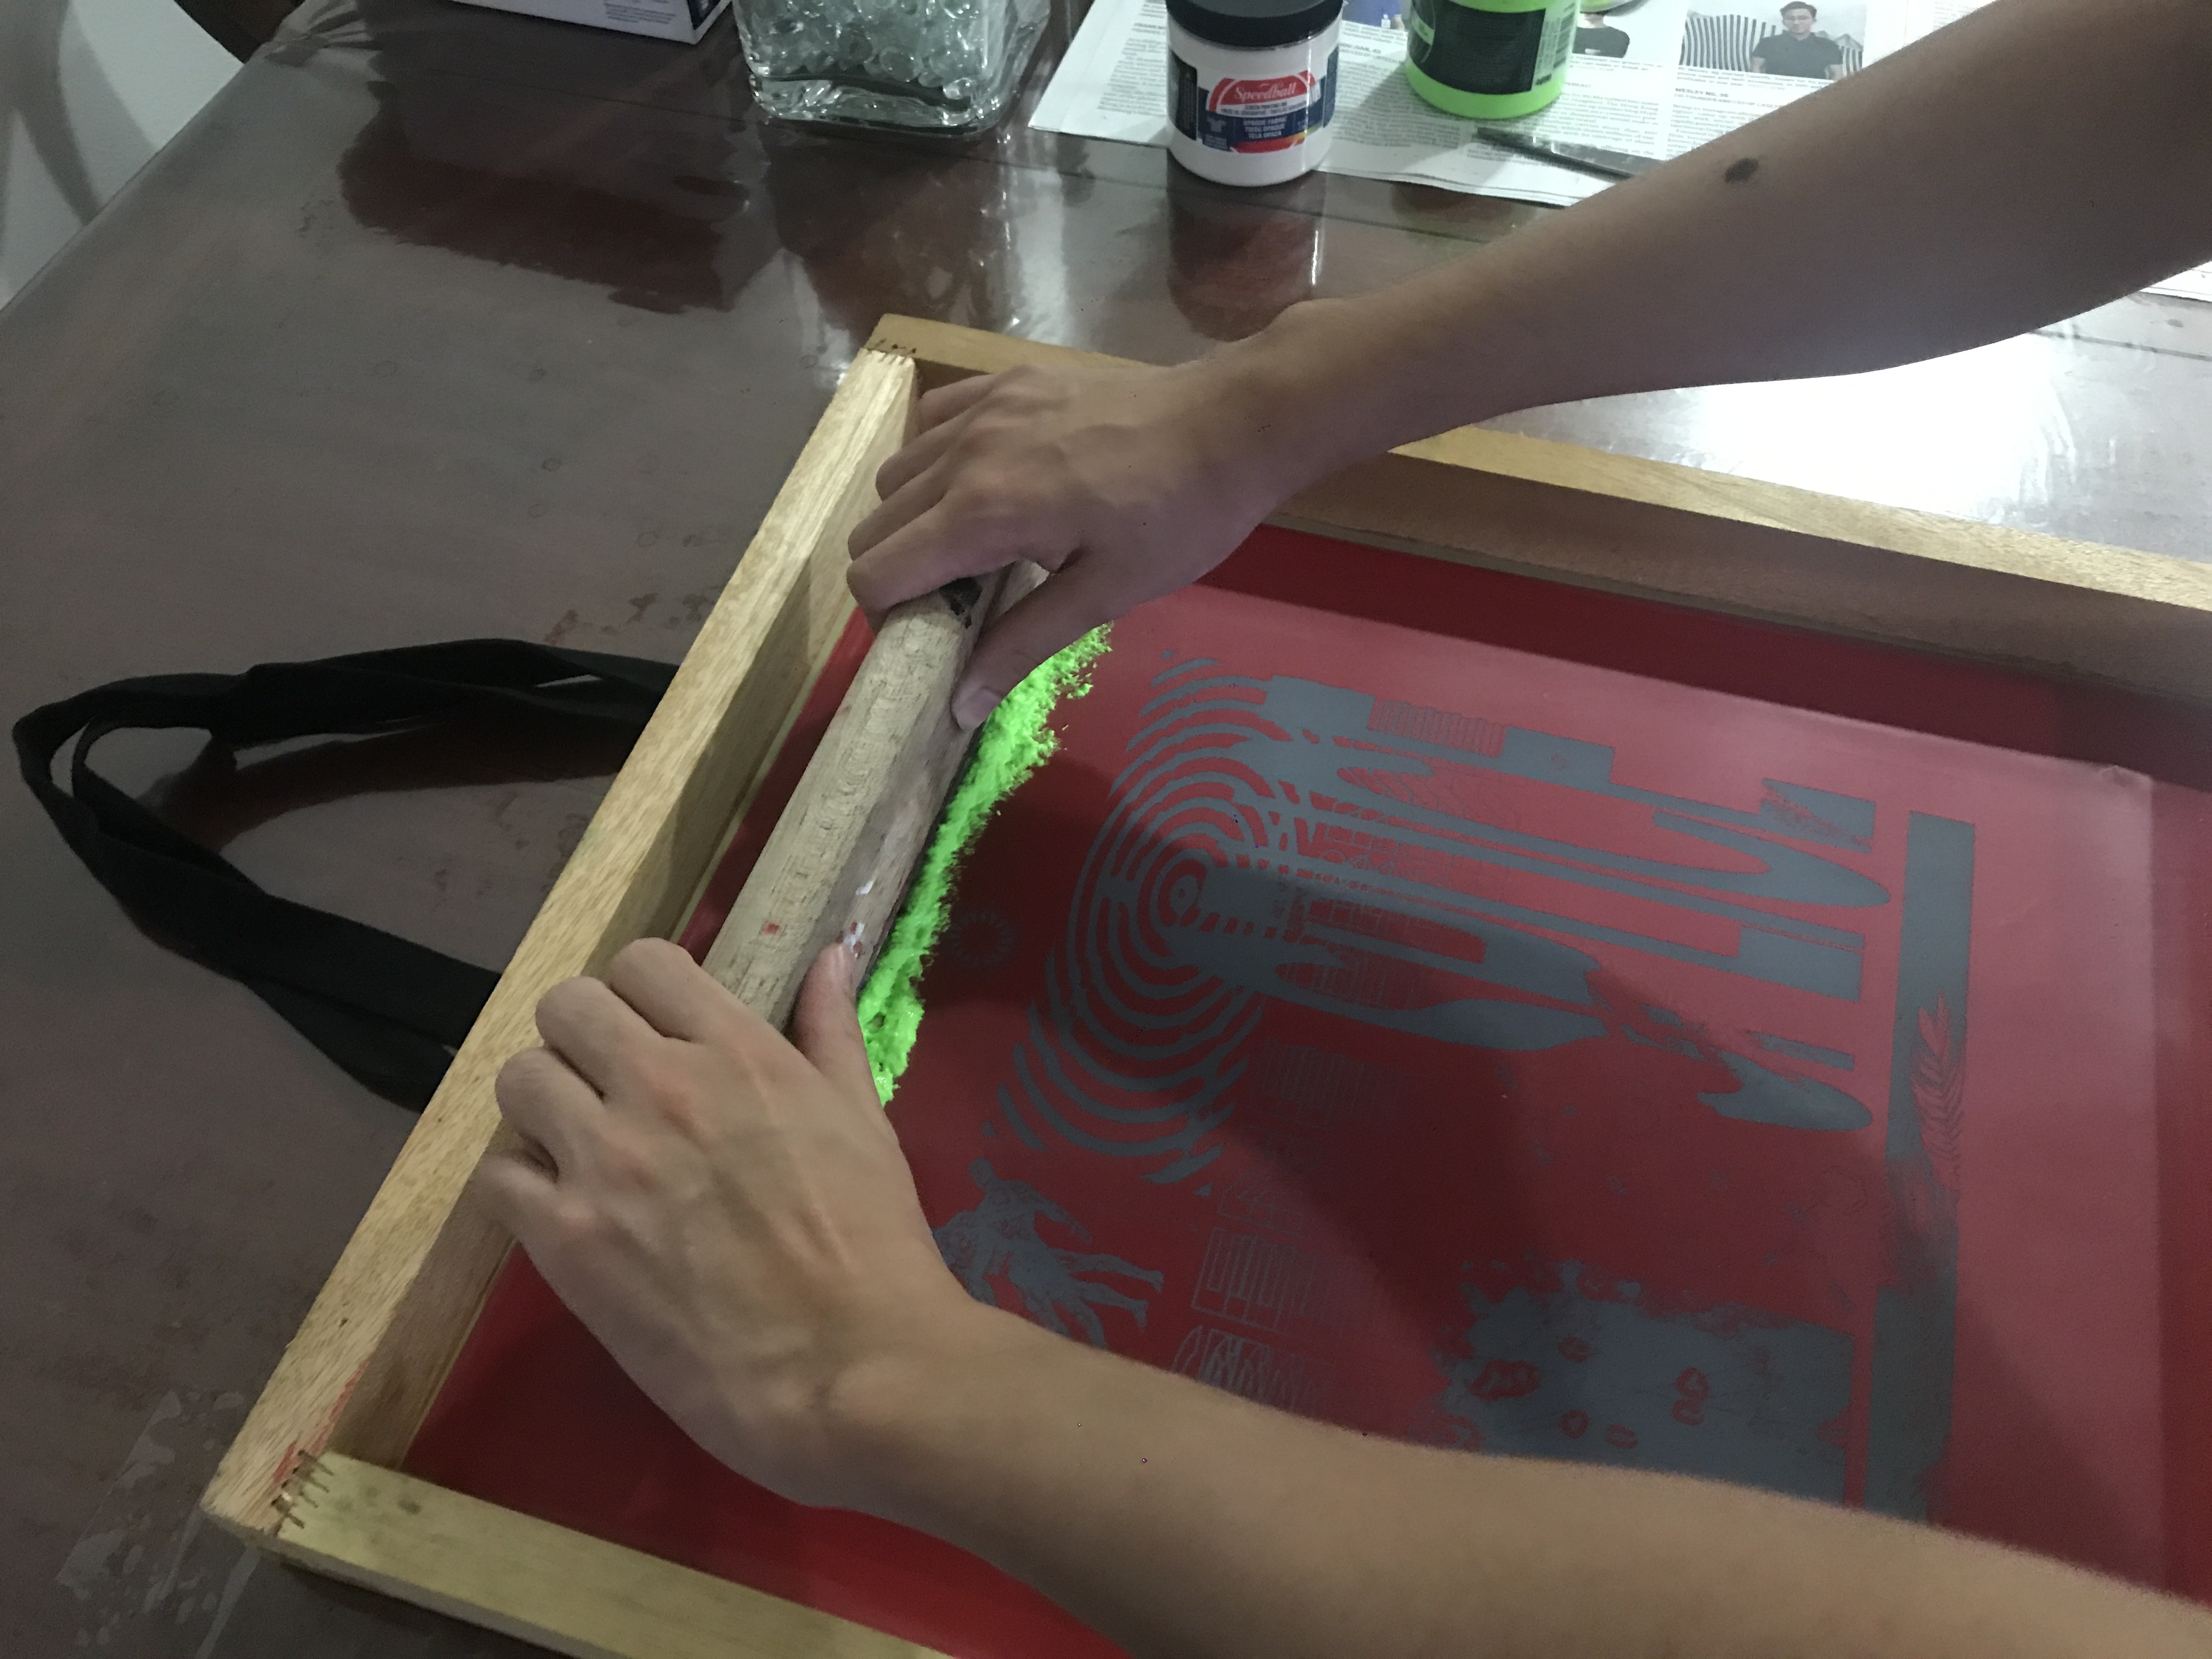
4. Adjusting amount of paint with squeegee
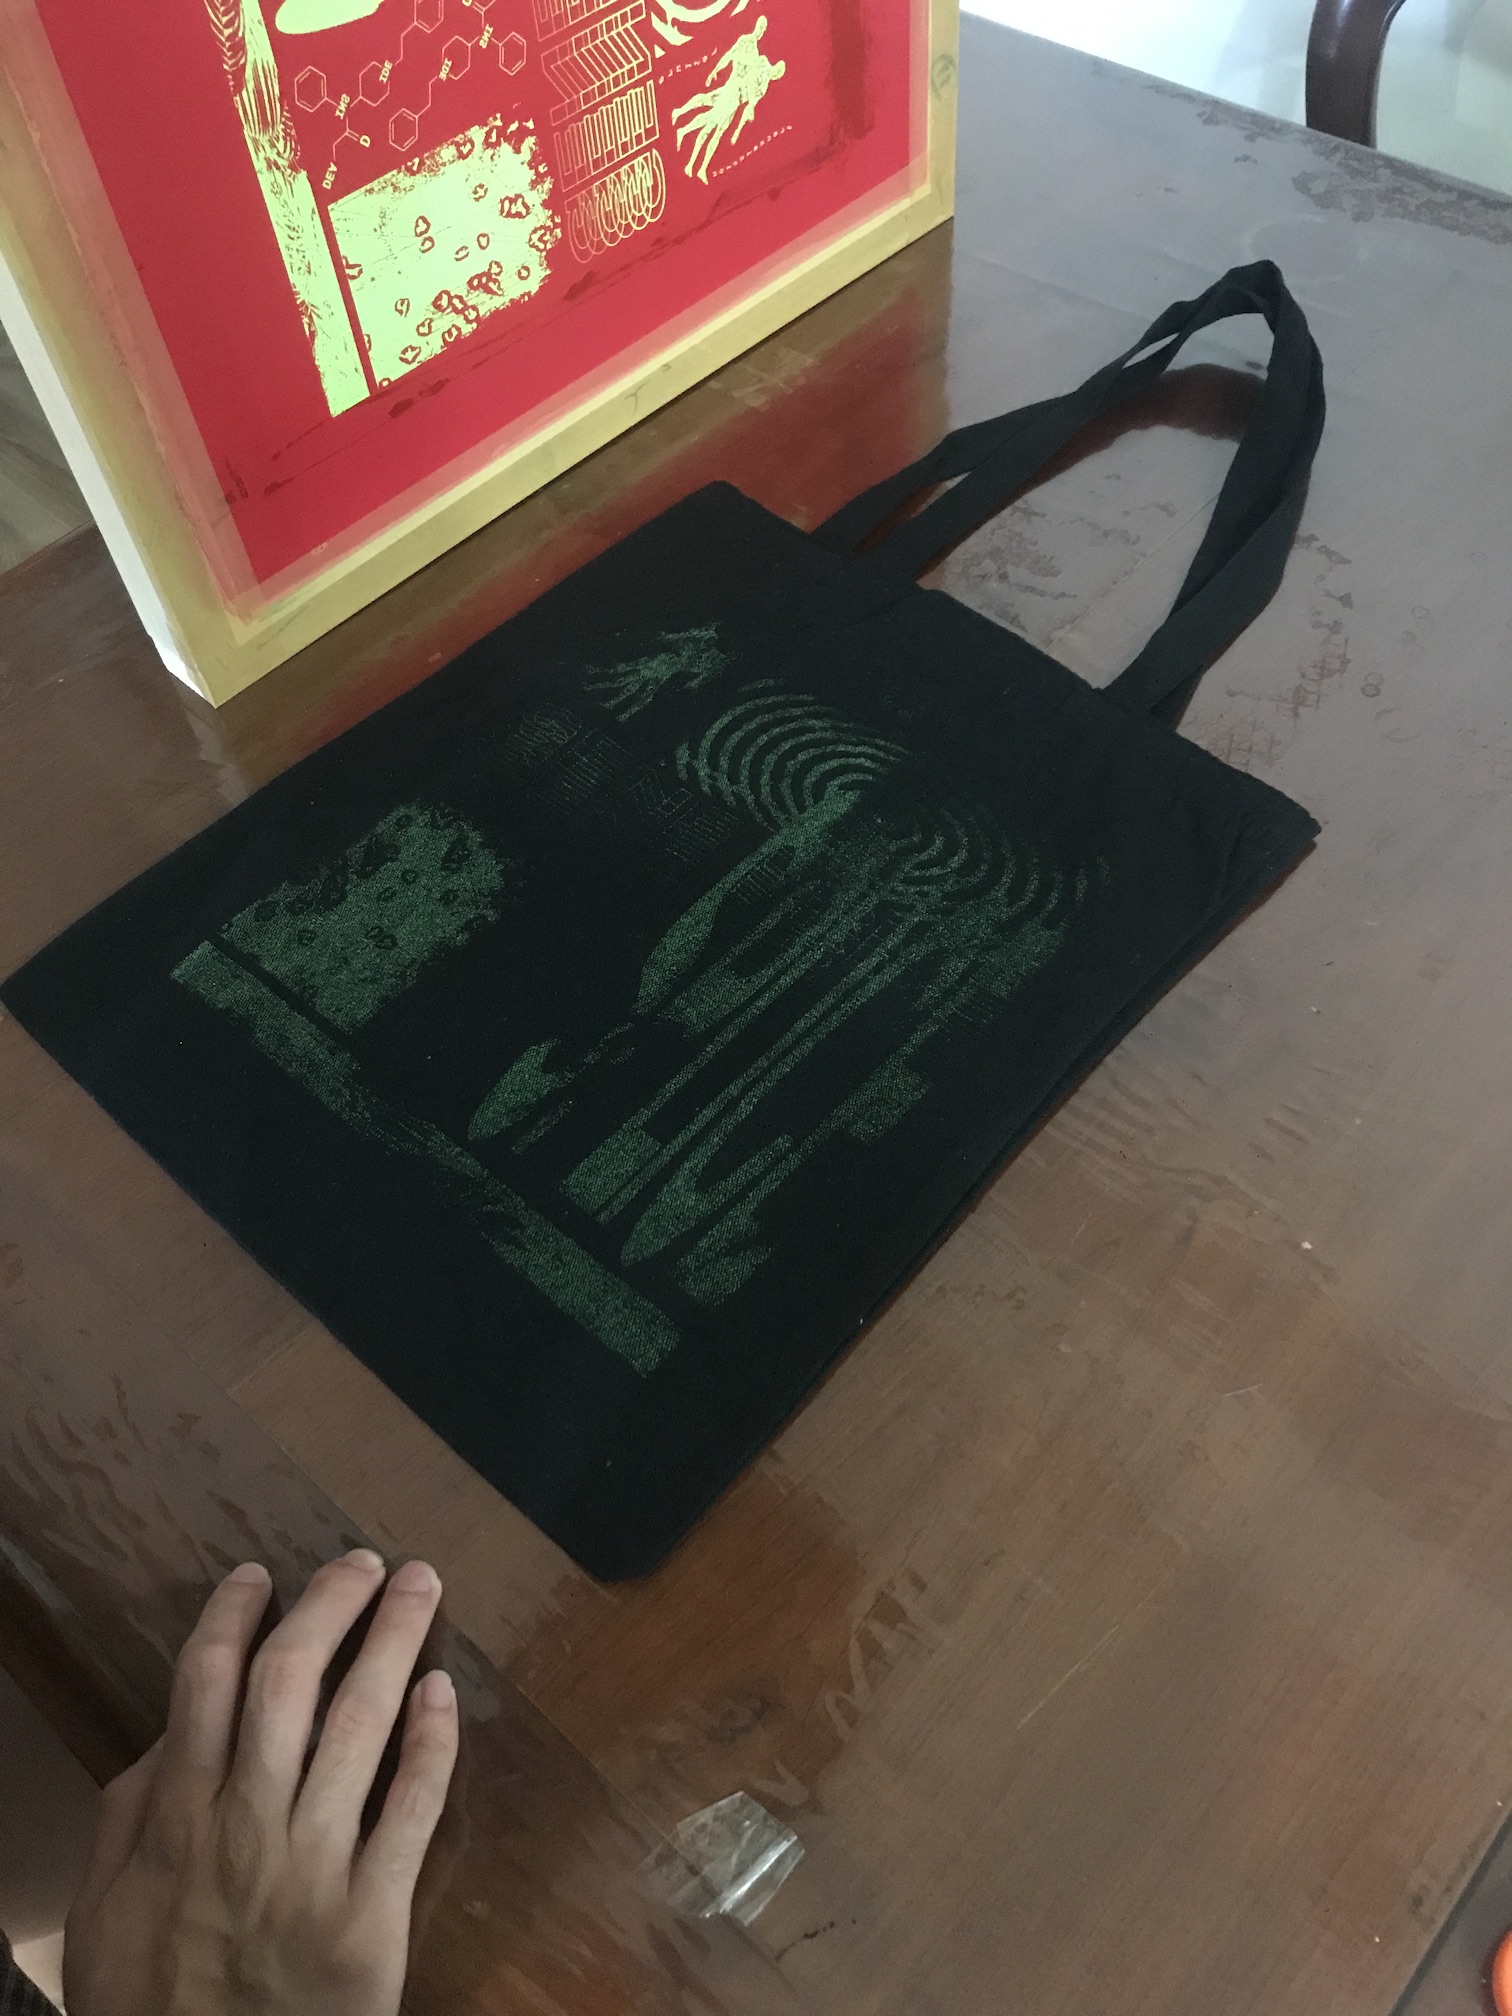
The first try turned out to be a complete fail because the paint had dried up (lumpy instead of viscous); the lime green colour was not bright enough; and the canvas tote was not the best material to print on (it was too textured).
5. Removing screen to reveal failed outcome 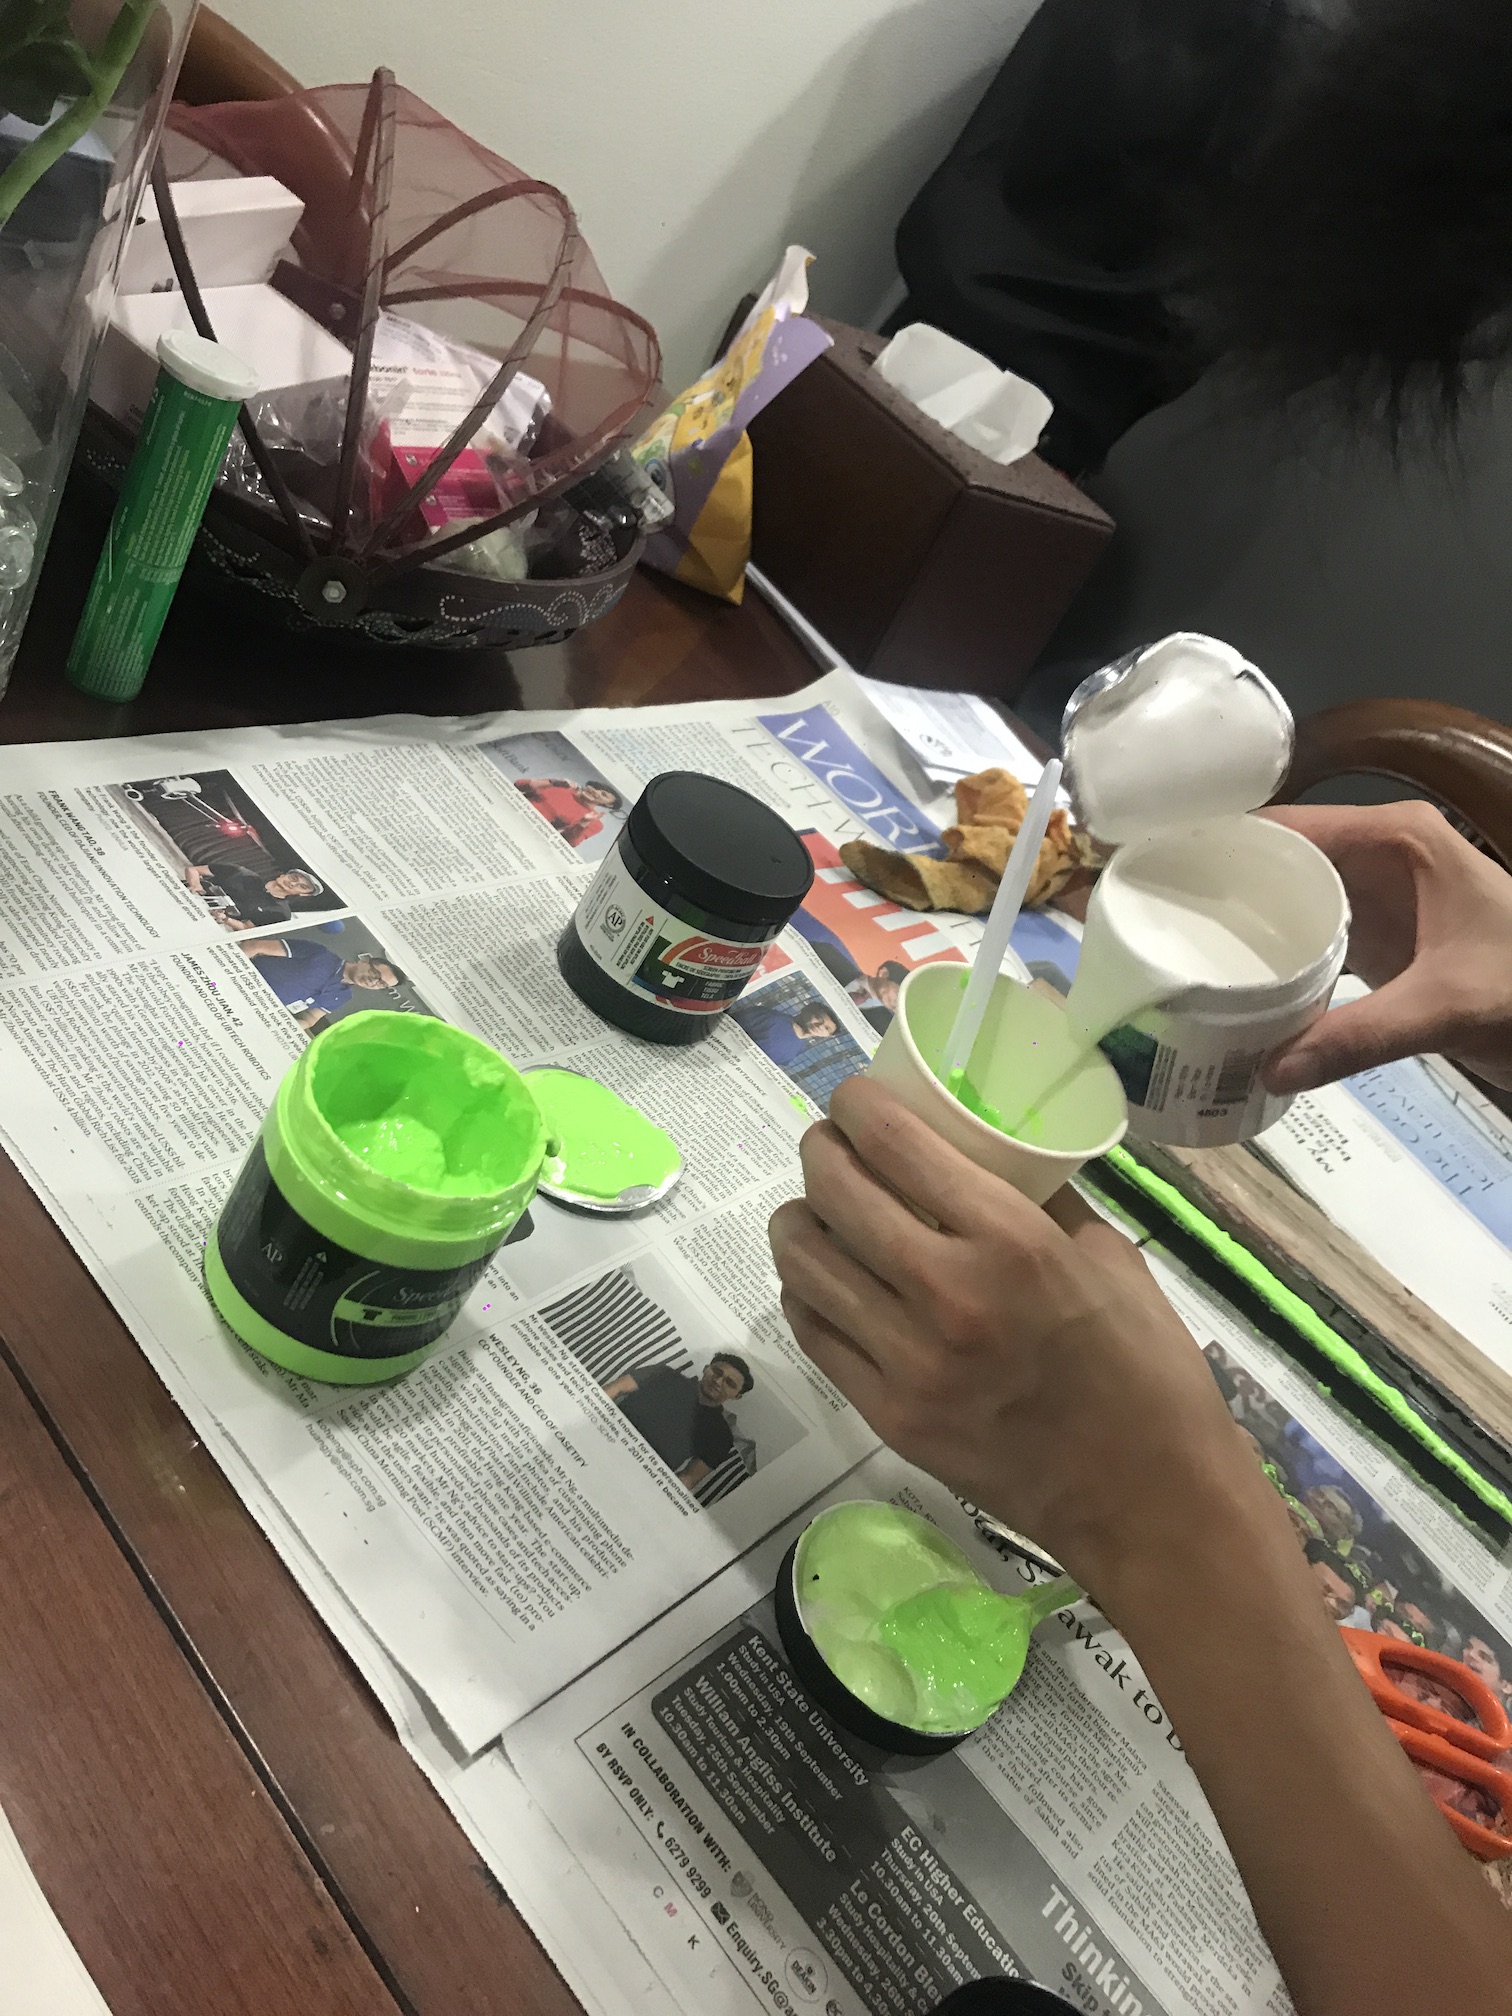
6. Trying to salvage the green paint by adding opaque white 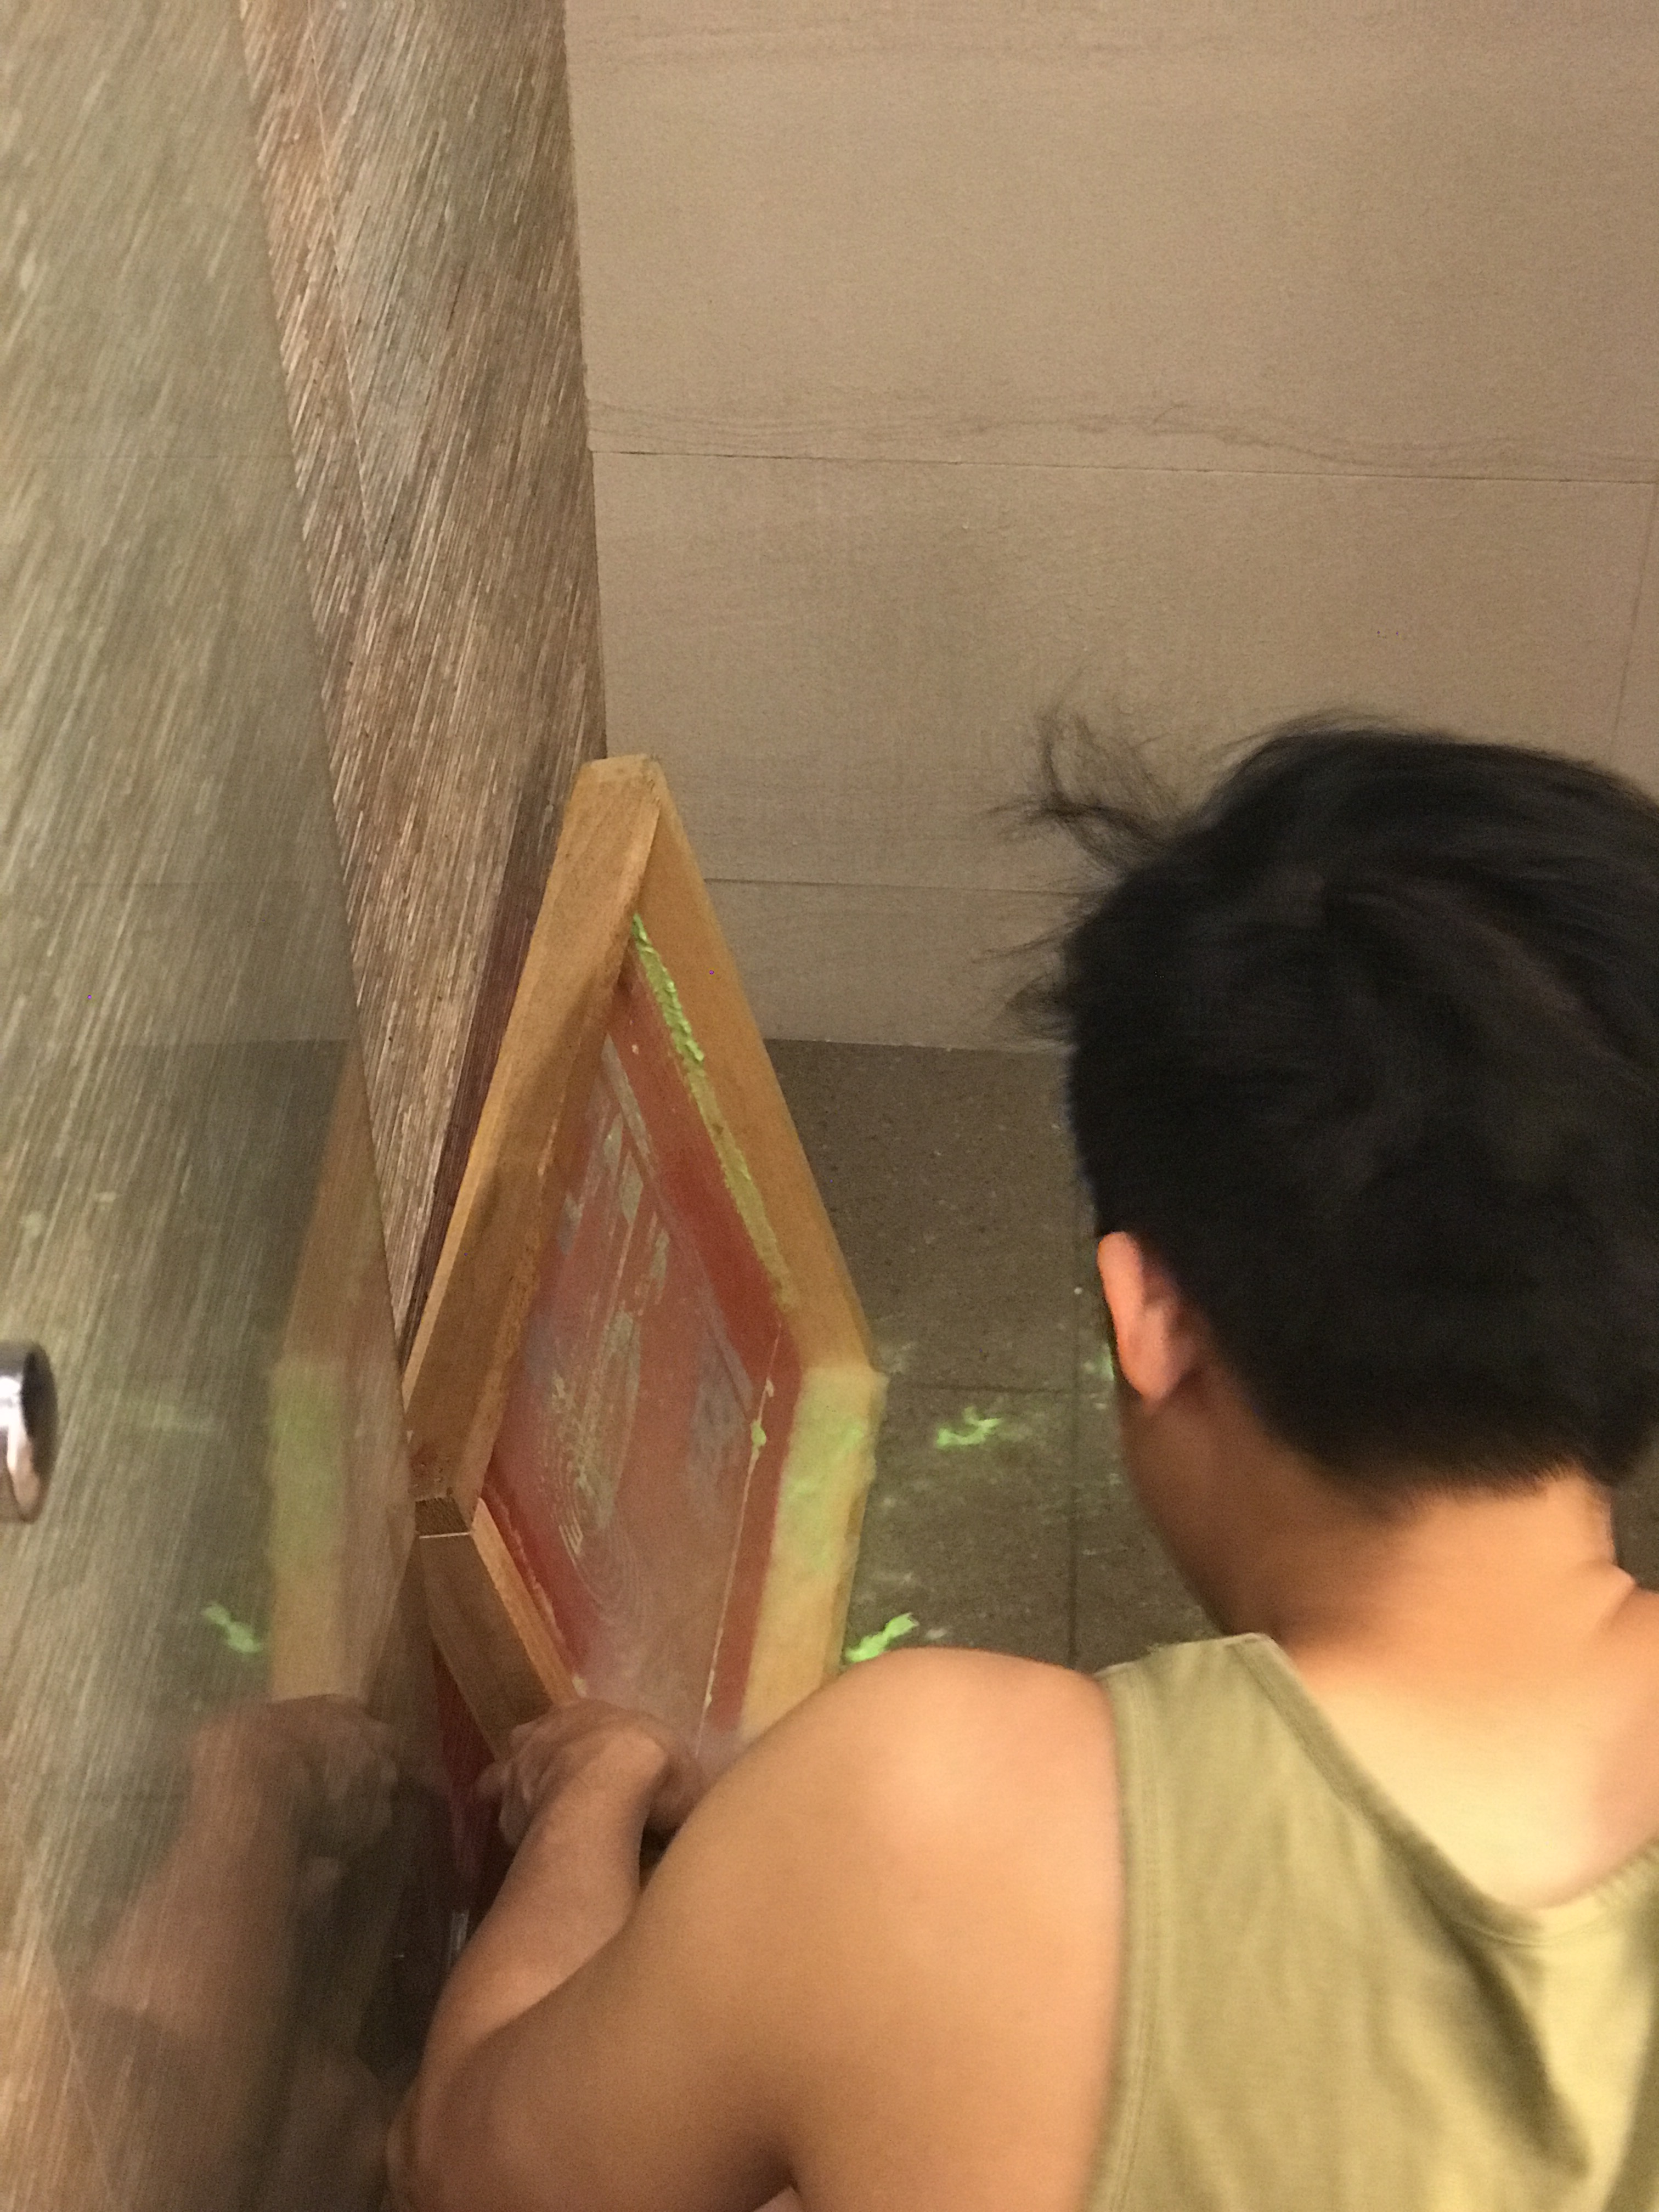
7. Washing away the lighter green paint 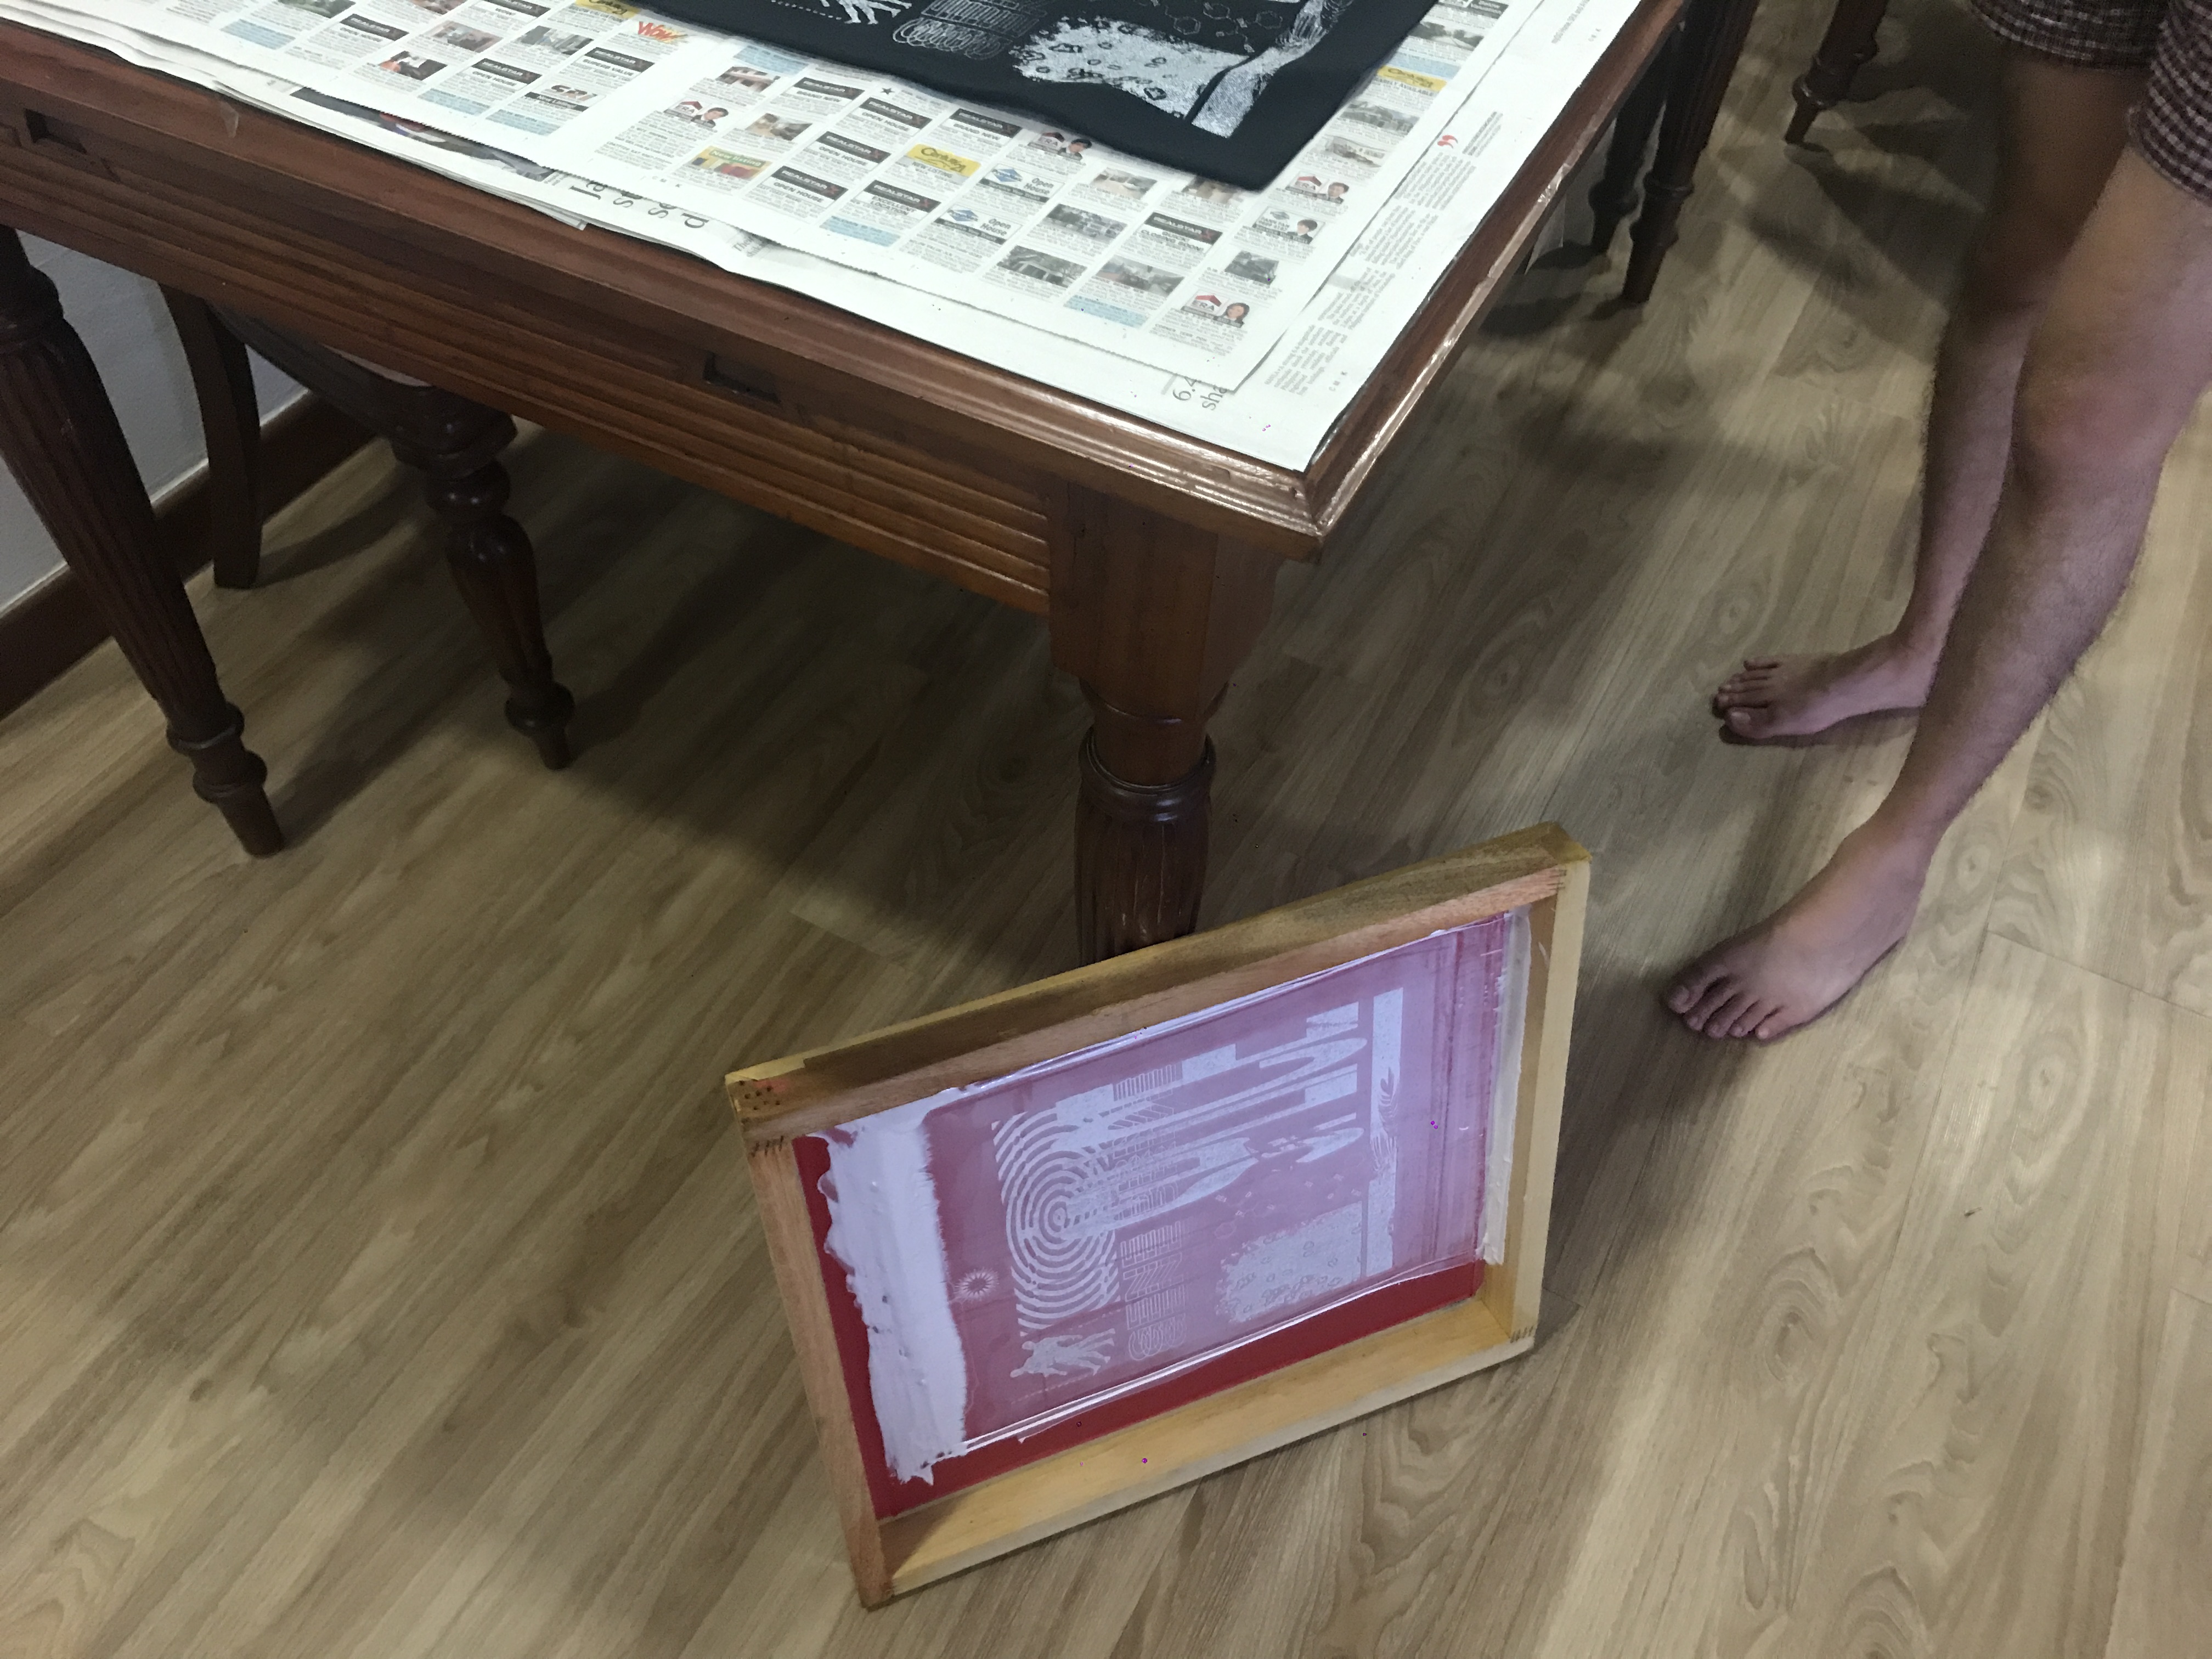
8. Printing 3-4 layers of white on black back-to-back
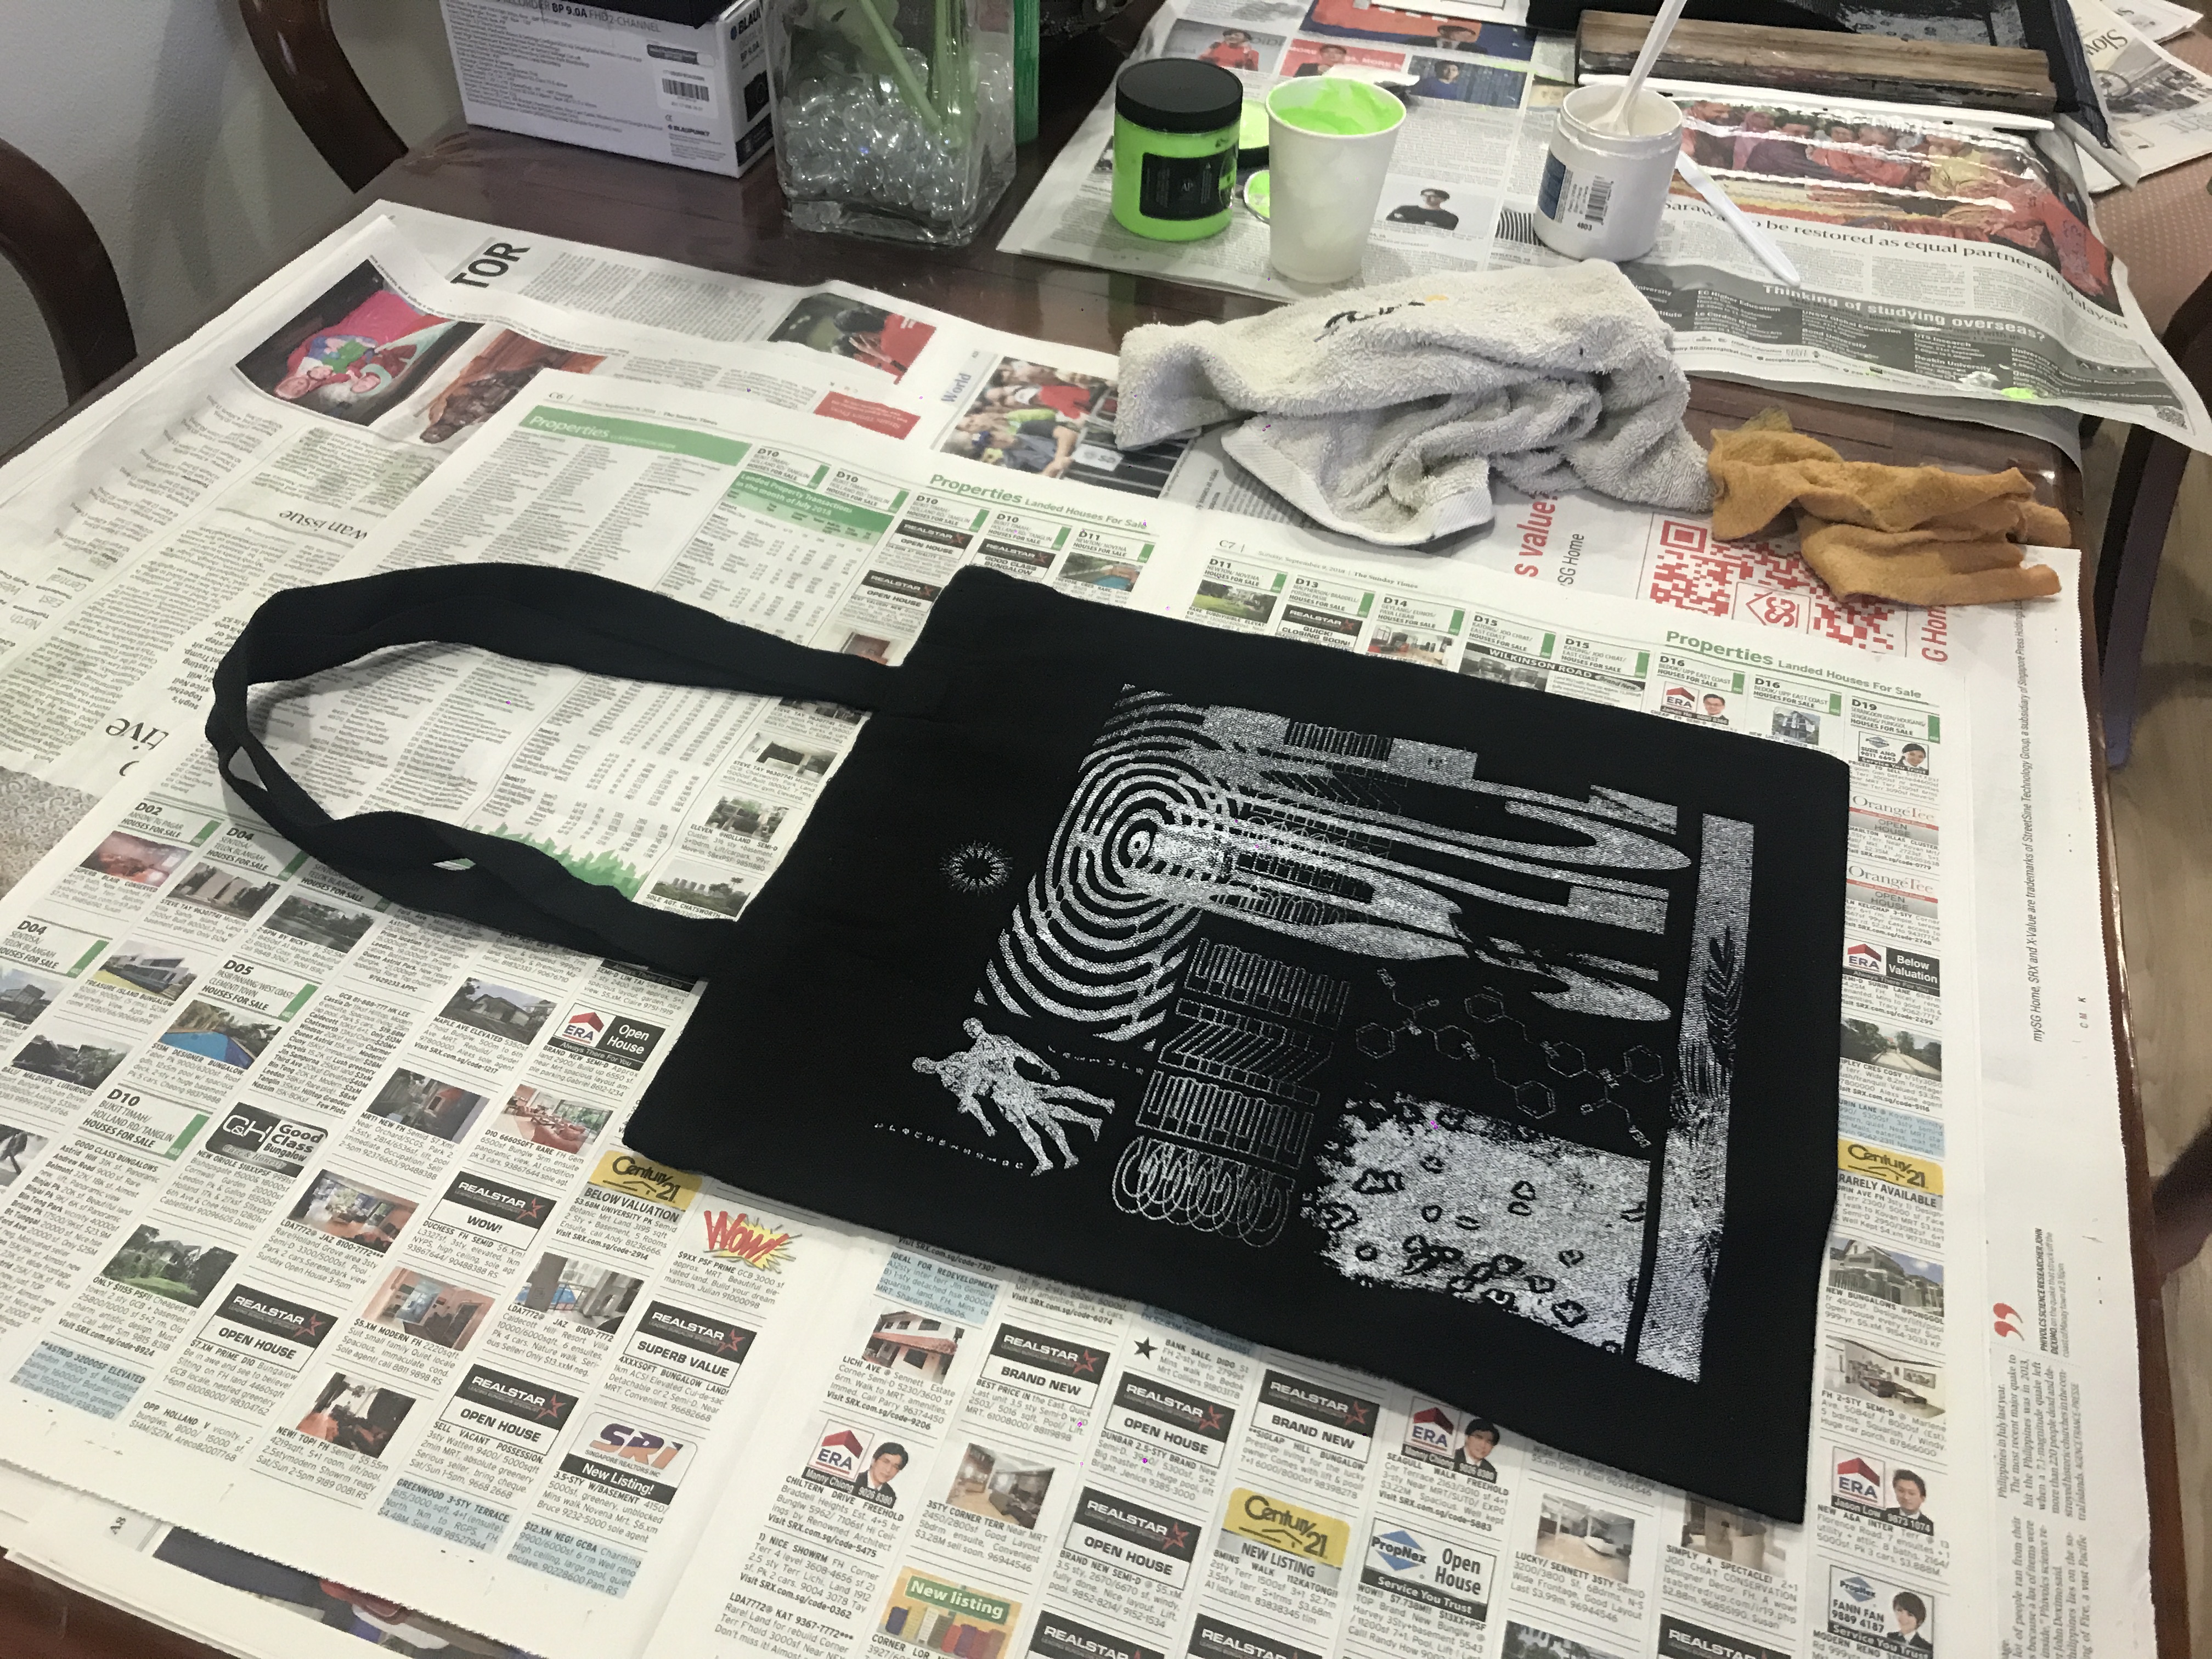
The tote bag was left to dry overnight in the drying area.
Pain Points
Given that his studio is practically his living room, Clifford finds it a pain in the ass to ensure his prints don’t stain the floor, furniture and other prints, especially in the wind. The constant need to walk around also makes the process less efficient that it could have been in a proper screen printing studio.
Afterthoughts
Trial and error is an inevitable but necessary part of the creative practice – we utilised the insides and outsides of the first bag to figure out what paint and how many coatings are required to achieve our desired print. Resourcefulness is also important especially if one doesn’t not have all the professional equipment typically found in a printing studio. While my previous research and ideation led me to practical and absurd designs, I might need to reconsider their appropriateness in a story world where experimentalists with resourceful mindsets are valued, such as that of Clifford’s scenario.