It was really cool visiting and observing what Isabelle does. She is a photographer and an artist and also Prof Andy’s friend! The work she does is really useful and relevant for me as I am trying to build a mobile/portable darkroom~
Worksite Documentation
I went to visit her in her studio at Blue House Nursery & International Preschool where I saw some of photos, home-made cameras and dark room!
Tools Used/Works
The cool contraptions Isabelle designed and made were really interesting.
I managed to learn a lot from her and her work!
Like knowing that red acrylic is actually light proof! (just that it’s expensive and it’s quite a difficult material to work with)
She showed me around her space and what she usually does in the studio and all the cool projects she has done and is on.
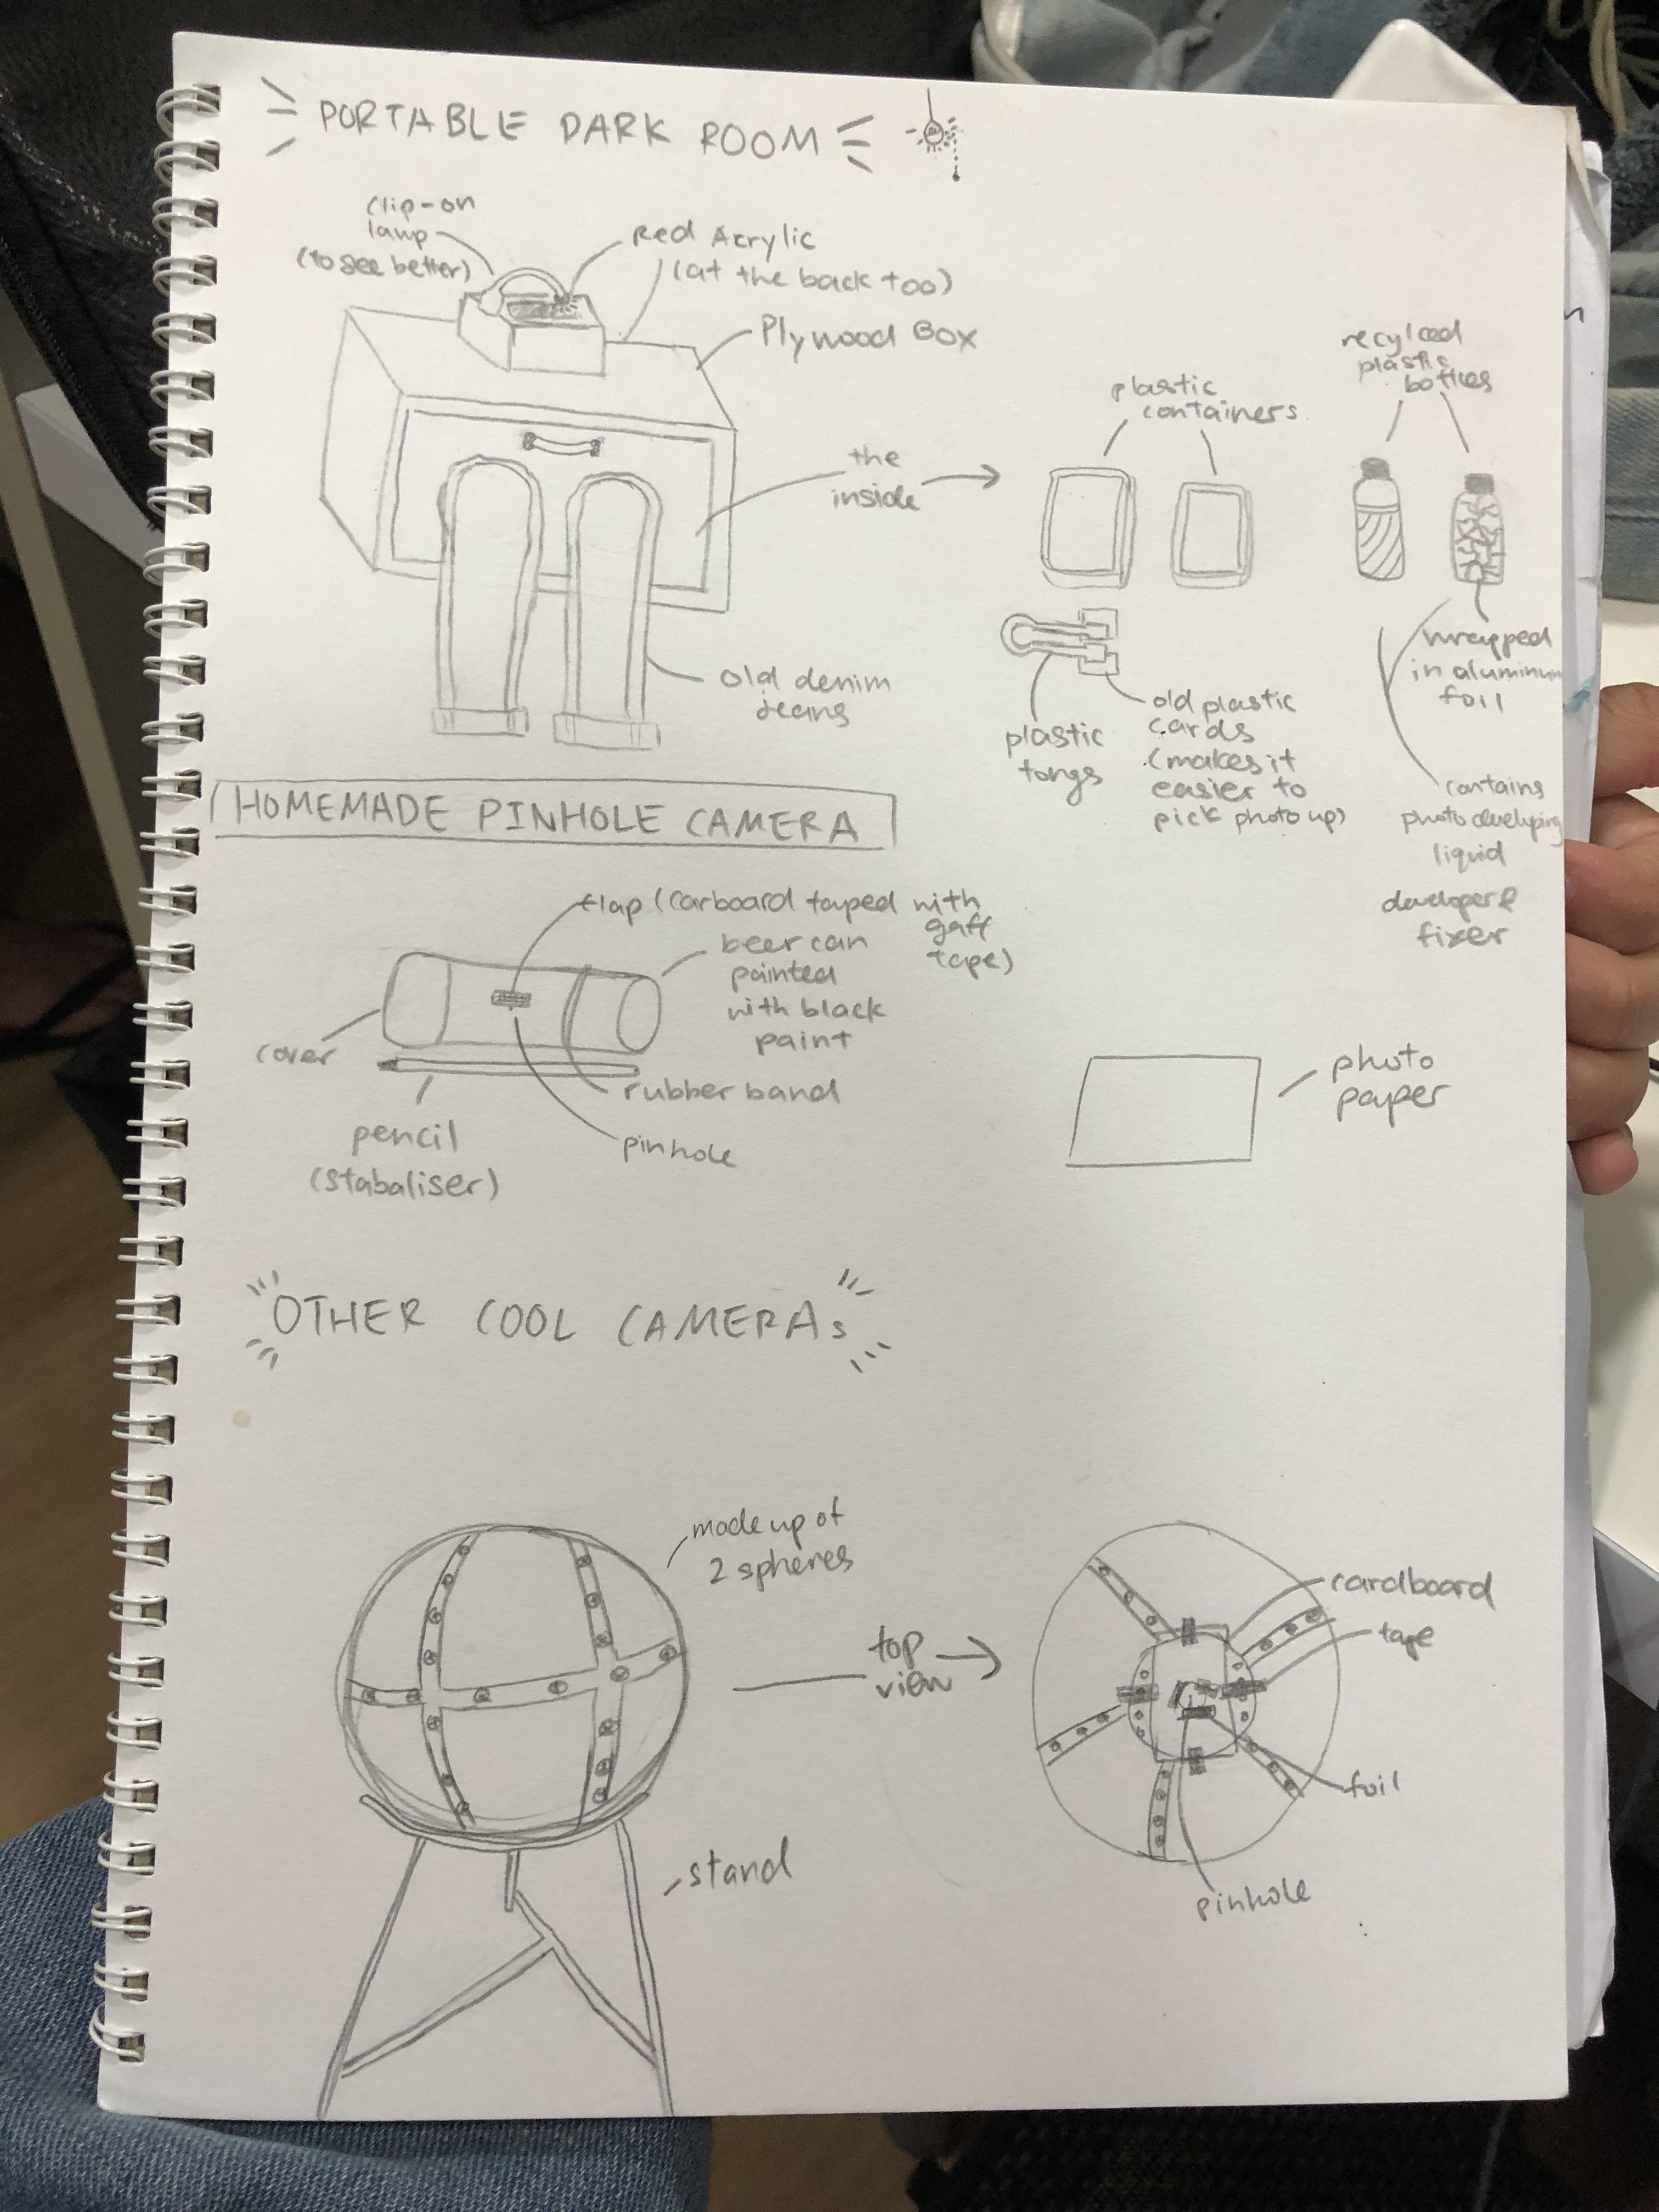
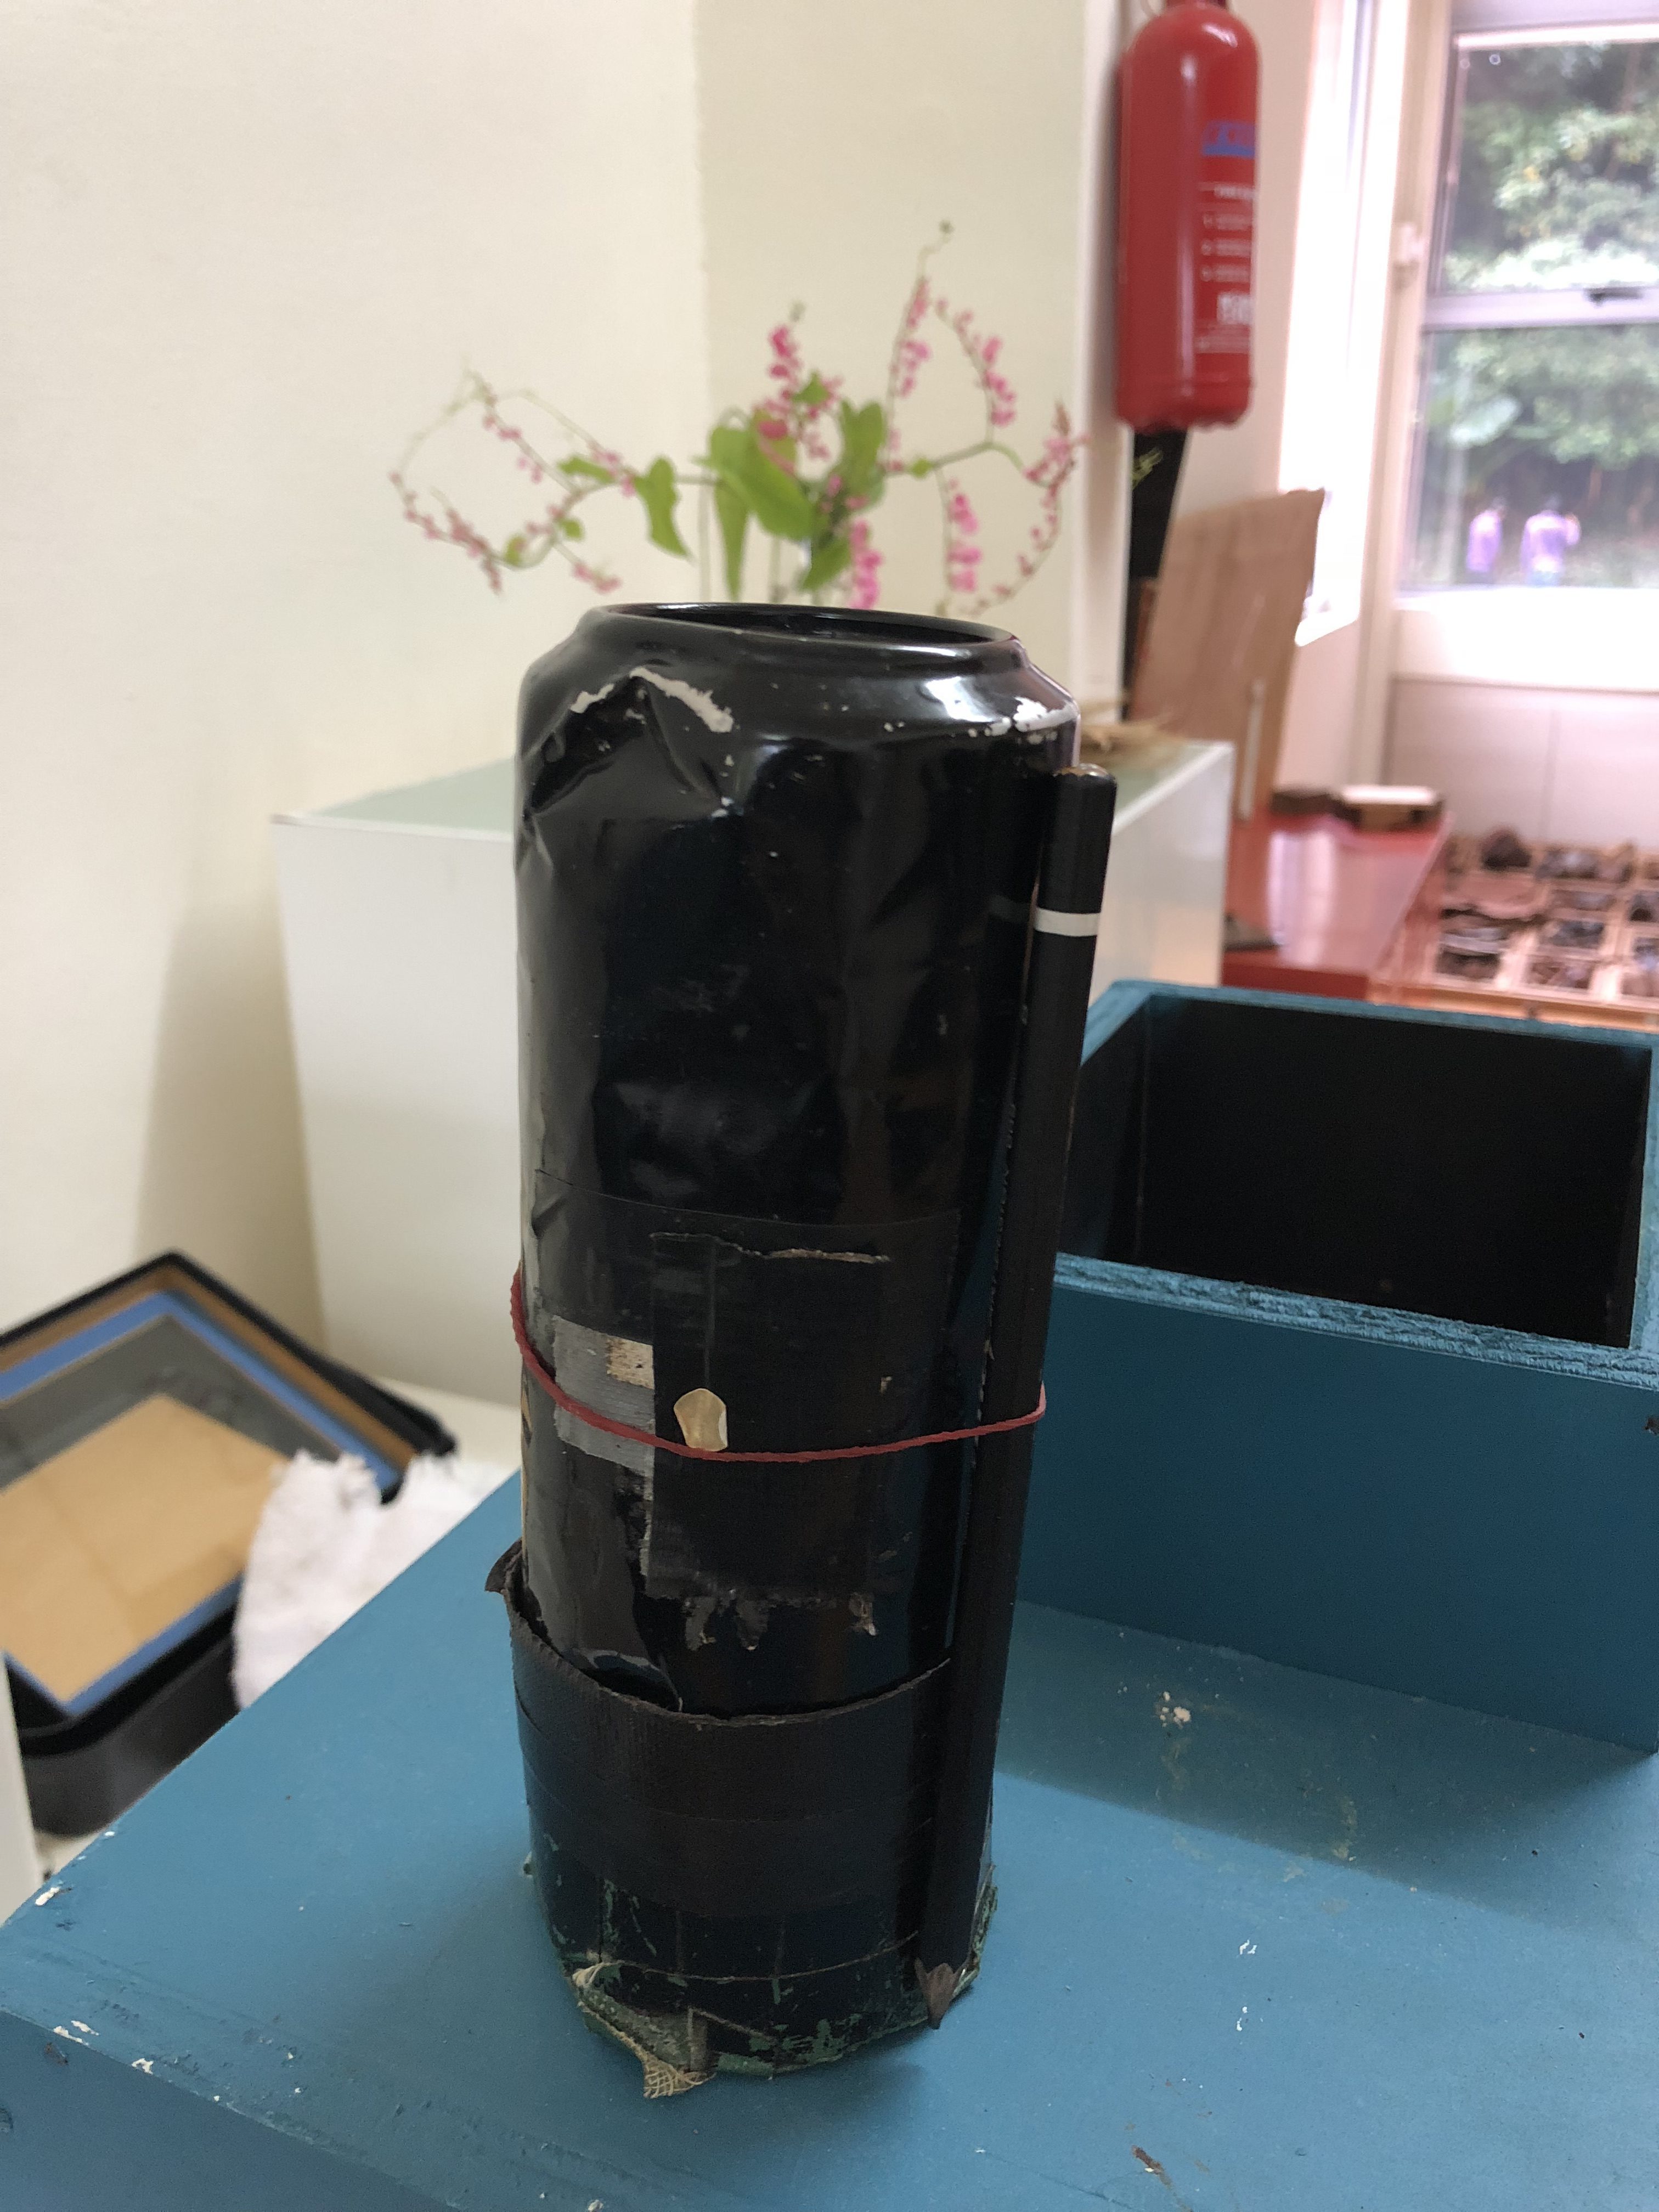
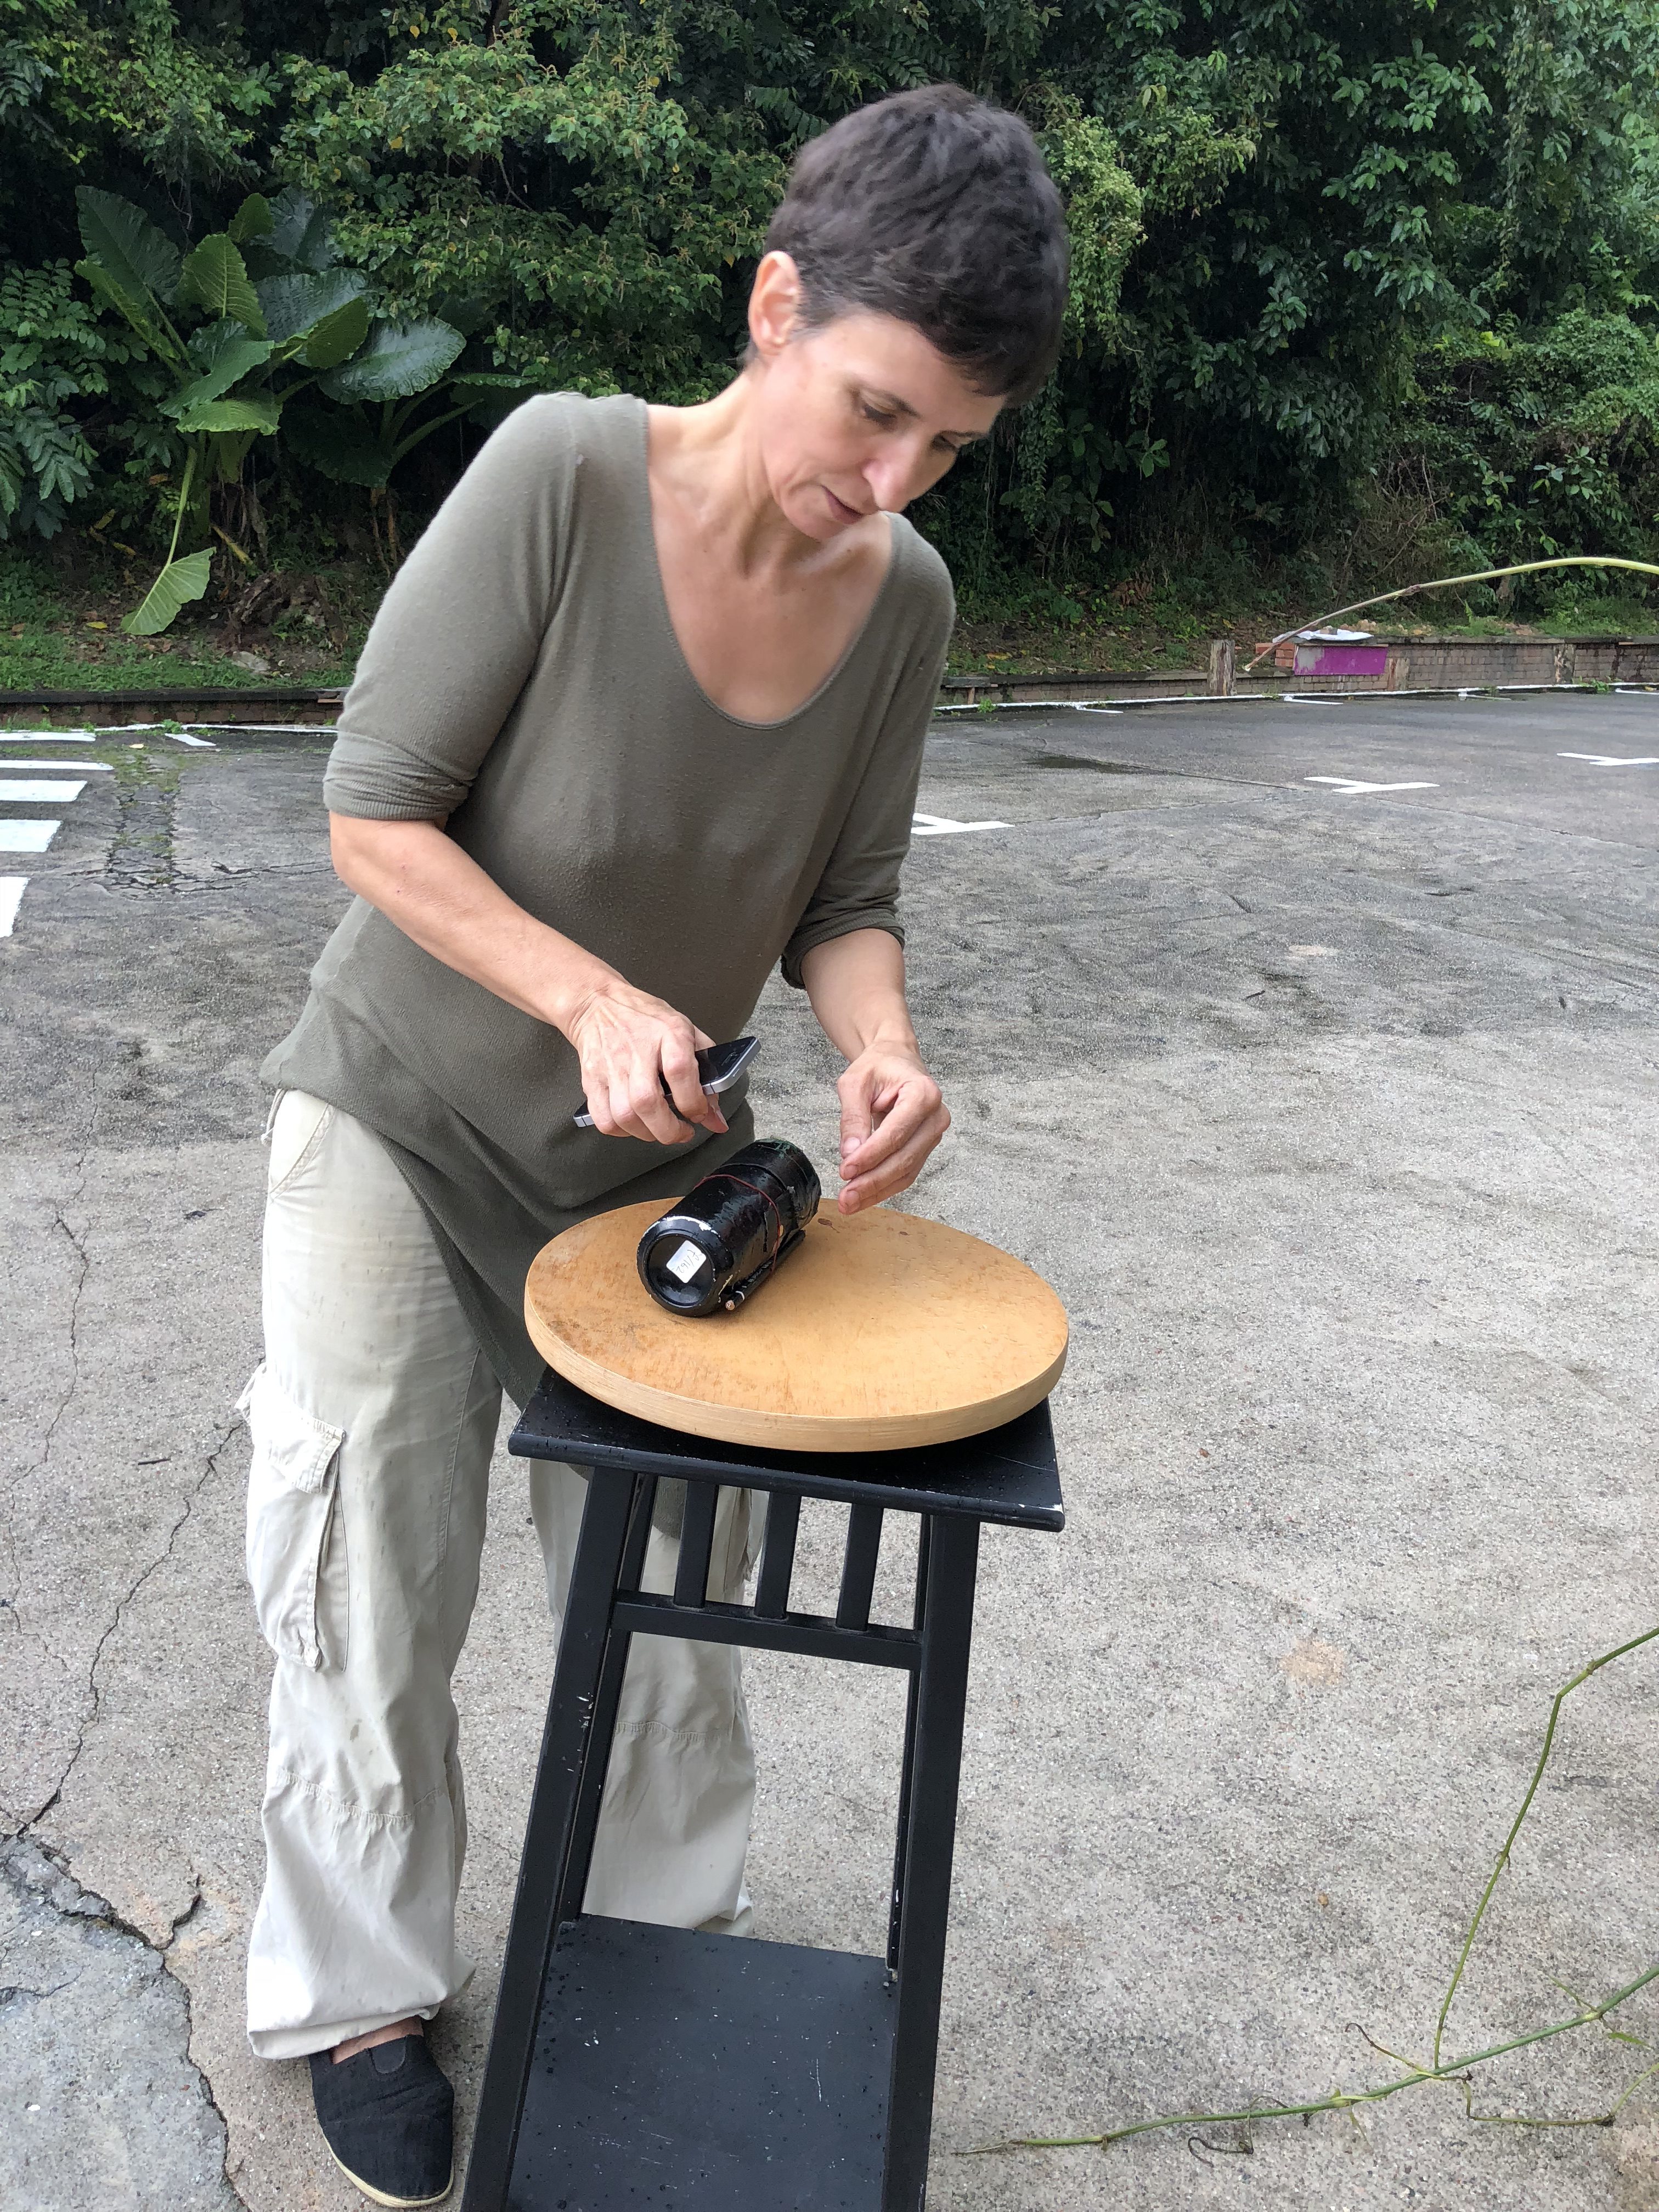
She proceeded to show me her really cool homemade camera (one of her favourite actually) which is super high tech, consisting for materials such as a beer can, duct tape, cardboard, aluminum foil and rubber band. For course not forgetting the stabliser which is also very sophisticated, a pencil.
We then went out to try to take a photo with it but not before putting in the photo paper inside.
Process Documentation
Isabelle taught me how to calculate how much time we need to leave the pinhole camera for (or rather the shutter speed) by using math and an app. With the size of the pinhole, the distance between the hole and the photo paper and the amount of sunlight around, the app can detect and show about how much the shutter speed would be. So for this time, it was about 3 minutes. After taking the photograph, we went back inside to develop the photo with the “darkbox” she designed.
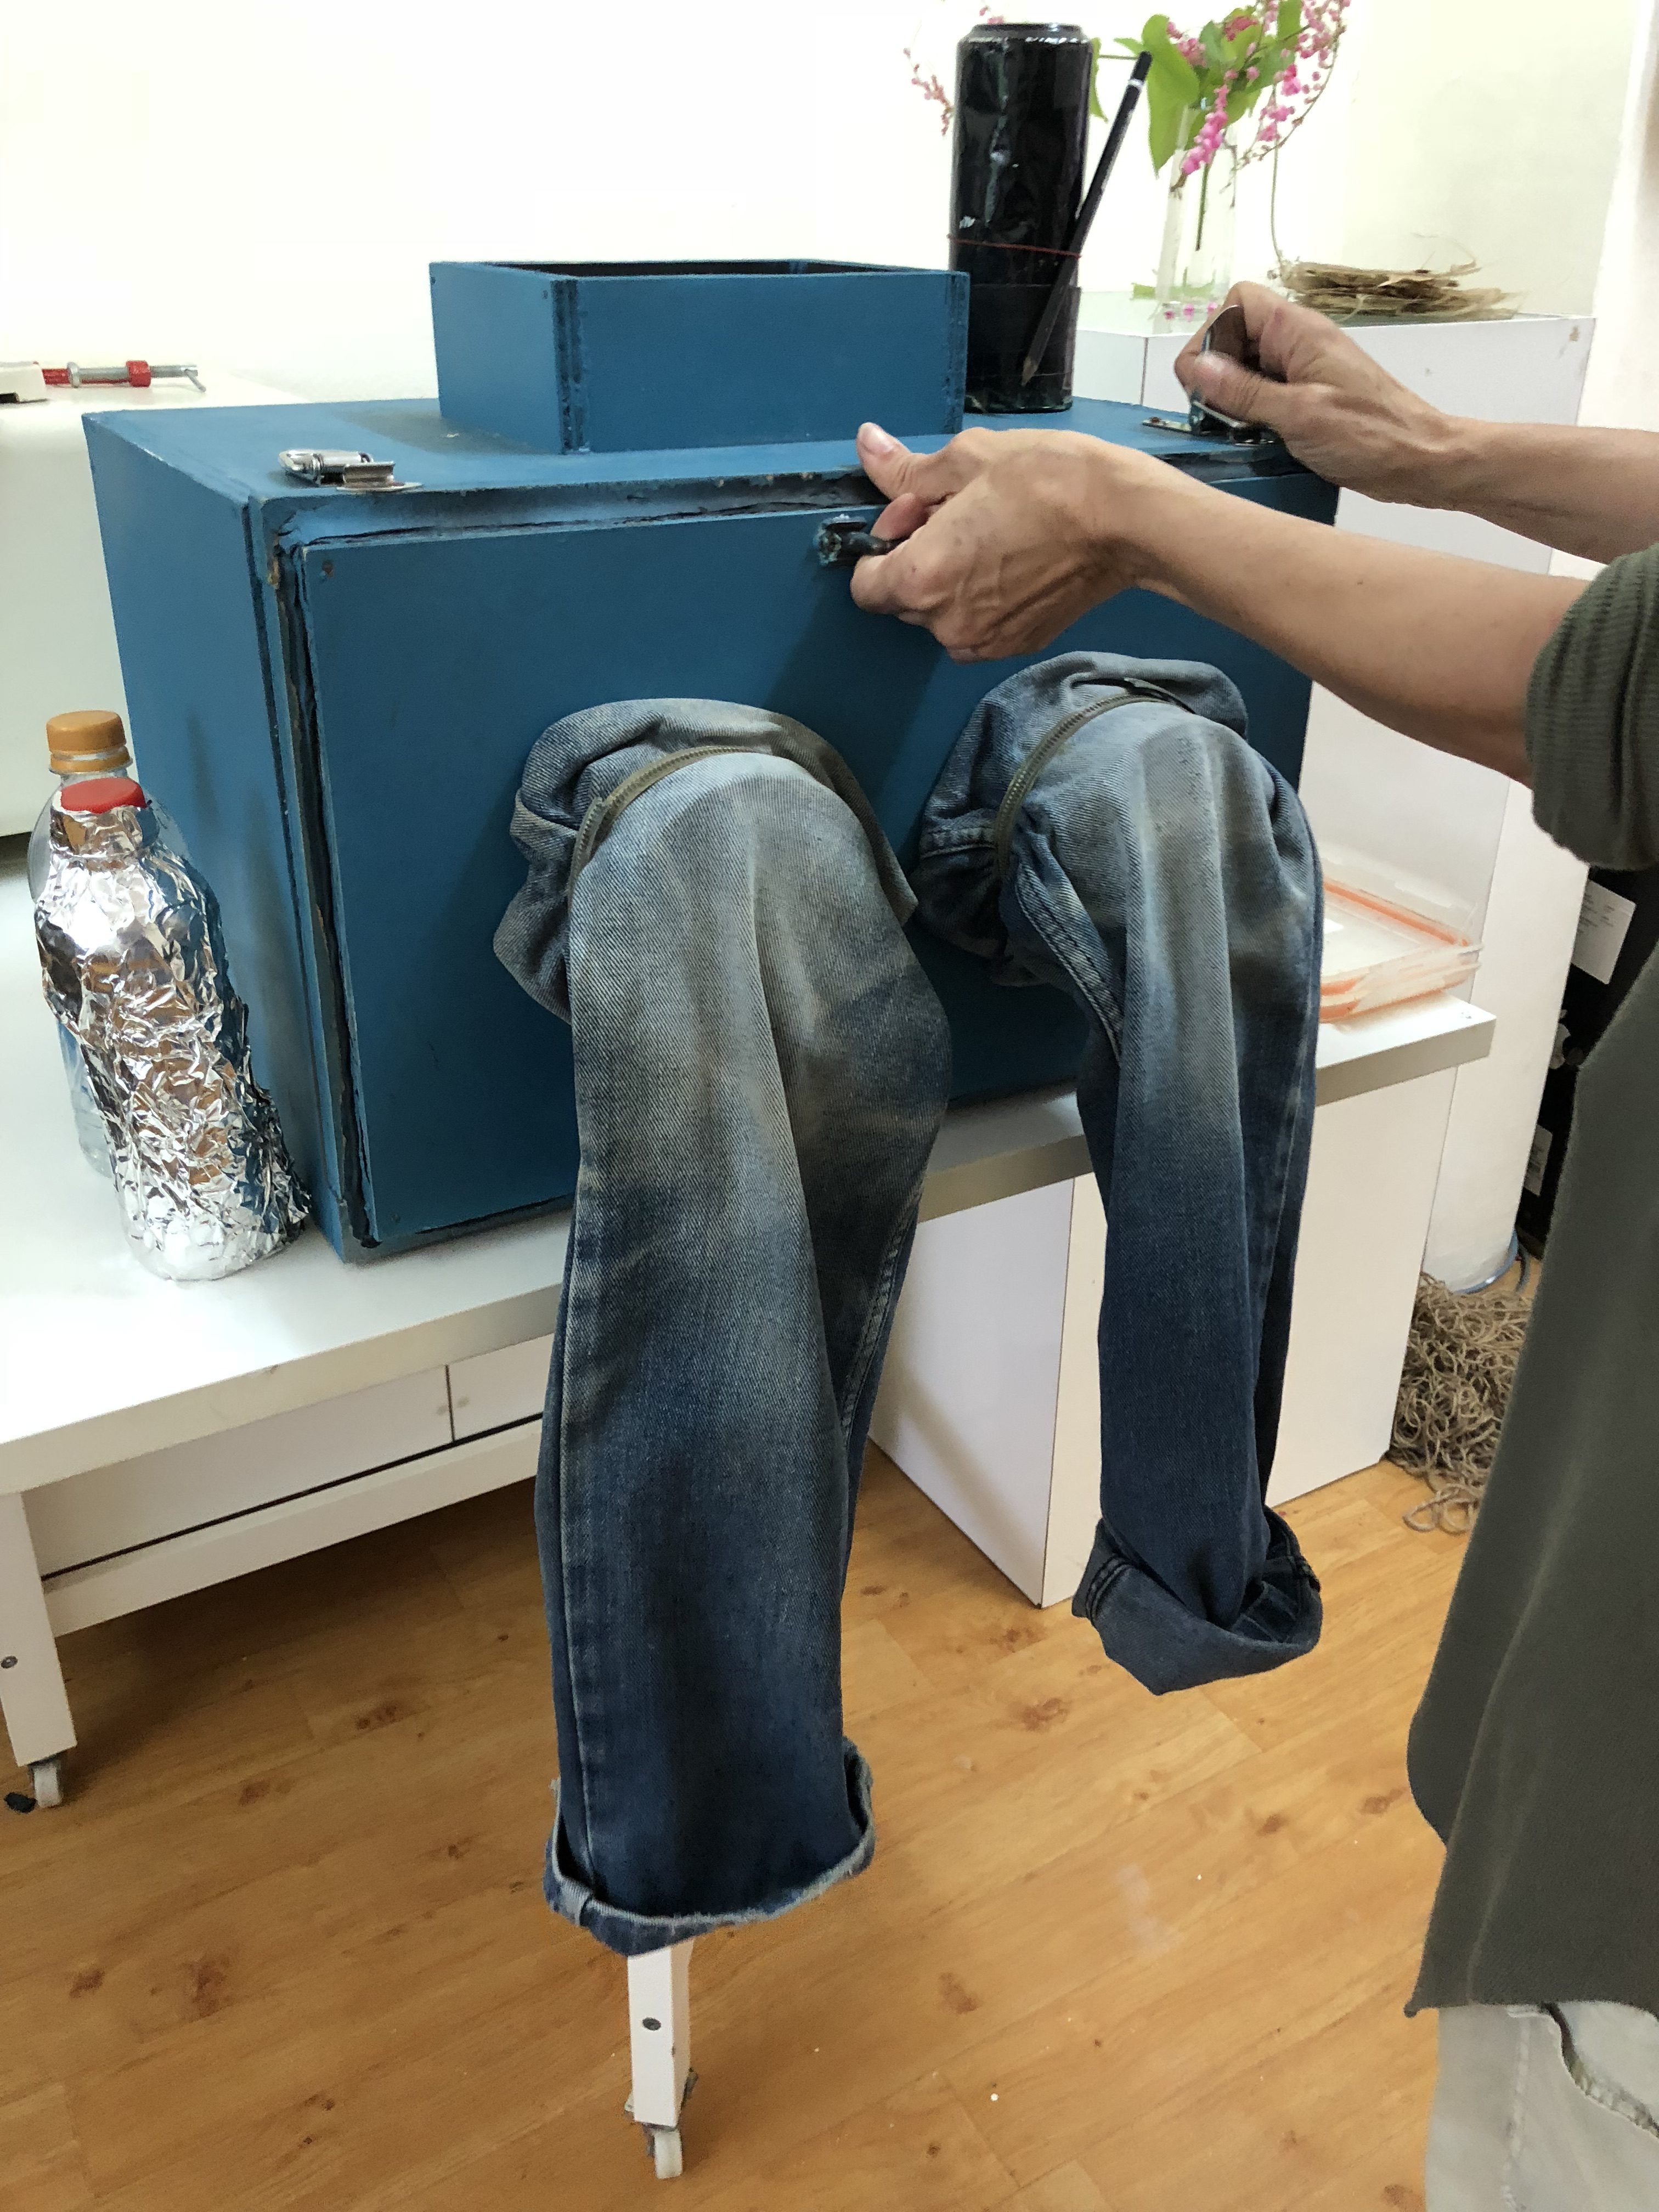
the outside 
the inside 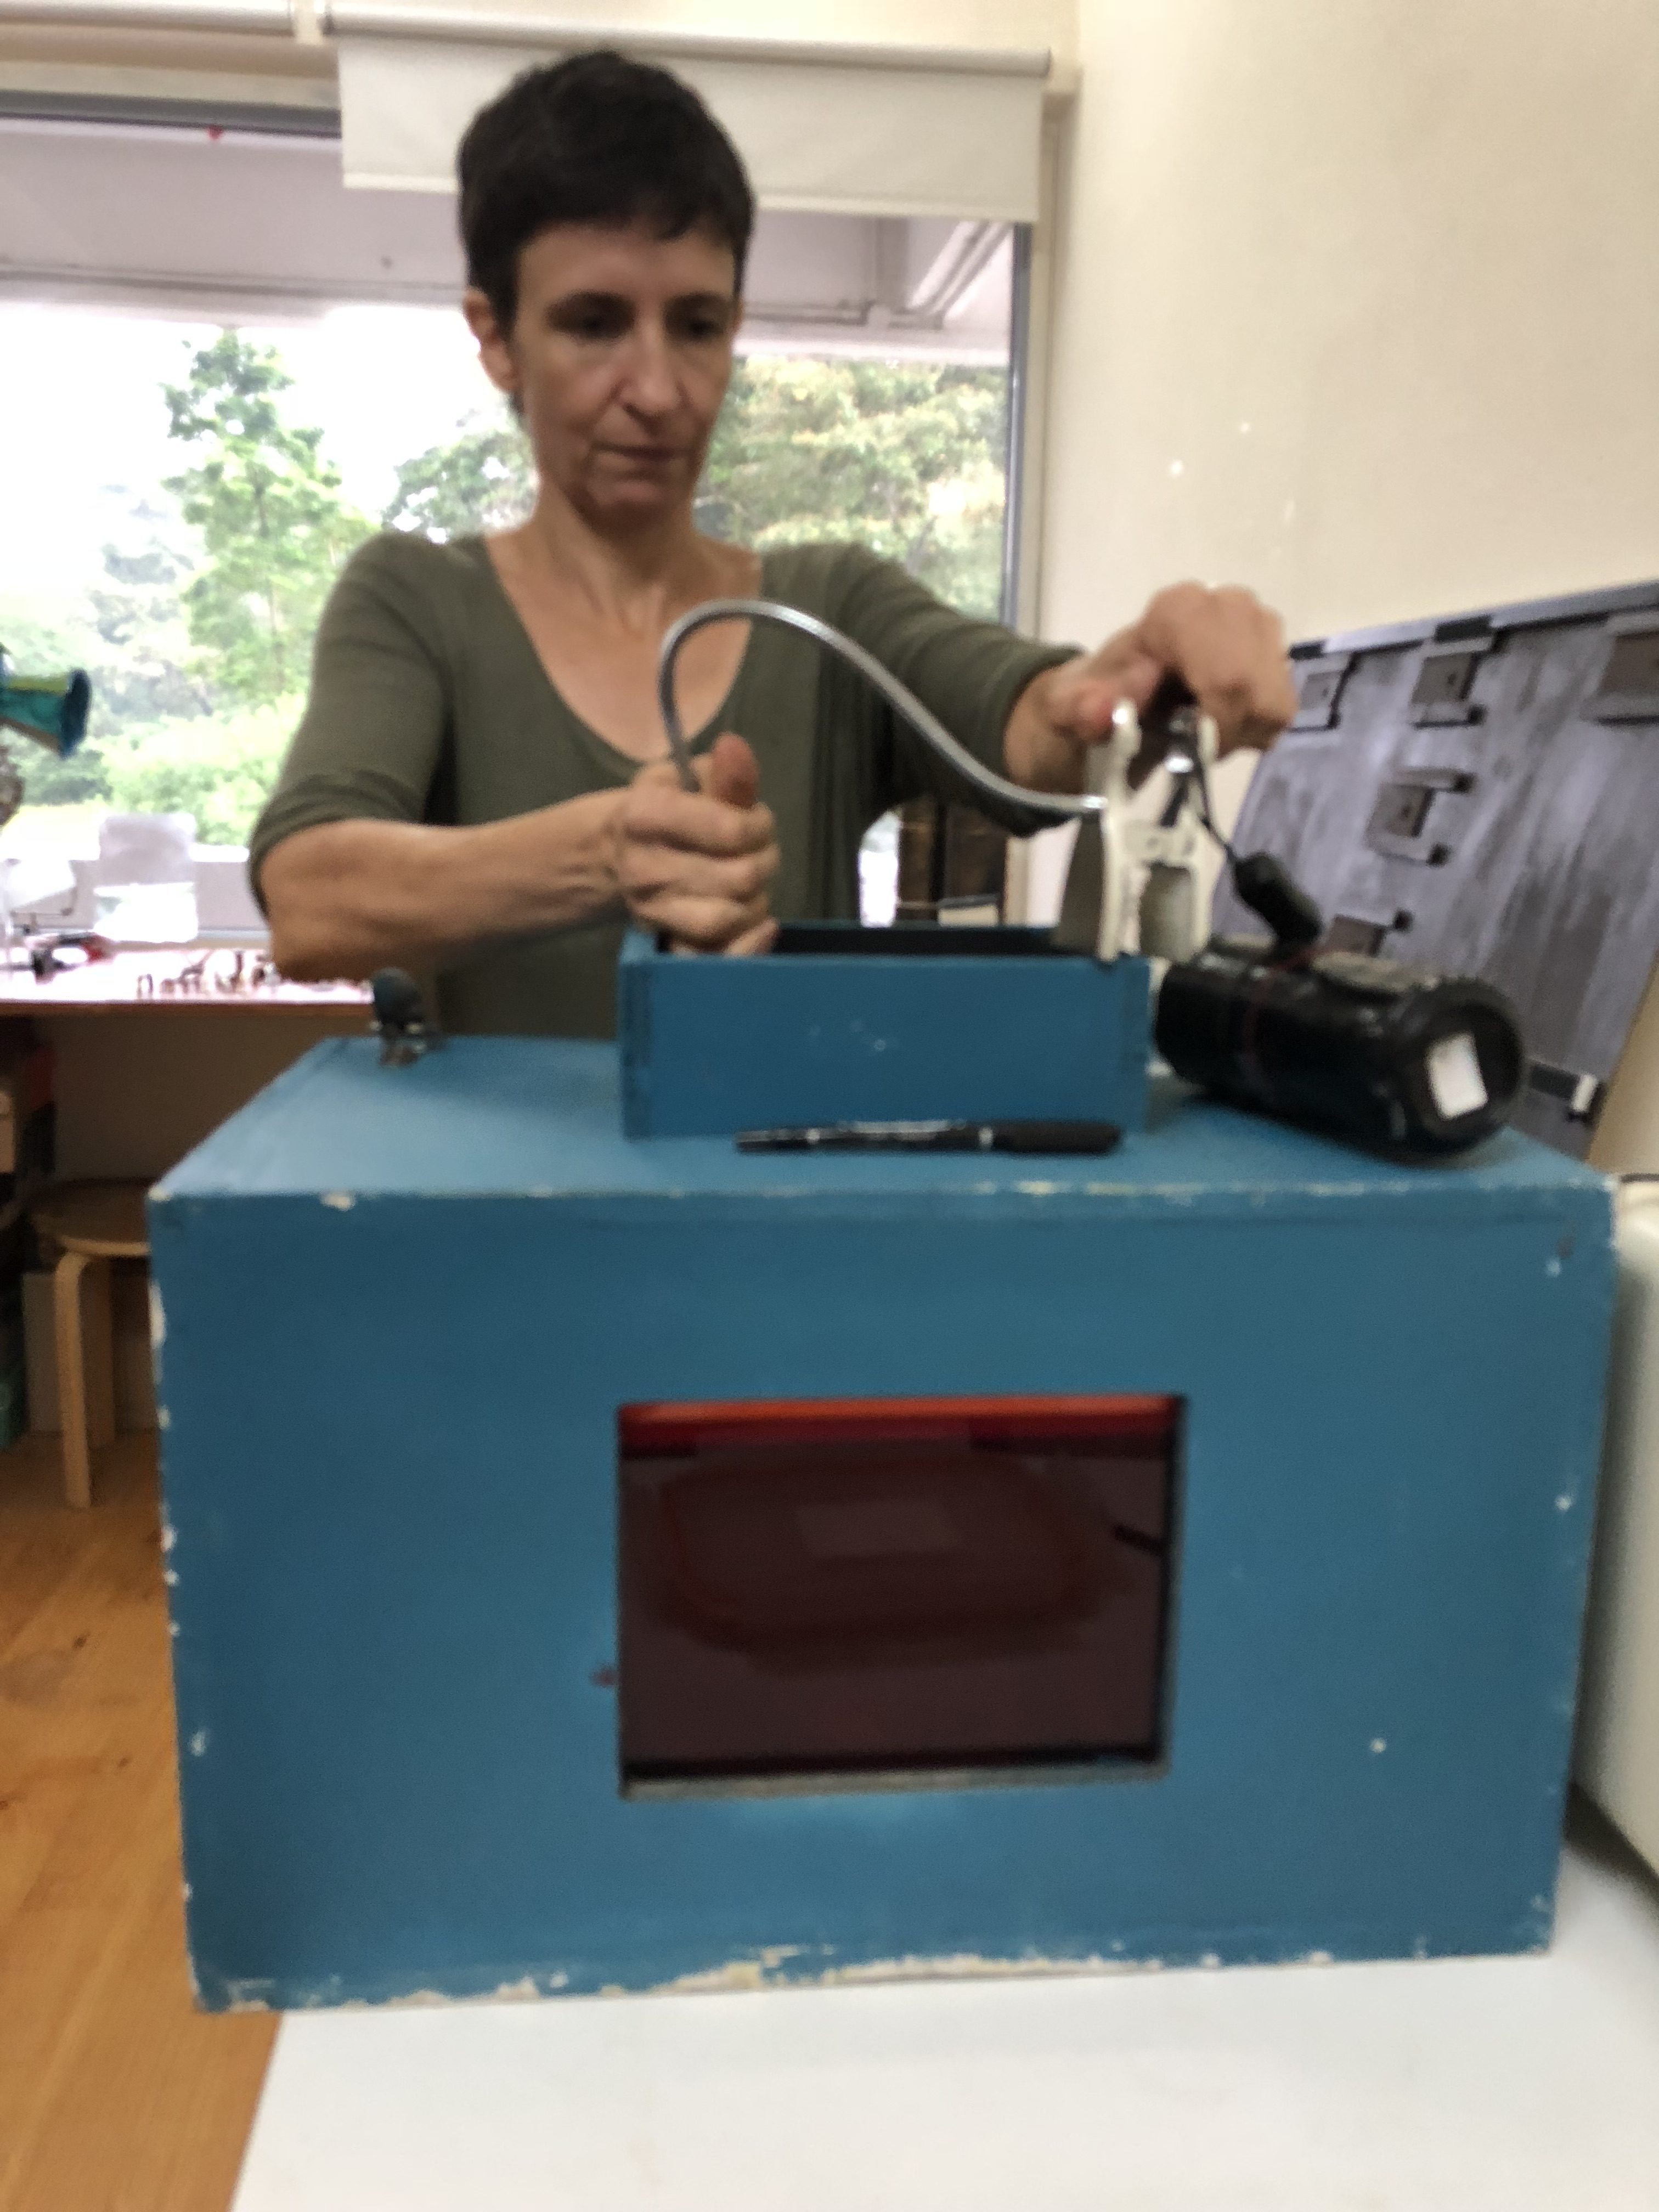
clipping the lamp on 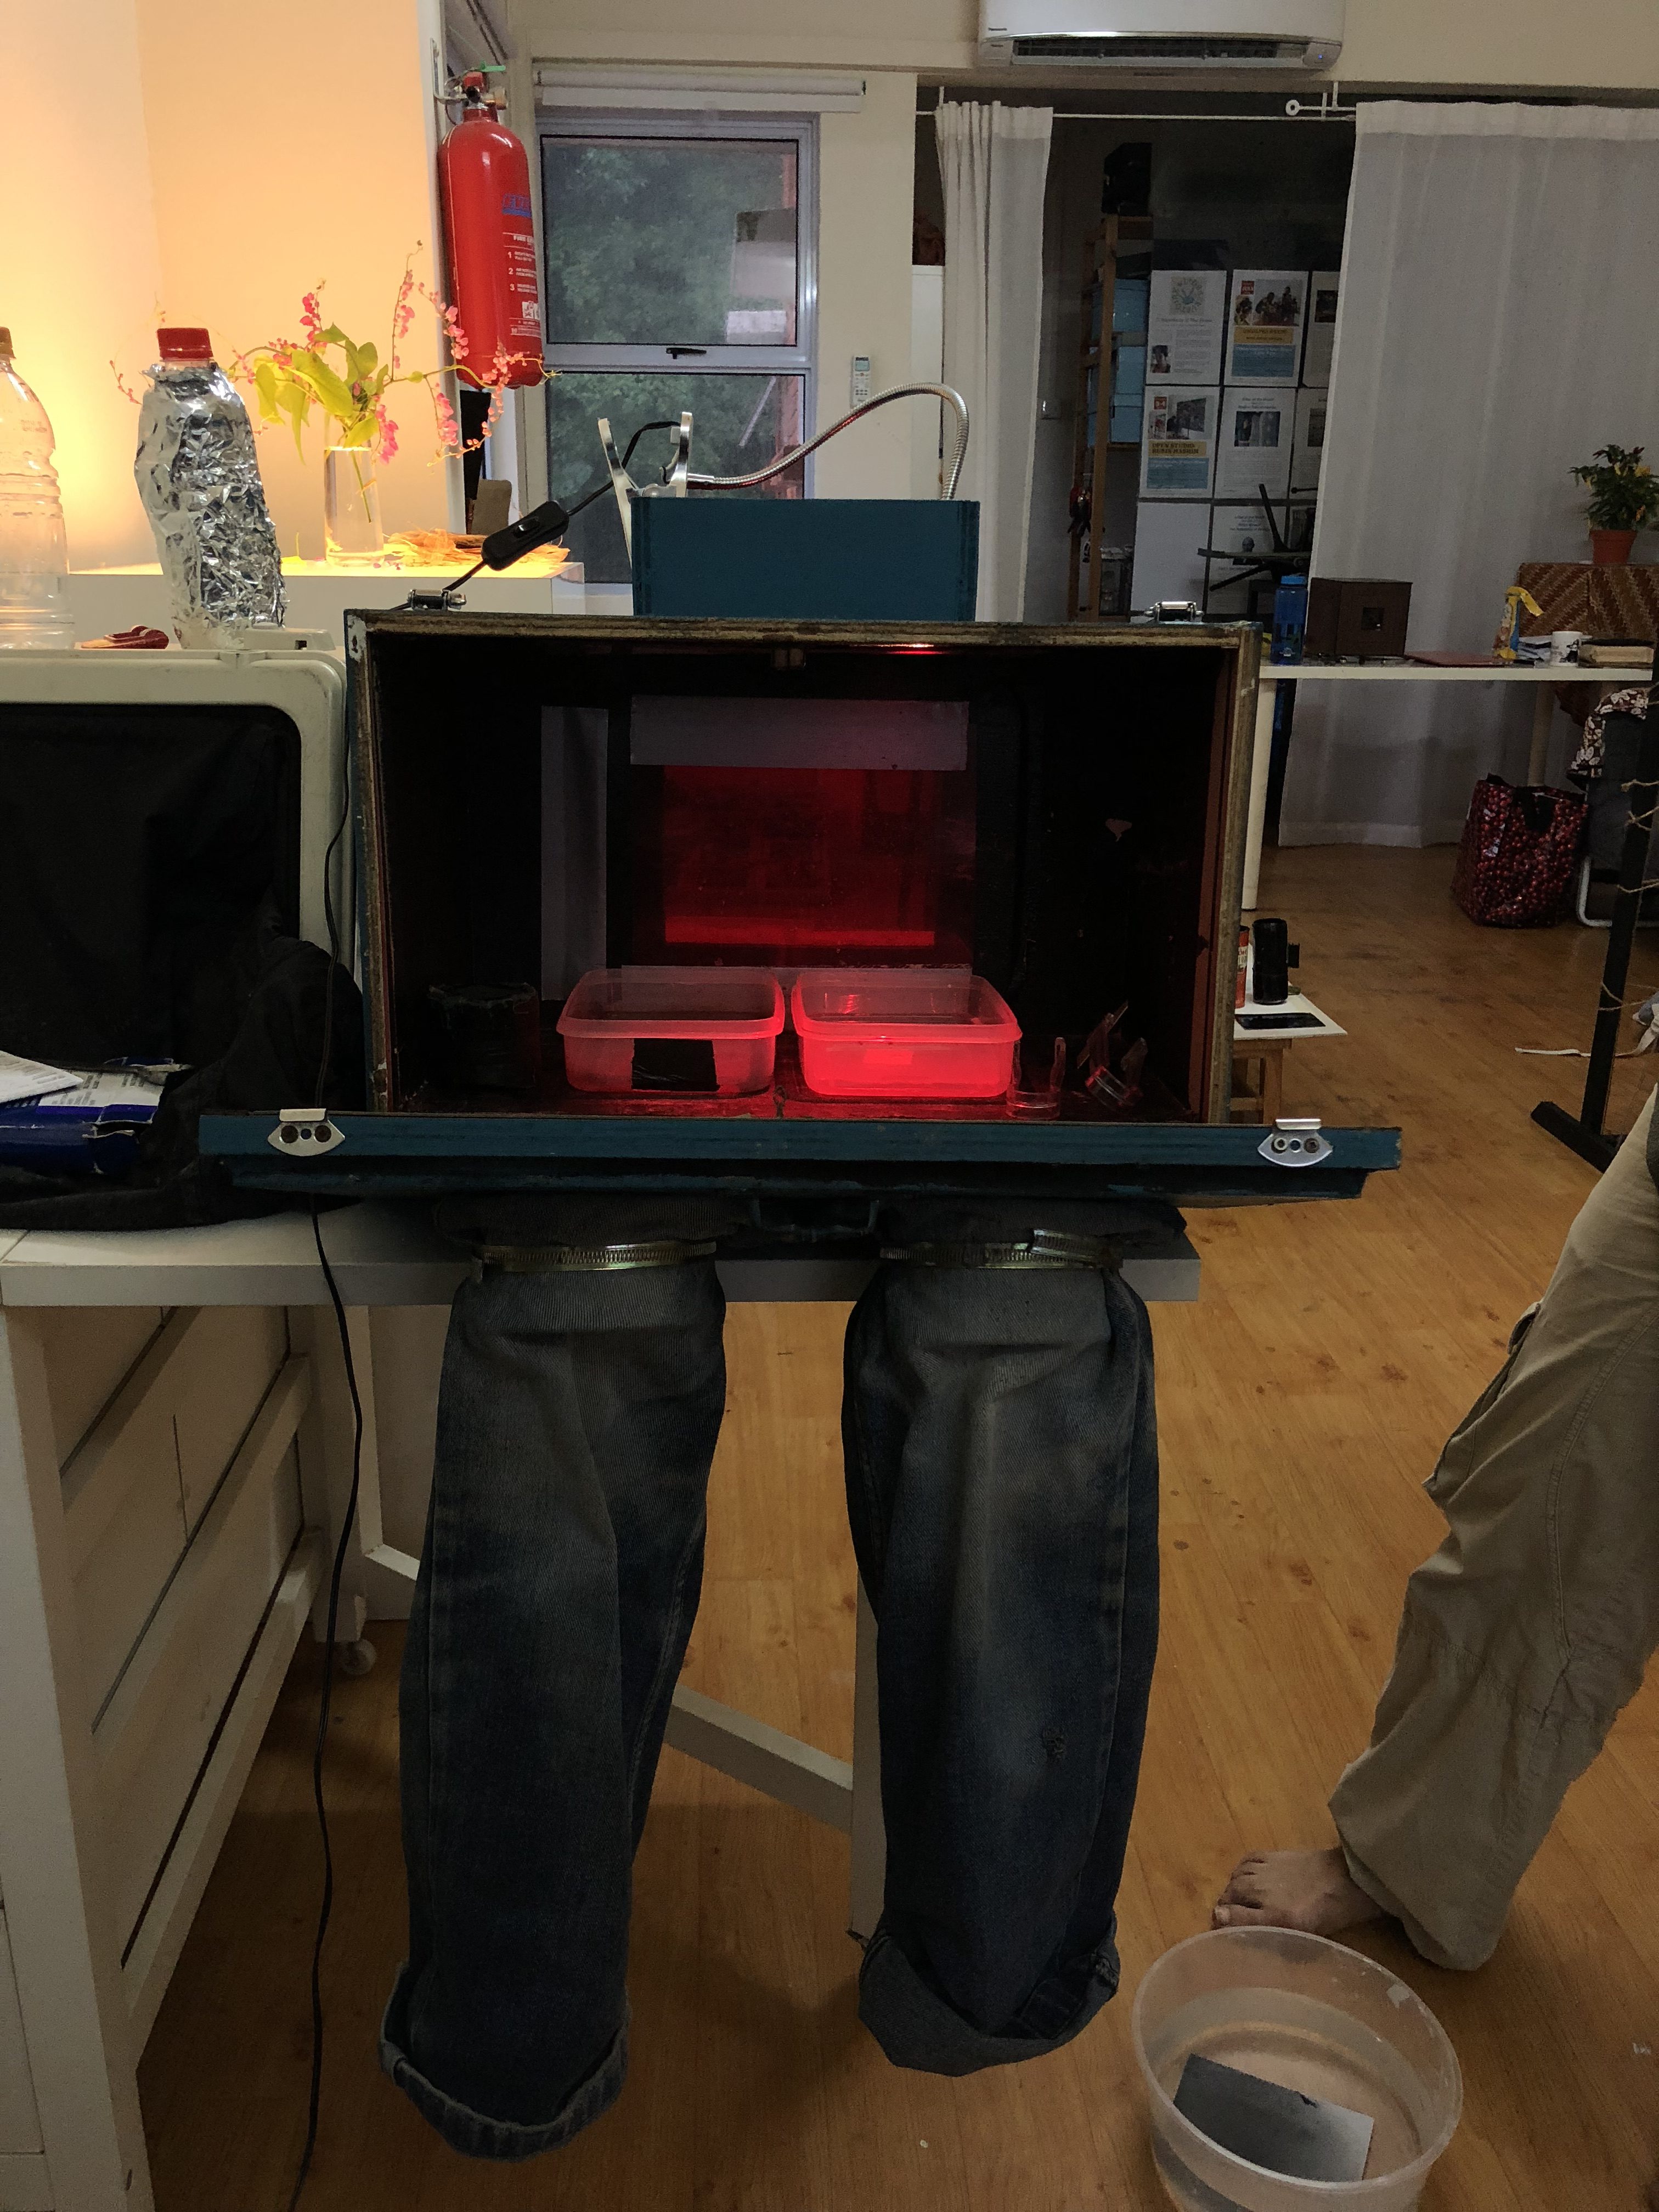
done developing!
The dark room is designed by Isabelle, made up of plywood, red acrylic, metal clasps to secure and old dad denim jeans where hands go!
Through the red acrylic I can see how Isabelle develops the photo.
I went to visit Isabelle again at her home studio near one-north.
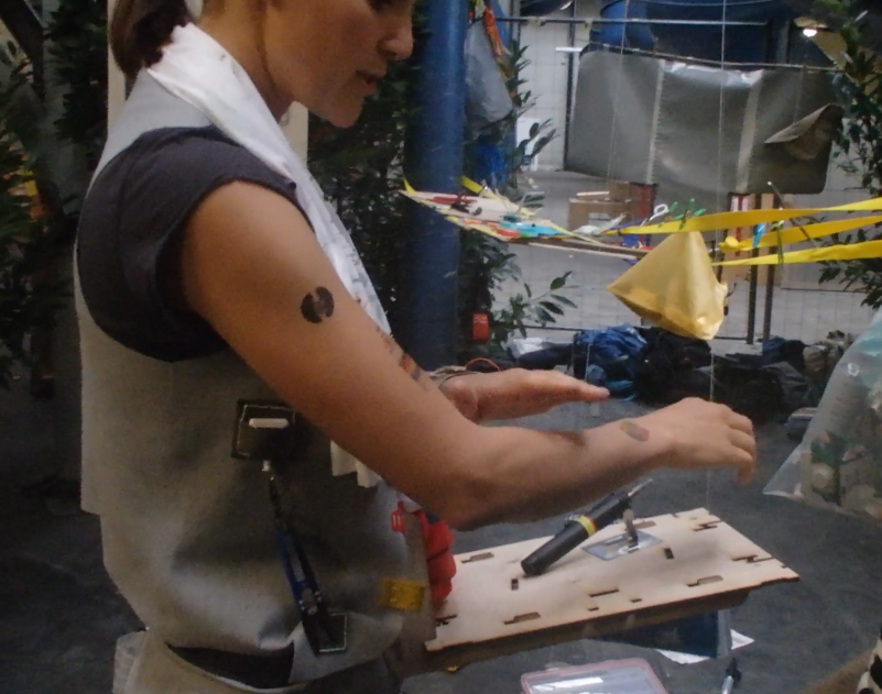
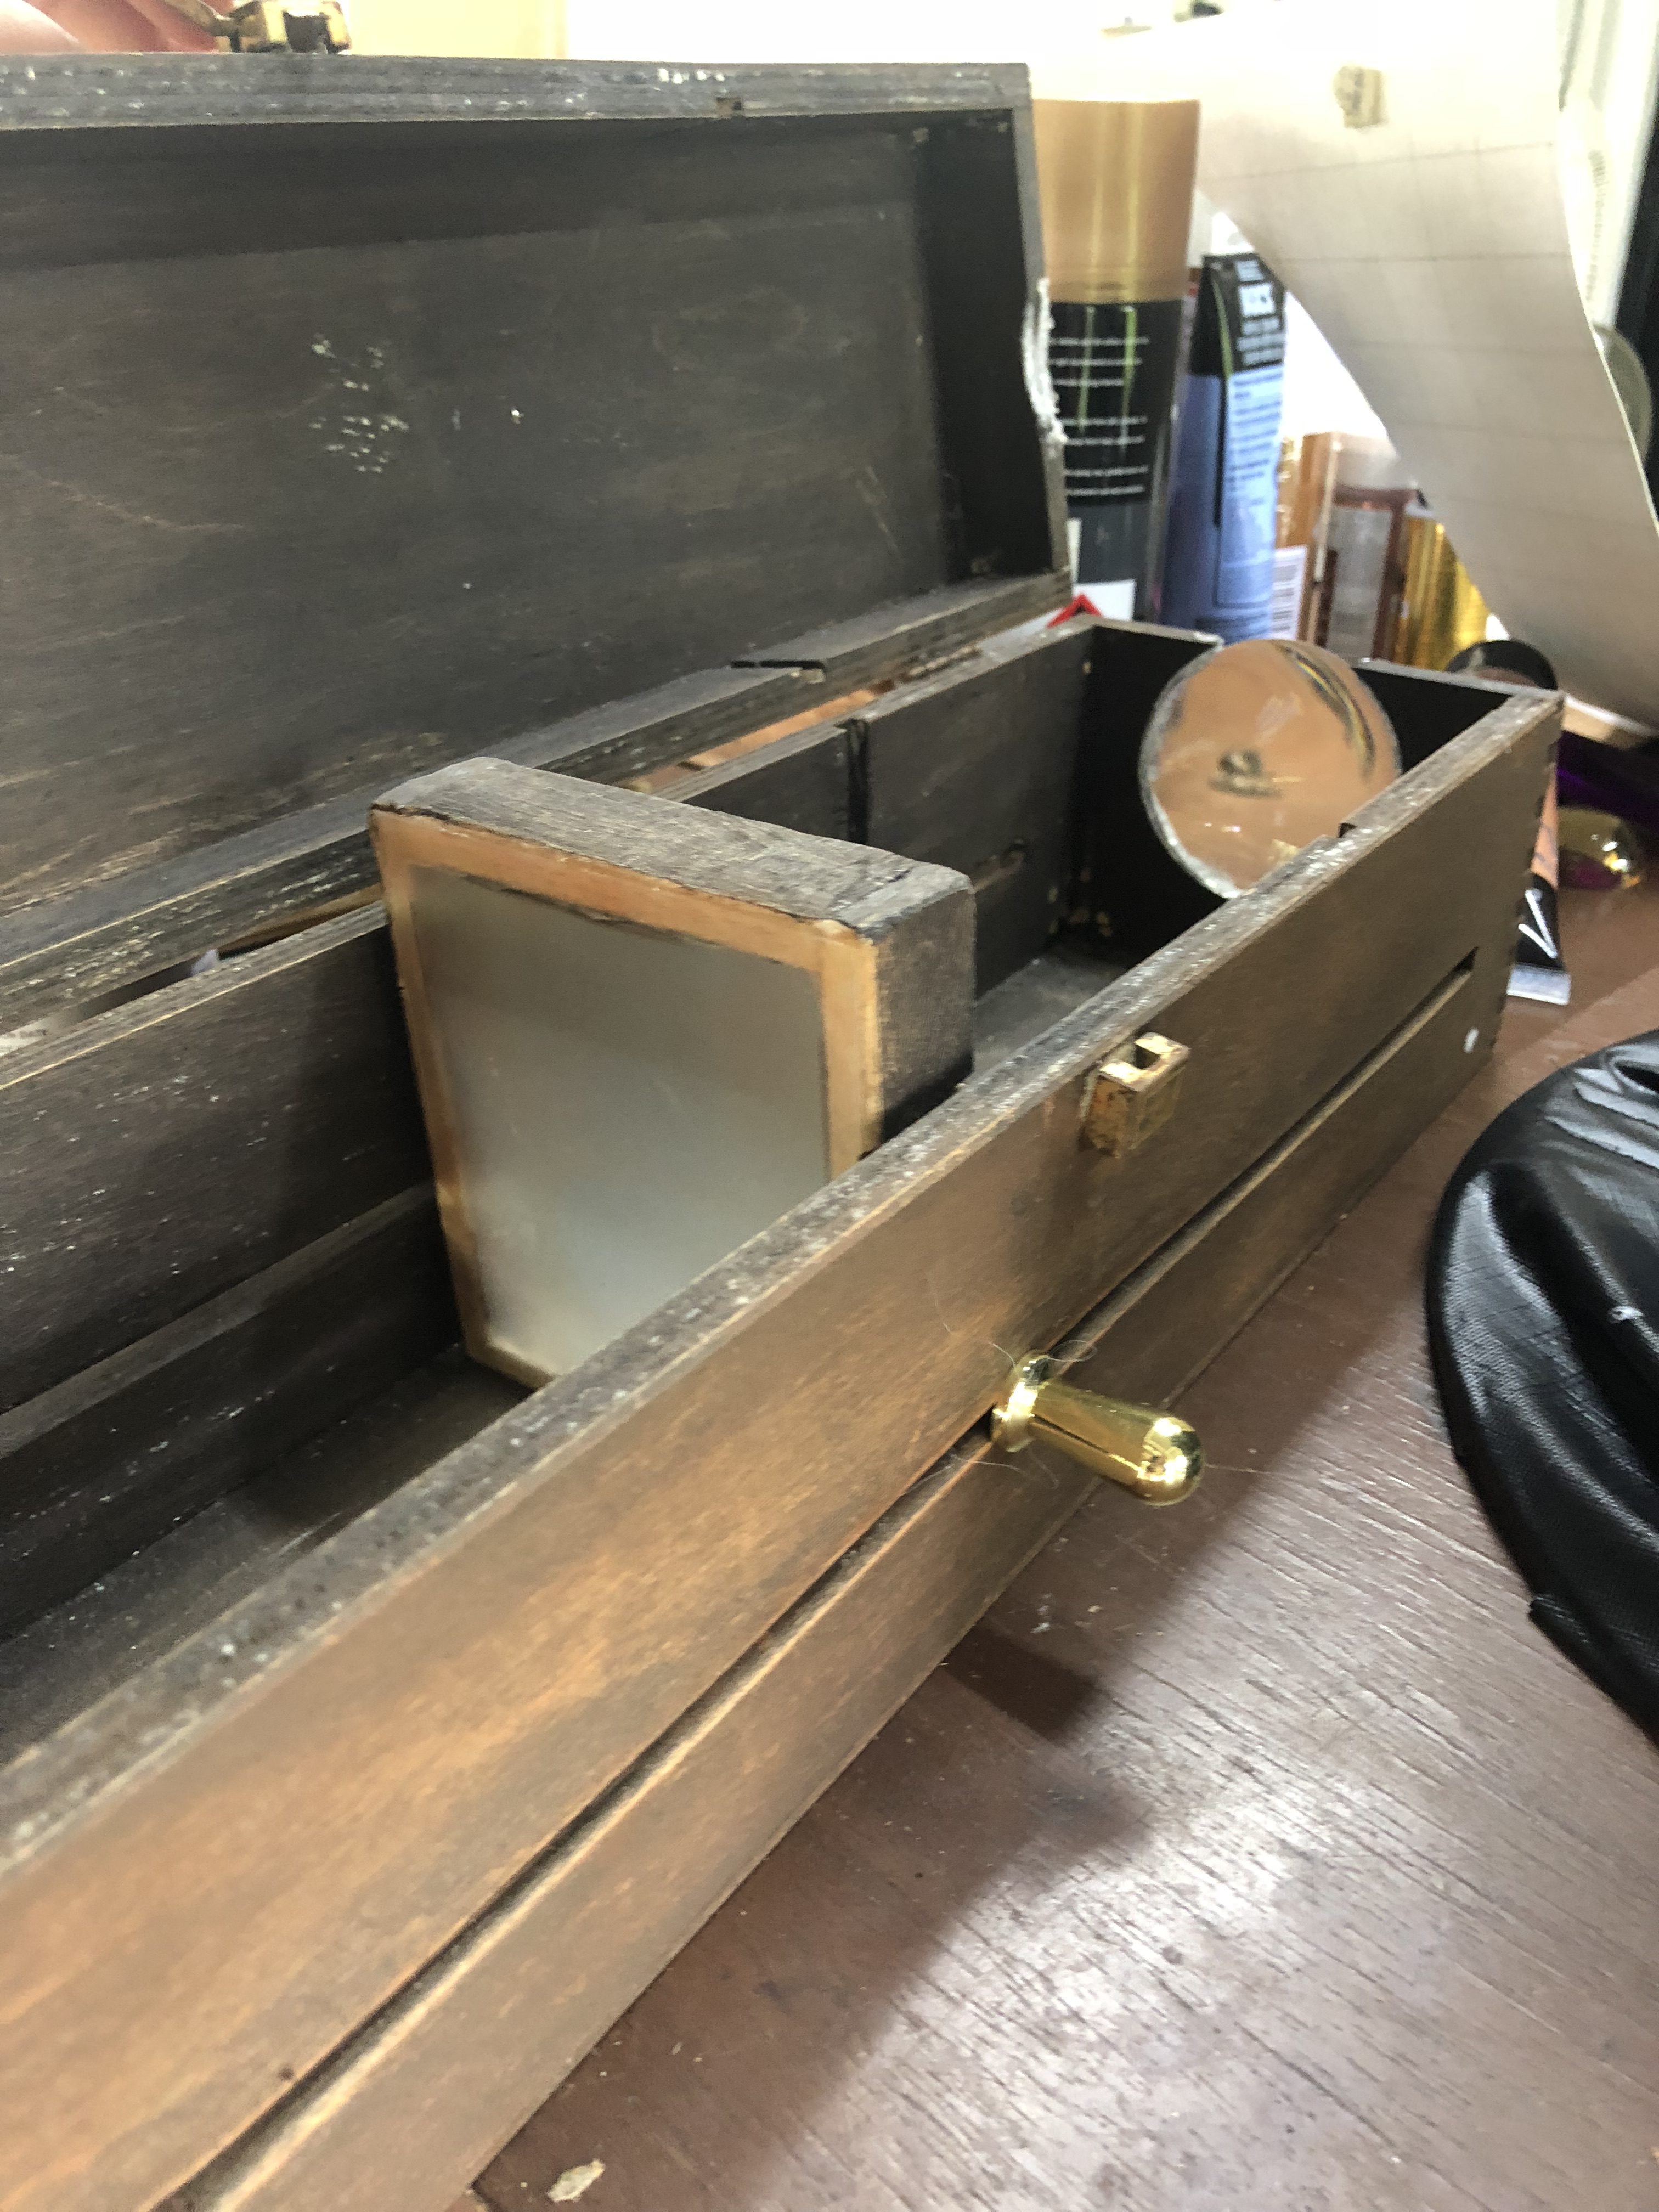
She showed me the current project she is working on, building an installation, a huge camera which I could participate it.

her home studio 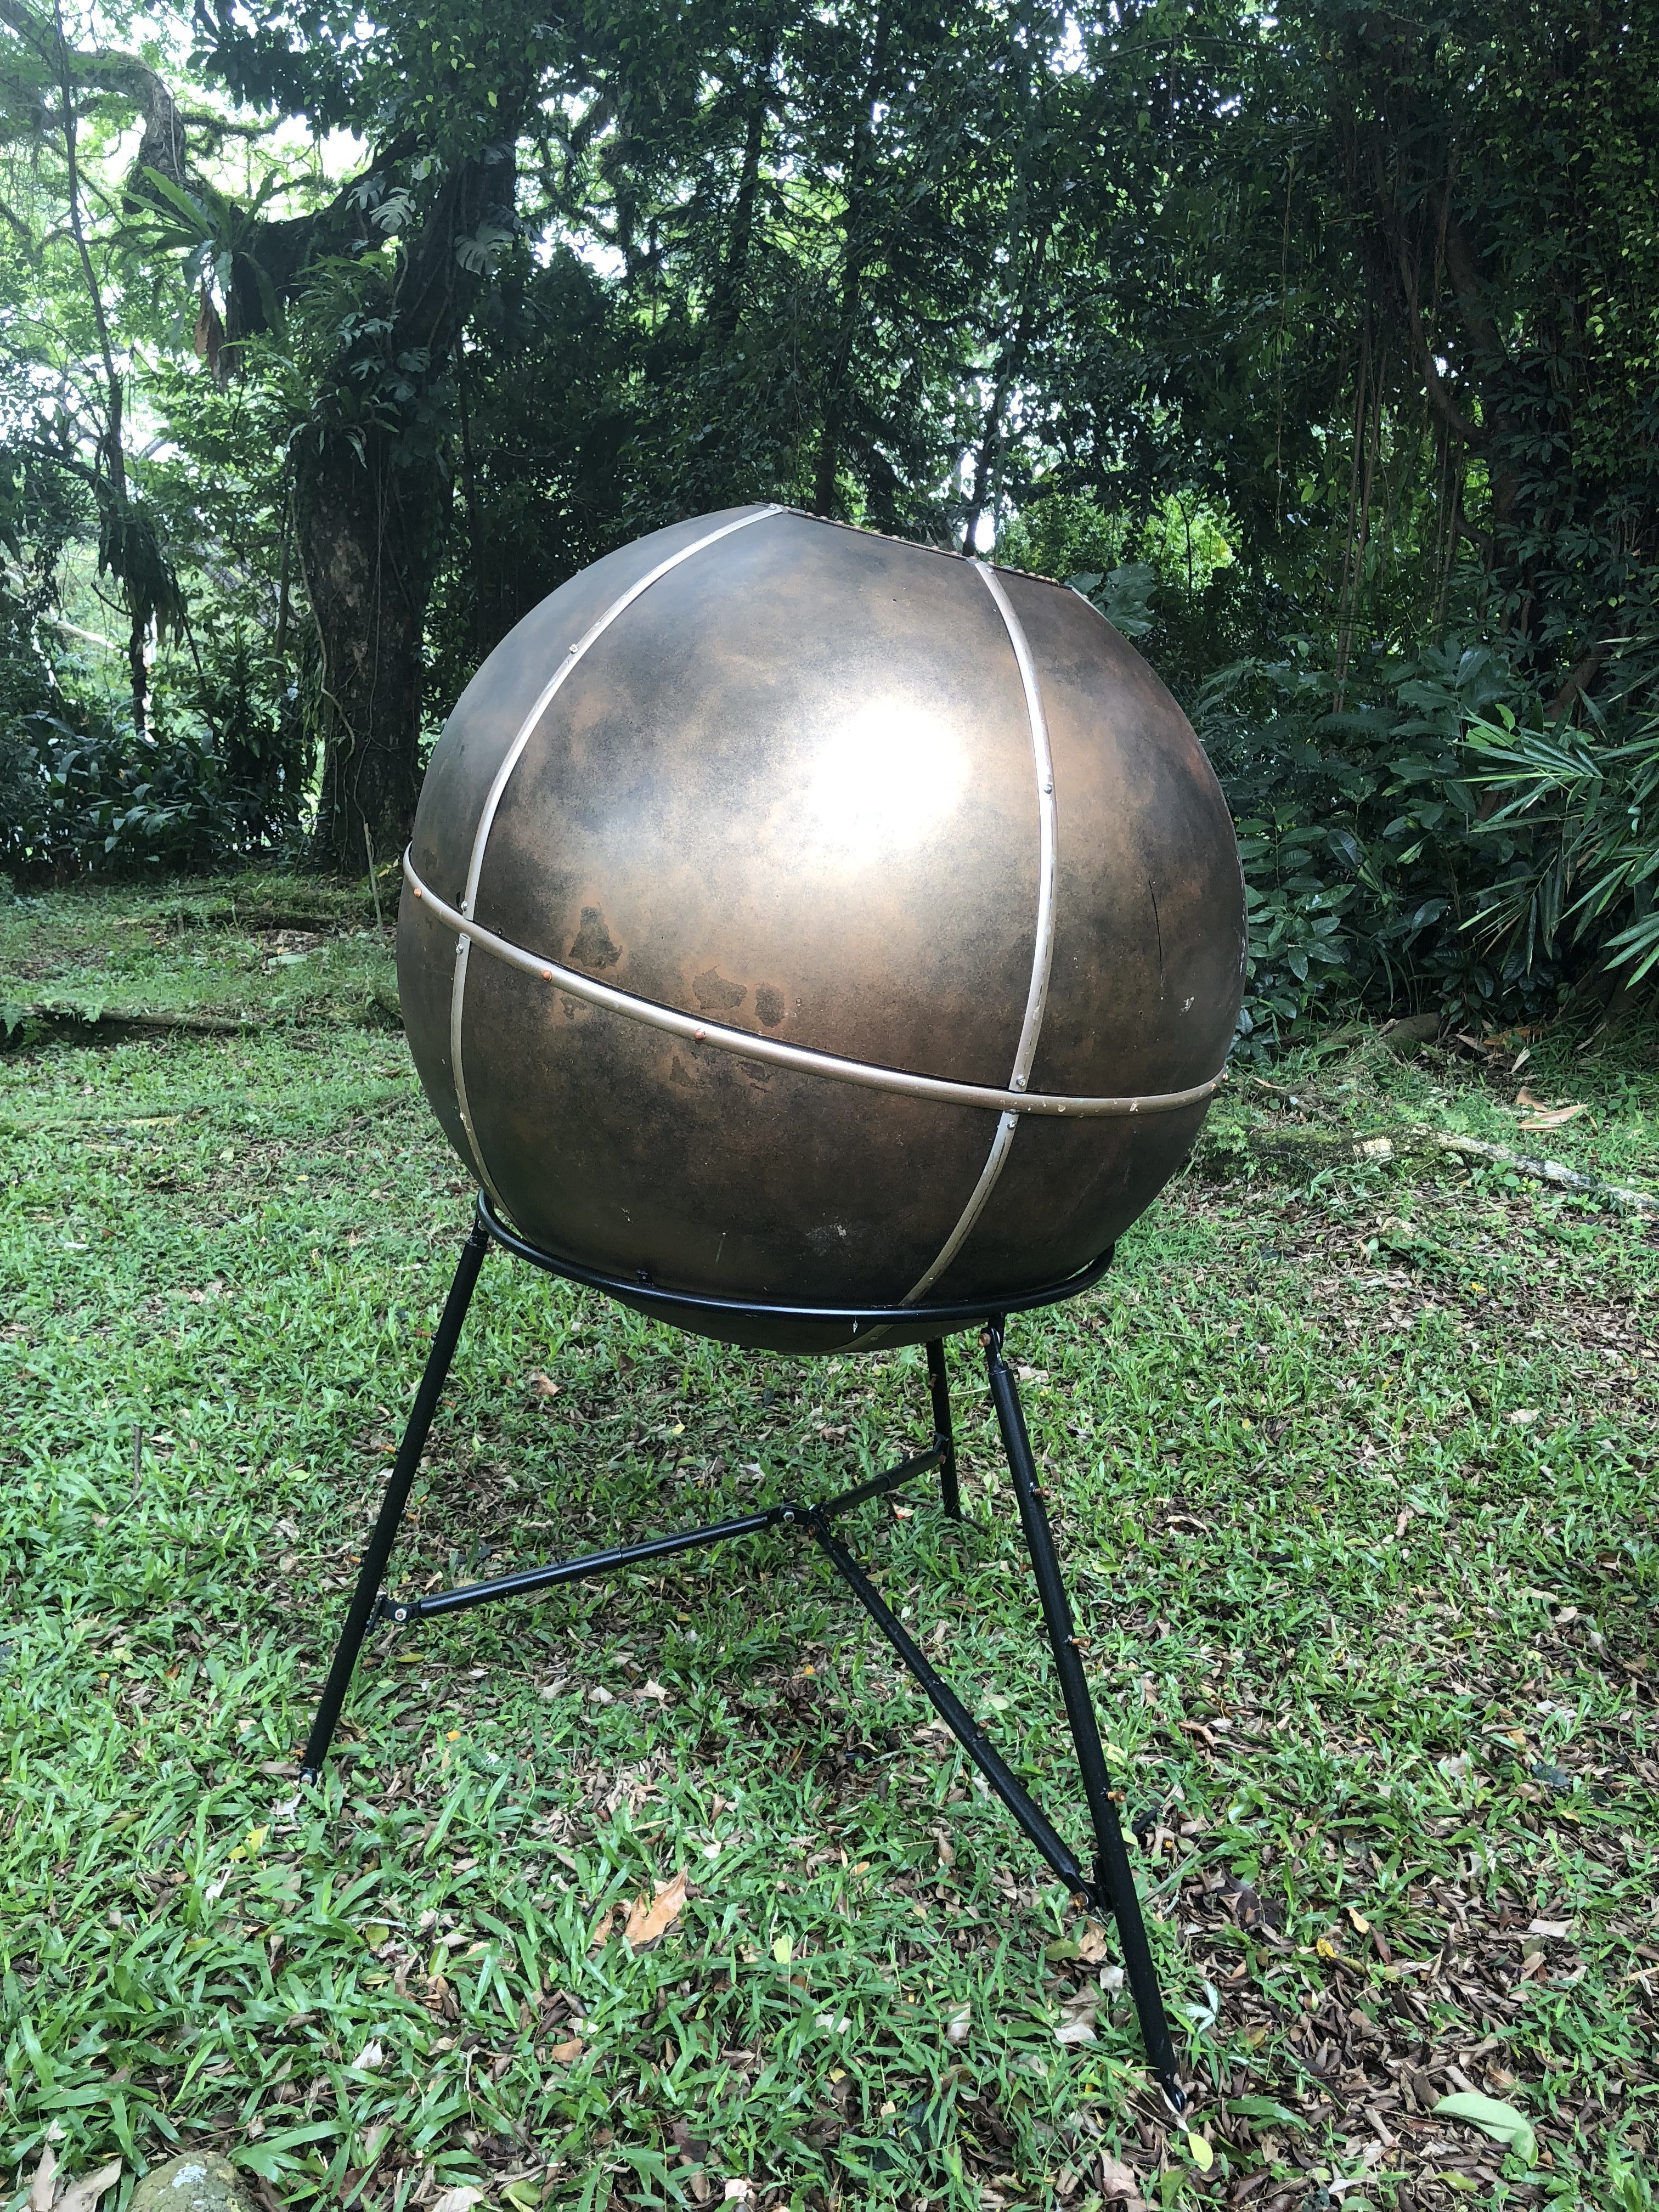
it’s hugee 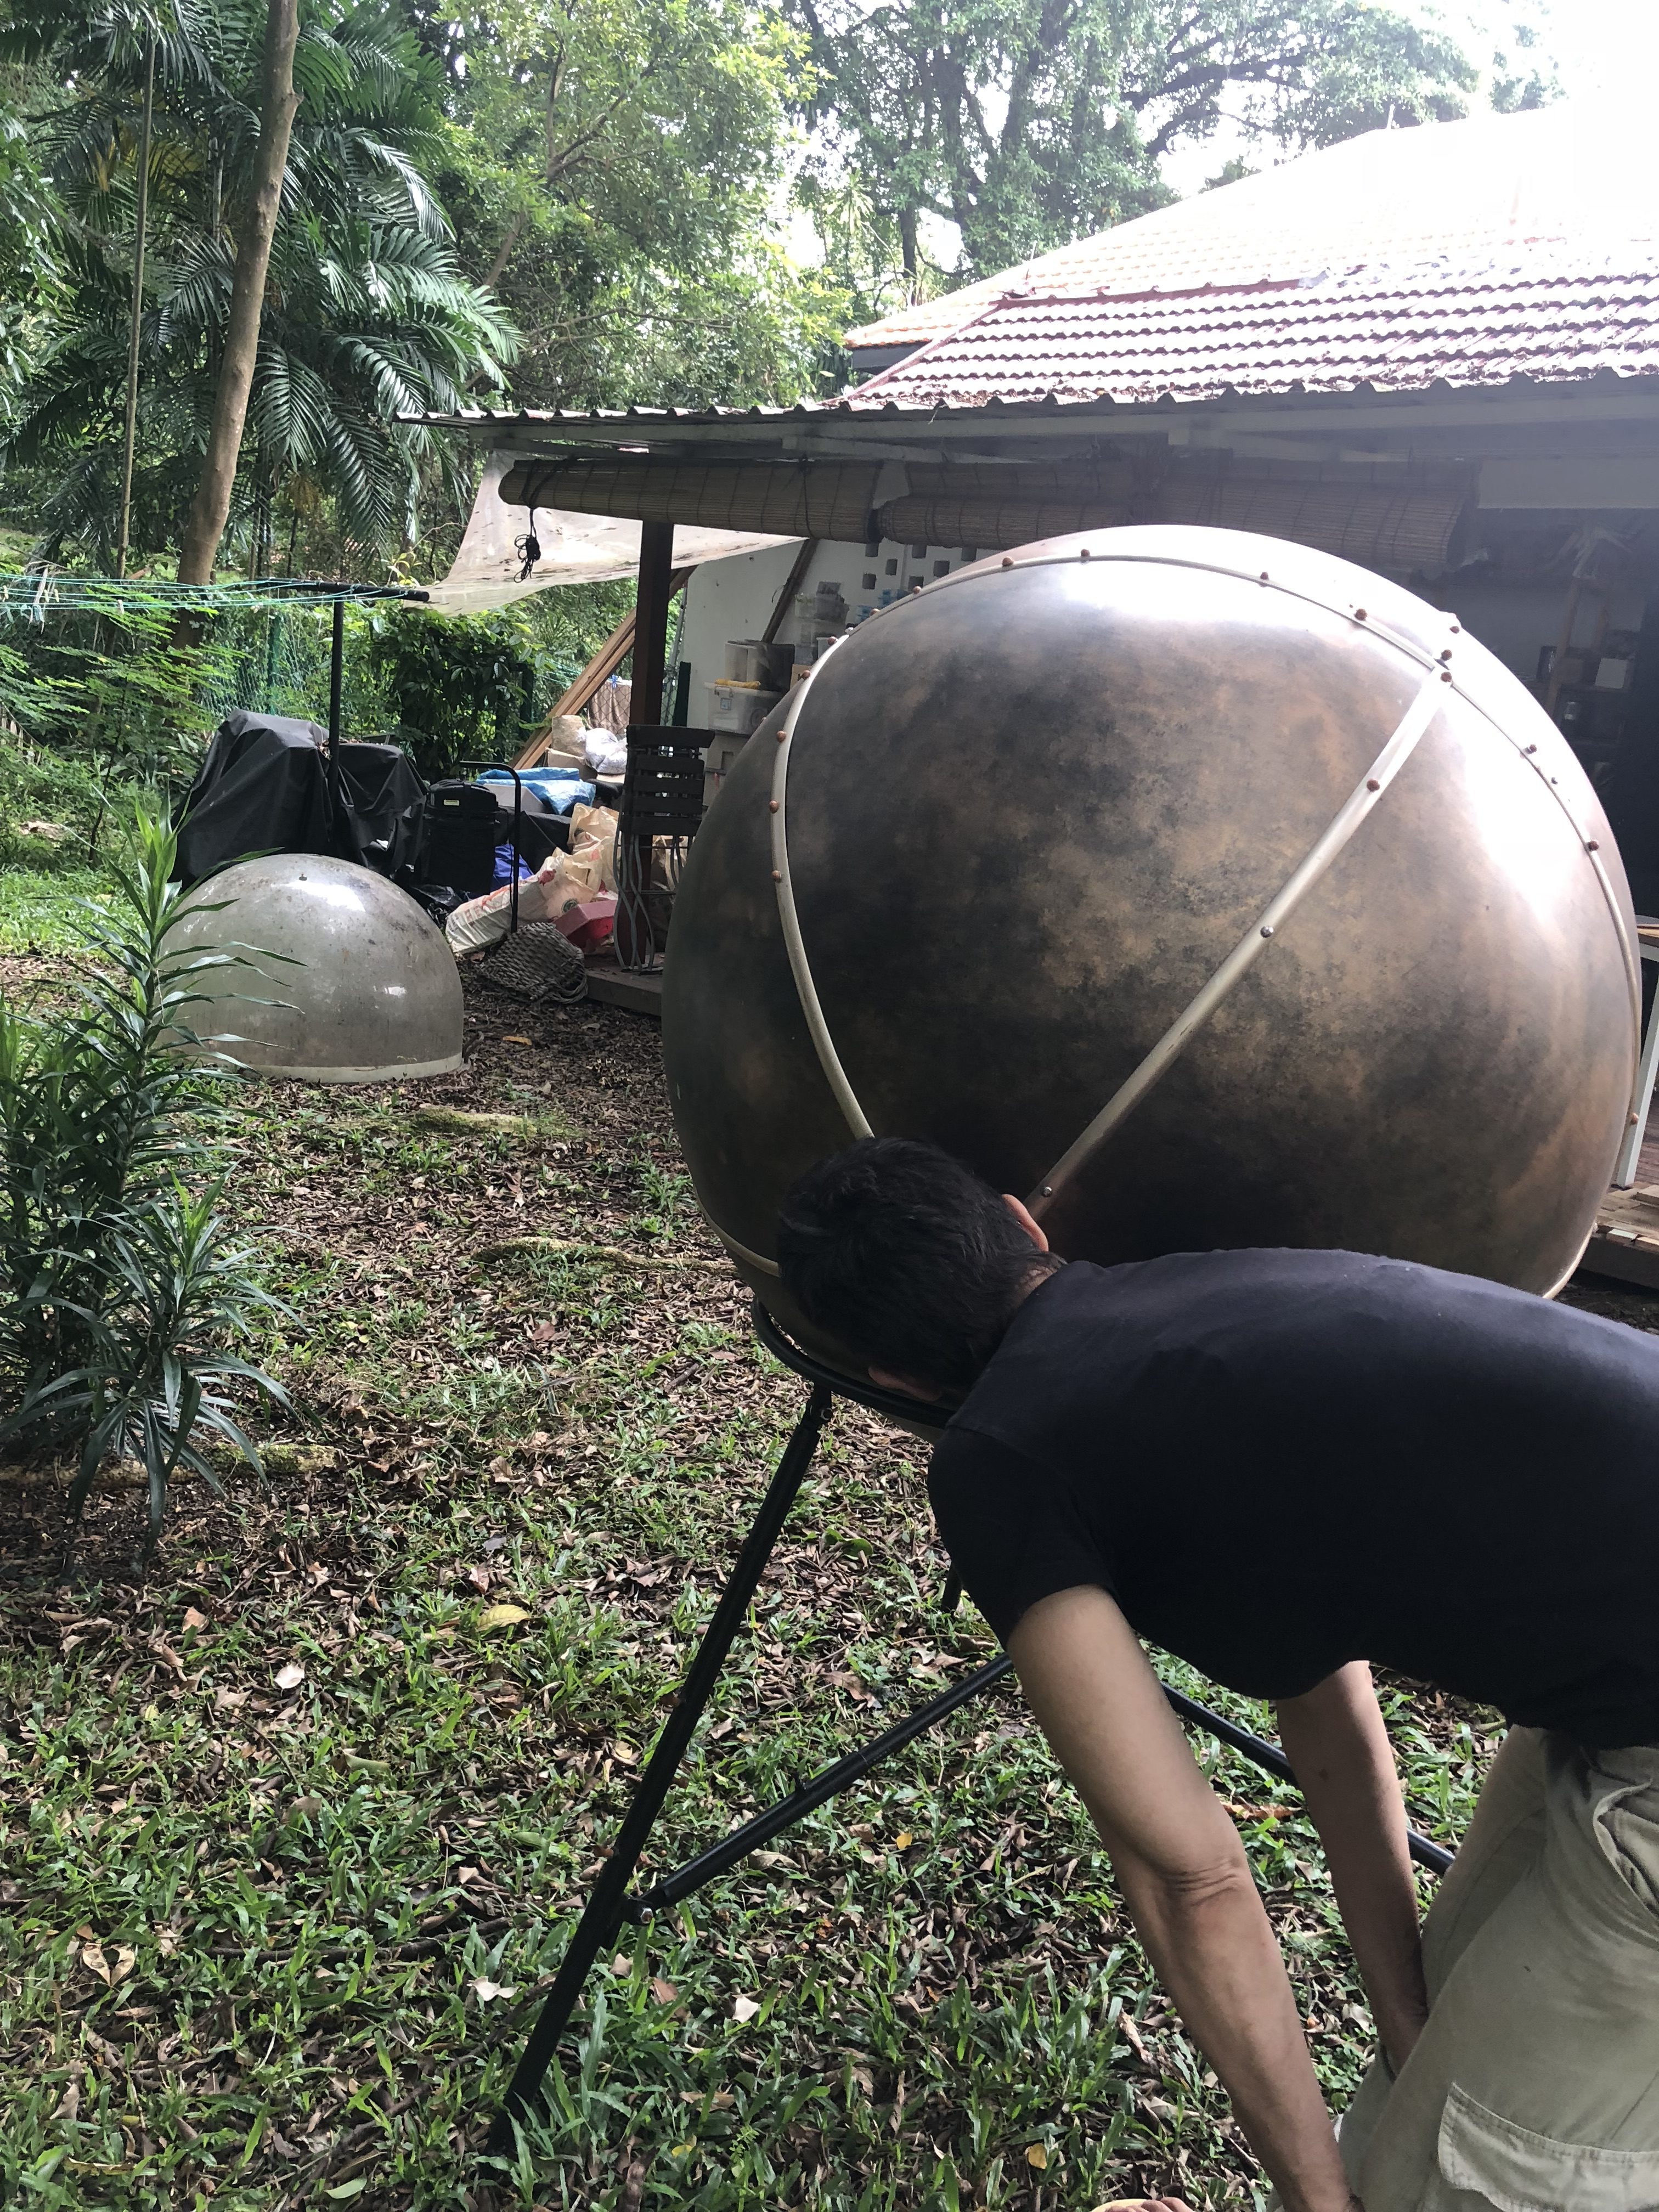
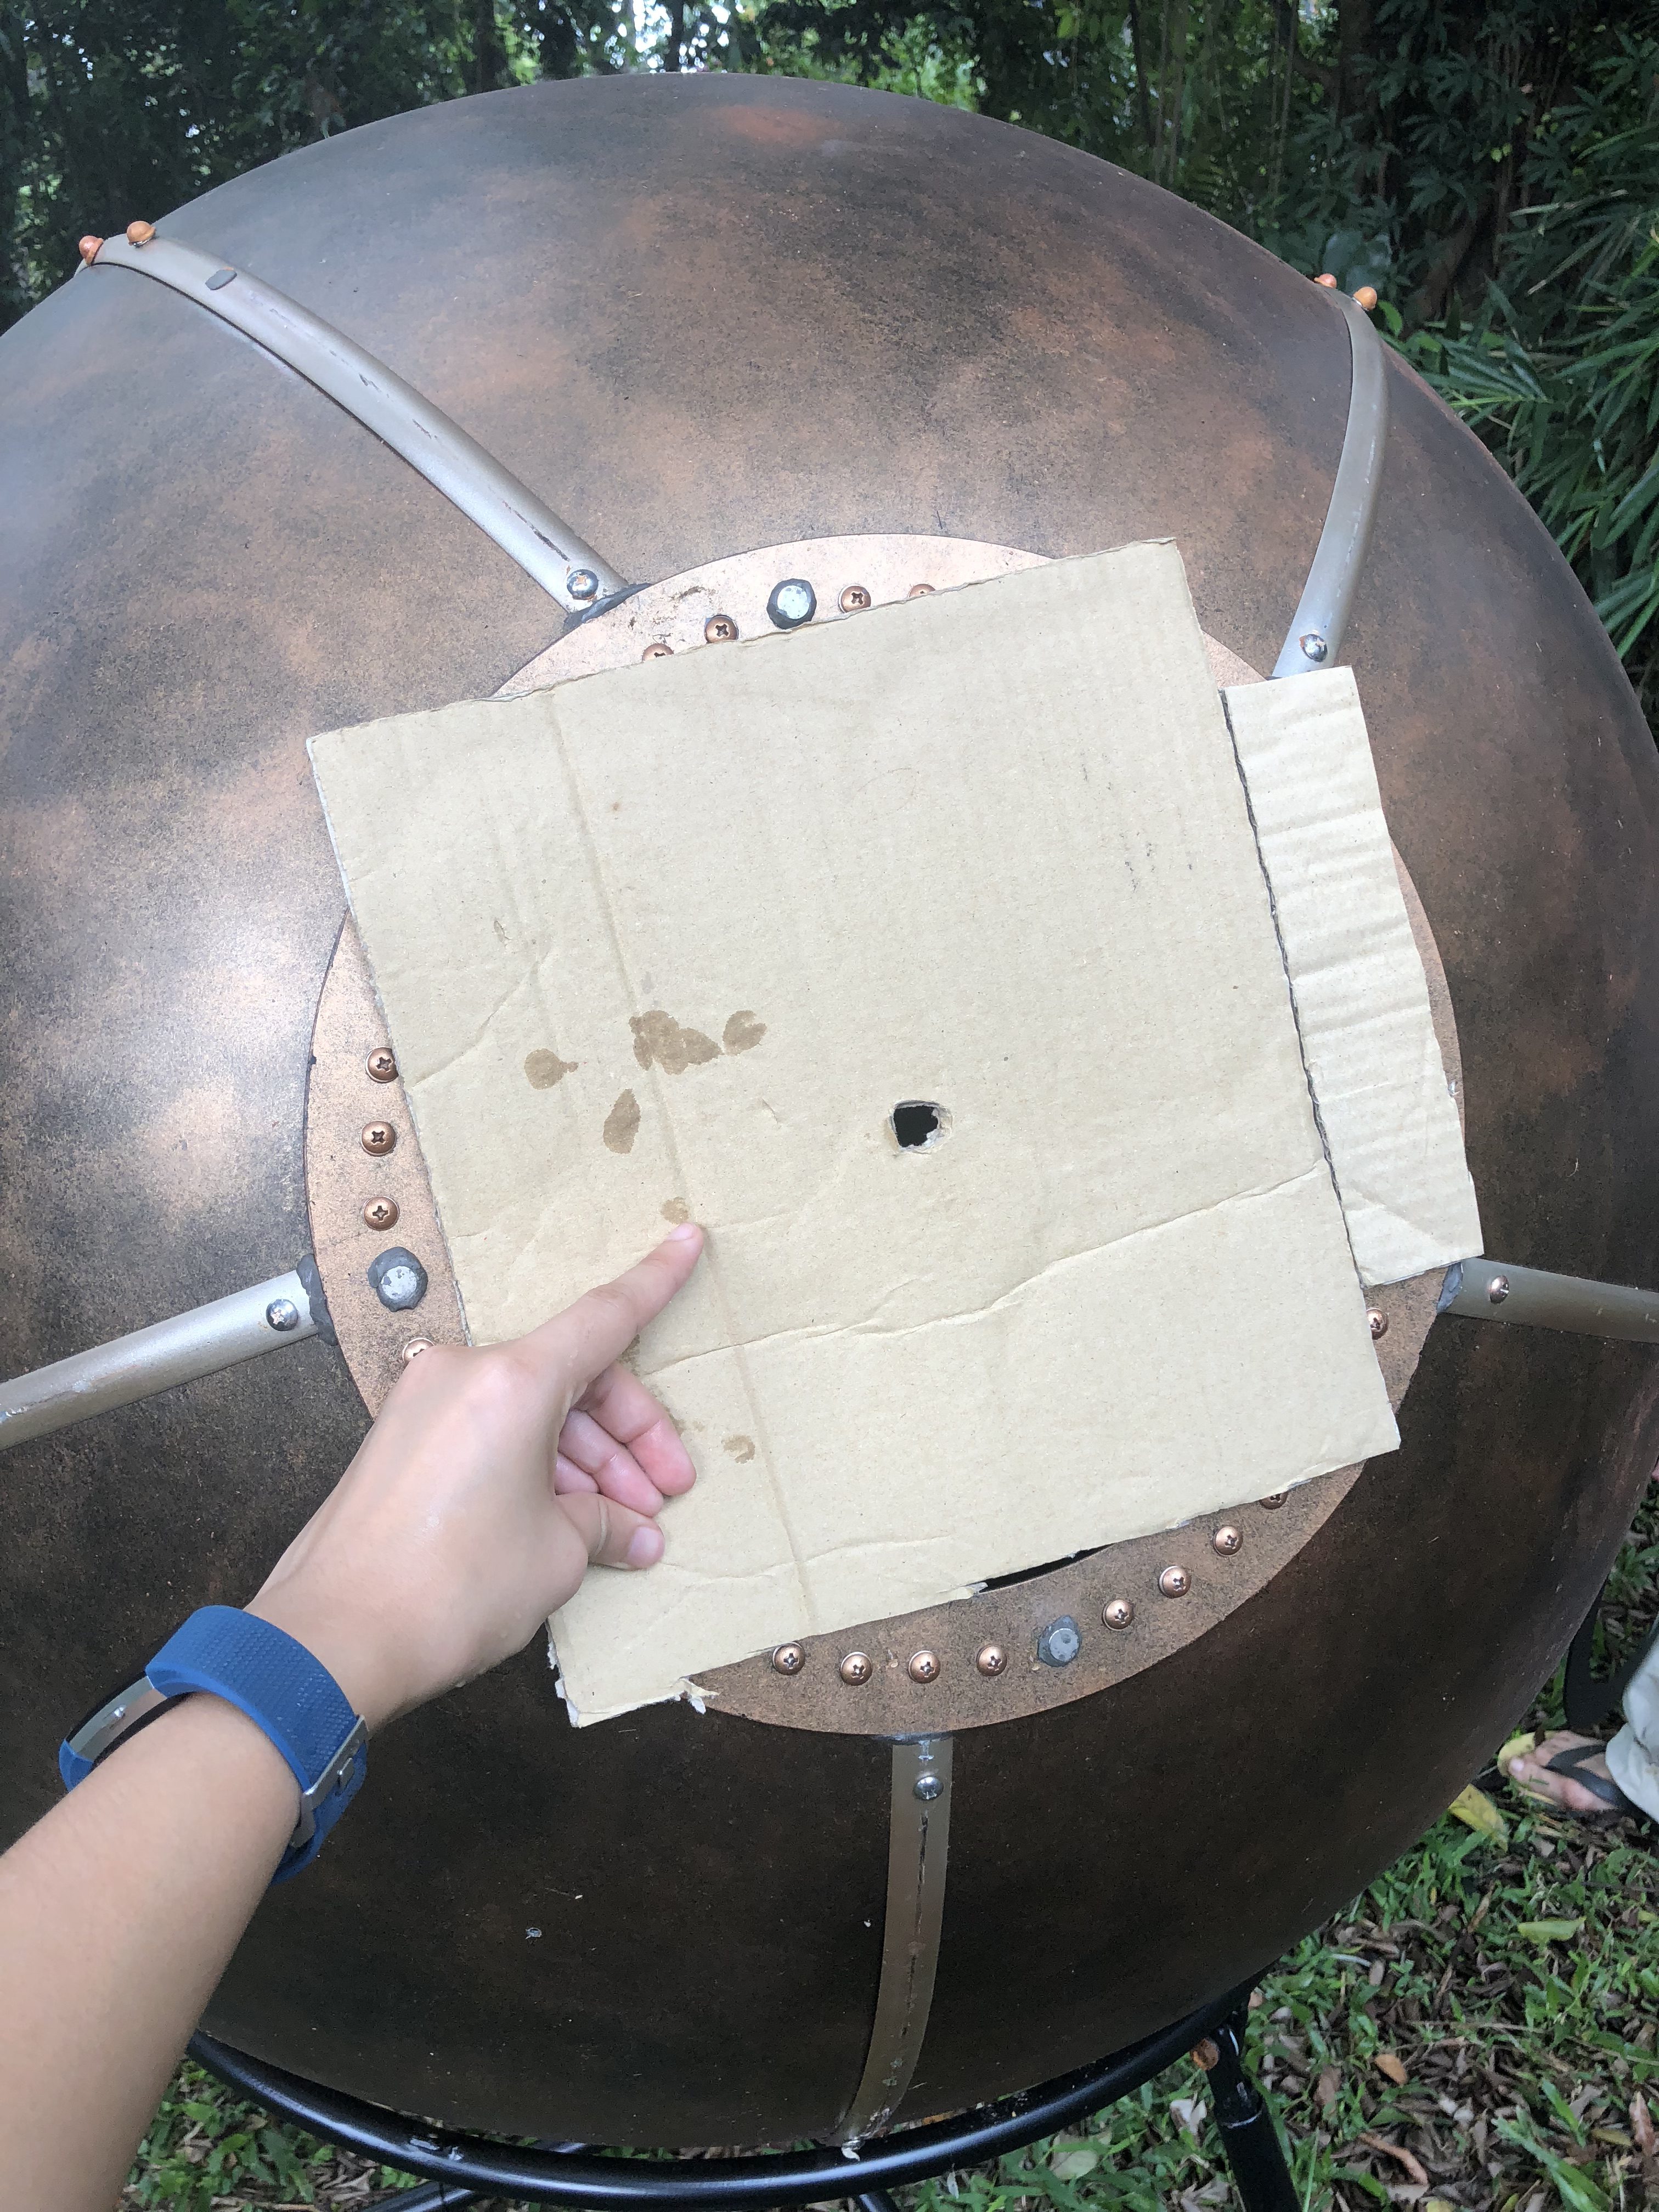
im helping! 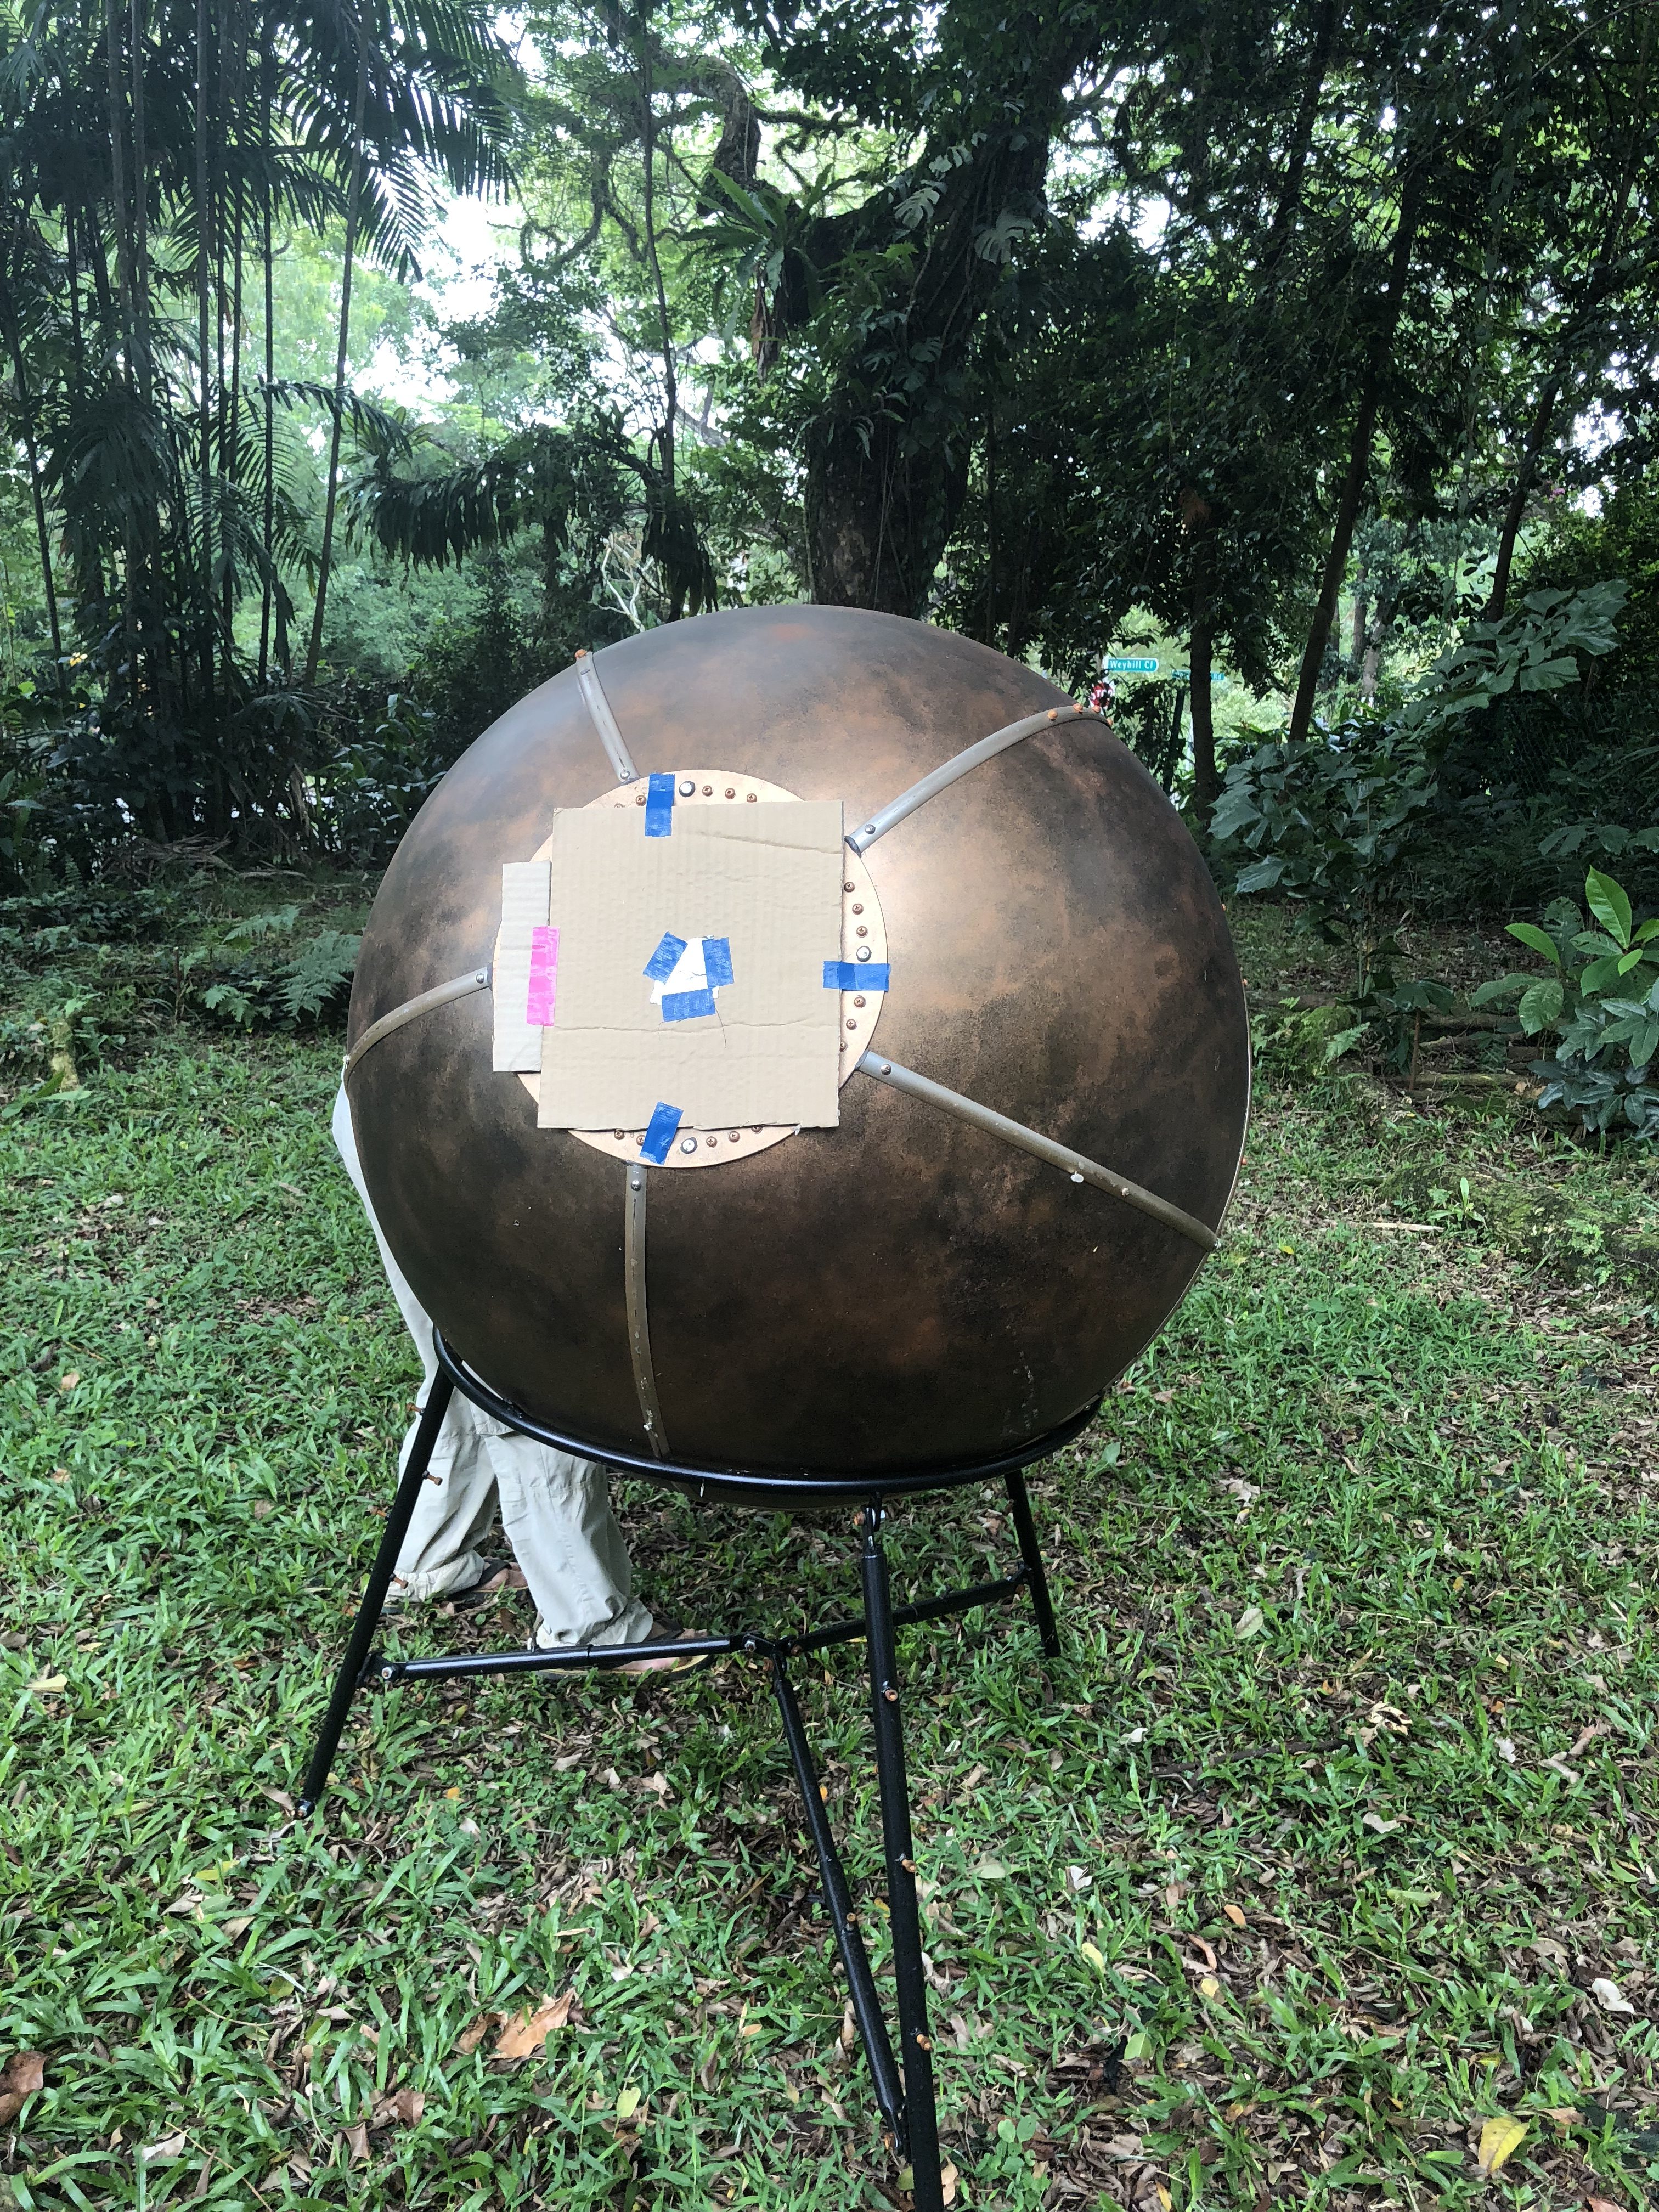
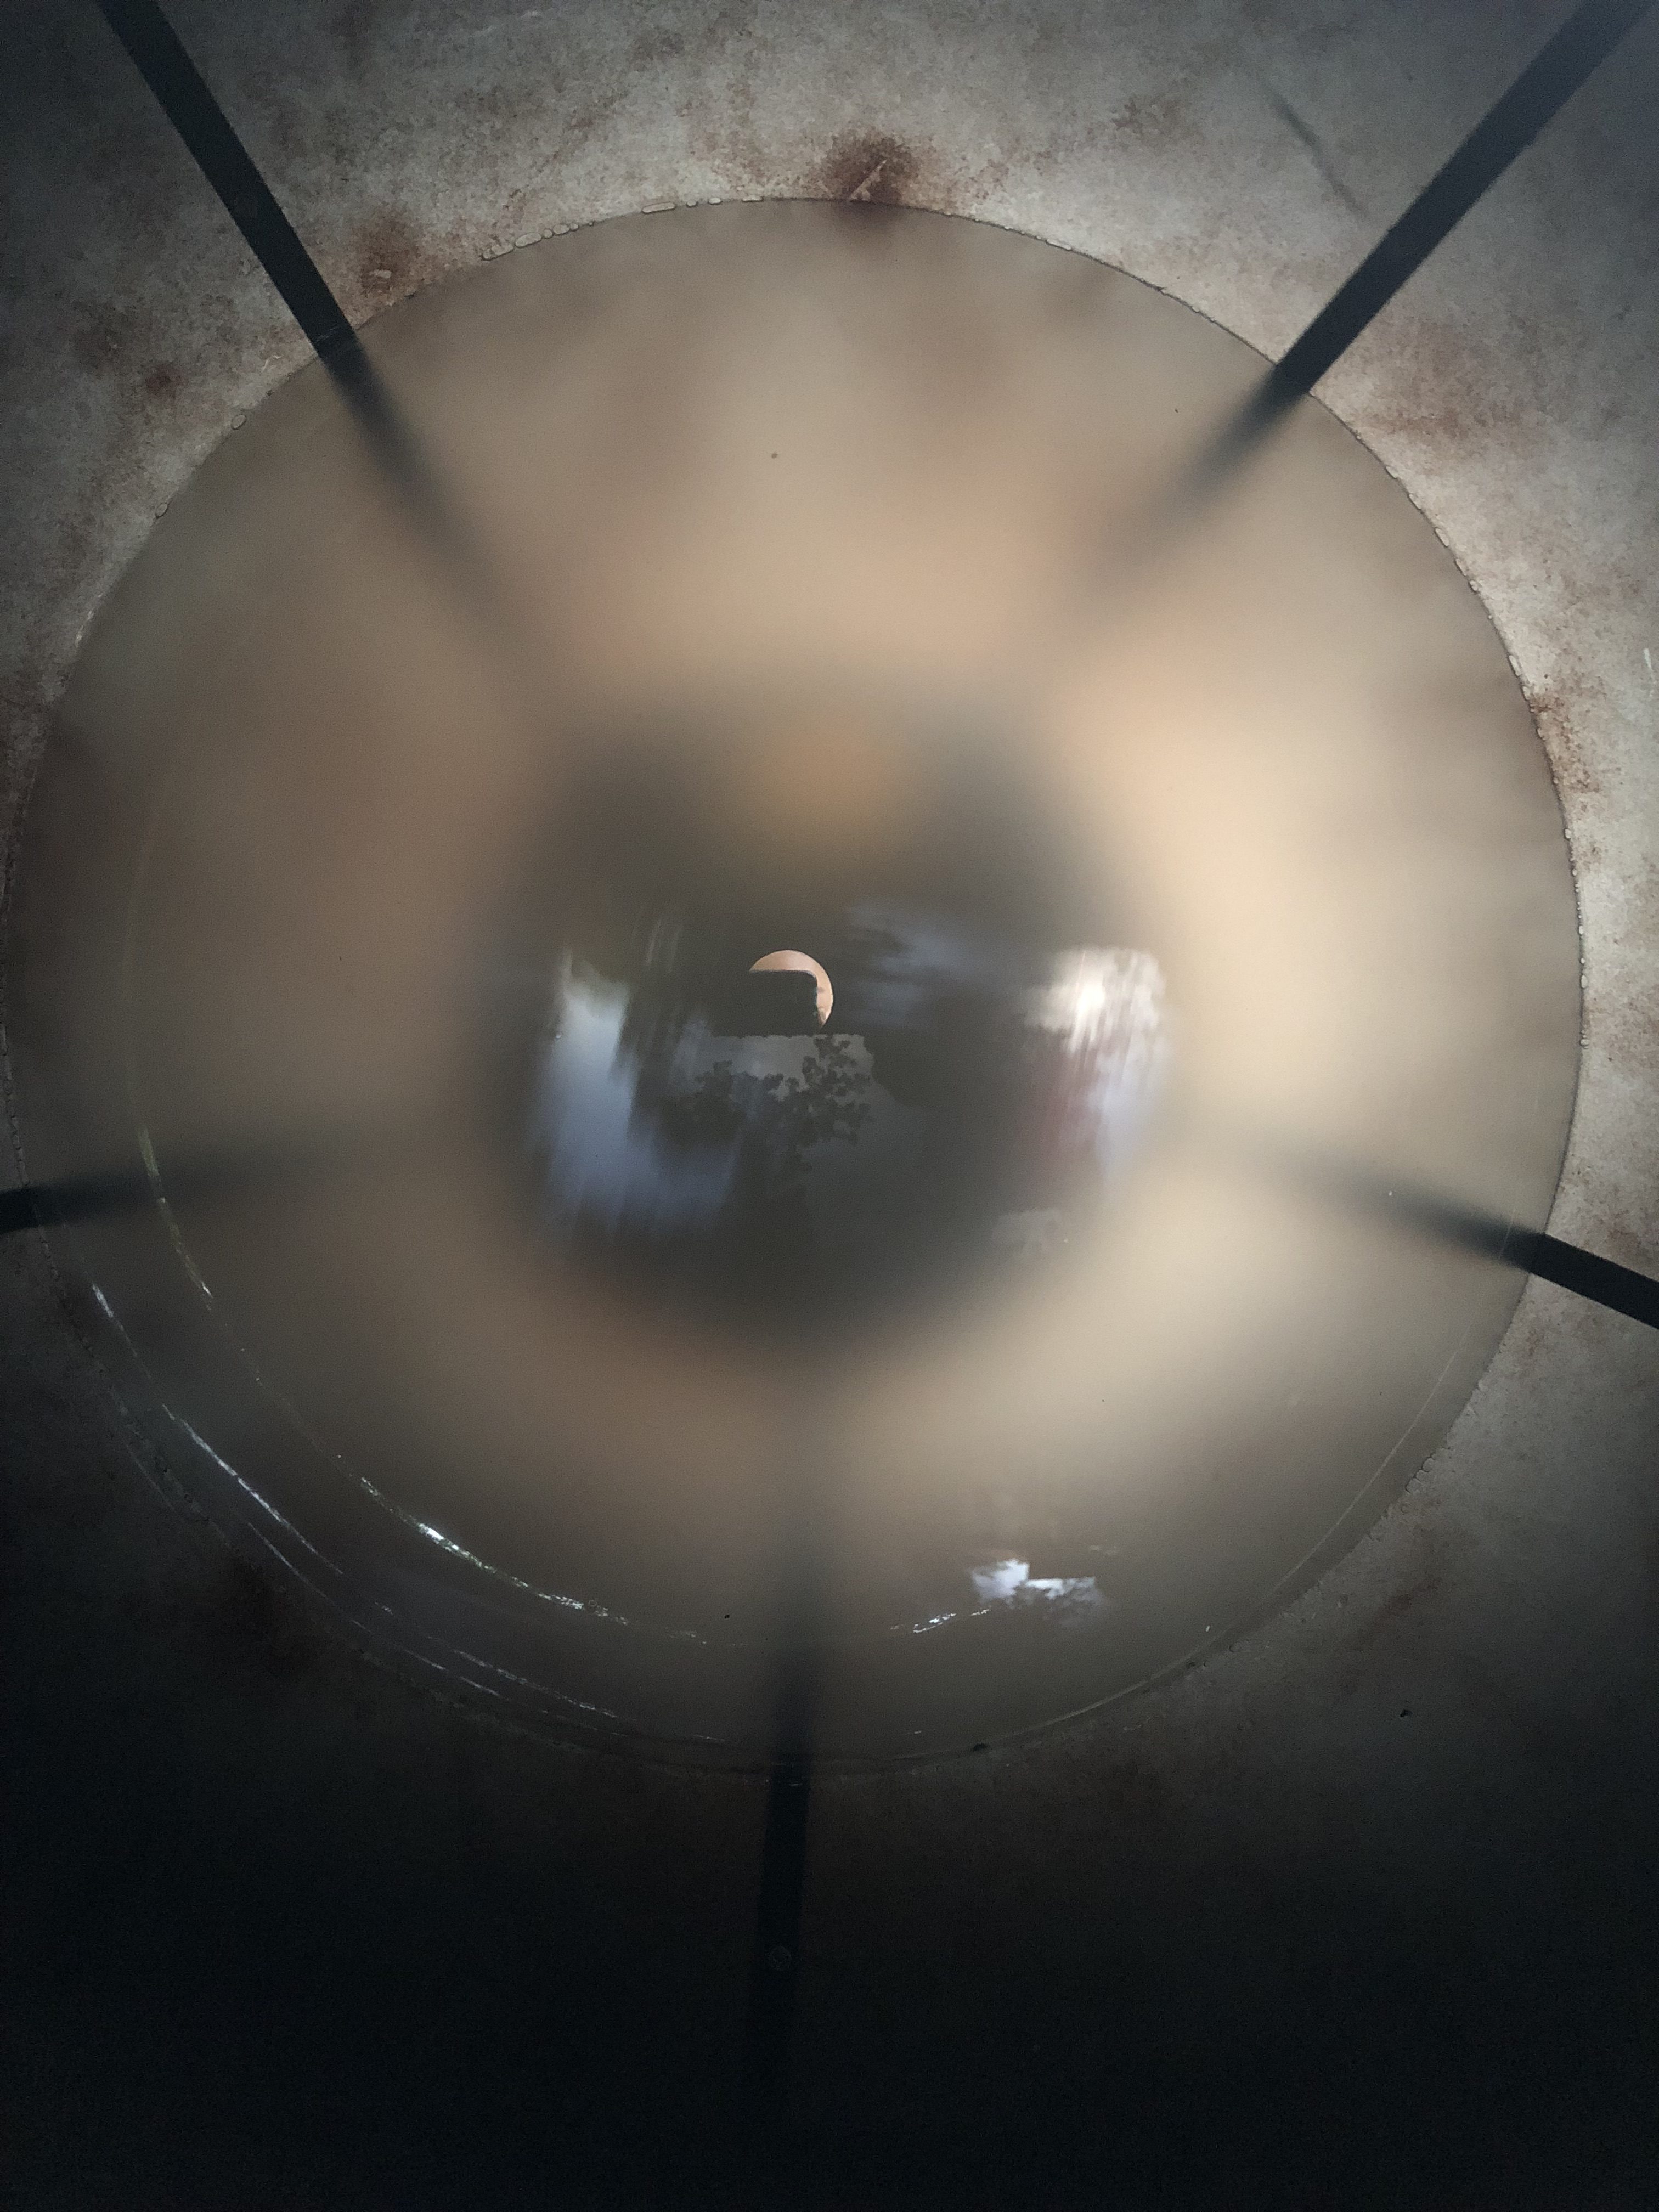
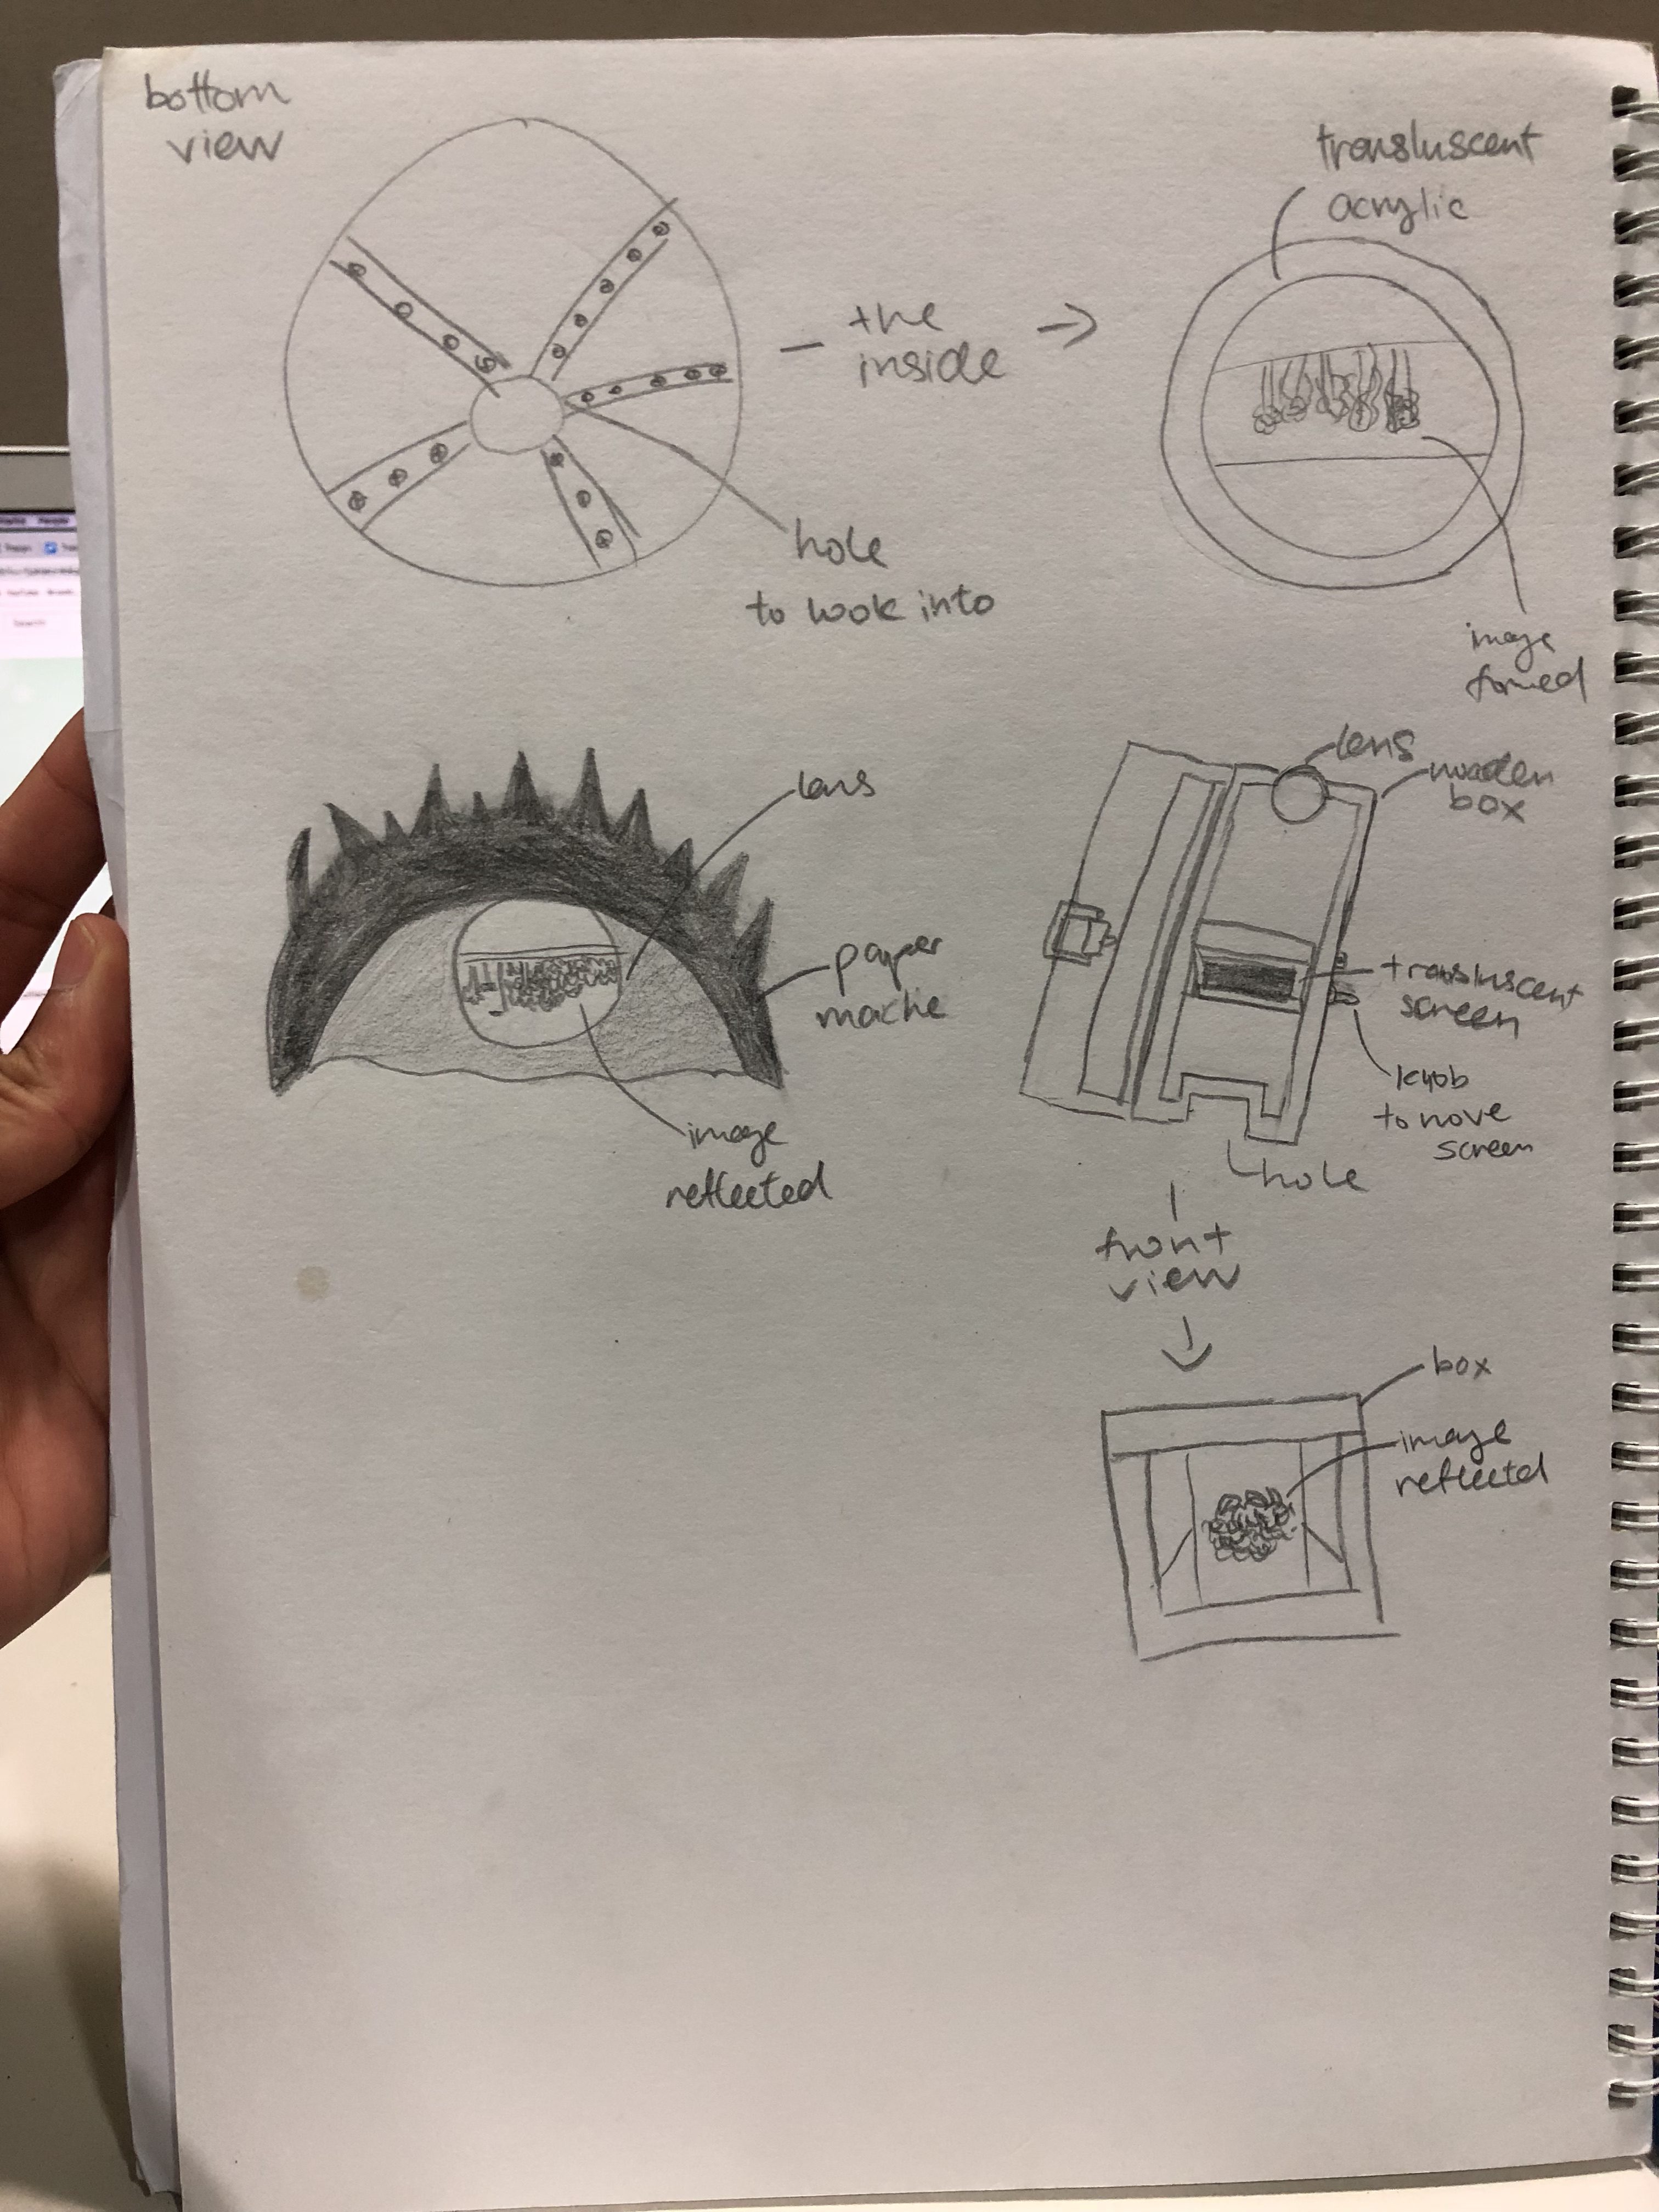
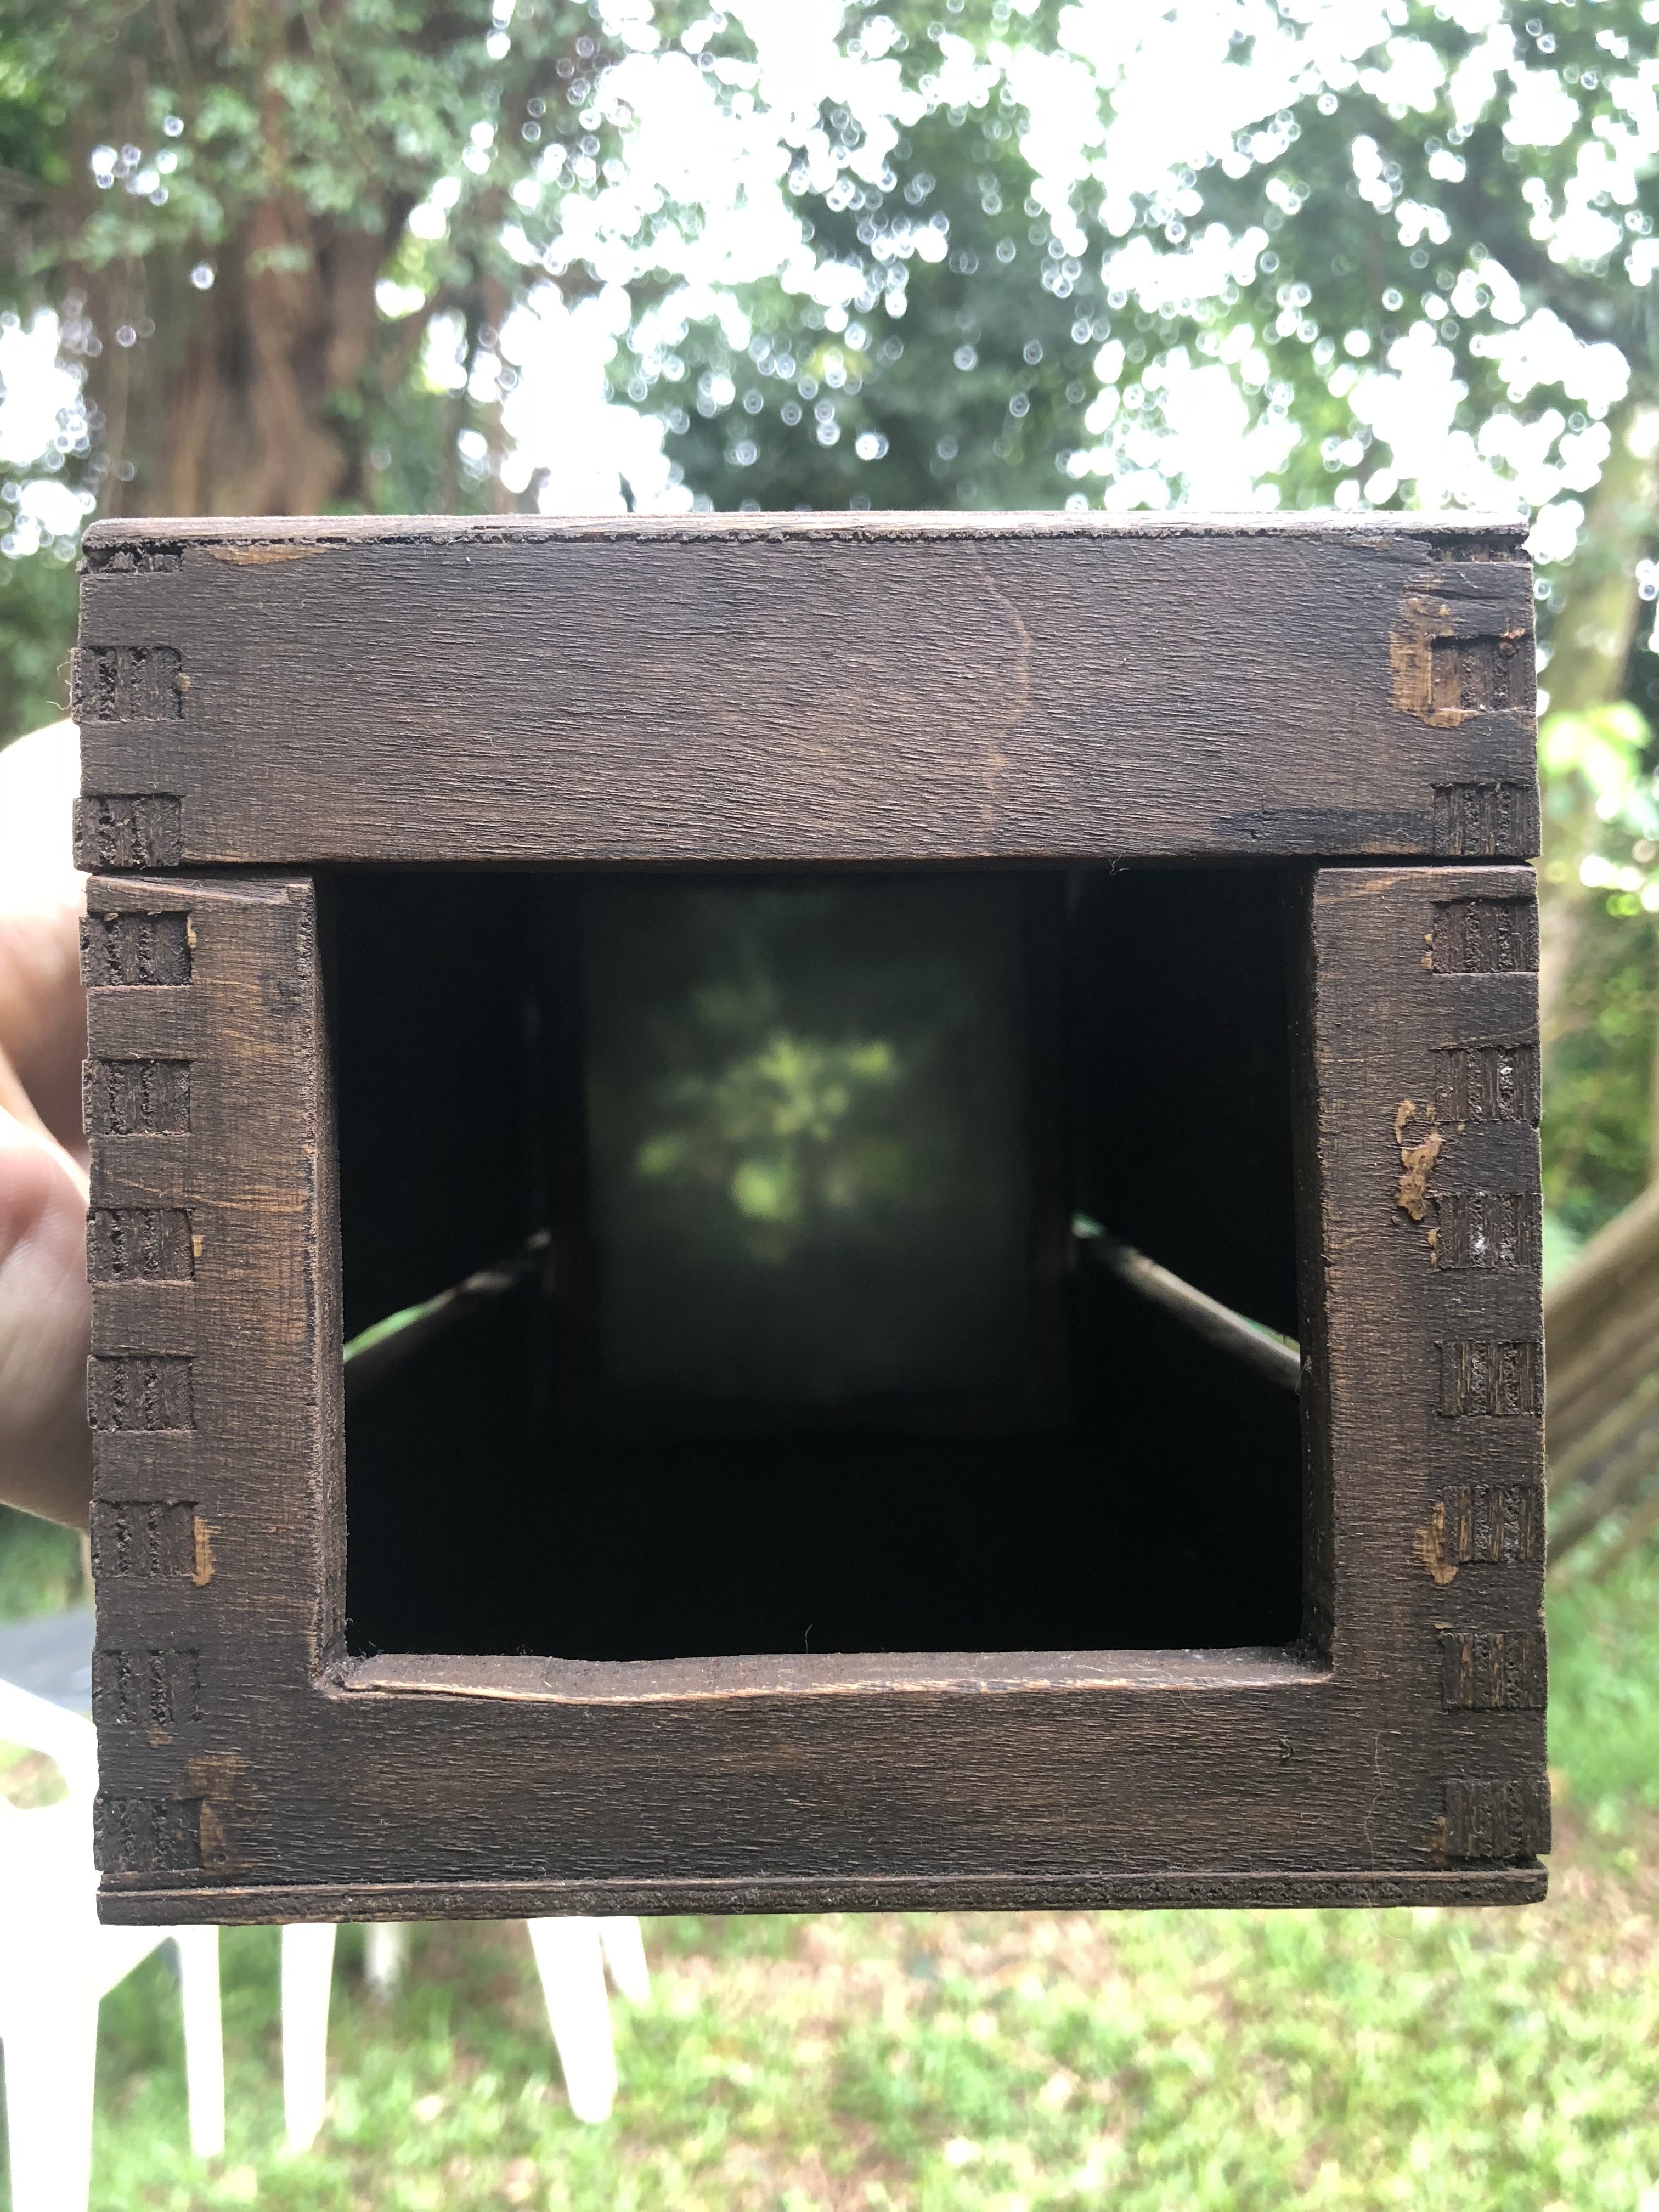
image projected on translucent screen
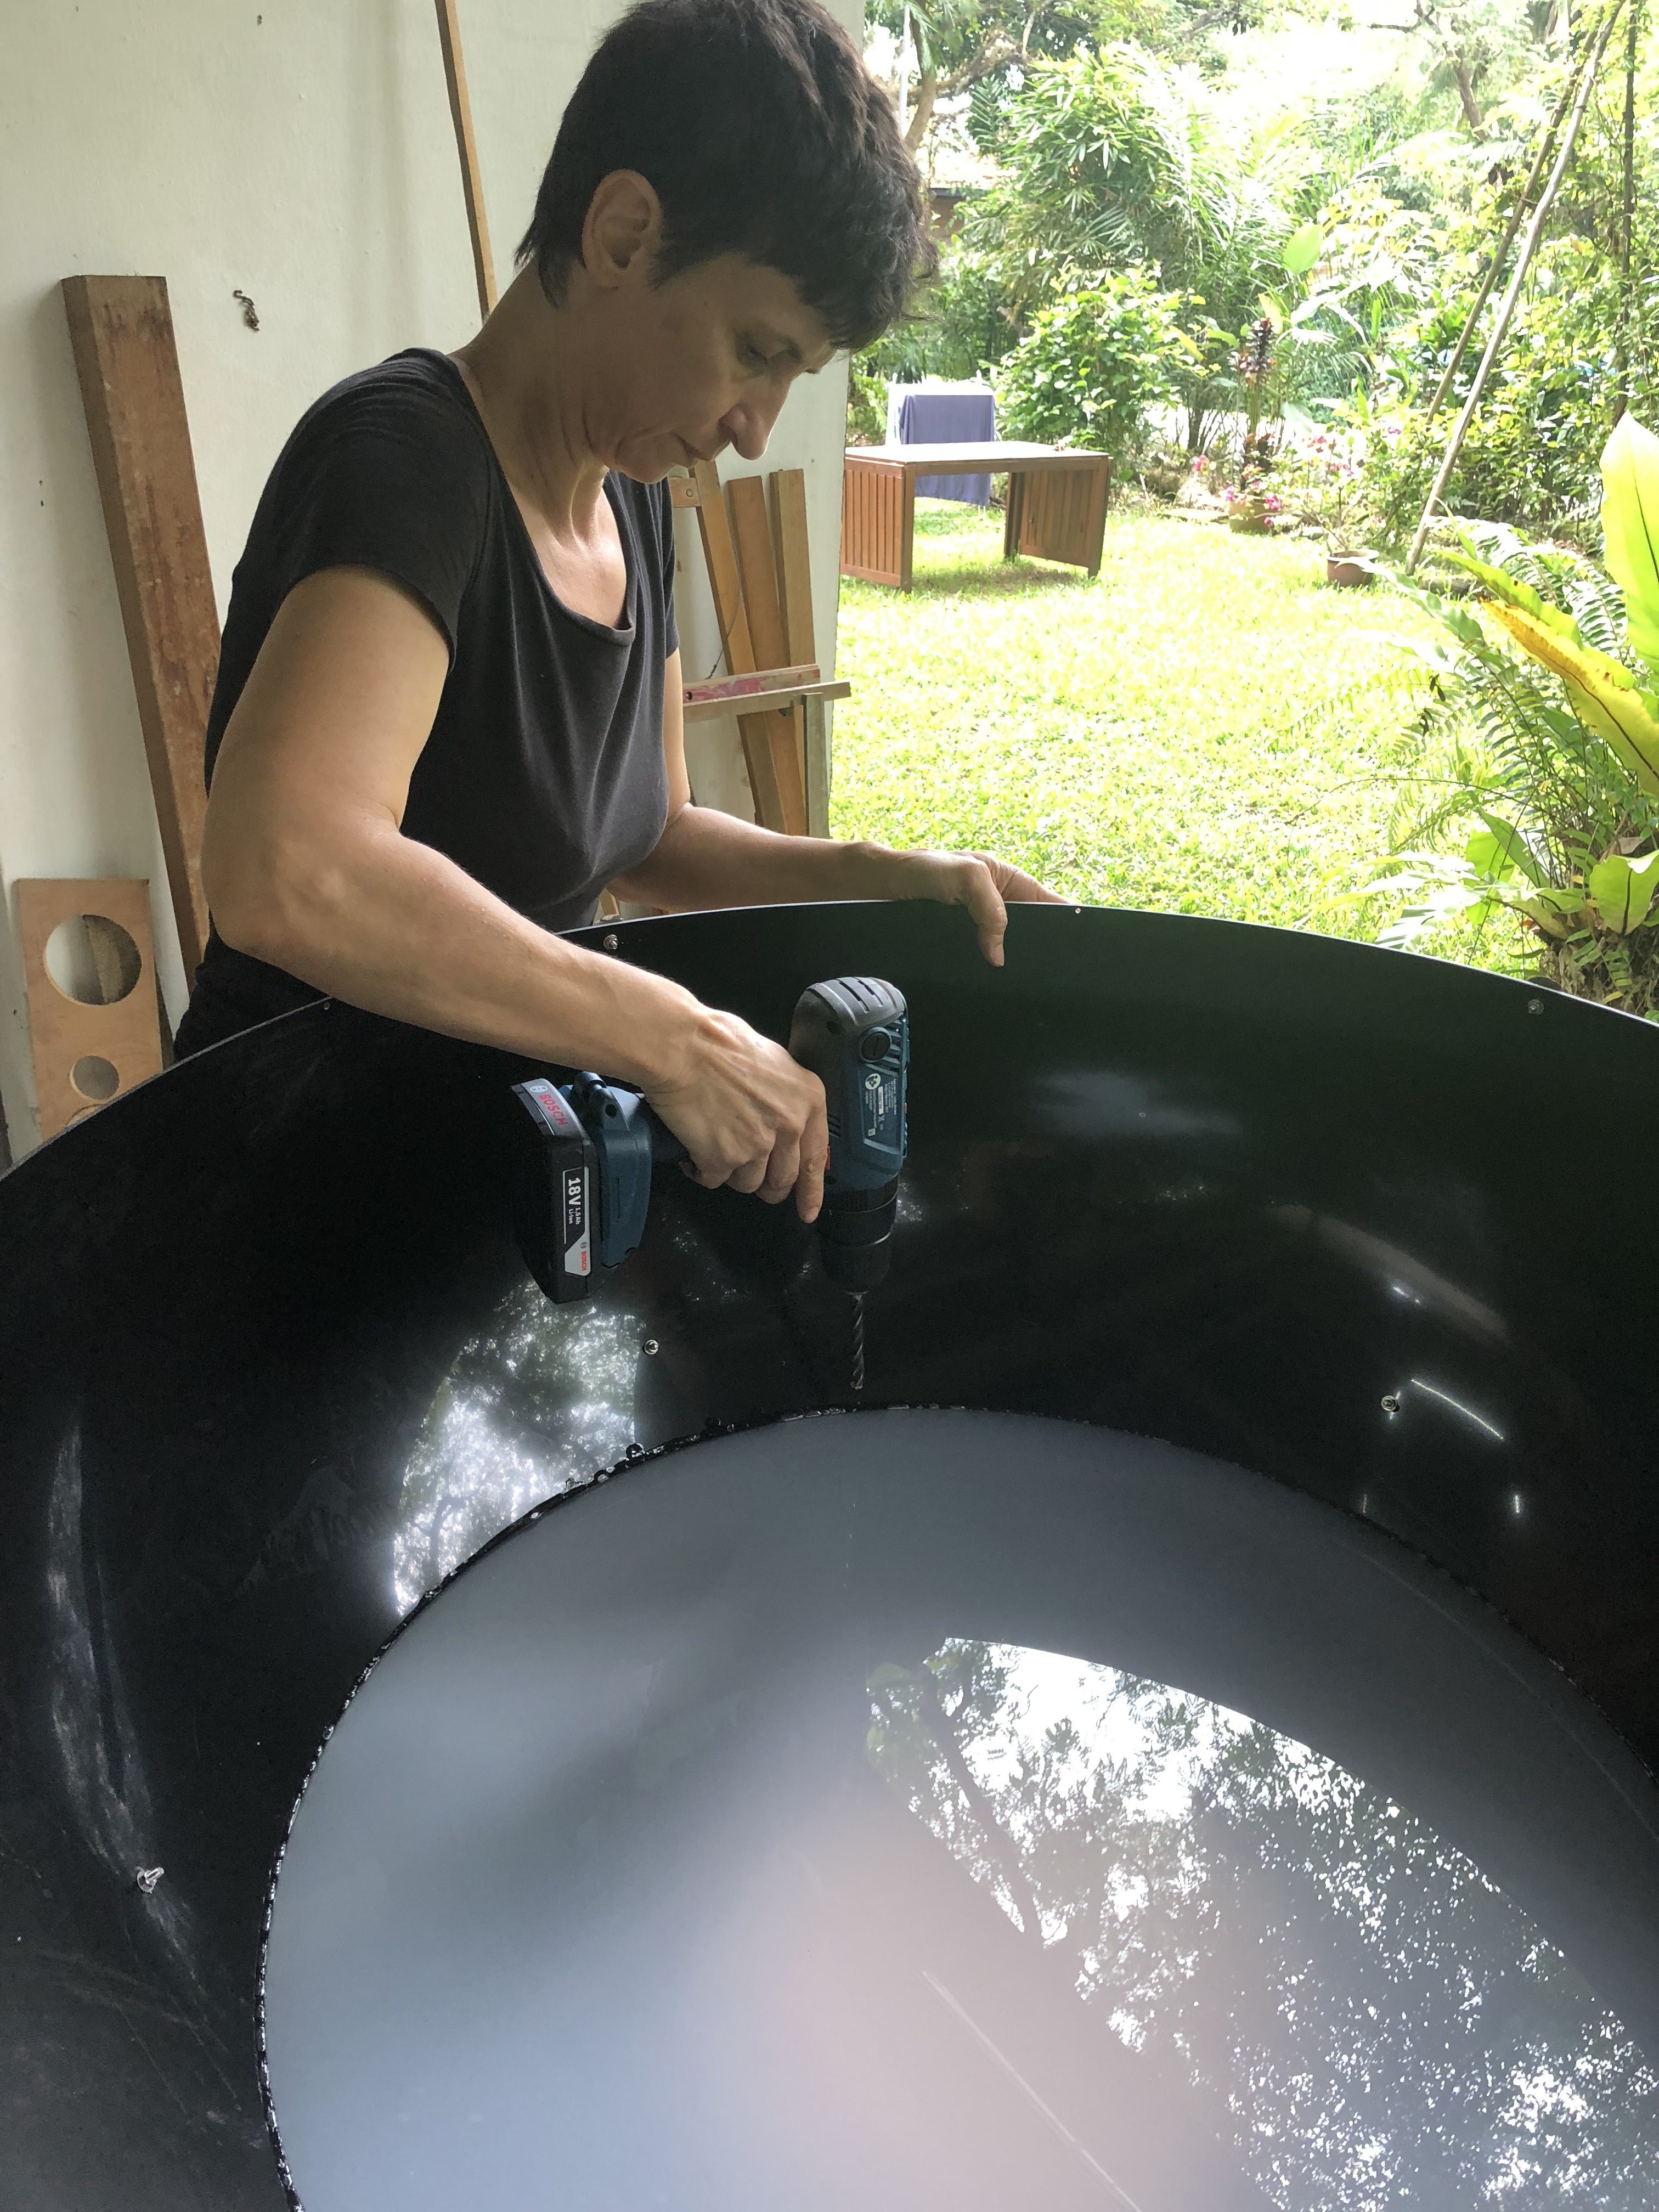
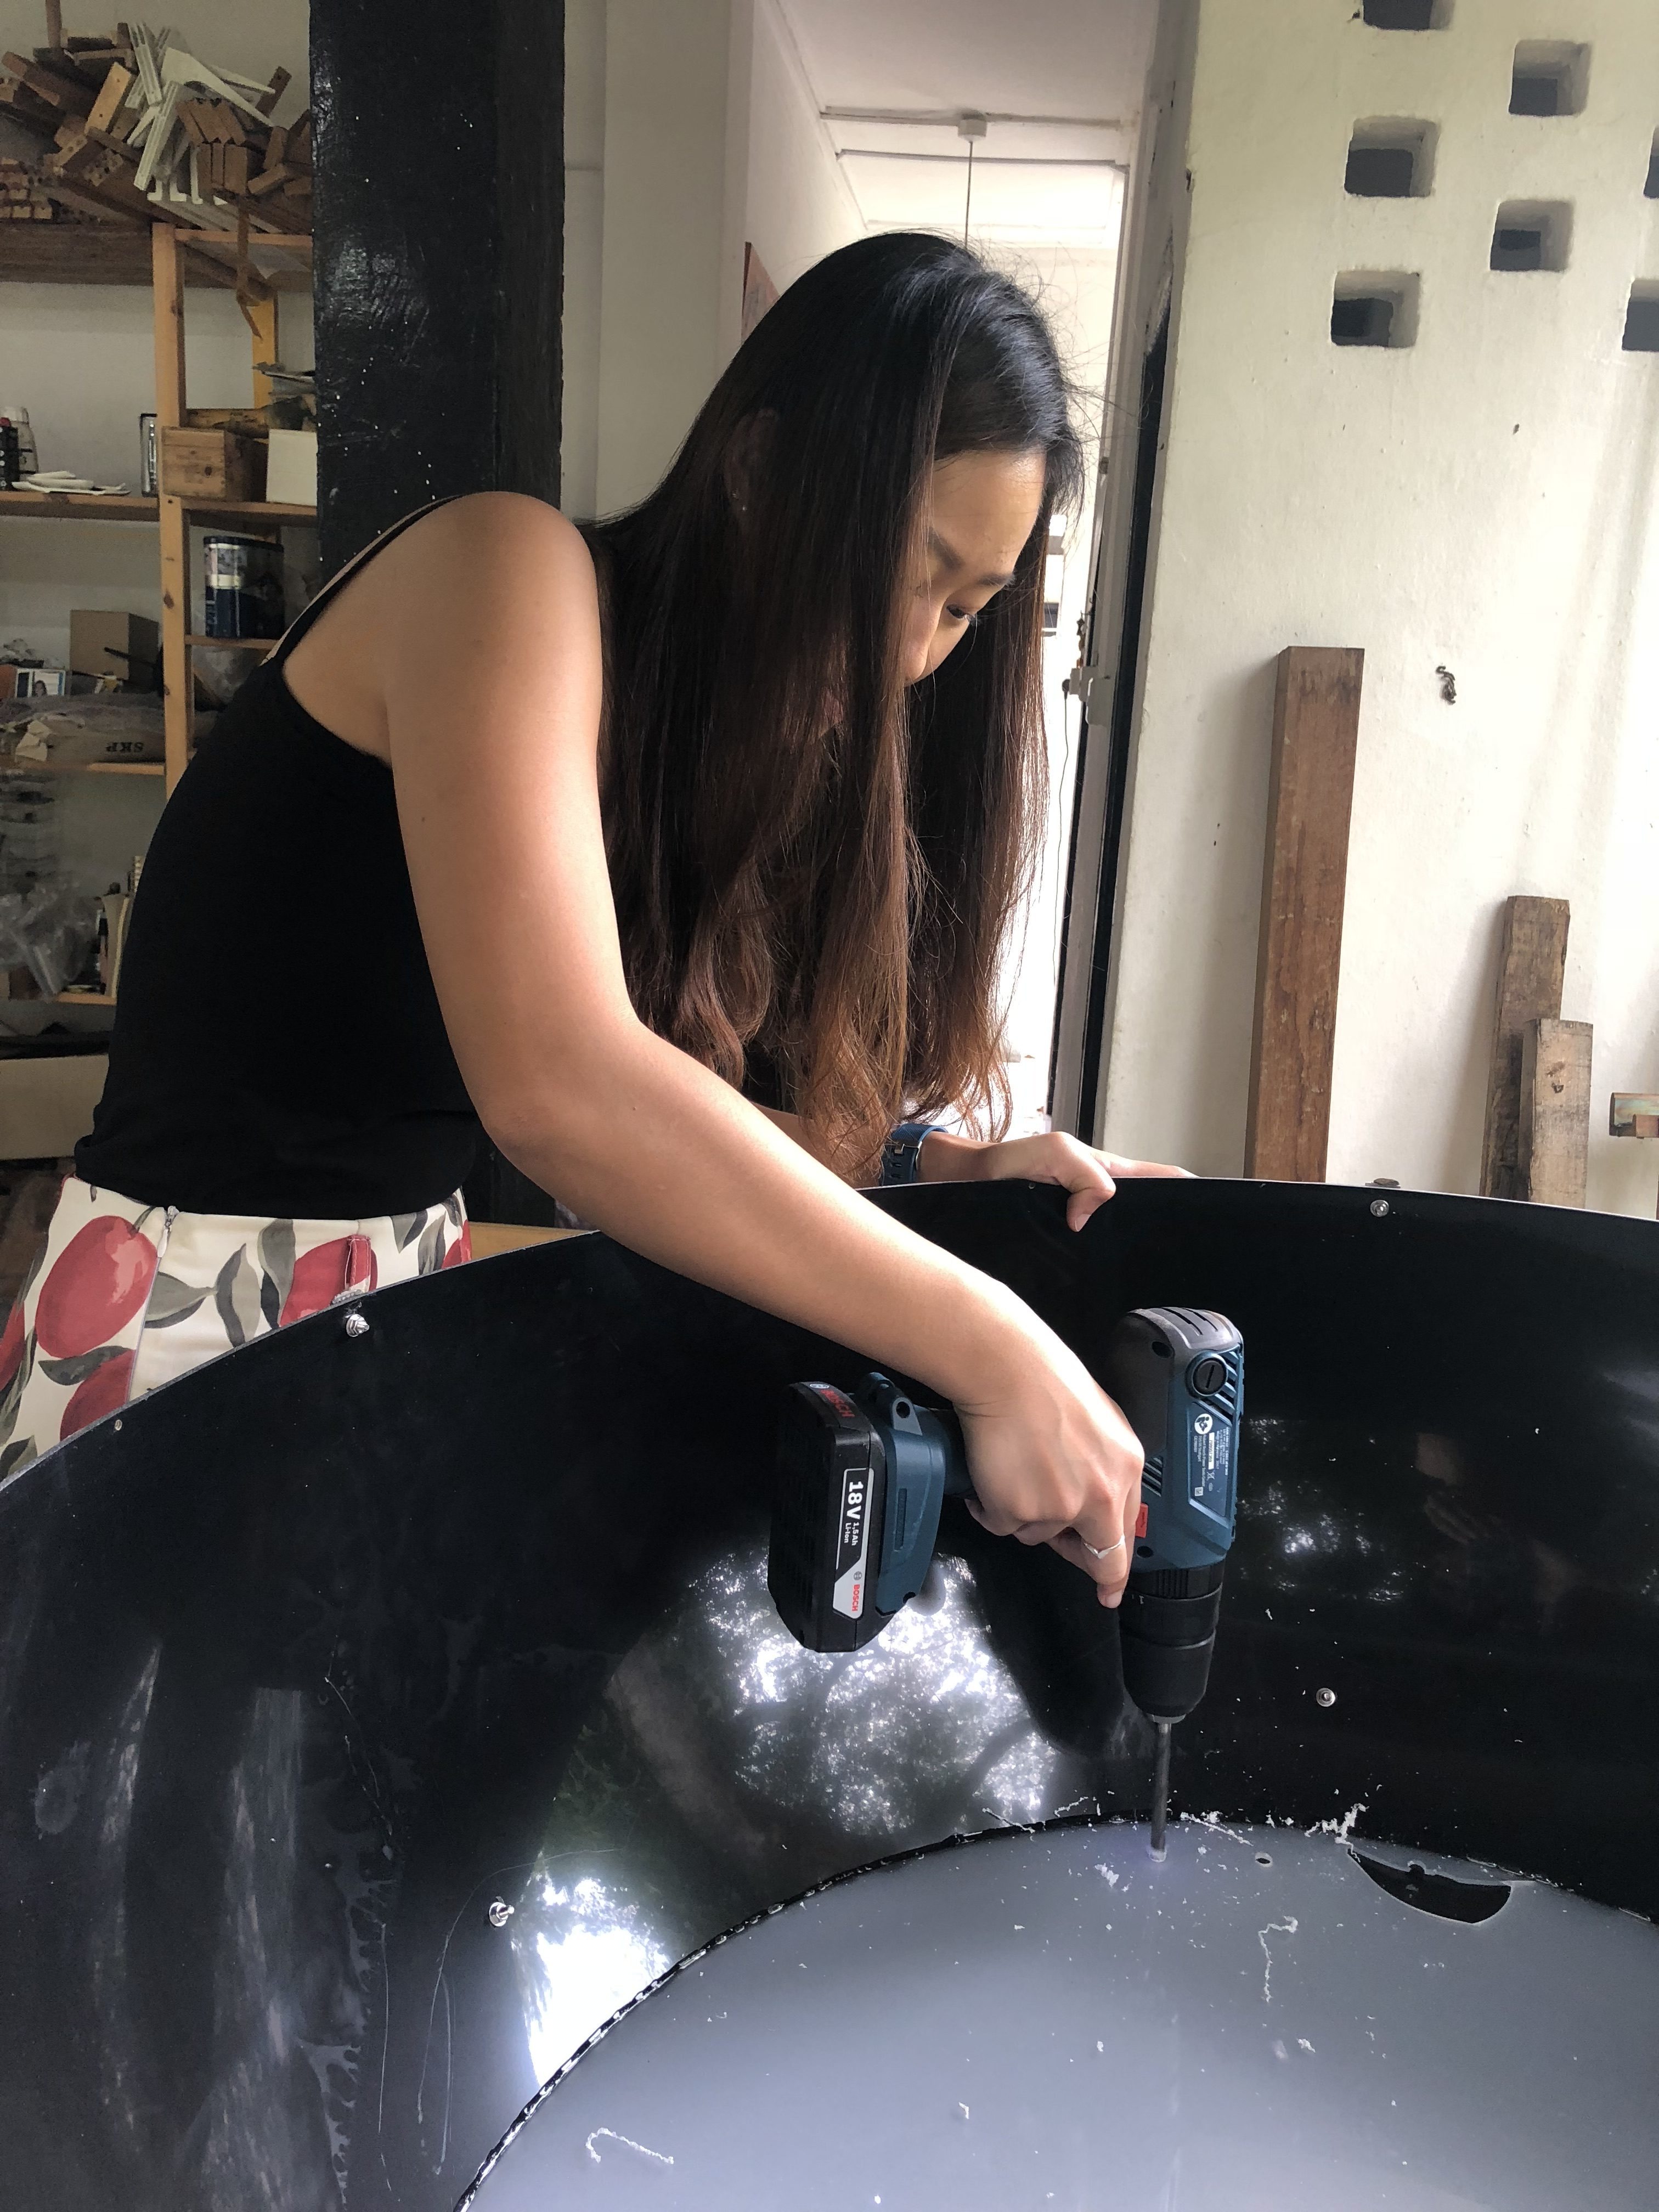
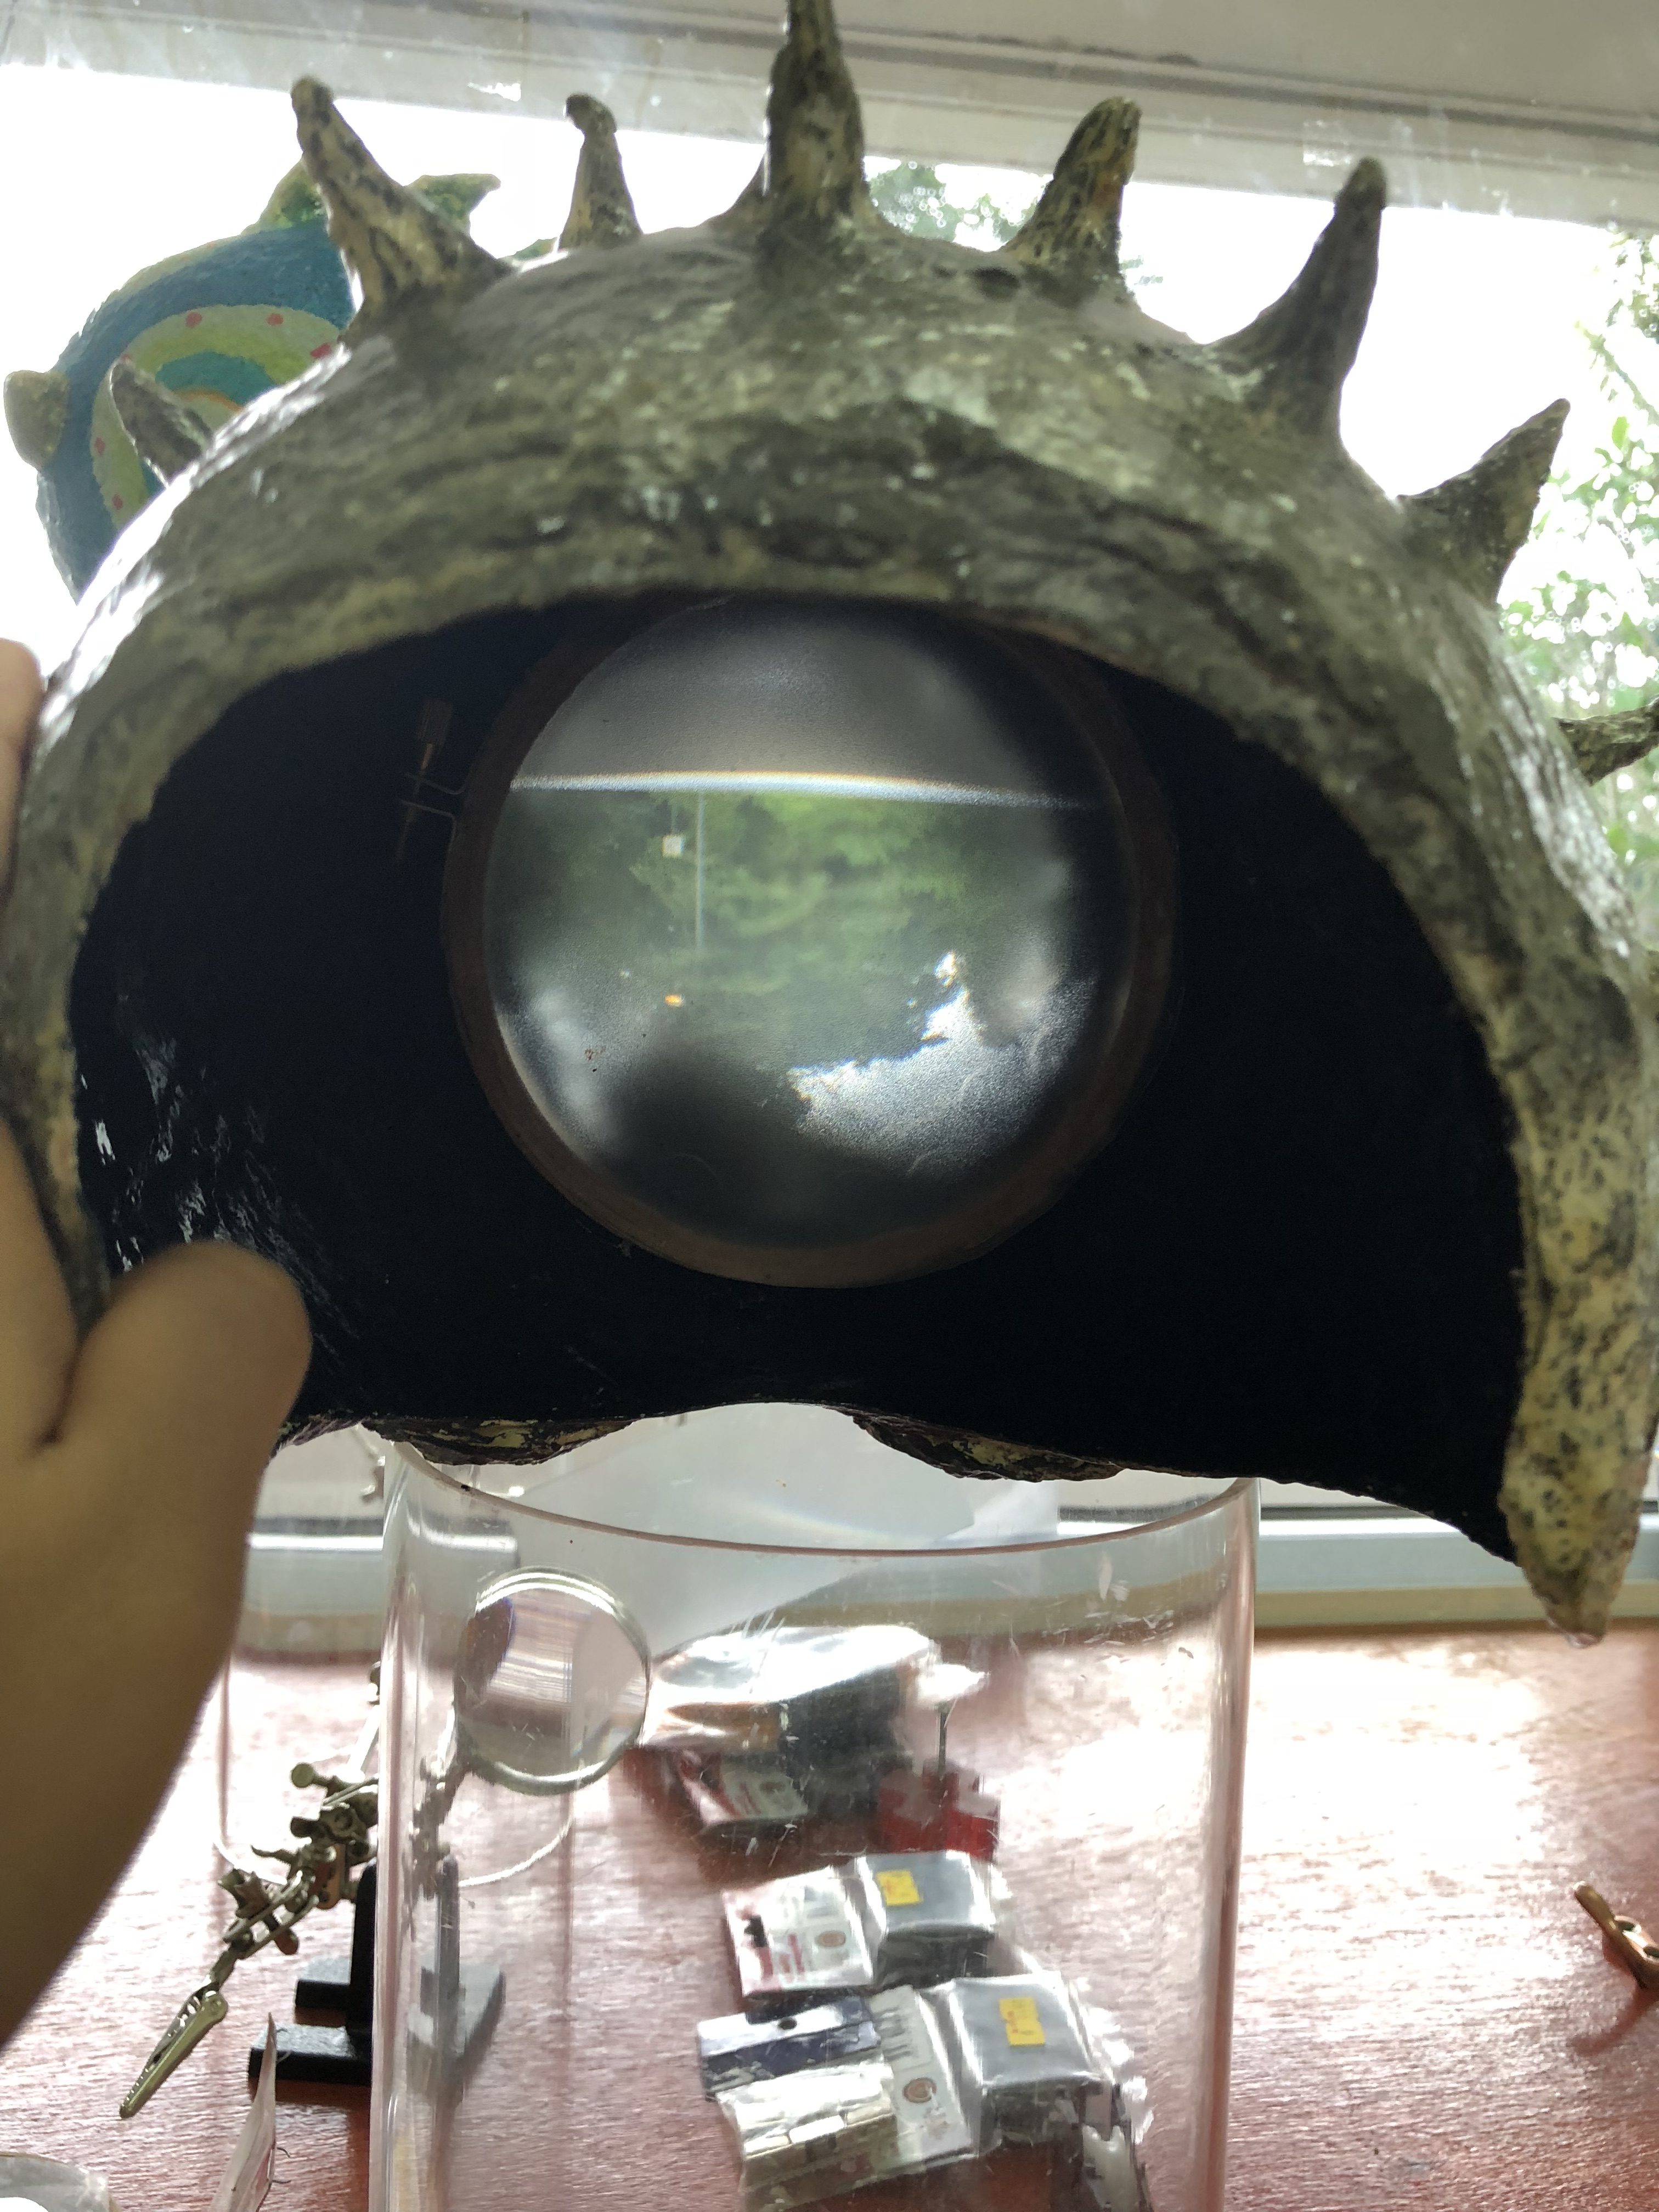
I helped Isabelle to build the camera together with the pinhole cardboard. The camera was really cool, very steampunk.
But we found out that the plastic sphere is actually not light proof so we had to dismantle it to spray paint it black to make it more opaque.
We also had to take out the translucent acrylic plastic by drilling and sawing which I tried!
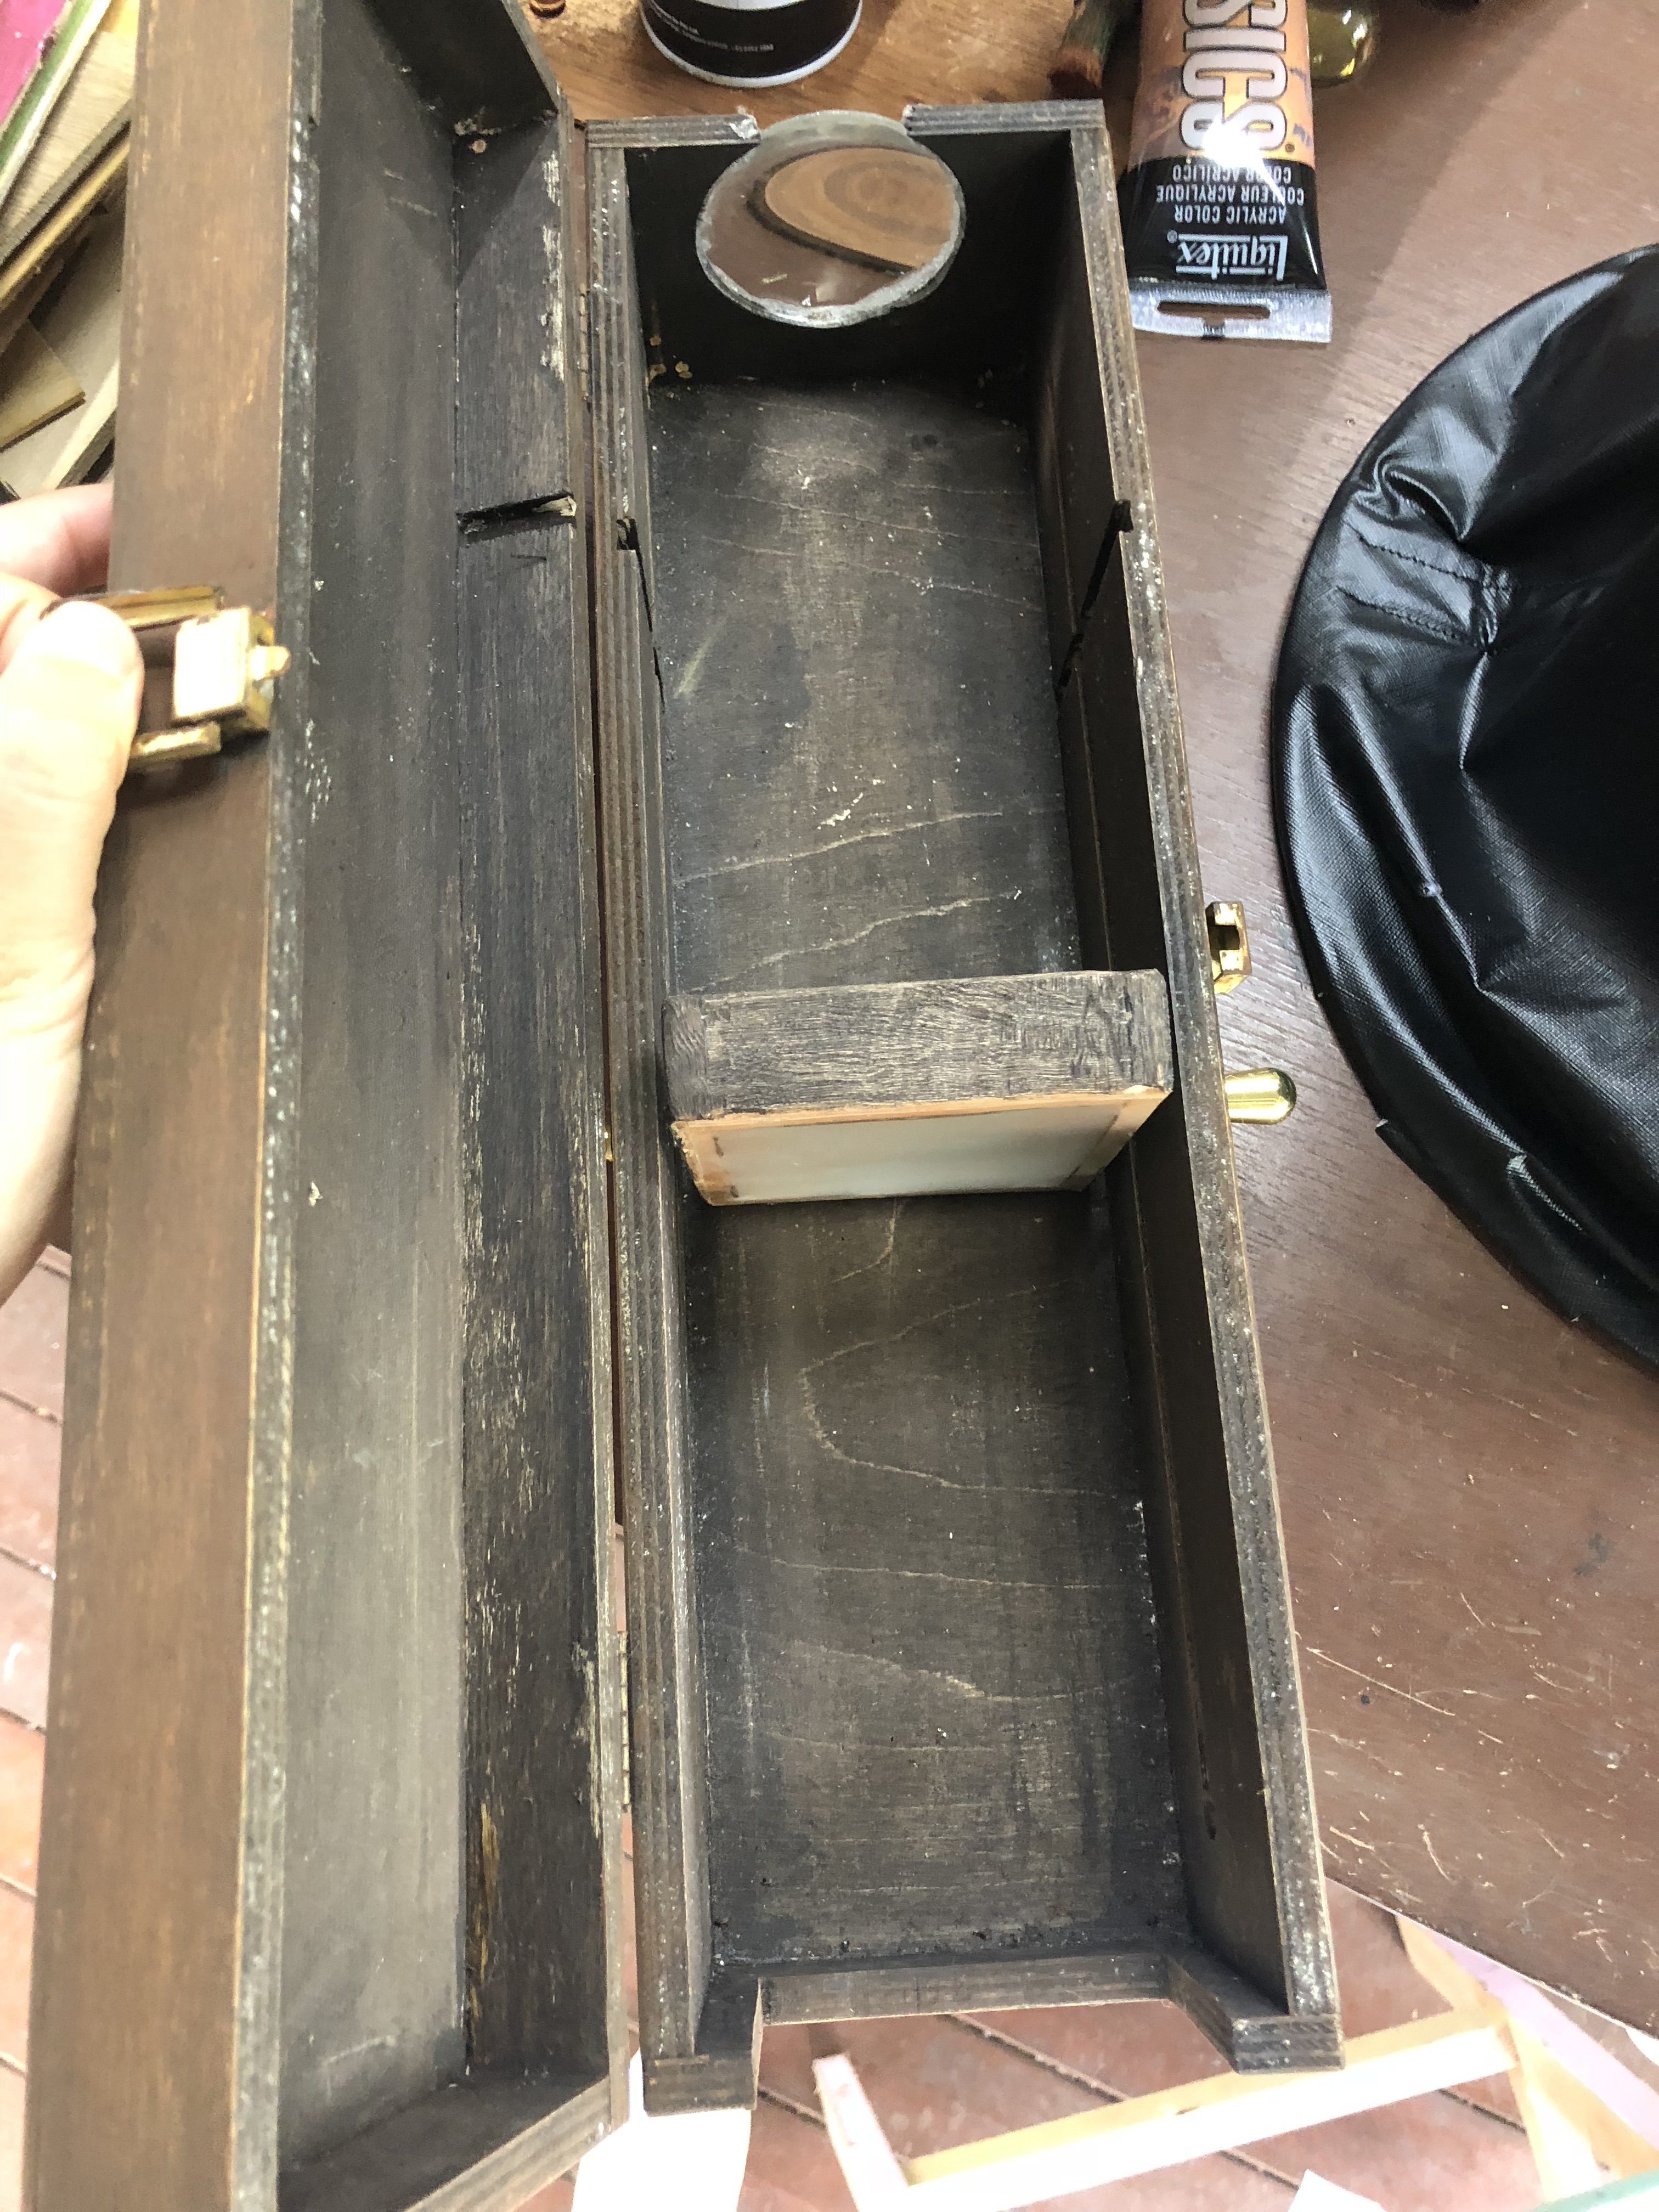
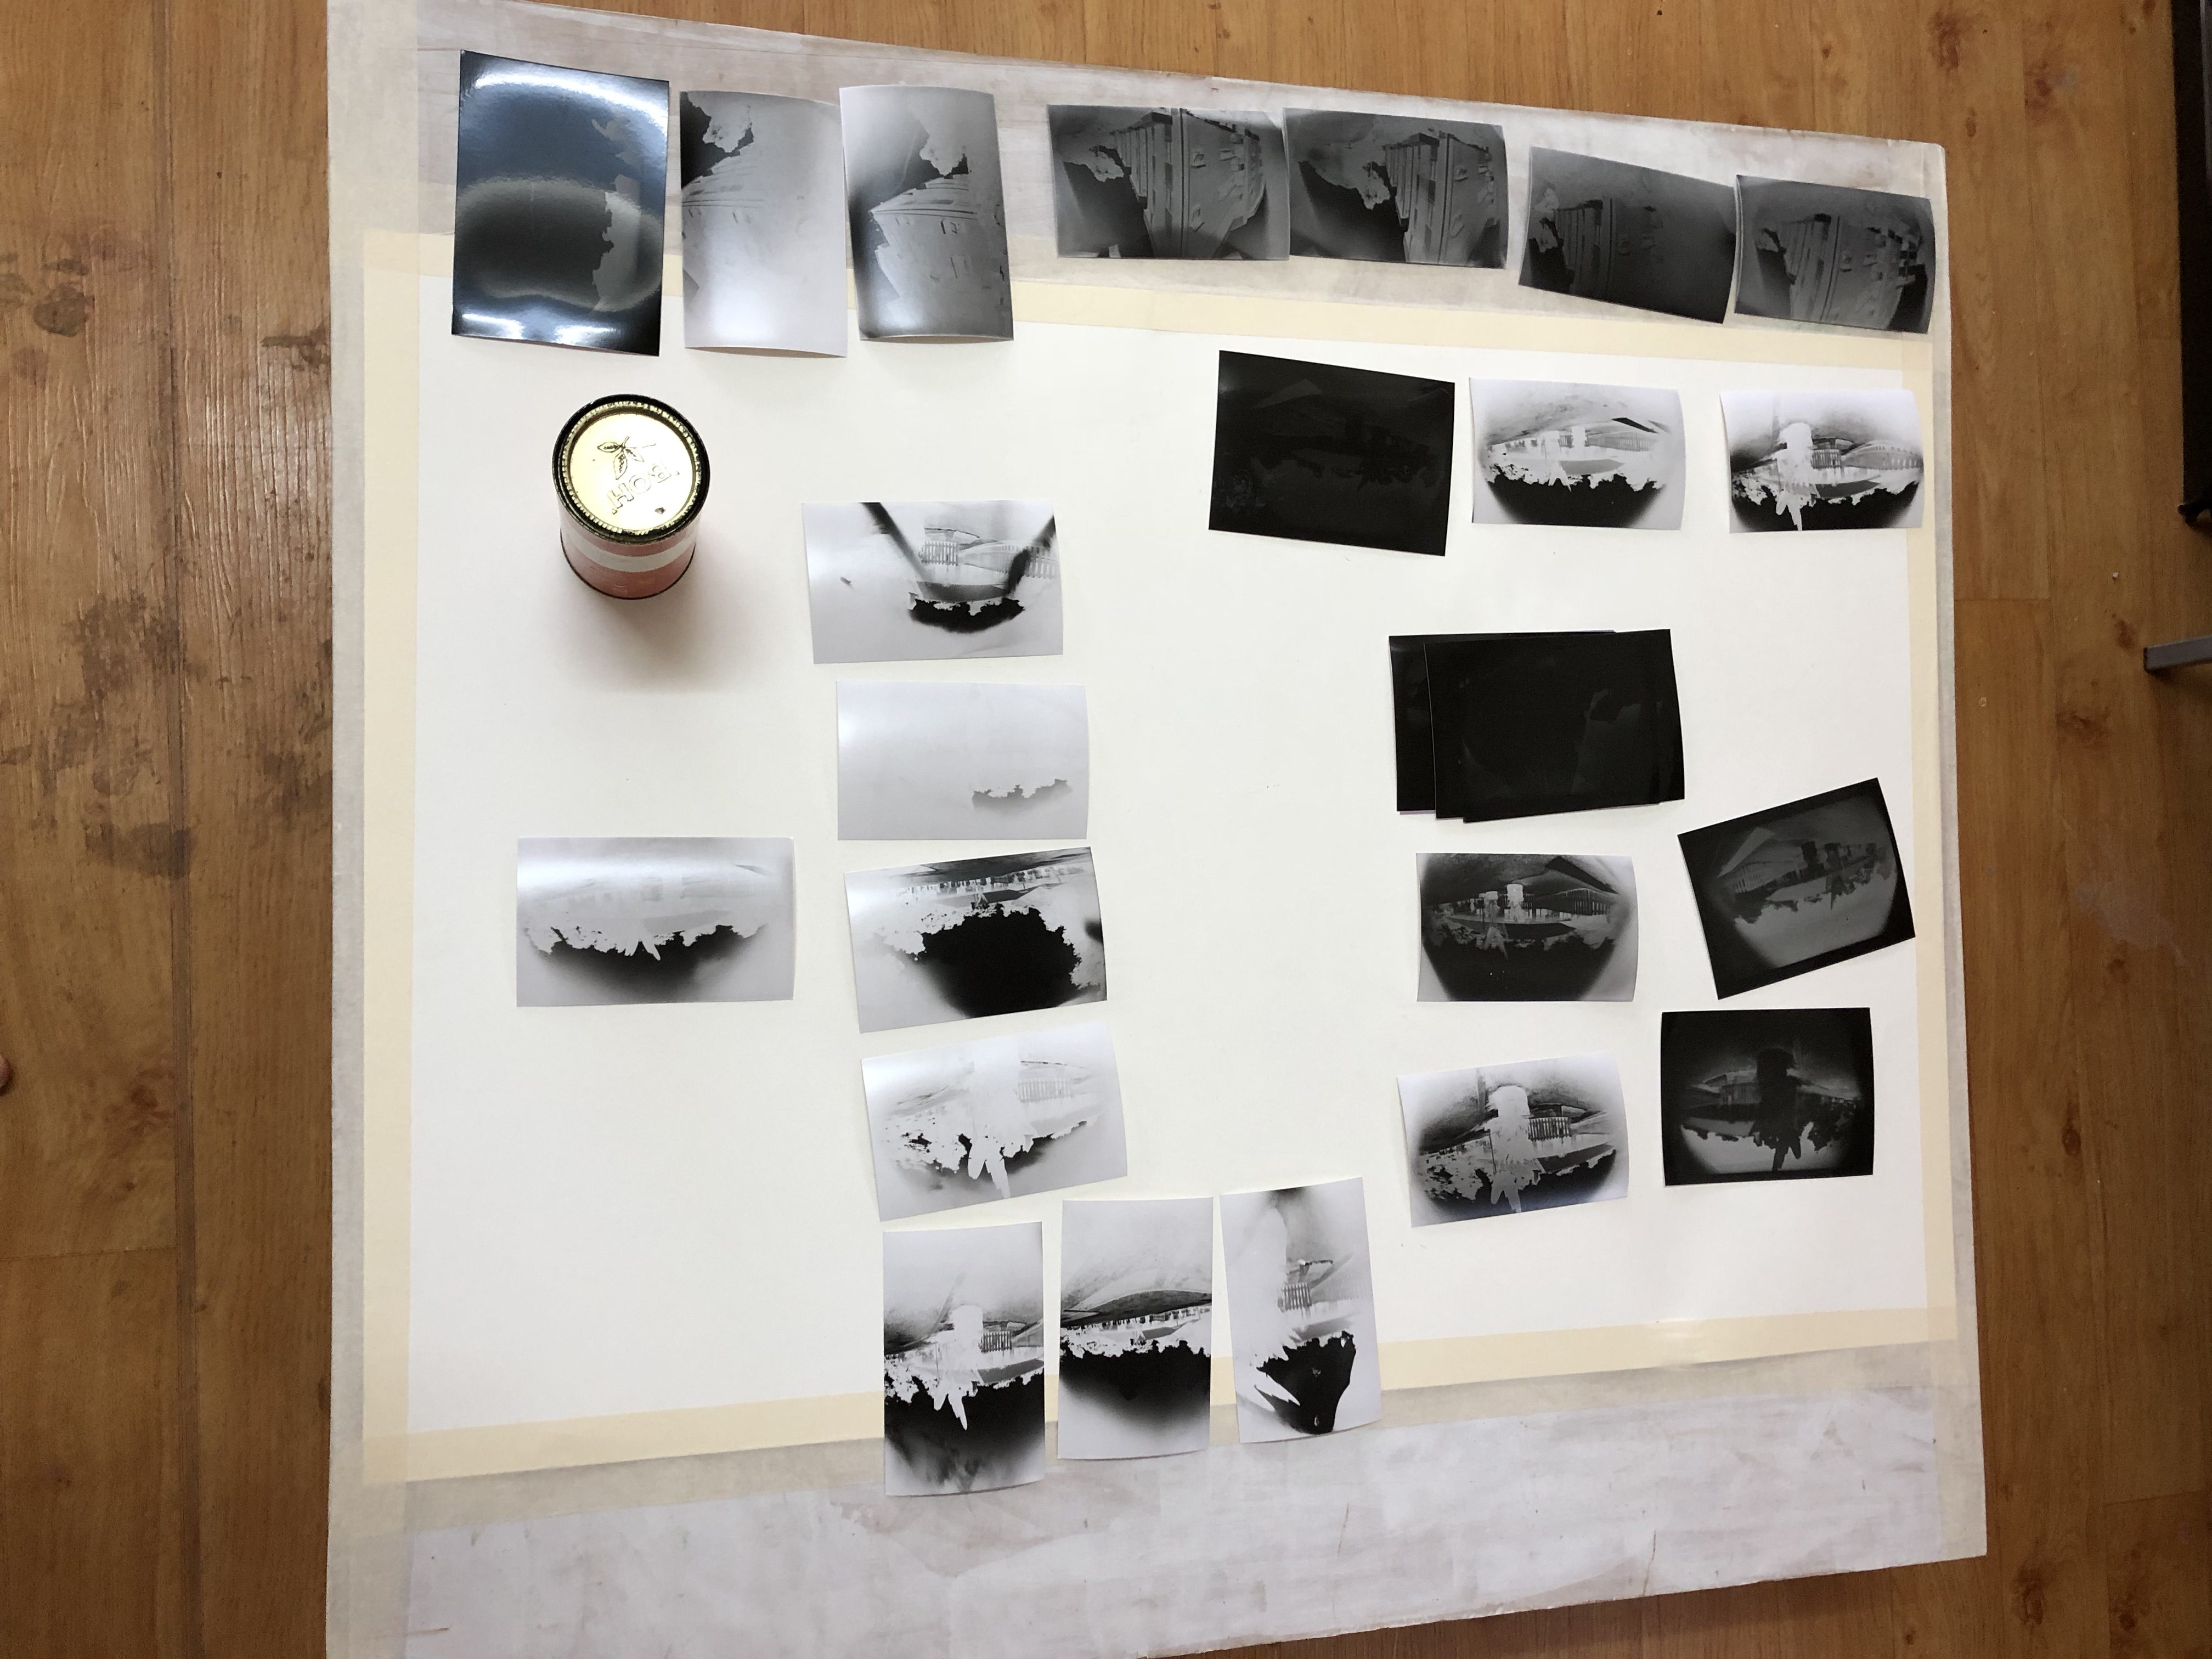
These are some of her other cool cameras!
Talking to Isabelle and helping her out was really constructive to my project! I learnt a lot from her and managed to apply them to my project such as using aluminum foil instead of black cloth for my portable dark room, knowing that red acrylic is actually light proof and some of the possible materials I could work with.
Pain Points
I think one thing Isabelle will always need is space when creating and building her cameras.
There are also a lot of tools that she needs which might not be apparent at first until we start building it.
Her darkroom is really cool and quite light actually. So she actually carries it around with a trolley attached to her bike to make it mobile.
But other than that, it’s not exactly wearable especially cause it is pretty bulky.
So I hope my darkroom could work upon hers, using umbrella and aluminum foil making it lighter and with a strap to make it wearable.
