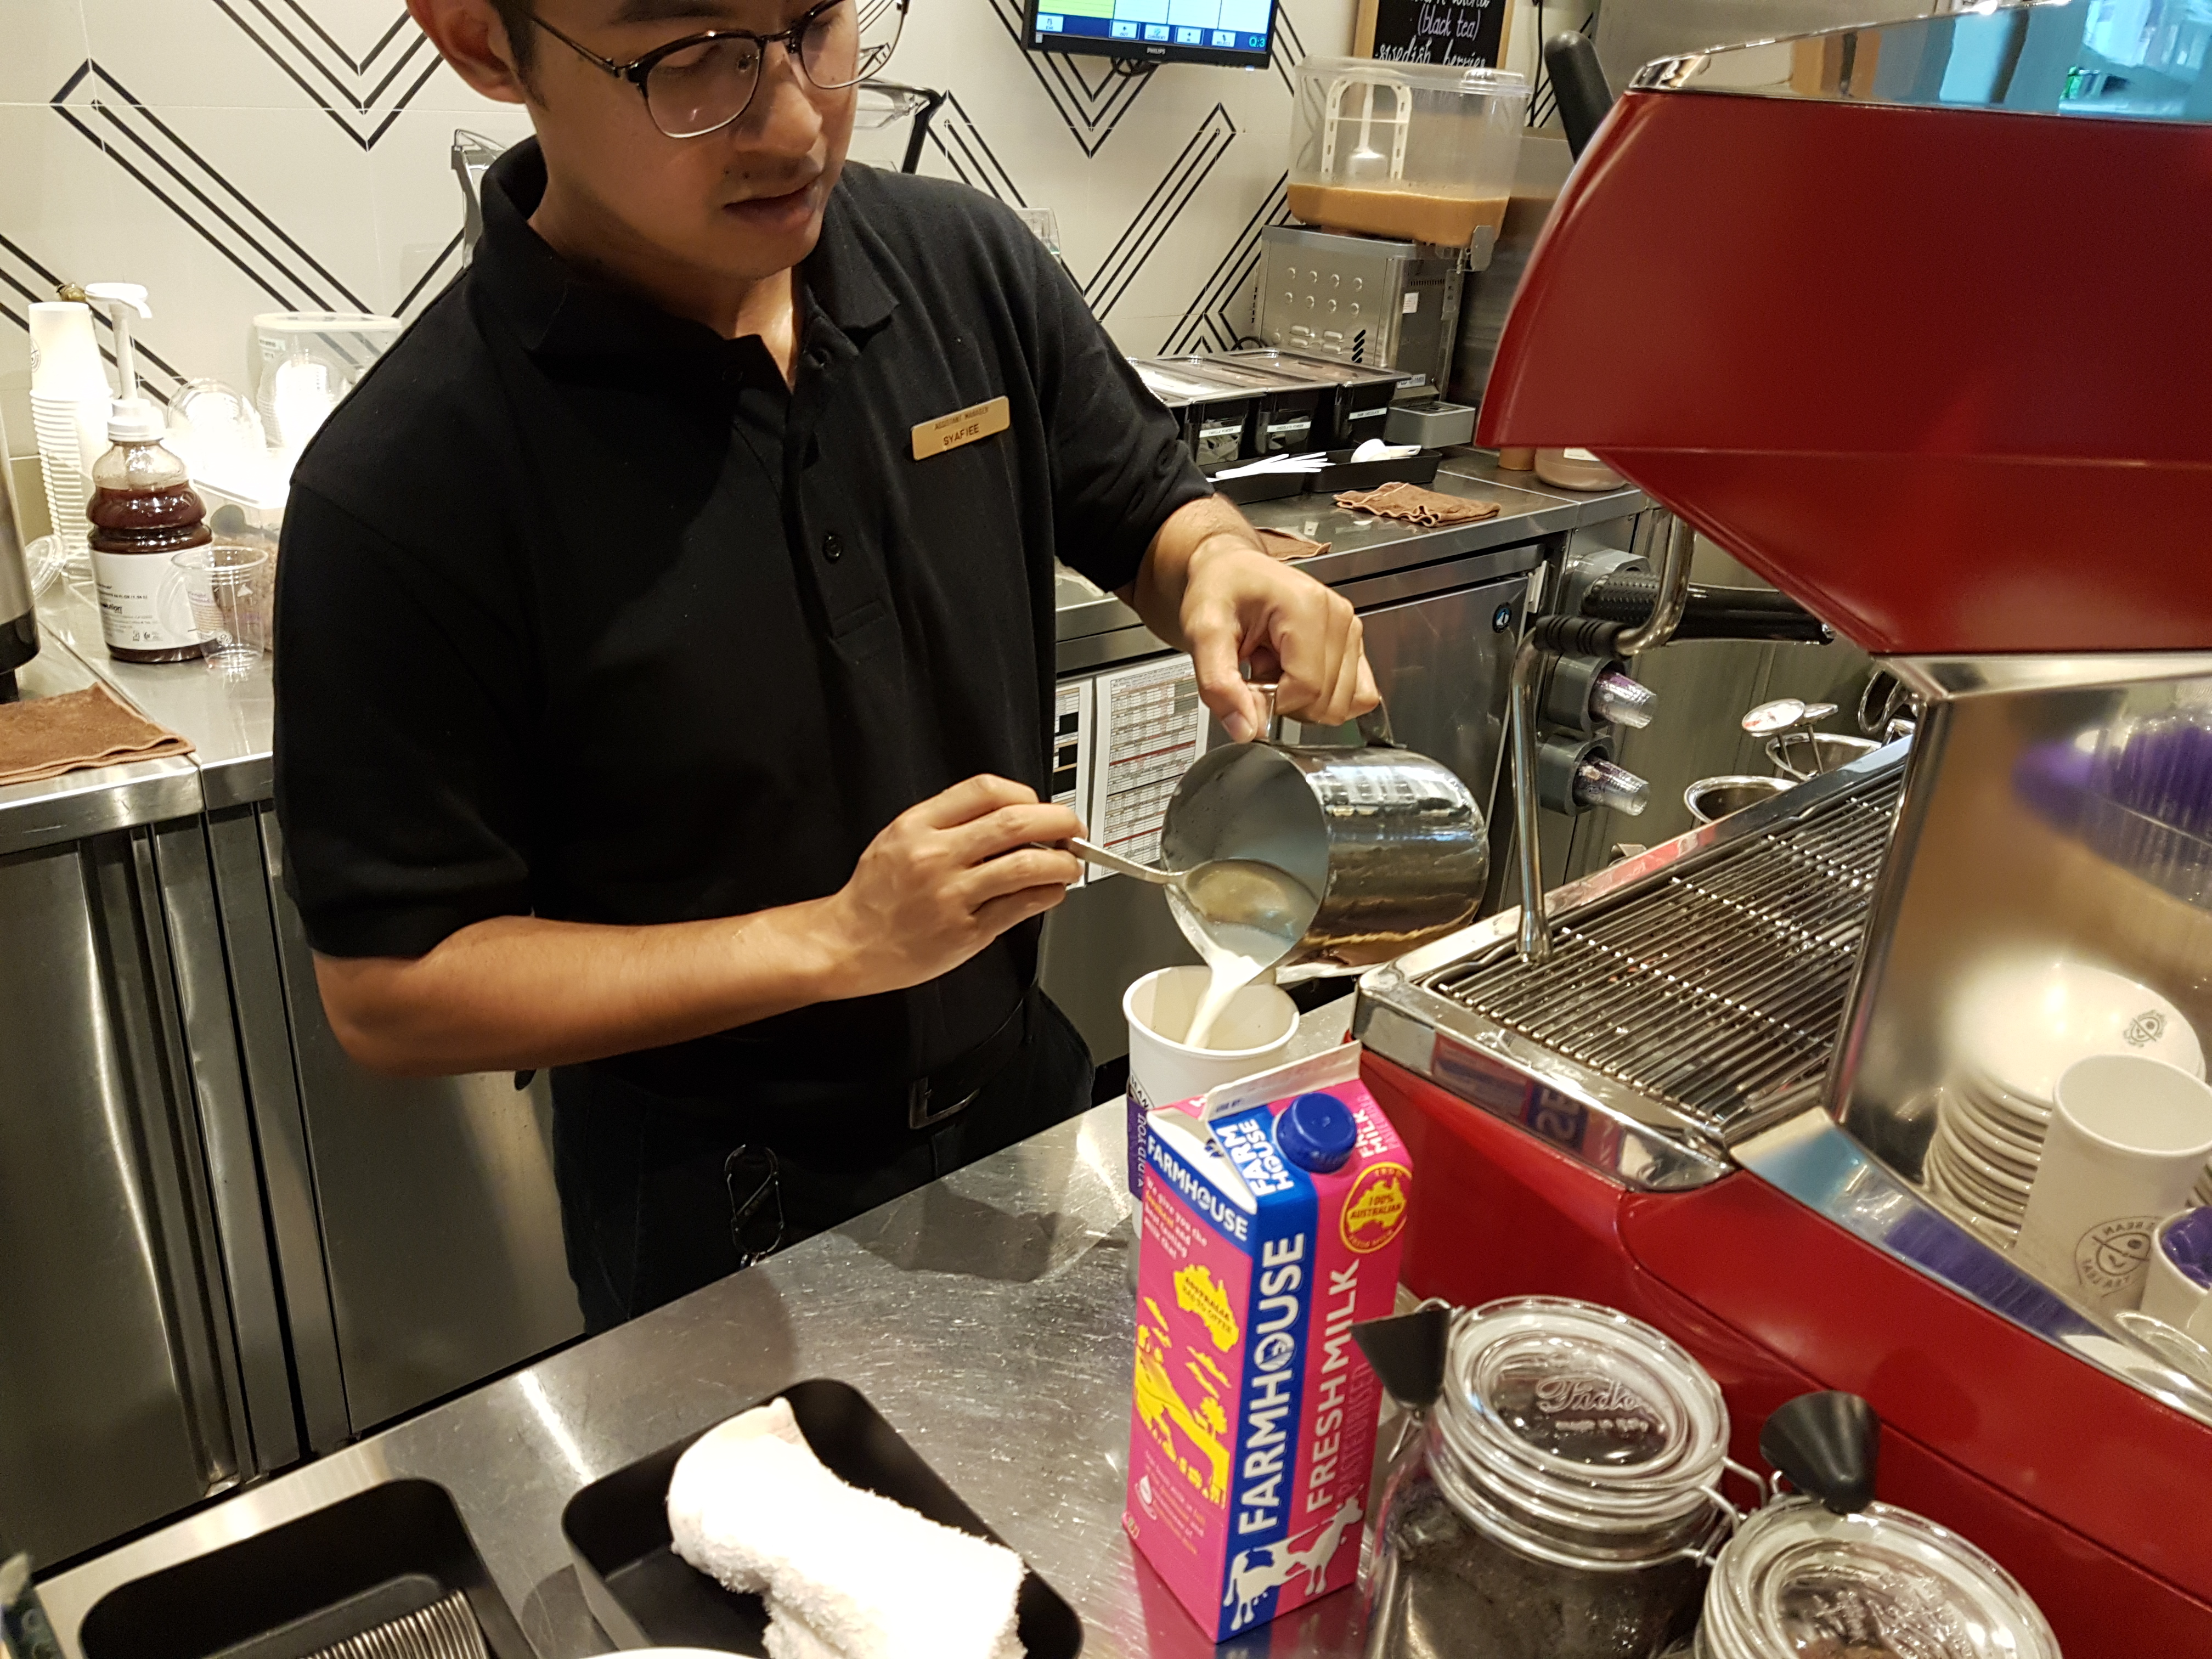
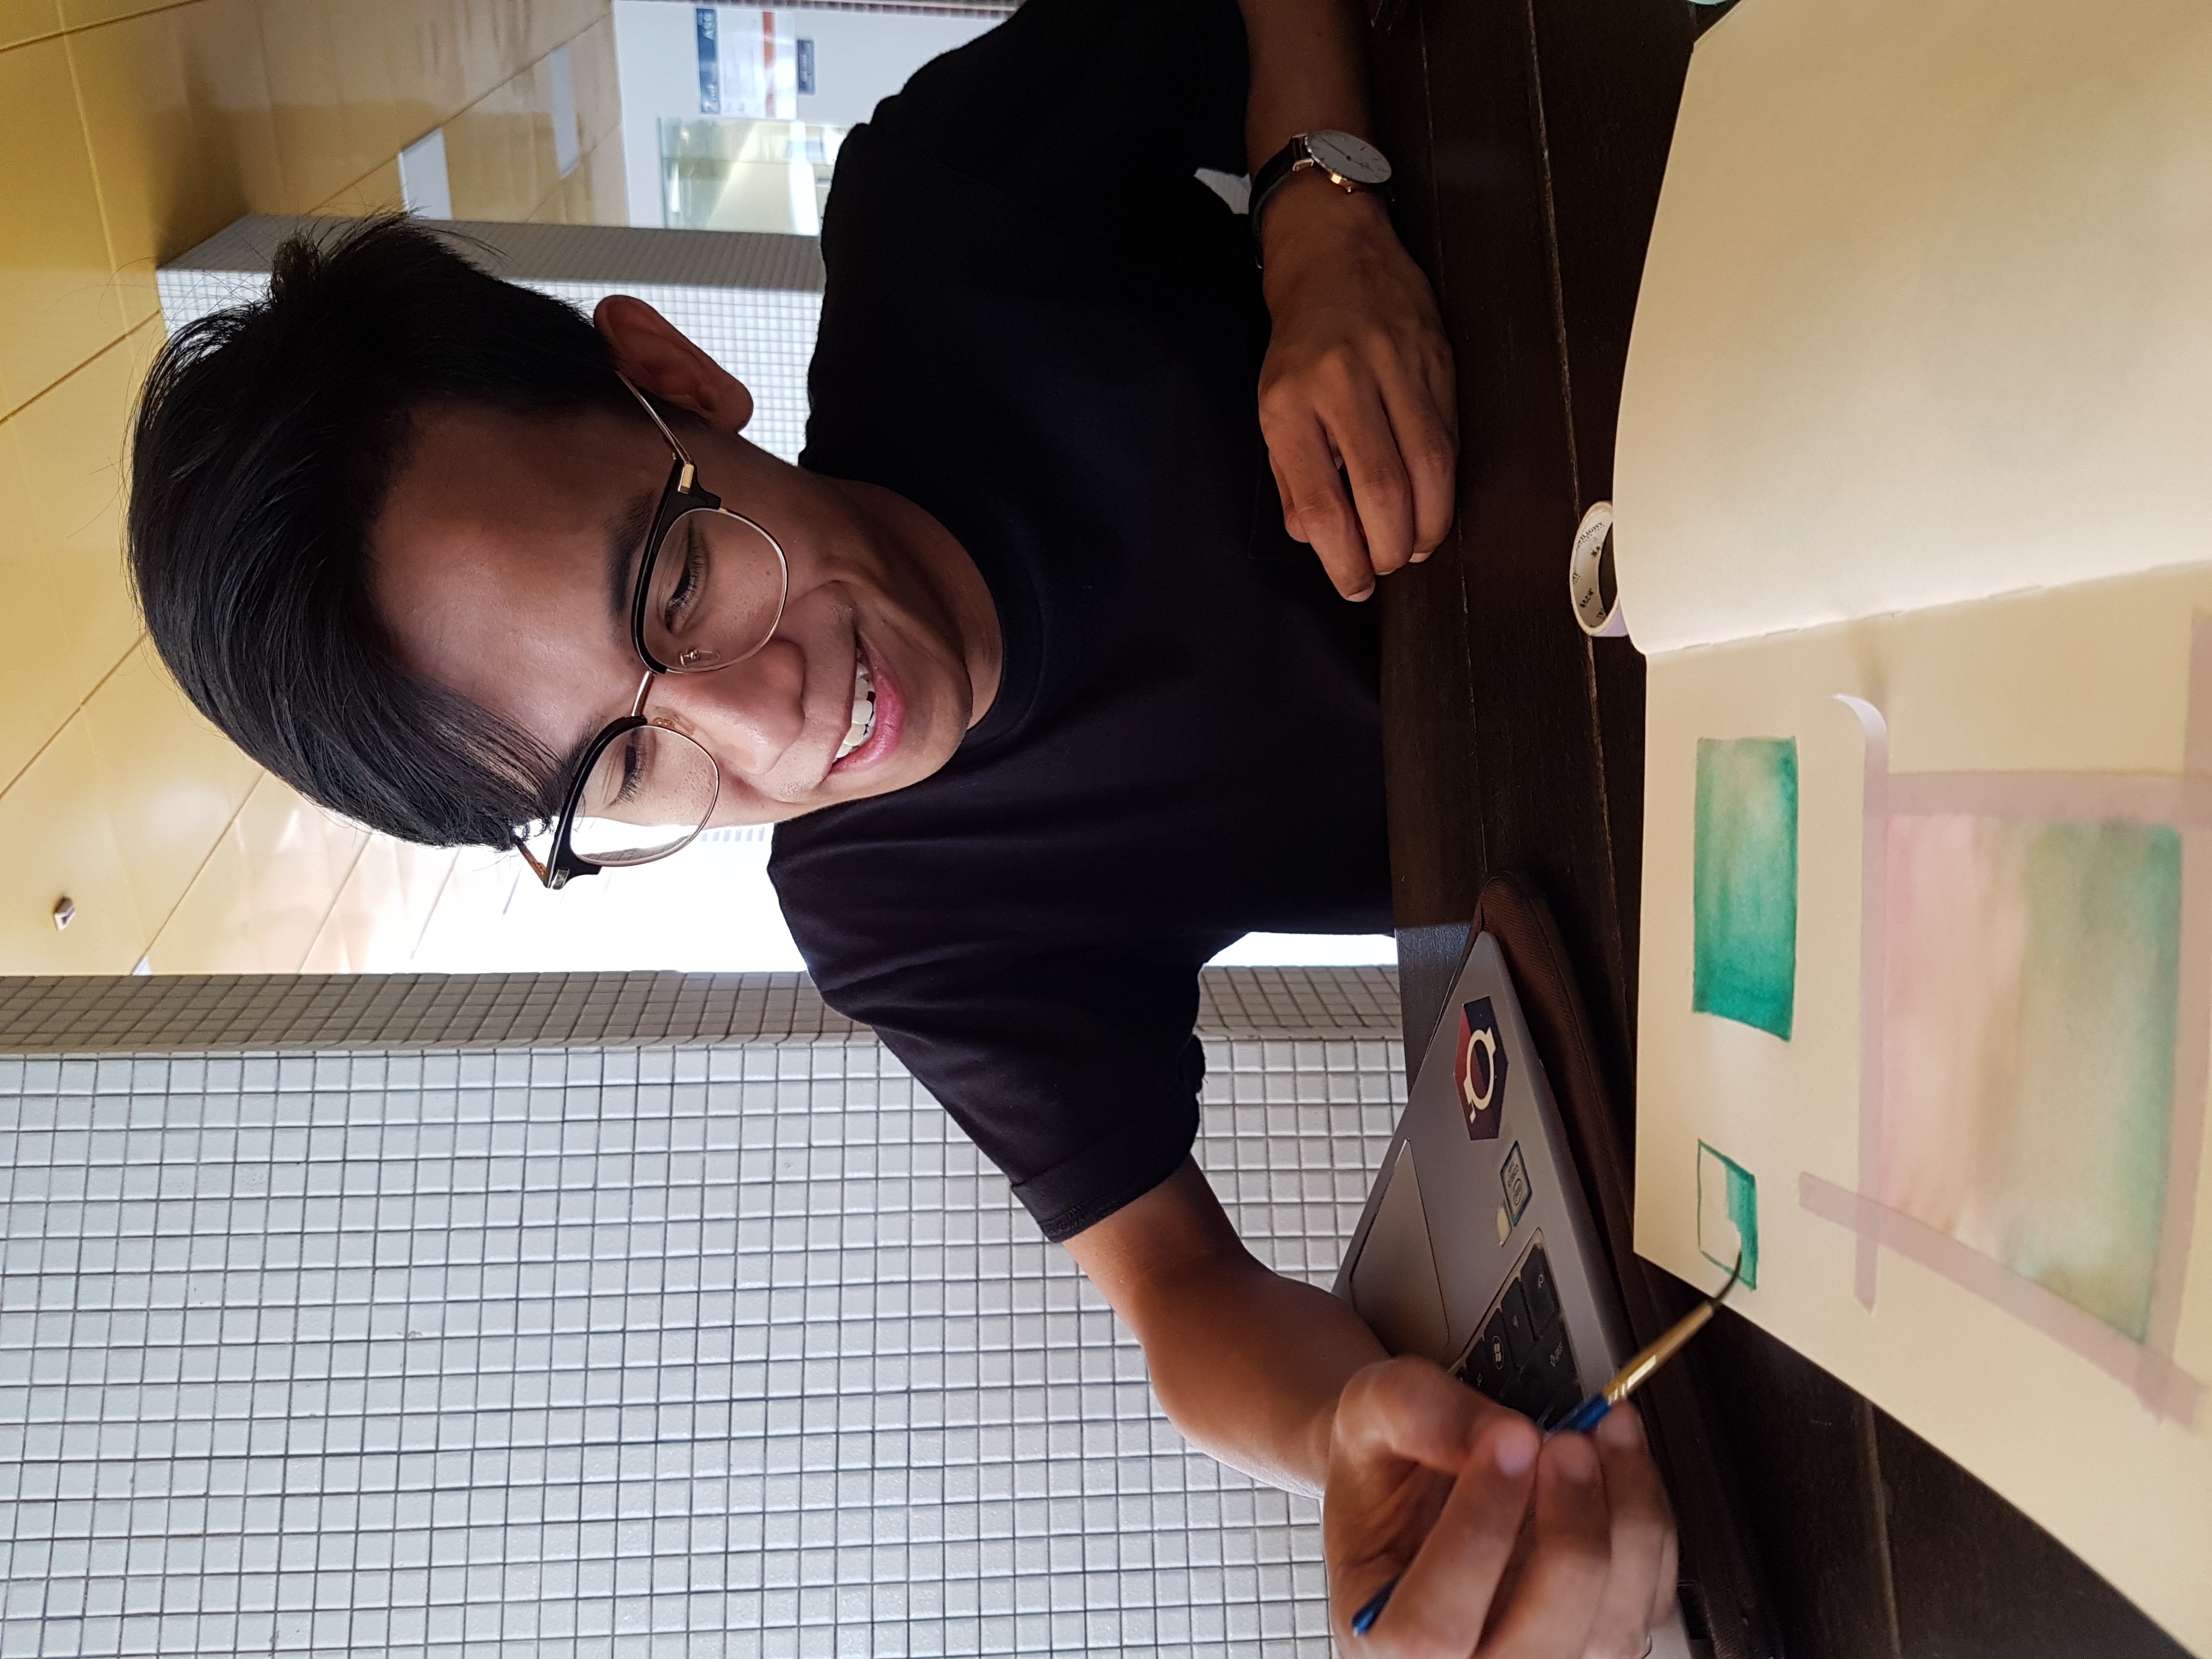
I also went to observe a friend who does watercolour painting in her leisure time! She was nice enough to meet up with me, walked me through the process and let me try some watercolour painting of my own.
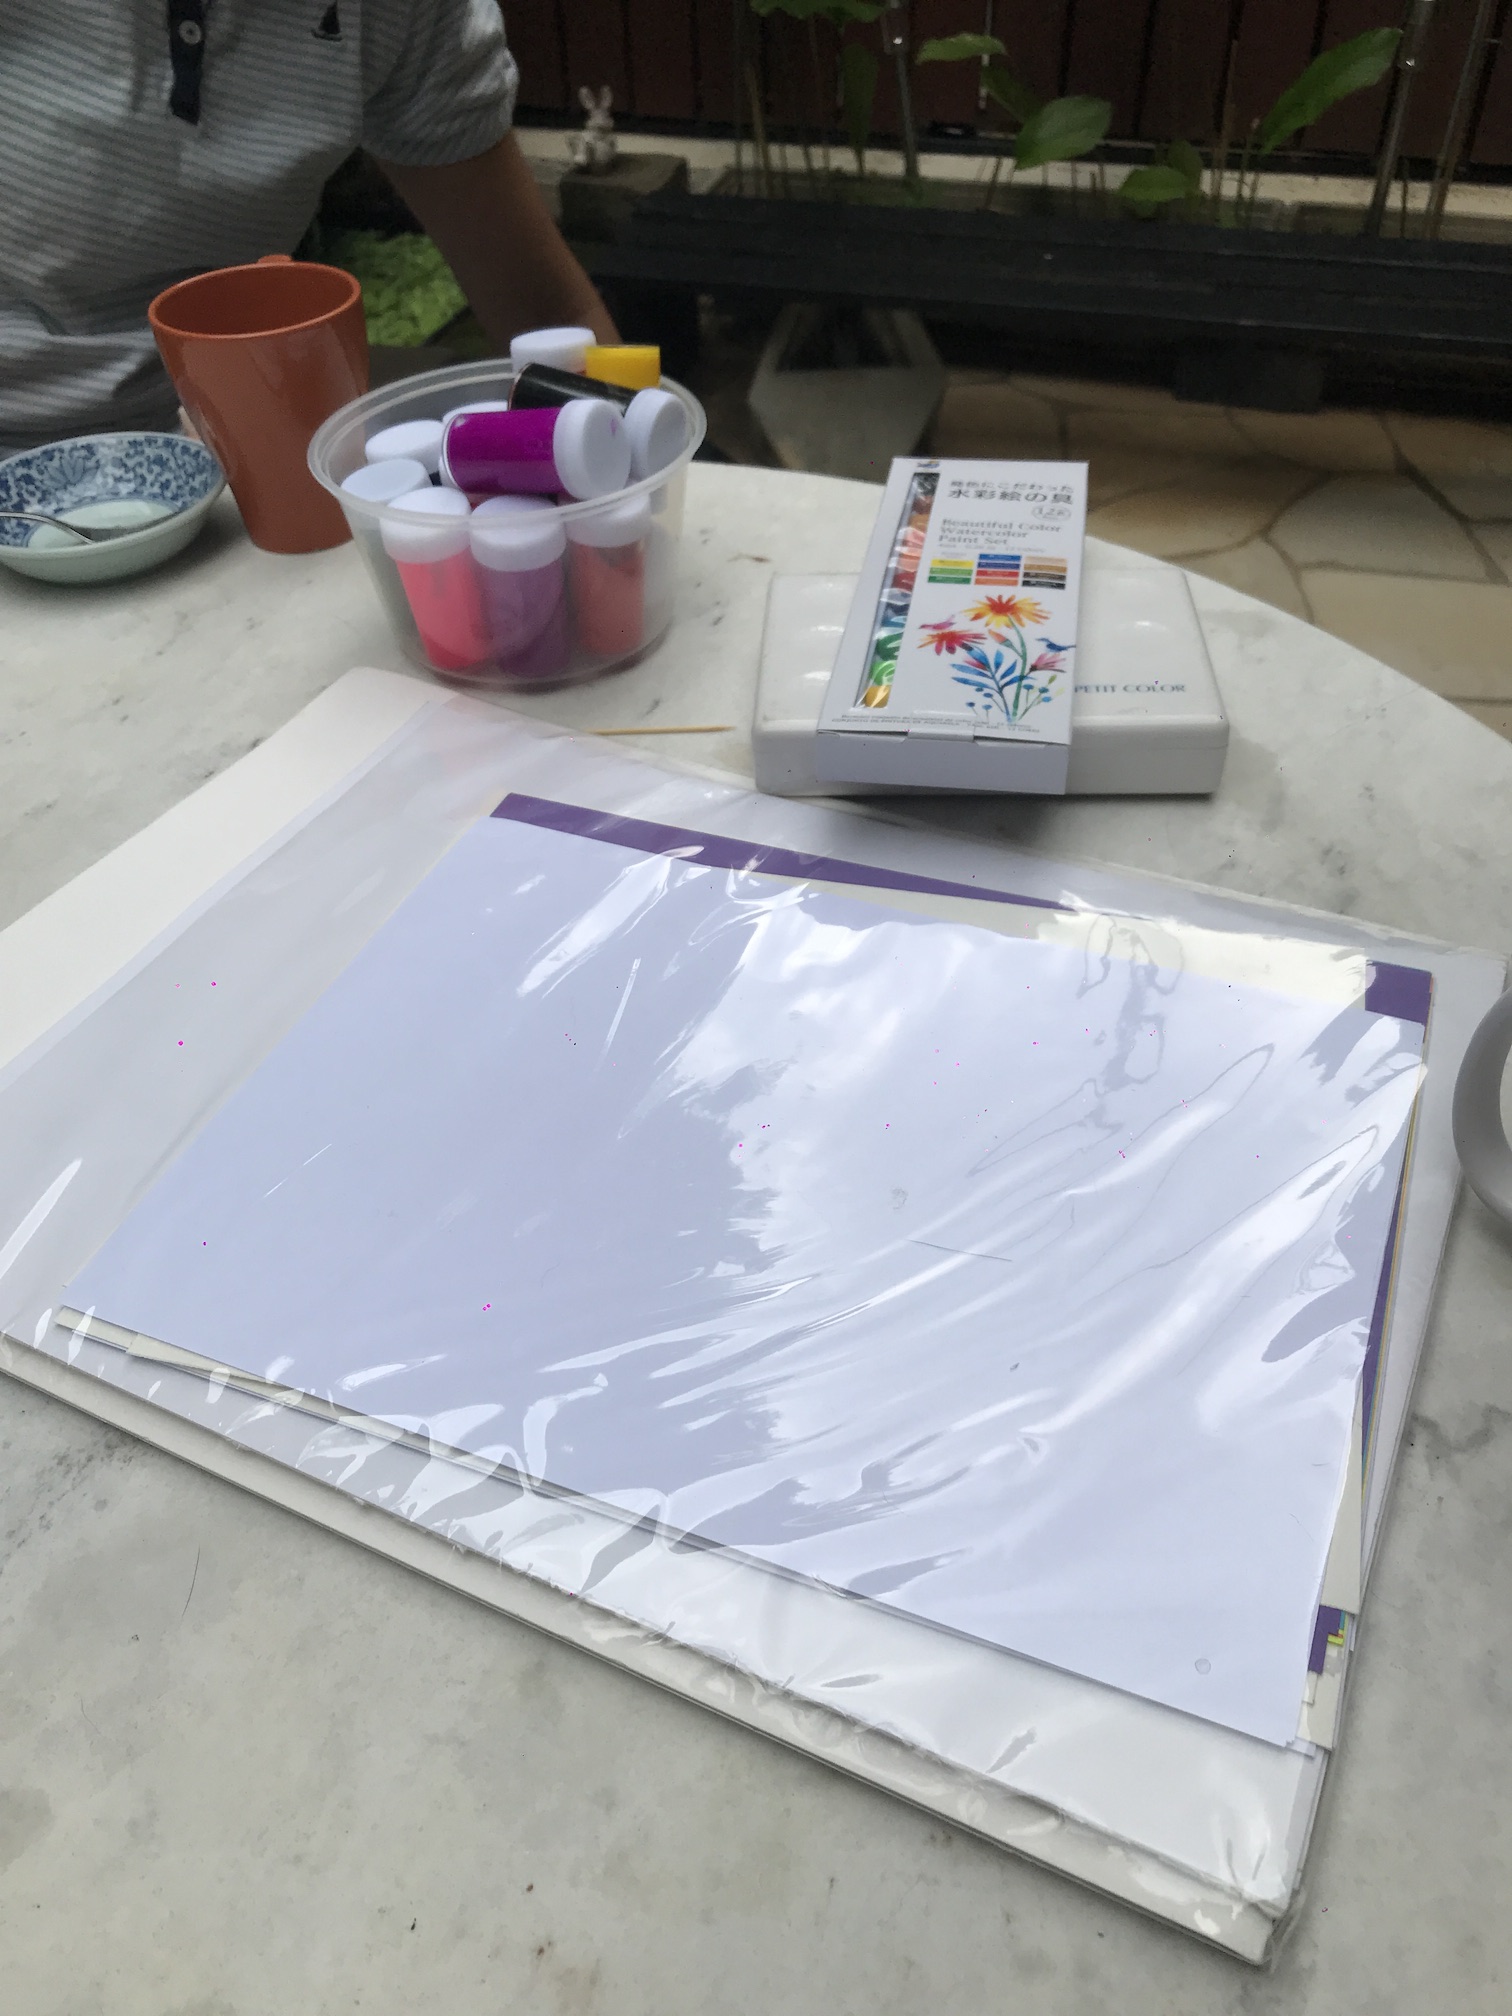
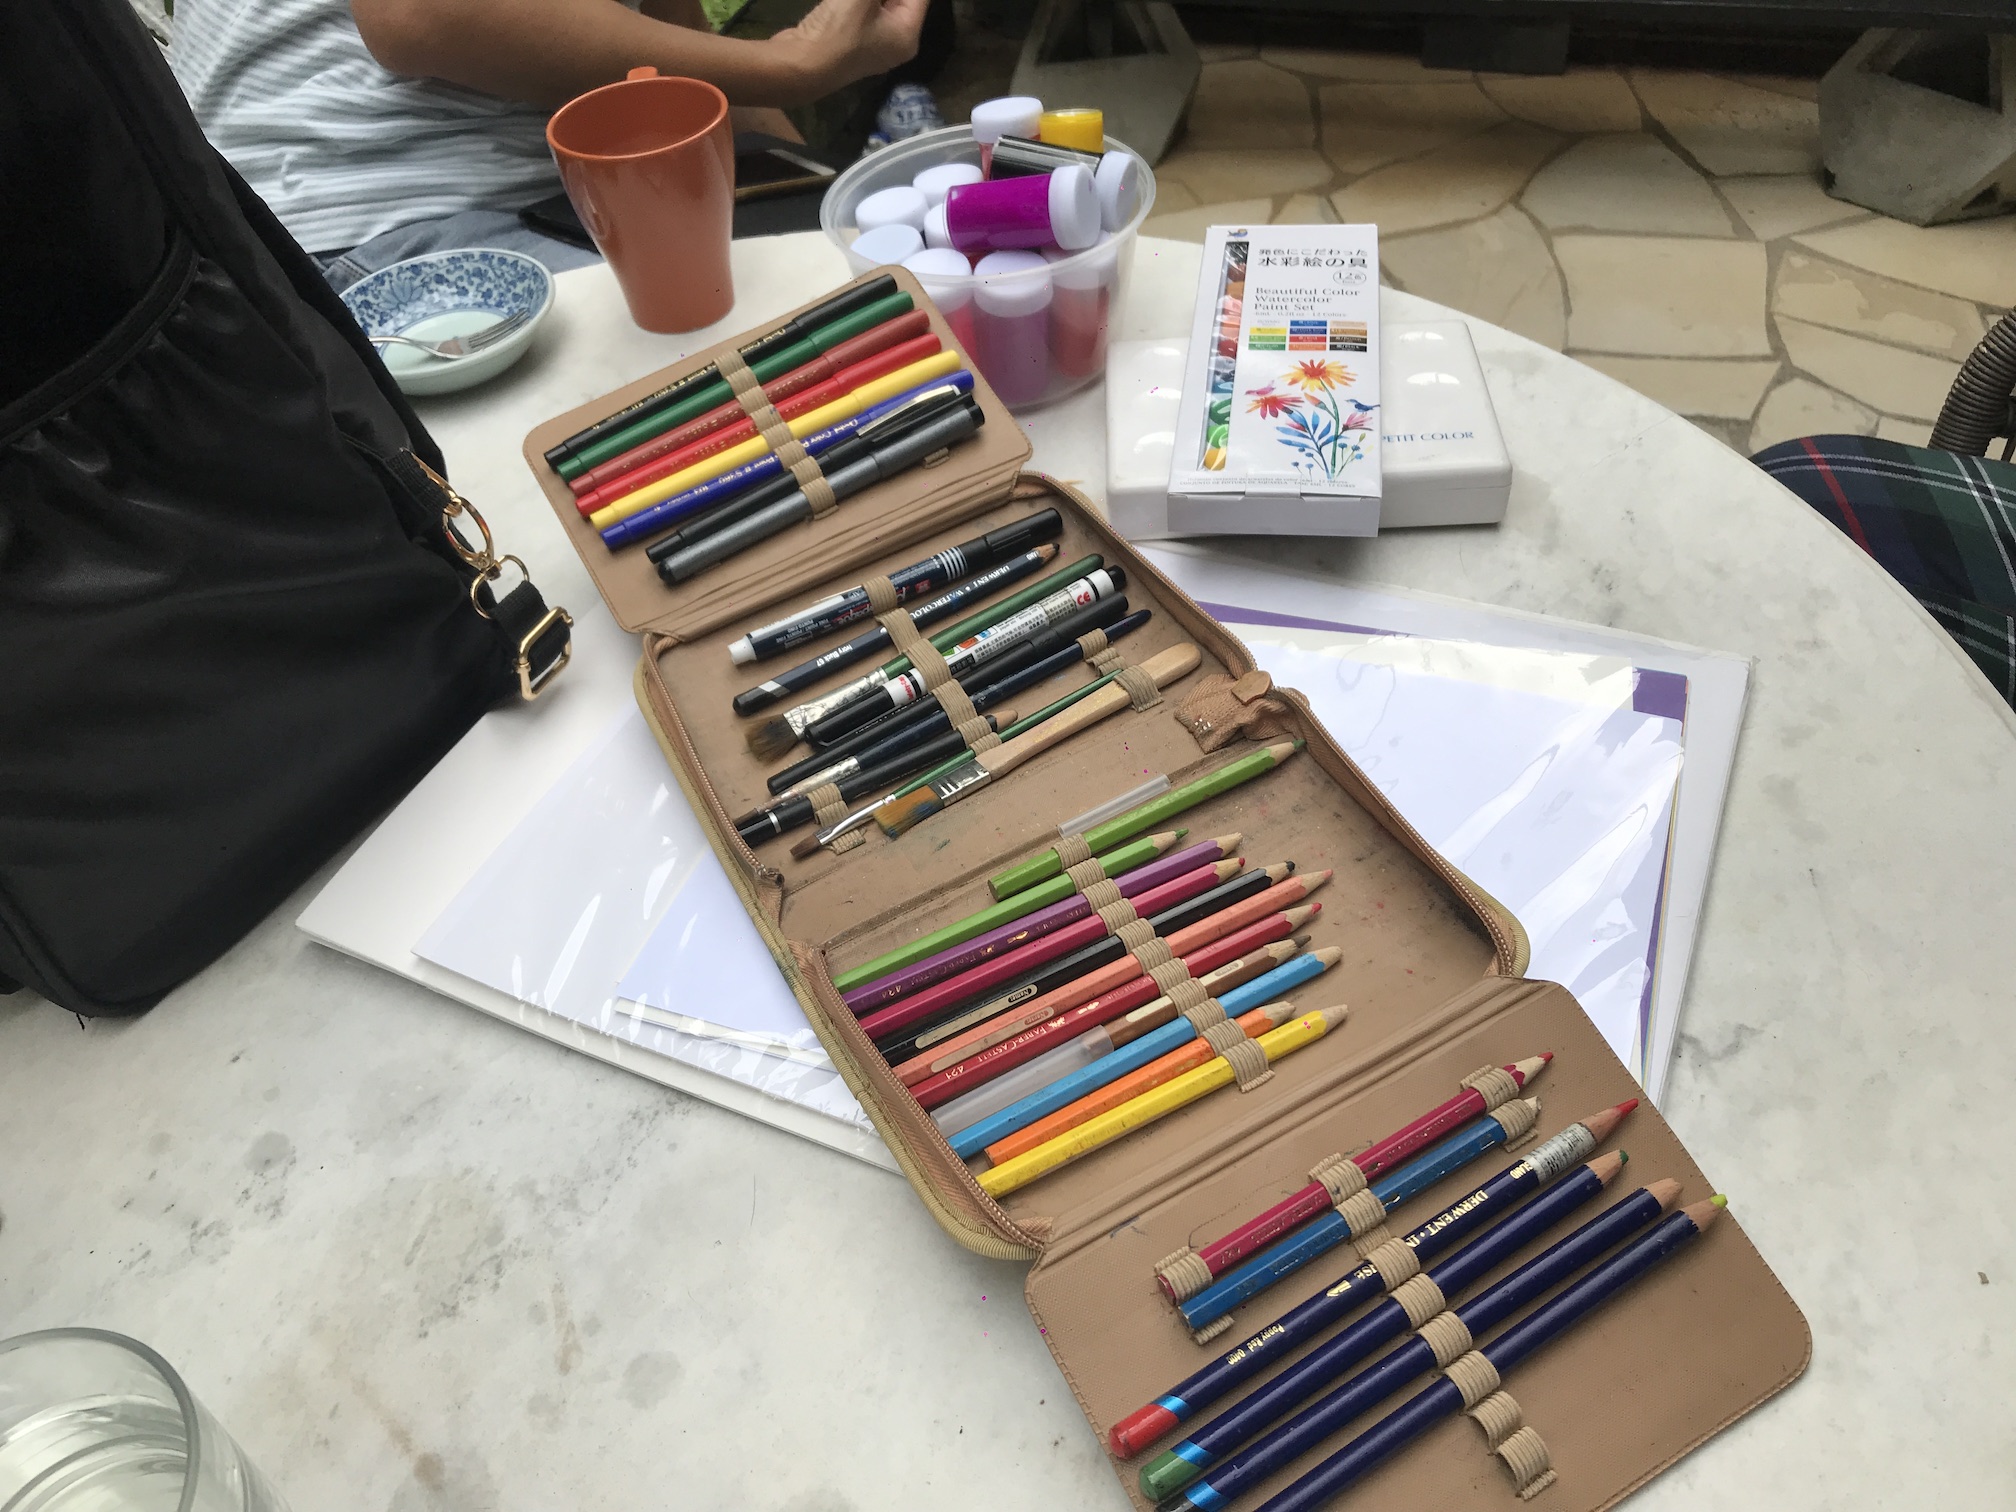
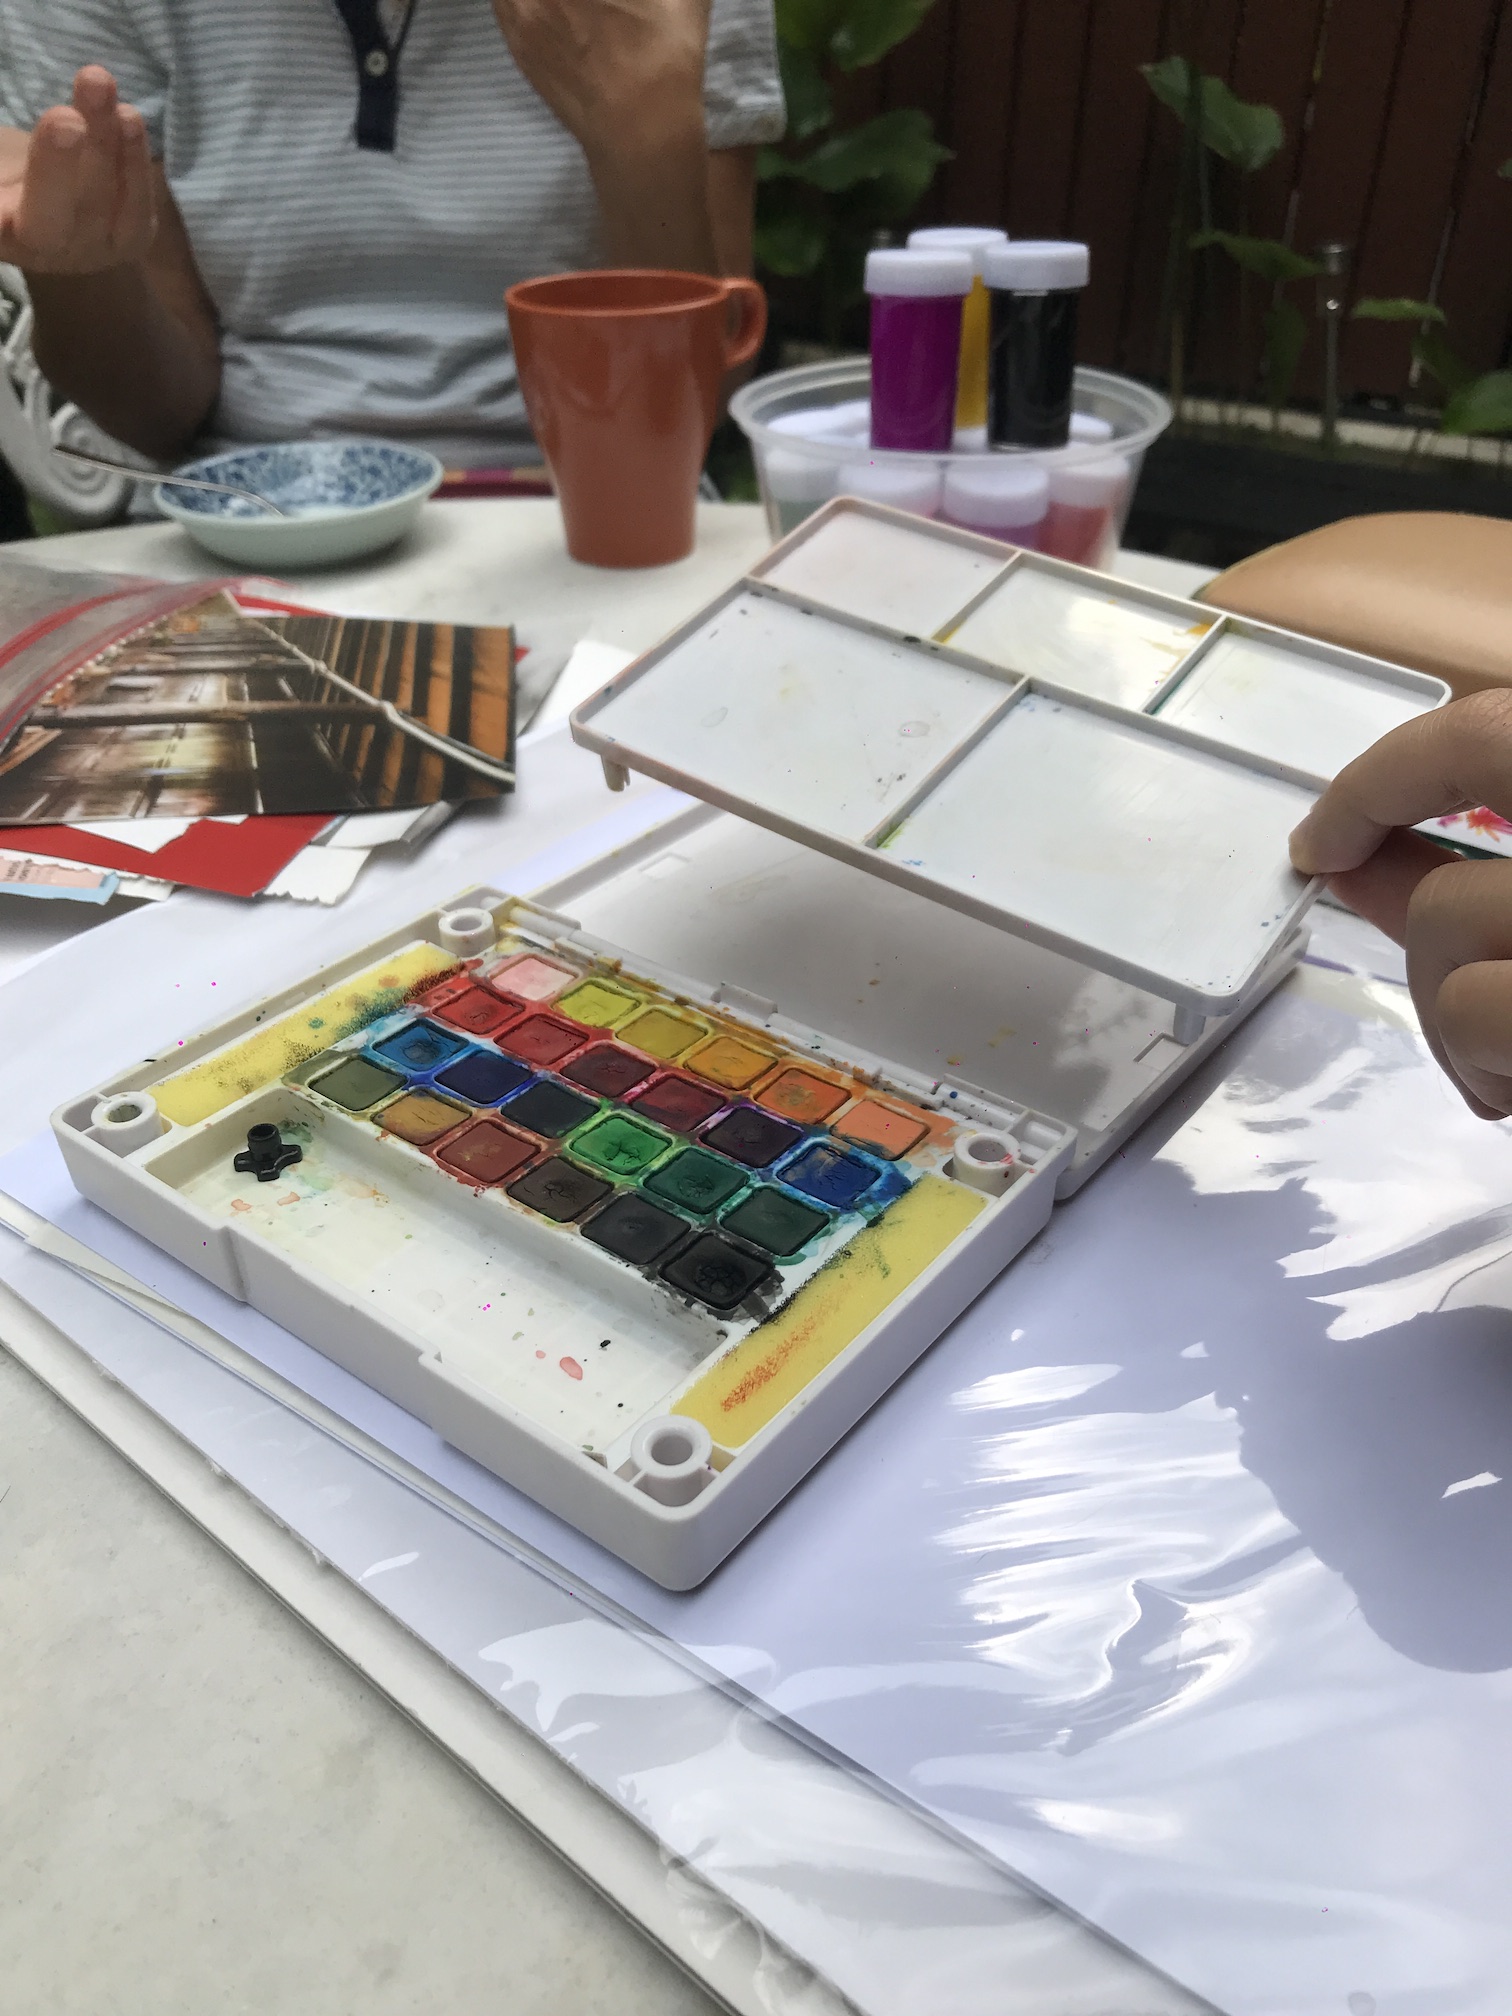
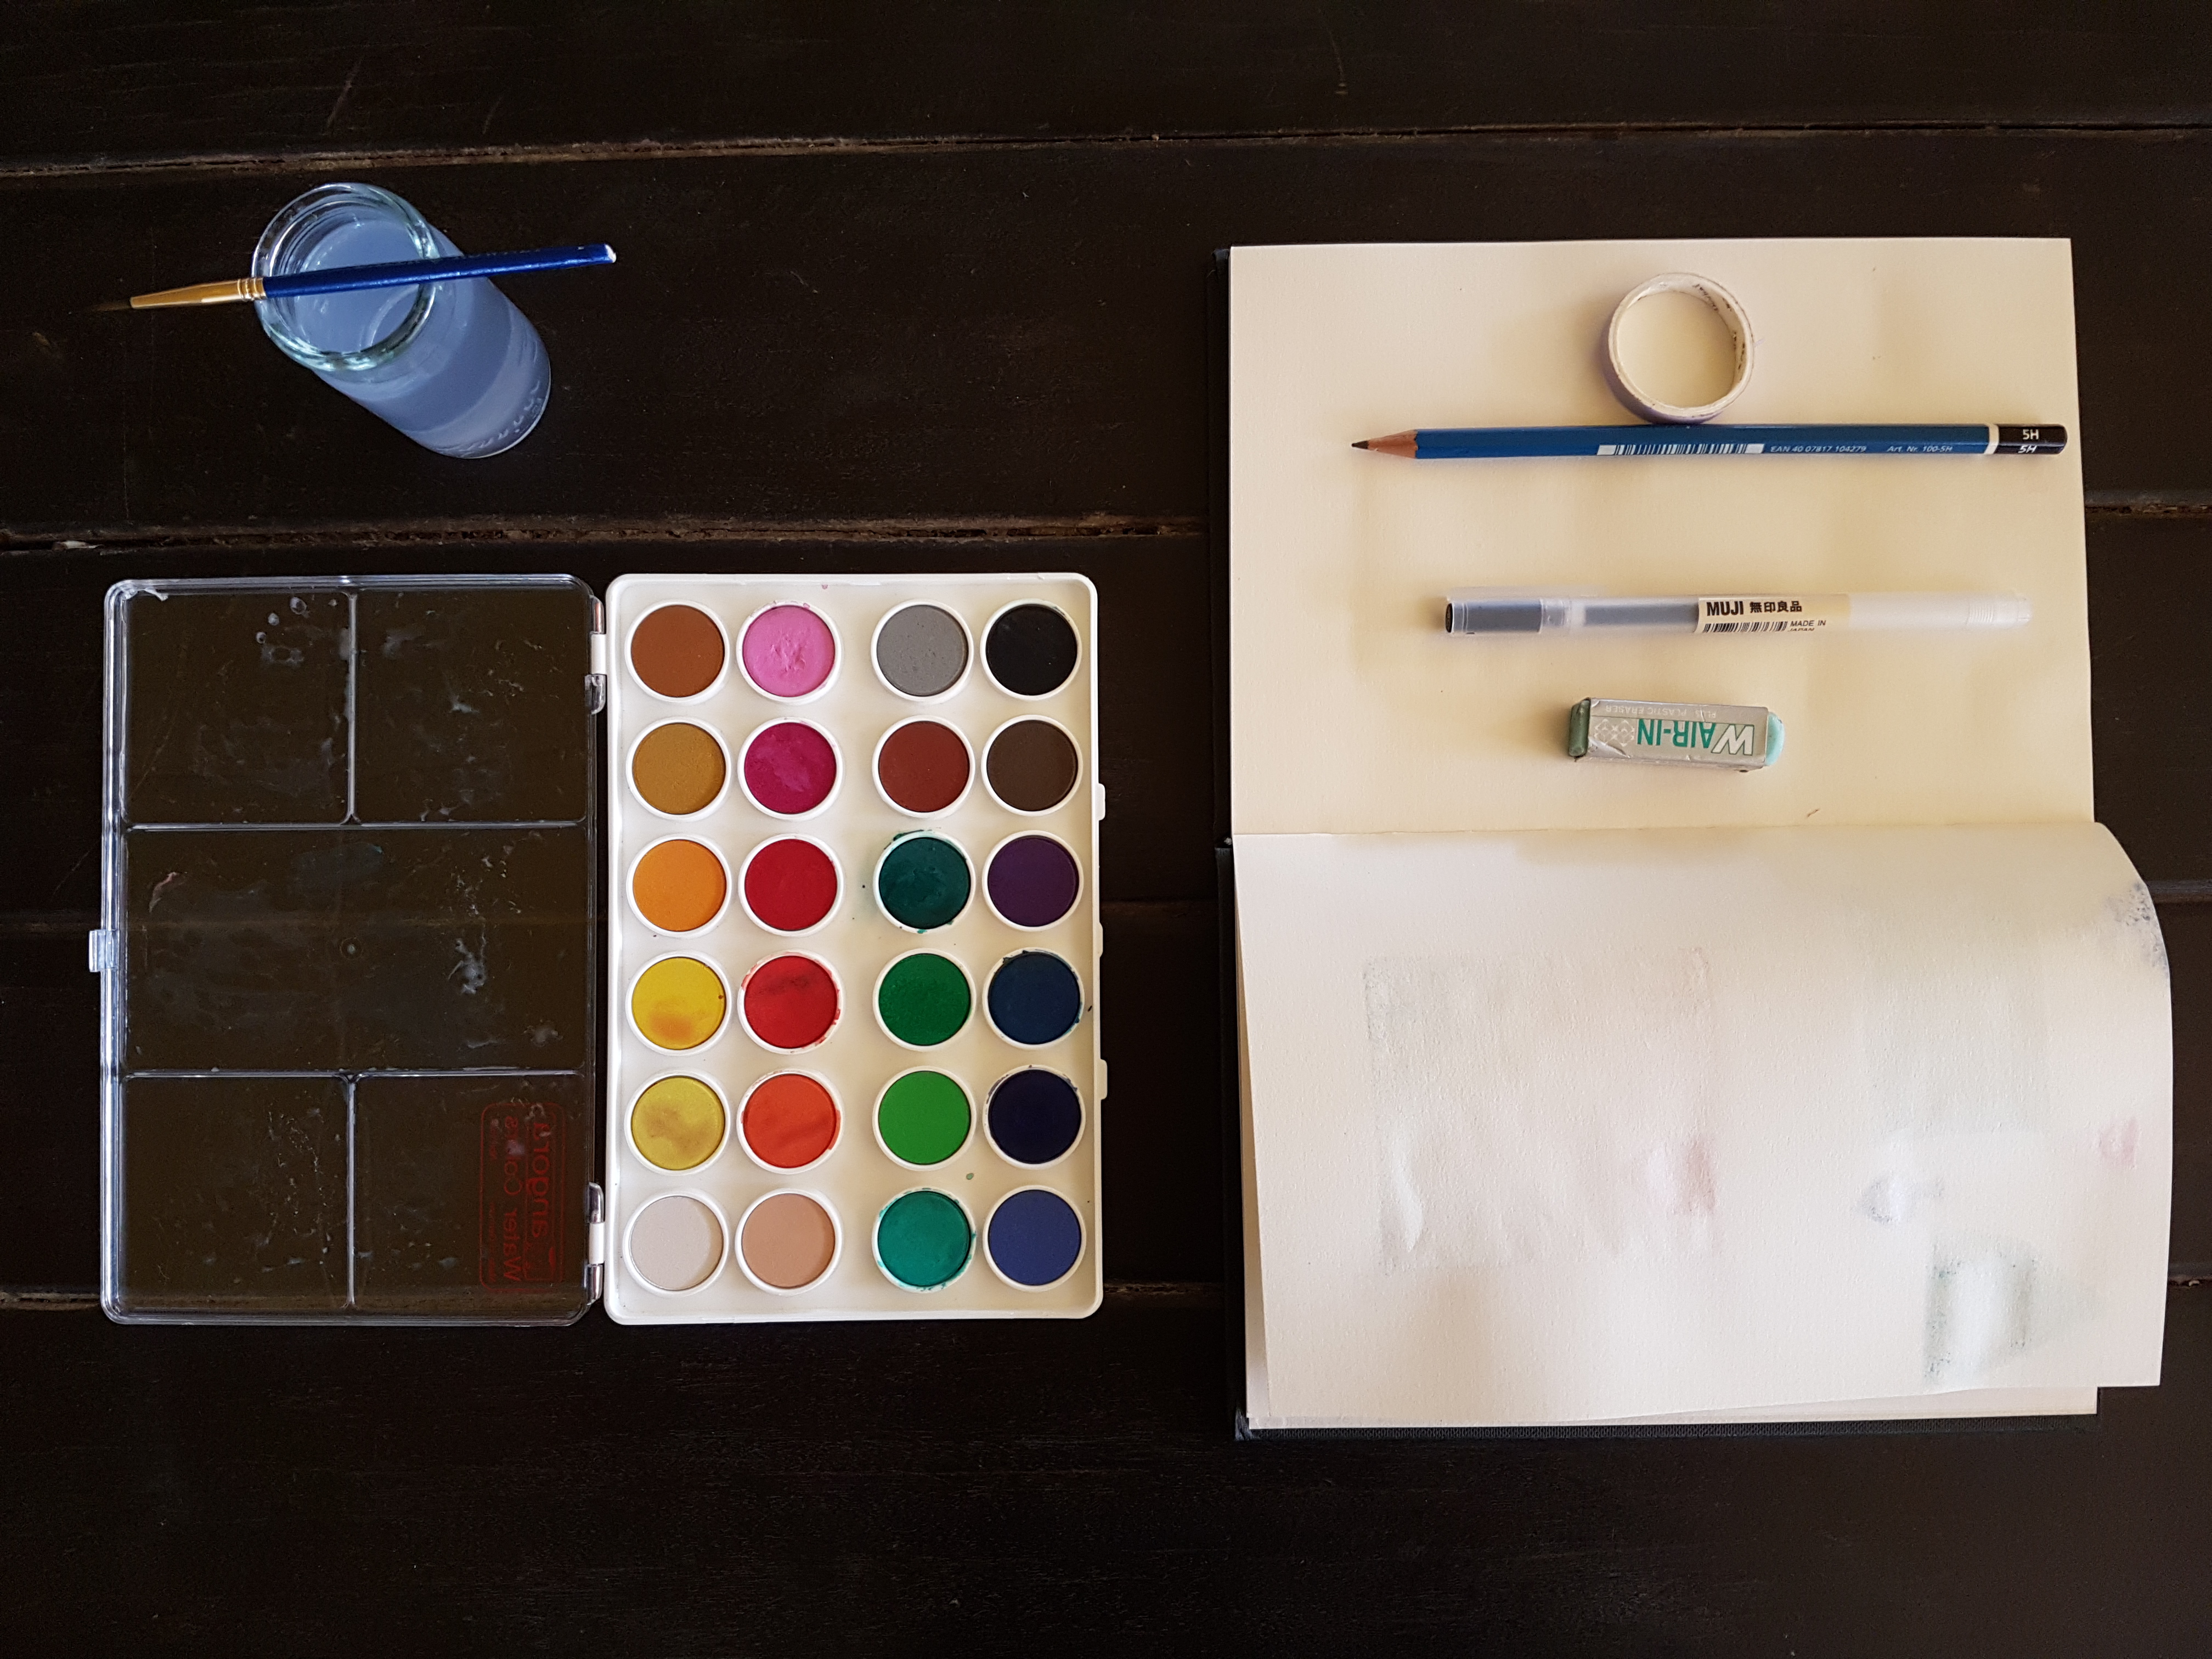
Tools Used:
- Paintbrush
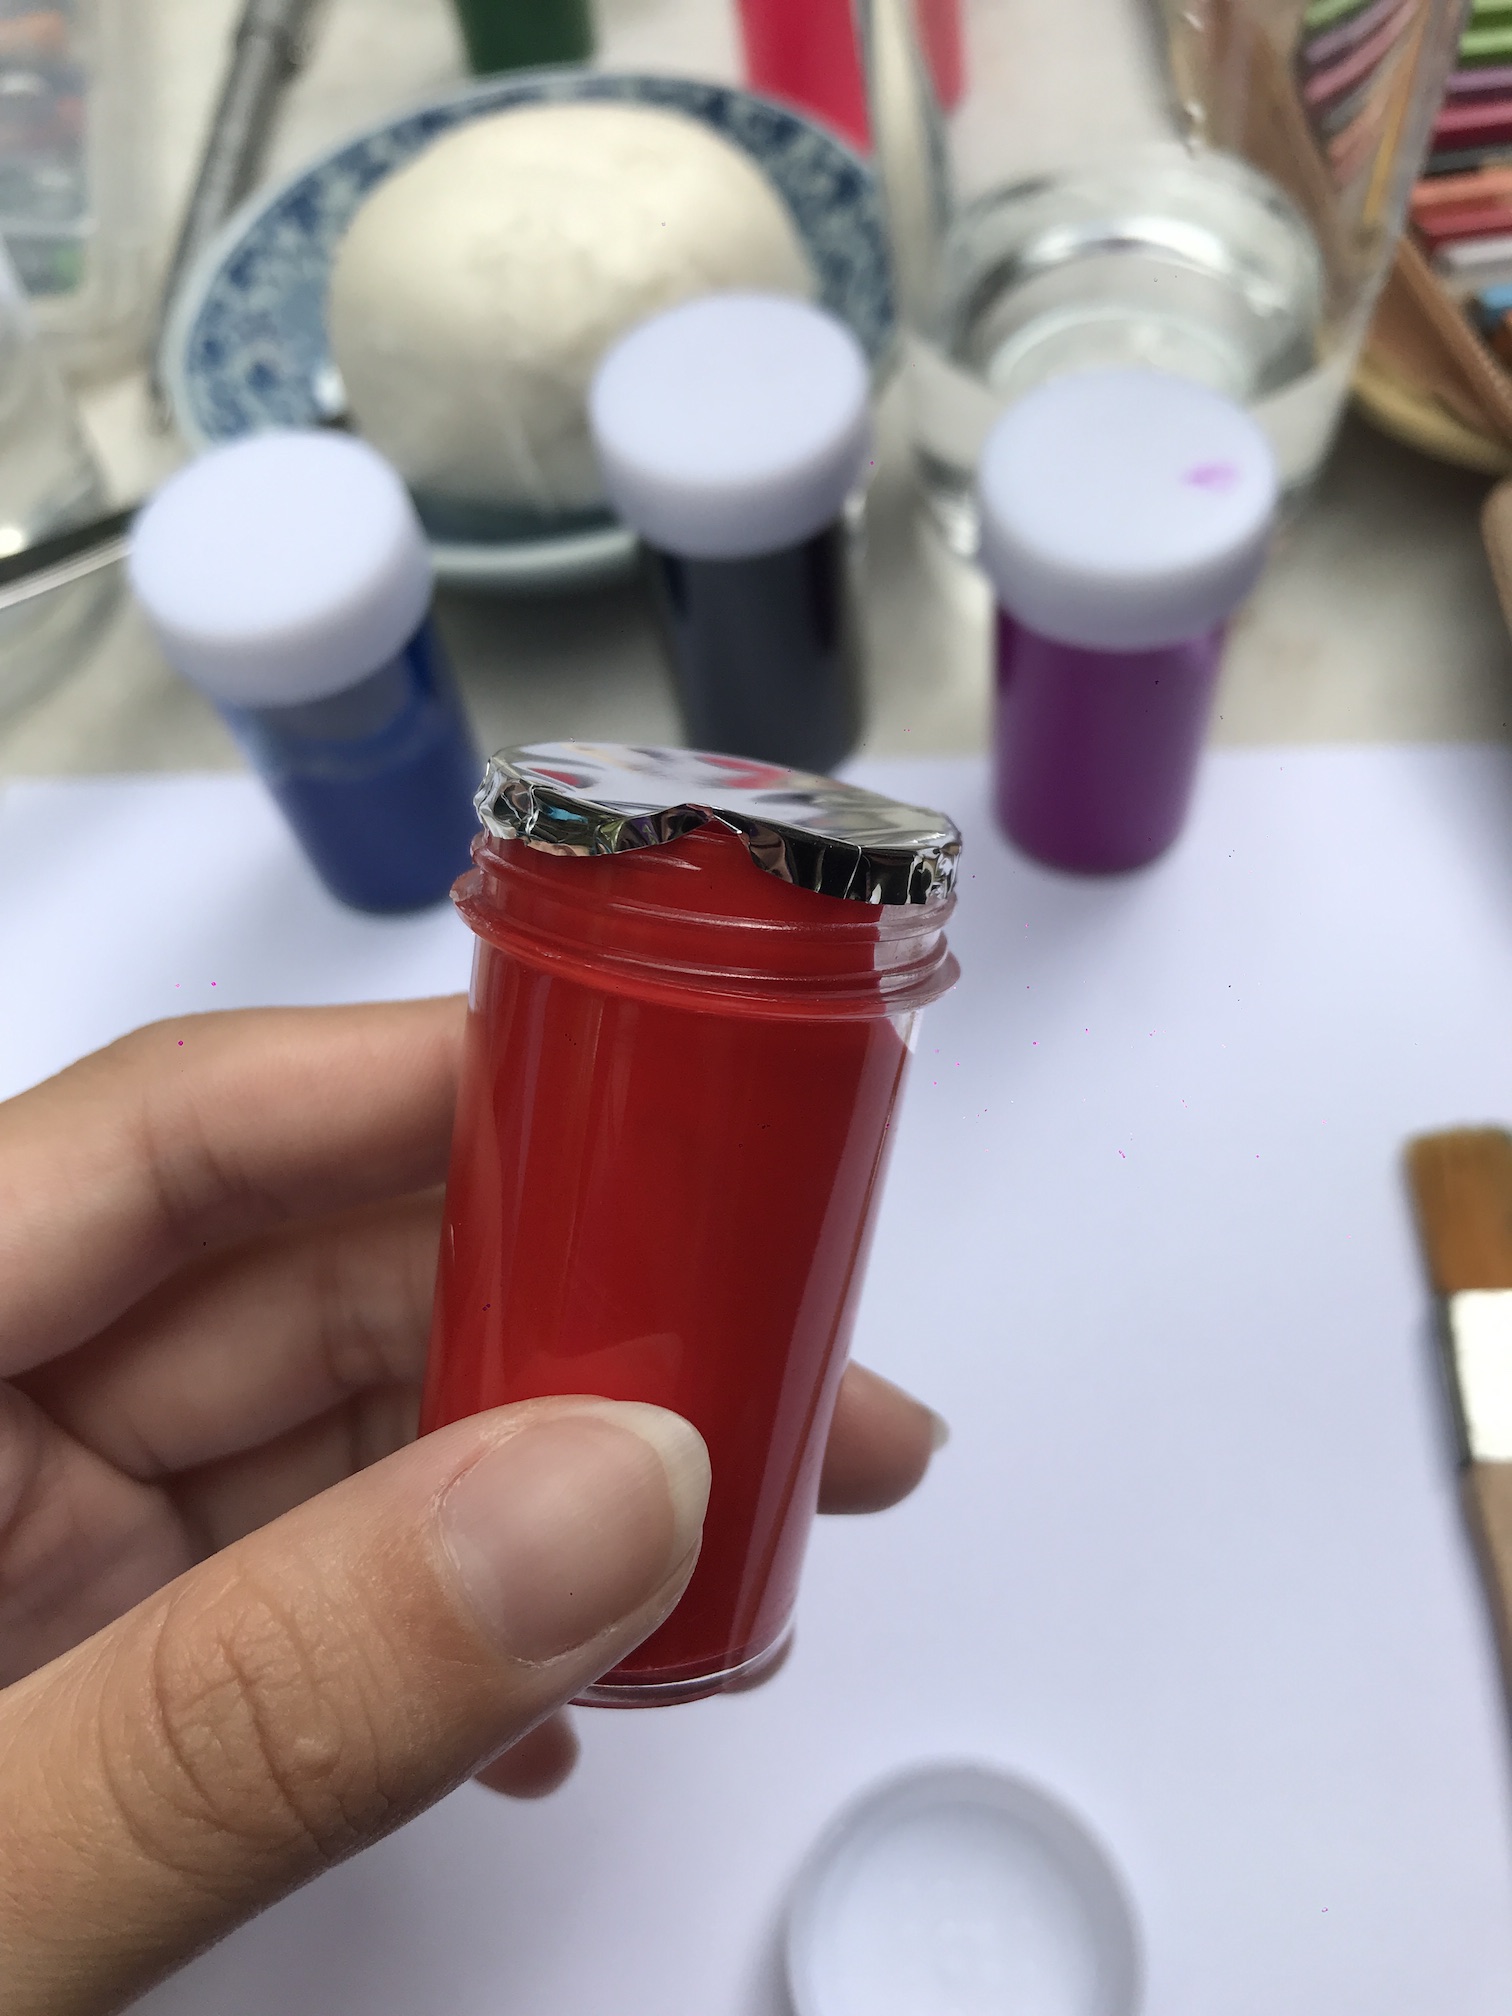
- Sketchbook
- Watercolour palette
- Washi tape
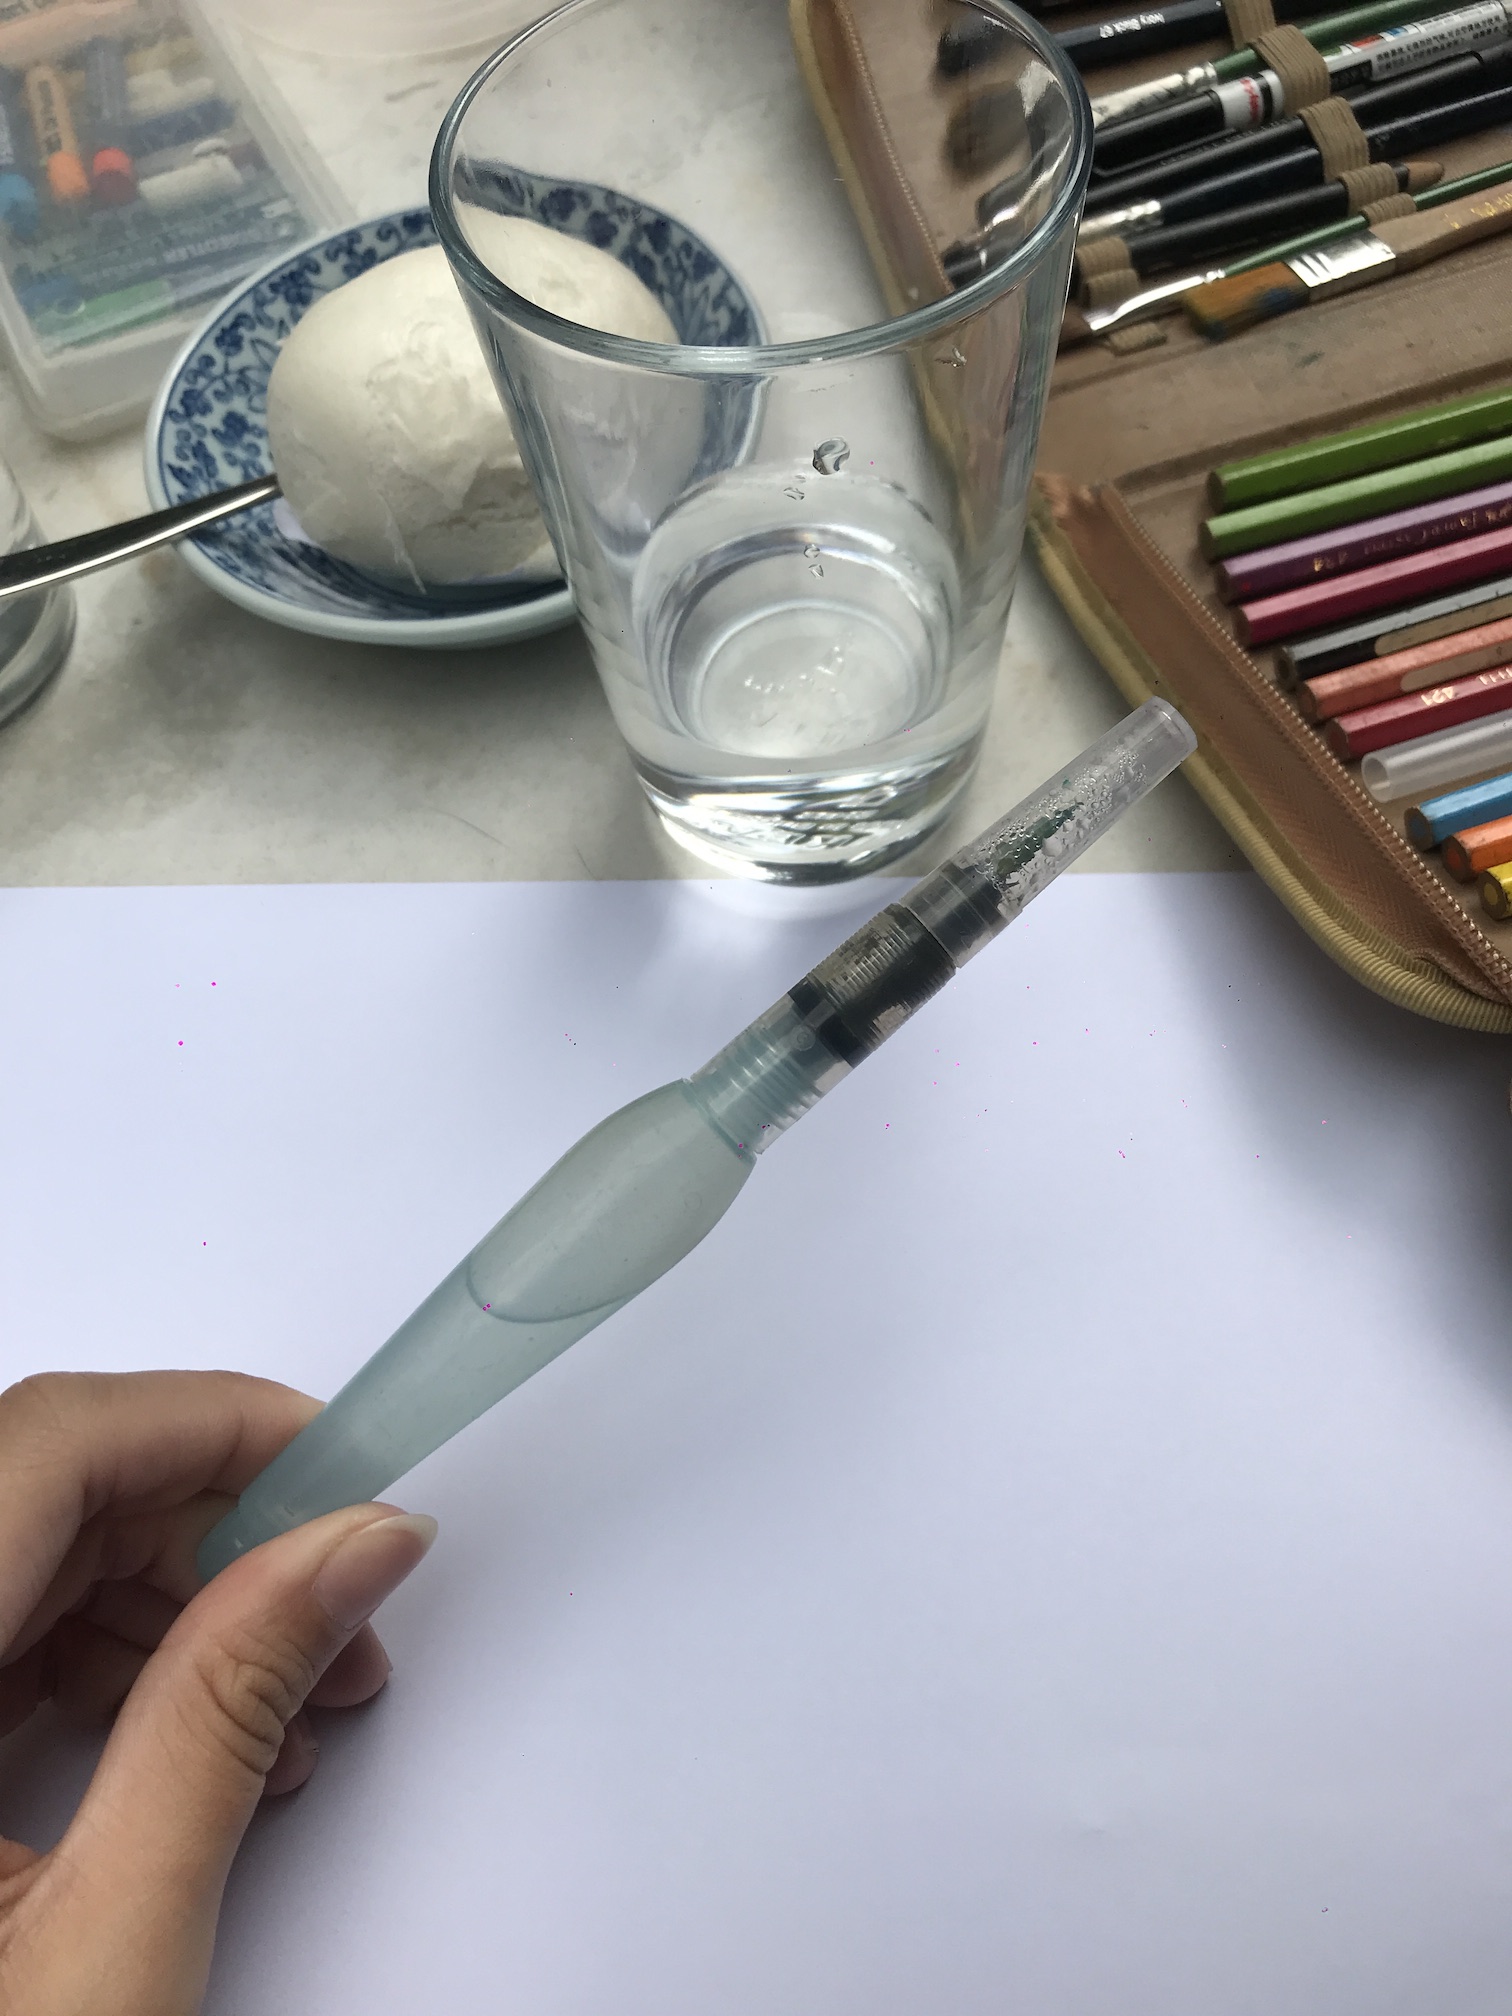
- Glass full of water
- Pencils, eraser, markers.
The Process:
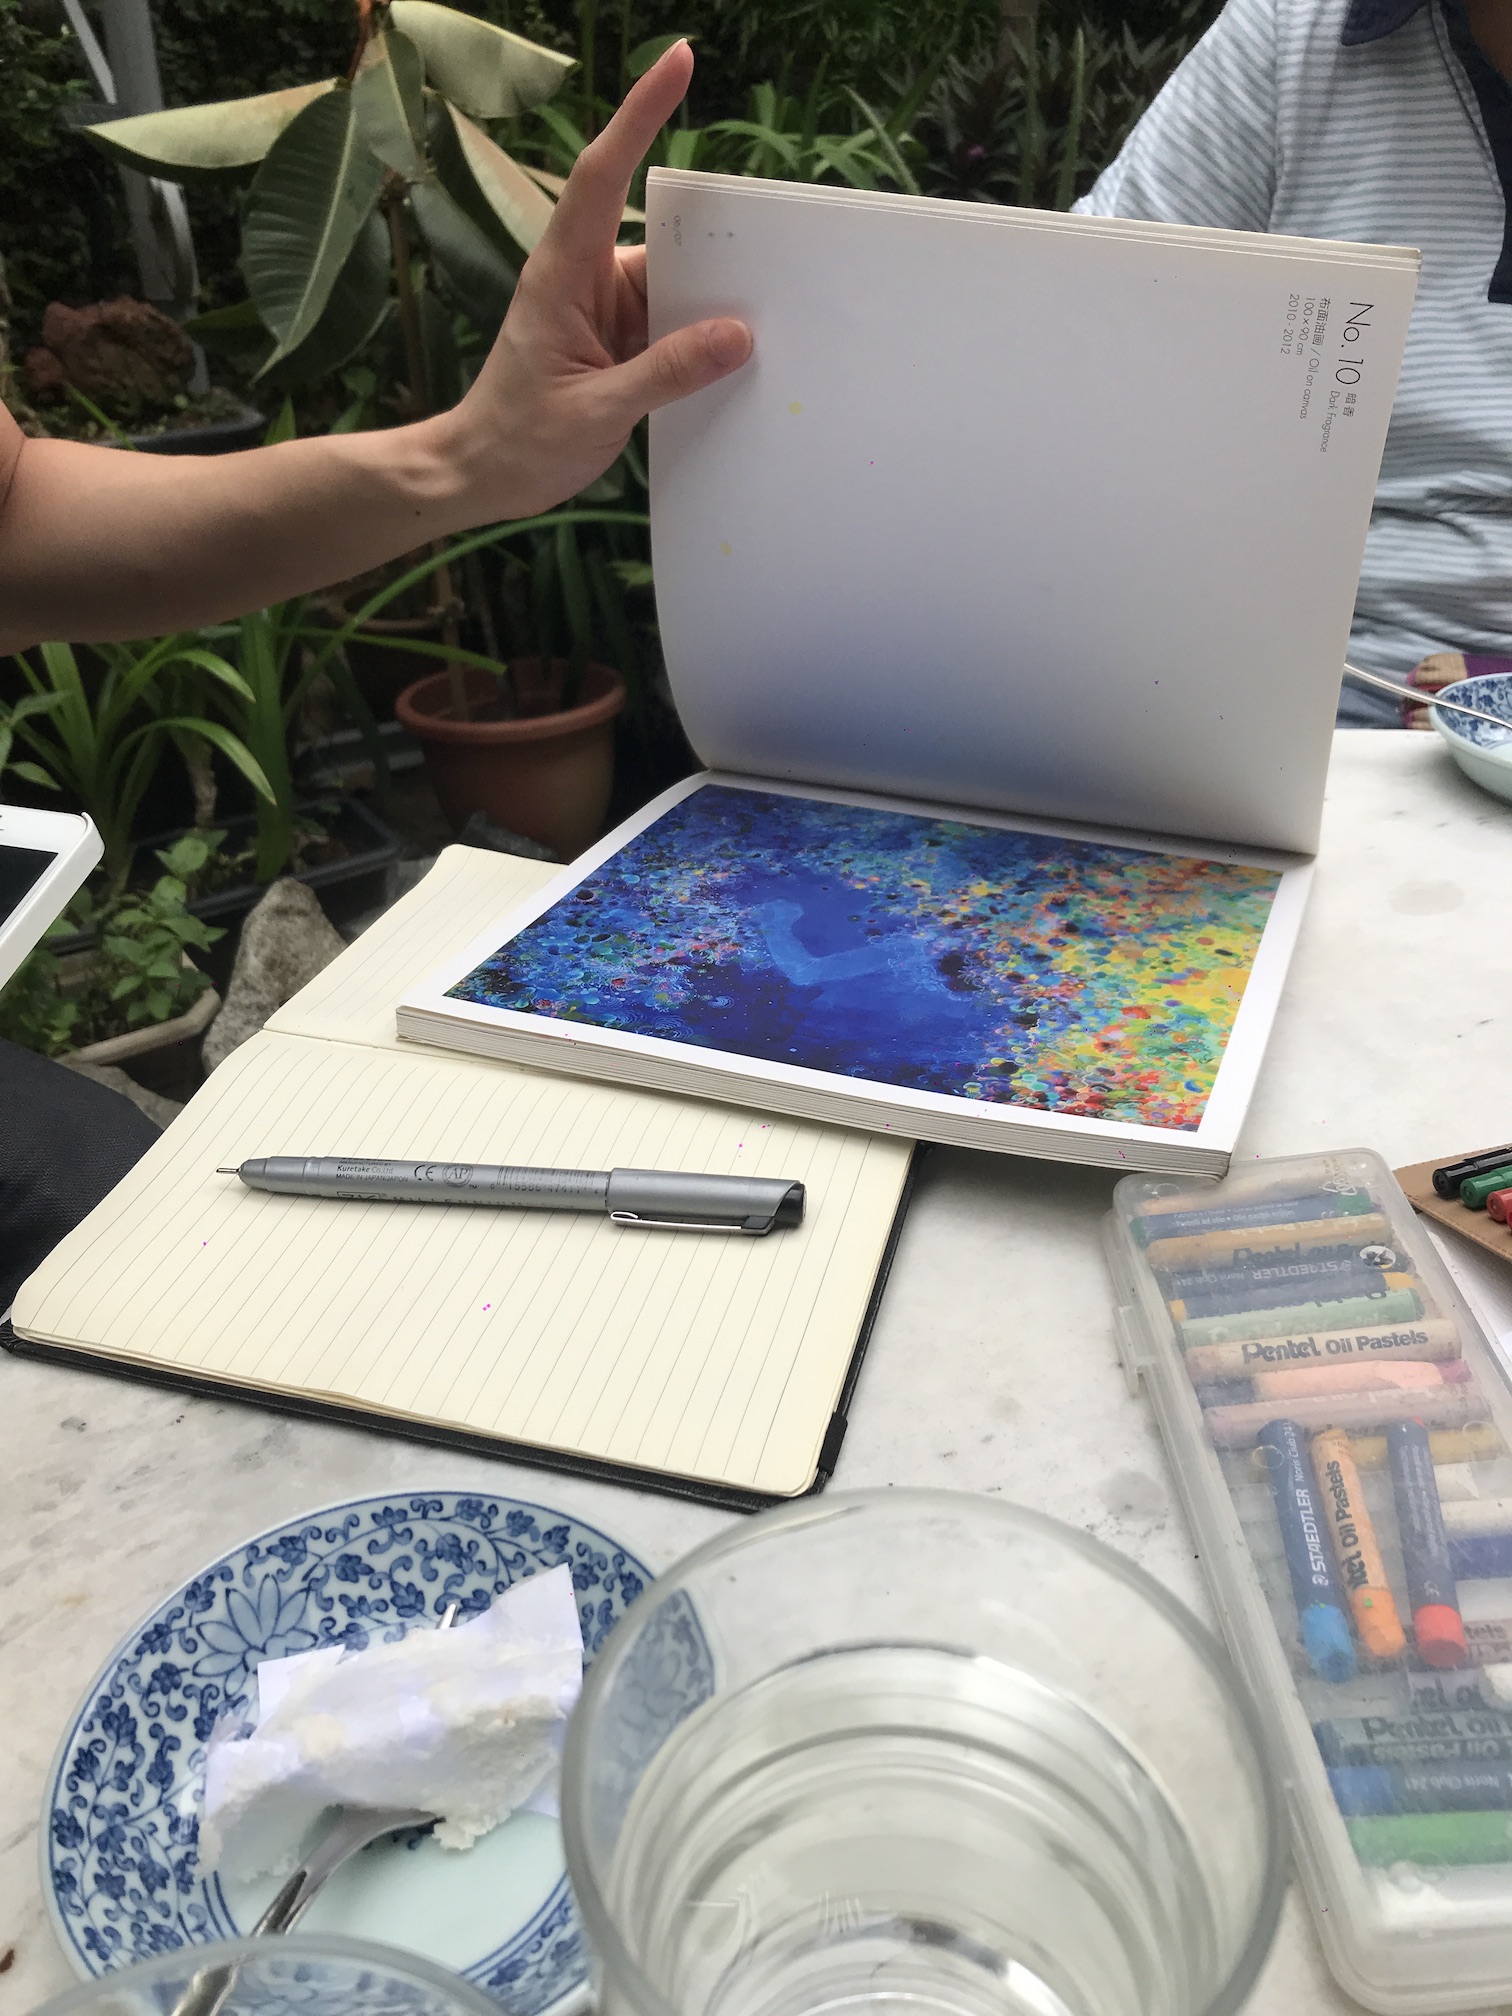
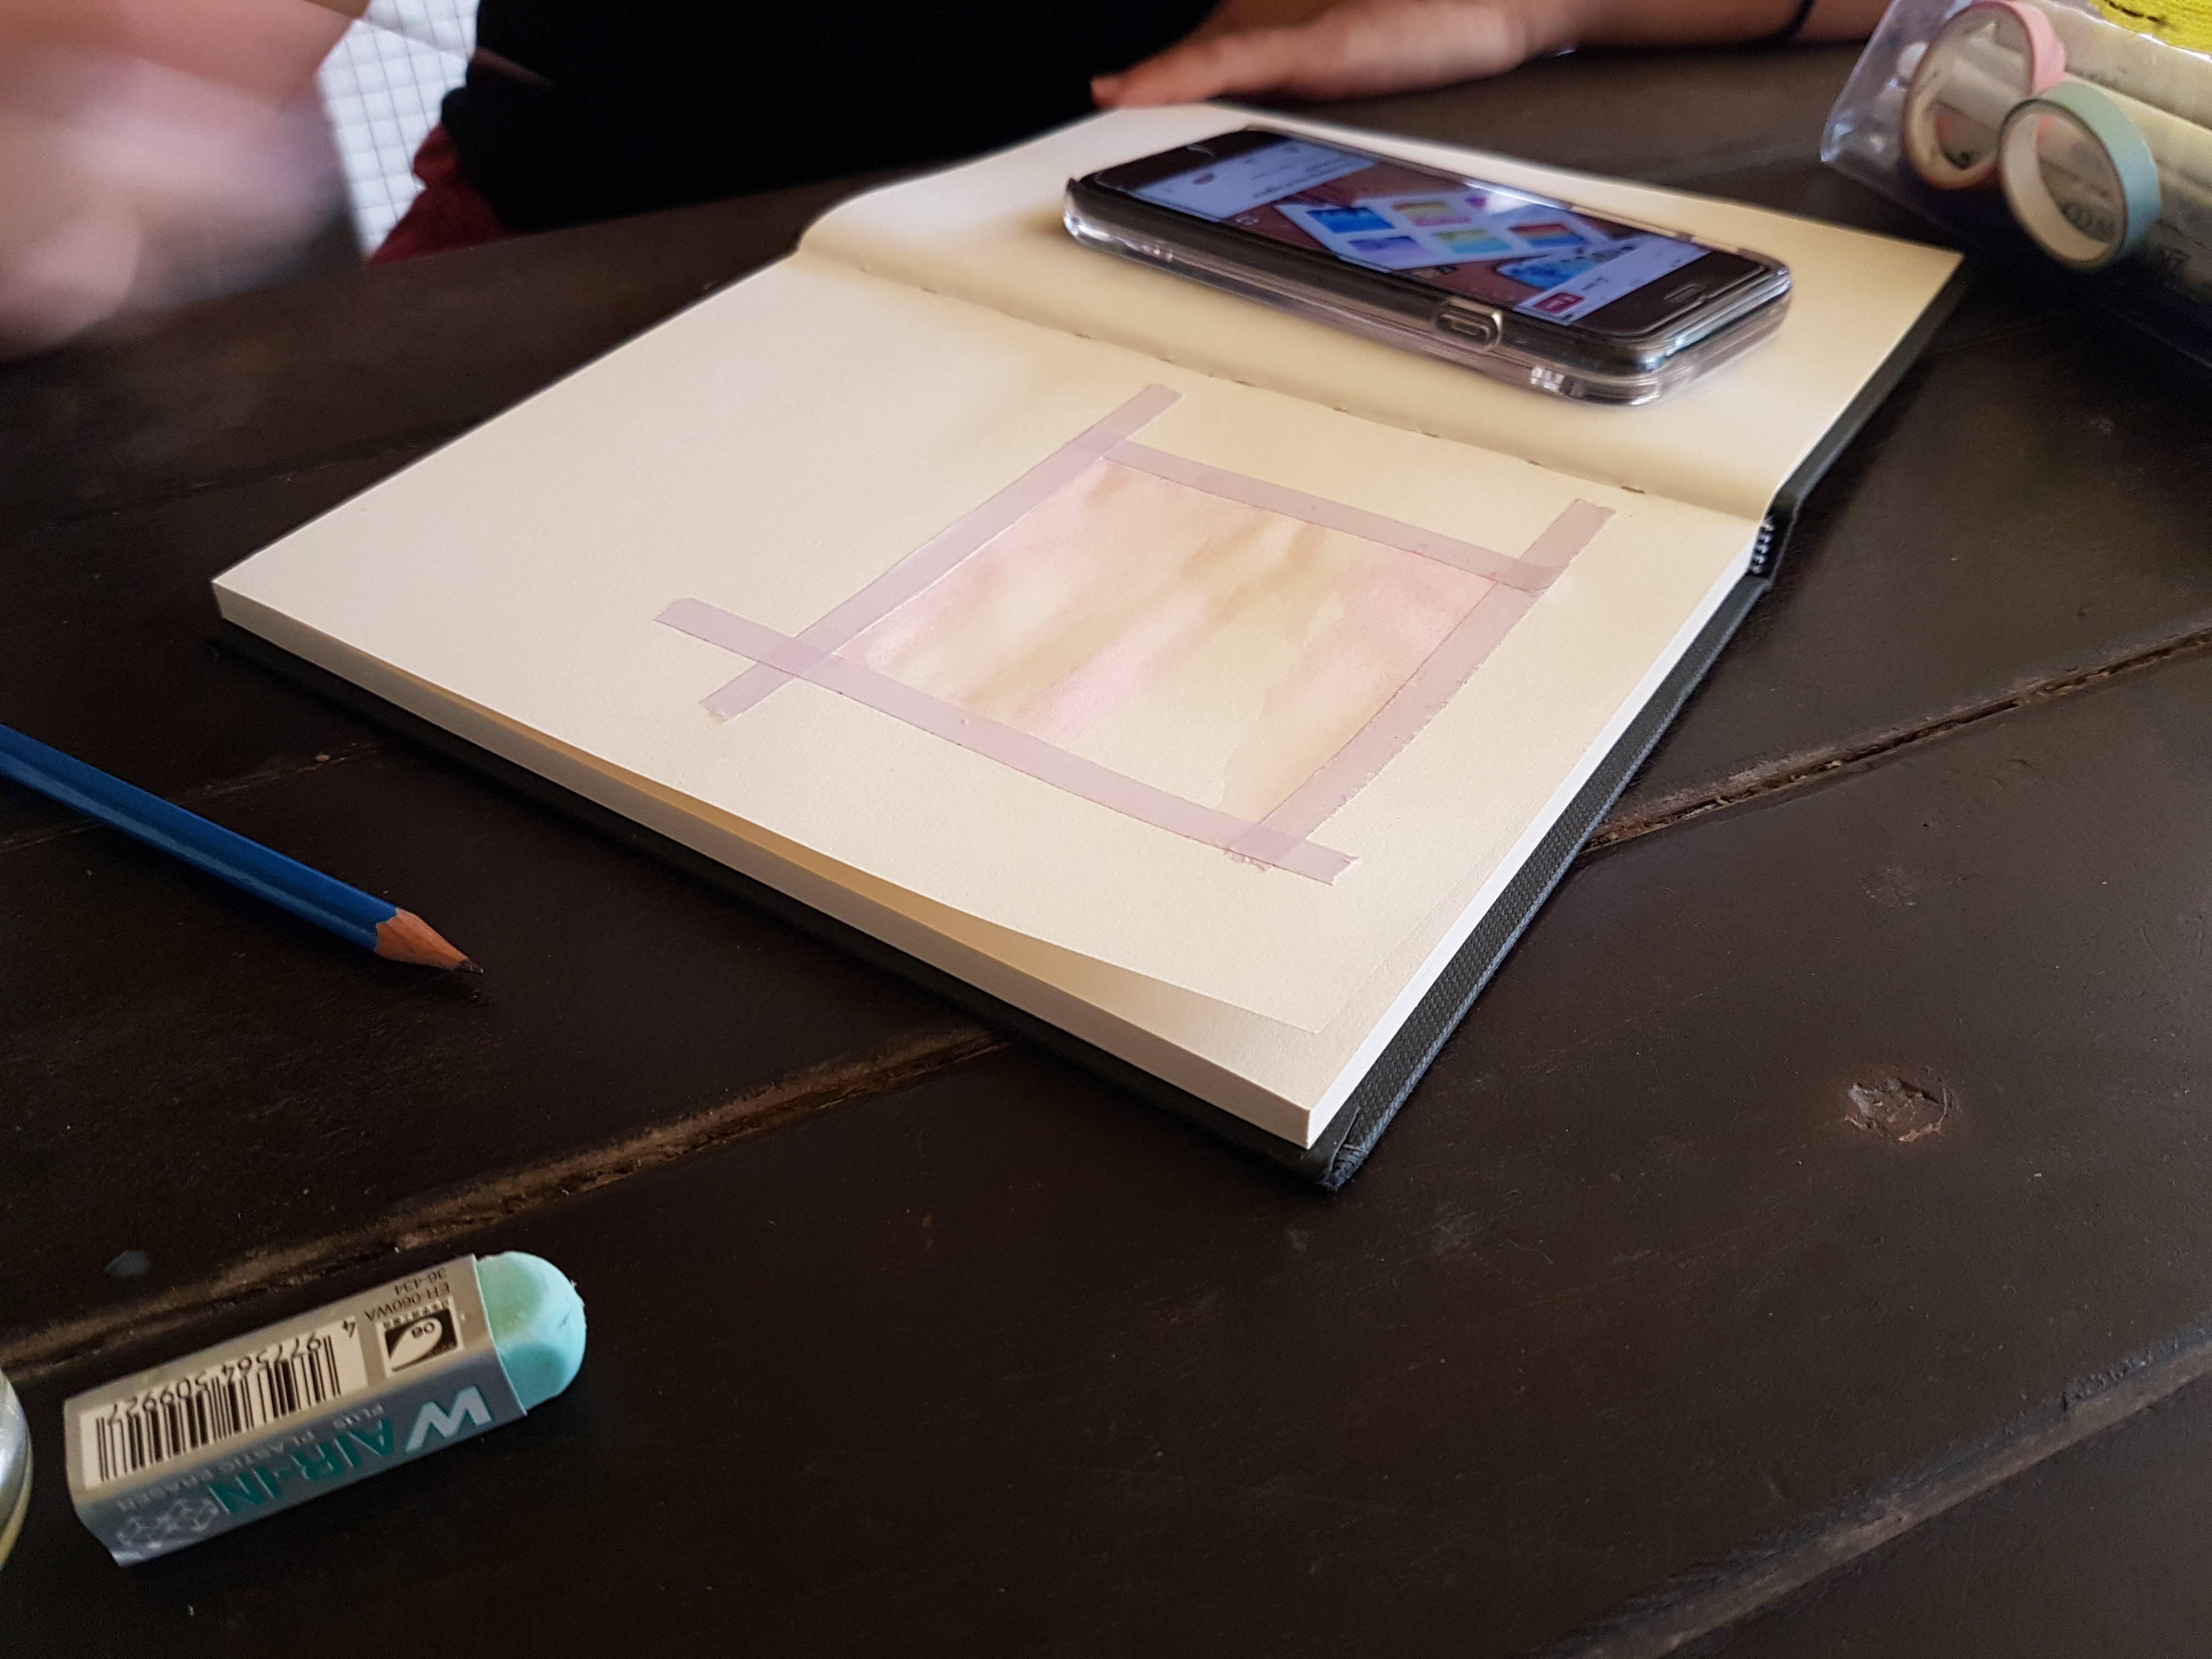
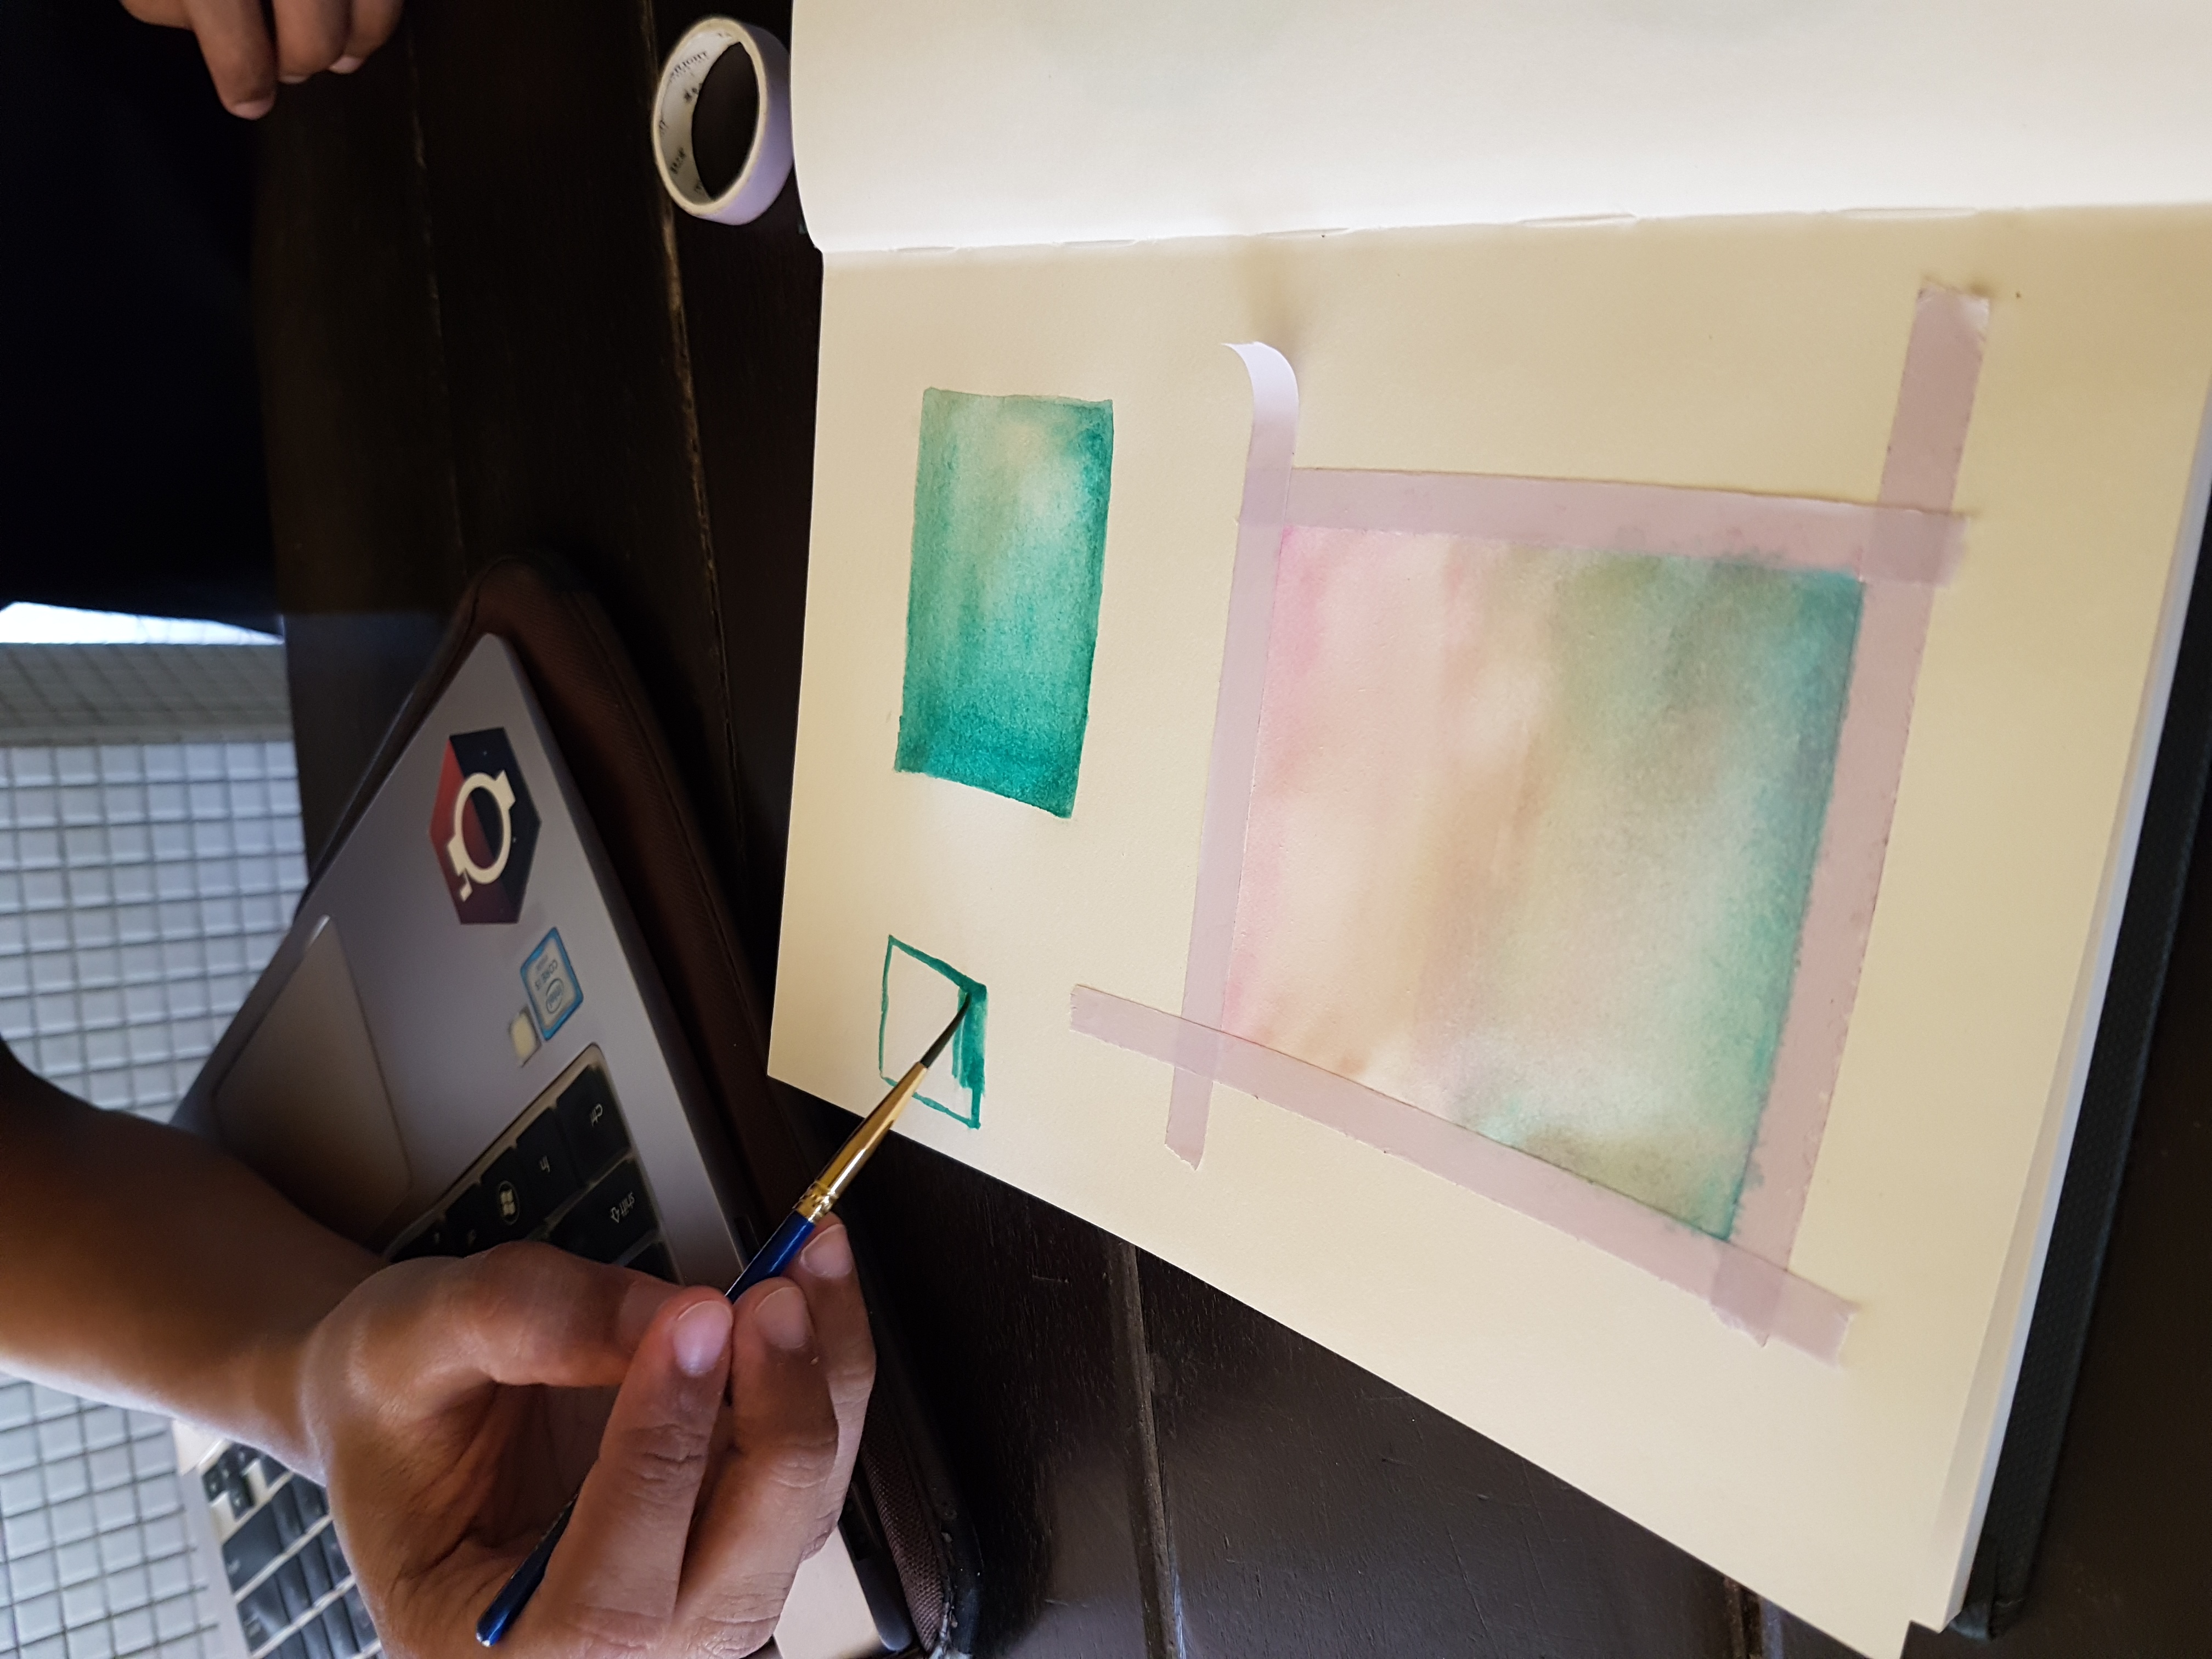
She started off by asking me if I have anything in mind that I wanted to paint out, but in the end we decided to use an image from the internet as reference. Some prep work was done first and she used the washi tape to create a square border. This is done so that the parameter of her painting will look neat and “clean”. She then proceeded to show me the actual painting process – always painting towards the same direction at a time.
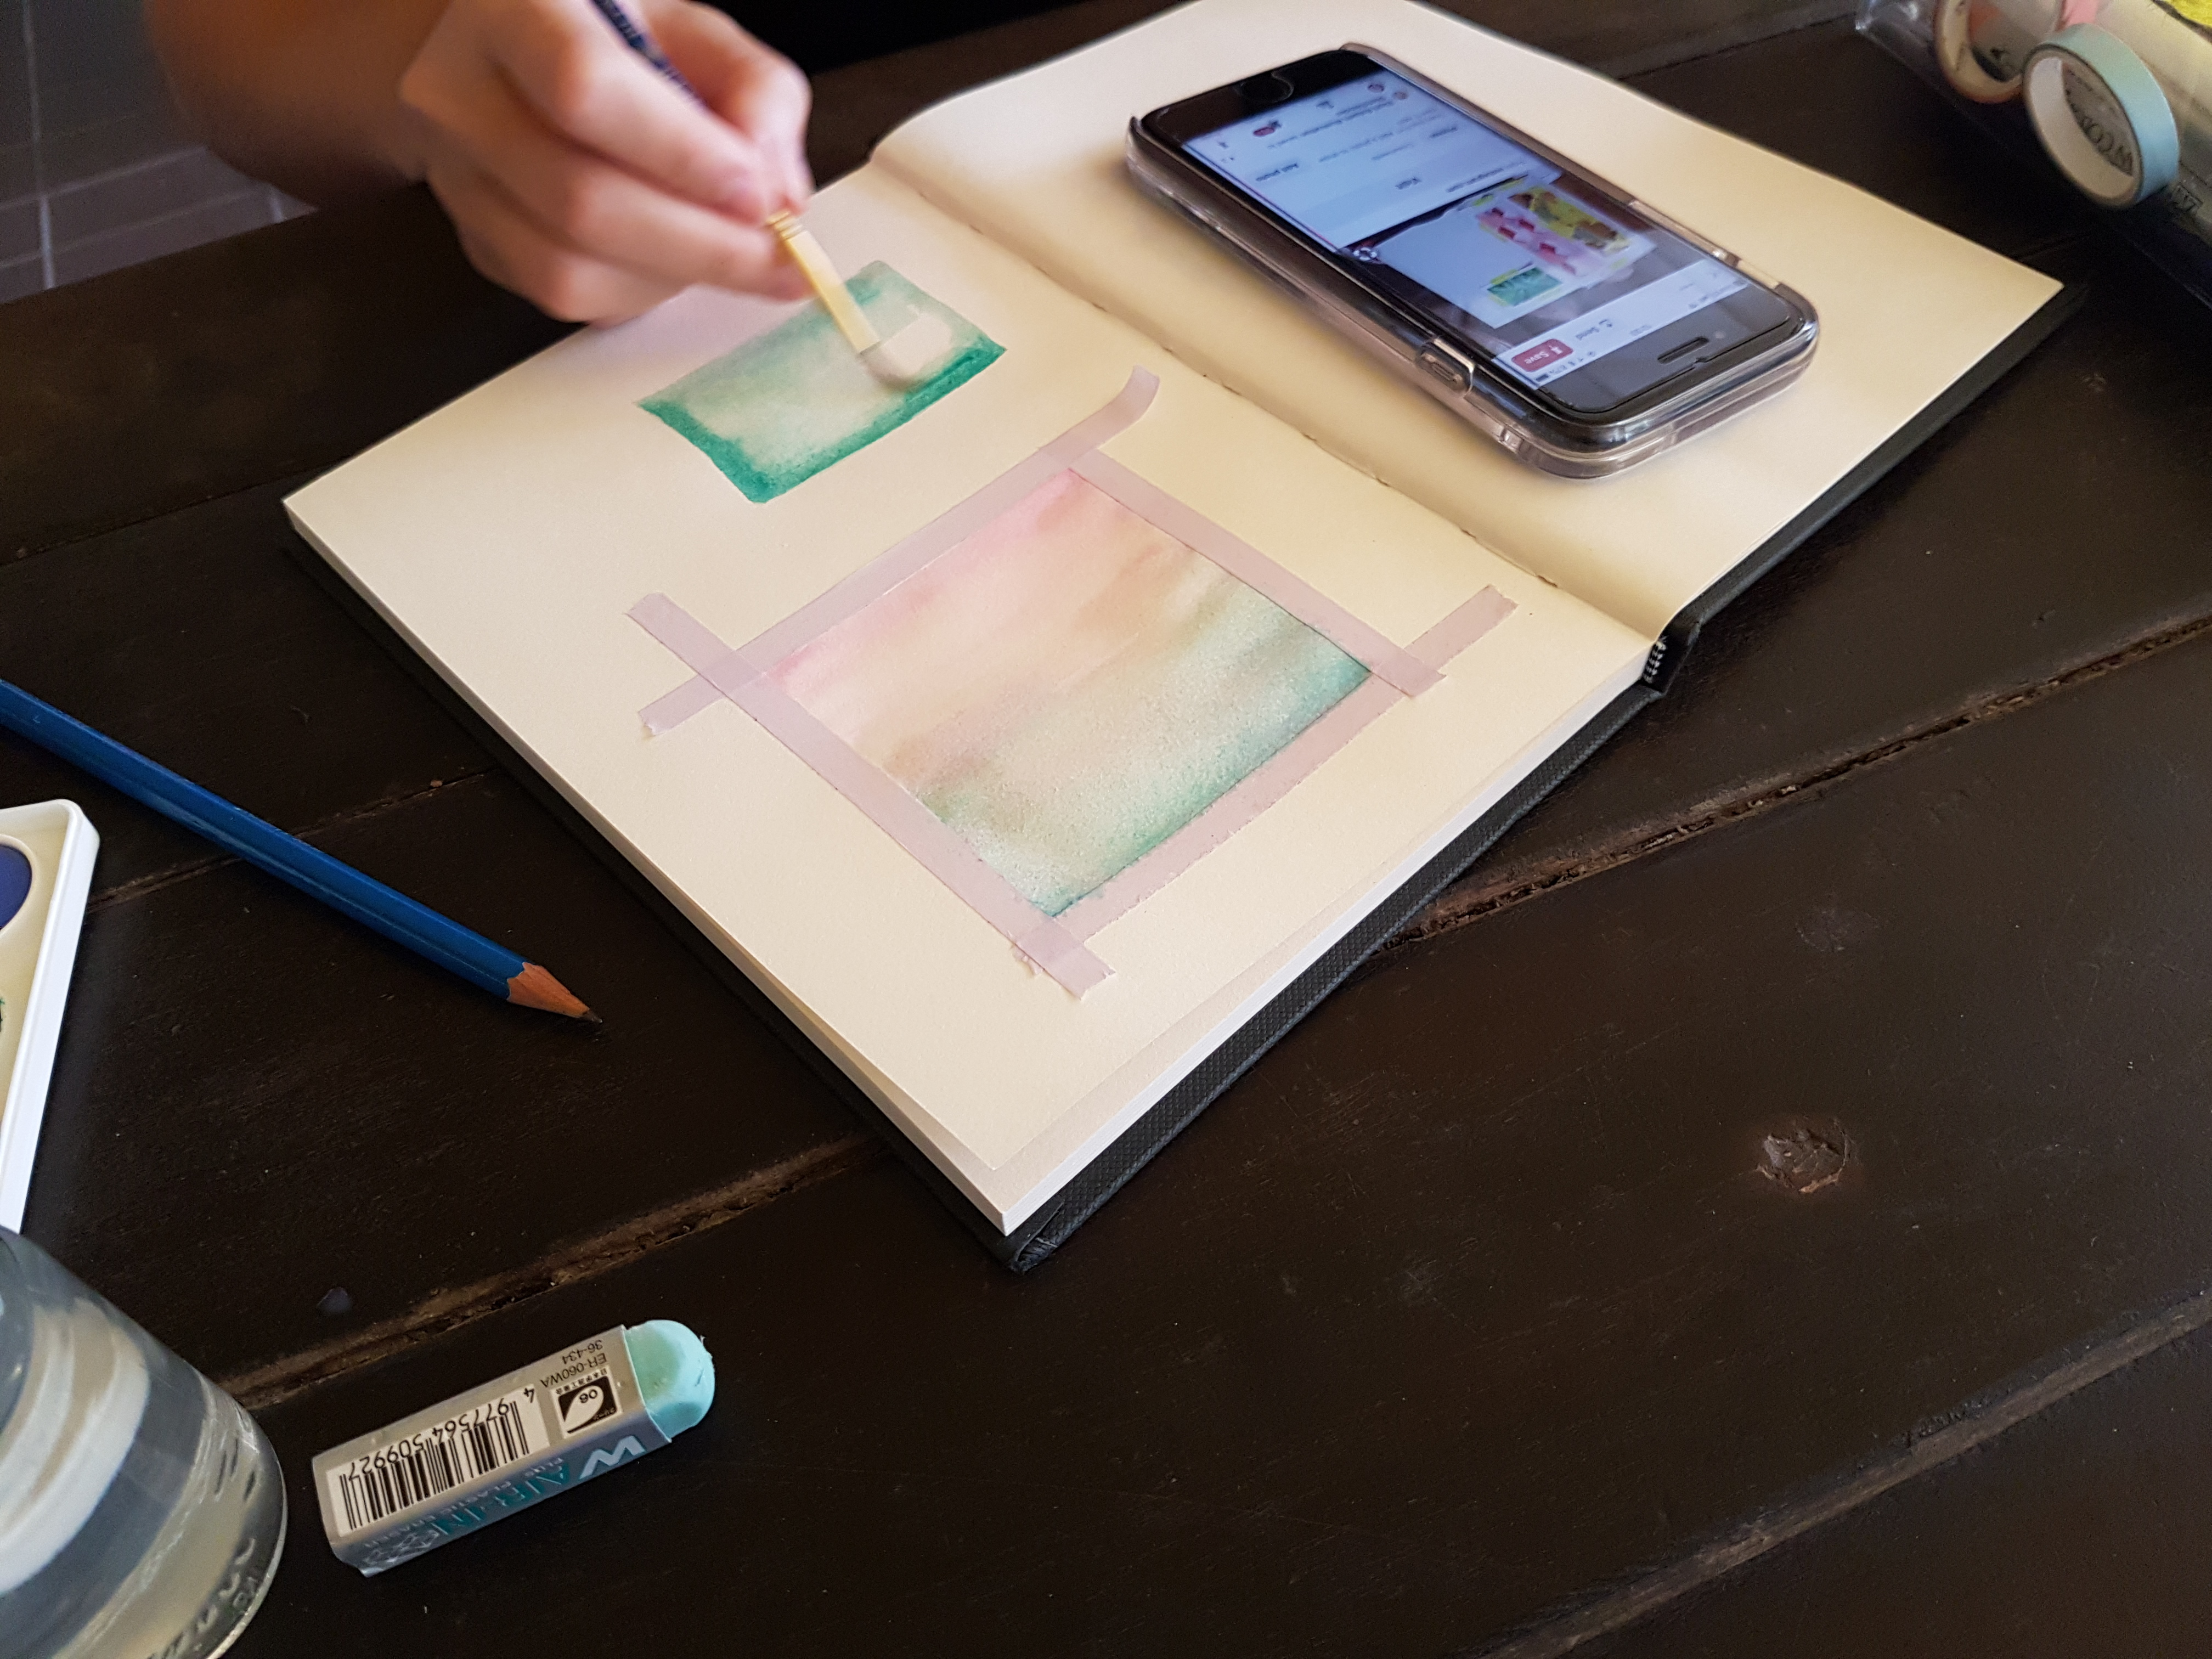
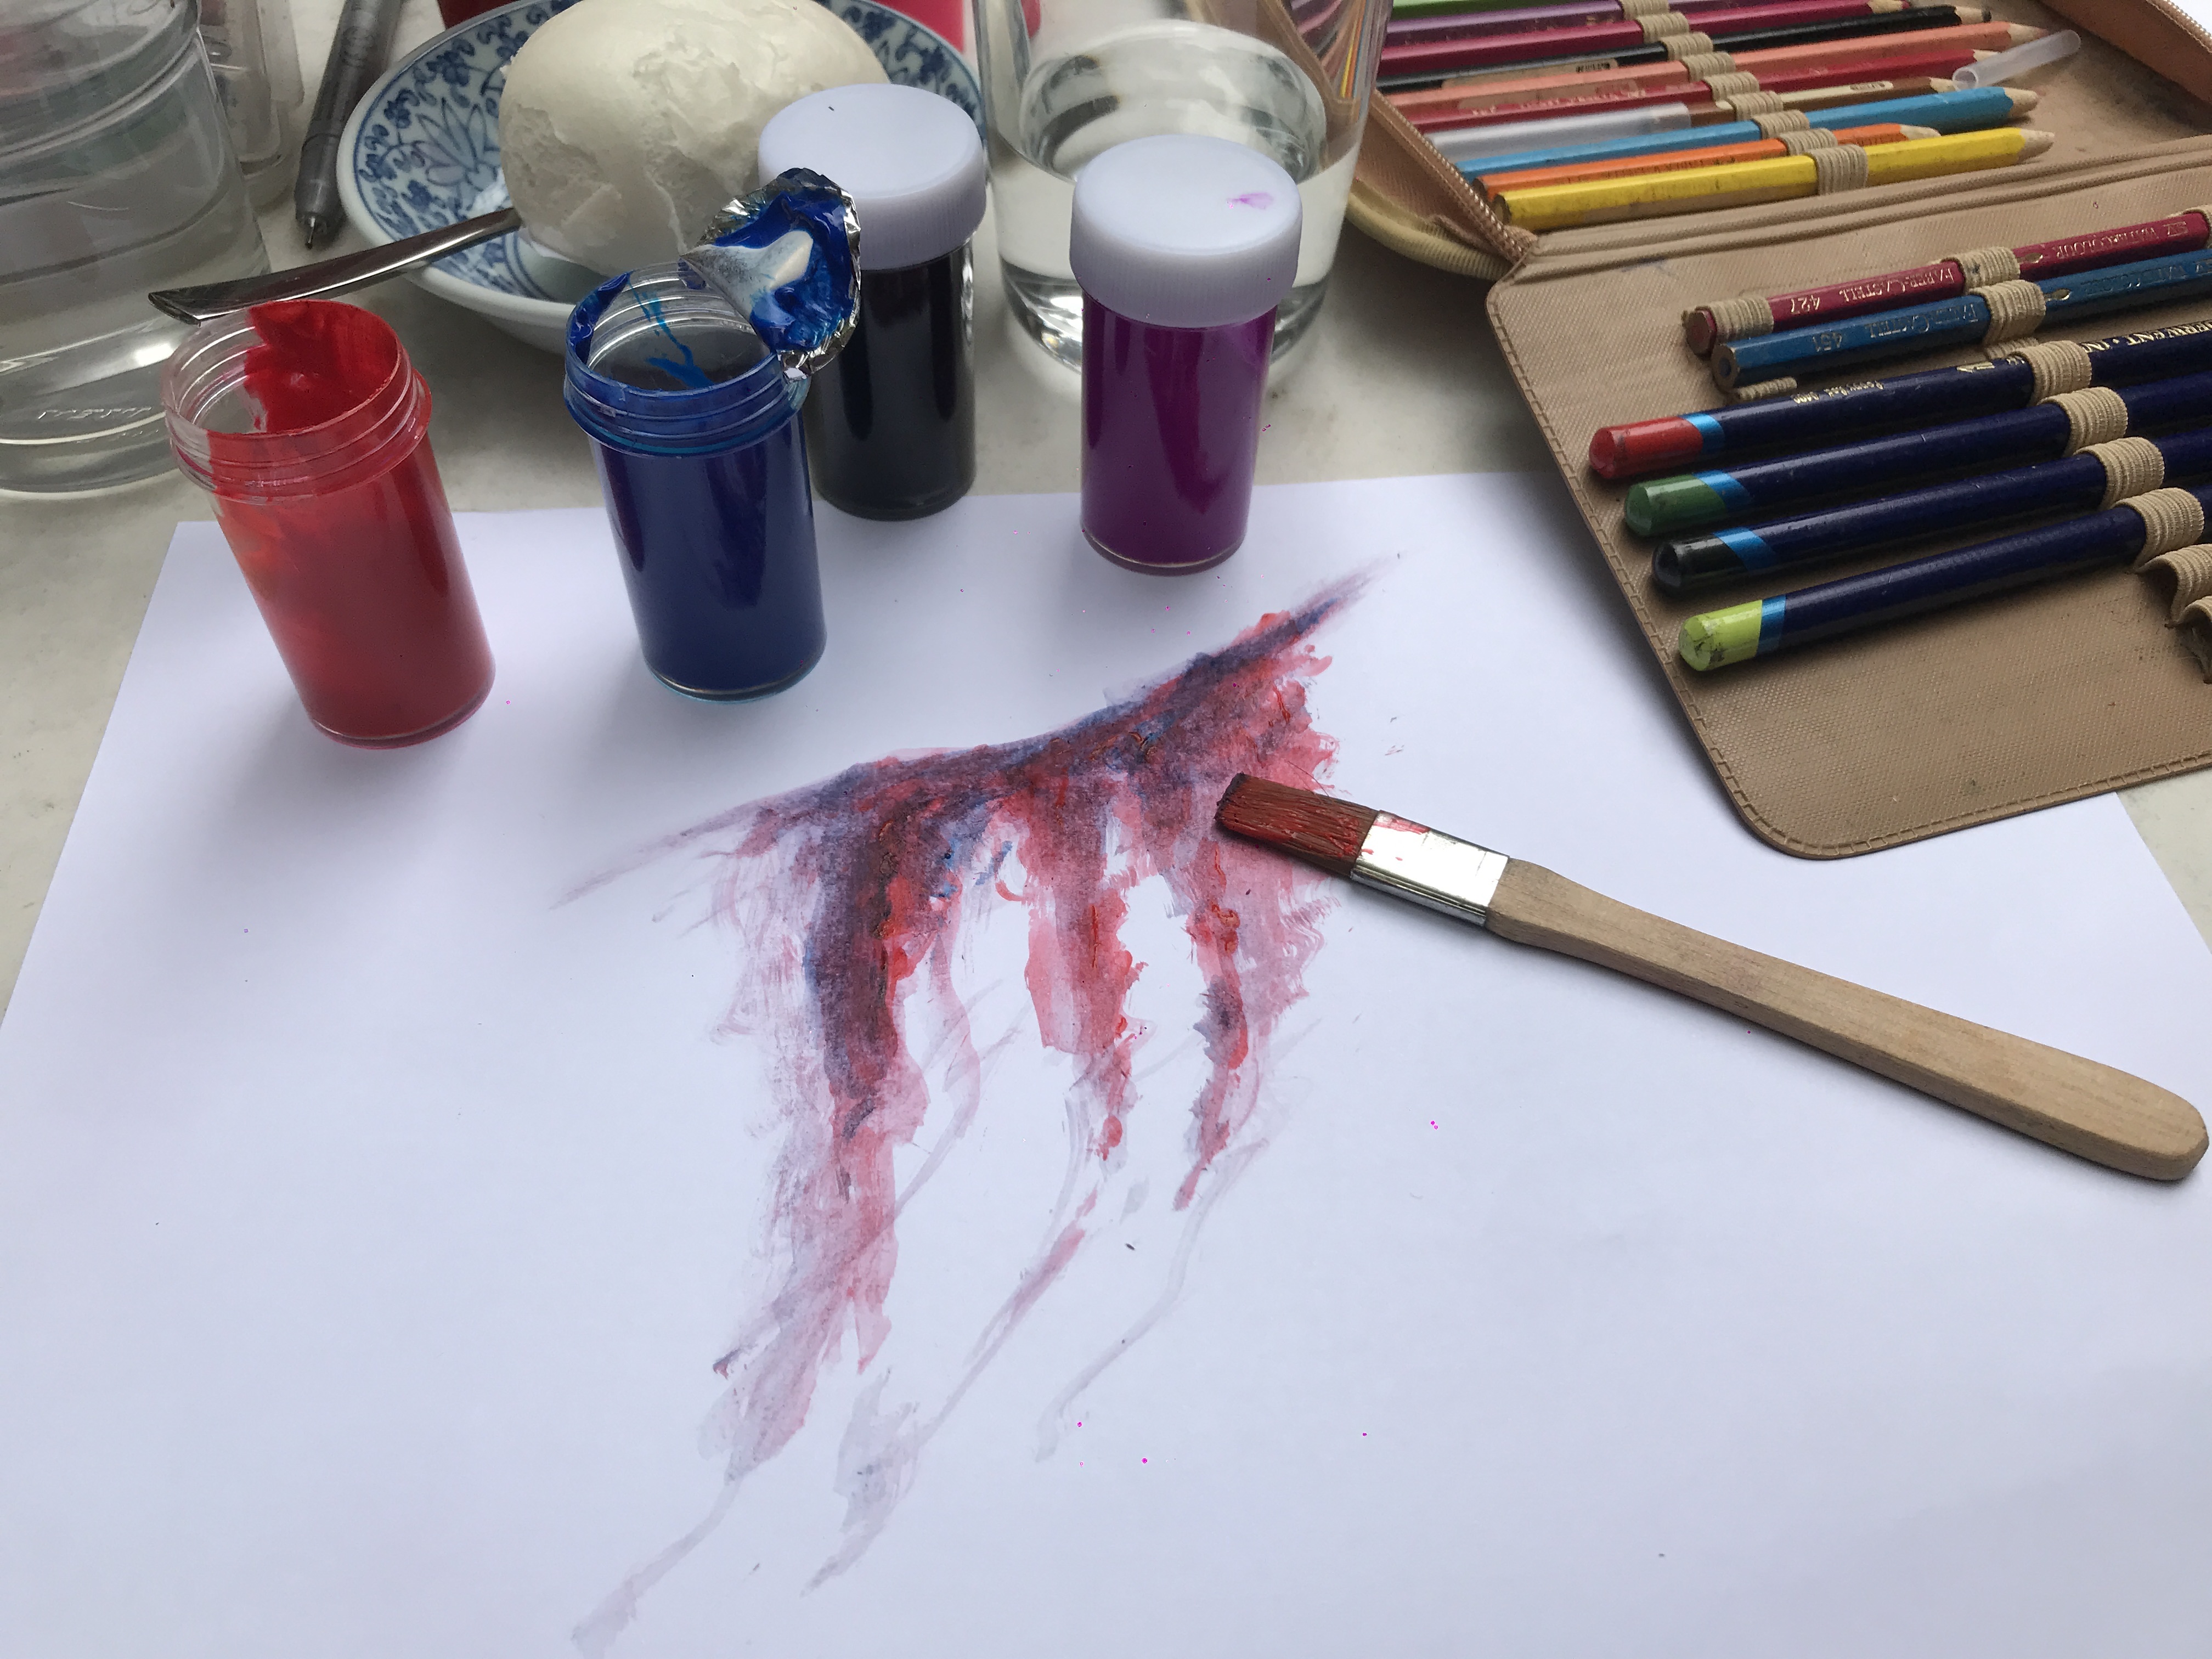
Soon enough, I tried it out for myself. It’s definitely not as easy as it looks, as my attempts looked far from what I imagined them to look like. What I wanted to do was to paint a triangle that is solid at the base, and its colour fading as it reaches the tip. Didn’t manage to do it well.
Also I was told that I can add more paint to it to make it look more saturated, and add dab water to the painting if I want to make it look less intense – in a way diluting the paint and spreading it out.
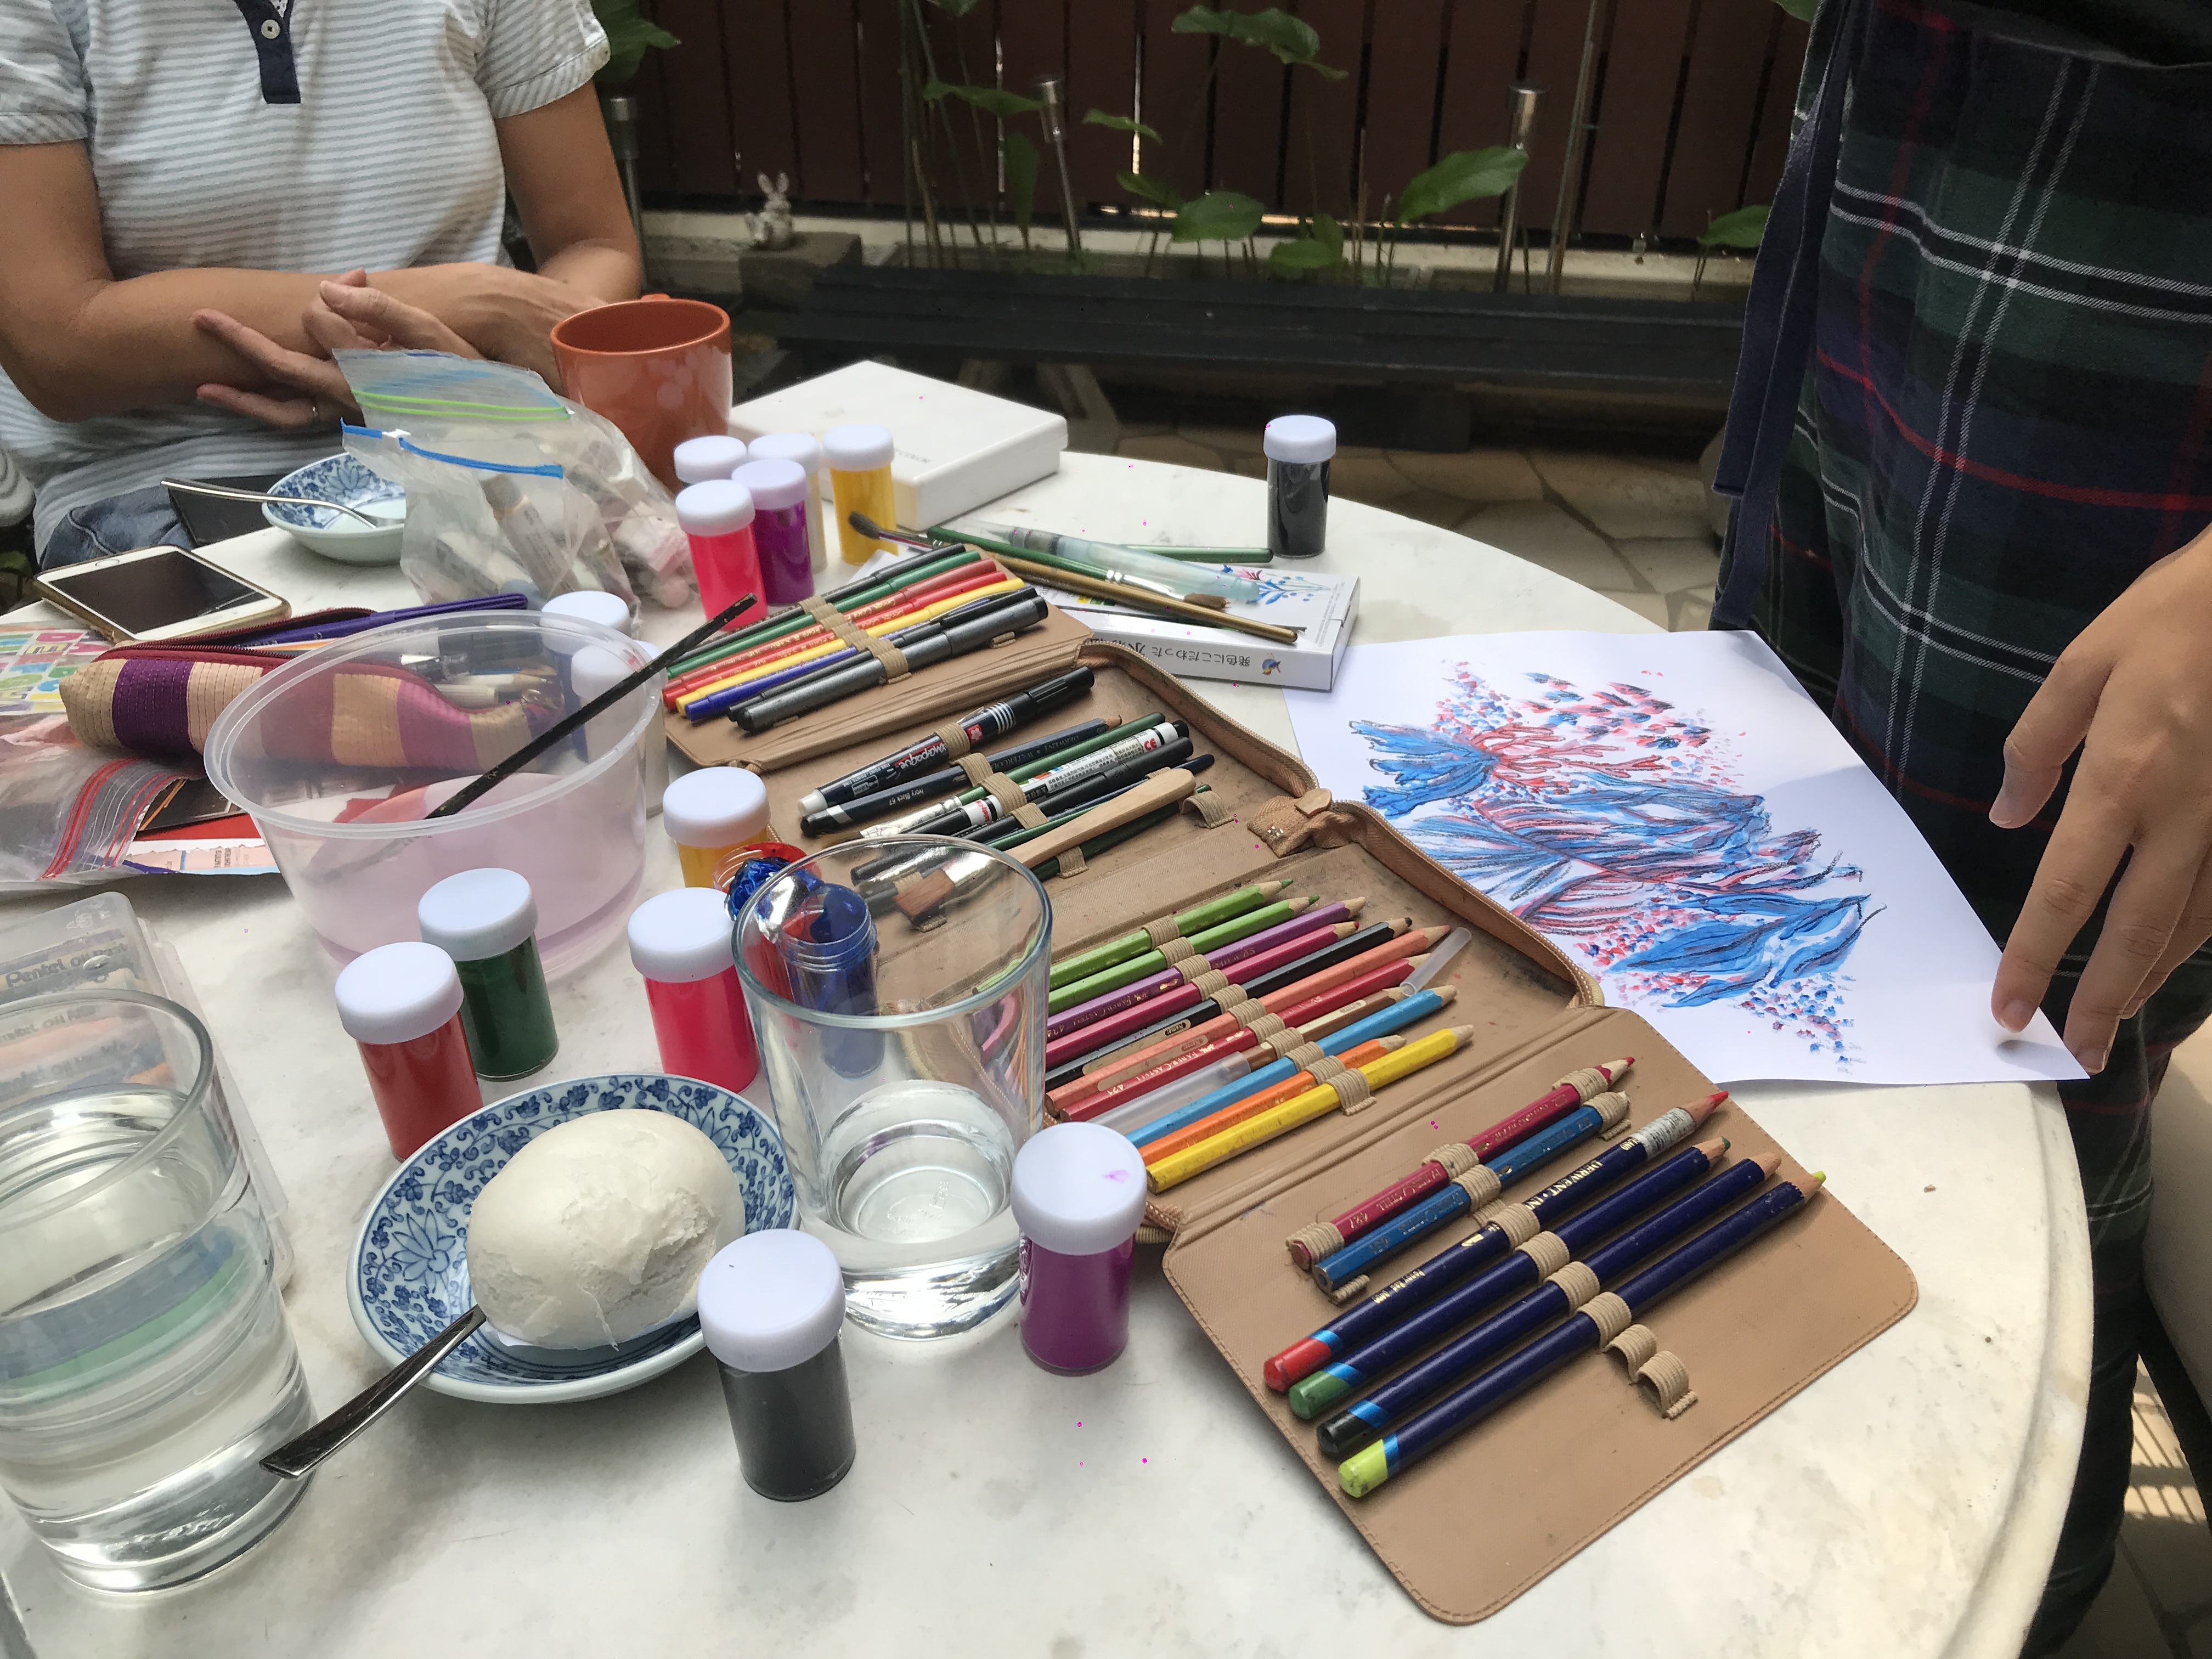
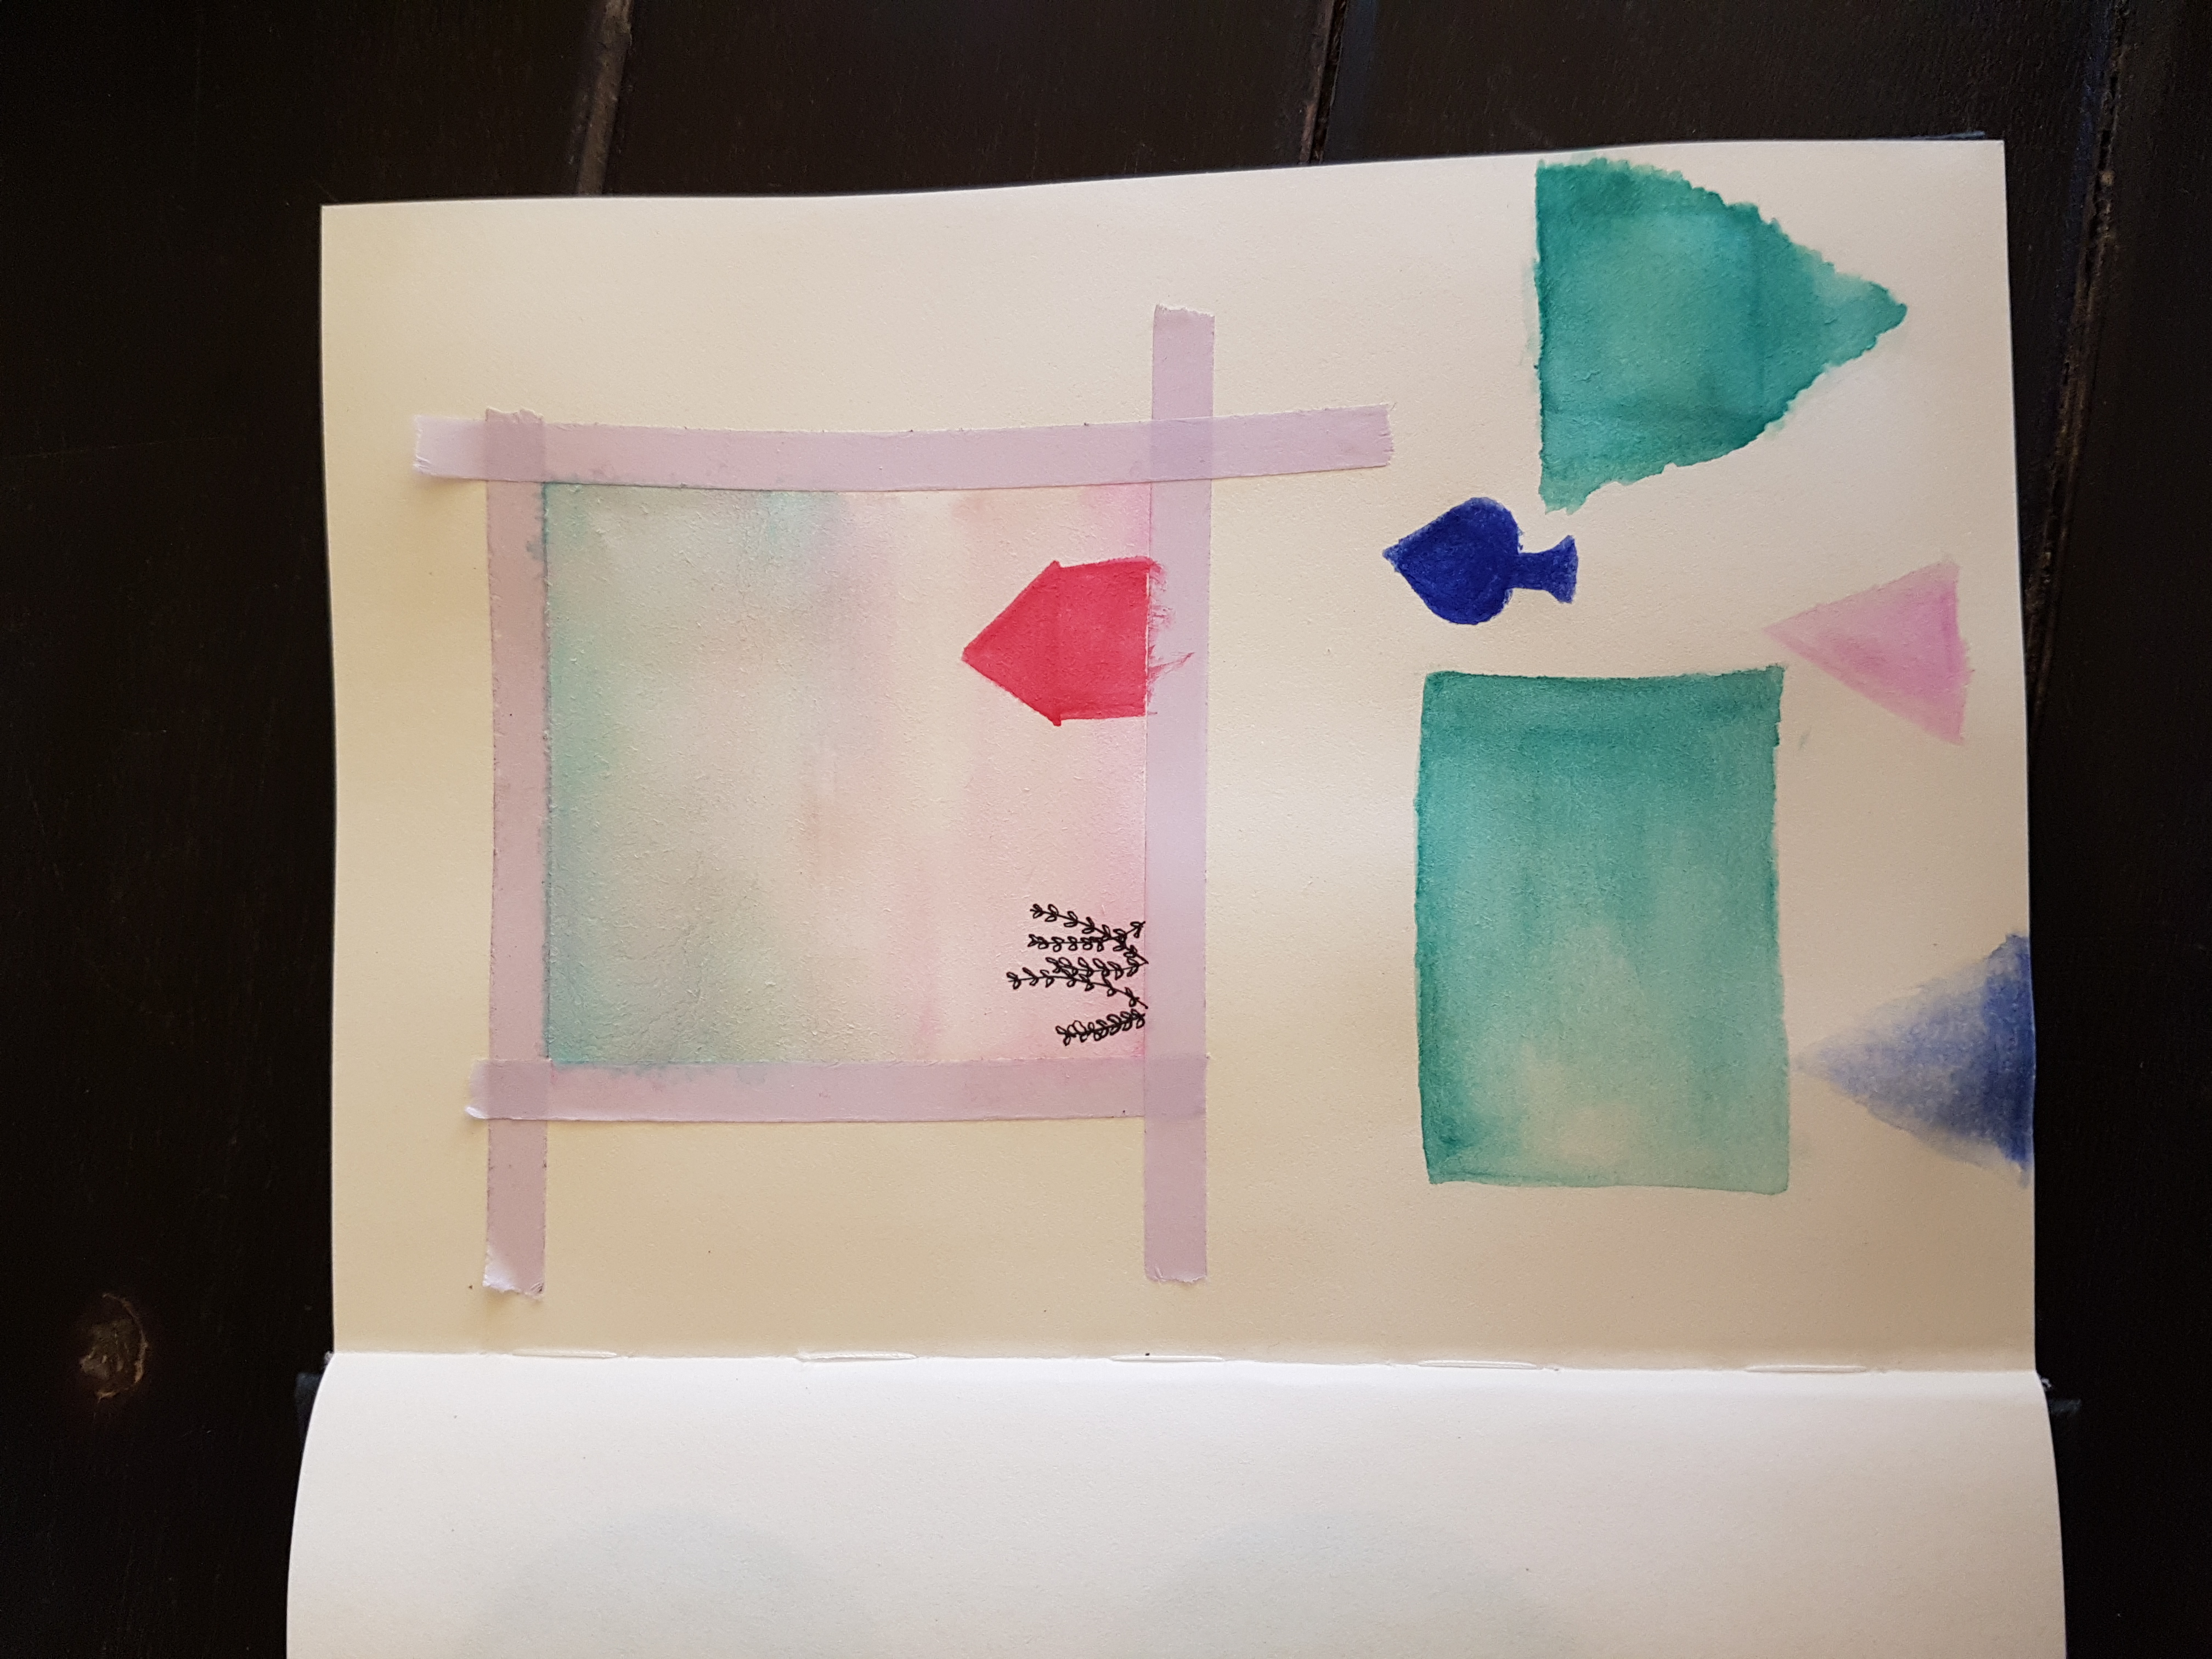
In the end, below was what we came up with. No prizes for guessing which ones were painted by me. But if you really dont know, the green triangle was started by me and damage control-led by my friend, the blue spade, pink triangle and blue triangle were done by me. The rest were my friend’s painting.
Pain(t) Points
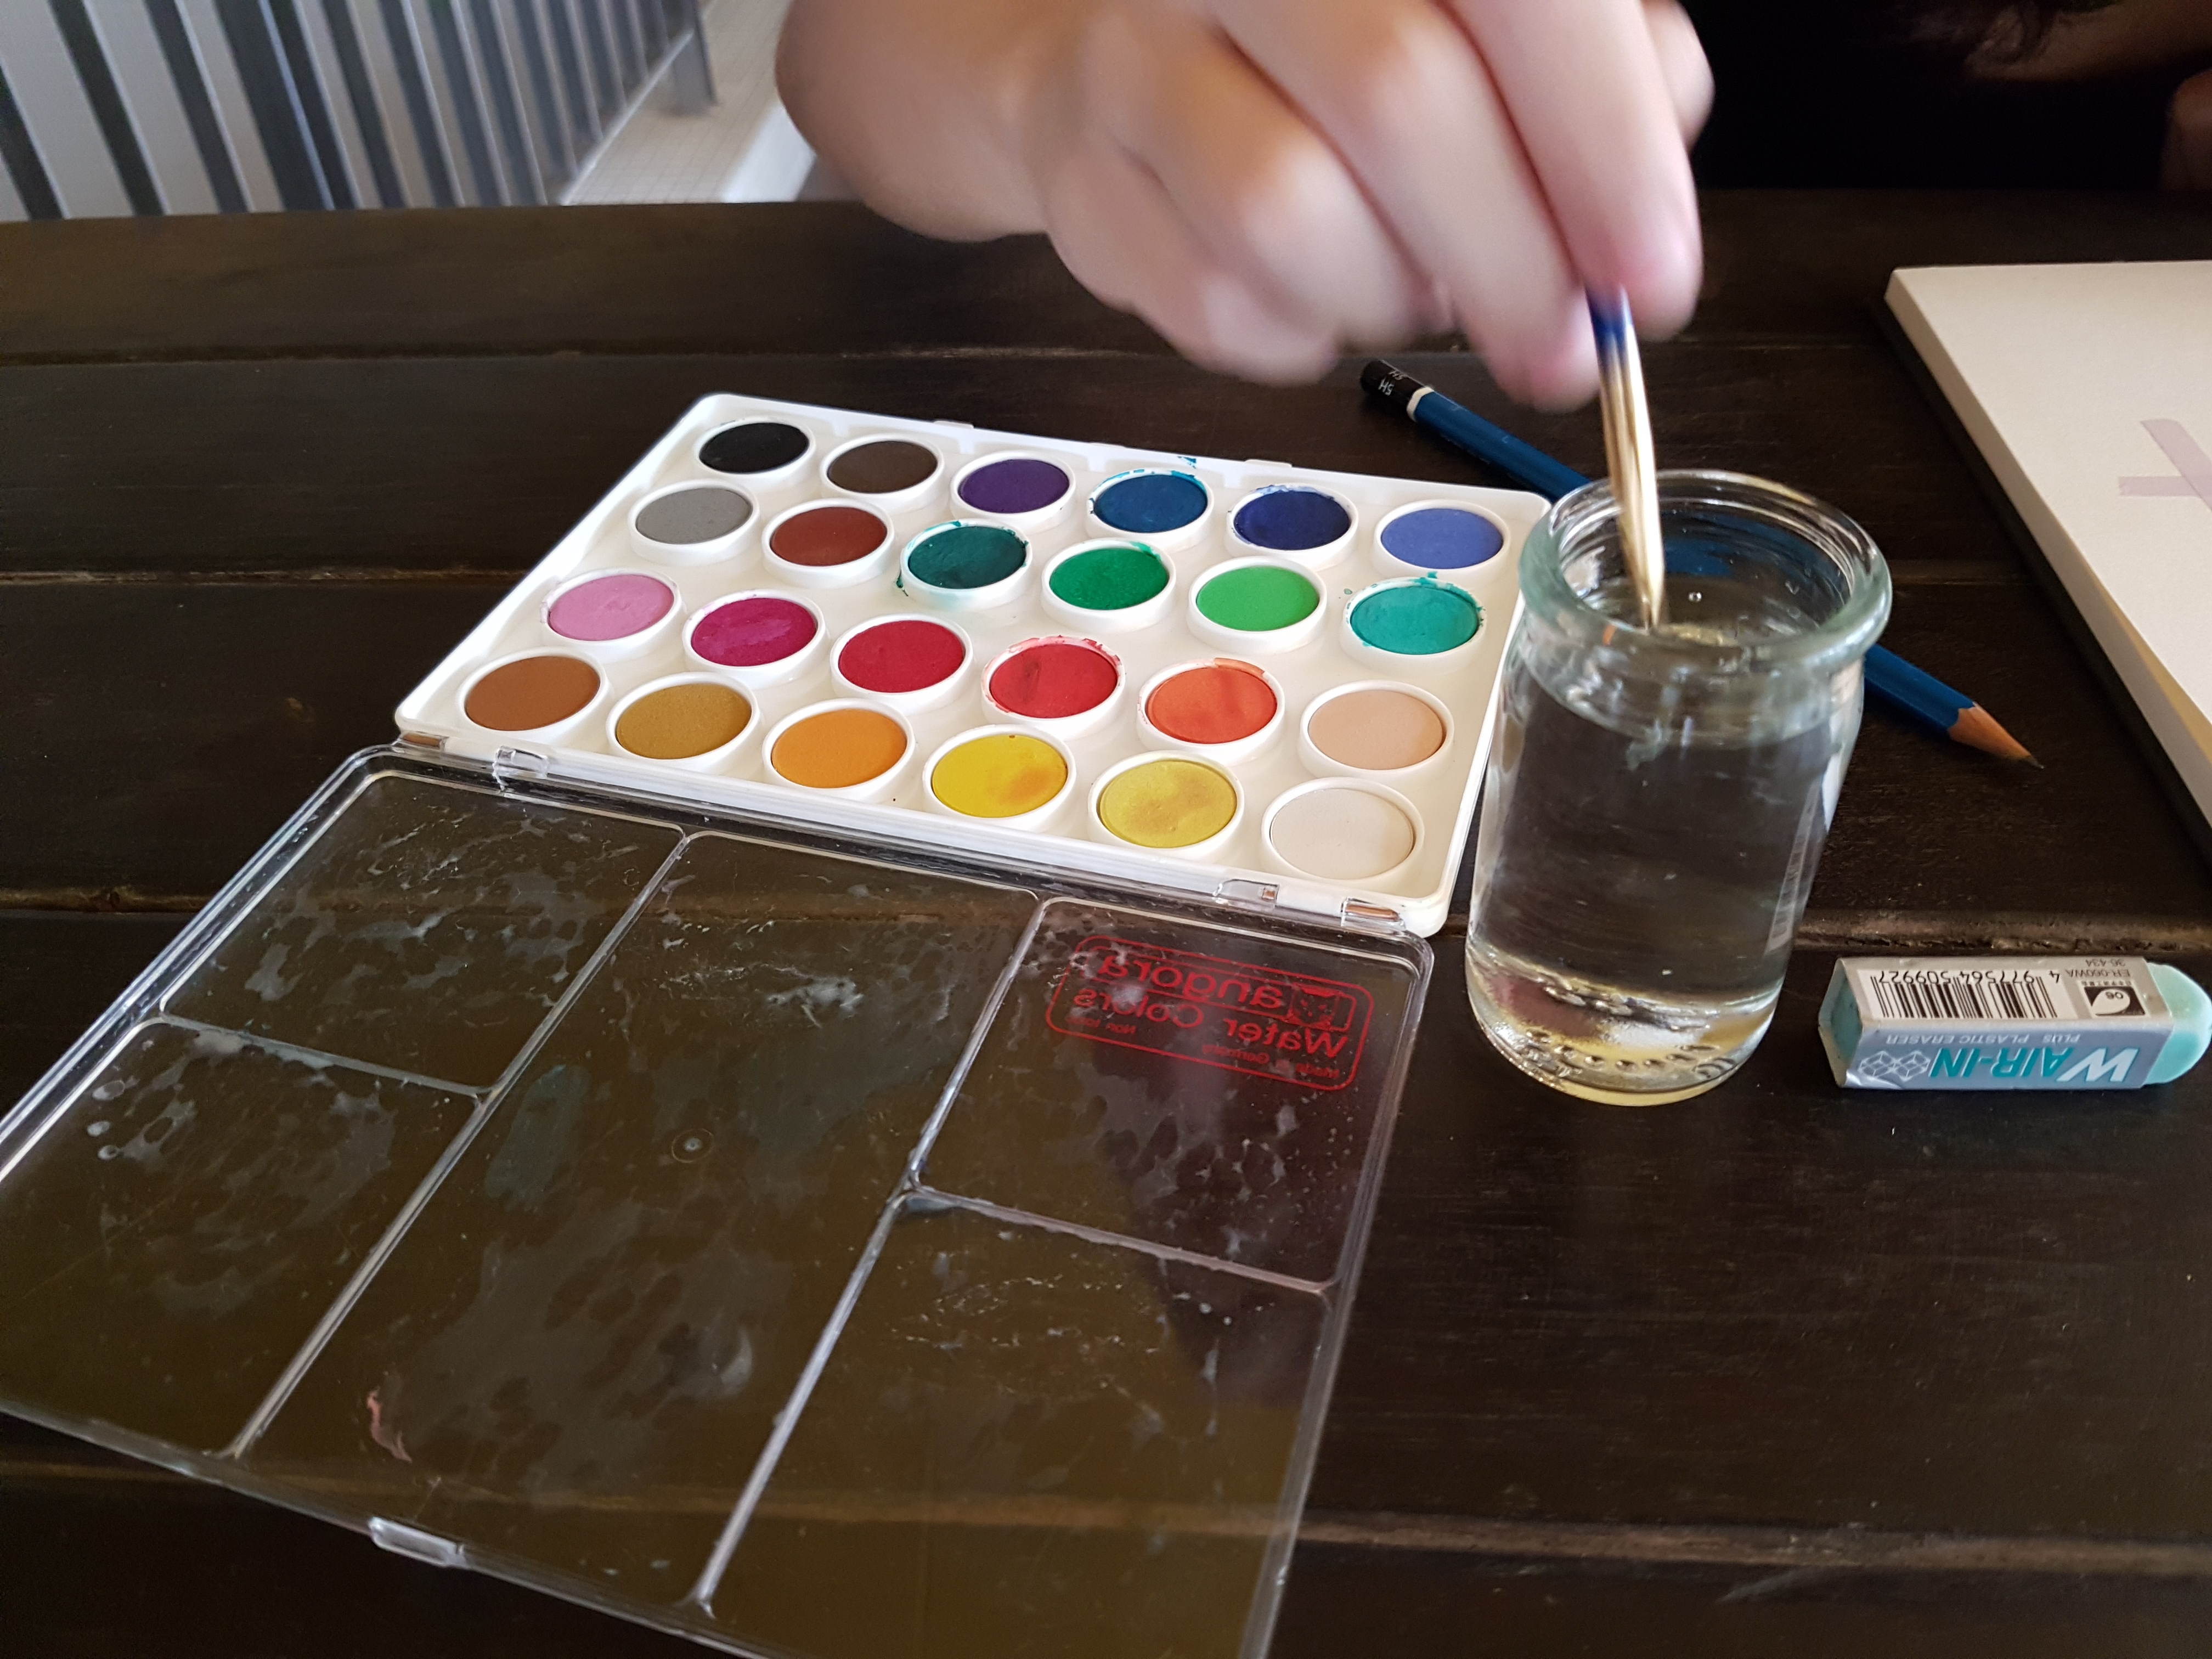
- Water in the container turning murky very quickly, which could affect the colours that appear on the canvas. One solution to this is to use at least two glasses of water – one to wash off paint from the previous stroke, and one to prep the brush for the next stroke/ colour.
- Actually bringing out the water container can be quite a hassle on its own.
- The paper we painted on wasn’t the best for watercolour. She mentioned that using actual watercolour paper would be best as it would be easier to paint on.
PRO TIP: if you have a frayed paintbrush, don’t throw it away, it can still be used! Dip your brush in hot water, and it will solve itself out. Soon enough, your brush tips will return back to normal 🙂